
Project Data
Project Type: Commercial Interior Renovation
Location: Tokyo, Japan
Building: 8-story commercial building, 6th floor
Work Area: Two toilets
Main Work: Toilet removal before tile installation
Workers: Myself and a plumbing technician
Construction Data
Work Performed: Toilet removal and preparation for floor tile installation
Toilet Units Removed: 2
Experience Level: First time removing a toilet
Tools Used: Flat-head screwdriver, manual hand pump, bucket, rags, protective tape, work gloves
Introduction
Today, I worked on an interior renovation project on the sixth floor of an eight-story commercial building in Japan.
The main work for this project involved preparing two toilets for tile installation. Before the tiles could be installed, the toilets had to be removed.
A plumbing technician was working on the toilet removal, and I had the opportunity to help and learn the process.
I watched the plumbing technician remove the first toilet so I could understand the procedure. Then, for the second toilet, I removed it myself under his guidance.
This was a valuable experience because toilet removal is not something I normally do in my everyday work.
I had previously replaced a few bidet toilet seats, such as Japanese Washlets, but this was the first time I had actually removed a complete toilet.
It was a great opportunity to learn a new skill that can be useful for future renovation projects.
Related Project
Commercial Restoration Work in Japan: Wallpaper Installation and Toilet Tile Replacement
Job Site Report
1. Shut Off the Water Supply
Before removing the toilet, the first and most important step was to shut off the water supply.
I used a flat-head screwdriver to close the shut-off valve.
This step is extremely important.
If you loosen the water supply connection before shutting off the valve, water can suddenly spray out and cause a mess or even damage the surrounding area.
The plumbing technician specifically told me that shutting off the water supply is one of the most important things to remember.
It sounds simple, but it is probably the most important step in the entire process.
2. Drain the Water From the Toilet Tank
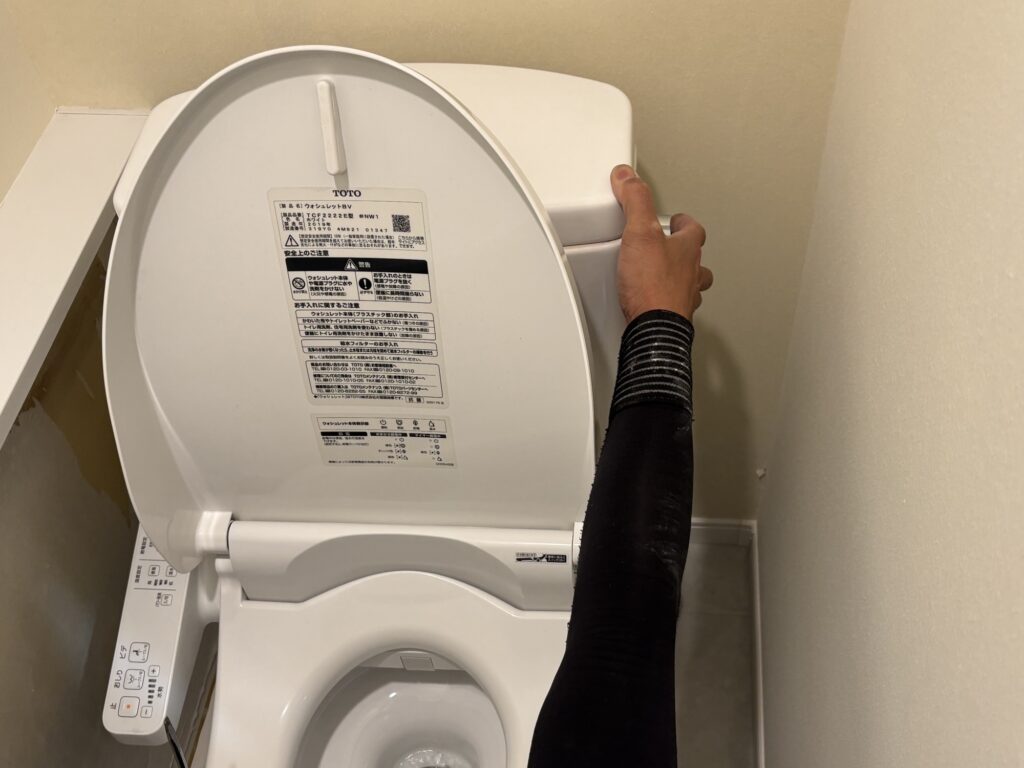
After shutting off the water supply, I flushed the toilet to drain the water from the tank.
This reduces the amount of water remaining in the toilet before disconnecting the water supply connections.
3. Disconnect the Water Supply Connections
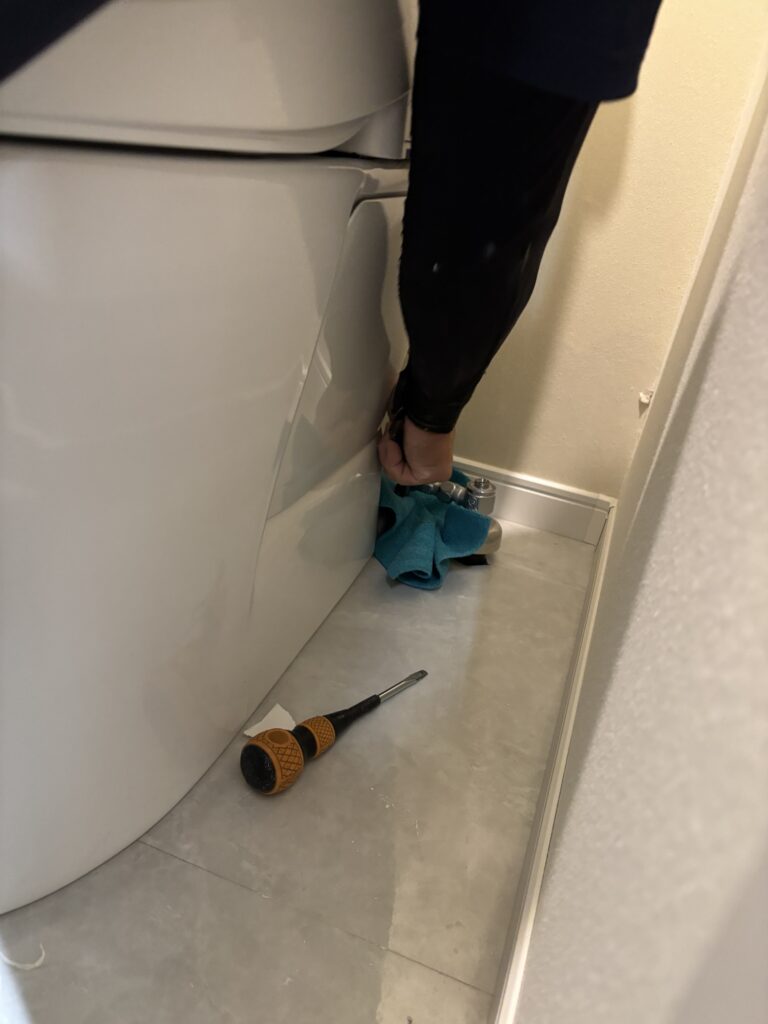
Next, the water supply connections to the toilet tank and the Washlet were loosened and removed.
Before disconnecting them, we placed rags around the area to prevent water from spreading across the floor.
Even after the water supply has been shut off, some water can remain inside the pipes and hoses, so it is important to be prepared for a small amount of water to come out.
4. Remove the Water From the Toilet Bowl
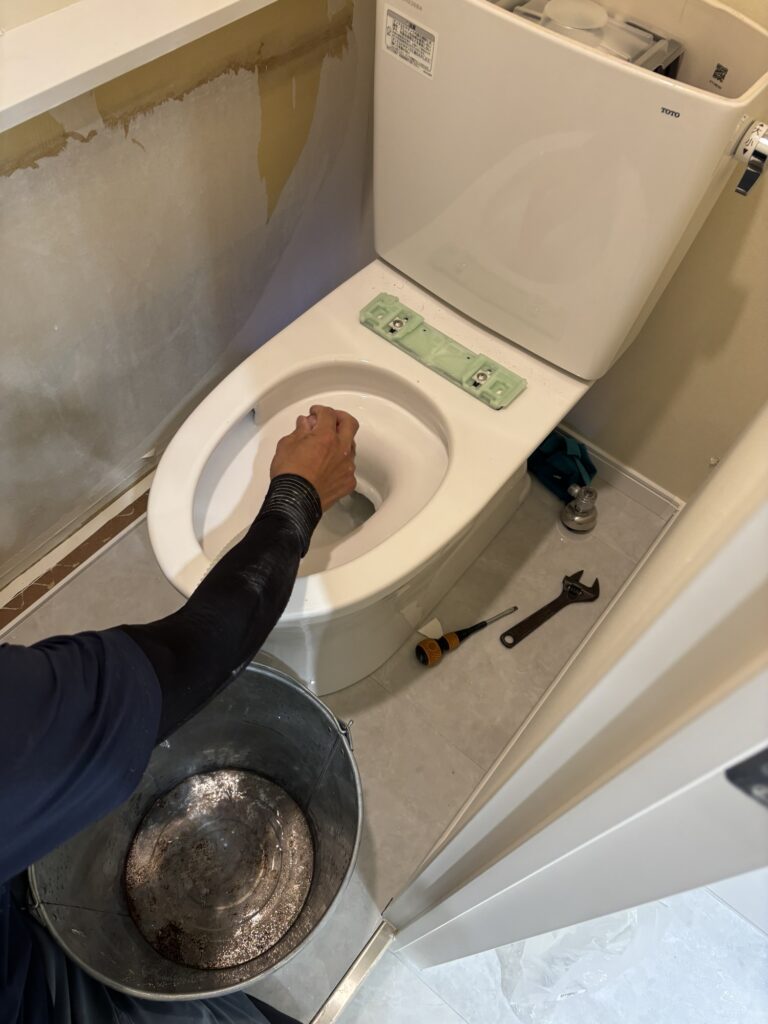
Next, we used a manual hand pump to remove the water remaining inside the toilet bowl.
The water was pumped into a bucket until the toilet bowl was empty.
Removing as much water as possible makes the toilet easier and safer to handle when it is lifted and carried.
5. Keep the Toilet and Tank Connected
Normally, when removing a toilet, the toilet bowl and tank may be separated.
However, separating them can require replacing the gasket between the two parts.
If an old gasket is reused, there is a possibility of water leakage later.
For this project, the toilets would be installed again after the floor tiles were completed.
Because of this, we decided to remove the toilet and tank together without separating them.
This allowed us to avoid unnecessary disassembly and replacement of the gasket.
6. Protect the Ceramic Parts
Toilets are made of ceramic, so they need to be handled carefully.
Even a relatively small impact can crack or break ceramic parts.
I have actually experienced this before.
While installing wallpaper in a toilet on another project, I accidentally hit the tank lid and broke it.
Because of that experience, I decided to remove the tank lids before moving these toilets.
Removing the lids made the toilets safer to carry and reduced the risk of accidentally damaging them.
7. Secure the Water Supply Hose
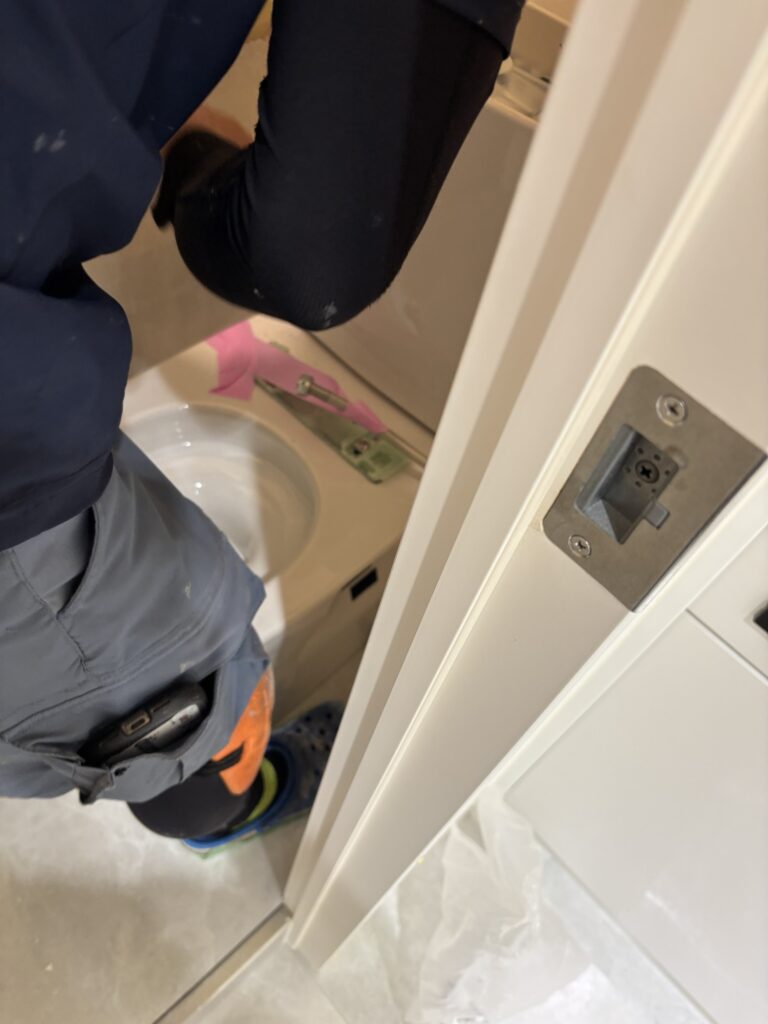
We also secured the water supply hose with tape so that it would be easier to carry the toilet.
Without securing the hose, it can hang down and swing around while carrying the toilet.
This can make the toilet more difficult to handle and can also increase the chance of hitting a wall, door, or another object.
A small preparation like this can make a big difference when moving a heavy toilet.
8. Carefully Carry the Toilet Out
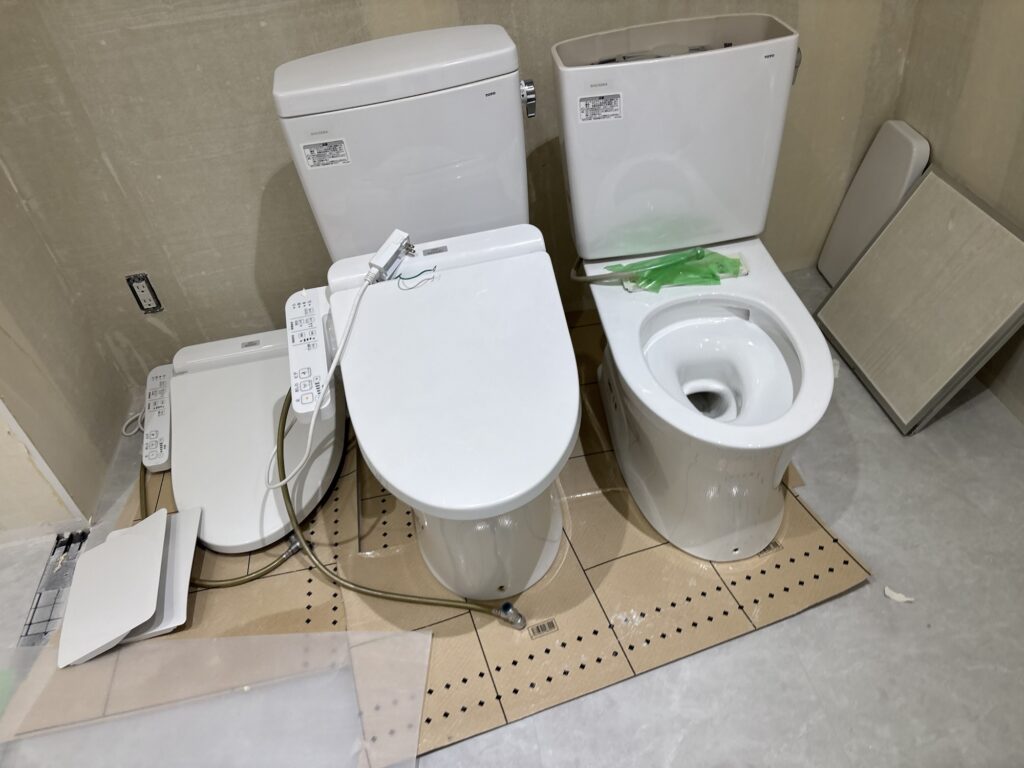
A toilet can weigh around 40 kilograms, so carrying it requires care.
We carefully moved the toilet out of the room while making sure it did not hit the walls or doors.
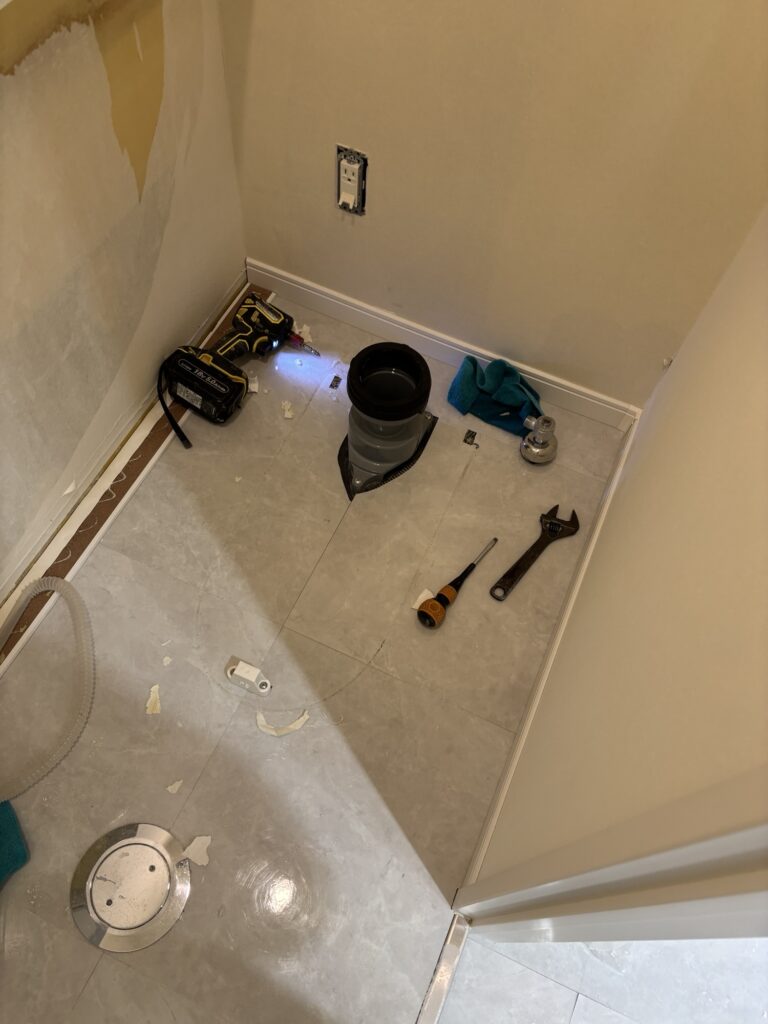
Wearing work gloves with rubber grips can also make it easier and safer to hold the toilet.
Because the toilet is heavy and made of ceramic, dropping it or hitting it against something could cause serious damage.
9. Seal the Drain Opening
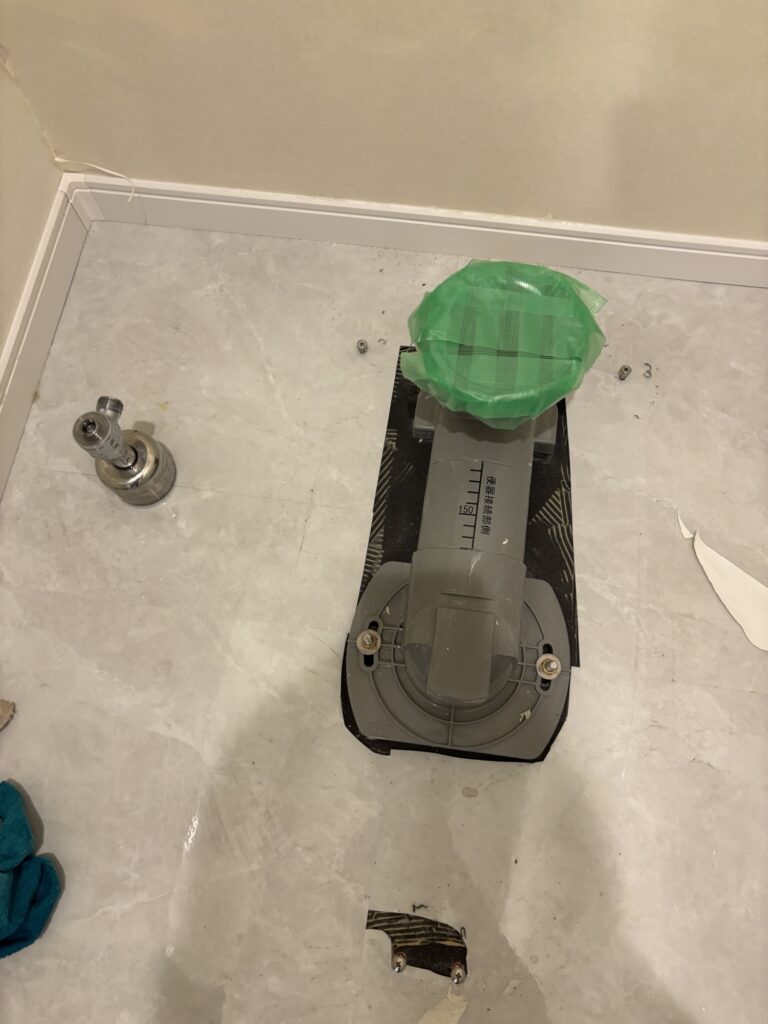
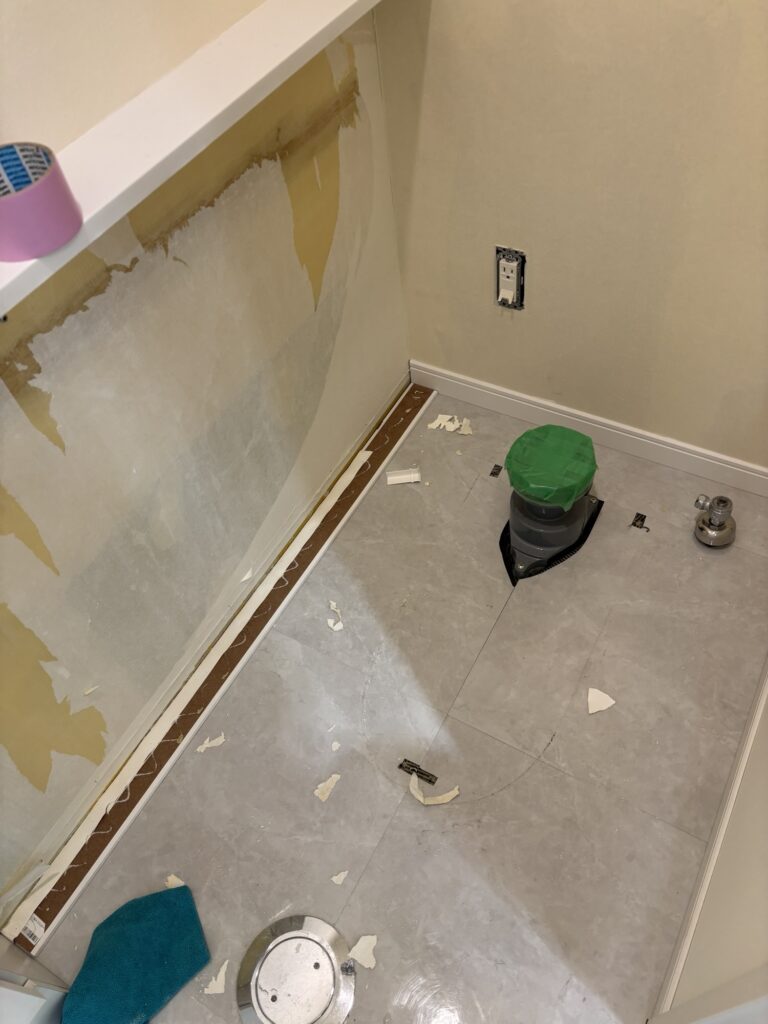
After removing the toilet, we covered the opening of the drain flange with protective tape.
This prevents unpleasant odors from coming up through the drain while the toilet is removed.
It also helps keep the work area cleaner until the toilet is installed again.
At this point, the area was ready for the next step: installing the floor tiles.
Related Project
Toilet Renovation: Replacing the Toilet, Wallpaper, and Vinyl Flooring in a Small Apartment Bathroom
Tools Used
Flat-Head Screwdriver
A flat-head screwdriver was used to close the water shut-off valve.
Manual Hand Pump
A manual hand pump was used to remove the remaining water from the toilet bowl.
Bucket
A bucket was used to collect the water removed from the toilet.
Rags
Rags were placed around the water connections to prevent water from spreading across the floor.
Protective Tape
Protective tape was used to secure the water supply hose and seal the drain opening after the toilet was removed.
Work Gloves
Work gloves with rubber grips can make it easier to safely handle a heavy toilet.
Professional Tips
Always Shut Off the Water First
The most important lesson from this project was to shut off the water supply before disconnecting any water supply connections.
This may seem obvious, but forgetting this step can result in water spraying out and flooding the work area.
The plumbing technician emphasized this point, and I now understand why it is so important.
Remove as Much Water as Possible
Before lifting the toilet, remove as much water as possible from the tank and bowl.
A lighter toilet is easier to carry and less likely to spill water during transportation.
Protect Ceramic Parts
Ceramic can crack or break when hit.
Removing the tank lid before moving the toilet is a simple way to reduce the risk of accidental damage.
Secure Loose Hoses
Securing the water supply hose with tape makes the toilet easier to carry.
It prevents the hose from hanging down and getting in the way while moving the toilet.
Plan the Transportation Route
Before lifting a heavy toilet, check the route from the bathroom to the place where it will be stored.
Pay particular attention to walls, doors, corners, and narrow spaces.
Planning the route in advance can help prevent accidental damage.
Common Mistakes to Avoid
Do Not Disconnect the Water Supply Before Closing the Shut-Off Valve
This is the most important mistake to avoid.
Always close the shut-off valve before loosening the water supply connection.
Do Not Carry the Toilet Carelessly
A toilet can be heavy and fragile at the same time.
Moving it too quickly or allowing it to hit a wall or door can cause cracks or other damage.
Do Not Reuse a Damaged or Old Gasket
If the toilet and tank are separated, the gasket between them may need to be replaced.
Reusing a gasket that should be replaced can potentially lead to water leakage.
Always check the condition of the parts before reinstalling them.
Do Not Leave the Drain Opening Uncovered
Once the toilet has been removed, the drain opening should be covered appropriately to help prevent unpleasant odors from entering the room.
What I Learned From This Project
This was my first experience removing a complete toilet, and I learned a lot from it.
I had previously worked with Washlets and had some experience with toilet-related work, but removing an entire toilet was completely different.
I was especially glad that I could watch the plumbing technician remove the first toilet and then try removing the second one myself.
This made it much easier to understand the actual process.
I had also installed floor tiles around toilets without removing the toilet before.
In those situations, cutting and fitting the tiles around the toilet can be difficult and time-consuming.
If I can remove the toilet myself when necessary, installing floor tiles around the toilet can become much easier.
It can also make it possible to achieve a cleaner finish.
The plumbing technician told me that removing and reinstalling a toilet is actually easier than installing an air conditioner.
After experiencing the process myself, I could understand what he meant.
I would like to continue learning by getting hands-on experience whenever I have another opportunity to remove and reinstall a toilet.
One of the biggest lessons from today was that even basic procedures can be extremely important.
The plumbing technician kept emphasizing one thing:
Shut off the water supply first.
It is a very basic step, but it is also the most important one.
FAQ
1. Why do you need to remove a toilet before installing floor tiles?
Removing the toilet makes it much easier to install tiles around the drain and toilet area. It can also make cutting and fitting the tiles easier and help achieve a cleaner finish.
Related Project
Hotel Interior Renovation: Wallpaper, Floor Tile, and Baseboard Installation
2. What is the first step when removing a toilet?
The first step is to shut off the water supply using the shut-off valve.
3. What happens if you do not shut off the water supply?
If you loosen the water supply connection without shutting off the valve, water can spray out and potentially flood the work area.
4. How do you remove the water from the toilet bowl?
A manual hand pump can be used to pump the remaining water from the toilet bowl into a bucket.
5. Can the toilet tank and toilet bowl be removed together?
Yes, depending on the situation. In this project, we kept them connected because the toilet would be reinstalled after the floor tile work was completed.
6. Why is it important to handle a toilet carefully?
Toilets are made of ceramic, which can crack or break if it receives a strong impact.
7. Why should the toilet tank lid be removed?
The tank lid can be fragile and can break if it is accidentally hit while carrying the toilet. Removing it reduces the risk of damage.
8. Why should the water supply hose be secured?
A loose hose can hang down and swing around while carrying the toilet, making it harder to handle. Securing it with tape makes transportation easier.
9. How heavy is a toilet?
A toilet can weigh around 40 kilograms, depending on the model. Because of its weight and ceramic construction, it should be carried carefully.
10. What is the most important thing to remember when removing a toilet?
The most important thing is to shut off the water supply before disconnecting the water supply connections.
Conclusion
Today was a very valuable learning experience for me.
I went to a commercial interior renovation project expecting to work on the renovation, but I also had the opportunity to learn how to remove a toilet.
I watched the plumbing technician remove the first toilet, and then I removed the second one myself.
It was my first time removing a complete toilet, so I learned many things that I had never experienced before.
Removing the toilet will also make the upcoming floor tile installation much easier and allow the tiles to be installed more cleanly.
I want to continue taking every opportunity to learn new skills on renovation sites.
There are many different trades involved in renovation work, and learning skills outside my usual wallpaper work can make me a more versatile craftsman.
Today reminded me that even a simple procedure can be an important part of professional work.
And most importantly, I will remember what the plumbing technician told me:
Always shut off the water first.


Comments