
Project Type: Apartment Renovation
Location: Tokyo, Japan
Apartment: 2LDK
Floor: 2nd Floor
Work: Ceiling and wall wallpaper installation, toilet cushion flooring, and soft skirting installation
Crew: 3 workers for the living room ceiling
Total Work Time: Approximately 7.5 hours
Introduction
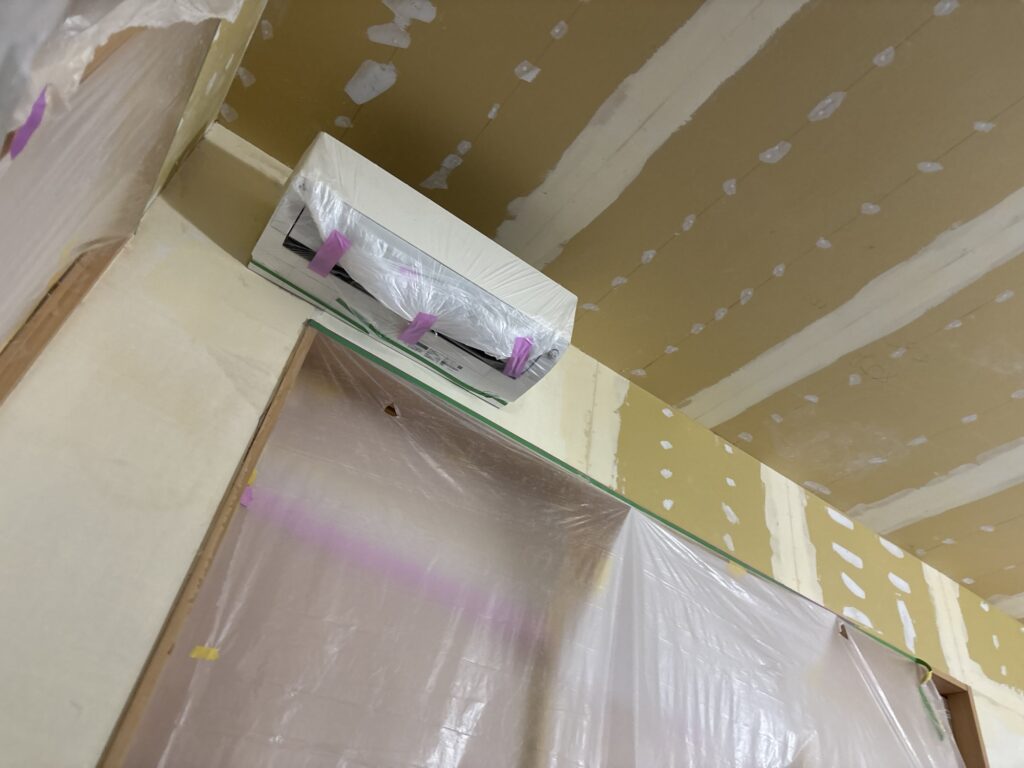
Today, I continued working on a 2LDK apartment renovation project for the second consecutive day.
Yesterday, we installed new gypsum boards, removed the old wallpaper, and finished the first stage of putty work.
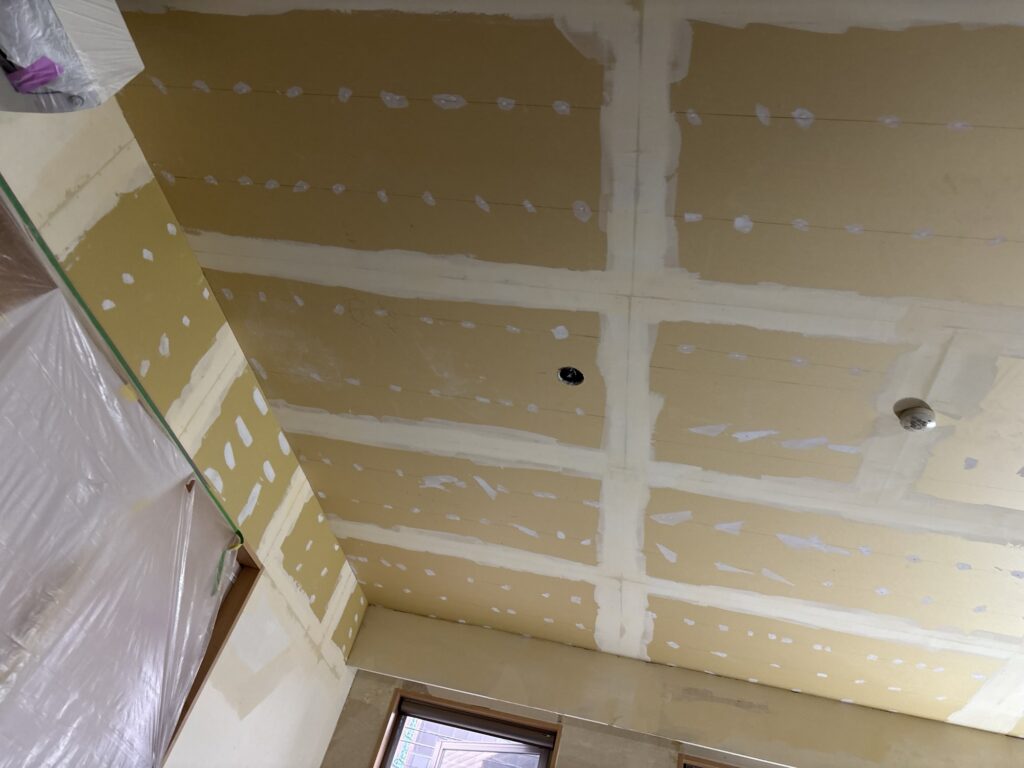
Today, the main work was installing new wallpaper on the living room ceiling and walls. We also completed the cushion flooring in the toilet.
The wallpaper was a slightly thin white stone-textured design, while the toilet floor used a herringbone pattern.
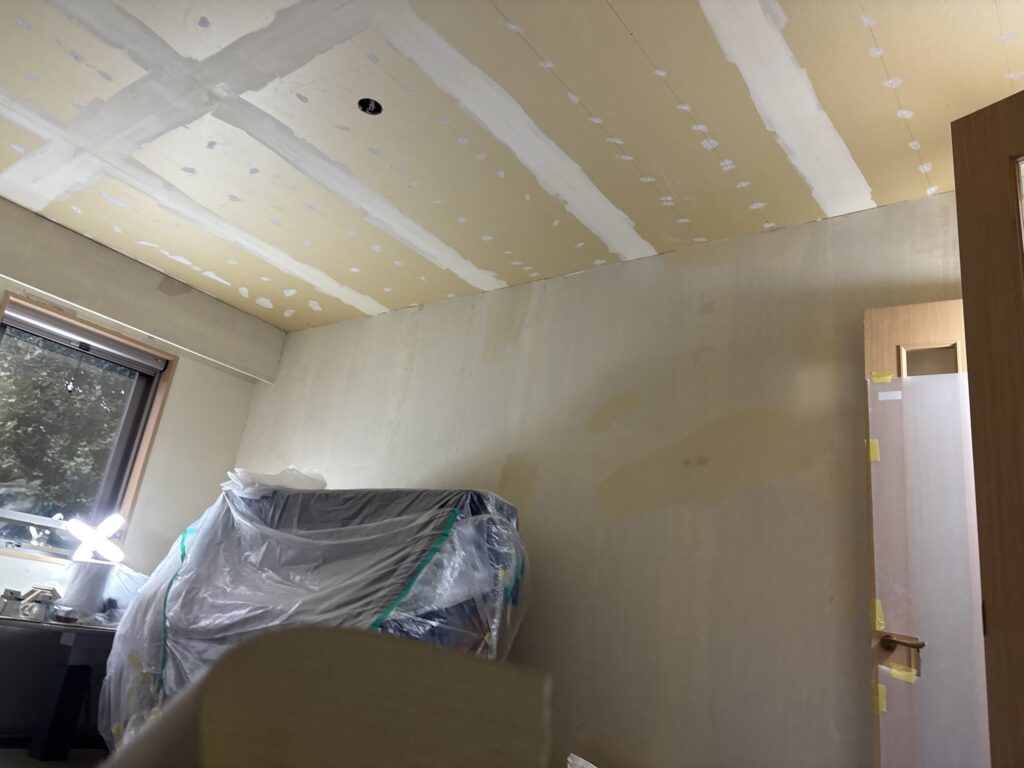
This project required careful preparation and accurate cutting, especially because of the long ceiling sheets and the patterned cushion flooring.
Related Project
Interior Renovation of a 2LDK Apartment in Japan: Wall Preparation and Floor Preparation
Job Site Report
Installing the Living Room Ceiling Wallpaper
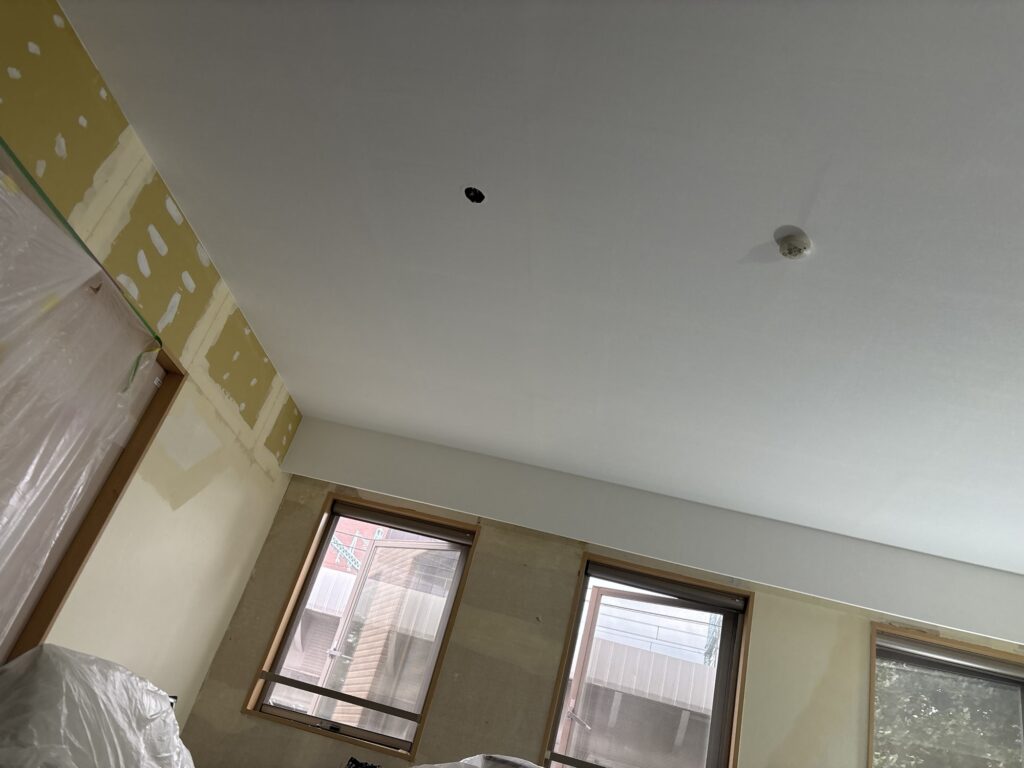
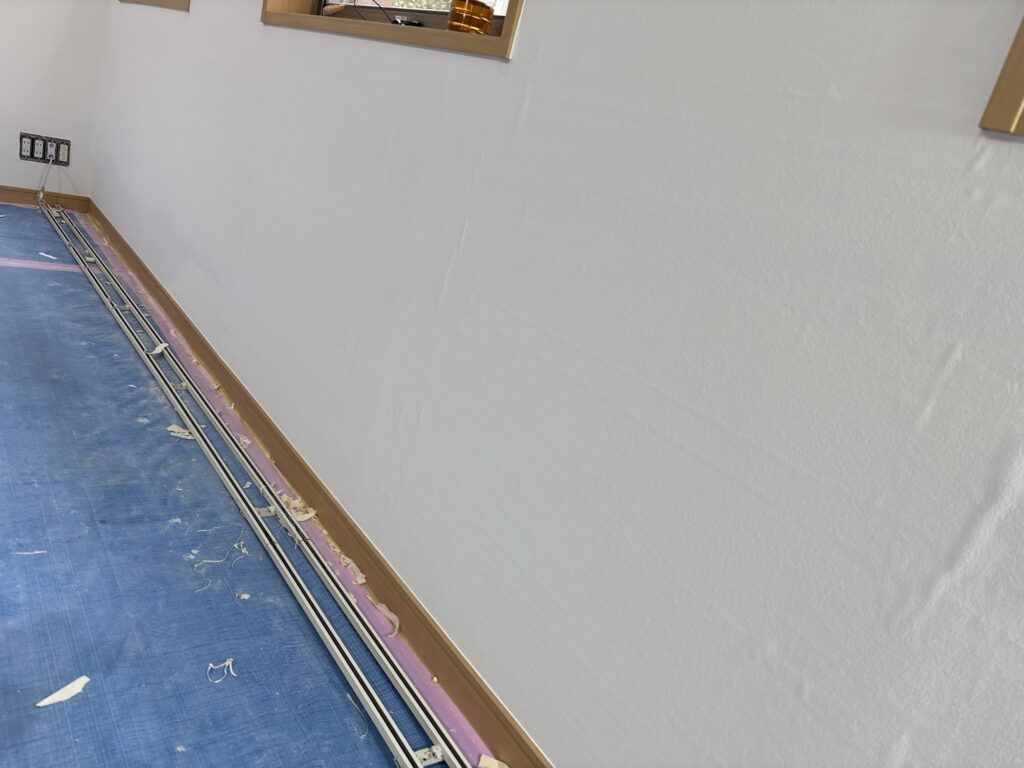
We started by installing wallpaper on the living room ceiling.
The ceiling required seven sheets measuring approximately 485 cm long and 90 cm wide. We also prepared one 520 cm sheet for the curtain box.
This wallpaper was not easy to install with butt joints after trimming both factory edges. Because of this, we attached underlay tape along both edges before running the wallpaper through the wallpaper pasting machine.
The sheets were quite long, and there were only three stepladders available at the site. Therefore, we placed scaffold boards across the stepladders to create a more stable working platform.
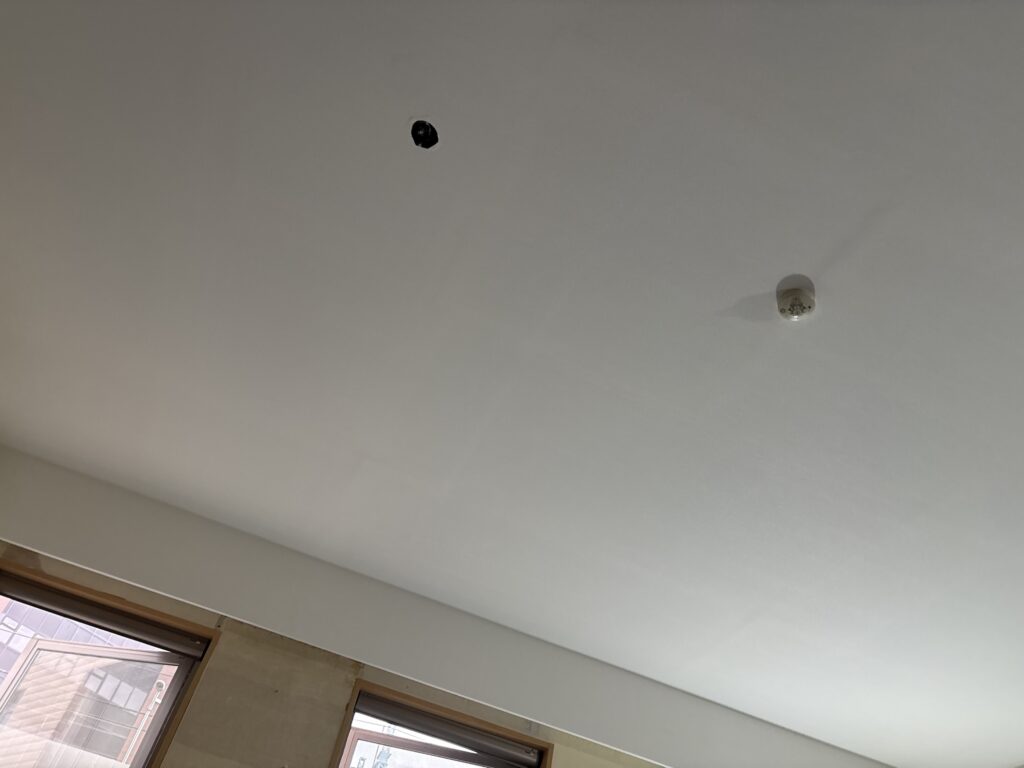
This made the work much safer and smoother.
Three workers installed the wallpaper on the living room ceiling.
Instead of snapping a chalk line, we adjusted the amount of wallpaper extending from the edge and kept the width consistent as we worked.
After placing the wallpaper, we used a wallpaper smoother to push out trapped air from the center toward the edges.
For the second sheet, we positioned it so that it overlapped the underlay tape of the first sheet. We then removed the air bubbles in the same way.
After that, we pressed a wallpaper spatula against the edge and cut off the excess wallpaper with a utility knife.
Cutting the Wallpaper Joint
Next came the joint cut.
We carefully followed the line of the underlay tape while using a spatula or ruler as a guide for the utility knife.
The cutting pressure was important.
We needed enough pressure to cut both layers of wallpaper, but not so much that the knife damaged the gypsum board underneath.
This kind of adjustment is one of the small details that makes a difference in professional wallpaper installation.
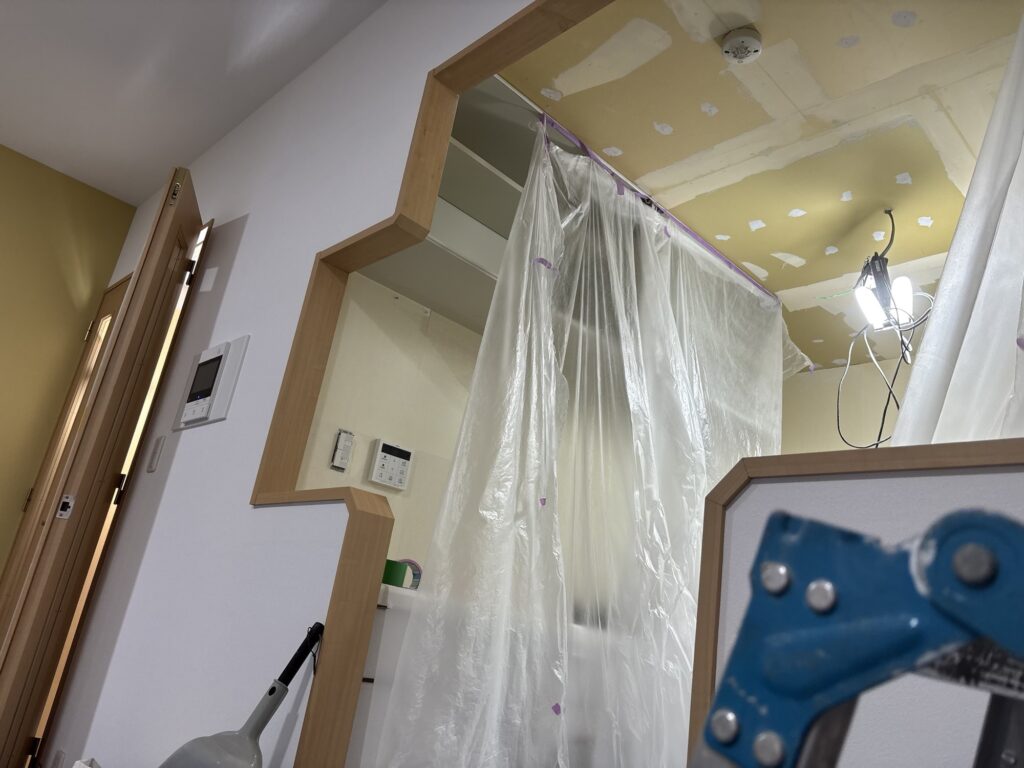
Installing Wallpaper Inside the Curtain Box
After finishing the main ceiling, we moved on to the curtain box.
The wallpaper inside the curtain box needed to be wrapped around the corners.
This part requires extra care because even a small amount of misalignment can create wrinkles when the wallpaper is wrapped around the corners.
We made small relief cuts at each corner to make the wallpaper easier to wrap.
Without these cuts, too much tension can build up in the wallpaper, which can cause wrinkles or even tearing.
After completing the living room ceiling and curtain box, we moved on to the living room walls.
Measuring and Preparing the Wall Wallpaper
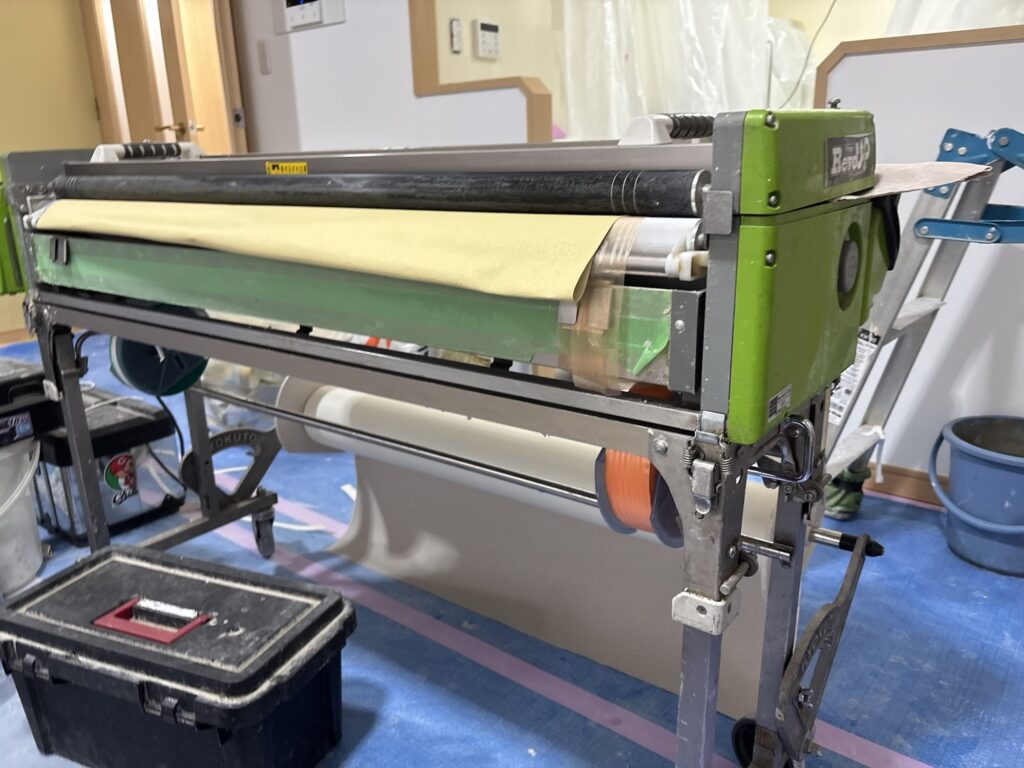
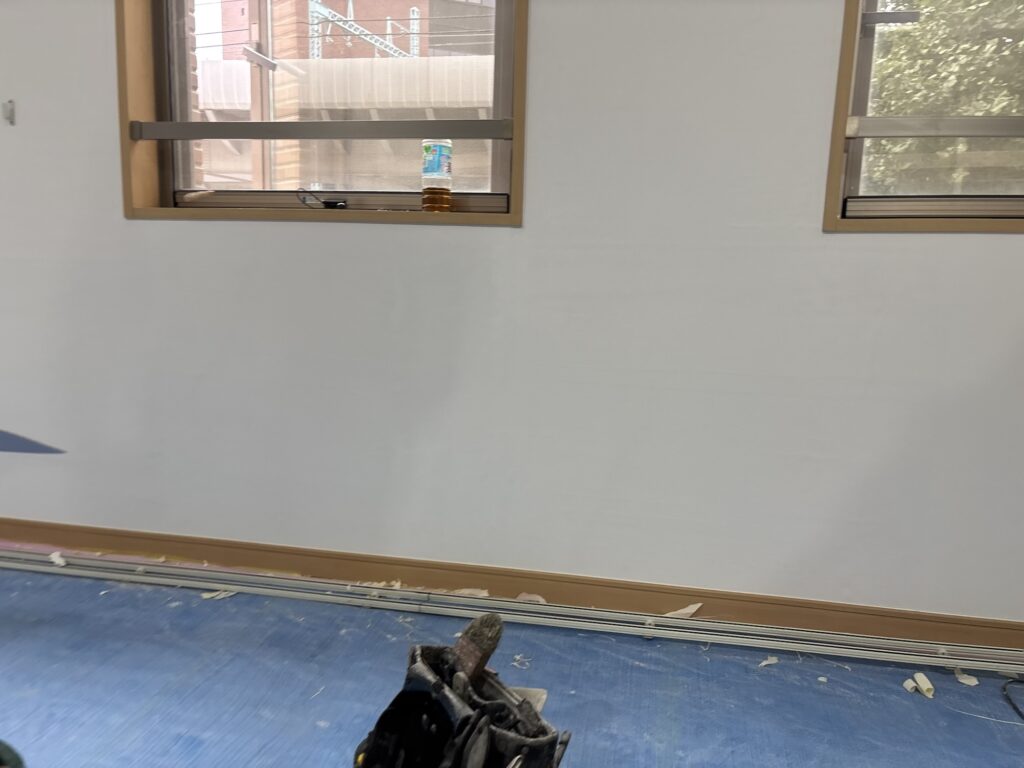
We measured the wall sections and prepared the wallpaper with the pasting machine.
We prepared three sheets measuring 226 cm long and two sheets measuring 86 cm long.
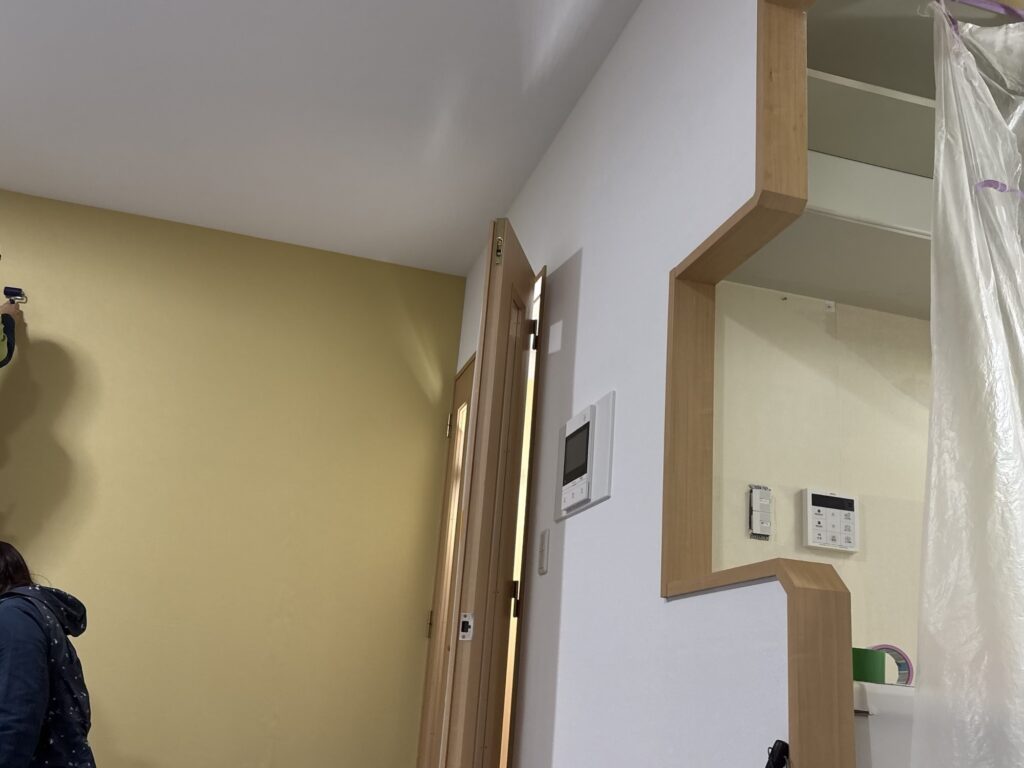
Originally, three 86 cm sheets were needed. However, we were able to save one sheet by using leftover wallpaper from the ceiling.
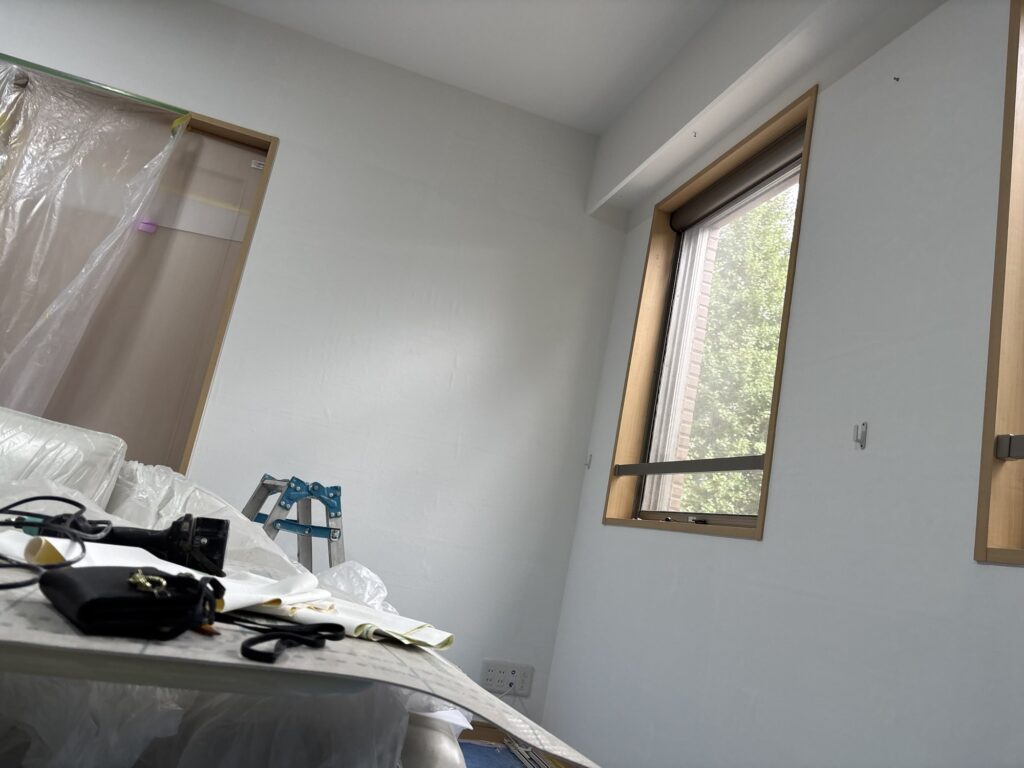
Before starting the installation, we carefully checked the starting position with a tape measure to make sure the leftover material was long enough.
This kind of preparation is important.
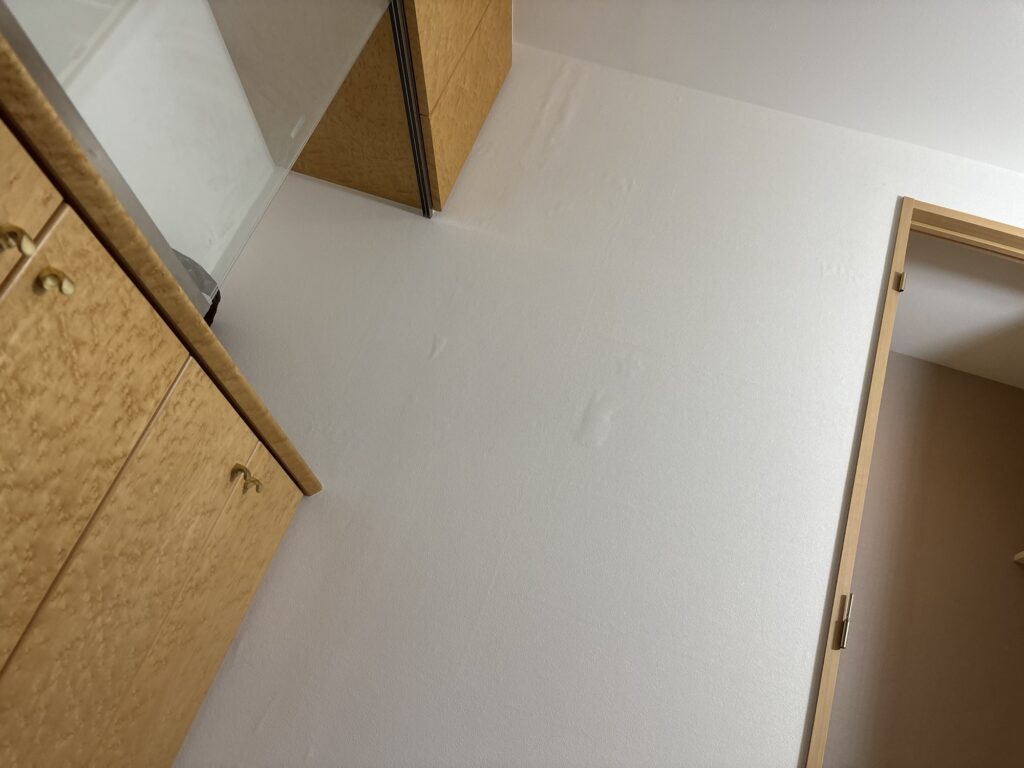
If you start installing the wallpaper and later discover that the material is too short, it can create unnecessary problems and wasted time.
Wallpaper Adhesive and Temporary Bubbles
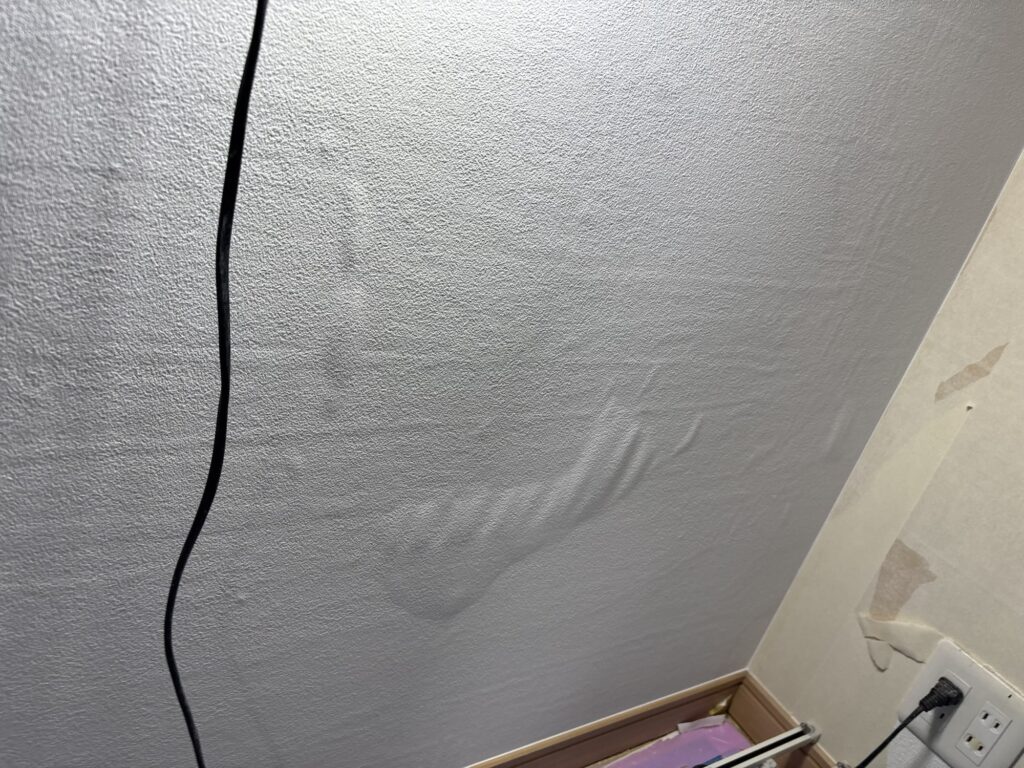
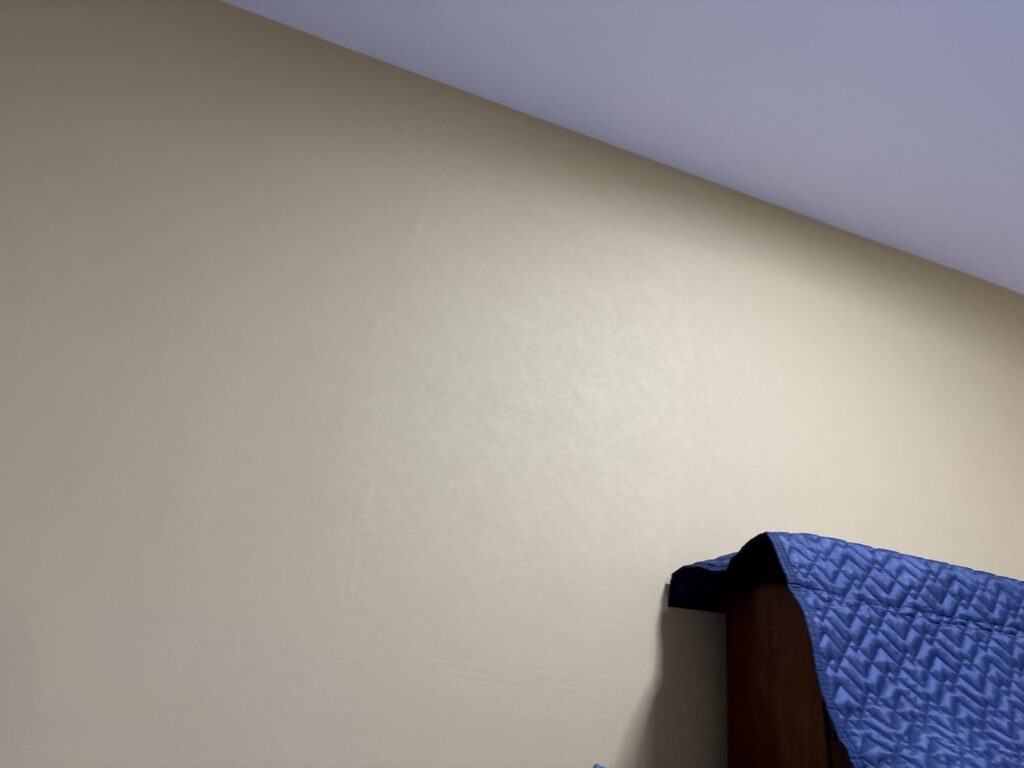
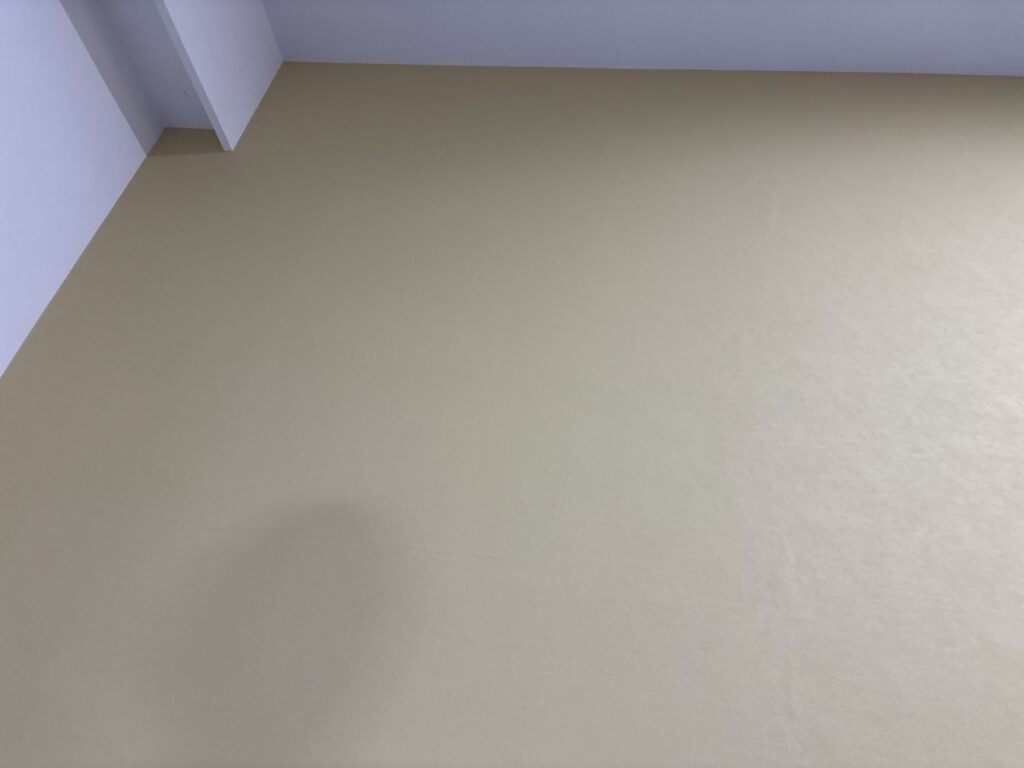
After finishing the wall wallpaper, we noticed that some of the old wallpaper backing paper underneath had absorbed moisture from the new adhesive.
As a result, small areas of the new wallpaper appeared to bubble slightly.
This can look concerning at first, but these small bubbles often disappear as the adhesive dries.
In general, this type of bubbling can settle down over several days, and sometimes it can take around three days to one week to completely disappear.
About two hours after taking a break, I checked the same area again.
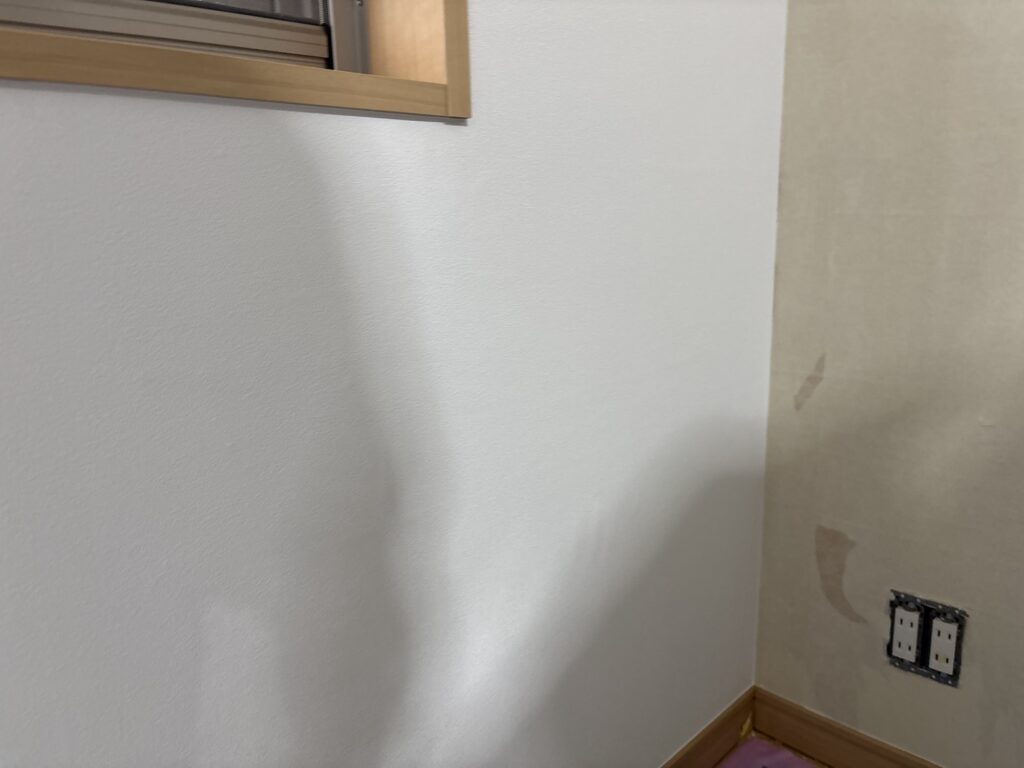
Some of the bubbles had already become smaller.
I expected that most of them would have disappeared by the following morning.
Unfortunately, I was assigned to a different job the next day, so I could not check the area the following morning.
It would have been interesting to see how much the wallpaper had settled overnight.
Related Project
Ceiling and Wall Wallpaper Replacement in an Occupied-Ready Apartment in Japan
Installing Herringbone Cushion Flooring in the Toilet
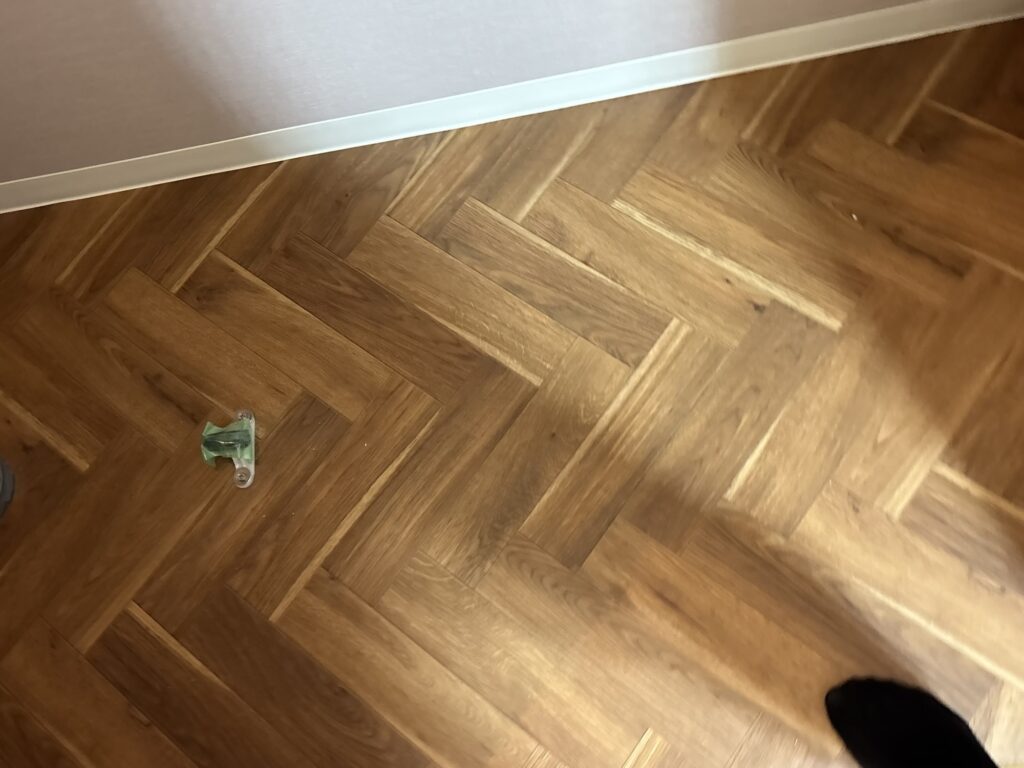
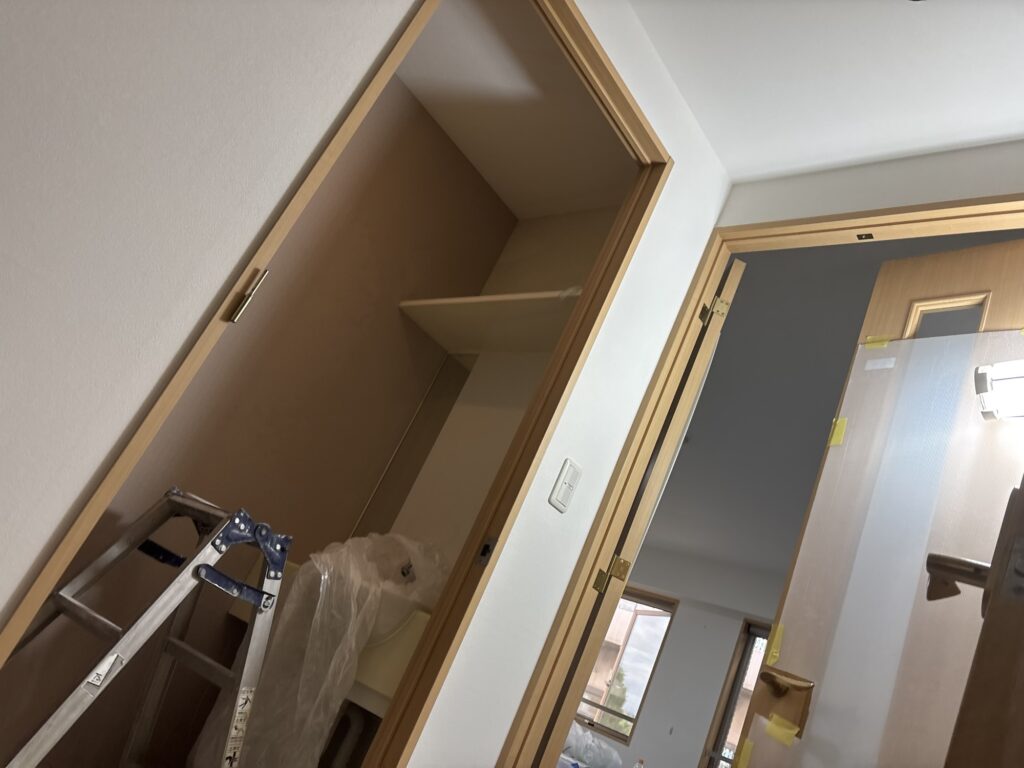
After finishing the wallpaper work, we moved on to the toilet floor.
The equipment installer had already removed the toilet, which made the flooring work much easier.
The cushion flooring had a herringbone pattern and was prepared at approximately 190 cm long and 180 cm wide.
The actual toilet floor measured approximately 185 cm long and 86 cm wide.
We had applied putty the previous day, so we first smoothed the surface with a sander.
After cleaning the surface, we spread adhesive across the entire floor.
Aligning the Herringbone Pattern
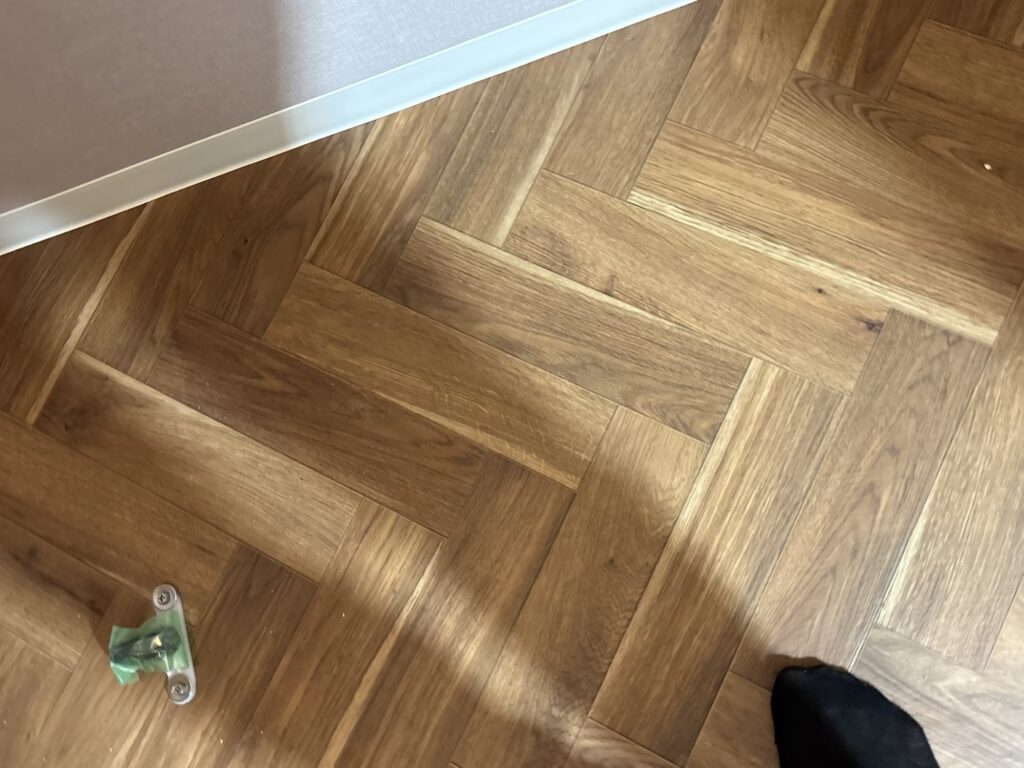
Because the cushion flooring had a herringbone pattern, we had to position it very carefully.
We made sure that the pattern was balanced from left to right before pressing the material into place.
Patterned flooring requires extra attention because even a small amount of misalignment can become very noticeable along the walls.
After positioning the cushion flooring, we removed air bubbles from the center toward the edges, just as we do with wallpaper.
We then used a spatula and utility knife to trim away the excess material around the edges.
Cutting Thick Cushion Flooring
Cushion flooring is thicker than wallpaper, so the cutting technique is slightly different.
It is important to press the spatula firmly into the corner and create a clear edge before cutting.
If the spatula is not positioned correctly, the cut can end up too far away from the wall, leaving a visible gap.
Personally, when installing cushion flooring, I focus more on how I use the spatula than on the utility knife itself.
The knife is important, but a good cut starts with creating a clean and accurate edge with the spatula.
After completing the cushion flooring, we installed the soft skirting.
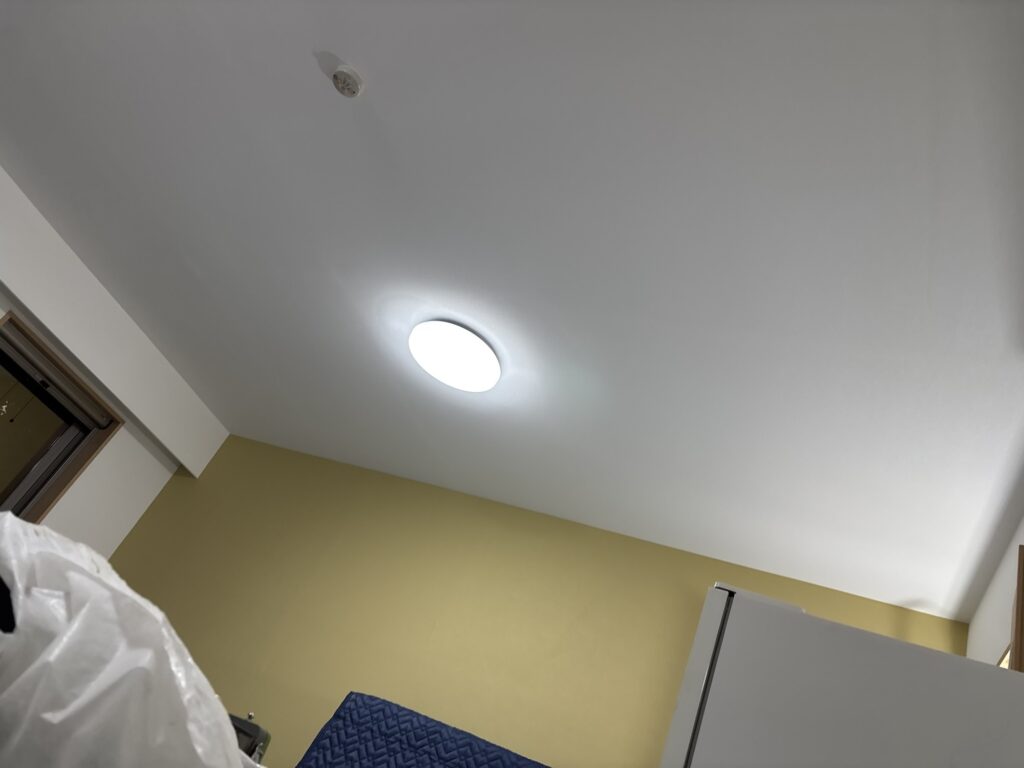
With that, the day’s work was complete.
The total working time was approximately seven and a half hours.
Related Project
Hotel Interior Renovation: Wallpaper, Floor Tile, and Baseboard Installation
Tools Used
Wallpaper Installation Tools
- Wallpaper pasting machine
- Wallpaper smoother
- Wallpaper spatula
- Ruler
- Utility knife
- Tape measure
- Underlay tape
- Stepladders
- Scaffold boards
Cushion Flooring Tools
- Sander
- Adhesive roller or spreading tools
- Flooring spatula
- Utility knife
- Tape measure
Professional Tips
1. Create a Stable Working Platform
When working with long wallpaper sheets on a ceiling, stability is extremely important.
If there are not enough stepladders or a proper work platform, using suitable scaffold boards can help create a more stable working area. However, the platform must always be set up securely and safely before working.
2. Pay Attention to Cutting Pressure
When cutting wallpaper joints, the knife needs enough pressure to cut the material cleanly without damaging the gypsum board underneath.
Too little pressure can produce an uneven joint, while too much pressure can damage the substrate.
3. Use Relief Cuts Around Corners
When wrapping wallpaper around a curtain box or other corners, small relief cuts can reduce tension in the material.
This helps prevent wrinkles and tearing.
4. Check Leftover Material Before Starting
Before using leftover wallpaper, always check the actual length with a tape measure.
Saving material is useful, but only if the remaining piece is long enough for the required section.
5. Focus on the Spatula When Cutting Cushion Flooring
For cushion flooring, creating a sharp and accurate edge with the spatula is just as important as handling the utility knife.
A clean edge makes the final cut much easier.
Common Mistakes to Avoid
Cutting Too Deep
When cutting wallpaper joints, avoid applying excessive pressure with the utility knife.
Cutting too deeply can damage the gypsum board and make future repairs more difficult.
Ignoring Pattern Alignment
With patterned cushion flooring, small alignment errors can become very obvious.
Always check the pattern from multiple directions before permanently pressing the material into place.
Starting Without Measuring
Never assume that leftover material is long enough.
Measure the actual installation area and the leftover material before starting.
Wrapping Corners Without Relief Cuts
Trying to wrap wallpaper around corners without making suitable relief cuts can create excessive tension.
This can lead to wrinkles or tearing.
Cutting Cushion Flooring Without Creating a Clear Edge
If the spatula is not pressed firmly into the corner, the utility knife may cut too far away from the wall.
This can leave unwanted gaps.
What I Learned From This Project
One thing I was reminded of during this project is how important preparation is in wallpaper and flooring work.
The actual installation is only one part of the job.
Measuring the walls, checking leftover material, preparing the correct number of sheets, choosing the right cutting method, and creating a stable working platform all have a major effect on the final result.
I also realized again that patterned materials require a different level of attention.
The herringbone cushion flooring looked simple at first, but even a small amount of misalignment could be easily noticed.
Another interesting part of the project was watching the small bubbles in the wallpaper gradually disappear as the adhesive dried.
It is always useful to observe how the material changes after installation rather than judging the finished surface immediately.
FAQ
1. Why did you use underlay tape for the wallpaper joints?
The wallpaper was difficult to install using a simple butt joint after trimming both factory edges. Underlay tape helped create a suitable base for the joint and made the installation process more controlled.
2. Why didn’t you use a chalk line on the ceiling?
Instead of snapping a chalk line, we controlled the amount of wallpaper extending from the edge and kept it consistent as we installed each sheet.
3. How many workers installed the living room ceiling?
Three workers worked together to install the living room ceiling wallpaper.
4. Why did the wallpaper develop small bubbles?
Some of the old wallpaper backing paper underneath absorbed moisture from the new adhesive. This caused temporary bubbling in some areas.
5. How long does it take for these wallpaper bubbles to disappear?
Small bubbles caused by moisture can gradually disappear as the adhesive dries. Depending on the conditions, it can take several days and sometimes around three days to one week.
6. Why is patterned cushion flooring difficult to install?
A pattern makes small alignment errors much easier to see. With a herringbone design, even a slight angle can become noticeable along the walls.
7. What is the most important part of cutting cushion flooring?
Creating a clean and accurate edge with the spatula is extremely important. The knife can only produce a good cut if the material is held correctly.
8. Why was the toilet already removed?
The equipment installer removed the toilet before the flooring work. This allowed us to install the cushion flooring continuously around the toilet area.
9. How long did the entire day’s work take?
The total working time was approximately seven and a half hours.
10. What did you install after the cushion flooring?
After installing the cushion flooring, we installed soft skirting around the toilet before completing the day’s work.
Conclusion
Today’s work included living room ceiling and wall wallpaper installation, curtain box wallpaper installation, and herringbone cushion flooring in the toilet.
The long ceiling sheets required careful preparation and teamwork, while the patterned cushion flooring required precise alignment and cutting.
The project was also a good reminder that professional finishing depends not only on installation technique but also on preparation, measurement, material control, and attention to small details.
Tomorrow I will be working at a different site, so I will not be able to check how much the wallpaper bubbles have settled overnight.
Still, watching how the wallpaper changes as the adhesive dries is an interesting part of the job.
Every site provides another opportunity to learn something new and improve my skills as a wallpaper craftsman in Japan.


Comments