
Project Type: Apartment Interior Renovation
Location: Japan
Apartment Size: Approximately 70 m²
Layout: 2LDK
Work Areas: Living Room, Kitchen, Toilet, and Entrance
Crew: 1 Carpenter, 1 Site Supervisor, 3 Wallpaper Installers
Working Time: Approximately 7.5 hours
Customer Status: Vacant apartment
Main Work: Gypsum Board Installation, Wallpaper Removal, Wall Preparation, Putty Work, and Cushion Flooring Preparation
Introduction
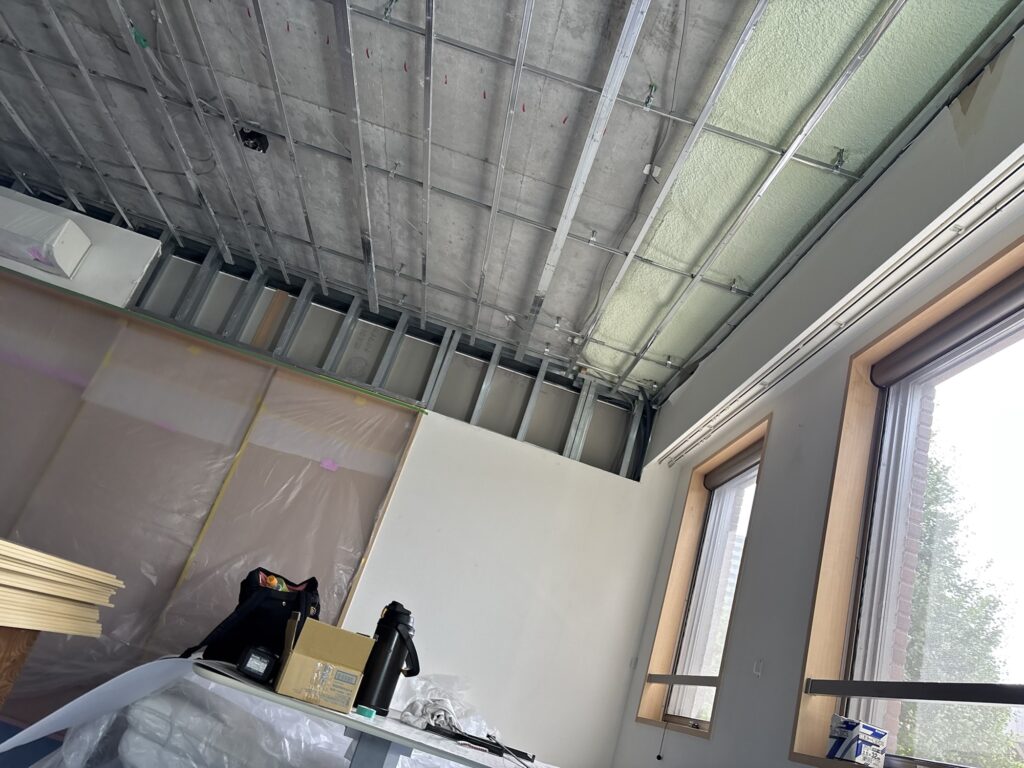
Today, I worked on the interior renovation of a 2LDK apartment on the second floor of a condominium in Japan.
The apartment was approximately 70 square meters and was vacant, so we were able to work throughout the living room, kitchen, toilet, and entrance areas without worrying about disturbing the residents.
There were five people on site: one carpenter, one site supervisor, and three wallpaper installers.
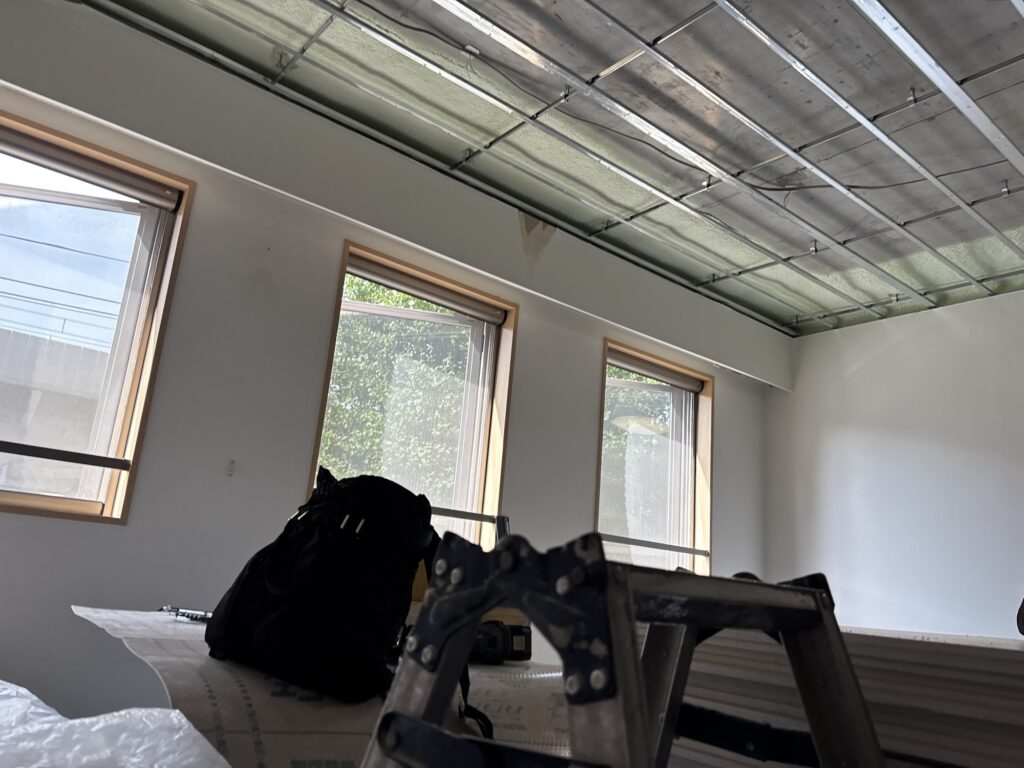
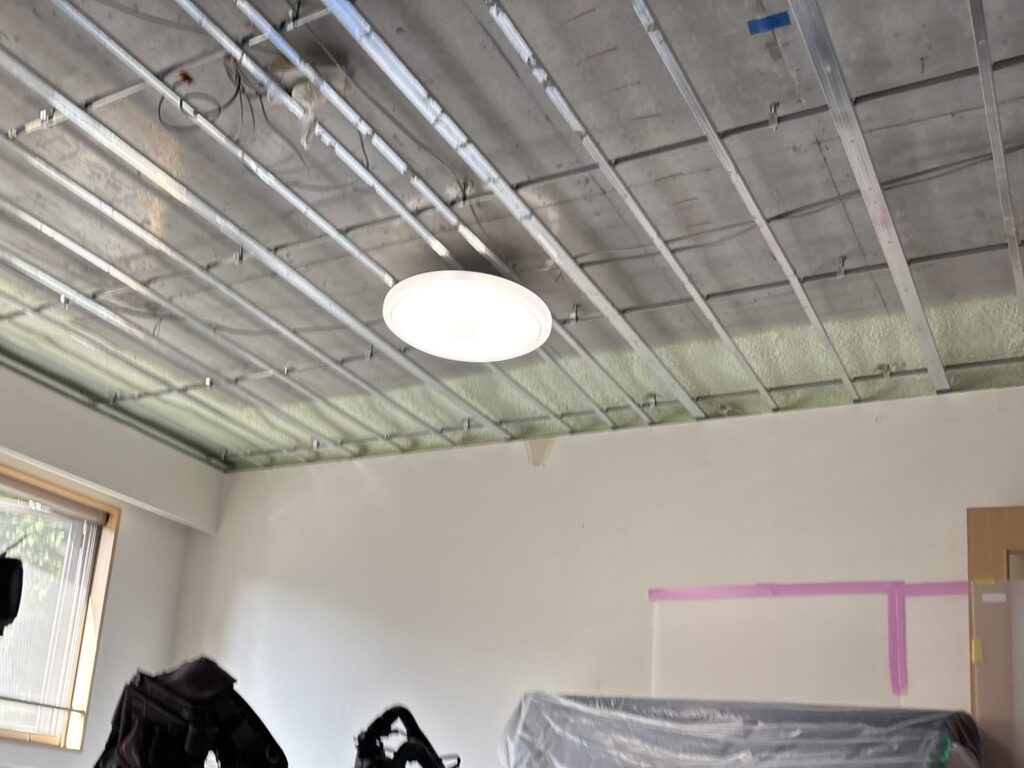
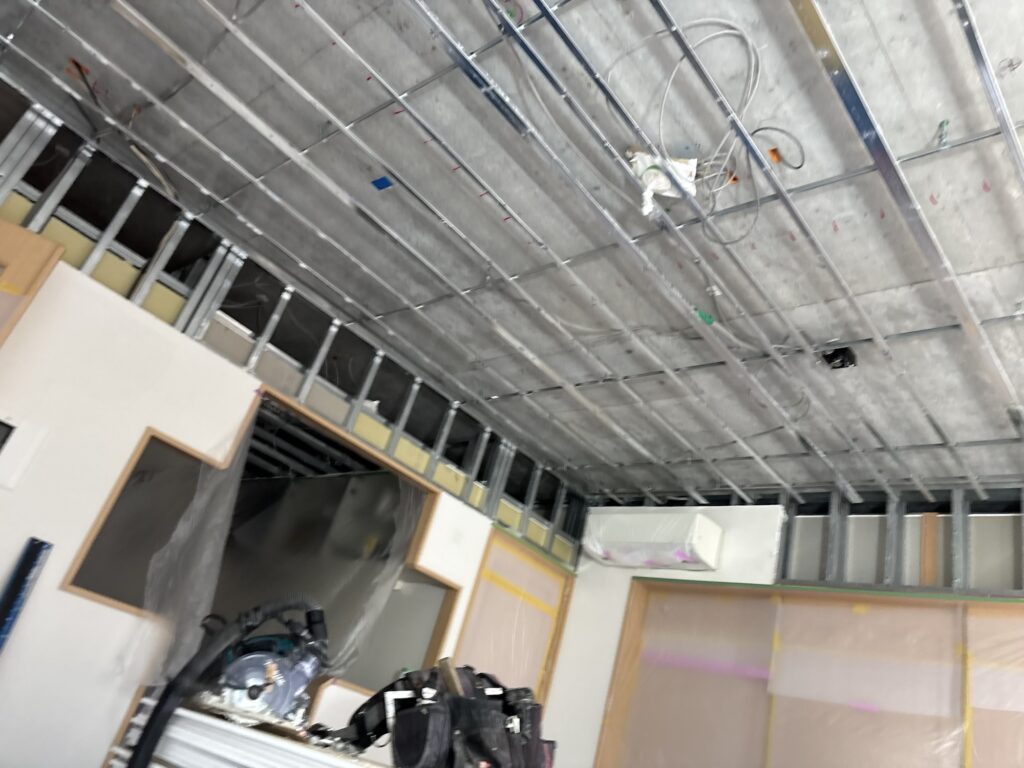
The carpenter worked on installing new boards on the ceilings and walls, while we prepared the existing surfaces for the new wallpaper and cushion flooring.
The work took approximately seven and a half hours. The wallpaper installation is scheduled for the following day.
Related Project
Wallpaper Installation and Herringbone Cushion Flooring in a 2LDK Apartment
Job Site Report
1. Installing Gypsum Boards
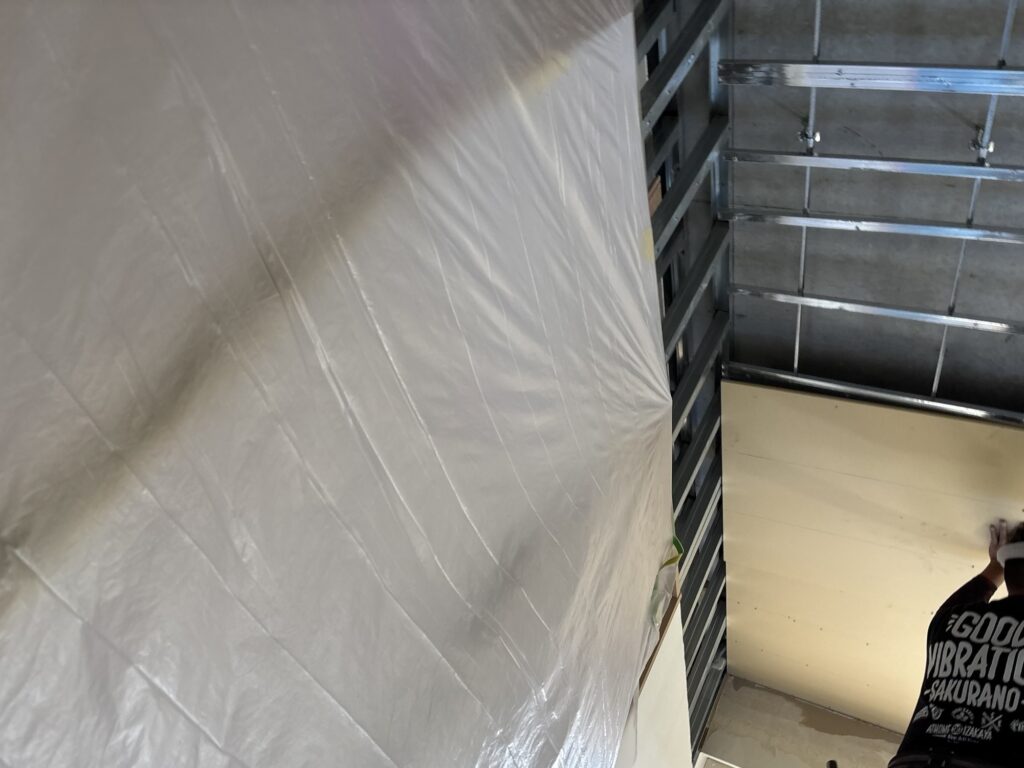
The carpenter started by installing boards on the ceilings and walls.
The framing behind the boards was made of light-gauge steel, and he used a pneumatic nail gun to secure the boards efficiently.
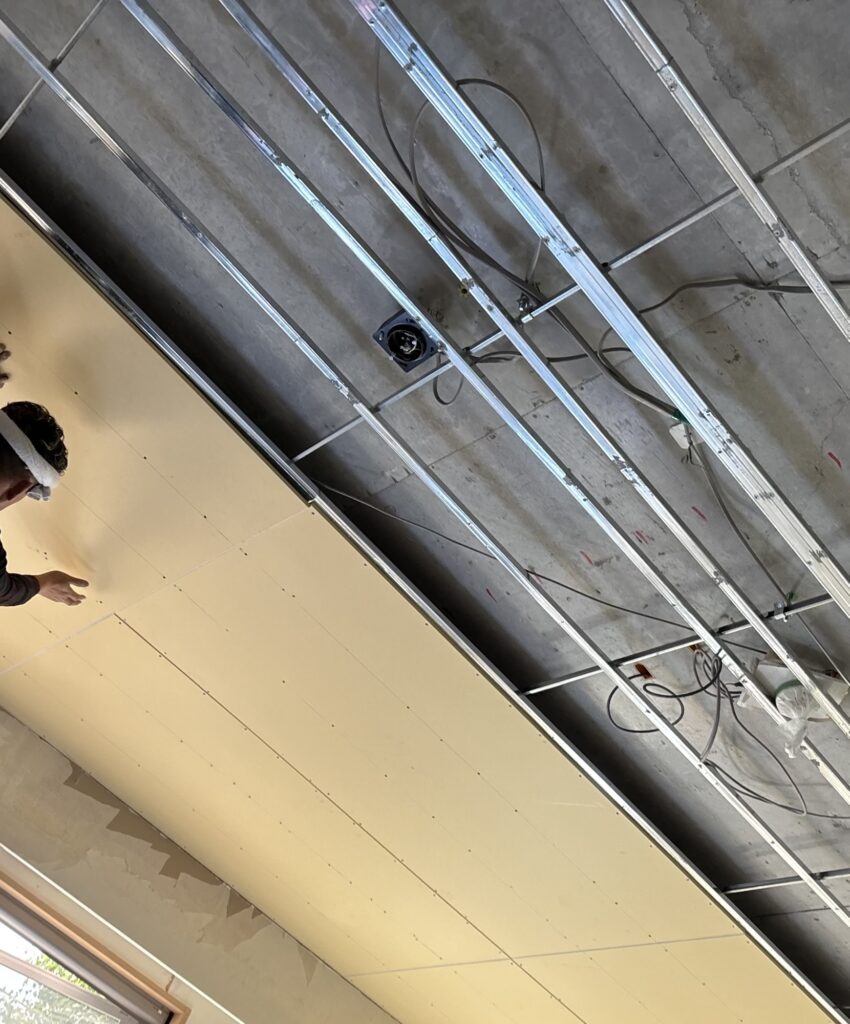
I have installed ceiling boards by myself at my own house before, and I found it difficult to keep the boards straight while maintaining balance.
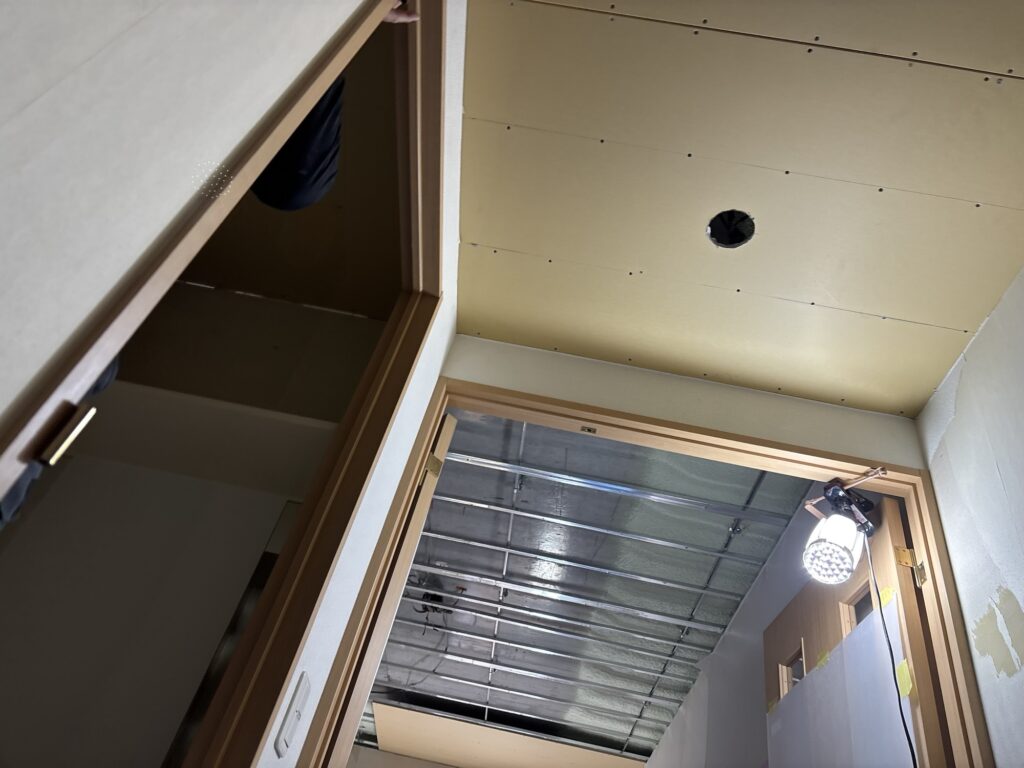
However, the carpenter on this project made the work look surprisingly easy, even though he was working alone.
He has more than 20 years of experience as a carpenter, so watching his technique was a great learning opportunity for me.
2. Removing the Old Wallpaper
While the carpenter worked on the boards, we started removing the old wallpaper.
After removing the wallpaper, we also removed any loose backing paper that remained on the wall.
This step is important because loose backing paper can affect the final finish of the new wallpaper.
We continued preparing the surfaces so they would be ready for the next steps.
3. Applying Base Coat Putty
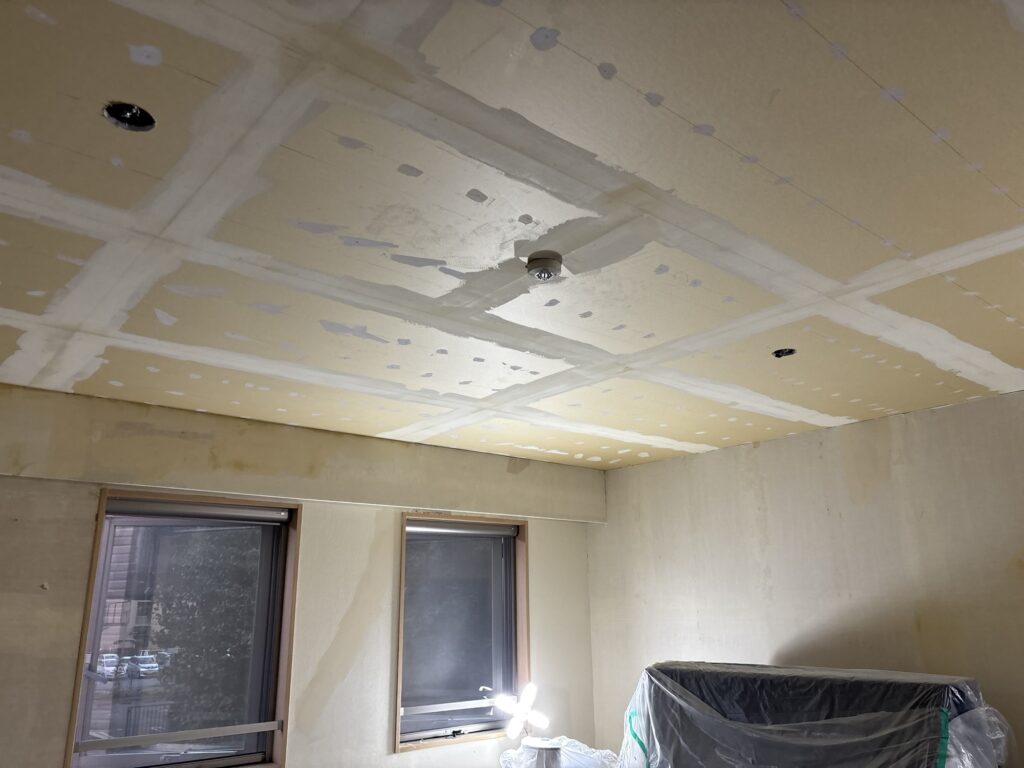
Once the carpenter had installed enough of the new boards, we began applying base coat putty to the joints between the boards.
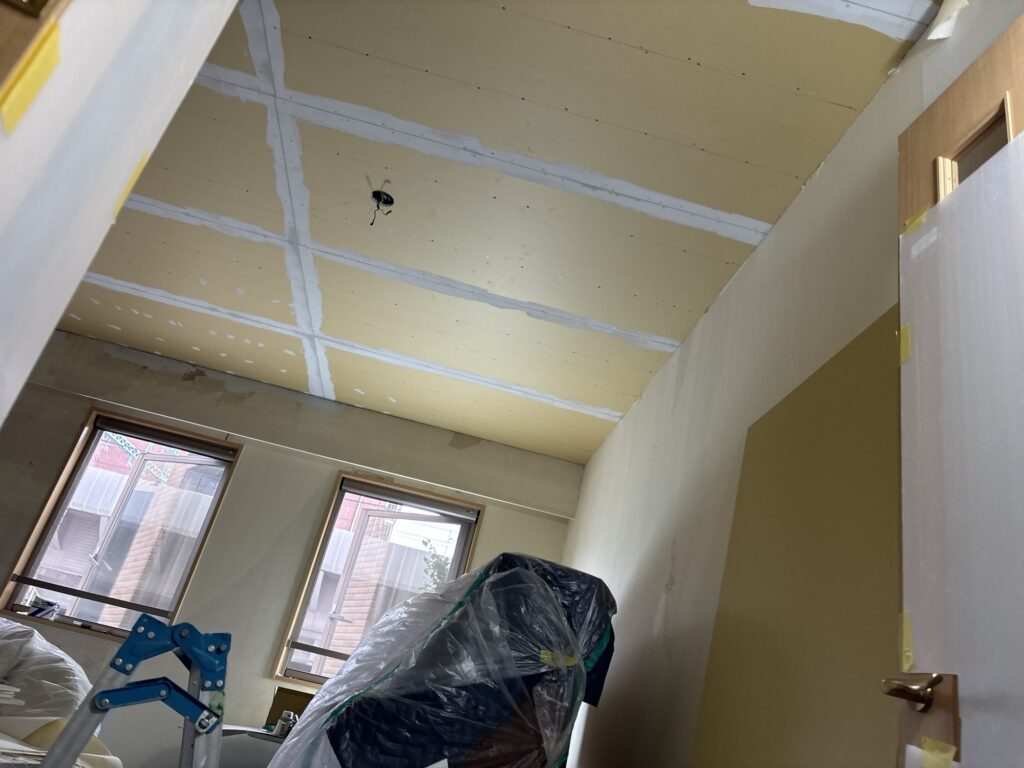
The quality of the board installation made a big difference.
Because the carpenter had more than 20 years of experience, the boards were installed with very small gaps between them.
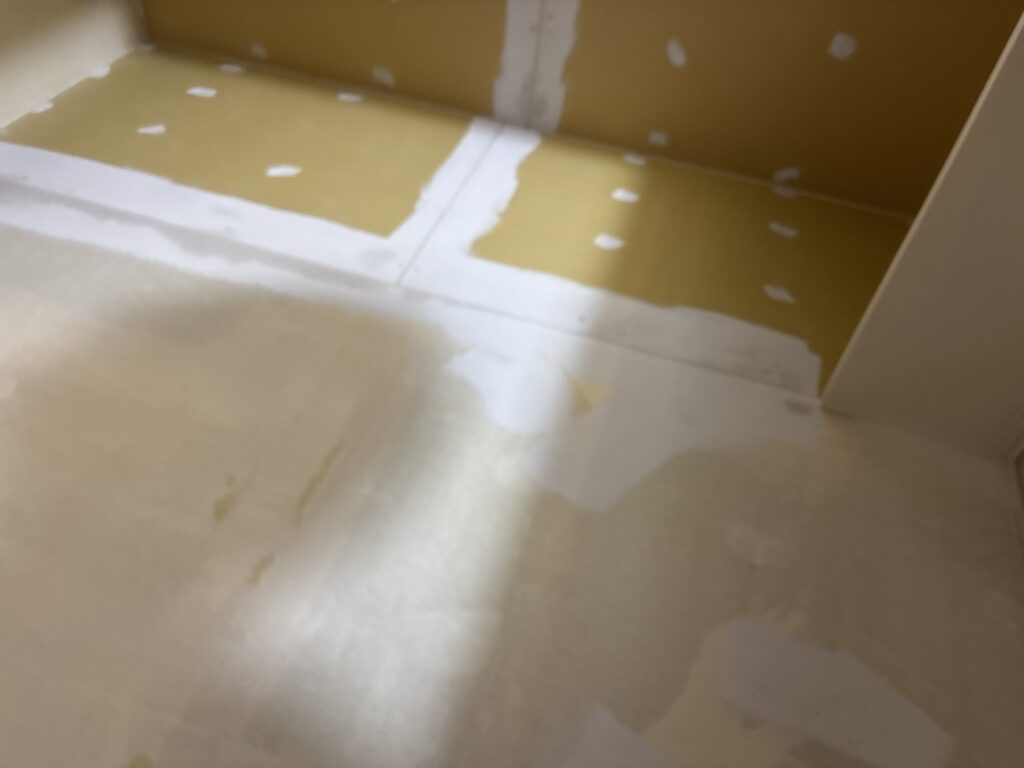
This made it easier for us to apply the putty and allowed the work to move smoothly.
When I install boards myself, I sometimes end up with small gaps around the corners.
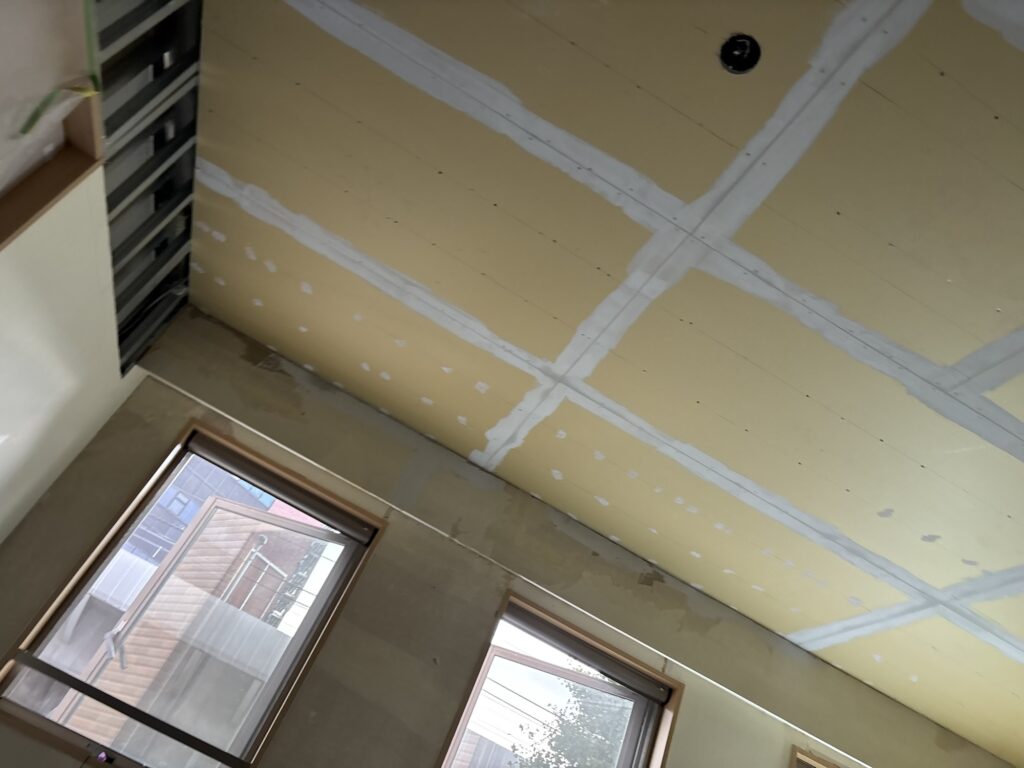
Those gaps require additional putty work, so watching an experienced carpenter showed me how much the quality of the board installation can affect the following wallpaper preparation work.
4. Applying Finish Coat Putty
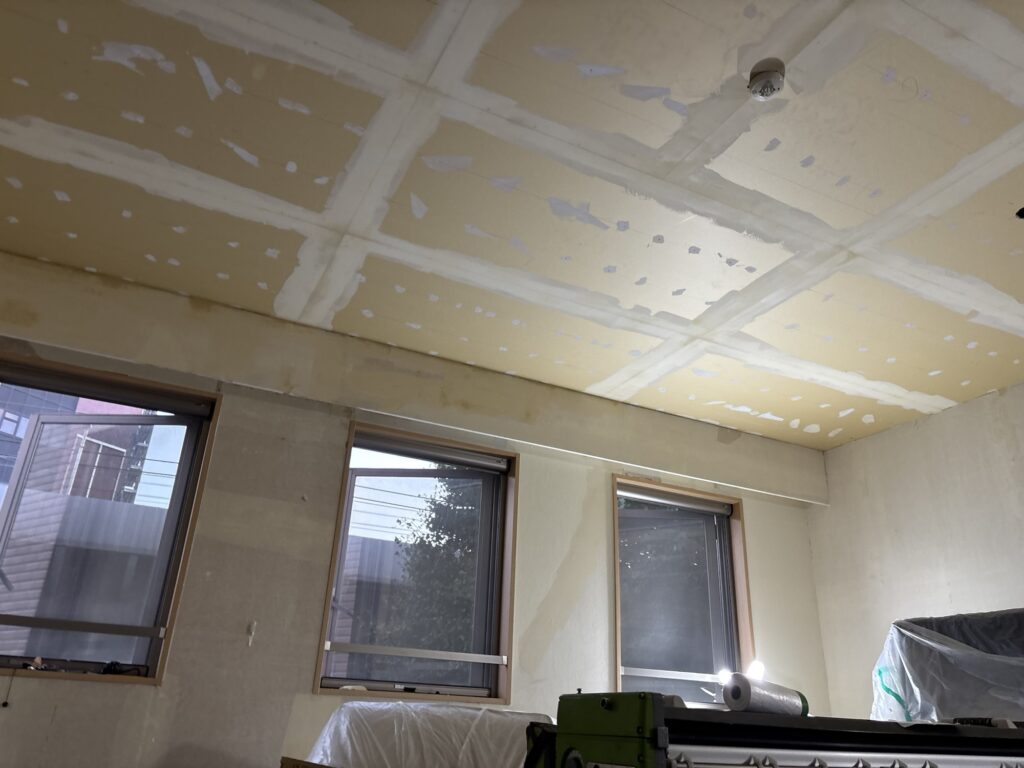
After the base coat putty had dried, we applied finish coat putty.
The purpose of this step was to create a smoother and more even surface before installing the new wallpaper.
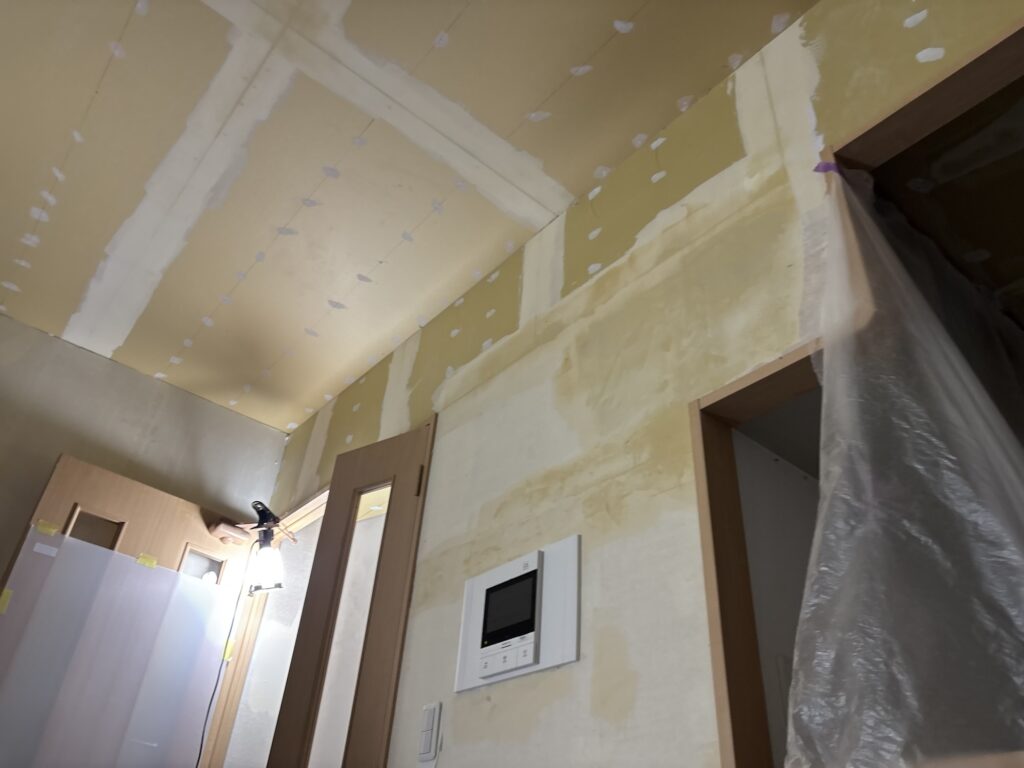
We carefully worked on the board joints and other areas that needed additional leveling.
5. Preparing the Kitchen and Toilet Floors
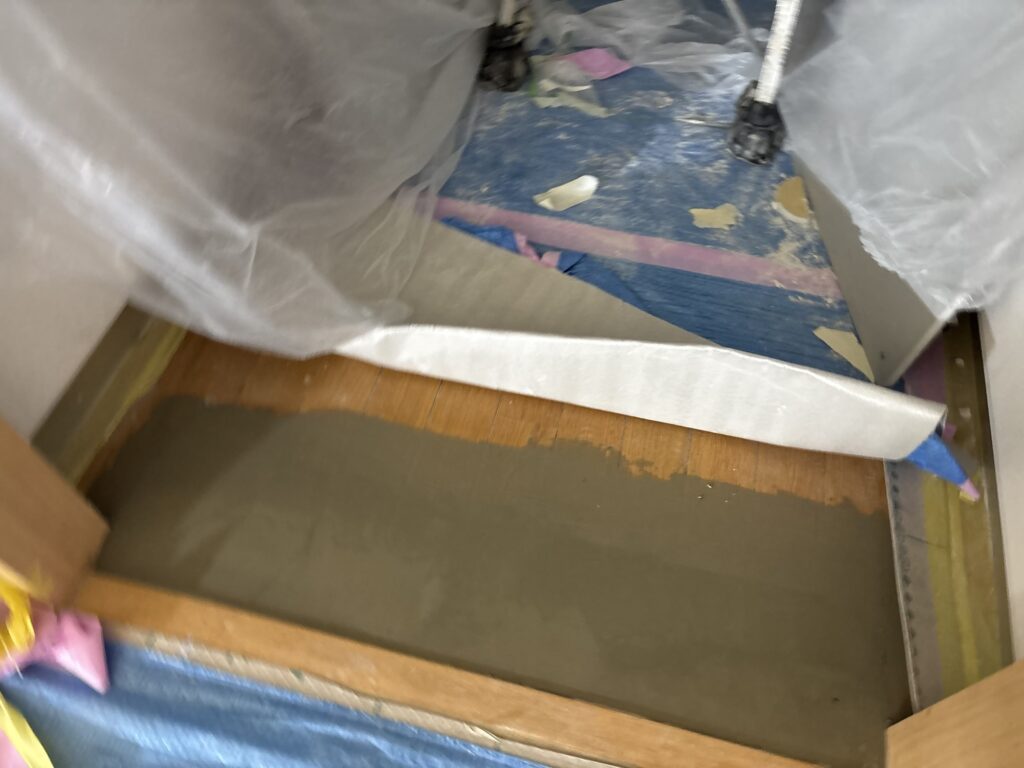
The kitchen and toilet floors are scheduled to receive cushion flooring.
There were some uneven areas and differences in level, so we applied putty to those areas to prepare the floor for the new flooring.
Proper floor preparation is important because uneven areas can become visible through cushion flooring after installation.
6. Adjusting the Toilet Entrance
We also had to make an adjustment at the edge of the toilet entrance.
The new cushion flooring would be thick enough to rise above the existing door frame in that area.
To prevent this problem, I carefully removed some of the plywood using a utility knife and then smoothed and leveled the area with a sander.
This adjustment created enough space for the new cushion flooring and helped maintain a clean transition at the entrance.
7. Cleaning Up and Finishing the Day
After all the main putty work was completed, we cleaned the work area.
The surface preparation and floor preparation were finished for the day.
We worked for approximately seven and a half hours.
The wallpaper installation is scheduled for tomorrow.
Related Project
Replacing Water-Damaged Drywall and Rebuilding a Laundry Area Before Wallpaper Installation
Tools Used
Pneumatic Nail Gun
The carpenter used a pneumatic nail gun to efficiently secure the boards to the light-gauge steel framing.
Utility Knife
A utility knife was used for removing old wallpaper and carefully trimming or removing material where necessary.
Putty Tools
Putty knives and other hand tools were used to apply base coat and finish coat putty to the board joints and uneven areas.
Sander
A sander was used to smooth and level the plywood around the toilet entrance.
Cleaning Tools
Cleaning tools were used throughout the project to keep the work area clean and ready for the next stage.
Professional Tips
Good Board Installation Makes Wallpaper Work Easier
The quality of the board installation has a direct effect on the amount of preparation required before wallpaper installation.
When the boards are installed accurately with minimal gaps, the putty work becomes much easier.
Check the Surface Before Applying Wallpaper
Old wallpaper should be removed carefully, and loose backing paper should also be removed.
Even small pieces of loose material can cause problems with the final wallpaper finish.
Pay Attention to Floor Levels
When installing cushion flooring, it is important to check the floor level and surrounding edges before installation.
A small difference in height can become a visible problem after the flooring is installed.
Learn From Experienced Tradespeople
Working alongside experienced craftsmen is one of the best ways to improve practical skills.
In this project, I was able to observe how an experienced carpenter installed ceiling and wall boards efficiently.
Common Mistakes to Avoid
Leaving Loose Backing Paper
Loose backing paper can create an uneven surface underneath new wallpaper.
Always check the wall carefully after removing the old wallpaper.
Ignoring Board Joints
Poorly prepared board joints can become visible through the finished wallpaper.
Make sure the joints are properly filled and smoothed with putty.
Forgetting to Check Floor Levels
Before installing cushion flooring, check transitions, edges, and differences in height.
Ignoring these areas can cause the finished flooring to sit too high or create an uneven transition.
Rushing the Putty Work
Putty needs enough time to dry before the next preparation step.
Rushing the process can make it difficult to achieve a smooth surface.
What I Learned From This Project
One of the biggest things I learned from this project was how much the work of one trade affects the work of another.
The carpenter’s accurate board installation made our wallpaper preparation much easier.
Because the boards had very small gaps, we were able to apply the putty smoothly and efficiently.
I also learned a lot by watching an experienced carpenter work alone.
When I installed ceiling boards at my own house, I found it difficult to keep everything straight while balancing the board.
Watching someone with more than 20 years of experience handle the same type of work made me realize how much experience and technique can improve both speed and accuracy.
Working in an environment where I can learn from other tradespeople is one of the things I really appreciate about my job.
Related Project
Hotel Interior Renovation: Wallpaper, Floor Tile, and Baseboard Installation
FAQ
1. What type of apartment was this project?
This was a 2LDK apartment on the second floor of a condominium in Japan.
2. How large was the apartment?
The apartment was approximately 70 square meters.
3. Was the apartment occupied?
No. The apartment was vacant during the renovation.
4. How many people worked on the project?
There were five people: one carpenter, one site supervisor, and three wallpaper installers.
5. What did the carpenter work on?
The carpenter installed boards on the ceilings and walls using light-gauge steel framing and a pneumatic nail gun.
6. Why was putty applied to the board joints?
Putty was applied to the joints to create a smooth surface before installing the new wallpaper.
7. Why was the floor prepared with putty?
Putty was used to level uneven areas of the kitchen and toilet floors before installing the new cushion flooring.
8. Why did you modify the toilet entrance?
The new cushion flooring would have been thick enough to rise above the existing door frame, so the plywood was adjusted to create enough space.
9. How long did the work take?
The work took approximately seven and a half hours.
10. What was planned for the next day?
The next day’s work was scheduled to be the installation of the new wallpaper.
Related Project
Installing New Flooring and Repairing Drywall in a 70 m² Japanese Apartment
Conclusion
Today’s work focused mainly on preparing the apartment for the next stage of the renovation.
The carpenter installed new boards on the ceilings and walls, while we removed the old wallpaper, prepared the surfaces, applied base and finish coat putty, and prepared the kitchen and toilet floors for cushion flooring.
The experience also reminded me how important cooperation between different trades is.
Good board installation makes wallpaper preparation easier, and careful preparation makes the final finish better.
I was also able to learn from a carpenter with more than 20 years of experience, which made this project especially valuable for me.
The preparation work is now complete, and tomorrow we will move on to the wallpaper installation.


Comments