
Project Data
Project Type: Wallpaper Replacement
Location: Tokyo, Japan
Building: Apartment, 4th Floor
Work Area: Kitchen and Living Room
Work: Ceiling and Wall Wallpaper Replacement
Crew: 3 Wallpaper Installers + 1 Site Supervisor
Working Conditions: Occupied Apartment
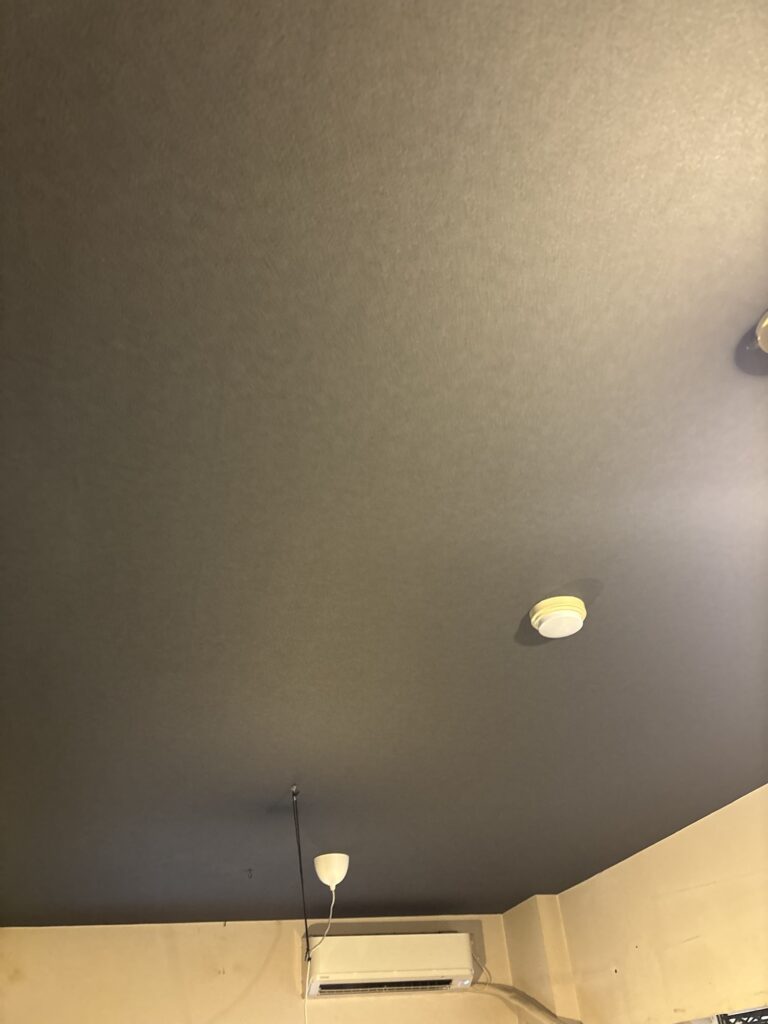
Materials: Commercial-grade black wallpaper
Working Time: Approximately 7.5 hours
Introduction
Today, I worked on a wallpaper replacement project in a fourth-floor apartment in Tokyo.
The project involved replacing the wallpaper on the kitchen ceiling and walls, as well as the living room ceiling and part of the walls.
There were three workers and one site supervisor on site.
Because the customer was still living in the apartment, protecting the floor, furniture, and other belongings was an important part of the preparation. We carefully covered the areas around the work zone to prevent damage during the installation.
The kitchen had previously experienced water leakage. To repair the plumbing, part of the old gypsum board had been removed and replaced with new gypsum board.
This meant that preparing the wall and ceiling surfaces was especially important before installing the new wallpaper.
Job Site Report
Protecting the Customer’s Home
We started by protecting the floors and furniture around the work area.
Working in an occupied home requires extra care because there are many things that can be damaged during wallpaper installation.
Even small tools, wallpaper rolls, or pieces of gypsum board can cause scratches or damage if they are handled carelessly.
Good protection is an important part of professional wallpaper installation.
Removing the Old Wallpaper
After protecting the work area, we removed the old wallpaper from the kitchen and living room.
Once the old wallpaper was removed, we carefully checked the surface for areas where the backing paper was loose.
Loose backing paper needs to be removed before applying new wallpaper.
I used a utility knife to carefully cut away the loose areas.
This is a small and detailed part of the job, and checking every area can be time-consuming. However, it is an important part of the preparation process.
Why Loose Backing Paper Must Be Removed
If loose backing paper is left underneath the new wallpaper, it can cause the surface to look swollen or uneven after the new wallpaper is installed.
This is why surface preparation is so important.
My boss often tells me that preparing the surface can be more difficult than actually hanging the wallpaper.
I agree with this. Installing wallpaper is important, but getting the substrate into the right condition before installation often requires more careful attention.
Applying Joint Compound
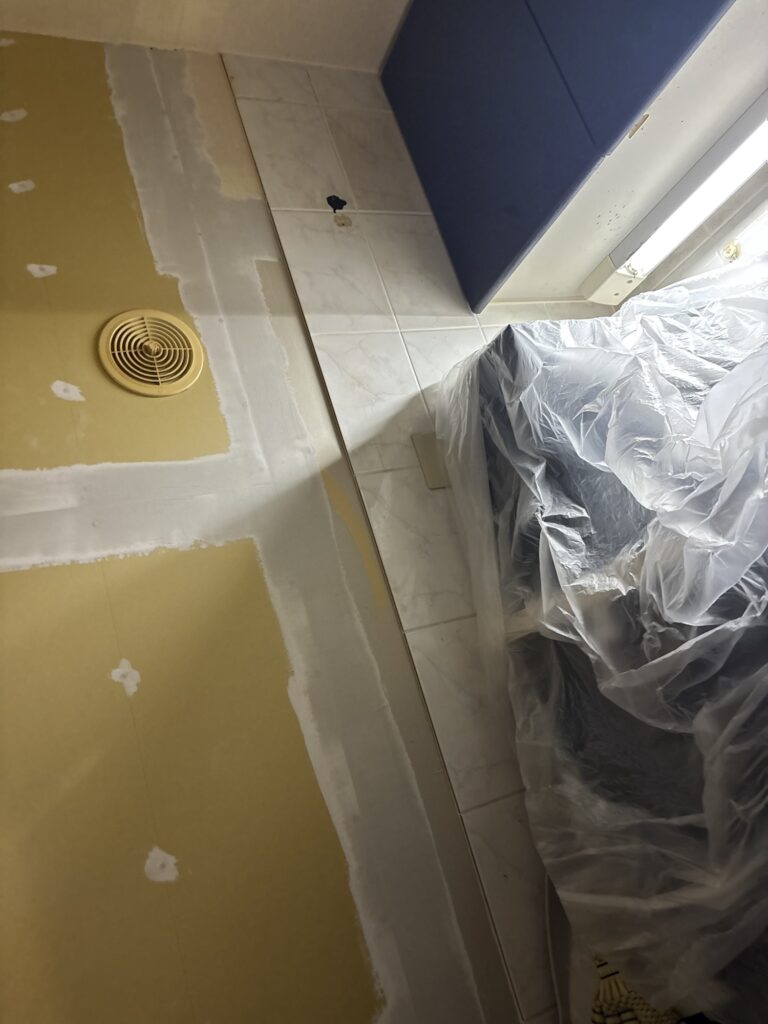
After removing the loose backing paper, we applied the first coat of joint compound to the necessary areas.
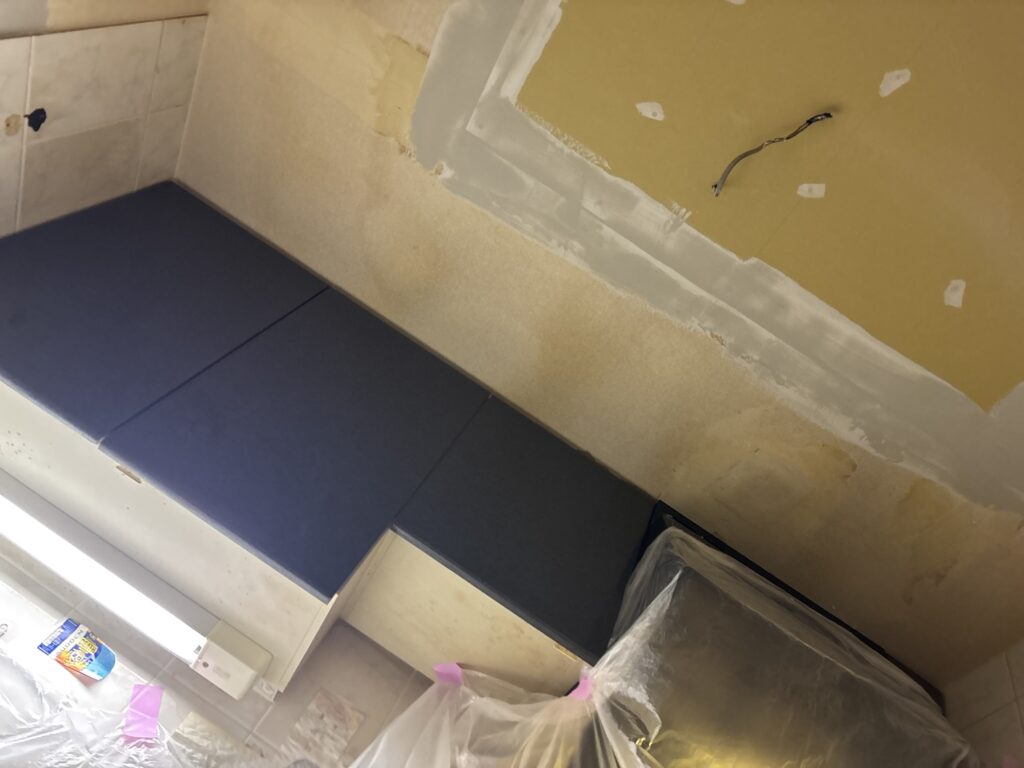
Some areas had new gypsum board because of the previous plumbing repair, while other areas needed surface correction after removing the old wallpaper.
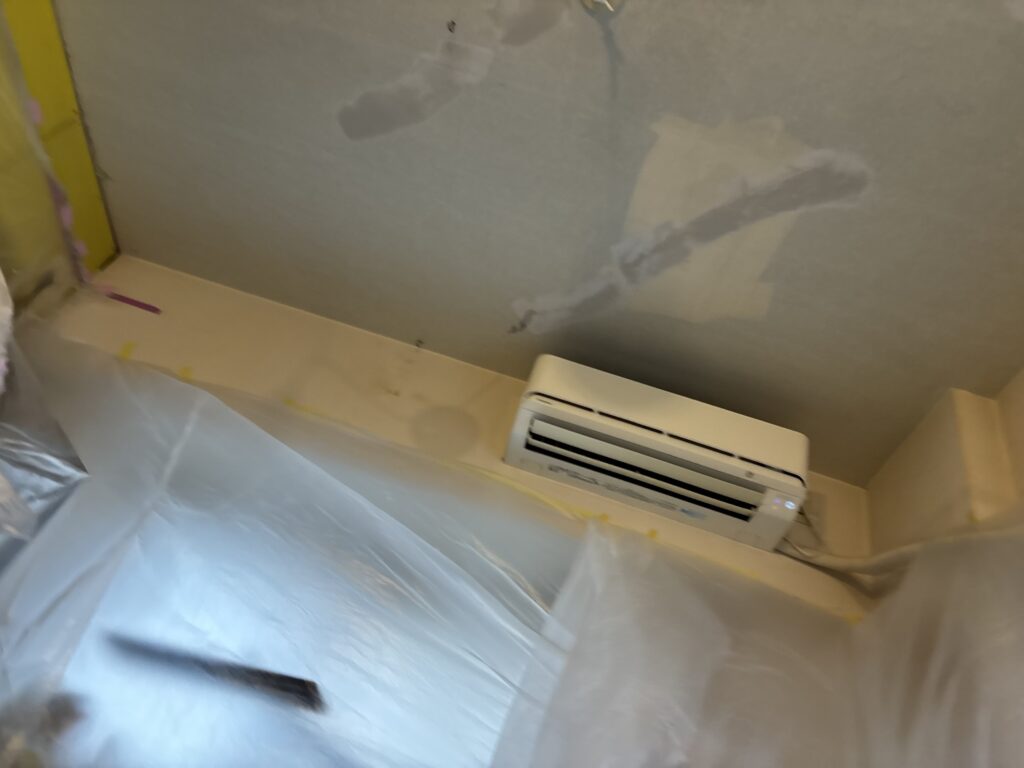
After the first coat had dried, we applied finishing compound to create a smoother surface.
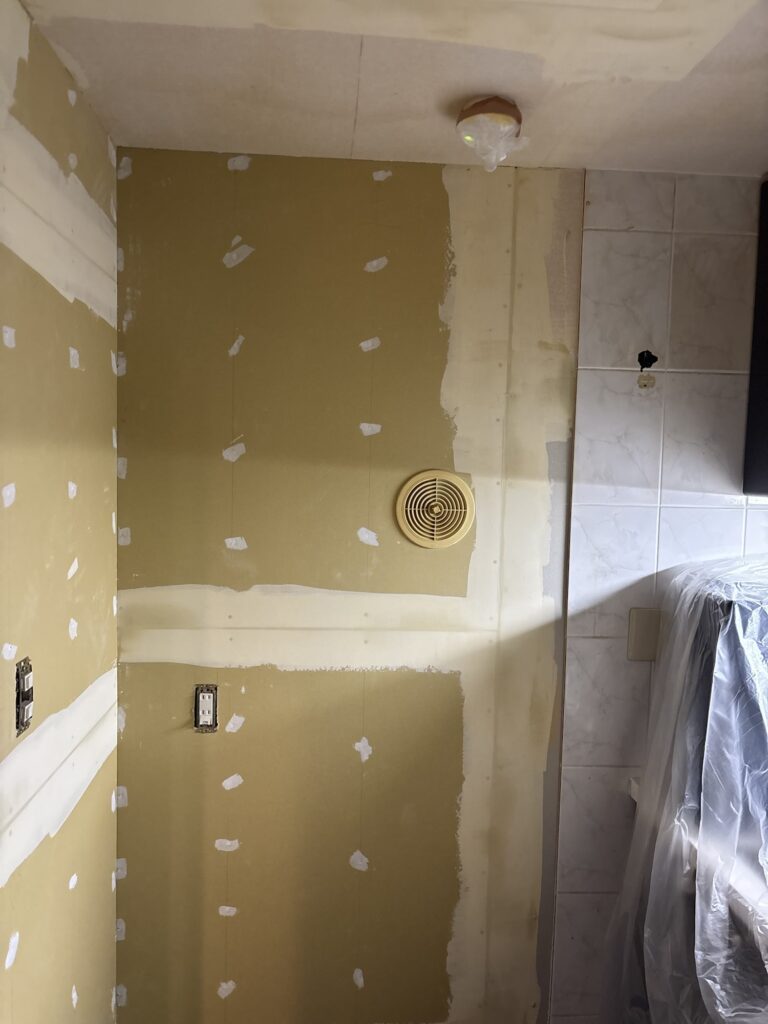
We then allowed the compound to dry before continuing with the wallpaper installation.
Measuring and Preparing the Wallpaper
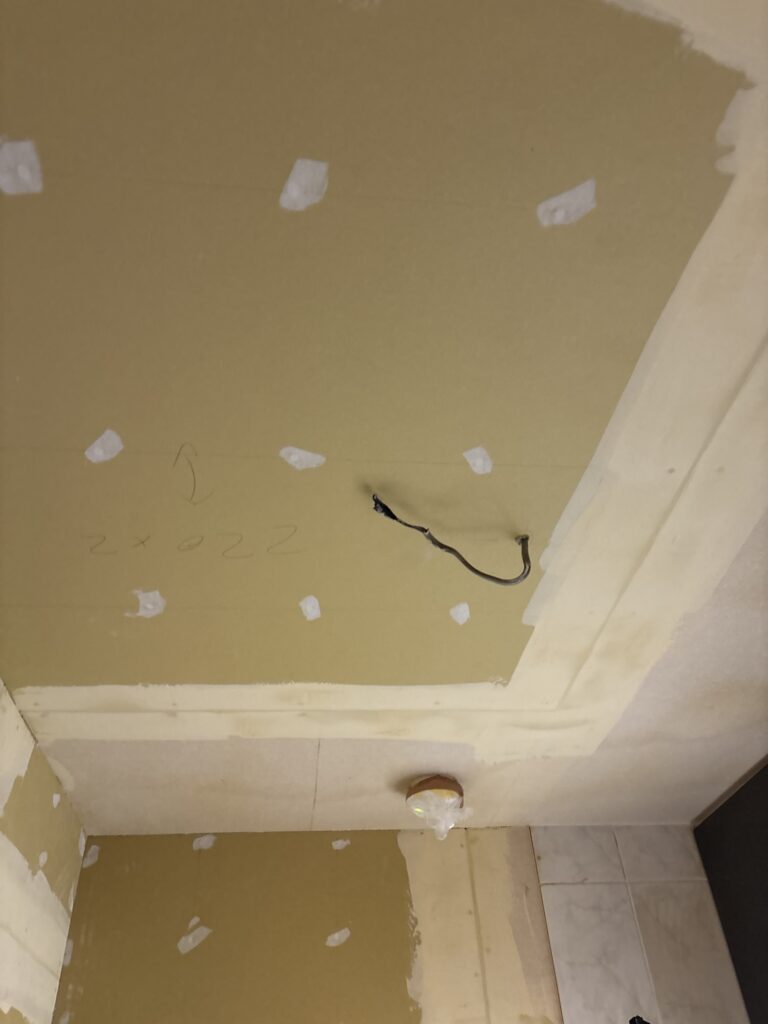
While the compound was drying, we measured the wallpaper we needed for each area.
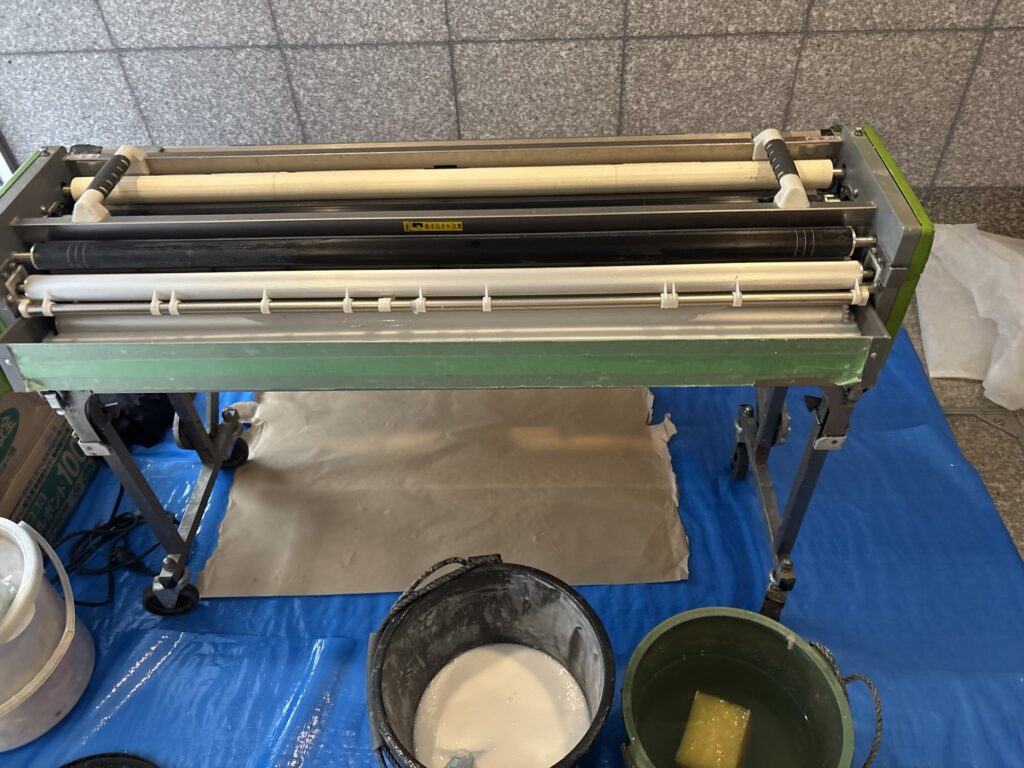
We then prepared the wallpaper using a wallpaper pasting machine.
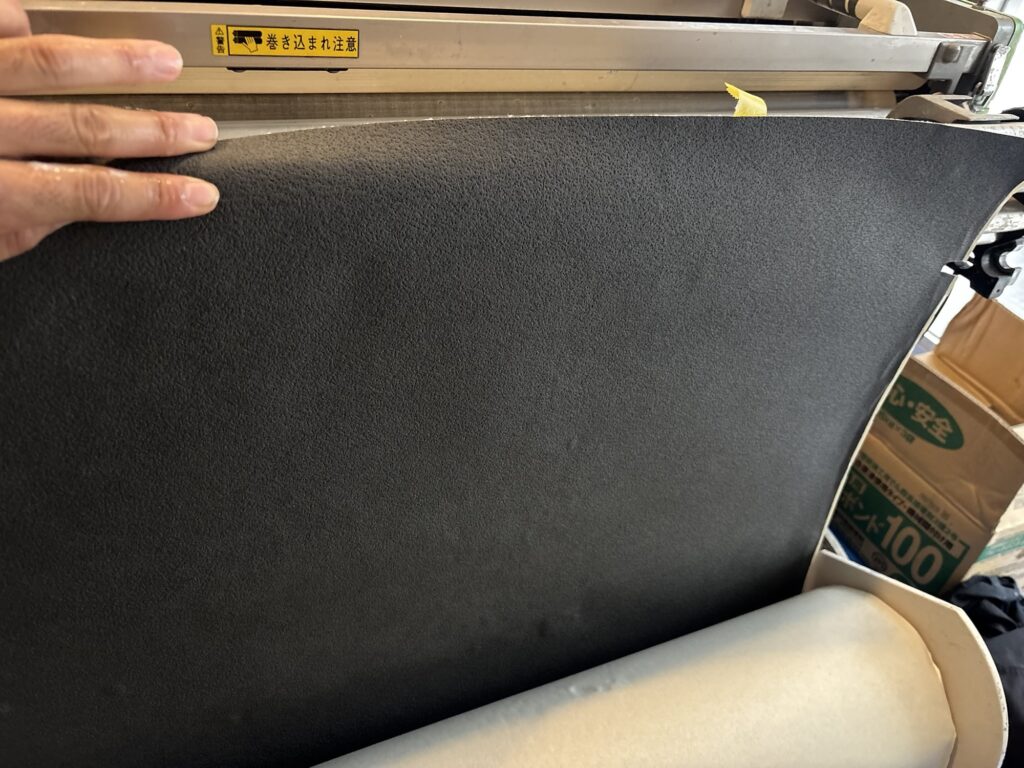
The material we used for this project was commercial-grade black wallpaper.
For the living room ceiling, we prepared seven pieces at approximately 265 cm each.
For the living room walls, we prepared three pieces at approximately 243 cm each.
For the kitchen ceiling, we prepared two pieces at approximately 228 cm each.
For the kitchen walls, we prepared four pieces at approximately 198 cm each.
We also prepared several additional pieces with smaller measurements for other areas.
All of the wallpaper was 90 cm wide.
We also placed underlay tape along both edges of the wallpaper for making the joint cuts.
Related Project
Installing the Ceiling Wallpaper
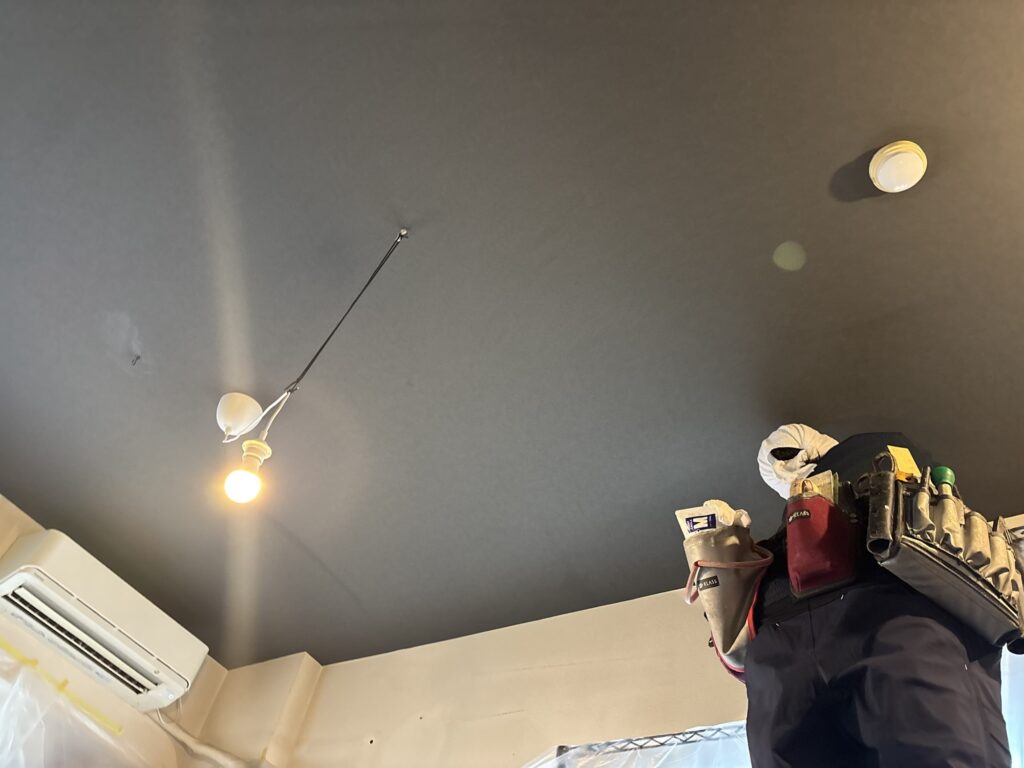
We started installing the wallpaper on the ceiling with two workers.
However, there were many items in the room, which made the working area quite difficult to move around in.
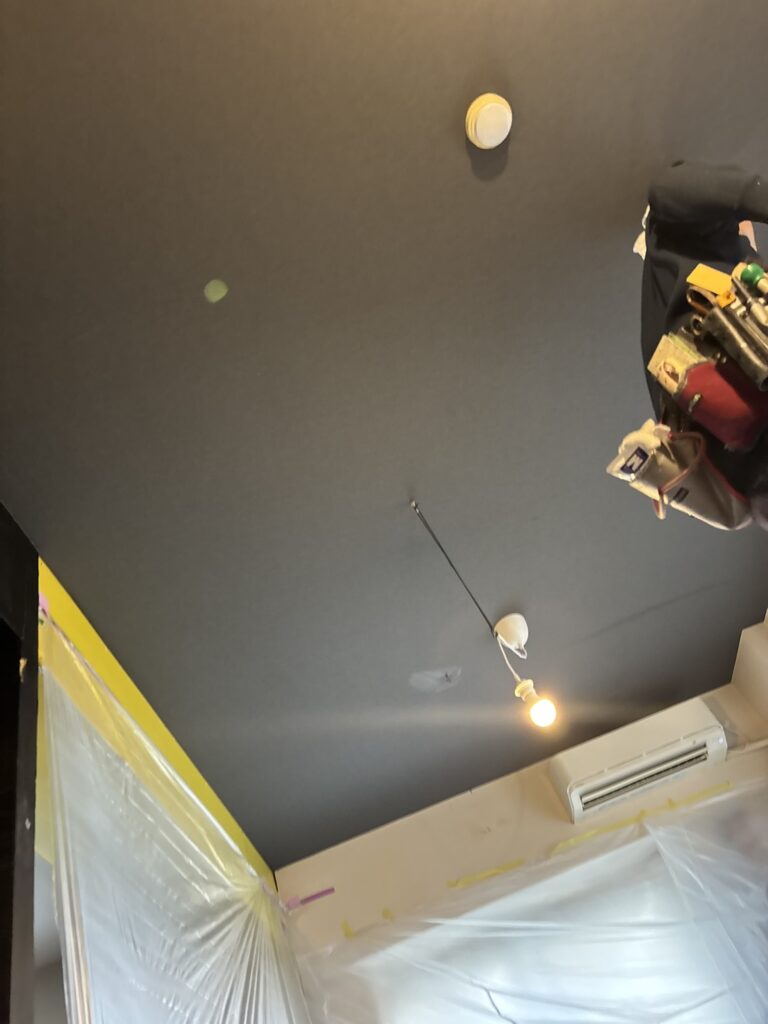
Because of the limited space, we had to move some items as we progressed through the installation.
Working in a room that is still being used by the customer requires good organization and communication between workers.
Installing the Black Wallpaper
This time, we used a commercial-grade black wallpaper.
Compared with the general-grade black wallpaper I installed on a previous project, this material was thicker and had a more paper-like feel.
Because of its thickness, I found it easier to handle during installation.
In general, commercial-grade wallpaper tends to be thicker than general-grade wallpaper.
The thicker material can help make minor imperfections in the substrate less noticeable, which makes it useful for restoration and rental-property work.
On the other hand, thinner general-grade wallpaper is often used for full renovations and new construction, where the substrate is usually prepared to a higher standard.
Adjusting the Wallpaper Joints
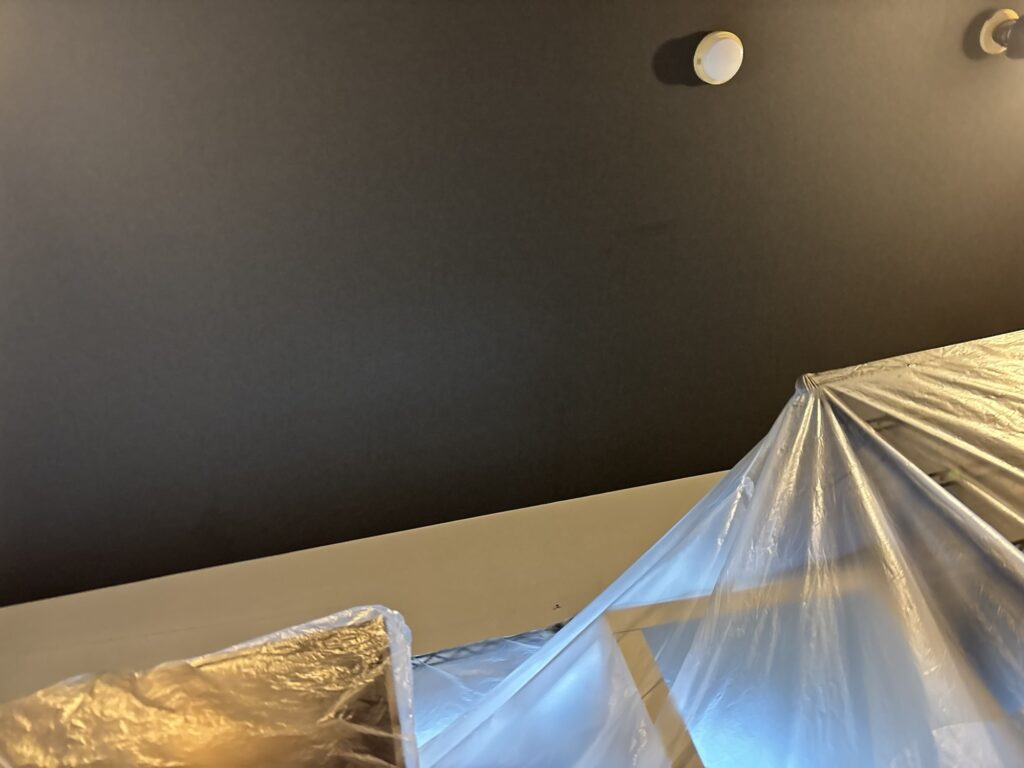
When we cut the wallpaper, the joint between the new black wallpaper and the existing white wallpaper was not perfectly straight.
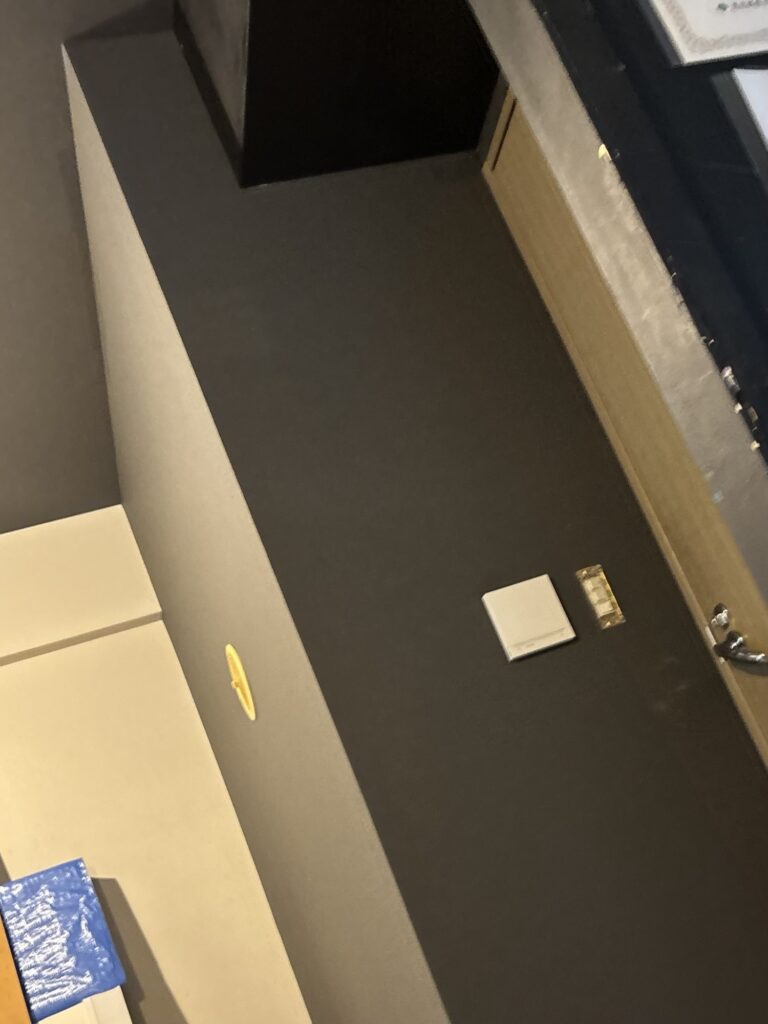
To make the transition look cleaner, we used black joint caulk to adjust the edge.
This small finishing step helped create a cleaner appearance between the different wallpaper colors.
Cutting Wallpaper on a Mortar Substrate
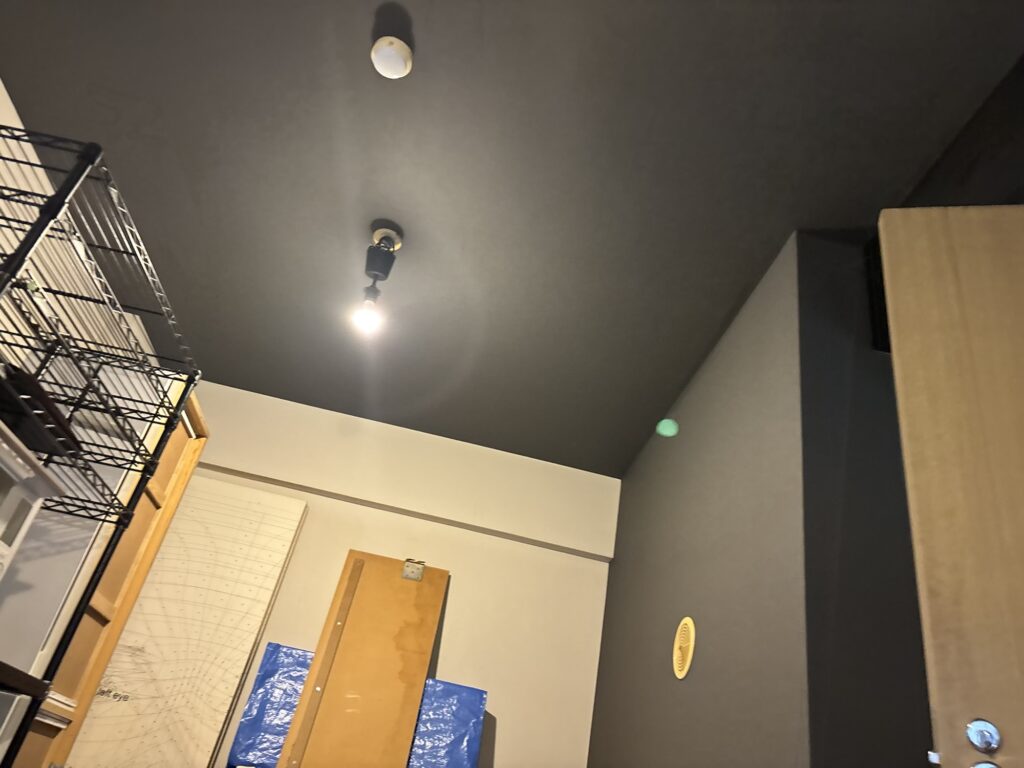
The ceiling substrate was mortar.
Because mortar is harder than gypsum board, I used slightly more pressure when making the joint cuts.
With gypsum board, you need to be careful not to cut too deeply into the substrate.
Mortar is much harder, so there is less concern about damaging the substrate with the knife.
However, there is another important point to remember.
When the knife blade comes into contact with mortar, the blade can become dull very quickly.
For this reason, it is important to replace the utility knife blade regularly when working on a mortar substrate.
A sharp blade makes it easier to make clean and accurate cuts.
Finishing the Job
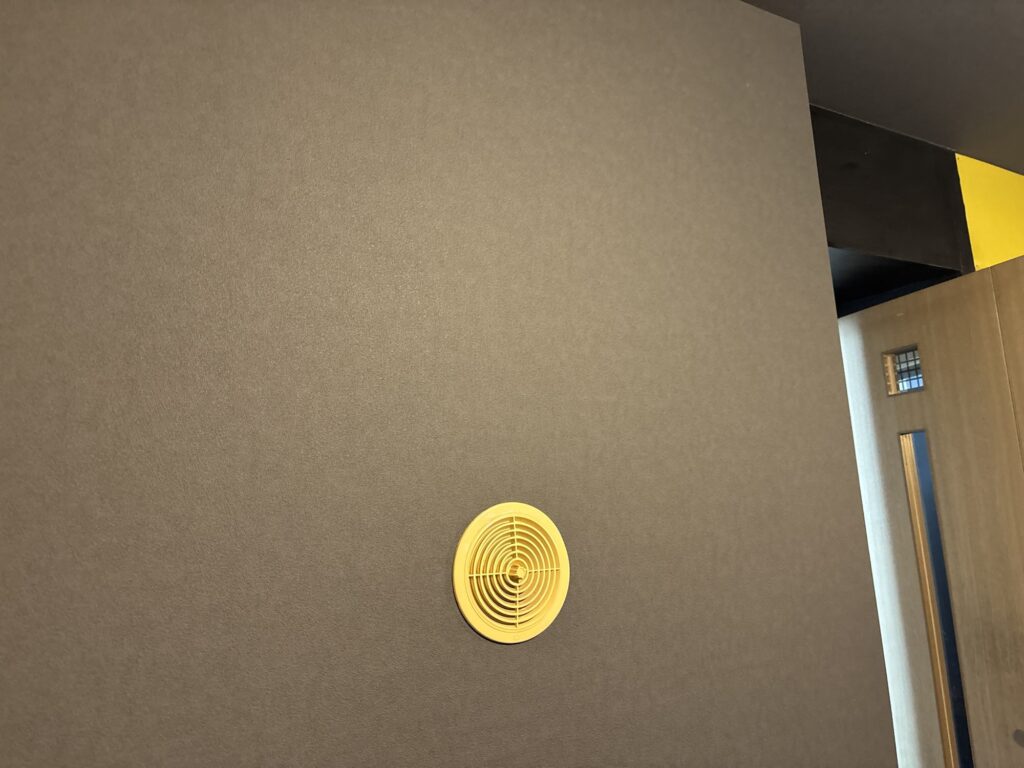
After we finished installing the wallpaper on the ceilings and walls, we cleaned the work area.
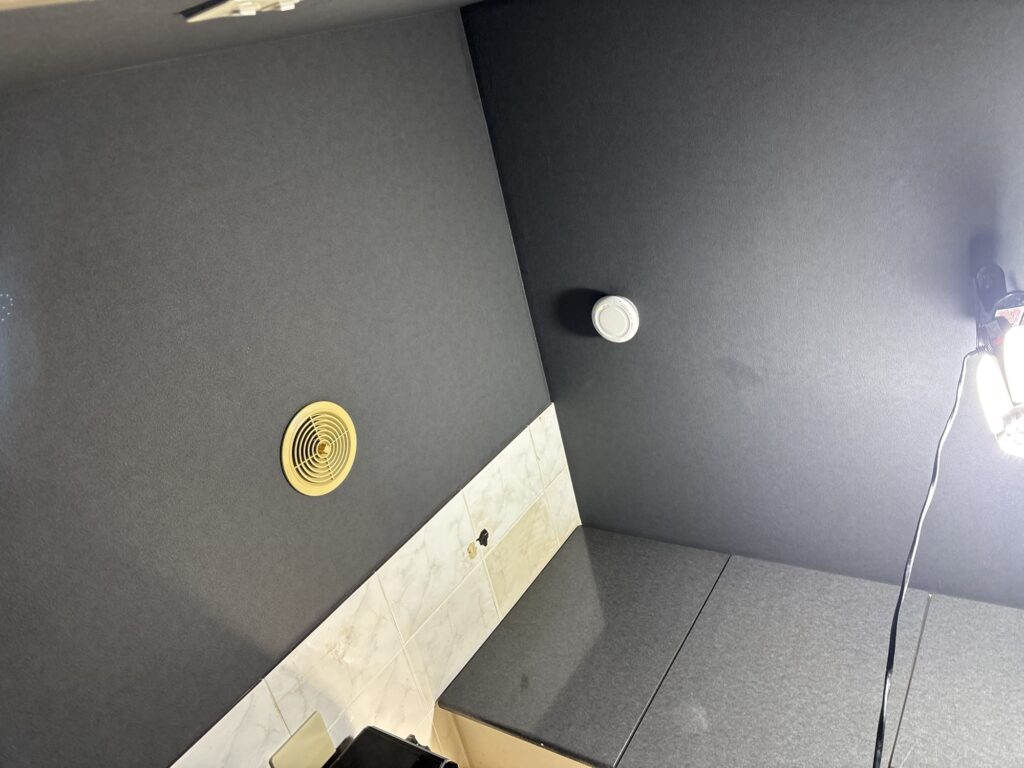
We removed the protective coverings, cleaned up the remaining materials, and checked the finished surfaces.
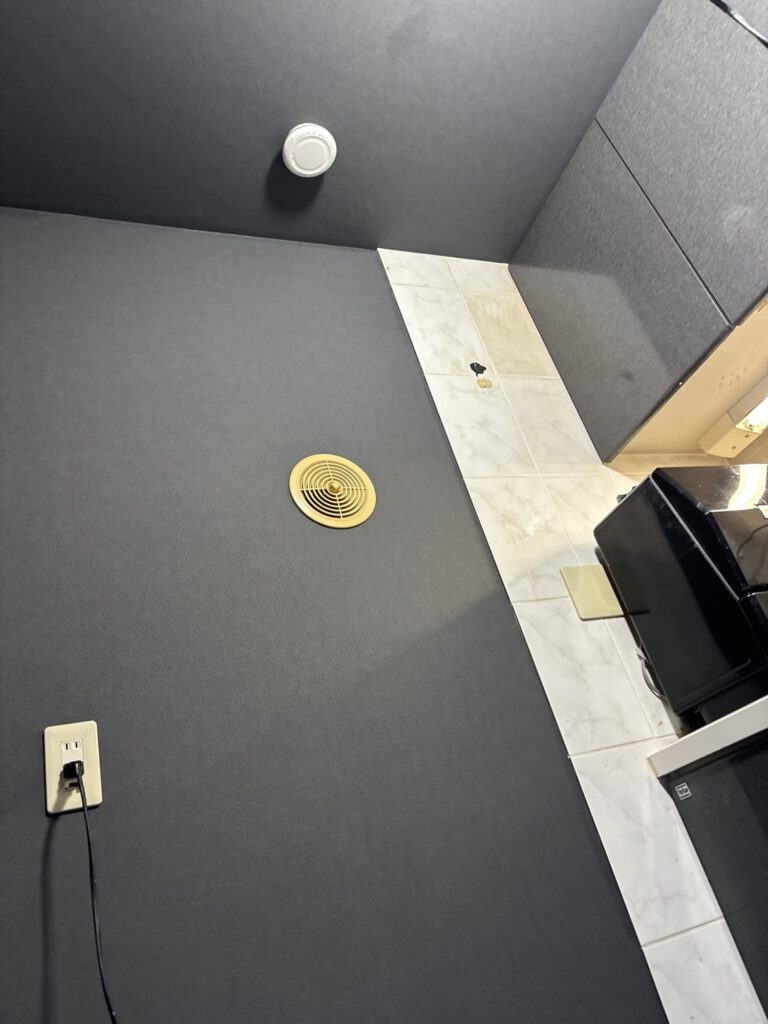
After the final cleanup and inspection, the job was complete.
The entire project took approximately seven and a half hours.
Related Project
Hotel Interior Renovation: Wallpaper, Floor Tile, and Baseboard Installation
Tools Used
Wallpaper Installation Tools
- Wallpaper pasting machine
- Utility knife
- Replacement utility knife blades
- Wallpaper smoother
- Joint cutter
- Underlay tape
- Measuring tape
- Straight edge
- Joint caulk
Surface Preparation Tools
- Putty knife
- Sanding tools
- Utility knife
- Joint compound
Protection and Cleanup
- Floor protection sheets
- Protective covering for furniture
- Cleaning cloths
- Vacuum cleaner and cleaning tools
Professional Tips
1. Always Check for Loose Backing Paper
Do not assume that the old backing paper is firmly attached everywhere.
Carefully check the entire surface after removing the old wallpaper.
Even a small loose area can affect the appearance of the new wallpaper.
2. Spend Time on Surface Preparation
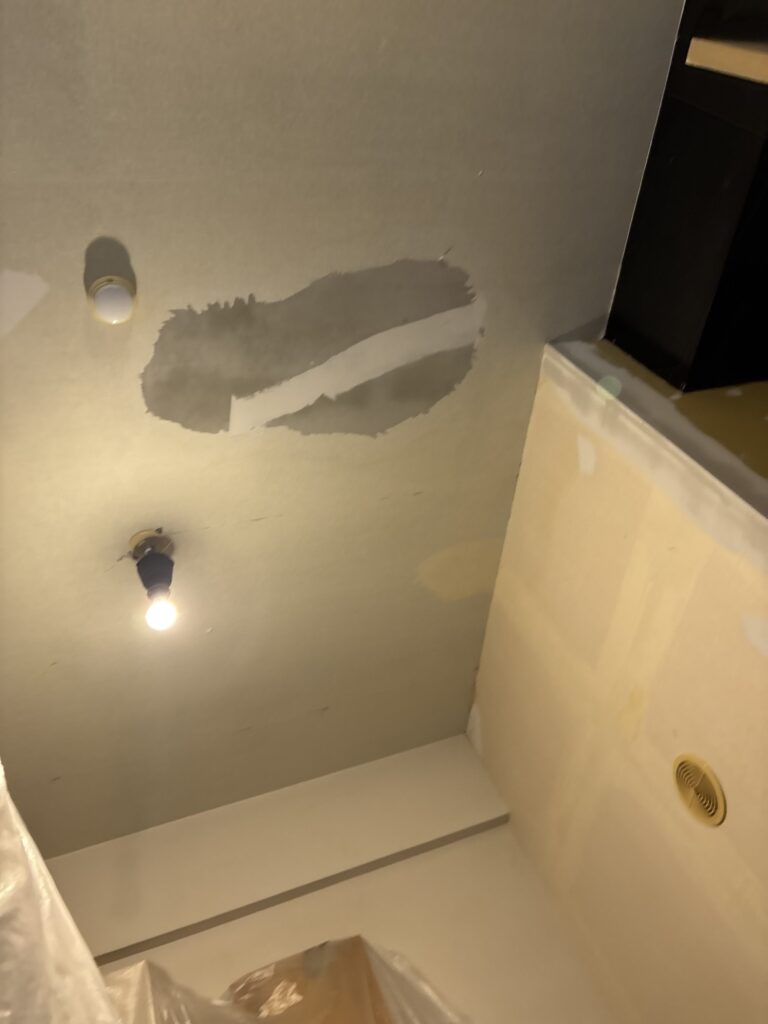
Wallpaper installation does not begin when you start hanging the wallpaper.
It begins with surface preparation.
Removing loose material, filling imperfections, and creating a smooth substrate can make a major difference in the final appearance.
3. Use a Sharp Blade
A sharp utility knife is essential for making clean wallpaper cuts.
This is especially important when cutting over hard materials such as mortar.
Replace the blade regularly instead of continuing to work with a dull blade.
4. Choose the Right Wallpaper for the Project
Thicker commercial-grade wallpaper can help hide minor imperfections and can be easier to handle during restoration work.
Thinner wallpaper can show imperfections more easily, so the substrate needs to be prepared carefully.
Understanding the characteristics of the material helps you choose the right installation method.
5. Protect the Customer’s Belongings
When working in an occupied apartment, protection is just as important as the wallpaper installation itself.
Take the time to protect floors, furniture, appliances, and other belongings before starting work.
Common Mistakes to Avoid
Leaving Loose Backing Paper
One common mistake is installing new wallpaper over loose backing paper.
This can cause bubbles or swollen areas to appear after installation.
Always check the surface carefully before applying new wallpaper.
Using a Dull Blade
A dull blade can make it difficult to create clean joints and accurate cuts.
When working on mortar, the blade can become dull especially quickly.
Change the blade when necessary.
Rushing the Surface Preparation
It can be tempting to start hanging wallpaper as soon as possible.
However, rushing the preparation can create problems that become visible after the new wallpaper is installed.
Take enough time to prepare the substrate properly.
Applying Too Much Pressure on Gypsum Board
Gypsum board is softer than mortar.
When cutting wallpaper joints over gypsum board, applying too much pressure can damage the substrate.
The cutting pressure should be adjusted according to the material underneath the wallpaper.
Forgetting About the Working Environment
An occupied apartment can contain many obstacles.
Trying to install wallpaper without considering the position of furniture and other items can make the work slower and increase the risk of damage.
Plan the working area before starting each section.
What I Learned From This Project
This project reminded me that wallpaper installation is not just about putting wallpaper on a wall.
The preparation before installation has a huge effect on the final result.
Removing loose backing paper may seem like a small and annoying task, but it is an important step that should never be skipped.
I also found the commercial-grade black wallpaper easier to handle than the thinner black wallpaper I had used previously.
The difference in material thickness can have a noticeable effect on the installation process.
Another important lesson was how much the substrate affects the way you cut the wallpaper.
The mortar ceiling allowed me to use slightly more pressure during joint cutting, but it also required me to pay attention to the condition of my knife blade.
Every job has different conditions, and understanding the material underneath the wallpaper is an important part of becoming a better wallpaper installer.
FAQ
1. Why is it important to remove loose backing paper before installing new wallpaper?
Loose backing paper can move underneath the new wallpaper and may cause bubbles, swelling, or an uneven appearance.
2. Is surface preparation more difficult than installing wallpaper?
It depends on the project, but surface preparation can be very time-consuming and requires careful attention to detail.
3. What is the difference between commercial-grade and general-grade wallpaper?
Commercial-grade wallpaper is generally thicker and can be more forgiving of minor surface imperfections. General-grade wallpaper is often thinner and may require a more carefully prepared substrate.
4. Is black wallpaper difficult to install?
Black wallpaper is not necessarily difficult to install, but mistakes and uneven joints can be easier to notice depending on the surrounding materials and lighting.
5. Why did you use black joint caulk?
We used black joint caulk to adjust the transition where the new black wallpaper met the existing white wallpaper and the cut line was not perfectly straight.
6. Why did you change the utility knife blade frequently?
The mortar substrate can dull a knife blade quickly. A sharp blade is important for making clean and accurate cuts.
7. Why does the substrate matter when cutting wallpaper?
Different substrates have different hardness. Mortar is hard, while gypsum board is relatively soft. The amount of pressure used when cutting needs to be adjusted accordingly.
8. How long did this wallpaper project take?
The entire project took approximately seven and a half hours.
9. Can wallpaper be installed while a customer is living in the apartment?
Yes. However, the work area needs to be carefully protected, and furniture and other belongings need to be handled with care.
10. What is the most important part of wallpaper installation?
Proper surface preparation is one of the most important parts. A well-prepared substrate helps create a cleaner and more professional final result.
Conclusion
This was a wallpaper replacement project in a lived-in apartment in Tokyo.
We replaced the wallpaper on the kitchen ceiling and walls, as well as the living room ceiling and part of the walls.
The project included surface preparation after plumbing-related gypsum board repairs, removal of loose backing paper, joint compound work, wallpaper preparation, and installation of commercial-grade black wallpaper.
Working in an occupied apartment required careful protection and organization, while the mortar ceiling required special attention when making the wallpaper joints.
The project took approximately seven and a half hours from preparation to final cleanup.
For me, this job was another reminder that good wallpaper installation starts long before the first sheet of wallpaper is put on the wall.
Careful preparation, the right tools, and an understanding of the substrate are all essential for achieving a clean finish.


Comments