
Project Data
Project Type: Commercial Interior Renovation
Location: Tokyo, Japan
Building: 9-story commercial building
Work: Ceiling wallpaper replacement on the 8th and 6th floors
Crew: 3 workers
Total Working Time: Approximately 7.5 hours
Wallpaper: Thin, smooth white wallpaper
Introduction
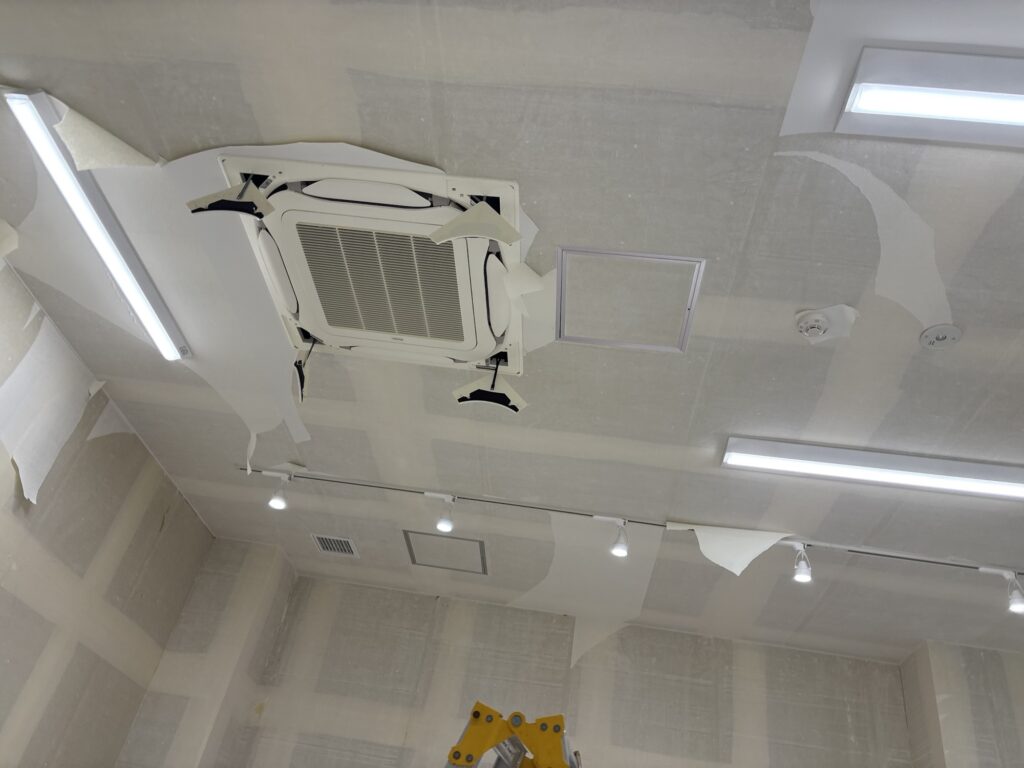
Today, I worked on a ceiling wallpaper replacement project on the 8th and 6th floors of a nine-story commercial building in Japan.
This was the same site where I previously worked when we removed toilets during another stage of the renovation.
Three workers worked on the project.
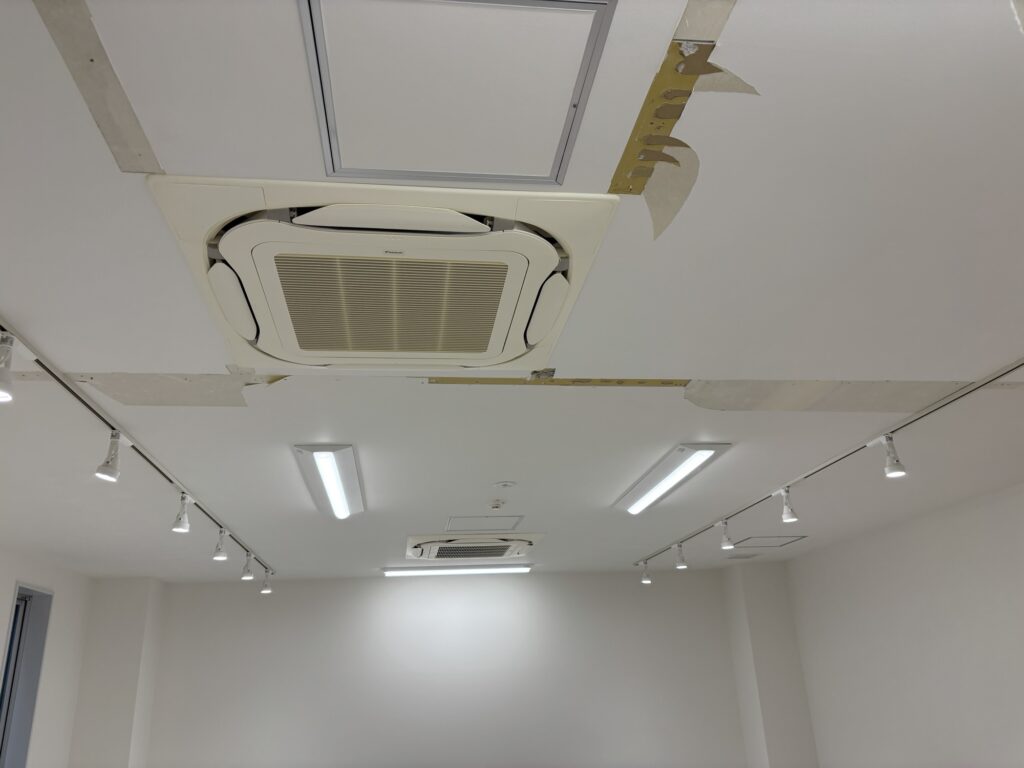
The main task was to replace the ceiling wallpaper on both floors. Before installing the new wallpaper, we also had to repair several areas where the ceiling air conditioner and inspection hatch had been moved.
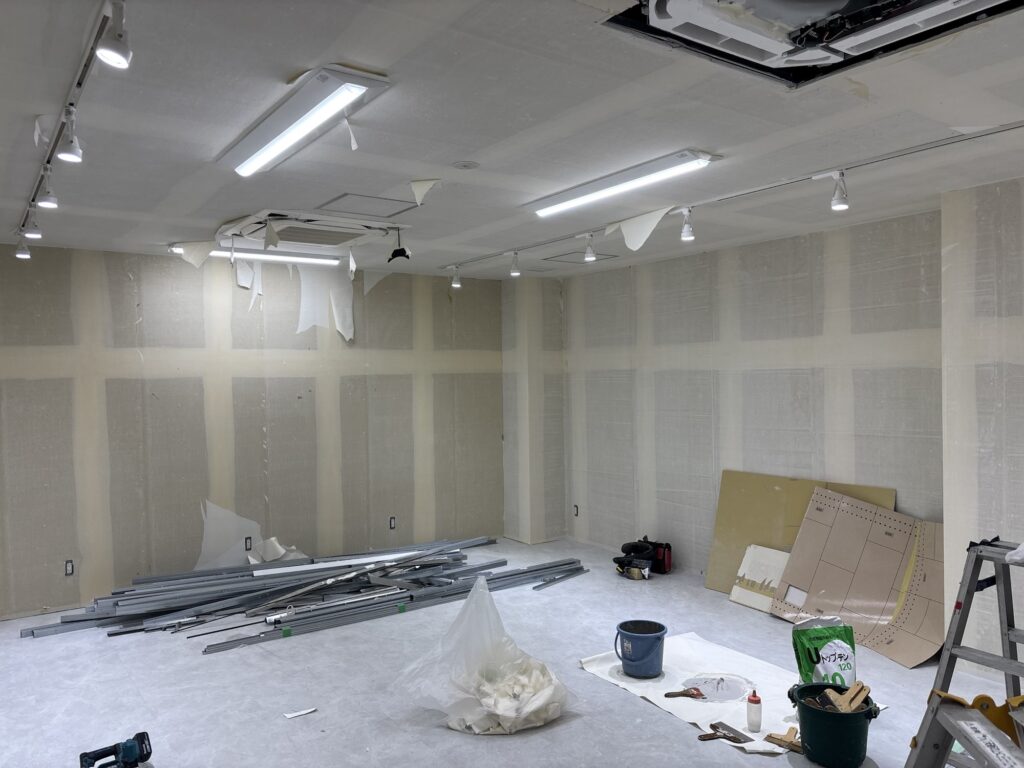
The work required careful preparation, especially because the new wallpaper was thin, smooth, and easy to wrinkle.
In this article, I will show you how we prepared the ceiling, repaired the drywall, removed ceiling fixtures, and installed the new wallpaper.
Related Project
Commercial Restoration Work in Japan: Wallpaper Installation and Toilet Tile Replacement
Job Site Report
Repairing the Ceiling with New Drywall
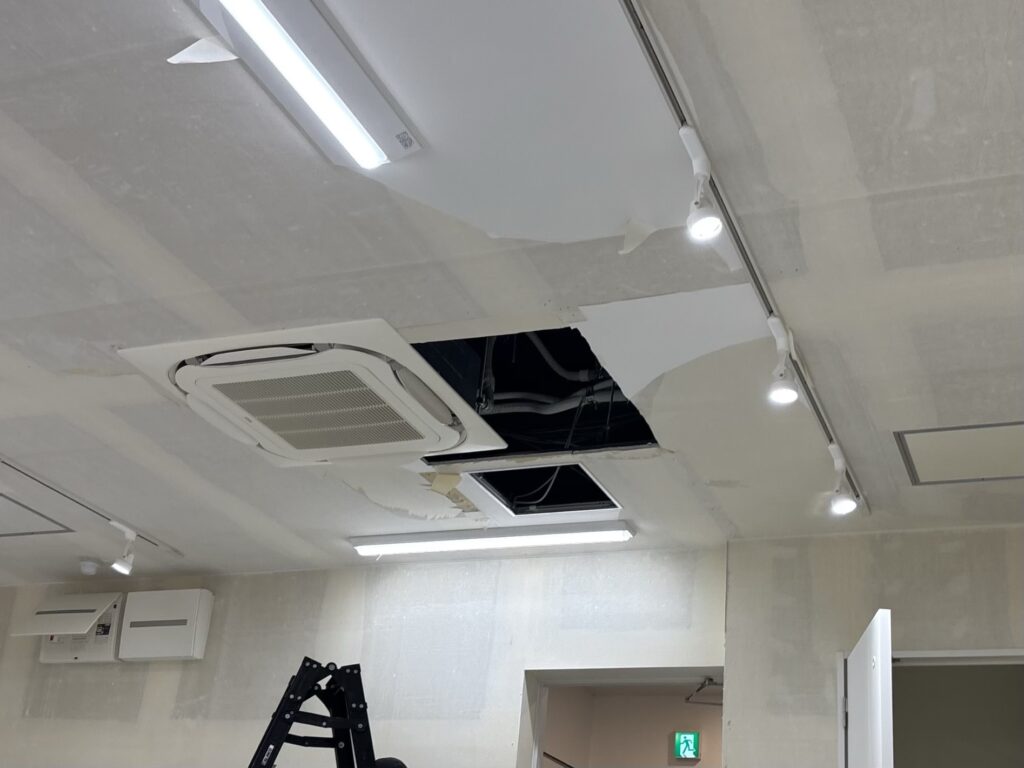
The ceiling air conditioner and inspection hatch had previously been moved.
Because of this, there were openings in the ceiling where the old equipment had been installed.
We installed new gypsum board over these openings and secured it to the light-gauge steel framing.
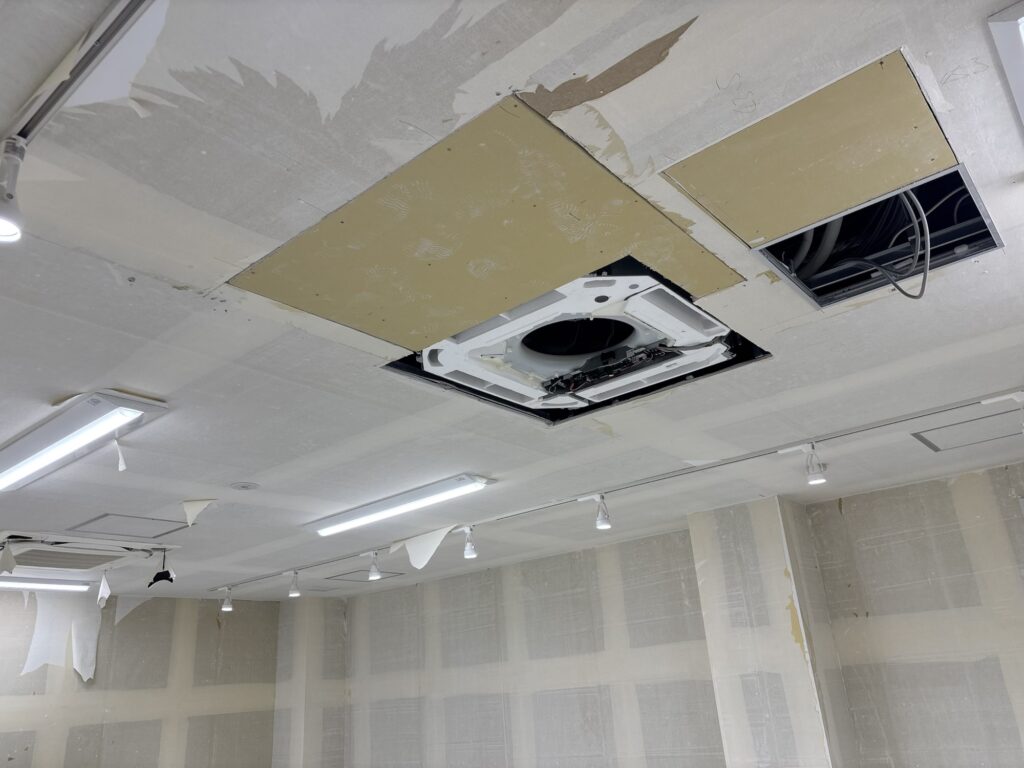
Light-gauge steel framing is commonly used in commercial buildings and office buildings in Japan. When properly designed and installed, it can provide good structural performance, and unlike wood framing, it is not susceptible to termite damage.
After installing the new gypsum board, we applied base filler to the joints and other uneven areas.
Applying Filler to the Joints
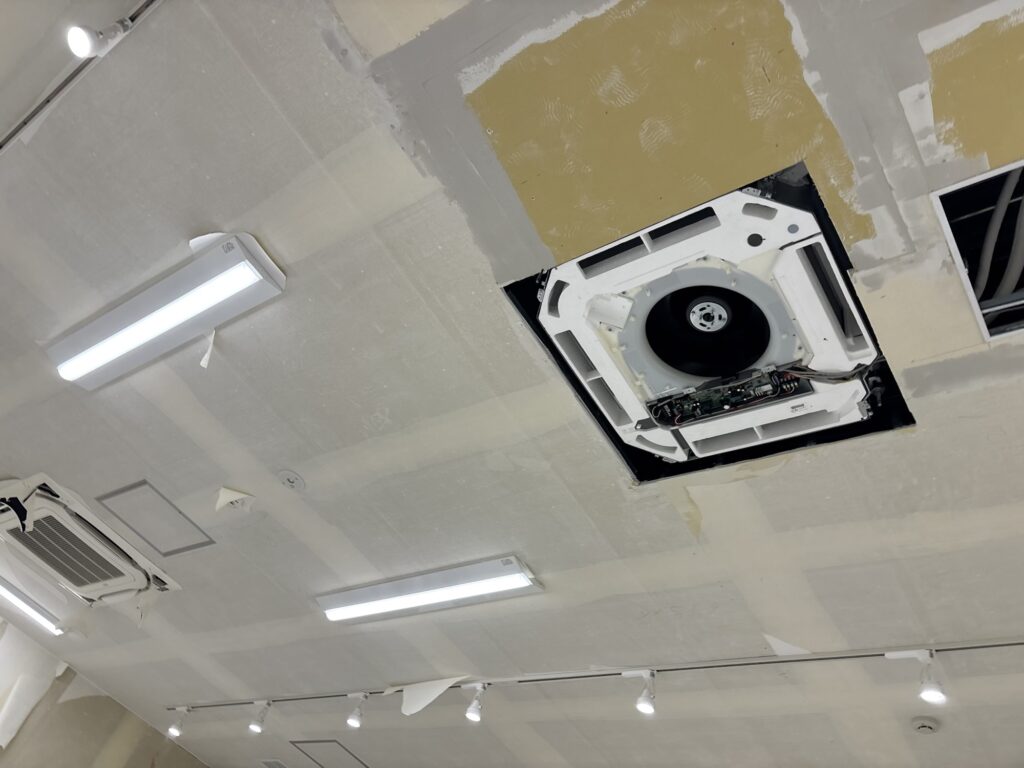
The joints between the new and existing gypsum boards were quite deep.
Because of this, we applied base filler three times to build up the surface properly.
After the base filler had dried, we applied finishing filler to create a smooth surface for the wallpaper.
While the filler was drying, we started preparing the ceiling for wallpaper installation.
Removing Ceiling Fixtures
To make it easier to install the wallpaper, we removed the lighting rails, light fixtures, and the cover of the ceiling air conditioner.
The ceiling air conditioner required especially careful handling.
After removing the outer cover, we loosened the screws securing the cover of the electronic control board and removed it carefully.
Inside, there was a connector connecting the cover to the main unit.
After disconnecting the connector, we removed the hooks holding the cover and the main unit together so that the parts could be separated.
Some ceiling air conditioners can cost around ¥500,000, so we had to work carefully to avoid damaging the electronic components.
The electronic control board is a precision component, so we paid particular attention while working around it.
Marking the Lighting Rail
When removing the lights from the lighting rail, we placed pieces of masking tape as position markers.
This made it easier to reinstall the lights in their original positions after the wallpaper work was completed.
Small preparations like this can save time during reassembly.
Preparing the Wallpaper
The ceiling was approximately 680 cm long and 90 cm wide.
We prepared seven pieces of wallpaper, each approximately 680 cm long and 90 cm wide, with underlay tape applied to both ends.
The wallpaper was thin, smooth, and white.
This type of wallpaper can easily develop wrinkles if it is installed while it is bent or twisted.
Because of this, controlling the direction and flow of the wallpaper was very important during installation.
Installing the First Sheet
We started by carefully positioning the first sheet on the ceiling.
While installing it, we used a smoother to remove air and wrinkles and gradually worked the wallpaper into position.
If a wrinkle became difficult to remove, we lifted the wallpaper again instead of forcing it flat.
Then we reinstalled it while following the natural direction of the wallpaper.
This technique helped prevent permanent wrinkles.
Installing the Second Sheet and Cutting the Joint
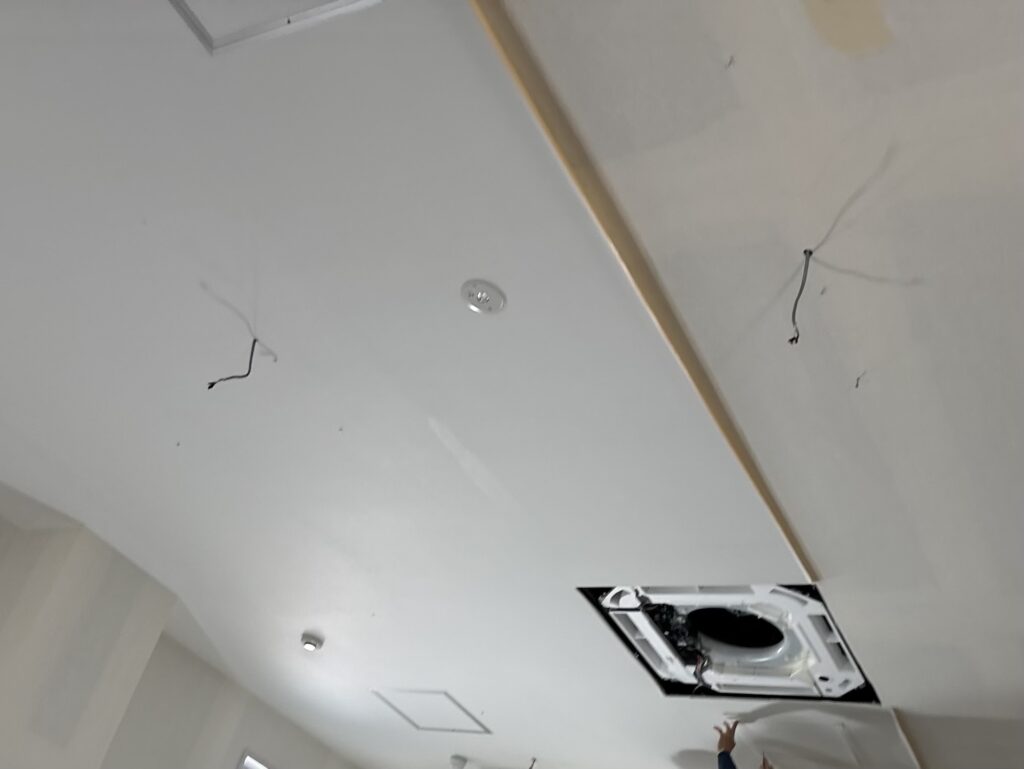
The second sheet was installed with approximately a 4 cm overlap over the first sheet.
We used a smoother to remove wrinkles and then cut away the excess wallpaper.
After that, we placed a blade and ruler along the joint area and carefully made the joint cut.
When cutting the joint, it was important not to apply too much pressure.
The blade needed to cut through the wallpaper without cutting deeply into the gypsum board underneath.
If the gypsum board is damaged during a joint cut, the joint can open later.
This is especially important when working with thin wallpaper.
Cutting Around the Inspection Hatch
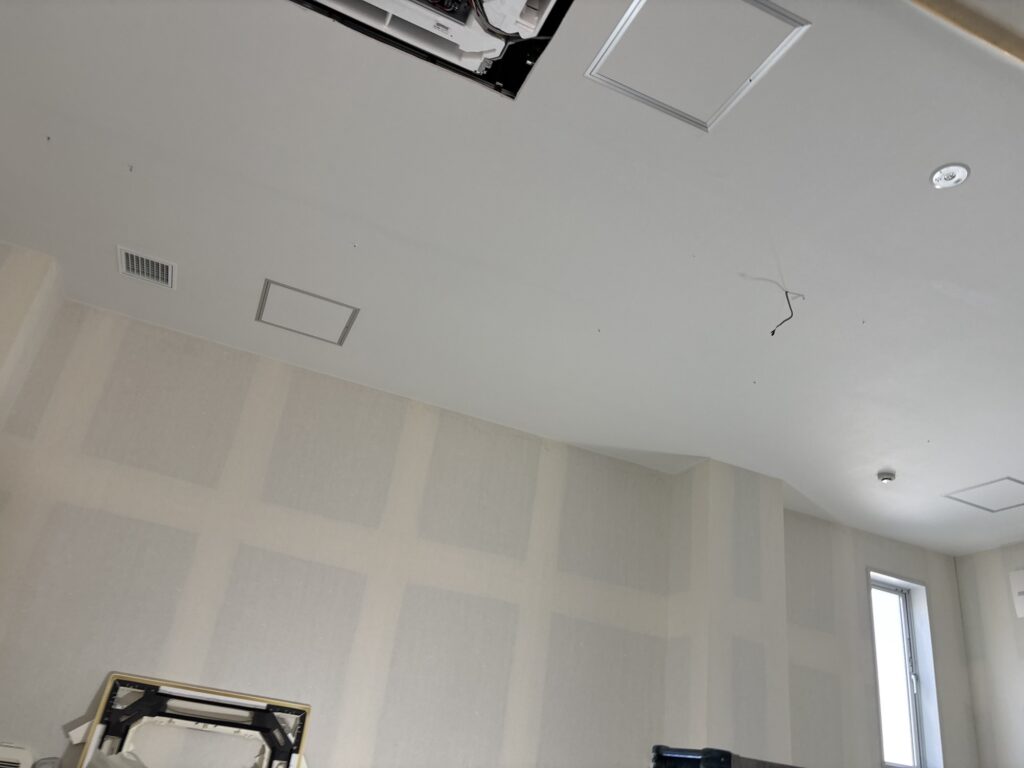
We also had to install wallpaper around the inspection hatch.
After removing the wrinkles, we guided the cutter along the edge of the inspection hatch frame and made a freehand cut.
When cutting around a frame, the angle of the cutter blade is very important.
If the blade is tilted too much, it can cut too deeply or move away from the frame.
I applied light pressure toward the frame while cutting so that the blade could follow the edge smoothly.
Working Around the Alarm Device
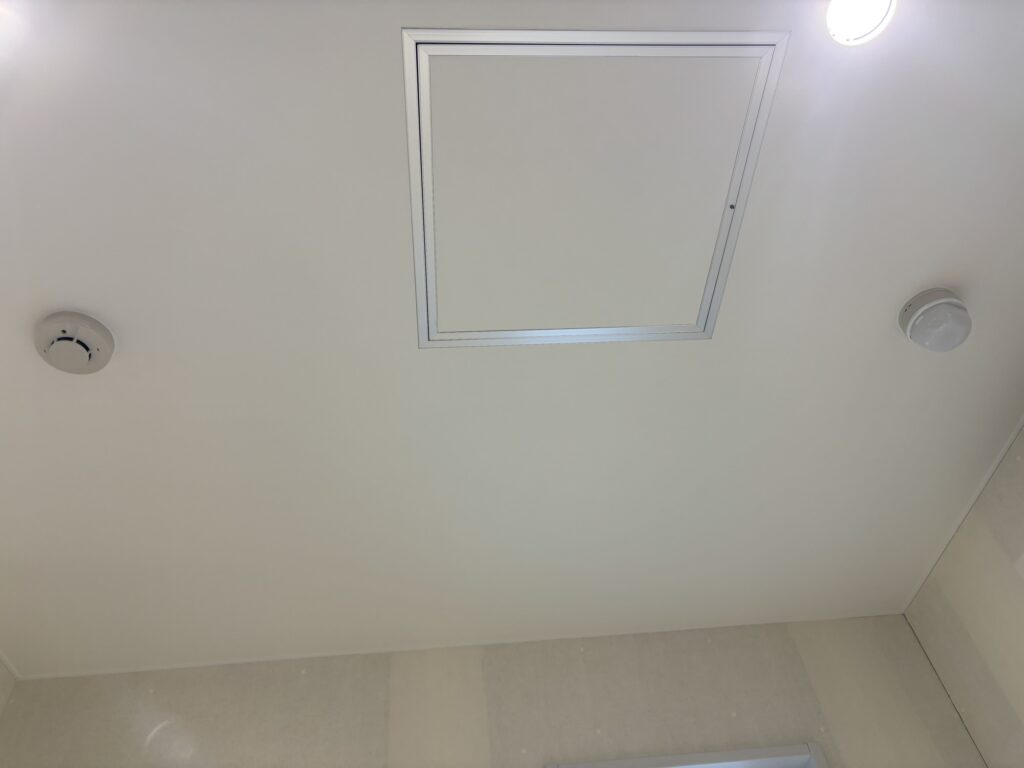
There was also an alarm device installed on the ceiling.
This particular type of alarm would sound if it was removed, so it could not be taken off during the wallpaper installation.
Instead, we made several cuts around the alarm device.
We created petal-shaped sections in the wallpaper so that we could carefully pass the wallpaper around the device.
After that, we trimmed the excess wallpaper around the alarm.
This required careful cutting because the wallpaper had to fit neatly around the alarm without damaging the device.
Completing the 8th Floor
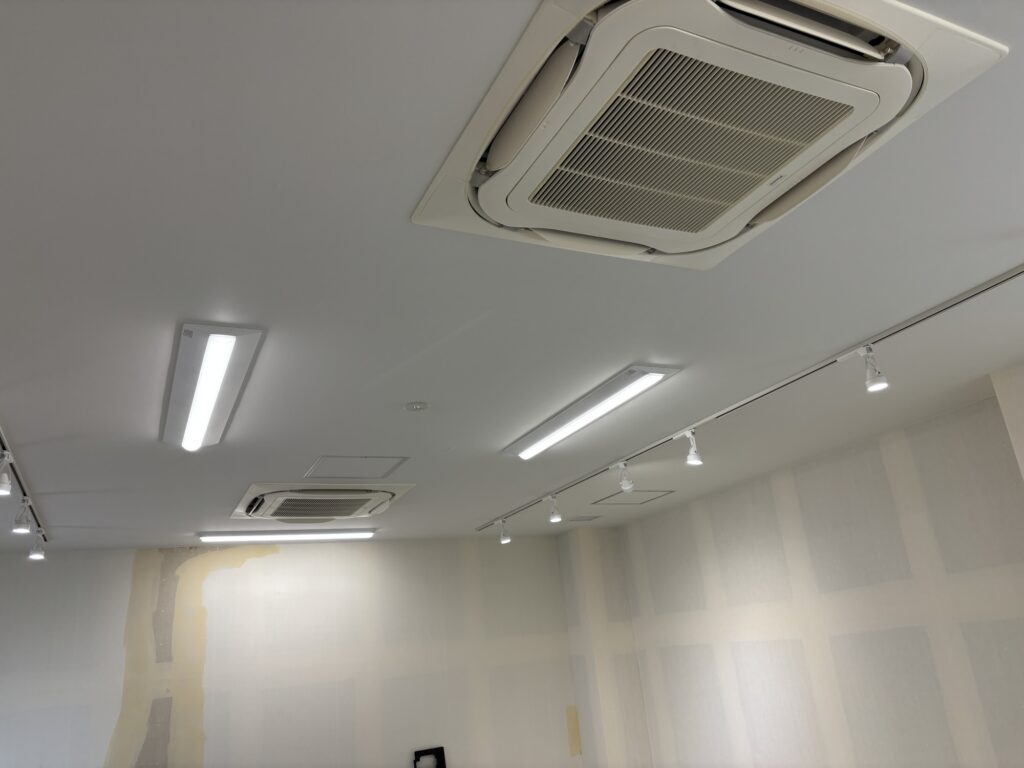
The ceiling wallpaper on the 8th floor was completed in approximately two hours.
After finishing the work on the 8th floor, we moved to the 6th floor and performed the same type of ceiling wallpaper replacement.
The 6th-floor ceiling also took approximately two hours to complete.
After finishing both floors, we cleaned up the work area and finished the day’s work.
The total working time for the day was approximately seven and a half hours.
Related Project
Hotel Interior Renovation: Wallpaper, Floor Tile, and Baseboard Installation
Tools Used
- Wallpaper smoother
- Wallpaper knife
- Replacement blades
- Ruler
- Putty knife
- Joint finishing tools
- Filler
- Sanding tools
- Masking tape
- Screwdrivers
- Light-gauge steel framing screws
- Gypsum board
- Wallpaper adhesive
- Wallpaper pasting machine
Professional Tips
Do Not Force Wrinkles Out of Thin Wallpaper
Thin, smooth wallpaper can easily develop permanent wrinkles.
If a wrinkle does not disappear while smoothing, it is often better to lift the wallpaper and reposition it rather than continuing to force it flat.
Be Careful When Cutting Joints
When making a double-cut joint, avoid cutting too deeply into the gypsum board.
Damaging the board can create a weak area that may cause the wallpaper joint to open later.
A sharp blade and controlled pressure are more important than simply applying more force.
Mark Fixture Positions Before Removing Them
When removing lights or other fixtures, marking their original positions with masking tape can make reinstallation much easier.
It is a simple step, but it can prevent unnecessary adjustment work later.
Protect Electrical Components
Ceiling air conditioners contain delicate electronic components.
When removing covers or working around electrical parts, extra care is necessary to avoid damaging connectors, circuit boards, and wiring.
Electrical work and power isolation should be handled according to the equipment manufacturer’s instructions and applicable safety requirements.
Follow the Natural Flow of the Wallpaper
If wallpaper becomes twisted or bent during installation, trying to force it into position can create permanent wrinkles.
Lifting the wallpaper and allowing it to follow its natural direction can produce a much cleaner result.
Common Mistakes to Avoid
Cutting Too Deep
One common mistake is applying too much pressure when cutting a wallpaper joint.
The blade should cut the wallpaper cleanly without unnecessarily cutting into the gypsum board underneath.
Installing Thin Wallpaper While It Is Twisted
Thin wallpaper is particularly sensitive to wrinkles.
If the sheet is bent or twisted during installation, the wrinkles may become difficult or impossible to remove.
Forgetting the Original Position of Fixtures
If lights or other fixtures are removed without marking their positions, reinstalling them can take more time.
Using masking tape to mark the original position is a quick and simple solution.
Damaging the Wallpaper Around Fixed Equipment
When wallpaper has to be installed around equipment that cannot be removed, such as an alarm device, rough or inaccurate cuts can leave an uneven finish.
Taking small cuts and gradually trimming the wallpaper produces better results.
Related Project
What I Learned From This Project
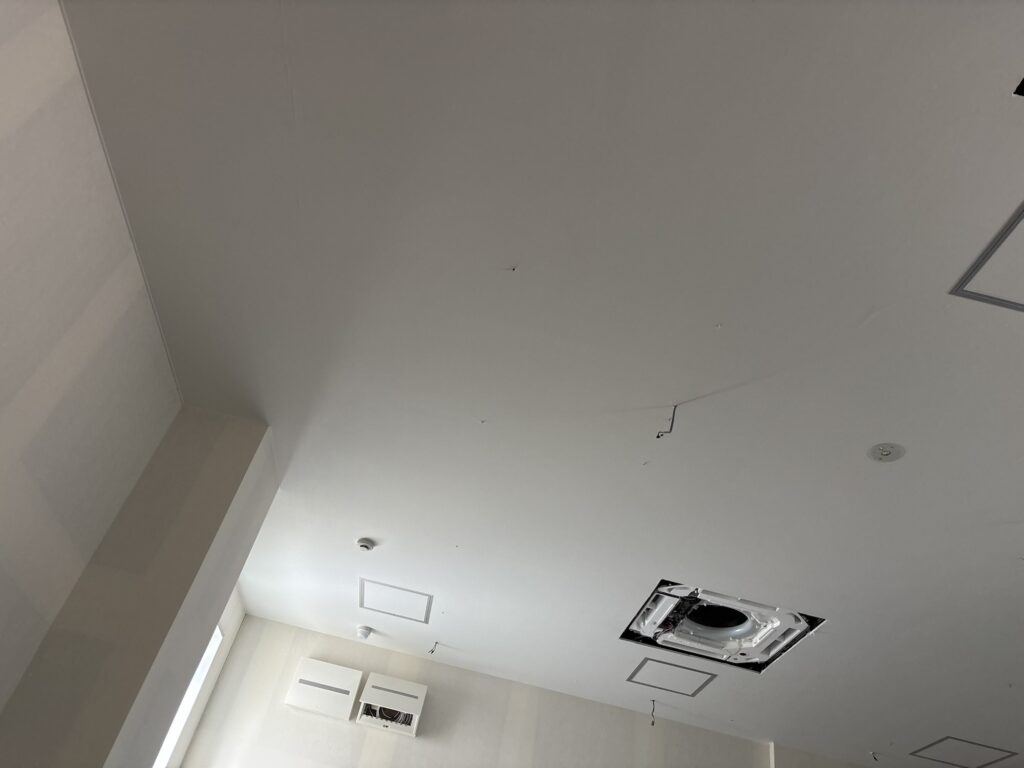
This project reminded me that ceiling wallpaper installation is not only about sticking wallpaper to the ceiling.
A large part of the quality comes from preparation.
The gypsum board joints needed several applications of filler because they were deep. The ceiling fixtures also had to be removed carefully so that we could install the wallpaper properly.
The thin white wallpaper required even more attention because wrinkles were easy to create and difficult to remove.
I also found that small preparations, such as marking the position of the lighting rails with masking tape, can make the final stages of a project much easier.
Working around existing equipment is also an important skill for a wallpaper installer, especially on commercial renovation projects.
FAQ
1. How long did the ceiling wallpaper work take?
The ceiling wallpaper on the 8th floor took approximately two hours, and the 6th floor also took approximately two hours.
The total working time for the day was about seven and a half hours, including preparation and other work.
2. How many workers were on the project?
There were three workers on the project.
3. What type of wallpaper was used?
We used a thin, smooth white wallpaper.
Because it was thin and smooth, it was especially important to prevent wrinkles during installation.
4. Why did you apply filler three times to the joints?
The gypsum board joints were relatively deep.
We applied base filler several times to gradually build up the surface before applying finishing filler.
5. Why did you remove the ceiling air conditioner cover?
The air conditioner cover needed to be removed so that we could install the wallpaper around the ceiling equipment more easily.
The electronic components also required careful handling during removal.
6. Why did you use masking tape on the lighting rail?
We used masking tape to mark the original positions of the lights.
This helped us reinstall the lights in the correct positions after the wallpaper installation.
7. How do you prevent wrinkles when installing thin wallpaper?
If a wrinkle cannot be removed with a smoother, I lift the wallpaper and reposition it instead of forcing it flat.
Following the natural direction of the wallpaper can help prevent permanent wrinkles.
8. Why is it important not to cut too deeply when making a wallpaper joint?
Cutting too deeply can damage the gypsum board underneath.
Damage to the board can contribute to the wallpaper joint opening later.
9. How did you install wallpaper around the alarm device?
The alarm device could not be removed, so we made several cuts around it and created petal-shaped sections in the wallpaper.
We then carefully trimmed the wallpaper around the device.
10. What was the biggest challenge on this project?
The biggest challenge was installing the thin, smooth wallpaper without creating wrinkles, especially around the ceiling equipment and inspection hatch.
Careful preparation and controlled cutting were important for achieving a clean finish.
Conclusion
This ceiling wallpaper replacement project involved work on both the 8th and 6th floors of a nine-story commercial building.
We repaired the ceiling with new gypsum board, applied several layers of filler, removed ceiling fixtures, prepared the wallpaper, and carefully installed the new ceiling covering.
The thin, smooth wallpaper required particular attention because wrinkles could easily become permanent.
Working around the air conditioner, inspection hatch, lighting rails, and alarm device also required careful cutting and preparation.
Both floors were completed successfully, with approximately two hours spent on each ceiling.
Projects like this are a good reminder that professional wallpaper installation depends not only on the final installation, but also on careful preparation, accurate cutting, and attention to the existing conditions of the job site.


Comments