
Project Type: Commercial Interior Renovation
Location: 8th Floor, Commercial Building, Japan
Building Type: 8-Story Commercial Building
Work Area: Hallway, Toilet, and Main Room
Work Performed: Wallpaper Installation, Floor Tile Replacement, and Soft Baseboard Installation
Materials: White Wallpaper, Black Accent Wallpaper, 50 cm × 50 cm Floor Tiles, 40 cm Soft Baseboards
Crew: 3 Workers
Project Duration: 8 Hours
Introduction
Today, I worked on an interior renovation project on the eighth floor of a commercial building in Japan. Interestingly, this was the same building where we completed renovation work on the sixth floor just one week earlier.
Some of the ceiling and wall wallpaper had already been installed, so our team of three workers continued with the remaining work.
Our tasks included installing wallpaper in the hallway and toilet, replacing the floor tiles in the main room, and installing soft baseboards along the walls.
The project required careful attention to detail, especially when working with thin wallpaper, tight spaces around plumbing fixtures, and floor tiles that needed precise cutting.
In this article, I will explain the work process and share some practical tips from the job site.
Related Project
Commercial Store Renovation: Wallpaper and Vinyl Tile Replacement on the 6th Floor
Job Site Report: Step-by-Step Work Process
1. Installing Wallpaper on the Hallway Ceiling
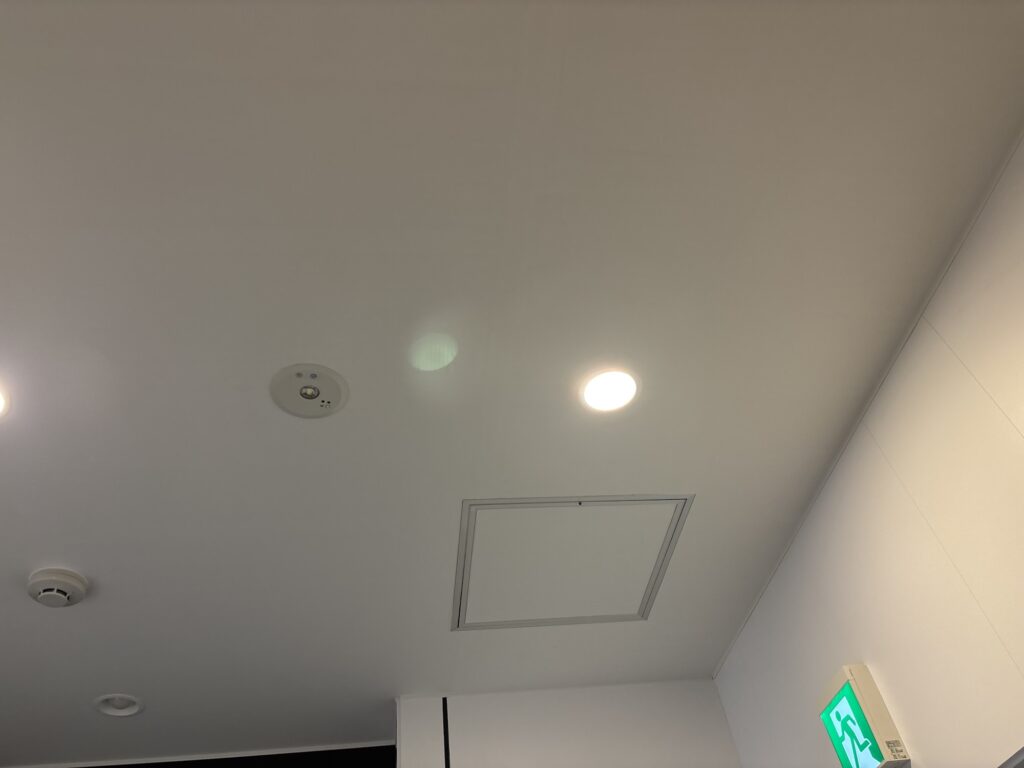
We started by installing wallpaper on the hallway ceiling. Two workers worked together to handle the wallpaper.
The material was thin white wallpaper. Because the seams were difficult to align using a simple butt joint, we used seam tape beneath both edges of the wallpaper. We then cut through both layers to create a clean, matching joint.
The longest section measured approximately 240 cm.
Long pieces of thin wallpaper can easily develop wrinkles or air bubbles if they are not handled carefully. We gradually smoothed the material and removed trapped air as we worked across the ceiling.
When cutting the seam, I carefully controlled the pressure of the utility knife to avoid damaging the underlying gypsum board.
After cutting, I used a seam roller from both sides to bring the edges together and create a neat, tight joint.
2. Installing Wallpaper on the Toilet Ceiling
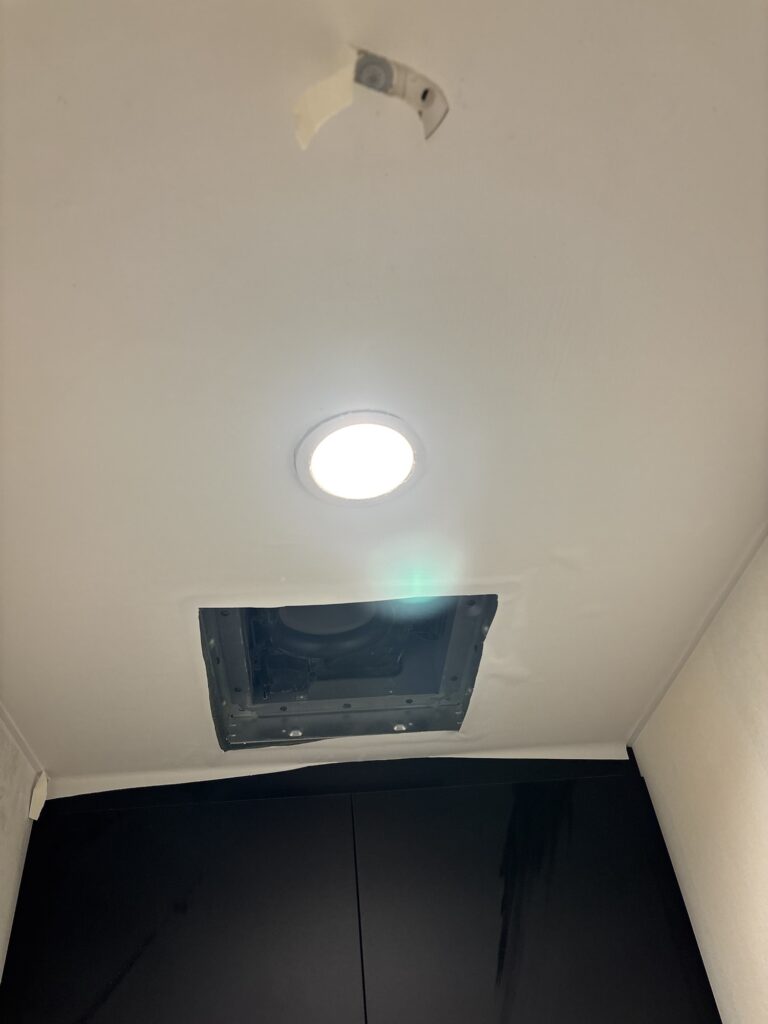
Next, we installed wallpaper on the toilet ceiling.
The wallpaper section measured approximately 108 cm in length. There was an opening for the ventilation fan in the ceiling, which made the installation more challenging.
The opening created an area where the wallpaper could easily shift or wrinkle.
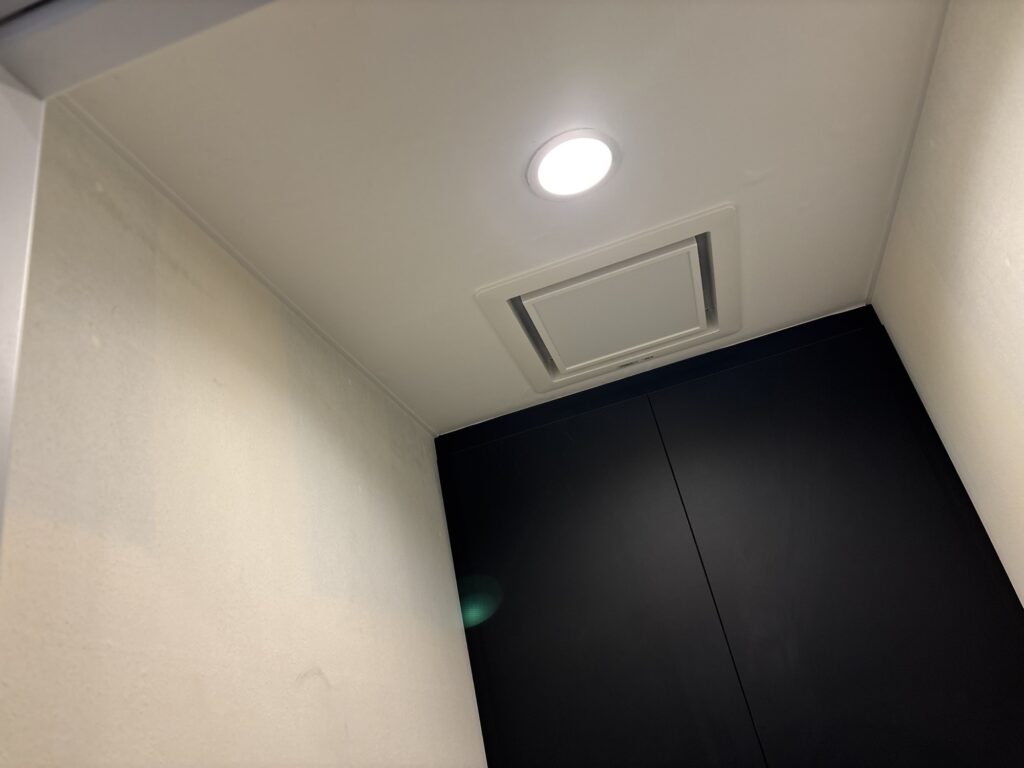
Whenever wrinkles appeared, I carefully lifted the wallpaper, adjusted its position, and smoothed it back down.
Rather than forcing the material into place, I made small adjustments as I worked to achieve a smooth finish around the opening.
3. Installing Wallpaper on the Toilet Walls
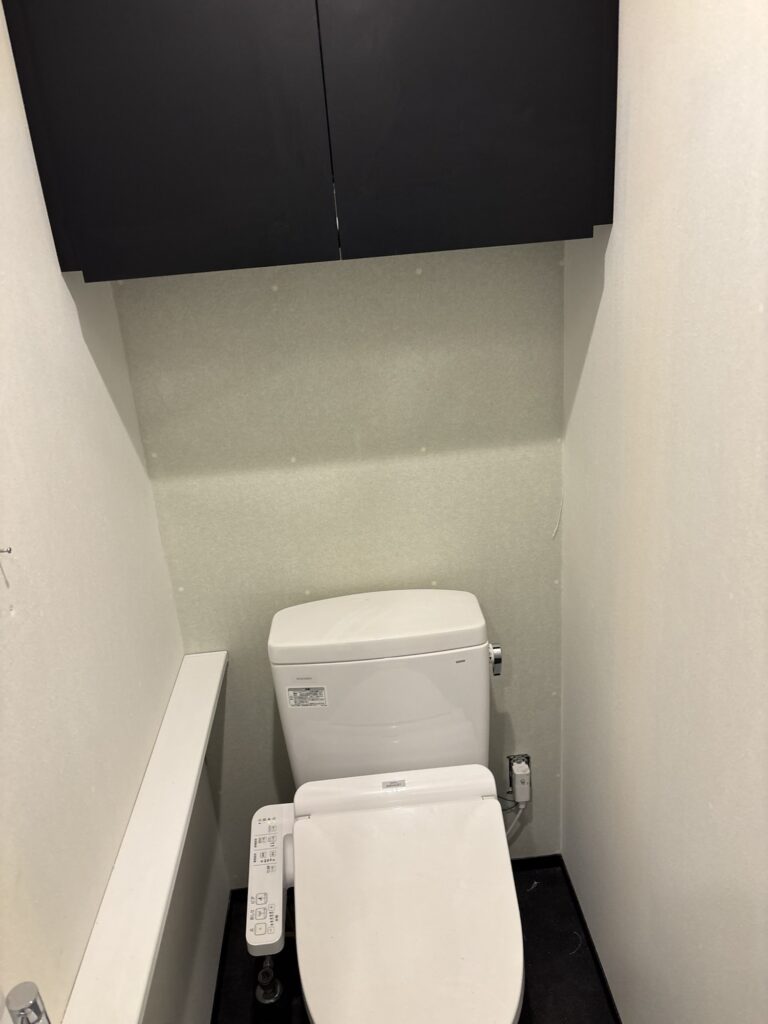
The longest wall section measured approximately 229 cm.
The toilet was a tight working space because the cabinet, toilet, and plumbing fixtures were already installed. These obstacles made it difficult to handle the wallpaper and work efficiently.
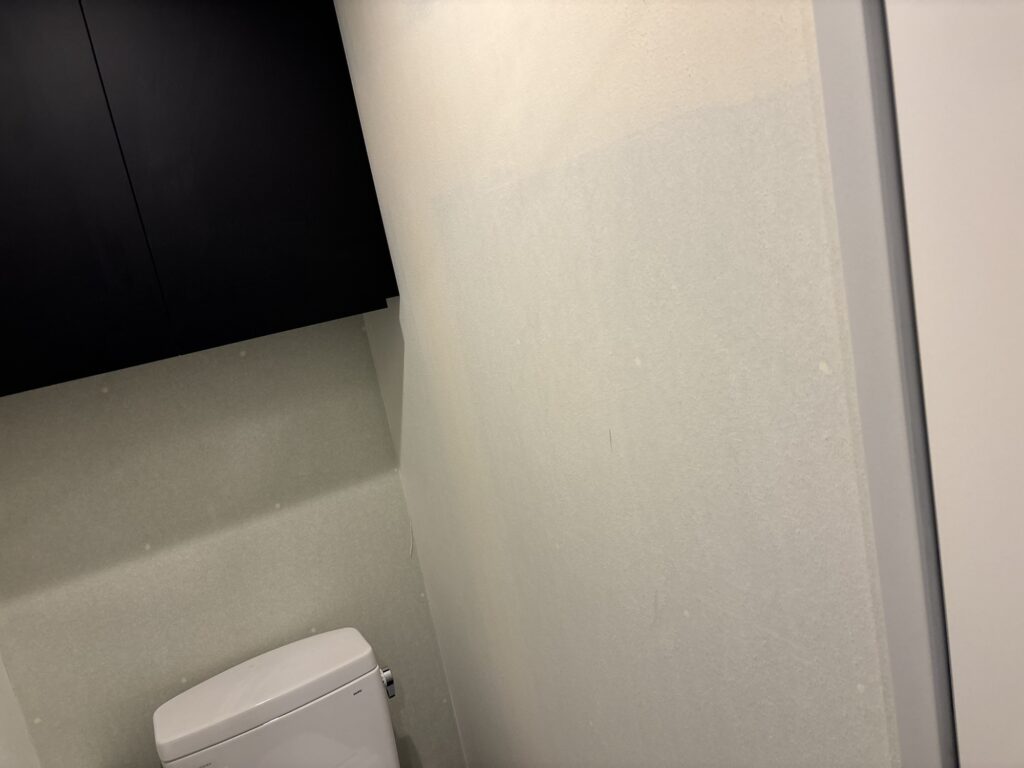
In areas beside the plumbing where I could not fit my hand, I first installed the wallpaper as far as I could comfortably reach.
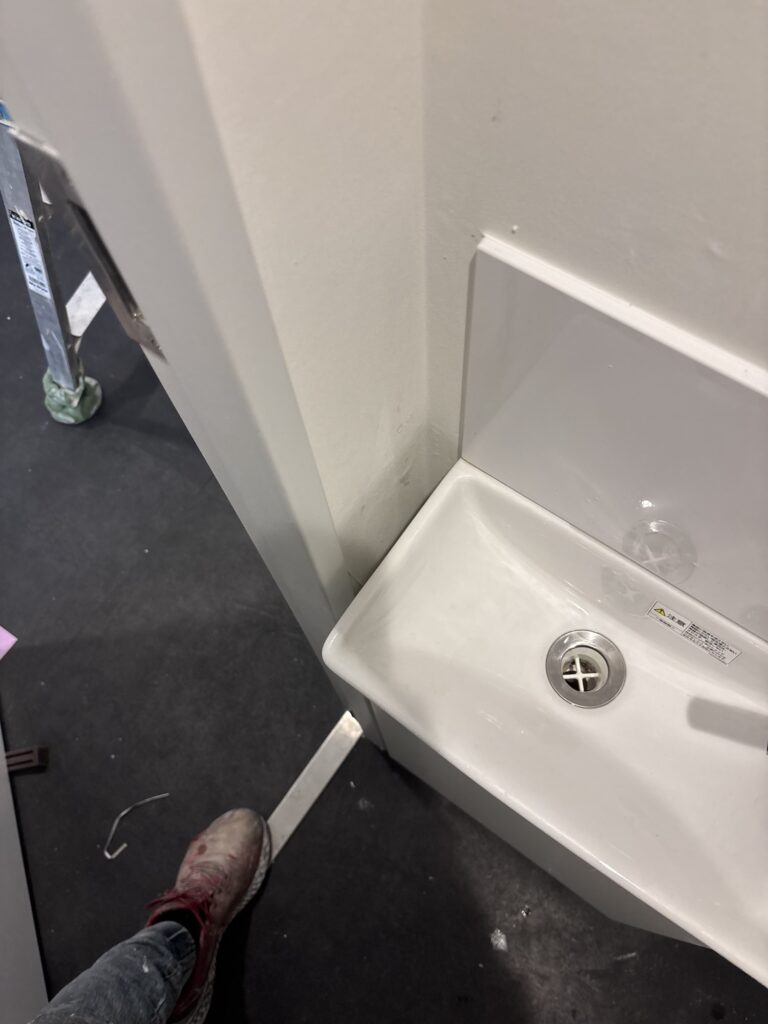
Because these areas could mainly be inspected from above, I trimmed the excess wallpaper on both sides first. Then, I carefully tucked the material into the narrow spaces.
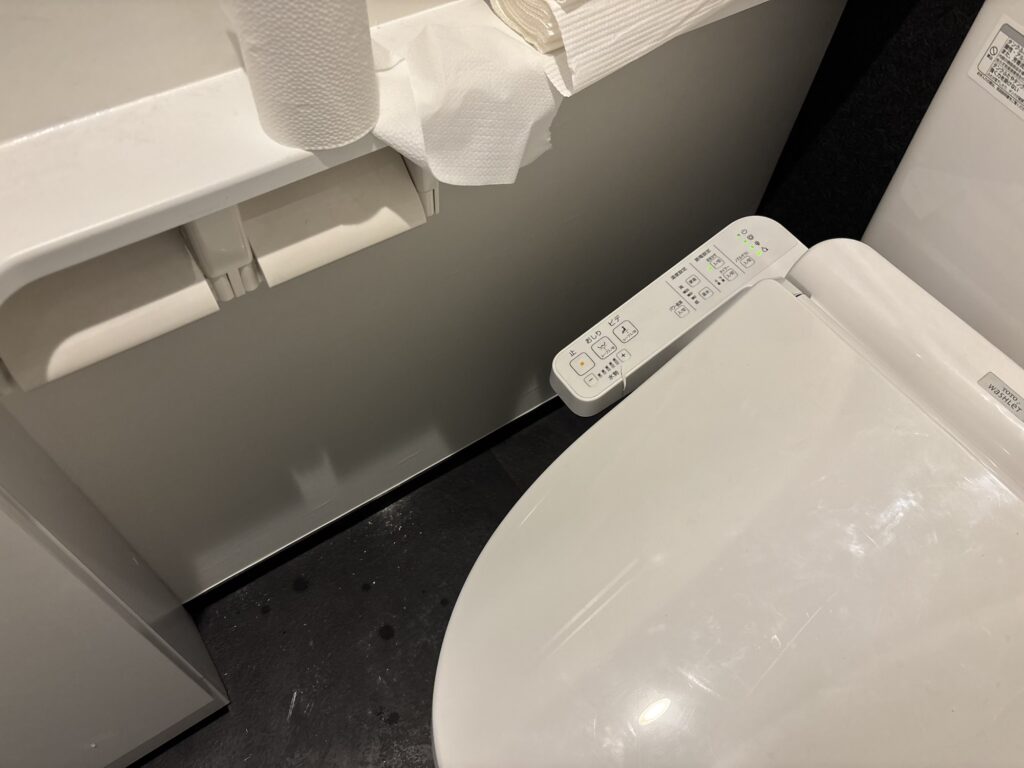
Working around existing fixtures requires patience. It is important to avoid stretching or damaging the wallpaper while trying to force it into difficult corners.
4. Installing Black Accent Wallpaper Behind the Toilet
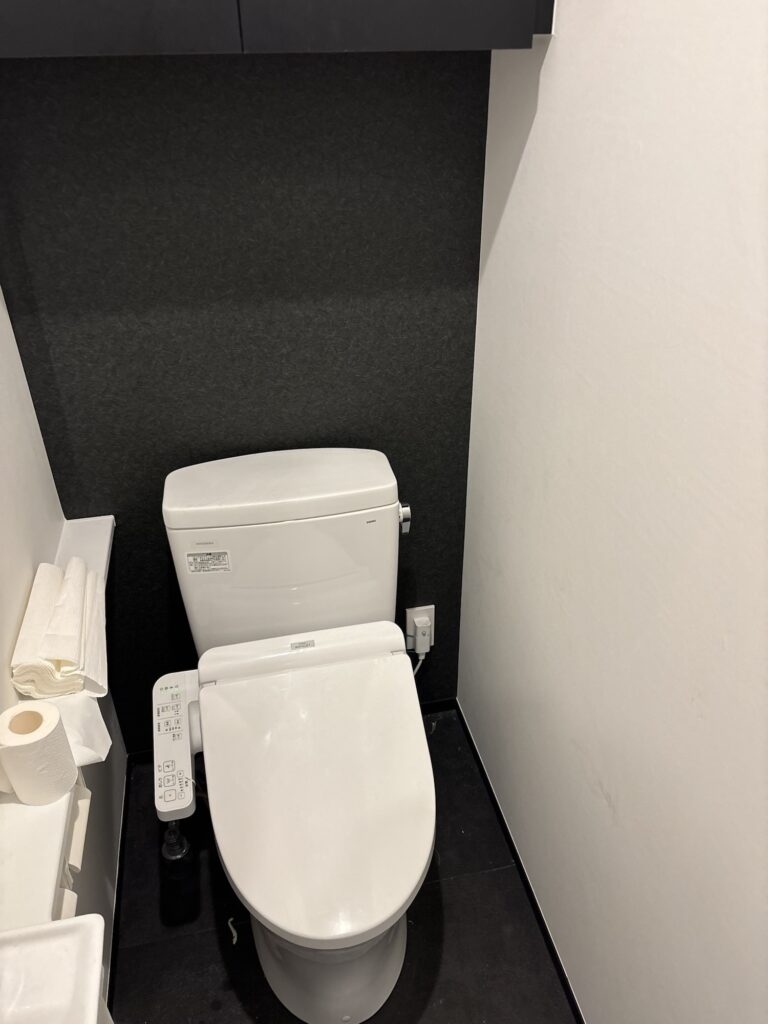
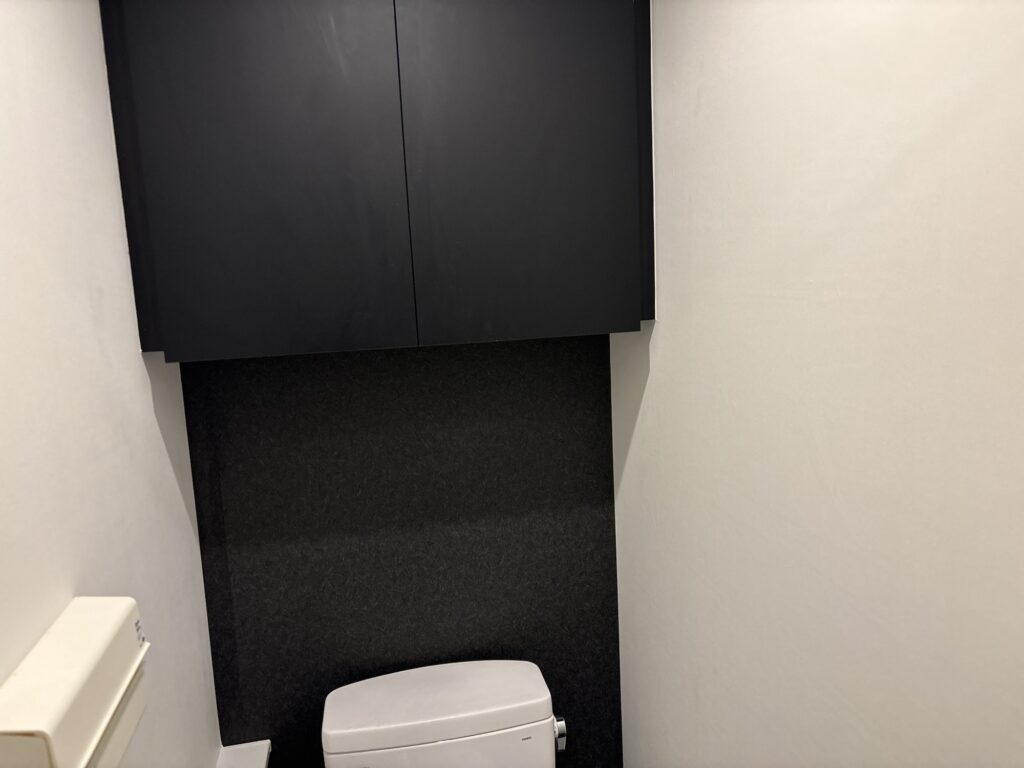
The front wall of the toilet was designed with black accent wallpaper.
To install it neatly, I first guided the wallpaper behind the toilet and then lowered it straight down while gradually positioning it against the wall.
I avoided pressing the upper section firmly into place too early. Once the adhesive comes into contact with the wall, repositioning the wallpaper becomes more difficult.
By keeping the material adjustable as long as possible, I could align it more accurately before smoothing it into place.
Trimming the excess wallpaper was another important step.
Any uneven cut would have been easy to notice against the dark accent wall. I used a wallpaper smoother to create a firm, defined corner, held the trimming guide securely against it, and cut the excess material in a straight line.
This helped create a clean edge and a professional-looking finish.
Related Project
Commercial Restoration Work in Japan: Wallpaper Installation and Toilet Tile Replacement
5. Replacing the Floor Tiles
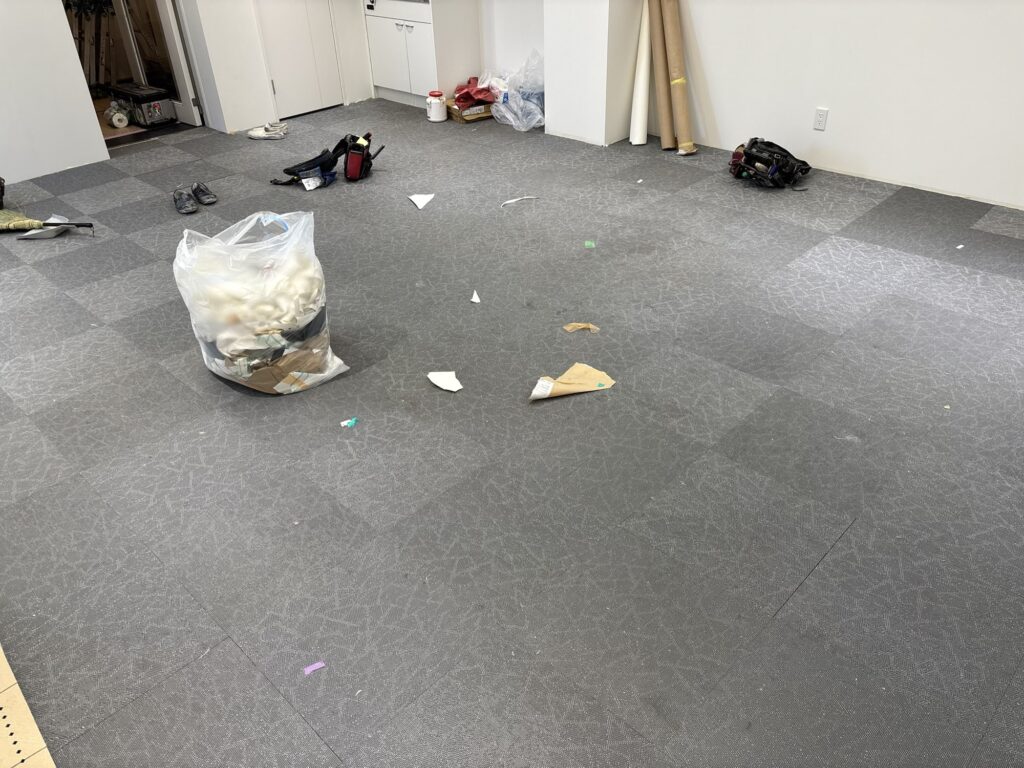
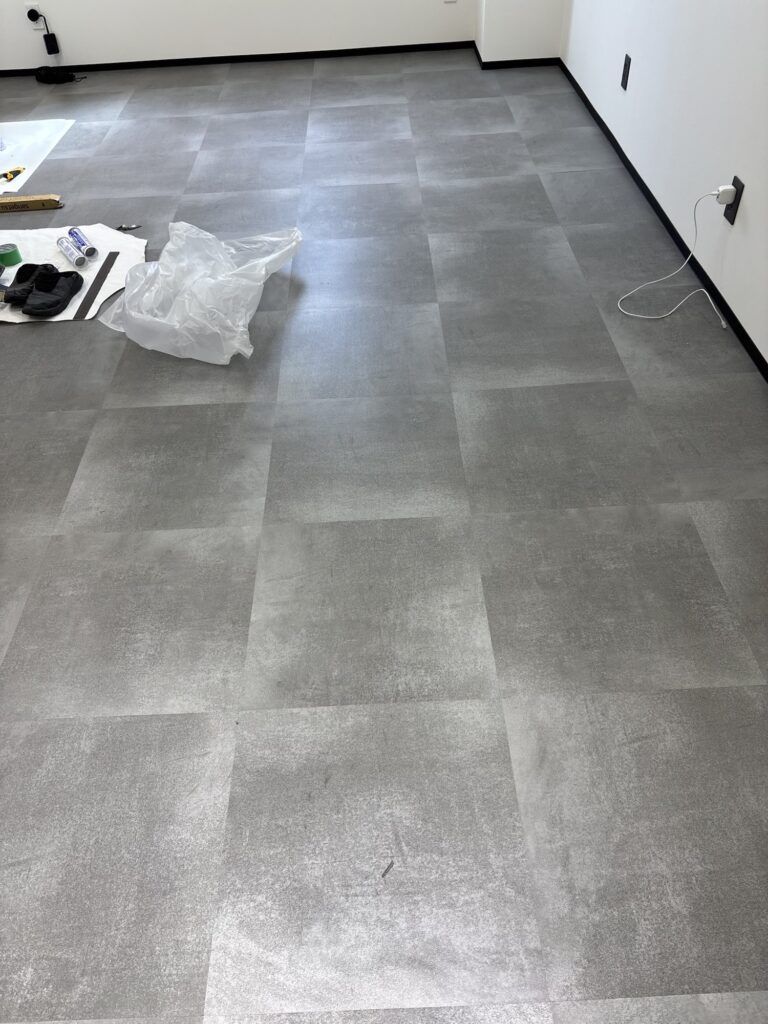
After finishing the wallpaper installation, we moved on to replacing the floor tiles in the main room.
During the previous renovation on the sixth floor, the new tiles were a different size from the original tiles. This time, the new tiles measured 50 cm × 50 cm, making the replacement process more straightforward.
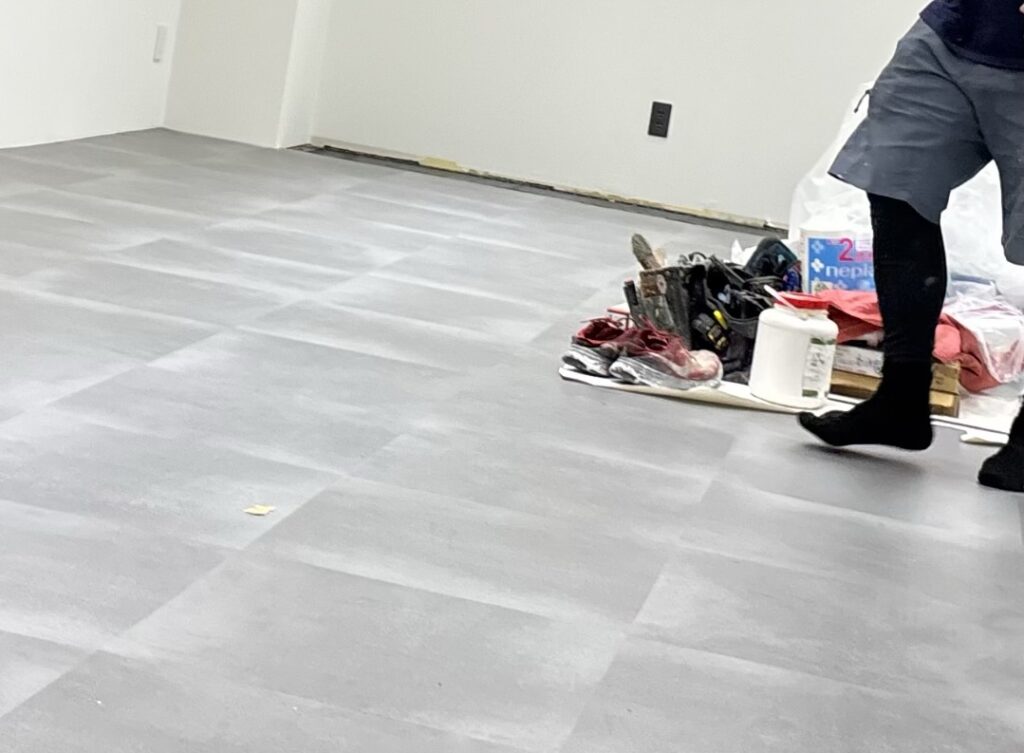
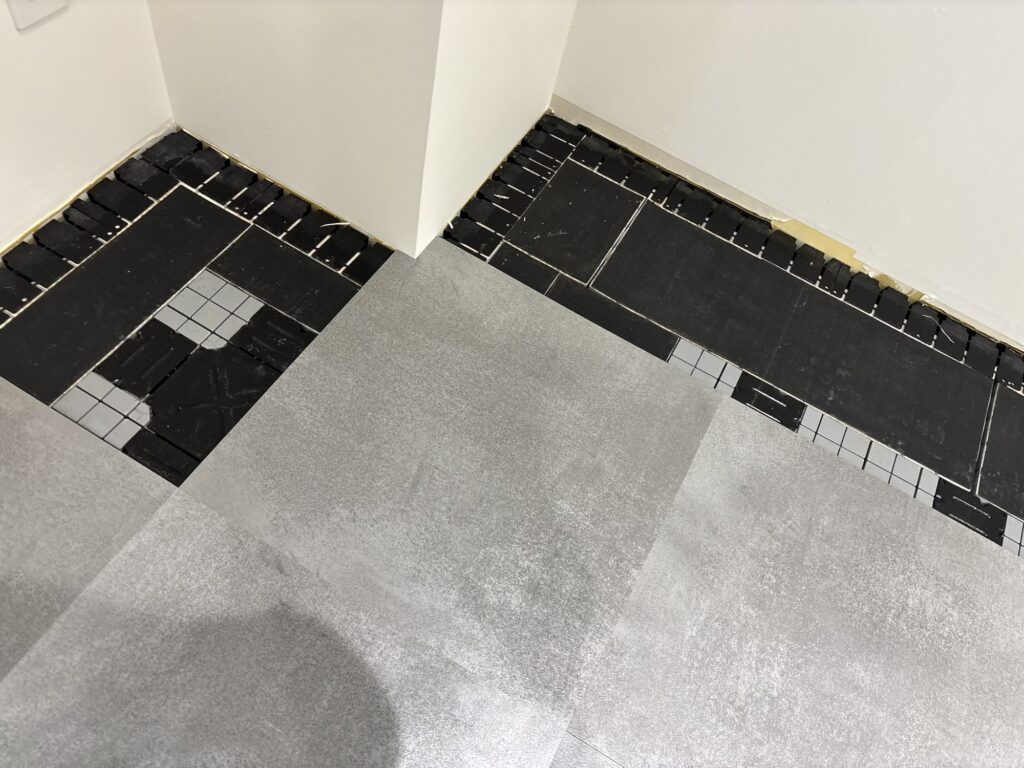
We removed approximately three rows of old tiles at a time.
After removing the old tiles, we carefully positioned the new ones, paying close attention to keeping the lines straight and the layout consistent.
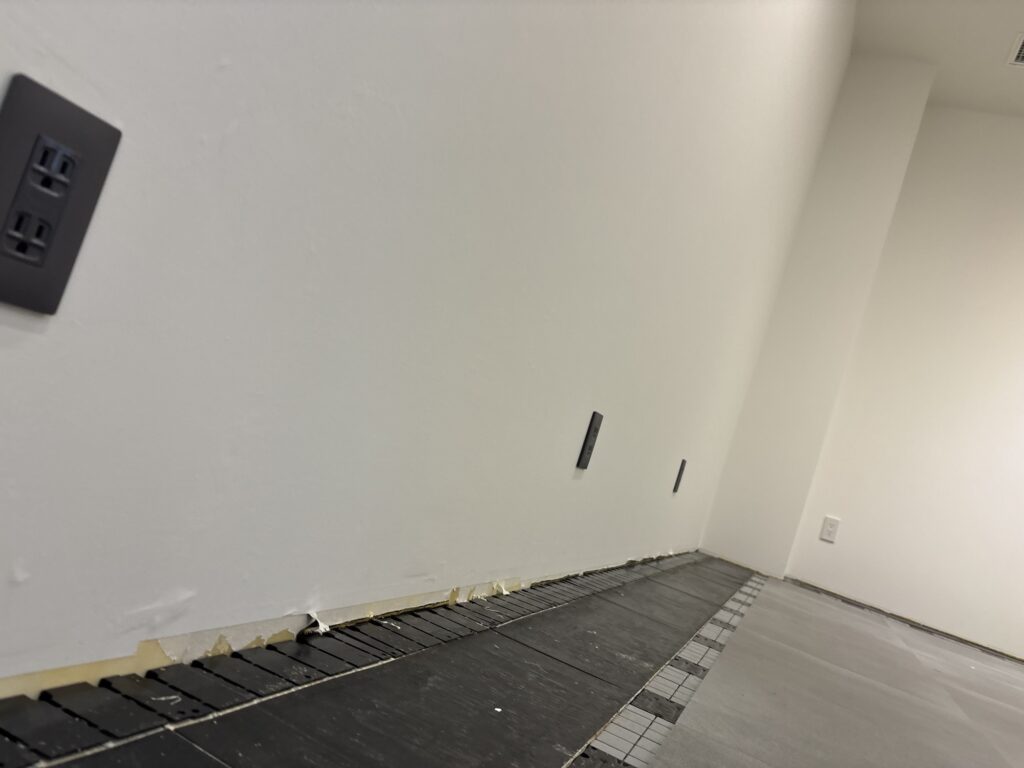
We continued installing full tiles wherever possible until we reached the edges of the room.
At the perimeter, the tiles needed to be cut to fit the remaining spaces.
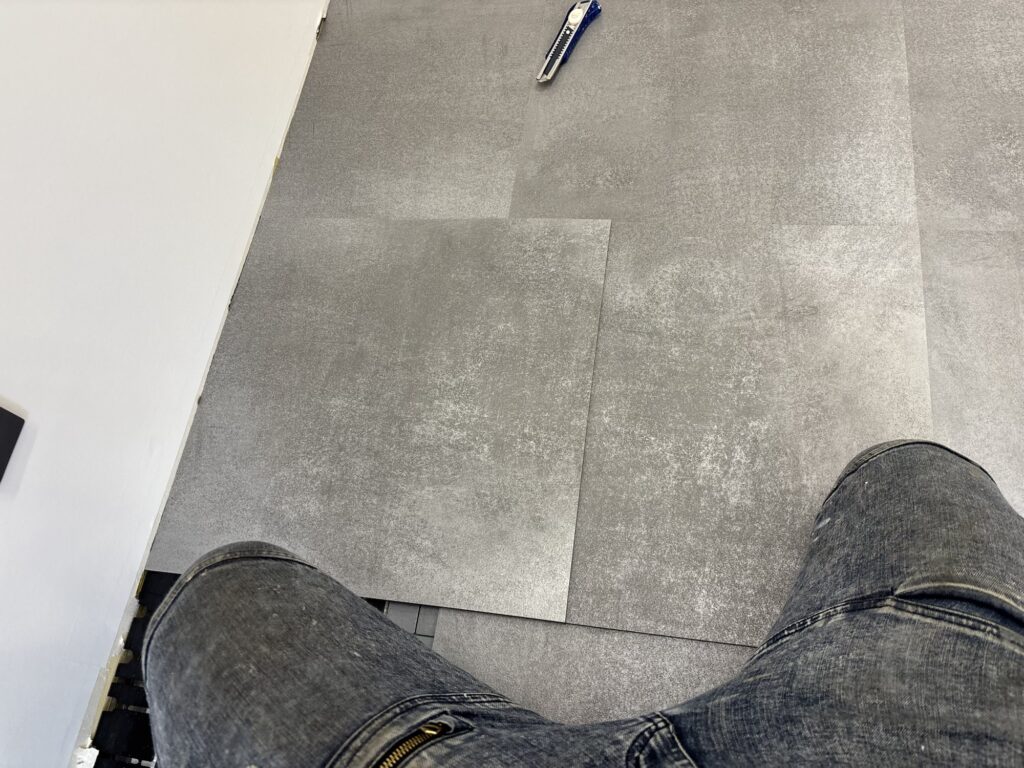
I used a heavy-duty utility knife, a straightedge, and a full tile as a reference to measure and cut the pieces.
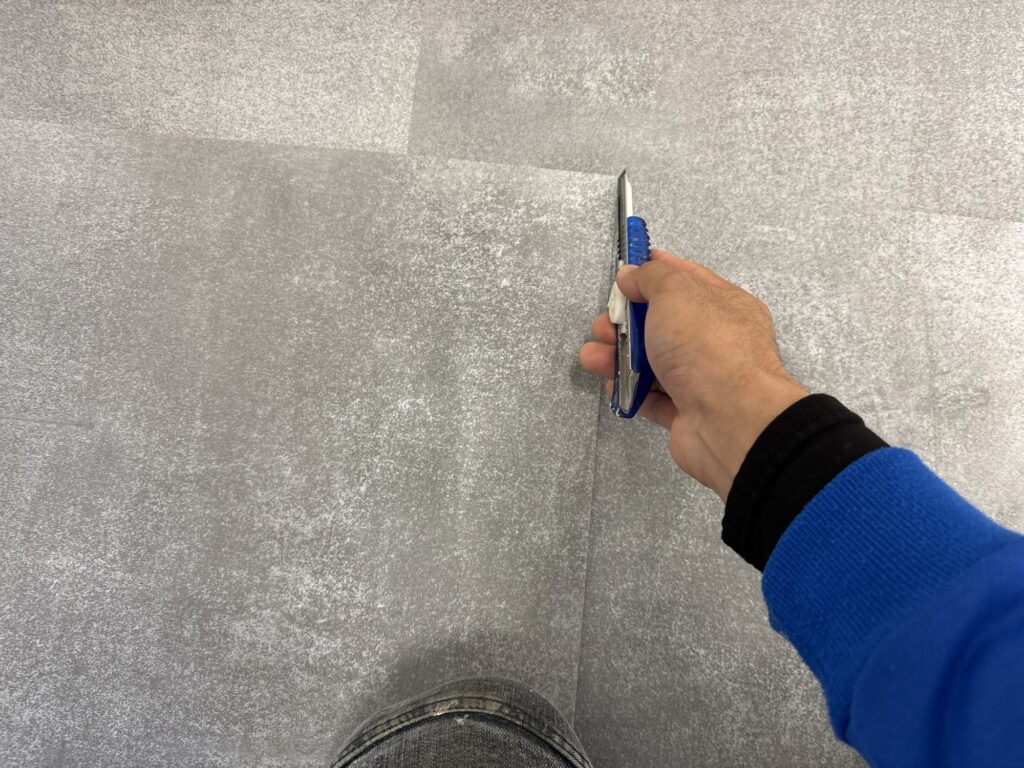
One important tip is to cut the tiles approximately 1 mm smaller than the measured opening.
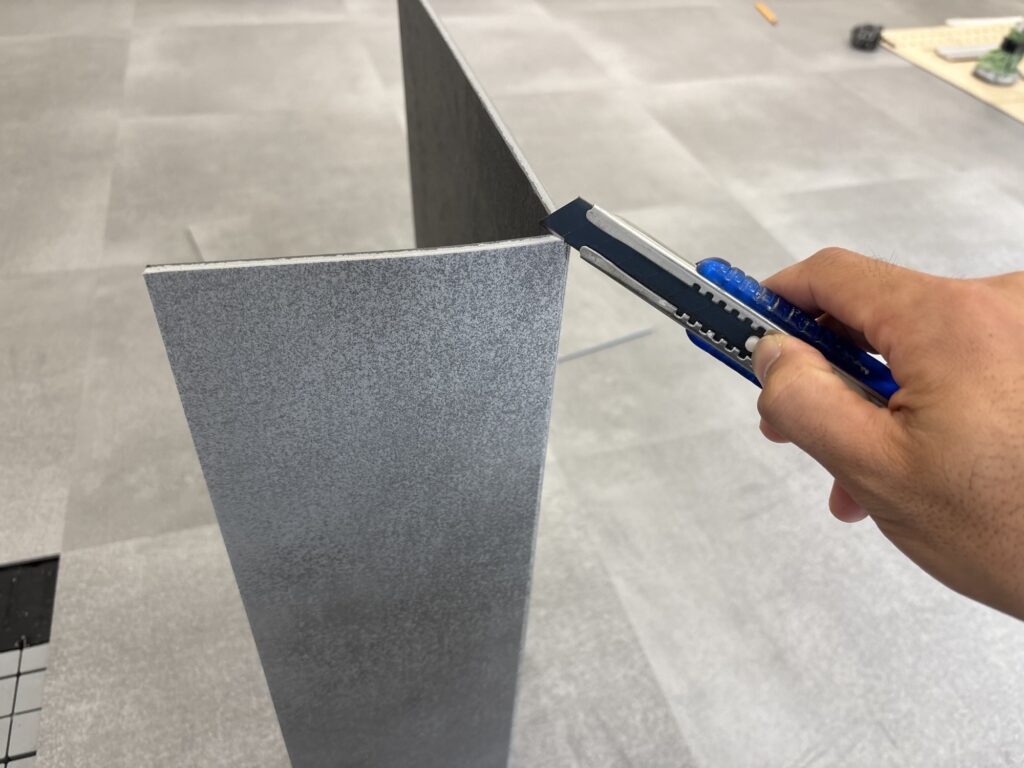
If a tile is even slightly too large, it may not fit properly. Forcing it into a tight space can cause problems later, including lifting or unevenness.
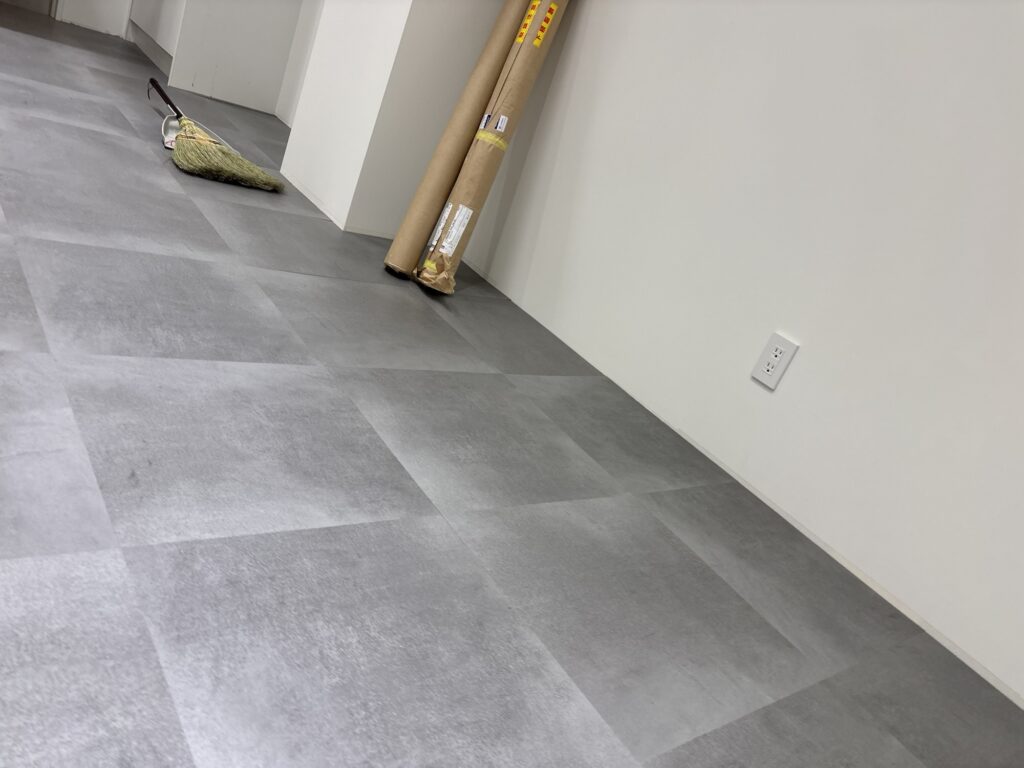
Careful measurement and small adjustments helped us achieve a neat fit along the walls.
6. Installing Soft Baseboards
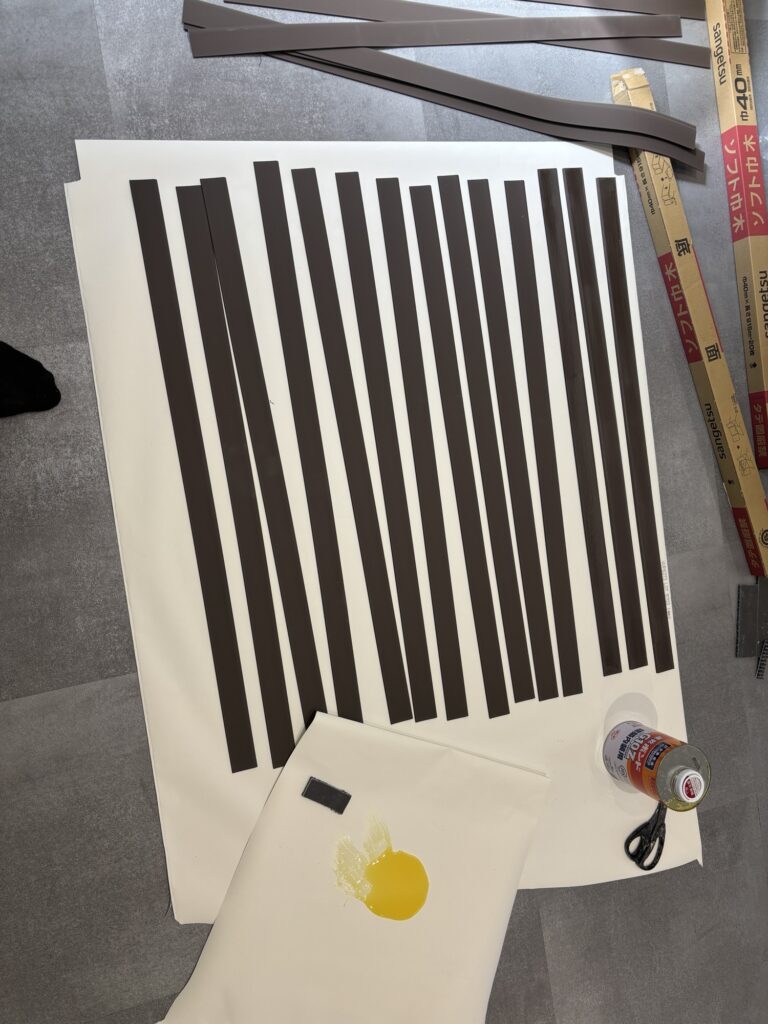
Once the floor tile installation was complete, we installed 40 cm-wide soft baseboard material along the walls.
To improve adhesion, we applied quick-drying contact adhesive to both the wall and the back of the baseboard.
After allowing the adhesive to dry appropriately, we pressed the baseboard into position.
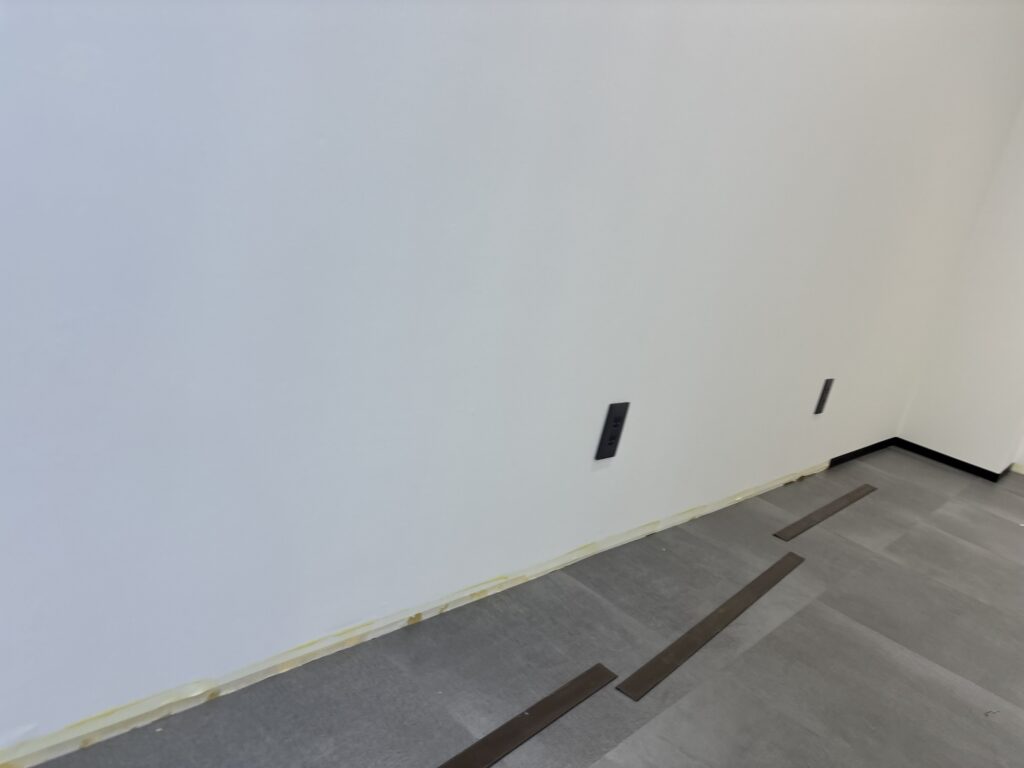
The outside corners required extra attention.
To wrap the baseboard neatly around an outside corner, I made a light cut on the back of the material along the section that needed to bend.
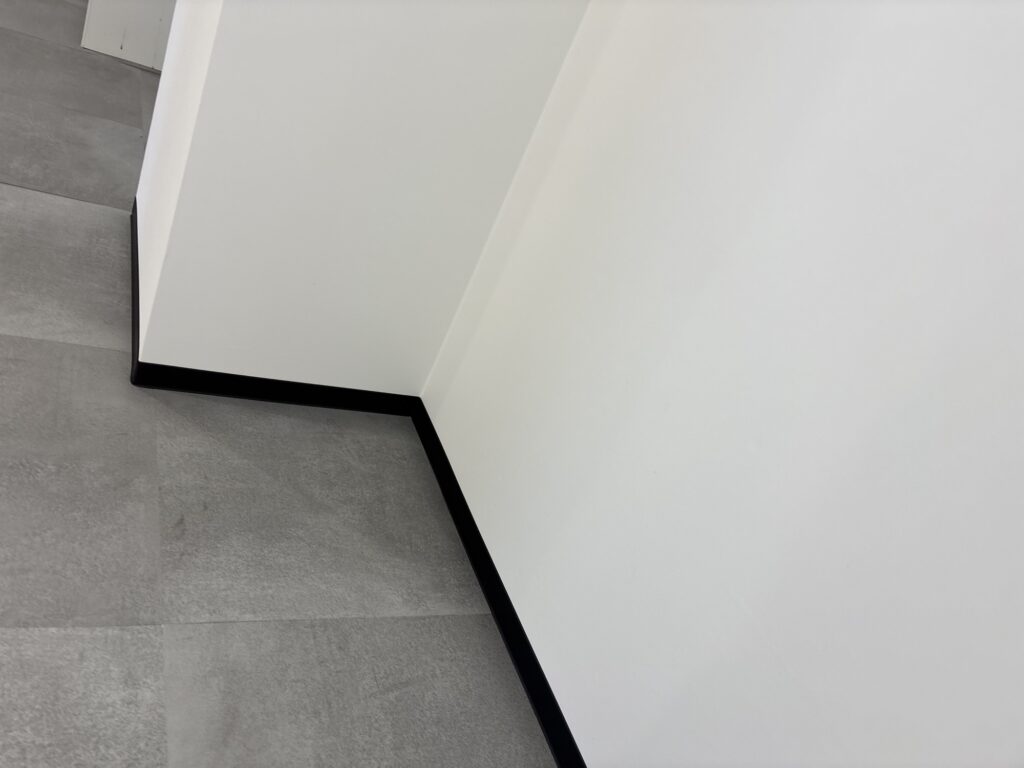
This allowed the baseboard to wrap around the corner more smoothly without creating an untidy fold on the visible surface.
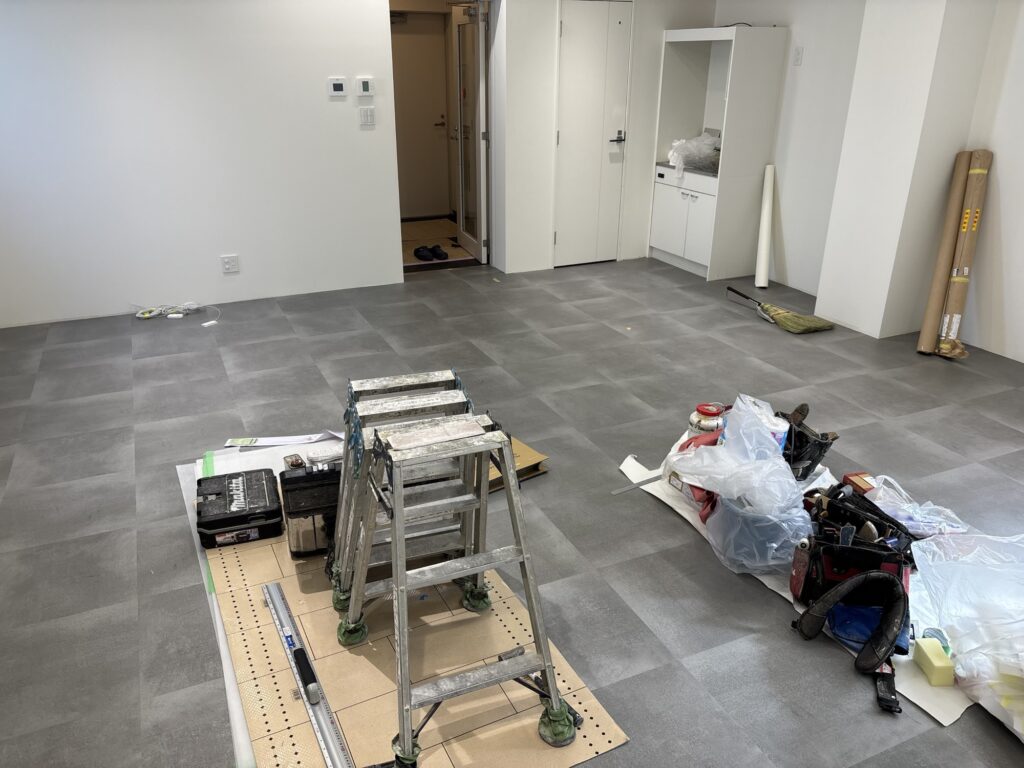
After completing the baseboard installation, we cleaned the work area and checked the finished surfaces.
The work was complete after approximately eight hours.
Tools and Materials Used
The following tools and materials were used during this project:
- Wallpaper and adhesive: Thin white wallpaper, black accent wallpaper, and wallpaper adhesive.
- Seam tape: Used beneath wallpaper edges when double-cutting the seams.
- Seam roller: Used to bring wallpaper joints together and improve the finish.
- Wallpaper smoother: Used to press the wallpaper into corners and create clean trimming edges.
- Utility knife: Used for cutting wallpaper, floor tiles, and baseboard material.
- Straightedge: Used as a guide for accurate floor tile measurements and cuts.
- 50 cm × 50 cm floor tiles: Used to replace the existing floor finish.
- Soft baseboards: Used to finish the junction between the floor and walls.
- Quick-drying contact adhesive: Applied to both surfaces to improve baseboard adhesion.
- Cleaning supplies: Used to remove debris and leave the work area clean.
Professional Tips for Better Results
1. Use Seam Tape When Working with Thin Wallpaper
Thin wallpaper can be difficult to align perfectly at the joints.
Using seam tape beneath the edges allows you to cut through both layers without directly cutting into the wall surface. Always control the blade pressure carefully to protect the gypsum board.
2. Remove Air Bubbles Before They Become Wrinkles
Long wallpaper sections can trap air and develop wrinkles.
Work gradually from one area to the next, smoothing the material as you go. If a wrinkle develops, lift the wallpaper carefully and reposition it rather than forcing it flat.
3. Keep Wallpaper Adjustable Around Obstacles
When installing wallpaper around ventilation openings, cabinets, toilets, and plumbing fixtures, avoid pressing the material firmly into place before confirming its alignment.
Keeping the wallpaper adjustable gives you more control and reduces the risk of creases or misplaced seams.
4. Create a Defined Corner Before Trimming
When trimming wallpaper at a corner, use a wallpaper smoother or suitable trimming guide to establish a firm edge.
A clearly defined corner helps the blade follow a straight line and reduces the chance of an uneven cut.
5. Maintain Straight Lines When Replacing Floor Tiles
When replacing several rows of floor tiles, check the alignment frequently.
Small errors can accumulate across multiple rows, making the finished layout look uneven. Work in manageable sections and use existing reference lines where appropriate.
6. Cut Floor Tiles Slightly Smaller Than the Opening
Accurate measurements are essential when cutting tiles at the edges of a room.
For this project, cutting approximately 1 mm smaller than the measured opening helped prevent the tiles from fitting too tightly.
The exact clearance depends on the tile product, installation method, and manufacturer’s instructions, so always confirm the appropriate fit for the material being used.
7. Prepare Both Surfaces Before Installing Soft Baseboards
Applying the appropriate adhesive to both the wall and the back of the baseboard can improve adhesion when using contact adhesive.
Follow the product instructions for surface preparation, drying time, and application. Press the material firmly into position once the adhesive is ready.
8. Make Light Relief Cuts for Outside Corners
When wrapping flexible baseboard material around an outside corner, a carefully controlled cut on the back can help the material bend neatly.
The cut should be shallow enough to avoid damaging the visible surface or weakening the material unnecessarily.
Related Project
First Time Removing a Toilet: Preparing a Commercial Bathroom for Floor Tile Installation
Common Mistakes to Avoid
1. Cutting Too Deep When Double-Cutting Wallpaper
Cutting too deeply can damage the gypsum board beneath the wallpaper. This may create problems with the surface and affect the final finish.
Use a sharp blade and adjust the pressure carefully.
2. Pressing Wallpaper into Place Too Early
Once wallpaper adhesive contacts the wall, repositioning the material can become difficult.
Check the alignment first, especially when installing dark accent wallpaper or working around plumbing fixtures.
3. Forcing Wallpaper into Tight Spaces
Trying to push wallpaper into a narrow gap can cause stretching, wrinkles, or tears.
Work in stages and trim the excess material carefully where necessary.
4. Making Uneven Cuts on Accent Wallpaper
Dark wallpaper can make irregular edges especially noticeable.
Use a suitable trimming guide and take your time to produce a straight, clean cut.
5. Allowing Floor Tile Lines to Drift
If the first few rows are not straight, the misalignment can become more obvious as the installation progresses.
Check the layout regularly instead of waiting until the entire floor is finished.
6. Cutting Floor Tiles Too Large
An oversized tile may not fit into the available space. Forcing it into position can damage the edges or contribute to lifting.
Measure carefully and test the fit before final installation.
7. Applying Baseboard Adhesive Incorrectly
Installing soft baseboards before the adhesive is ready, or failing to prepare the surfaces properly, can result in poor adhesion.
Follow the adhesive manufacturer’s instructions and ensure the surfaces are suitable for bonding.
Related Project
Ceiling Wallpaper Replacement on the 8th and 6th Floors of a Commercial Building
What I Learned From This Project
This project reminded me that successful interior renovation depends on more than simply installing materials.
Thin wallpaper requires careful handling, particularly when working with long ceiling sections and precise joints. Even a small mistake in cutting pressure or alignment can affect the final appearance.
I also realized how important it is to plan the installation sequence when working in a small toilet. Existing fixtures restrict movement, so deciding where to start, where to trim, and how to position the wallpaper makes a significant difference.
The black accent wallpaper was another good example of why patience matters. Keeping the material adjustable until the alignment was correct made it easier to achieve a straight finish.
The floor tile replacement reinforced the importance of accurate measurements and consistent reference lines. Small cutting adjustments can make the difference between a tile that fits properly and one that creates problems later.
Finally, I learned that finishing details such as soft baseboards are just as important as the main installation work. Clean corners, good adhesion, and thorough cleanup help make the entire room look complete.
By combining careful preparation with practical experience, we were able to finish the wallpaper, floor tile, and baseboard work within approximately eight hours.
Frequently Asked Questions (FAQ)
1. Why is thin wallpaper difficult to install?
Thin wallpaper can show wrinkles, trapped air, and uneven joints more easily than thicker materials. It also requires careful handling because excessive pressure during trimming can damage the underlying wall.
2. What is double-cutting wallpaper?
Double-cutting is a technique in which two overlapping wallpaper layers are cut together to create matching edges. When appropriate seam tape is used beneath the cut, it can help protect the wall surface from the knife.
3. Why is seam tape useful when installing wallpaper?
Seam tape can help protect the wall surface during double-cutting. It is particularly useful when working with delicate wallpaper or materials that require precise joint alignment.
4. How do you install wallpaper around a toilet?
First, assess the available working space and plan the installation sequence. Position the wallpaper carefully, trim the excess where necessary, and work gradually around the toilet and plumbing fixtures without stretching or creasing the material.
5. How do you prevent wrinkles around a ceiling ventilation opening?
Align the wallpaper gradually as you approach the opening. If wrinkles appear, carefully lift the affected section, adjust its position, and smooth it back into place rather than forcing the material down.
6. Why should floor tiles be cut slightly smaller than the opening?
A small amount of clearance can make it easier to fit a tile into the available space. In this project, we aimed for approximately 1 mm of clearance, but the correct allowance depends on the material and installation requirements.
7. How do you keep replacement floor tiles aligned?
Work in manageable sections, establish straight reference lines, and check the alignment regularly. Keeping the first rows straight helps prevent errors from accumulating across the floor.
8. Why use contact adhesive for soft baseboards?
Suitable contact adhesive can provide a strong bond between the wall and the baseboard when both surfaces are prepared and the product is applied correctly. Always follow the manufacturer’s instructions.
9. How can soft baseboards be wrapped neatly around outside corners?
For suitable flexible baseboard materials, a light relief cut on the back can help the material bend around the corner. The cut must be controlled to avoid damaging the front surface.
10. How long did this commercial renovation project take?
The work took approximately eight hours. The three-person team completed the remaining wallpaper installation, floor tile replacement, soft baseboard installation, and cleanup.
Conclusion
This commercial interior renovation on the eighth floor involved several different finishing tasks, including hallway ceiling wallpaper, toilet wallpaper, black accent wallpaper, floor tile replacement, and soft baseboard installation.
Although the work involved some challenging areas, particularly around the toilet fixtures and ceiling ventilation opening, careful planning and precise cutting helped us achieve a clean finish.
The floor tile replacement was also more straightforward than the previous project on the sixth floor because the new and existing tiles had matching dimensions.
After approximately eight hours of work, we completed the installation and cleaned the site.
As a wallpaper installer in Japan, I enjoy sharing these real job-site experiences because they show the practical techniques, challenges, and attention to detail involved in professional interior finishing.
I hope this report helps other installers, renovation professionals, and anyone interested in Japanese interior construction.
Thank you for reading, and see you in the next project!


Comments