
Project Data
- Project Type: Commercial Interior Renovation – Wallpaper Installation
- Location: Japan
- Building Type: Commercial Property
- Number of Rooms: 3 Small Rooms
- Room Size: Approximately 7 m² per room
- Work Area: Ceilings and Walls
- Wall Substrate: Newly installed gypsum board and existing mortar surfaces
- Crew: 3 Wallpaper Installers
- Additional Trades on Site: Approximately 4 Carpenters, Electricians, and Other Workers
- Working Time: Approximately 6 Hours
- Wallpaper: Thin black wallpaper
- Additional Job: Partial wallpaper replacement in a 1LDK apartment
- Second Job Working Time: Approximately 1.5 Hours
Installation Data
- Ceiling Wallpaper: 155 cm × 90 cm × 2 pieces per room
- Wall Wallpaper: 260 cm × 90 cm × 8 pieces
- Wallpaper Type: Thin, dark-colored material
- Adhesive: Thinned slightly more than usual
- Joint Treatment: Black joint caulk used at room corners
- Surface Preparation: Sanding, re-puttying, finishing putty, and final cleaning
⸻
Introduction
Today’s project was a commercial interior renovation job requested by a construction company.
We were responsible for installing wallpaper on the walls and ceilings of three small rooms. There were three of us, so each installer was assigned one room.
Each room was approximately 7 square meters, and the ceilings and walls had been newly covered with gypsum board. The mortar sections of the walls were existing and remained as they were.
There were also about four other workers on site, including carpenters and electricians.
With a total of around seven workers working in such a small space, one of the biggest challenges was simply finding enough room to work.
We had to be careful not to get in the way of the other trades. Whenever possible, we moved tools and equipment that we were not using outside the room to keep the work area clear.
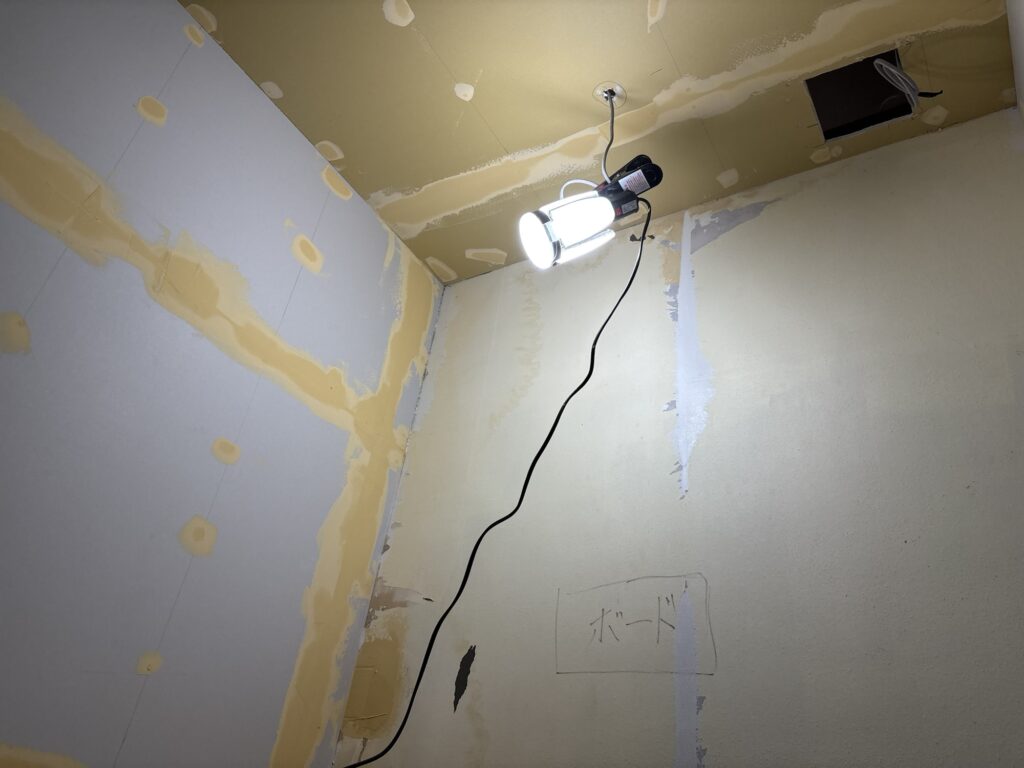
When we arrived, the walls had already received finishing putty. However, there were noticeable differences in height in some areas, and some of the gypsum board joints had not been properly filled.
Because the surface was not ready for wallpaper installation, we had to start by correcting the substrate.
⸻
Project Report – Step-by-Step
1. Checking the Existing Putty
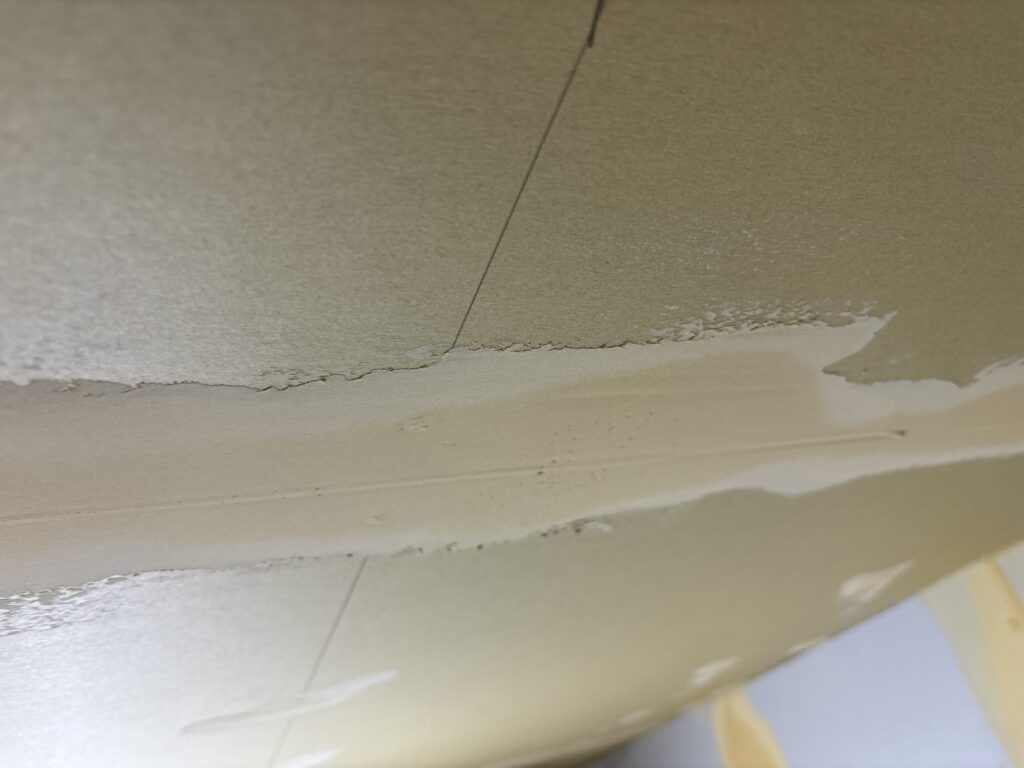
The first thing we did was inspect the walls and ceilings carefully.
Although the finishing putty had already been applied, some areas had raised sections and uneven surfaces.
There were also grooves remaining at some of the gypsum board joints.
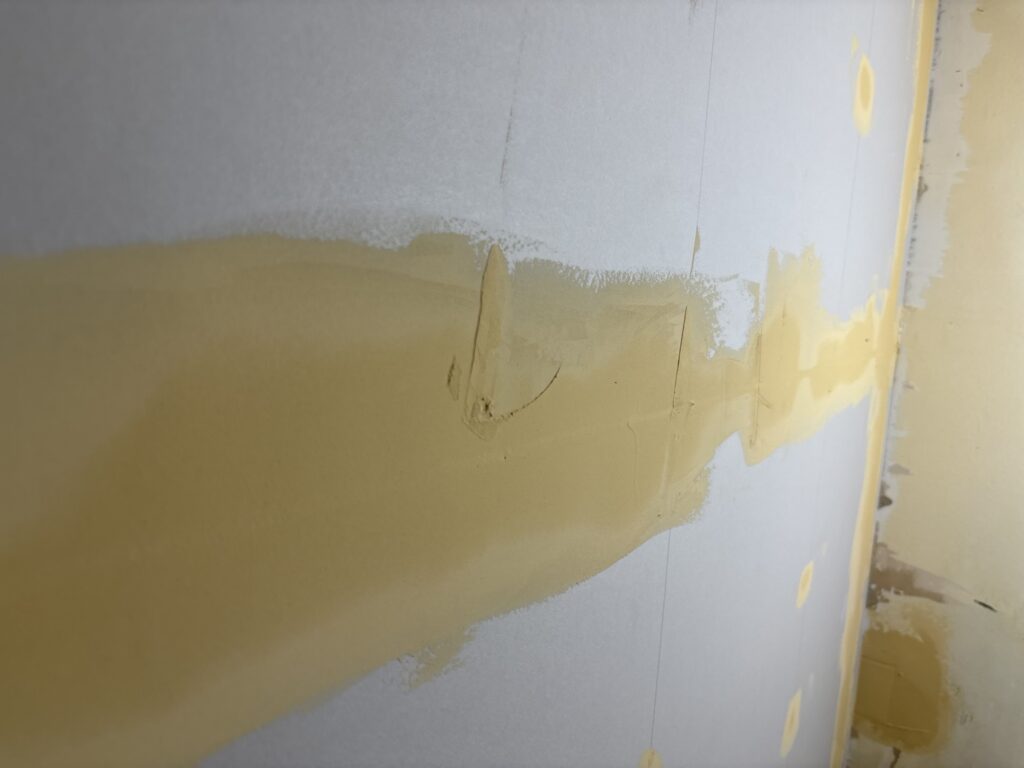
This is a problem because wallpaper, especially thin wallpaper, can easily reveal imperfections underneath.
The wallpaper we were installing was particularly thin and black, making surface imperfections even easier to see.
For this type of material, careful surface preparation is extremely important.
⸻
2. Sanding Down the Uneven Areas
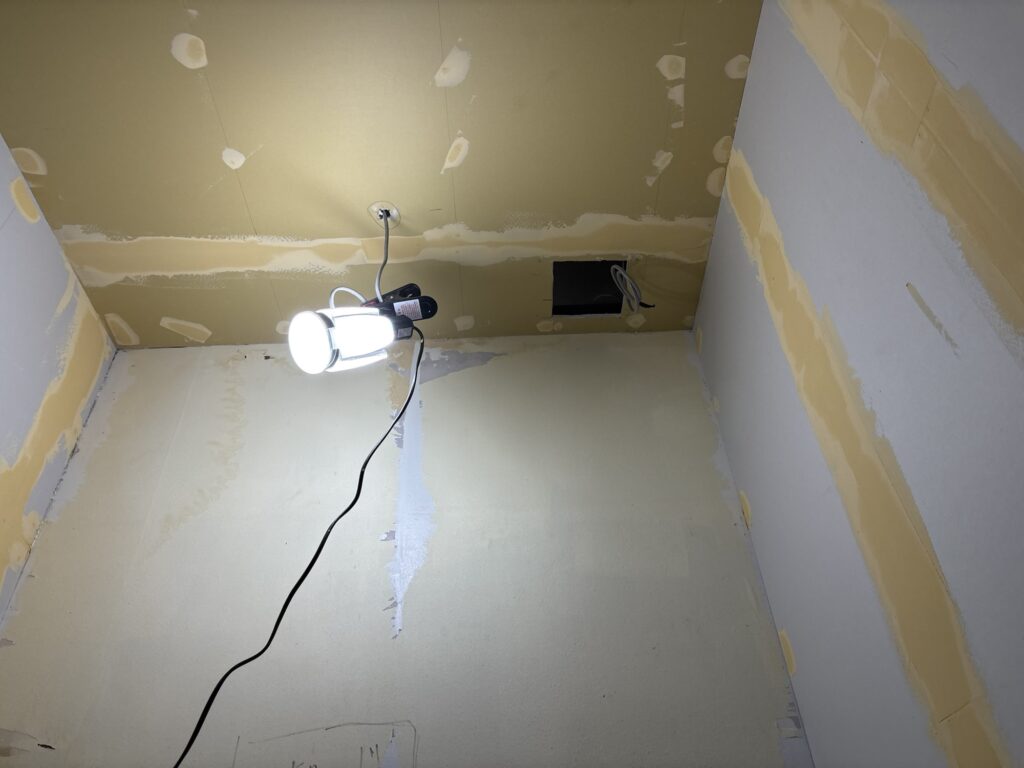
We started by sanding down the raised areas with a sander.
There were also uneven areas around the screw heads, so we carefully sanded each one.
One reason putty can create raised areas is the way the putty knife is held.
If the putty knife is held too flat against the surface instead of being kept at the proper angle, too much putty can be left behind.
This creates unnecessary thickness and makes the surface uneven.
If the putty knife is not held properly and the surface is left uneven, a lot more sanding will be required later.
For that reason, it is important to apply the putty while keeping the blade at the correct angle and avoiding unnecessary buildup.
⸻
3. Reapplying the Base Putty
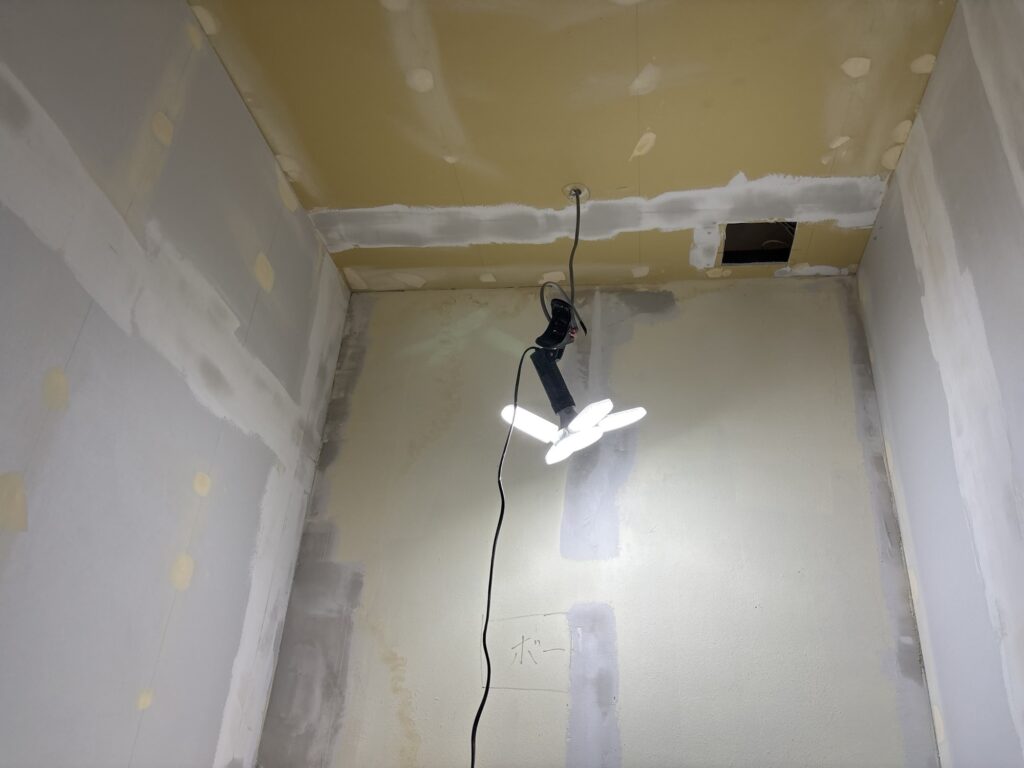
After sanding the entire surface, we reapplied the base coat of putty.
One important point during this repair was to apply the new putty wider than the original damaged or uneven area.
By spreading the putty over a wider area, we could gradually level out the surface instead of creating another noticeable step.
This is especially useful when repairing areas where the original putty was too thick.
After applying the base putty, we allowed it to dry completely.
⸻
4. Applying the Finishing Putty
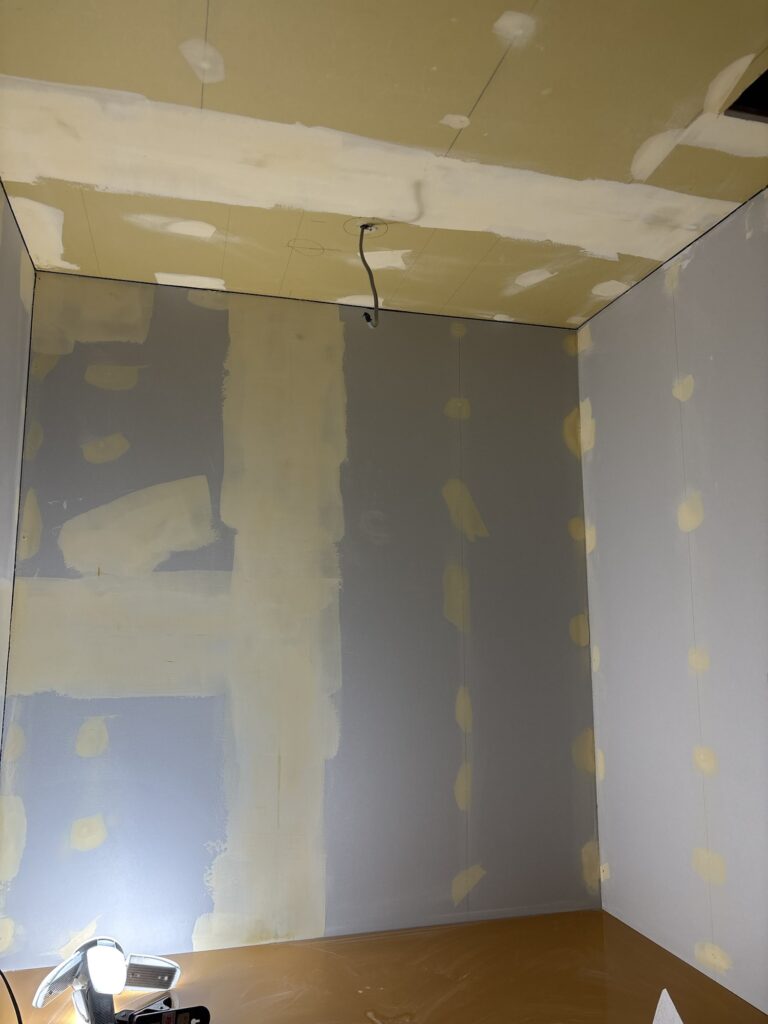
Once the base putty had dried, we applied the finishing putty.
The goal was to create a smooth and level surface that would not show through the wallpaper.
This step is particularly important when using thin, dark wallpaper.
A thick or uneven substrate may become visible after the wallpaper is installed, so spending extra time on the preparation stage can make a major difference in the final appearance.
⸻
5. Final Sanding and Cleaning
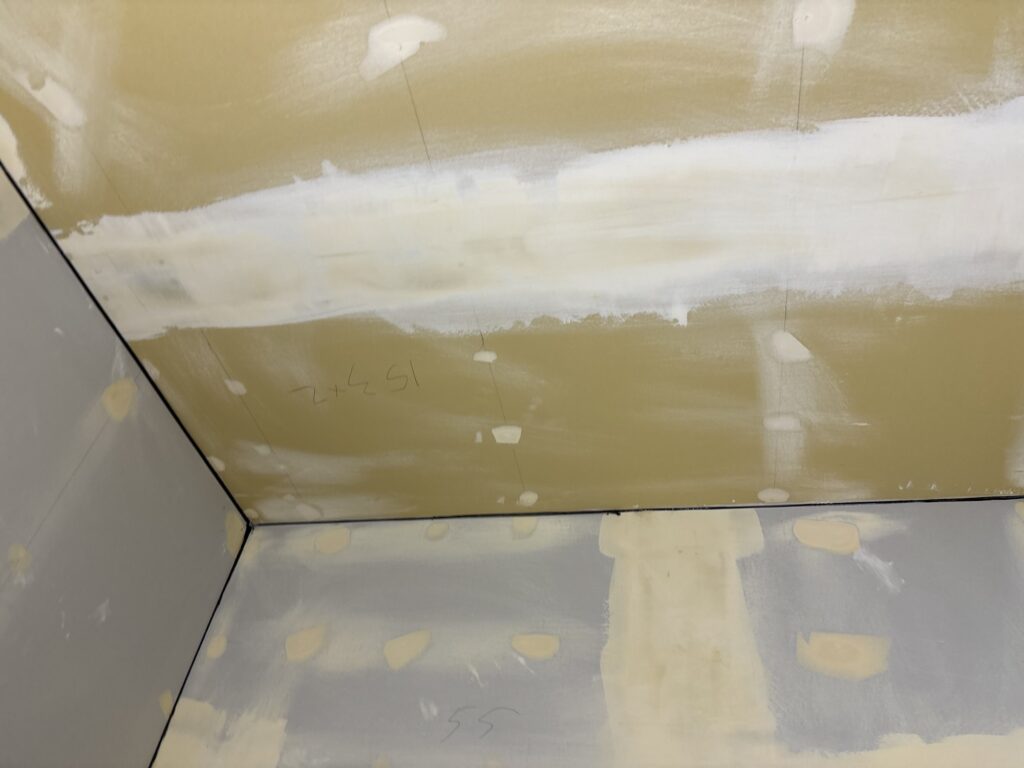
After the finishing putty had dried, we sanded the surface again.
Once the sanding was complete, we first cleaned the room thoroughly with a broom.
We then wiped the surfaces with a damp cloth to remove the remaining putty dust.
This was especially important because the wallpaper was black.
If the room is still covered in white putty dust, the dust can easily get onto the wallpaper during installation and become very noticeable.
Keeping the work area clean is therefore not just about appearance. It can directly affect the quality of the finished installation.
⸻
Preparing the Thin Wallpaper
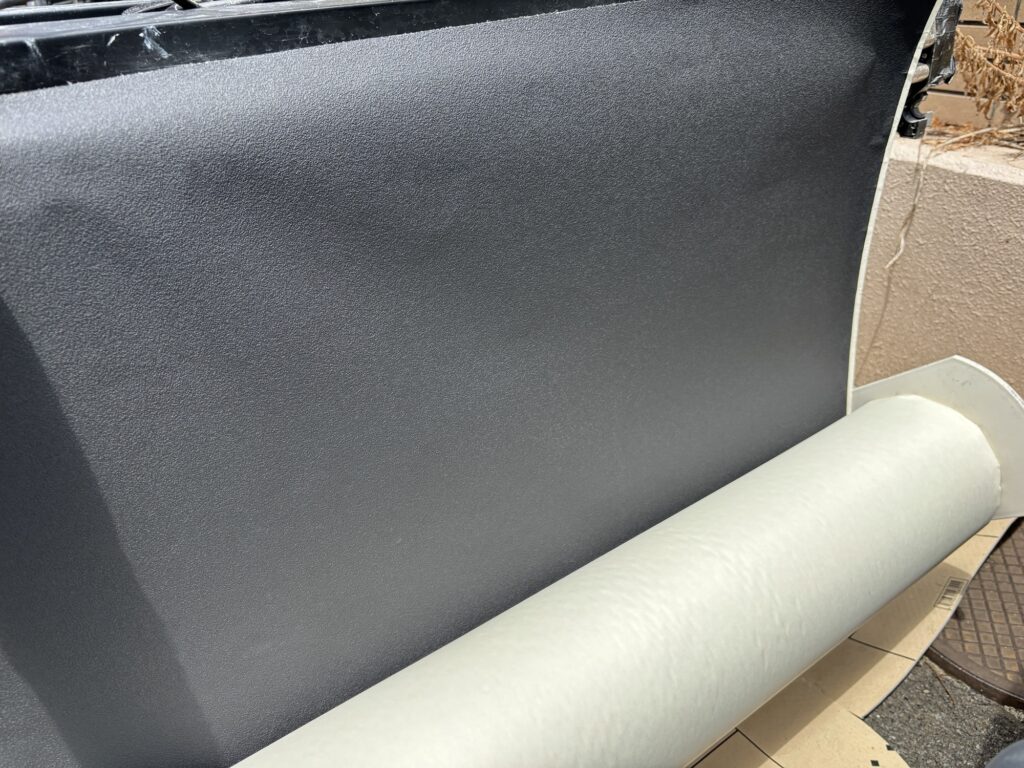
The wallpaper used for this project was thin and relatively difficult to handle.
For the ceiling, we needed two pieces measuring approximately 155 cm long × 90 cm wide.
For the walls, we prepared eight pieces measuring approximately 260 cm long × 90 cm wide.
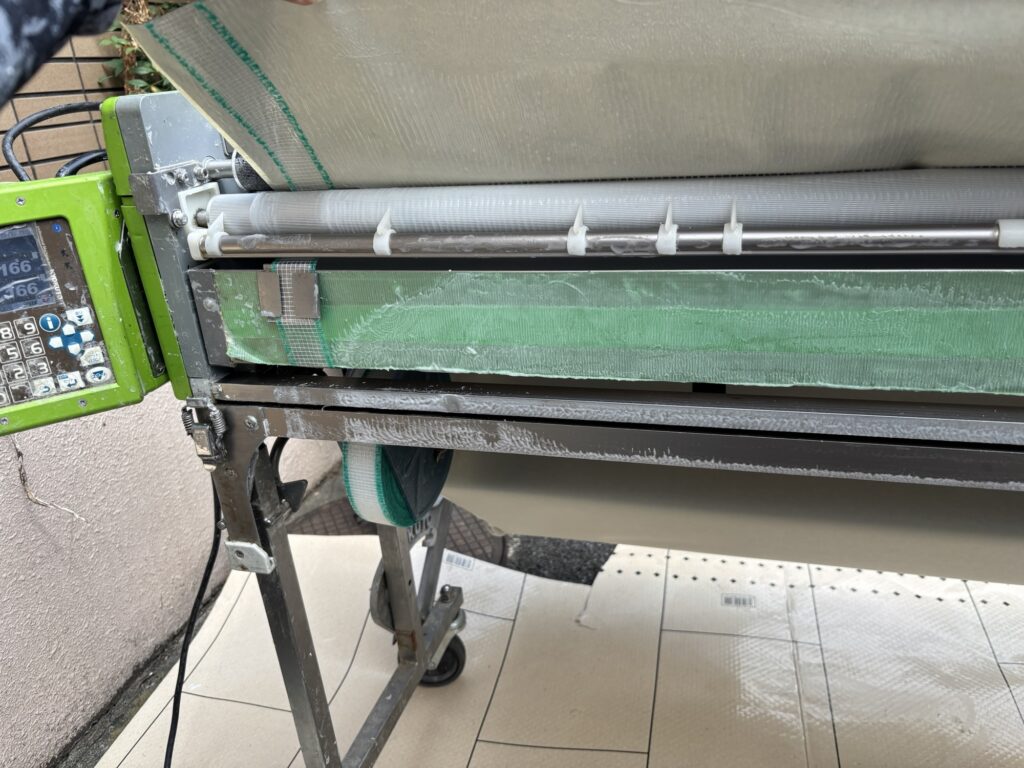
Because the material was thin, we used our wallpaper pasting machine with orange and green backing tapes to help feed and handle the material properly.
We also mixed the adhesive with slightly more water than usual and set it to a thinner consistency.
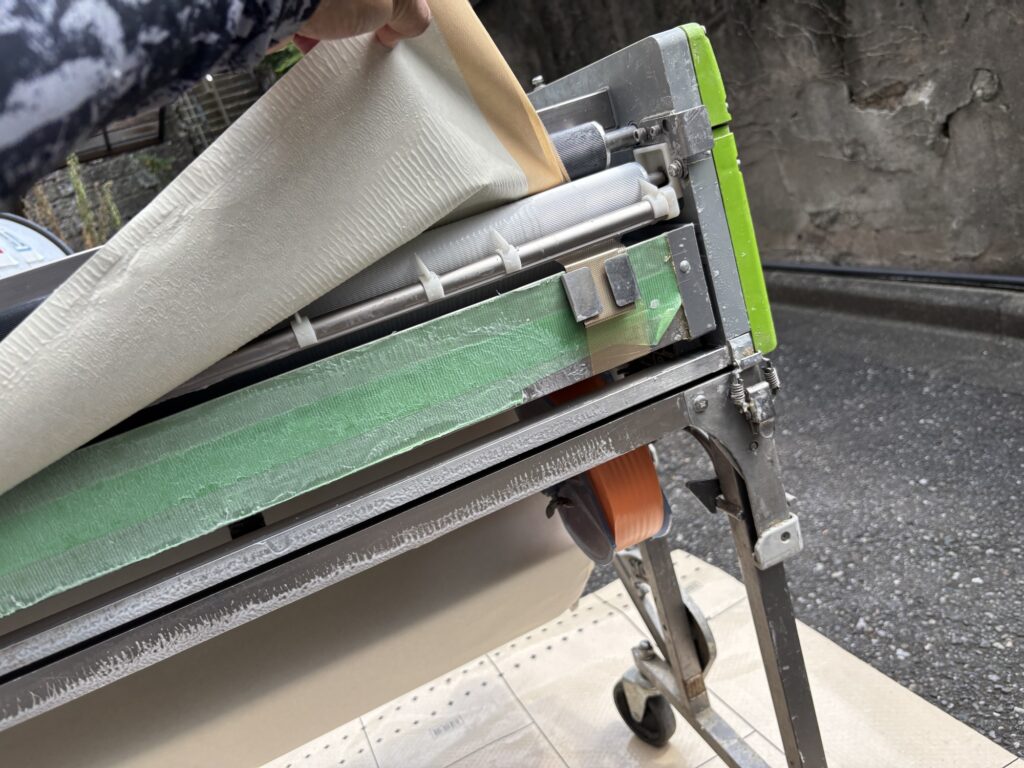
When working with thin wallpaper, overly thick adhesive can create areas where the glue becomes trapped underneath the material.
This can make the wallpaper more difficult to position and smooth out.
The adhesive consistency therefore needs to be adjusted depending on the material.
⸻
Applying Black Joint Caulk
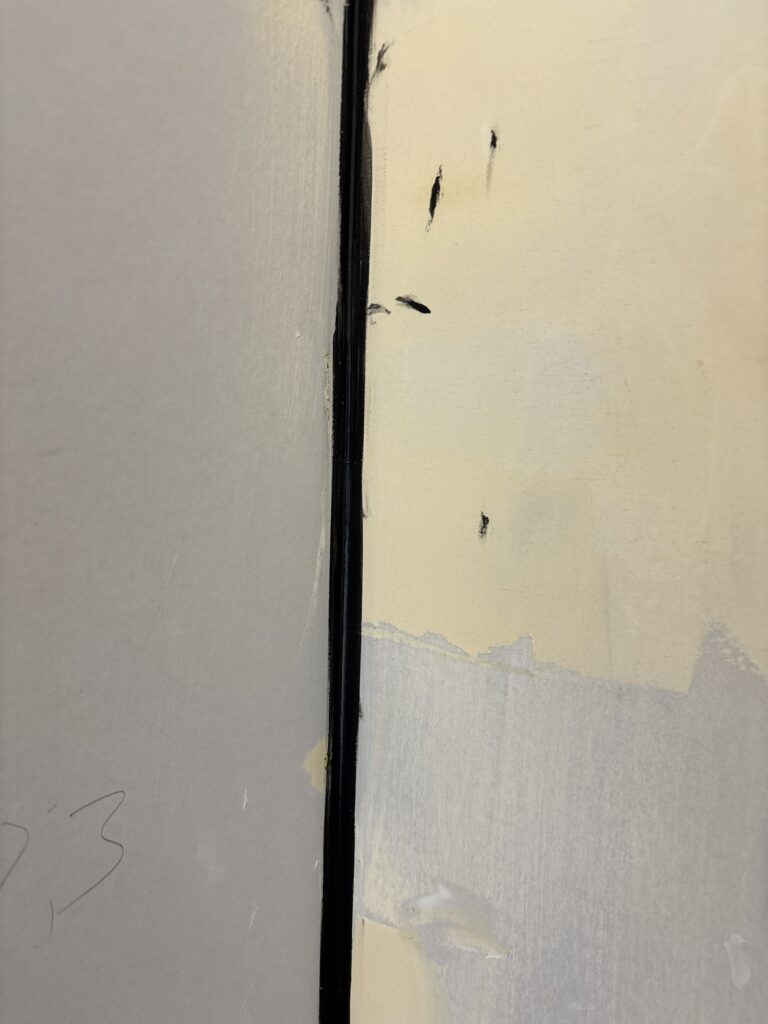
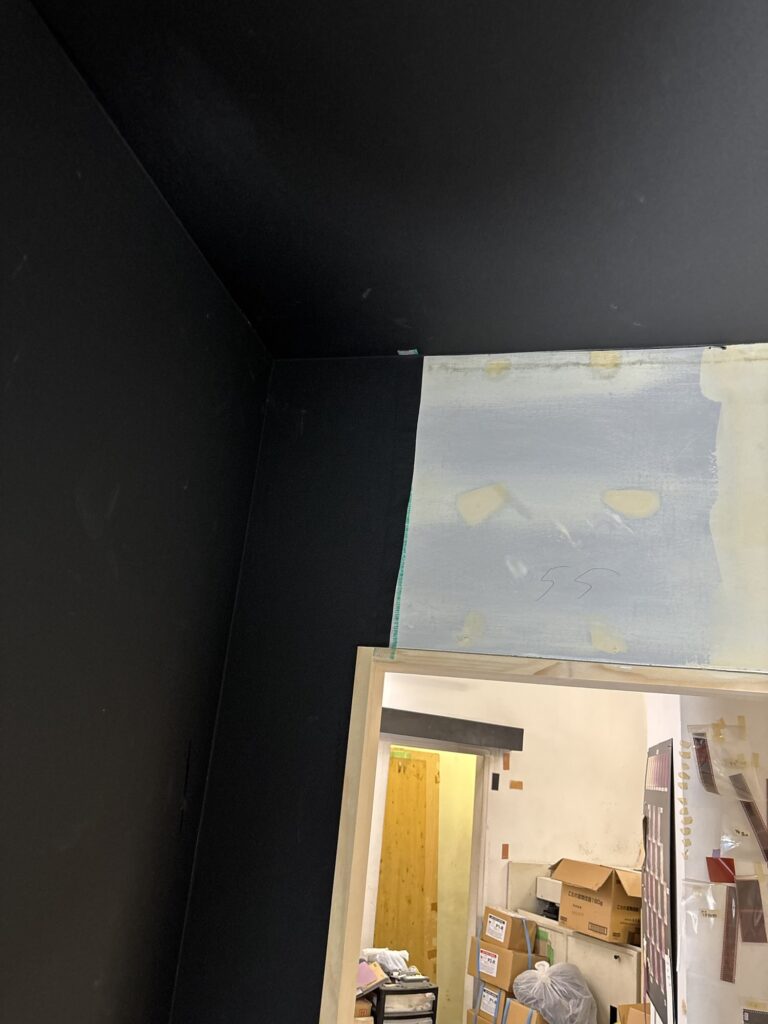
Before installing the wallpaper, we applied black joint caulk to the gaps in the four corners of the rooms.
The reason for doing this was to prevent the white edge of the wallpaper from becoming visible after cutting the material at the corners.
With black wallpaper, even a small white line at a corner can stand out.
Using black caulk helps create a cleaner and more consistent appearance.
It is a small detail, but it can make a noticeable difference in the finished result.
⸻
Installing the Wallpaper
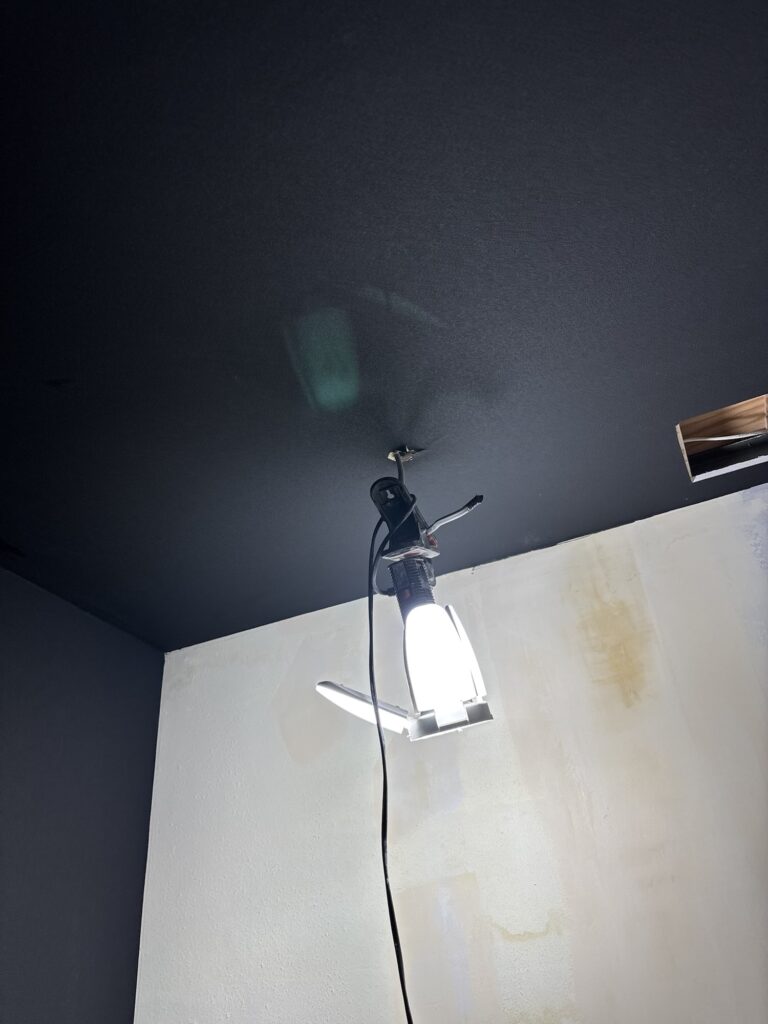
Before starting the installation, we marked reference lines with a chalk line.
Keeping the first piece straight was especially important because even a small deviation could become more noticeable as the installation continued.
We carefully aligned the wallpaper with the reference line and installed it while maintaining a straight position.
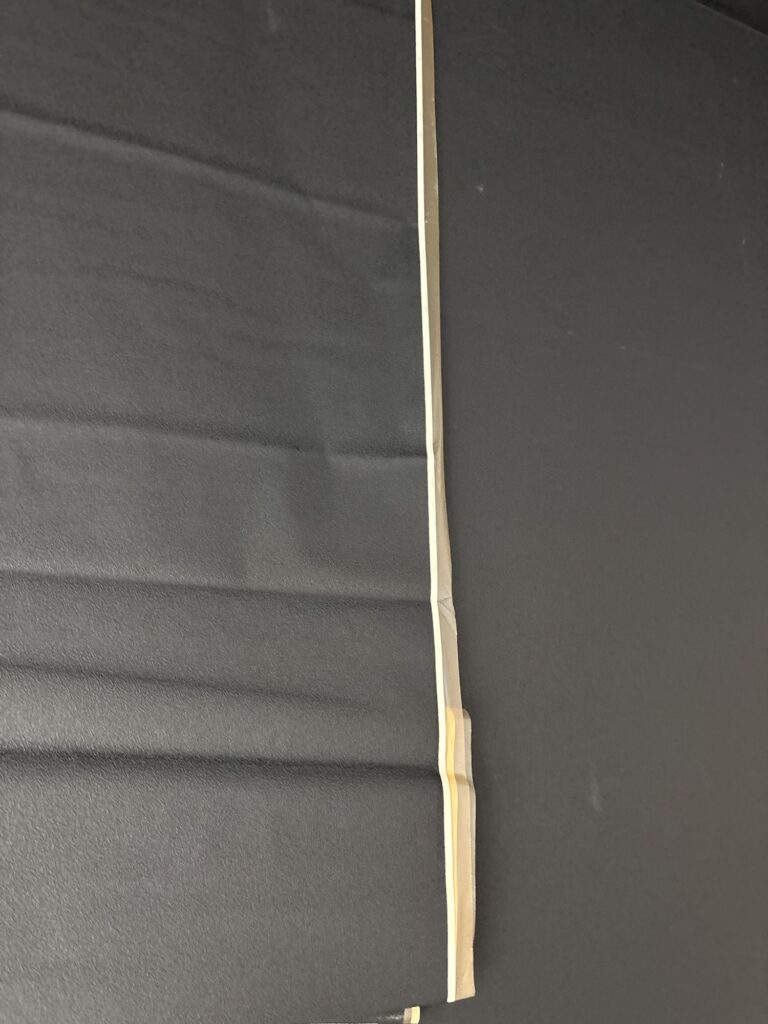
For the joints, we used a double-cut technique while applying enough pressure to cut through the wallpaper without damaging the gypsum board underneath.
When working on gypsum board, it is important not to cut too deeply.
A deep cut can damage the board surface and create additional problems during future repairs or wallpaper replacement.
⸻
Cleaning the Finished Wallpaper
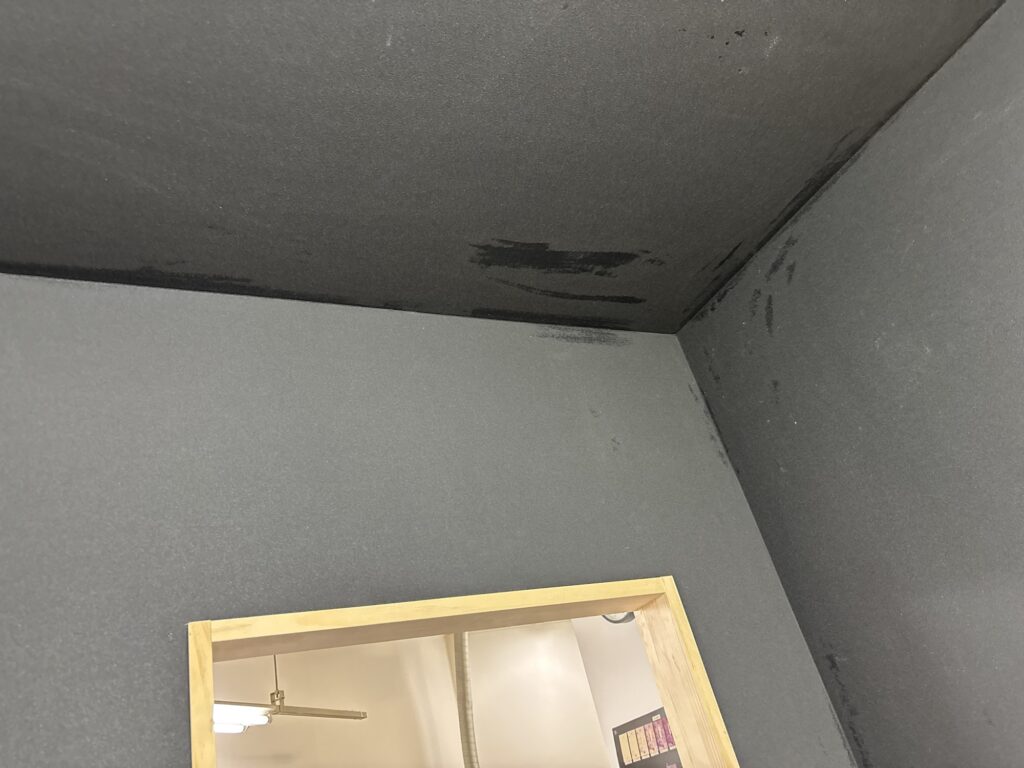
After the wallpaper installation was complete, we noticed that some putty dust had gotten onto the wallpaper.
We wiped the surface with a damp cloth.
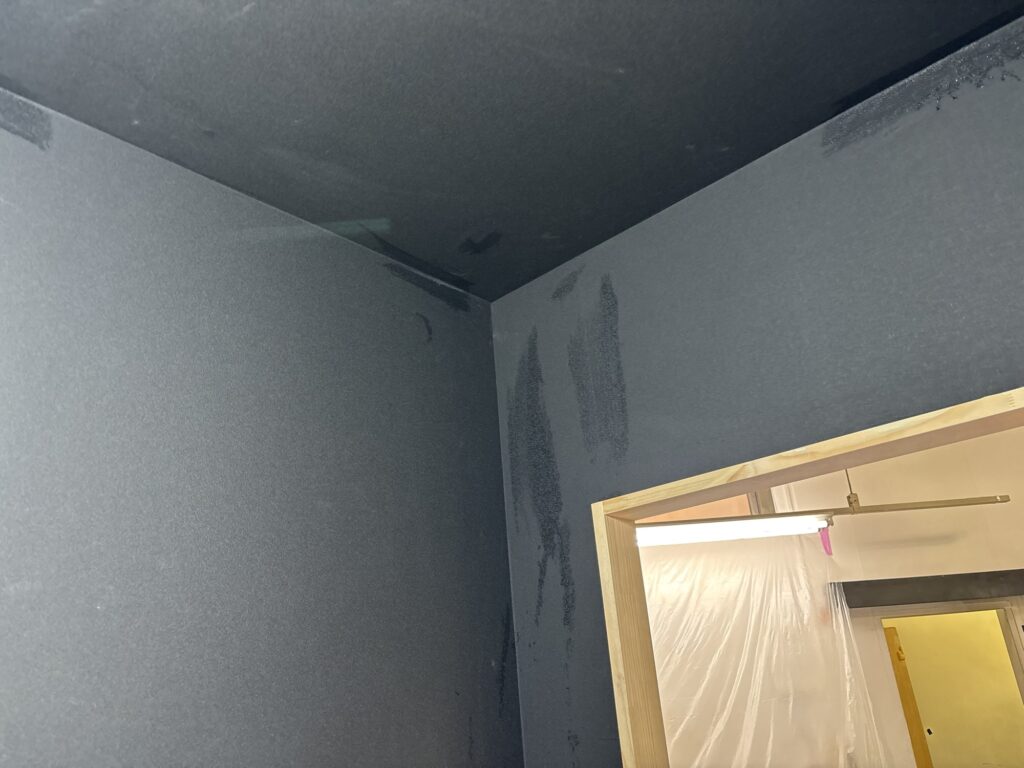
However, the dust was surprisingly difficult to remove in some areas.
This was another reminder of how important it is to thoroughly clean the room before beginning wallpaper installation, especially when working with dark-colored materials.
⸻
Working in a Crowded Job Site
Another challenge on this project was the limited working space.
There were three wallpaper installers plus approximately four other trades working in the same area.
Because the rooms were small, it was difficult for everyone to move around freely.
We therefore kept unnecessary tools outside the rooms and only brought in the equipment we needed at each stage.
Good organization is particularly important when multiple trades are working in a confined space.
Keeping the floor and working area clear not only makes the job easier but also reduces the chance of damaging other workers’ tools or materials.
⸻
The First Job – Completed in Six Hours
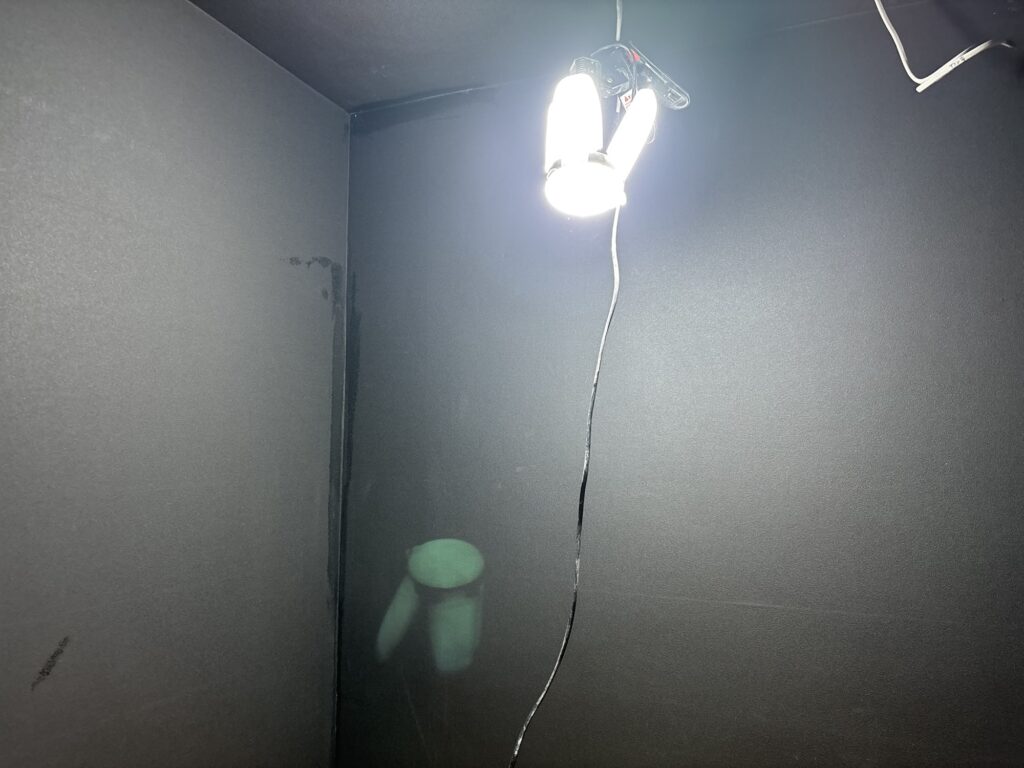
The first job took approximately six hours to complete.
The surface preparation required more time than expected because we had to sand down the existing putty and rework the substrate before we could even begin installing the wallpaper.
The thin black wallpaper also required more attention than a standard wallpaper material.
Once everything was completed and cleaned up, we finished the first job.
At that point, I was ready to head home.
However, there was one more job scheduled for the same day.
⸻
The Second Job – Partial Wallpaper Replacement
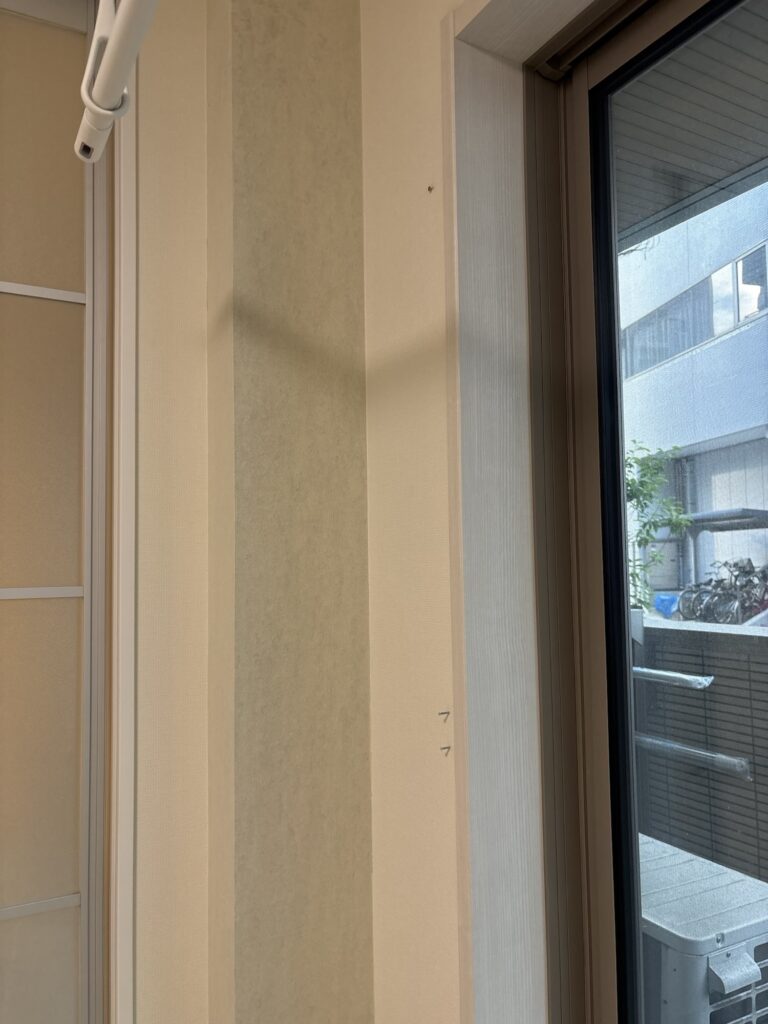
After finishing the first project, we moved to a second job.
This was a 1LDK apartment where approximately 15 meters of wall wallpaper needed to be partially replaced.
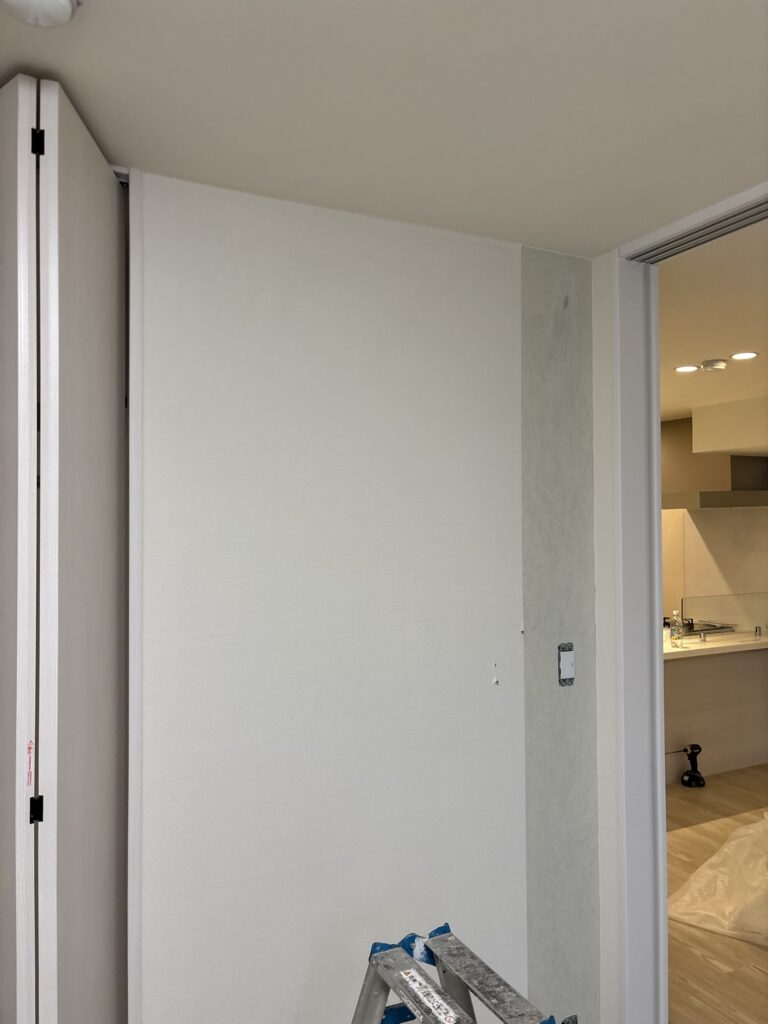
The property was relatively new, and when we removed the existing wallpaper, the substrate underneath was still in good condition.
Because there was no significant damage or unevenness, we were able to install the new wallpaper without applying additional putty.
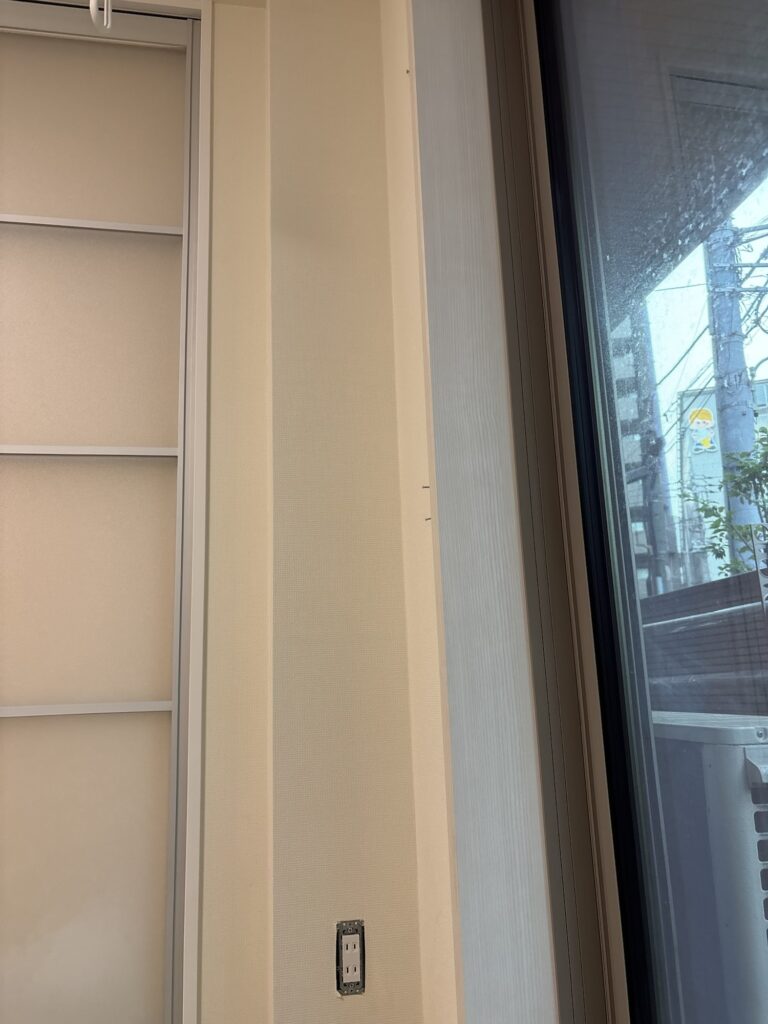
The wallpaper for this job was also thicker and white, which made it much easier to handle than the thin black material from the first project.
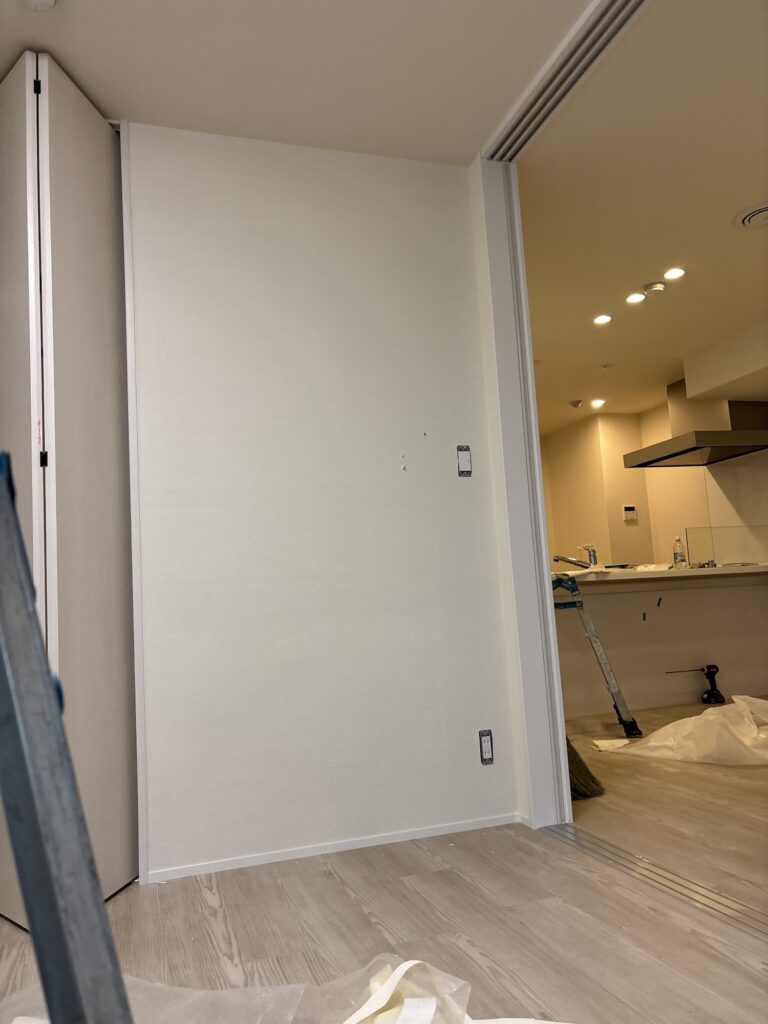
The second job took approximately 1.5 hours.
⸻
Tools Used
The main tools and equipment used during the project included:
- Wallpaper pasting machine
- Wallpaper smoothing tools
- Wallpaper cutting knife
- Putty knives
- Sanding tools / sander
- Chalk line
- Broom
- Damp cleaning cloths
- Black joint caulk
- Covering and protective materials
- Measuring tools
The exact tools required can vary depending on the condition of the substrate and the type of wallpaper being installed.
⸻
Professional Tips
1. Check the substrate before starting
Never assume that a surface is ready simply because finishing putty has already been applied.
Check for raised areas, grooves, screw-head imperfections, and other uneven sections before starting wallpaper installation.
2. Avoid applying too much putty
Keeping the putty knife at the correct angle can help prevent excessive buildup.
The more uneven the surface becomes, the more sanding will be required later.
3. Apply repair putty wider than the damaged area
When correcting an uneven area, spreading the new putty wider allows you to blend the repair gradually into the surrounding surface.
4. Adjust the adhesive to the wallpaper
Thin wallpaper may require a different adhesive consistency than thick wallpaper.
If the adhesive is too thick, it can become trapped under thin wallpaper and make installation more difficult.
5. Dark wallpaper requires extra preparation
Black and other dark-colored wallpapers can make small imperfections and contamination much more visible.
Take extra time to prepare and clean the substrate.
6. Keep the work area clean
Putty dust can easily contaminate wallpaper.
Always clean the room thoroughly before beginning installation.
7. Use matching caulk at corners
For dark wallpaper, using black joint caulk can help prevent white edges from becoming visible at corners.
⸻
Common Mistakes to Avoid
Applying Putty Too Thickly
Applying too much putty can create unnecessary raised areas.
This leads to additional sanding and can make surface preparation much more time-consuming.
Skipping the Surface Inspection
Even if another worker has already applied finishing putty, always inspect the surface yourself.
The person installing the wallpaper is ultimately responsible for making sure the substrate is suitable for the material.
Using Adhesive That Is Too Thick
Thick adhesive can be particularly difficult to work with when installing thin wallpaper.
It may create glue buildup underneath the material and make smoothing more difficult.
Cutting Too Deeply Into Gypsum Board
When double-cutting wallpaper, avoid cutting deeply enough to damage the gypsum board.
A controlled cut is important for both the wallpaper and the substrate.
Ignoring Dust Before Installation
White putty dust is especially noticeable on black wallpaper.
A dirty work area can quickly turn into a cleaning problem after the wallpaper has been installed.
Not Planning the Work Area
When multiple trades are working in a small room, leaving tools and materials everywhere can make the job unnecessarily difficult.
Only keep the equipment you actually need inside the room.
⸻
What I Learned From This Project
This project reminded me how much the difficulty of wallpaper installation depends on the material.
The first job involved thin black wallpaper, which required careful substrate preparation, precise adhesive adjustment, careful handling, and thorough cleaning.
The second job used thicker white wallpaper and had a good substrate underneath.
The difference was significant.
Even though both jobs involved wallpaper installation, the second job was much easier and faster.
It made me realize once again that material selection is extremely important when planning a wallpaper installation.
The condition of the substrate is also just as important.
A few extra minutes spent correcting the surface before installation can save a significant amount of time later.
I also learned that working efficiently in a crowded job site requires good organization.
With seven workers in a relatively small area, keeping unnecessary tools outside and maintaining a clear working space made a big difference.
⸻
FAQ
1. Why is surface preparation important before wallpaper installation?
Surface preparation is important because wallpaper can reveal imperfections underneath it. Thin wallpaper is especially sensitive to uneven surfaces, raised putty, and grooves.
2. Why can putty create raised areas?
One common reason is applying the putty while holding the putty knife too flat. This can leave too much material on the surface and create unnecessary thickness.
3. Why was black wallpaper more difficult to install?
The wallpaper itself was thin, which made it more difficult to handle. In addition, black wallpaper makes dust and substrate imperfections more noticeable.
4. Why did you use black joint caulk?
Black caulk helps prevent white edges from becoming visible where the wallpaper is cut at the corners.
5. Why did you thin the wallpaper adhesive?
Thin wallpaper can be more difficult to handle when the adhesive is too thick. A slightly thinner adhesive consistency can make installation smoother and reduce glue buildup underneath the material.
6. How do you prevent wallpaper dust contamination?
The room should be thoroughly cleaned after sanding and before wallpaper installation. Sweeping and wiping the surfaces with a damp cloth can help remove remaining putty dust.
7. Why is cutting depth important when double-cutting wallpaper?
Cutting too deeply can damage the gypsum board underneath. The goal is to cut the wallpaper cleanly while minimizing damage to the substrate.
8. How long did the first job take?
The first commercial job took approximately six hours with three wallpaper installers.
9. How long did the second job take?
The second job, which involved approximately 15 meters of partial wallpaper replacement, took about 1.5 hours.
10. Is thicker wallpaper easier to install than thin wallpaper?
In many cases, yes. Thicker wallpaper is generally easier to handle and is often more forgiving of minor surface imperfections. However, installation difficulty also depends on the material, pattern, adhesive, and condition of the substrate.
⸻
Conclusion
Today’s project involved wallpaper installation in three small commercial rooms, but the biggest part of the job was actually surface preparation.
The existing finishing putty had several uneven areas and incomplete joints, so we had to sand, reapply base putty, apply finishing putty, and sand again before the wallpaper could be installed.
The thin black wallpaper also required extra care. The adhesive had to be adjusted, the corners were treated with black caulk, and the work area had to be kept especially clean to prevent white putty dust from becoming visible on the finished surface.
After approximately six hours, the first project was completed.
We then moved to a second site and replaced approximately 15 meters of wallpaper in a 1LDK apartment. Because the substrate was in good condition and the wallpaper was thicker and white, the second job was much easier and took only about 1.5 hours.
Working with different materials on the same day was a good reminder that wallpaper installation is not simply about putting wallpaper on a wall.
The condition of the substrate, the thickness and color of the wallpaper, the adhesive consistency, the available working space, and even the number of workers on site can all have a major impact on the installation process and the final result.
Good preparation is what makes the actual wallpaper installation possible.
Want to see more professional renovation projects? Explore my latest articles below.
Repairing Mold-Damaged Drywall in a 25 m² Apartment Before Installing New Wallpaper


Comments