
Project Data
- Project Type: Apartment Renovation – Water-Damaged Wallpaper Replacement & New Wallpaper Installation
- Location: Japan
- Building: Condominium Apartment
- Floor: 4th & 5th Floors
- Apartment Size: 80 m² (3LDK)
- Occupied Home: Yes
- Crew: 1 Site Supervisor + 3 Workers
- Working Time: Approximately 6 hours
- Wallpaper Area – 4th Floor: Approximately 30 m²
- Wallpaper Area – 5th Floor: One wall
- Wallpaper Material: Stone-textured wallpaper
- Wallpaper Quantity: Approximately 70 m total
⸻
Introduction
Today’s project involved wallpaper replacement in a fourth-floor condominium apartment that had suffered water damage, as well as wallpaper installation in the apartment directly above it on the fifth floor.
The fourth-floor apartment was an approximately 80 m², 3LDK home, and the wallpaper replacement was limited to the living room, covering roughly 30 m².
The apartment was occupied, so protecting the customer’s furniture and belongings was an important part of the preparation.
The water-damaged drywall had already been replaced by the contractor who arranged the repair, so our main task was to prepare the surface and install the new wallpaper.
We worked with one site supervisor and three workers.
⸻
Project Report – Step by Step
Protecting the Customer’s Home
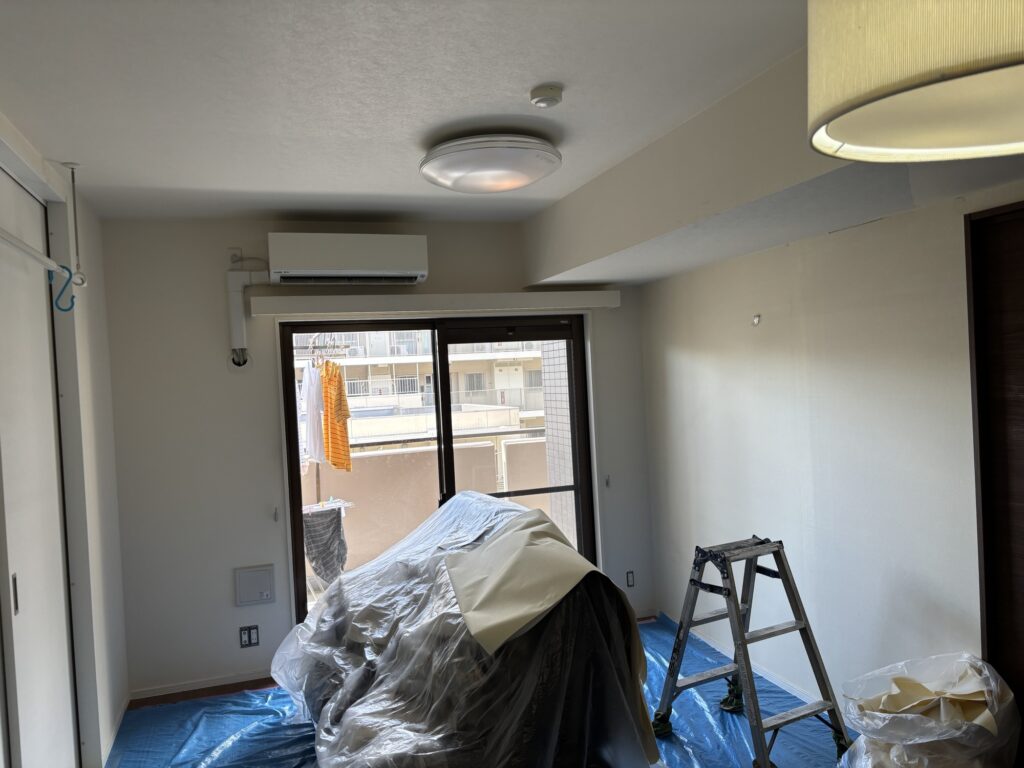
Because the customer was living in the apartment during the renovation, we first moved the dining table, television, and other furniture away from the work area.
We then covered the floor with blue protective sheets.
One important detail when protecting floors is choosing the right tape.
It may seem convenient to use strong adhesive tape to keep protective sheets from moving, but strong tape can leave adhesive residue. On painted surfaces, it can even pull off the paint when removed.
For this reason, I usually use low-tack tape or masking tape when securing protective sheets.
I learned this lesson from experience.
On a previous project, I used strong adhesive tape on a painted surface, and some of the paint came off when I removed it.
I had to repaint the area afterward.
Taking a little extra care during preparation can prevent unnecessary repair work later.
⸻
Removing Fixtures Before Removing the Old Wallpaper
Before removing the old wallpaper, we removed the curtain rails and electrical outlet plates.
There was also a small hook attached with what appeared to be a nail.
After confirming with the customer that they no longer planned to use it, we removed it as well.
There were two additional small hooks on the wall. Since they would interfere with wallpaper installation, we removed those too.
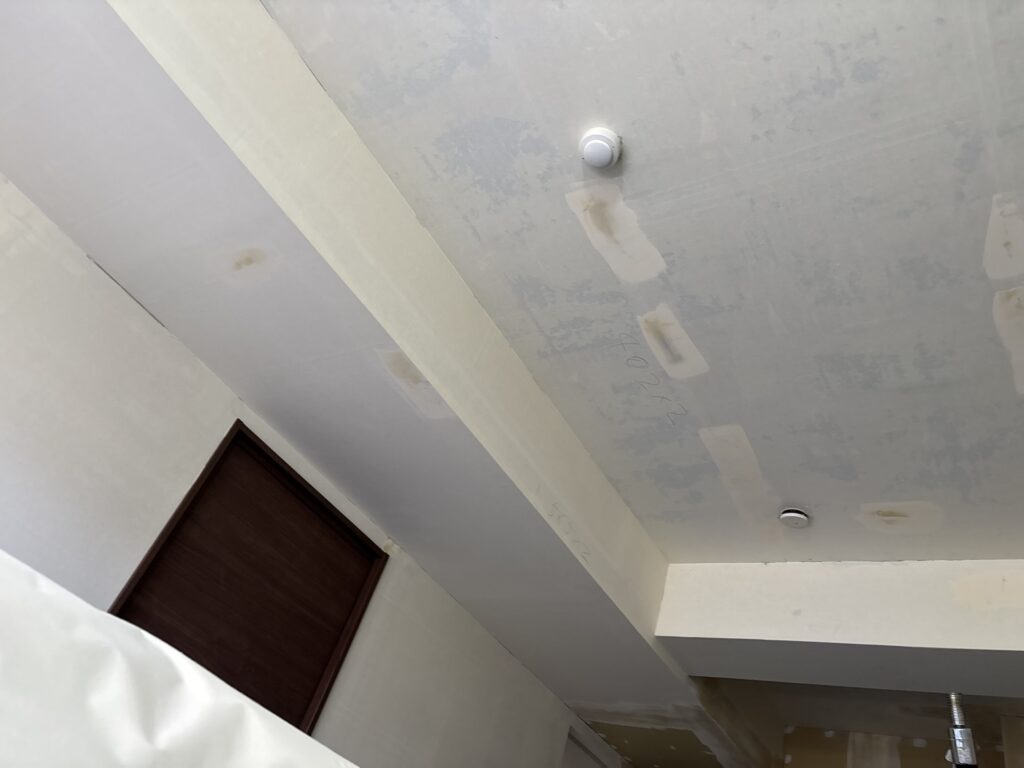
Whenever possible, I prefer to remove anything that could interfere with wallpaper installation.
It makes the installation cleaner and reduces the risk of damaging either the wallpaper or the existing fixtures.
⸻
Checking the Wallpaper Substrate
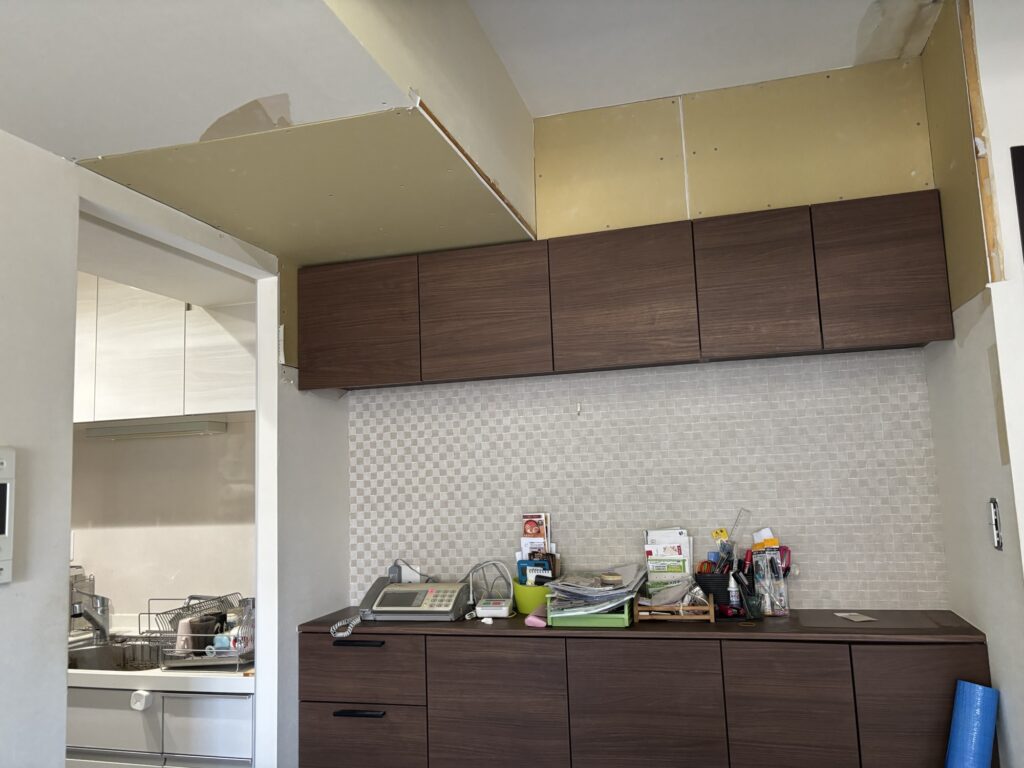
After removing the old wallpaper, we inspected the substrate underneath.
Fortunately, the substrate was relatively new and had very little deterioration.
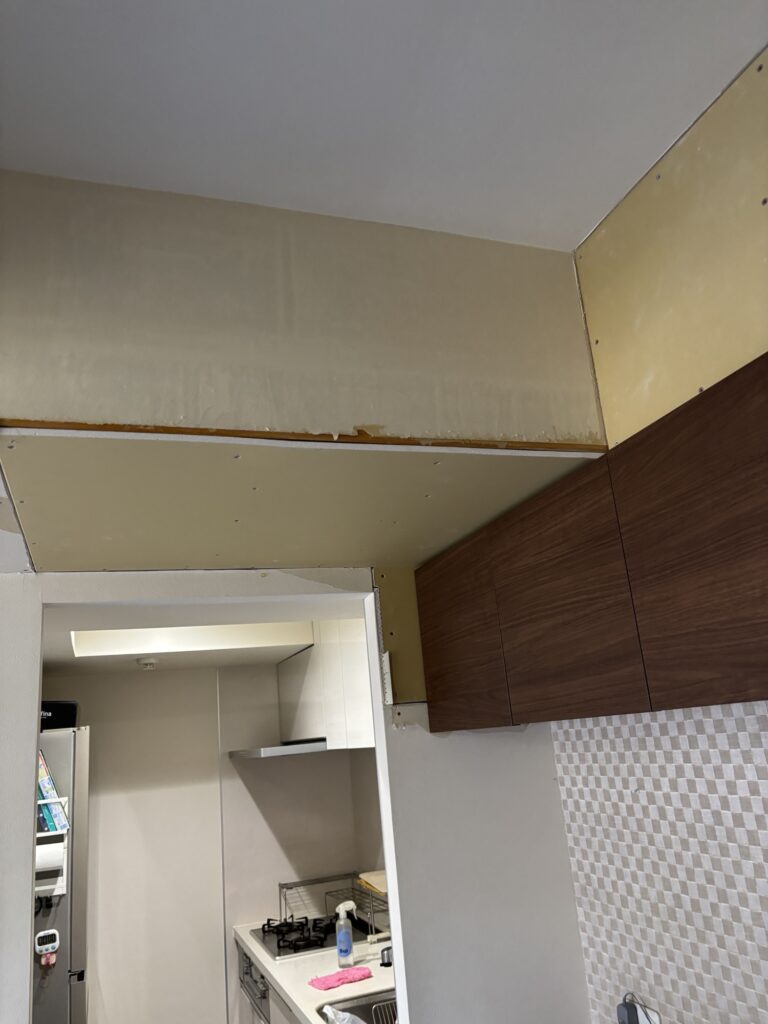
This made the preparation much easier.
After stripping the wallpaper, we installed corner beads around the beams and columns and applied the first coat of joint compound.
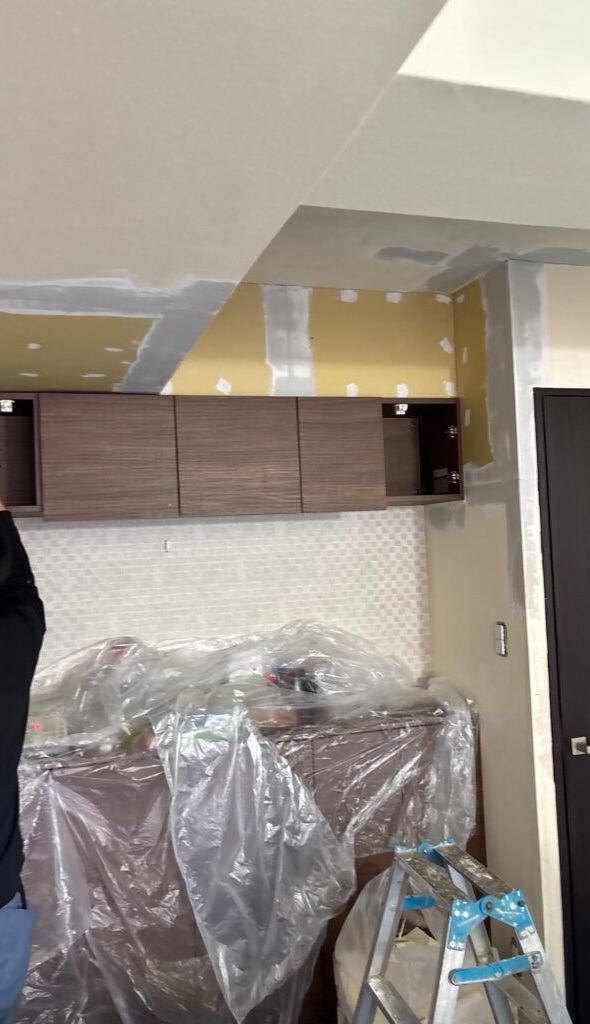
At this point, approximately two hours had passed, so we took a short break.
⸻
Applying the Second and Finishing Coats of Joint Compound
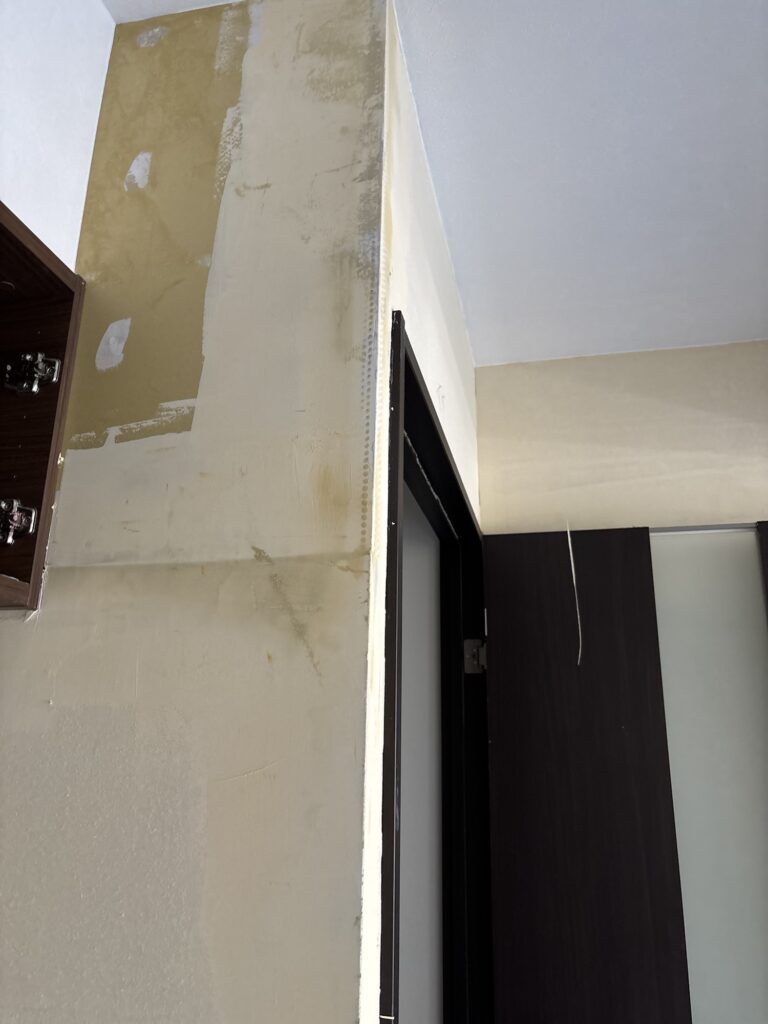
After the break, we applied the second coat of joint compound, followed by the finishing coat.
When the substrate is in good condition, there is much less repair work to do.
This means less joint compound is required, and the overall preparation process becomes much easier.
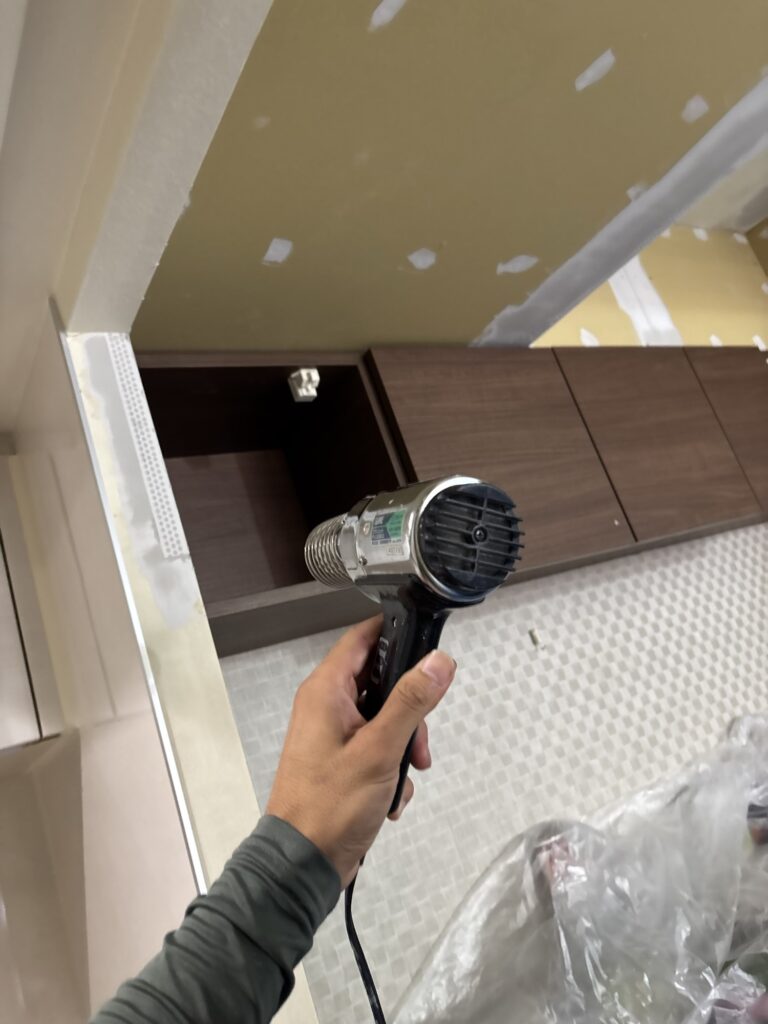
The areas where new drywall had been installed and where corner beads had been added took longer to dry, so we used a heat gun to speed up the drying process.
However, a heat gun needs to be used carefully.
Unlike a normal household hair dryer, a heat gun produces very high temperatures.
I avoid directing the heat at the same spot for more than about 10 seconds.
If too much heat is applied to joint compound for too long, it can begin to bubble and swell as if it were boiling.
That is not something you want.
Plastic corner beads can also soften, melt, or deform when exposed to excessive heat.
My preferred method is to keep the heat gun at a safe distance, apply heat for about five seconds, and then move to another area.
This allows the material to dry gradually without overheating one specific spot.
⸻
Preparing the Wallpaper
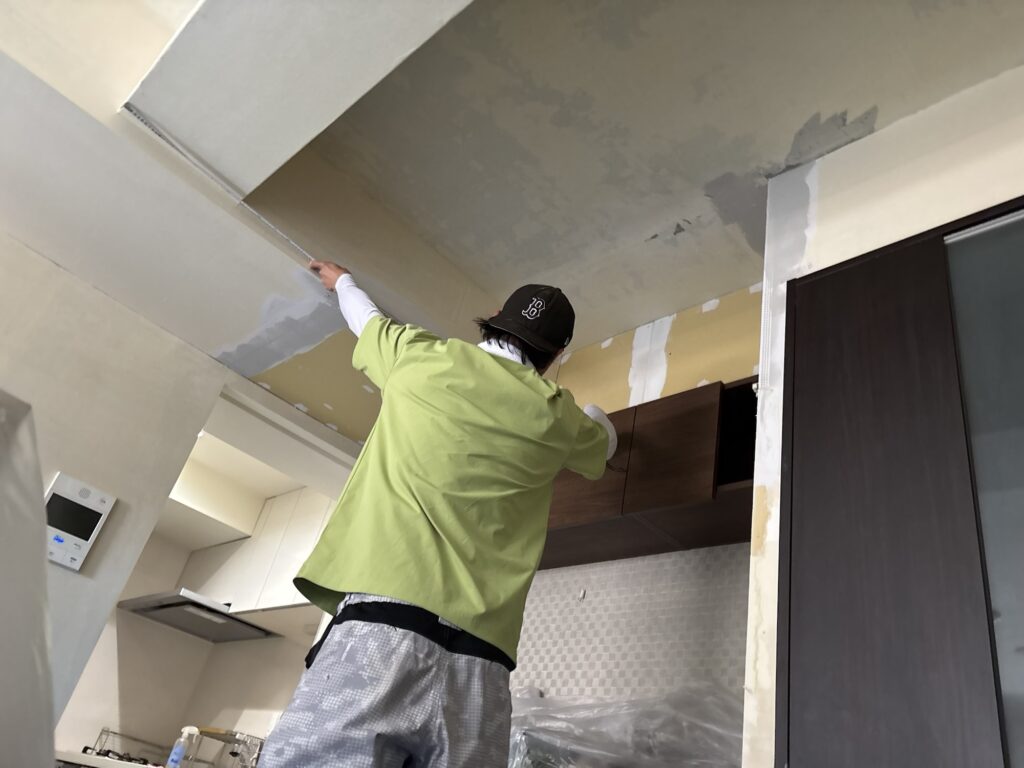
During the morning, we measured the ceilings and beams that we planned to install wallpaper on.
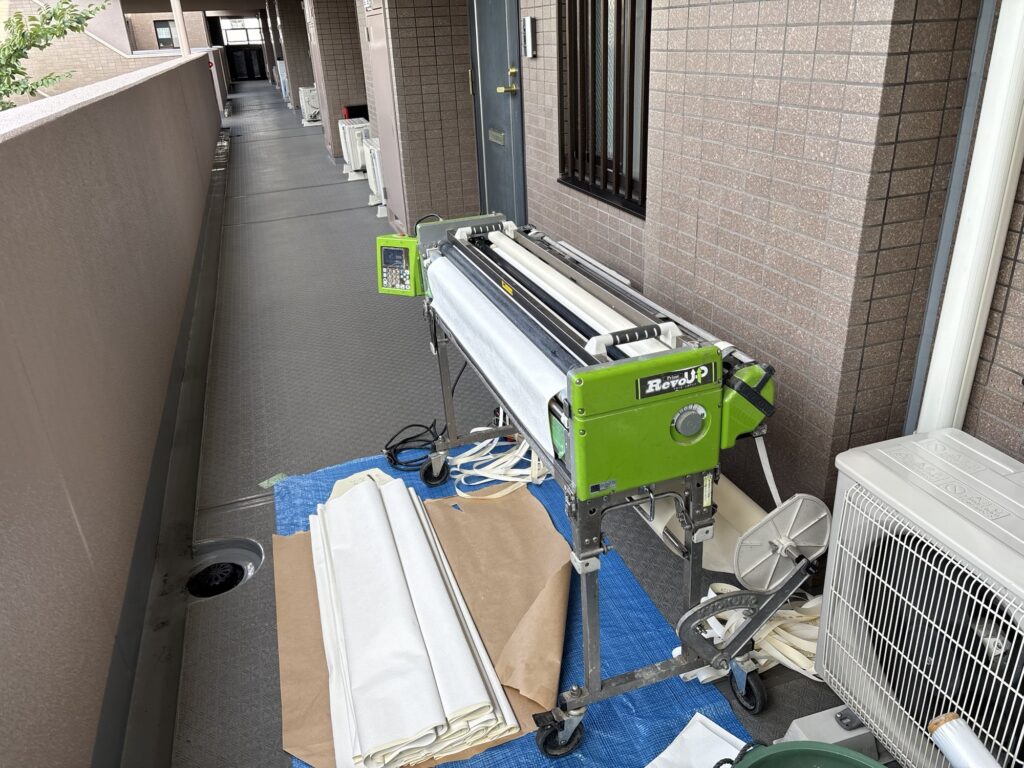
We then ran the wallpaper through the wallpaper pasting machine.
The wallpaper used for this project had a stone-like texture, and we had approximately 70 meters of material.
The main ceiling measured approximately 420 cm long by 200 cm wide.
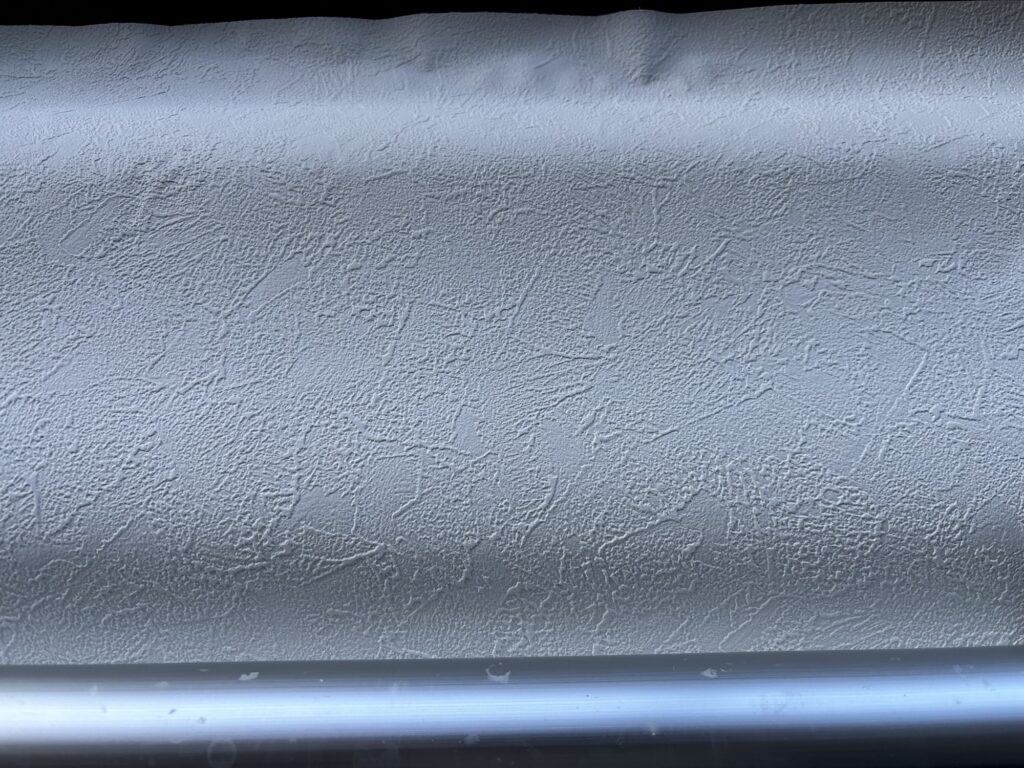
For this ceiling, we prepared approximately two and a half lengths of wallpaper and used three step ladders so that three workers could install it together.
When installing a long sheet of wallpaper, keeping the sheet perfectly straight is extremely important.
At the same time, air bubbles need to be worked out from the center toward the edges.
One of the most common mistakes beginners make is continuing to install the wallpaper even after it has started to go crooked.
Once the sheet becomes misaligned, it becomes much harder to remove air bubbles properly, and the wallpaper can end up twisted or wrinkled.
⸻
A Beginner-Friendly Way to Install Long Wallpaper
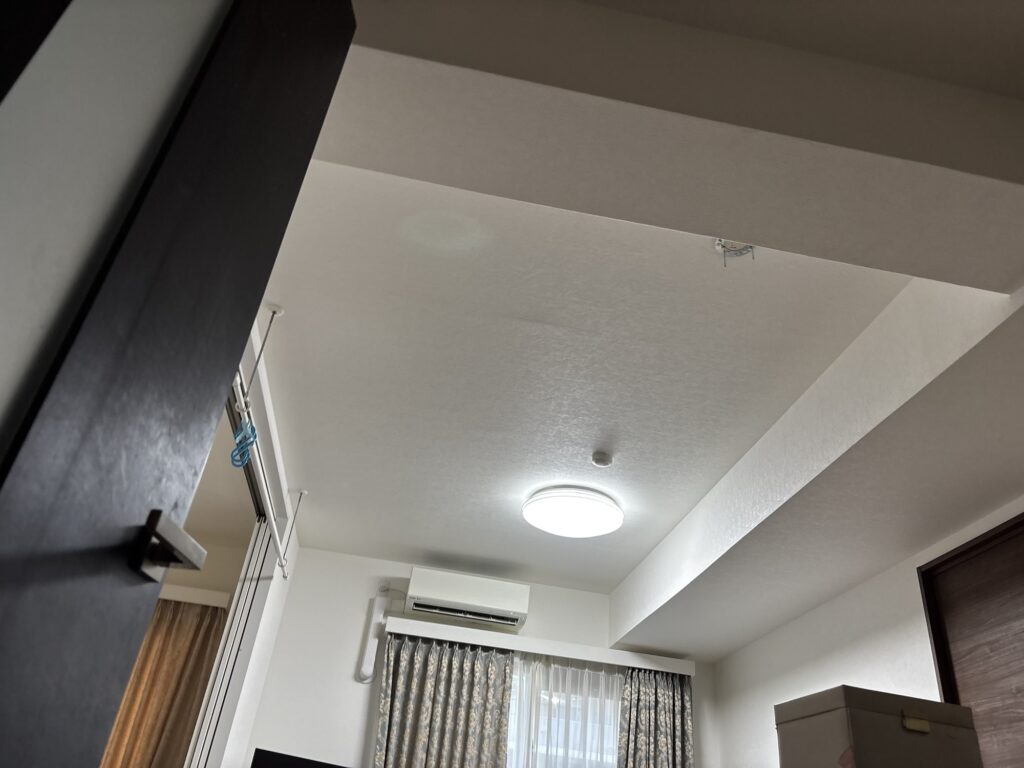
If you are a beginner, one way to make this type of installation easier is to change the direction in which you install the wallpaper.
Instead of installing a very long sheet lengthwise, you can install shorter sections across the shorter direction.
For this project, we installed approximately 420 cm × 90 cm sheets, using about two and a half lengths.
However, if we installed the wallpaper in the shorter direction, we could use approximately five sheets measuring 200 cm × 90 cm.
This reduces the maximum sheet length by about 2.2 meters.
Shorter sheets are generally easier for beginners to control.
Another useful technique is to snap a chalk line before installation.
By following the chalk line, it becomes much easier to keep the wallpaper straight.
⸻
Installing Wallpaper on the Beam
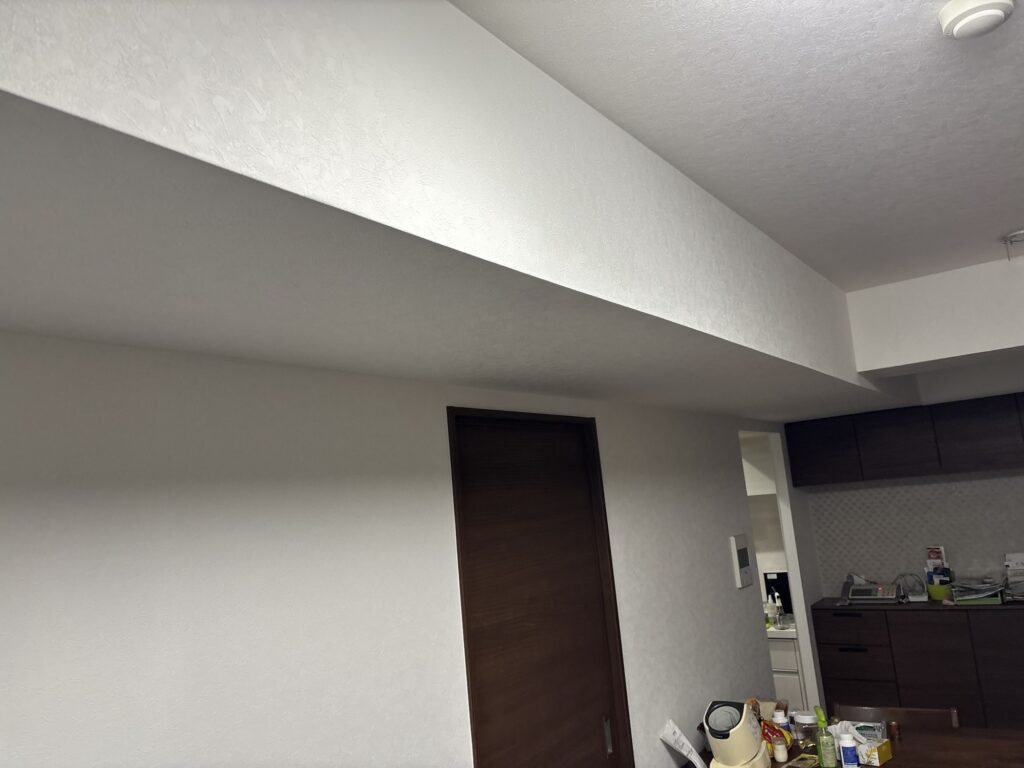
The beam was the longest section, measuring approximately 5.3 meters.
Unlike a flat ceiling, removing air bubbles from a beam is more difficult.
One technique I use is to work from the corners of the beam and push the air outward.
Keeping the wallpaper under control and gradually working the air toward the edges helps prevent bubbles and wrinkles.
After completing the ceiling and beam wallpaper, we moved upstairs to the fifth-floor apartment.
⸻
Wallpaper Installation on the Fifth Floor
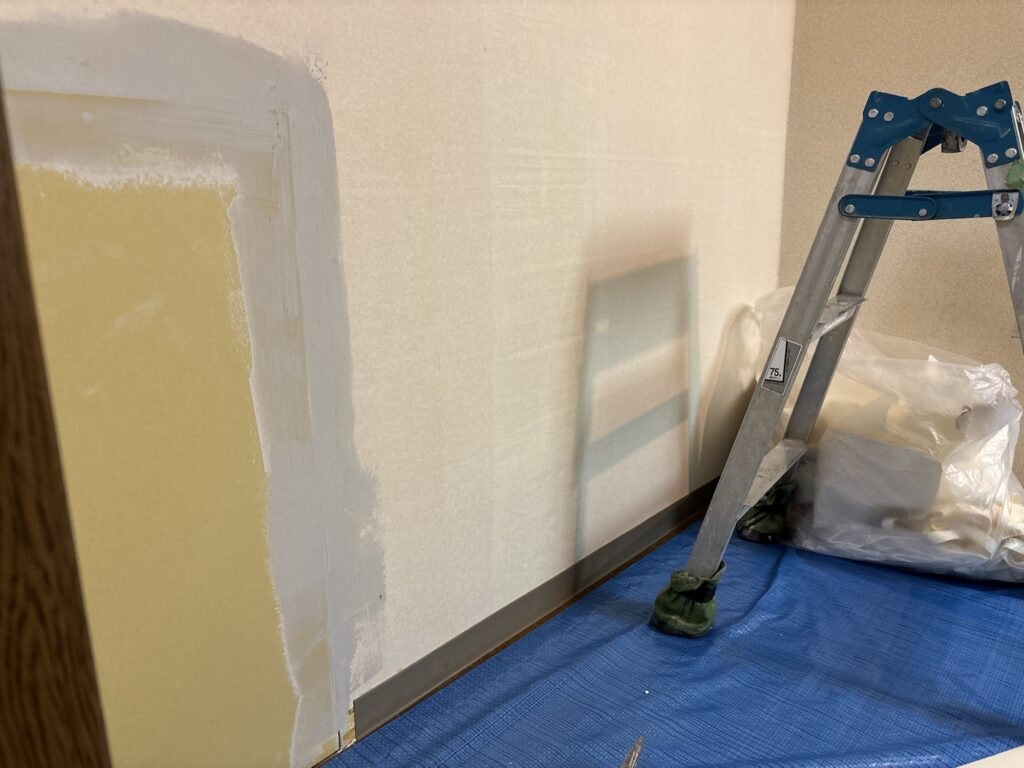
The layout of the fifth-floor apartment was the same as the fourth-floor apartment.
However, the wallpaper work was limited to one wall.
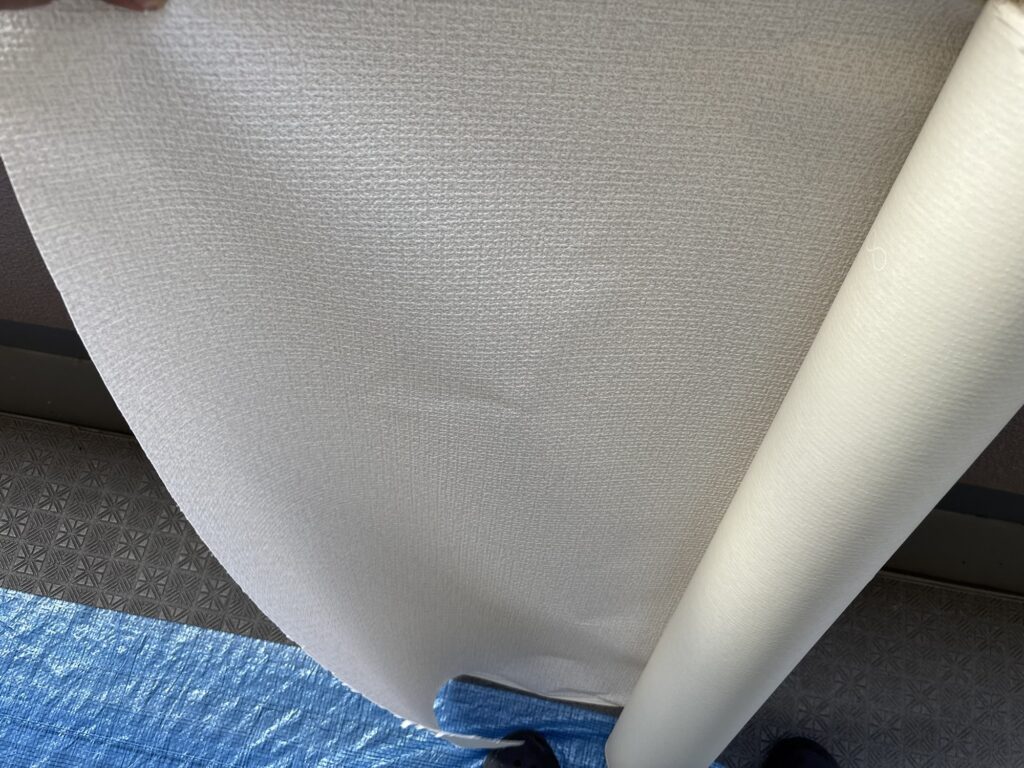
We needed three lengths of wallpaper, each approximately 220 cm long and 90 cm wide.
We removed the old wallpaper and applied one coat of joint compound to prepare the substrate.
That completed the morning work on the fifth floor.
The preparation took approximately 1.5 hours.
⸻
Afternoon Installation
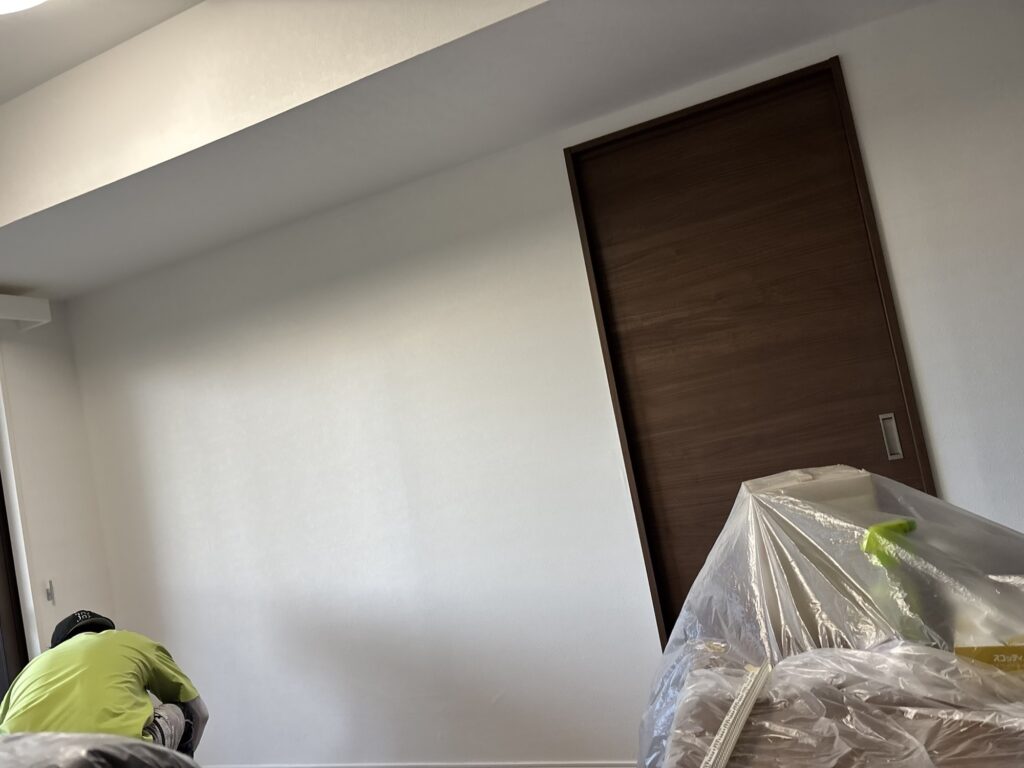
In the afternoon, the three workers divided the work between the two apartments.
One worker worked on the fifth-floor apartment, while two workers continued installing wallpaper on the fourth floor.
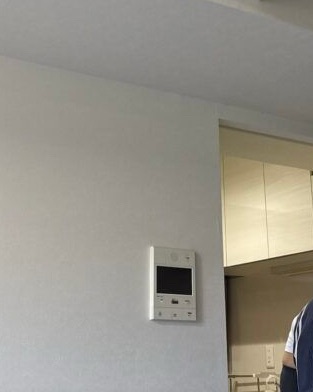
The area that required the most attention for me was the wallpaper around the intercom.
The intercom was the type that could not be removed.
Because of this, I chose to position the wallpaper joint directly through the center of the intercom.
This method makes it easier to cut around the intercom than trying to install one continuous sheet over it.
Whenever there is an obstruction such as an intercom, the wallpaper can easily shift or become crooked.
For this reason, I marked a chalk line beforehand so I could maintain a straight installation.
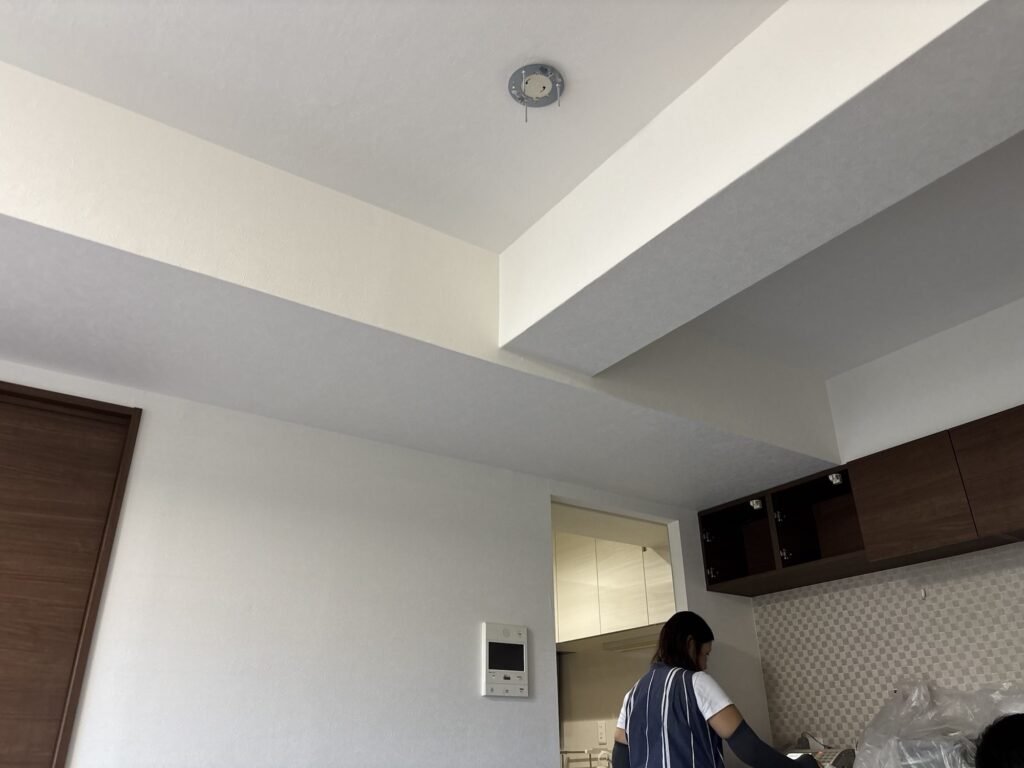
The area around the intercom is also prone to wrinkles, so I carefully worked the air outward instead of allowing it to become trapped underneath the wallpaper.
When installing wallpaper around a column or corner, I use a smoother to stretch the material and make sure the wallpaper stays tight around the corner.
⸻
Final Inspection
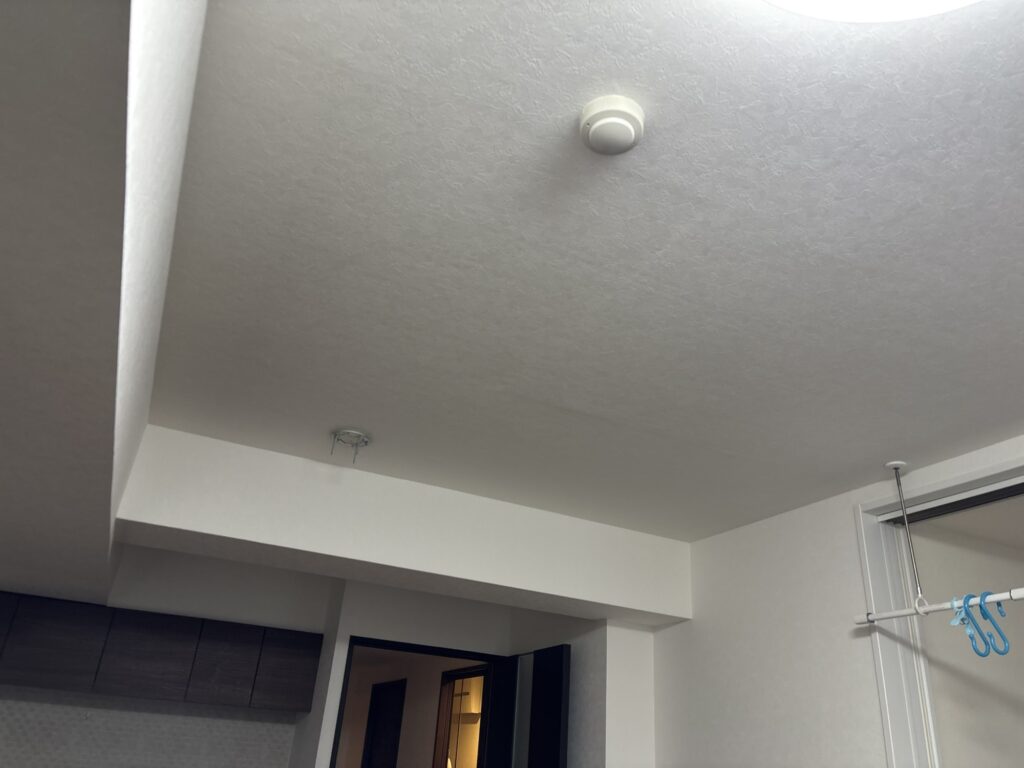
After all the wallpaper had been installed, we carefully inspected the entire work area for imperfections or areas that needed repair.
I always try to inspect the wallpaper at least three times:
- Immediately after installation
- Before taking a break
- During the final inspection
Sometimes a wallpaper joint looks perfectly closed immediately after installation, but when you check the same area an hour later, you may find that the joint has started to open.
Wallpaper can shrink or become tensioned as the adhesive dries.
If the wallpaper was not installed perfectly straight or the material is under tension, a joint can gradually open as it dries.
This is why multiple inspections are important.
Depending on the project, I may check the same areas as many as five times.
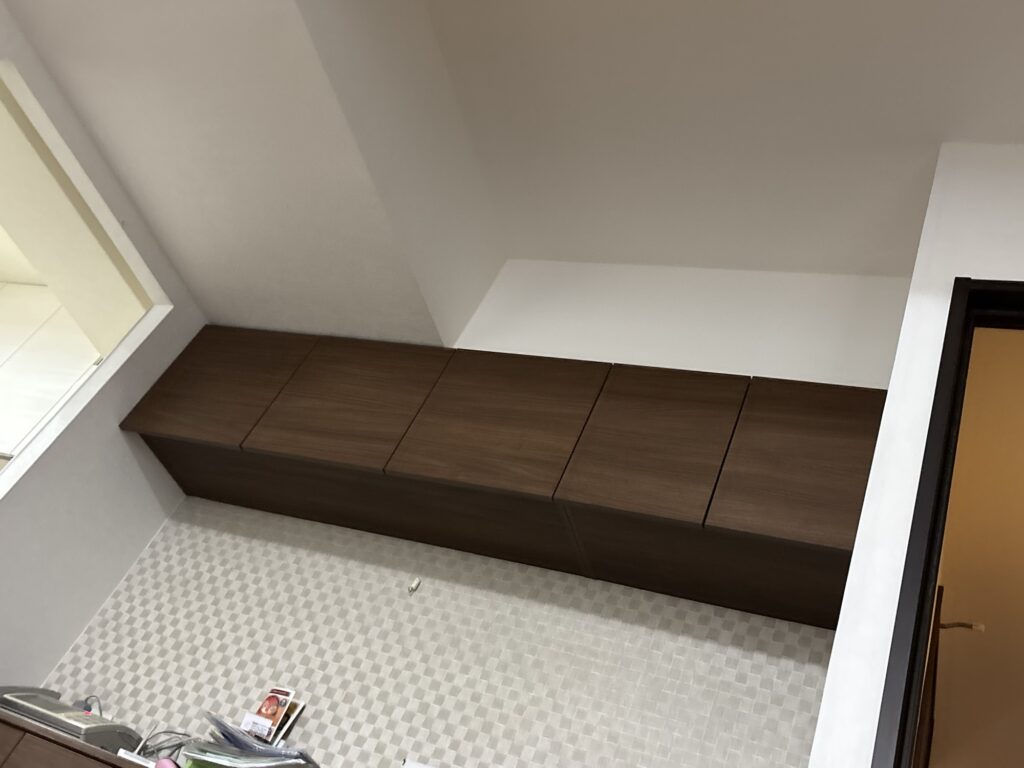
It is much easier to find and fix a problem while you are still on site than to receive a call several days later asking you to come back and repair it.
In other words, doing a careful inspection saves time in the long run.
I believe that one of the best ways to make your work easier is to do the job carefully the first time.
⸻
Tools Used
The main tools and equipment used during this project included:
- Wallpaper pasting machine
- Step ladders
- Wallpaper smoothing tools
- Joint compound knives
- Sanding tools
- Heat gun
- Measuring tape
- Chalk line
- Masking tape
- Low-tack protective tape
- Floor protection sheets
- Utility knife
- Screwdrivers
- Protective gloves
The right tools make a big difference, but knowing how and when to use them is just as important.
⸻
Professional Tips
1. Choose the Right Tape
Avoid using strong adhesive tape on painted surfaces.
Low-tack tape or masking tape is usually safer and reduces the risk of leaving adhesive residue or pulling off paint.
2. Do Not Overheat Joint Compound
When using a heat gun, keep it moving.
Apply heat for only a few seconds at a time and avoid concentrating heat on one area.
3. Use a Chalk Line
Before installing long sheets of wallpaper, mark a straight reference line.
This simple preparation can make a major difference in keeping the wallpaper straight.
4. Consider Shorter Sheets
Long sheets can be difficult for beginners.
If possible, installing shorter sections can make the wallpaper easier to control and reduce the chance of wrinkles and trapped air.
5. Pay Extra Attention Around Obstacles
Intercoms, electrical outlets, columns, corners, and other obstacles can make wallpaper installation more difficult.
Plan your joints and cuts before applying the wallpaper.
6. Inspect Your Work Multiple Times
Do not assume that the wallpaper is finished just because it looks good immediately after installation.
Check the joints and corners again after some time has passed.
⸻
Common Mistakes to Avoid
Using Strong Tape on Painted Surfaces
Strong adhesive tape can remove paint or leave adhesive behind.
Always consider the surface before choosing your tape.
Holding a Heat Gun in One Place
Too much heat can cause joint compound to bubble and can deform plastic corner beads.
Keep the heat gun moving.
Installing Long Wallpaper While It Is Already Crooked
Once a long sheet begins to move out of alignment, continuing to install it usually makes the problem worse.
Stop, correct the alignment, and continue.
Trapping Air Under the Wallpaper
Air should be gradually pushed from the center toward the edges.
Trying to remove all the air from one direction can create wrinkles or trapped bubbles.
Forgetting to Check the Joints Later
A joint can look perfect immediately after installation and open later as the adhesive dries.
Always inspect the joints again.
Leaving Small Fixtures in Place
Small hooks and other objects may seem insignificant, but they can make wallpaper installation more difficult.
If the customer no longer needs them, removing them before installation can make the job much easier.
⸻
What I Learned From This Project
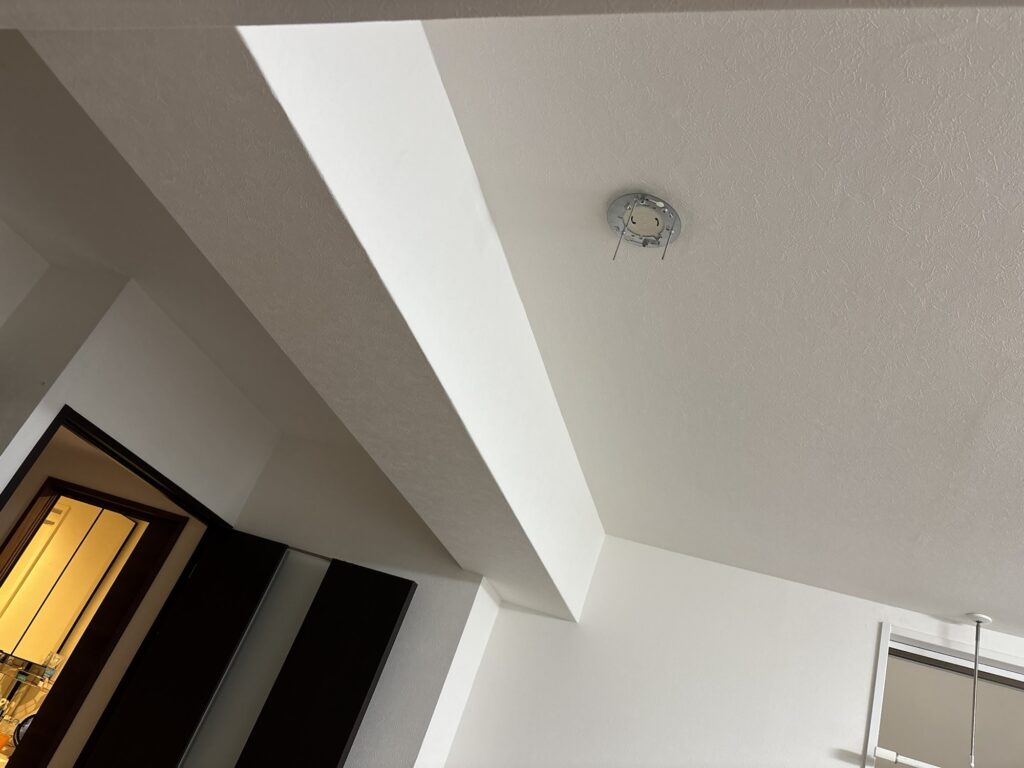
Even though this was a relatively straightforward wallpaper replacement project, it reminded me how important preparation and inspection are.
The actual wallpaper installation is only one part of the job.
Protecting the customer’s home, removing fixtures, preparing the substrate, planning the joints, measuring the material, and checking the finished work are all equally important.
I also think experience plays a major role when working around obstacles.
For example, the intercom could not be removed, so deciding where to place the joint before starting made the installation much easier.
The same applies to long ceiling sheets.
There is more than one way to install wallpaper, and choosing a method that matches your skill level can significantly reduce mistakes.
Most importantly, I was reminded that careful work often saves time.
If you take the time to inspect everything properly before leaving, you are much less likely to need another trip to the same job later.
The customer was satisfied with the finished work, and we were able to complete the project comfortably.
⸻
FAQ
1. How long did this wallpaper project take?
The total working time was approximately six hours, including cleanup and other miscellaneous tasks.
2. How many workers were involved?
One site supervisor and three workers worked on the project.
3. Was the apartment occupied during the renovation?
Yes. The customer was living in the apartment, so protecting the furniture and floor was an important part of the preparation.
4. Was the water-damaged drywall replaced by the wallpaper installers?
No. The contractor who arranged the repair had already replaced the damaged drywall before we started the wallpaper work.
5. Why do you use low-tack tape instead of strong adhesive tape?
Strong tape can leave adhesive residue or remove paint from painted surfaces. Low-tack tape or masking tape is safer for many finished surfaces.
6. Why is a heat gun useful when installing wallpaper?
A heat gun can speed up the drying of joint compound, especially around newly installed drywall and corner beads. However, it must be used carefully because excessive heat can damage the materials.
7. How can beginners install long wallpaper more easily?
Using shorter sheets can make the material easier to control. Installing shorter sections also reduces the difficulty of keeping a long sheet perfectly straight.
8. Why do you use a chalk line before installing wallpaper?
A chalk line provides a straight reference point. Following the line helps prevent the wallpaper from gradually becoming crooked during installation.
9. Why do wallpaper joints sometimes open after installation?
As the adhesive dries, the wallpaper can shrink or become tensioned. If the material was not installed correctly or is under excessive tension, the joint can open later.
10. How many times should wallpaper be inspected after installation?
I recommend checking the work at least three times: immediately after installation, before taking a break, and during the final inspection. On some projects, I check important areas as many as five times.
⸻
Conclusion
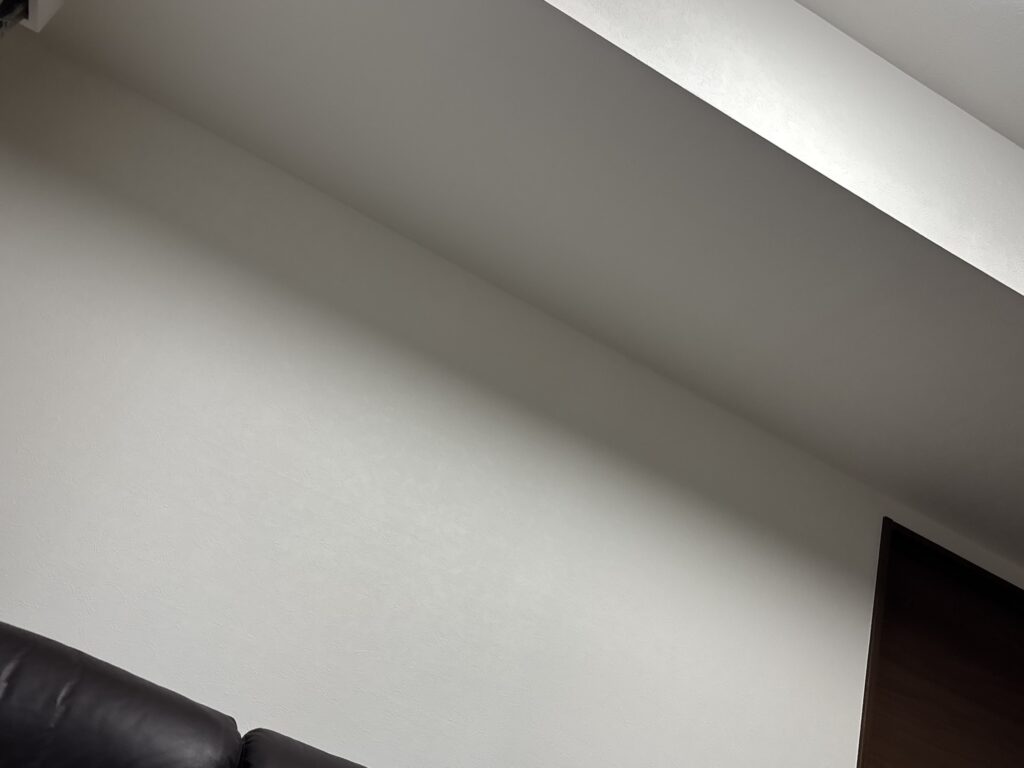
This project involved two apartments in the same condominium building.
On the fourth floor, we replaced wallpaper in approximately 30 m² of the living room after water damage. On the fifth floor, we installed new wallpaper on one wall.
Although the project was not extremely large, there were several areas that required careful planning, including the long ceiling sheets, the 5.3-meter beam, and the wallpaper around the fixed intercom.
The key to a successful wallpaper installation is not simply applying the wallpaper.
Good preparation, proper protection, accurate measurements, careful installation, and repeated inspections all contribute to a professional result.
For me, the most important lesson from this project was simple.
Doing careful work the first time is often the easiest way to save time later.
The customer was happy with the result, and we were able to finish the work smoothly and leave the site in good condition.
Want to see more professional renovation projects? Explore my latest articles below.
Replacing Wallpaper, Vinyl Flooring, and Baseboards in an Occupied Laundry Room


Comments