
Project Data
- Project Type: Residential Maintenance and Repair
- Location: Japan
- Work Performed: Screen Door Rescreening, Screen Door Roller Replacement, Ceiling Light Replacement, Under-Cabinet Light Replacement
- Number of Screen Doors: 2
- Crew: 2 Workers
- Working Time: Approximately 3 Hours
- Home Status: Occupied Home
- Screen Door Type: Sliding Screen Doors
Introduction
Today’s project involved several small but important maintenance jobs in an occupied Japanese home.
The work included replacing the screens on two sliding screen doors, replacing worn-out rollers, and replacing the kitchen ceiling light and under-cabinet light.
Because the customer was still living in the home, protecting the furniture, walls, floors, and other belongings was an important part of the job.
In Japan, sliding screen doors are very common, especially around windows and balconies. Over time, the screen mesh can become damaged or loose, while the rollers can wear out and make the door difficult to slide.
This project was a good example of how several relatively small repairs can make a noticeable difference in the comfort and usability of a home.
⸻
Project Report – Step by Step
Protecting the Home Before Starting
Since the customer was living in the house, we first covered and protected the surrounding areas.
When working inside an occupied home, it is important to prevent tools, screws, dust, and other materials from damaging furniture or flooring.
Taking a few extra minutes to protect the work area can prevent much bigger problems later.
Removing the Screen Doors
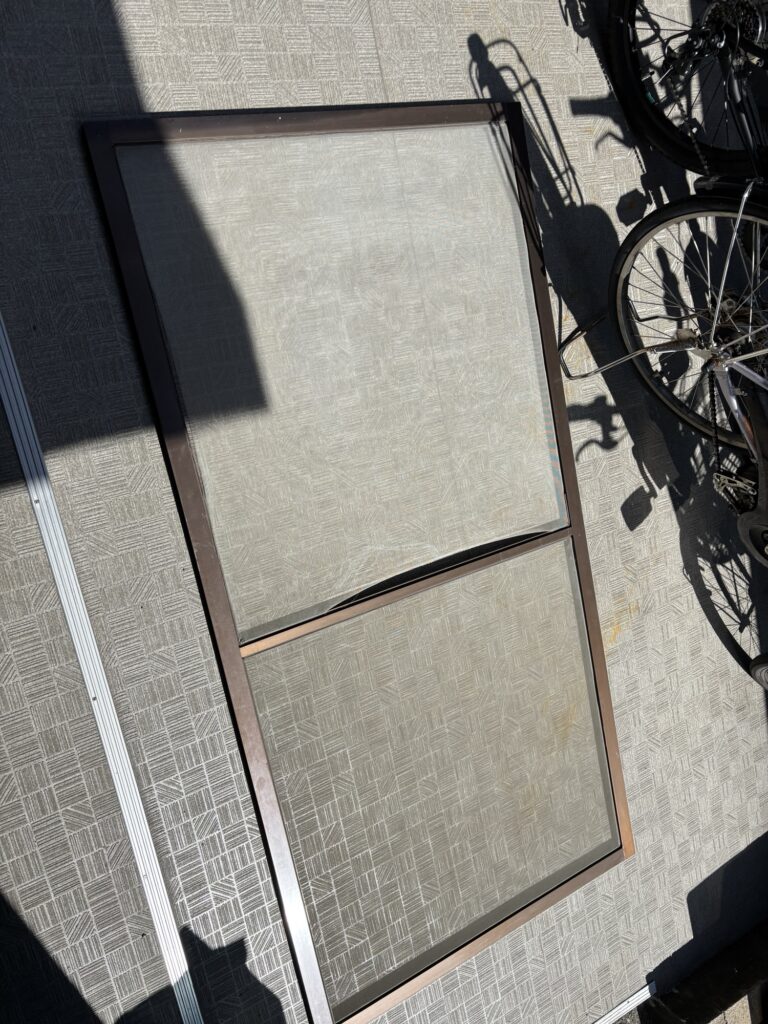
Japanese screen doors are generally sliding doors, so we first removed the two screen doors from their window frames.
Working on the doors after removing them makes the rescreening process much easier and allows us to work on a flat surface.
The old screen mesh was held in place by a rubber spline installed inside a groove around the frame.
We used a flathead screwdriver and similar tools to lift the old spline out of the groove.
Once the spline was removed, the old screen mesh could be taken off.
Preparing the New Screen Mesh
After removing the old screen, we prepared the new mesh.
The screen was cut to an appropriate size, leaving enough material around the edges for installation.
At this point, the frame was ready for the new screen to be installed.
Choosing the Right Rubber Spline
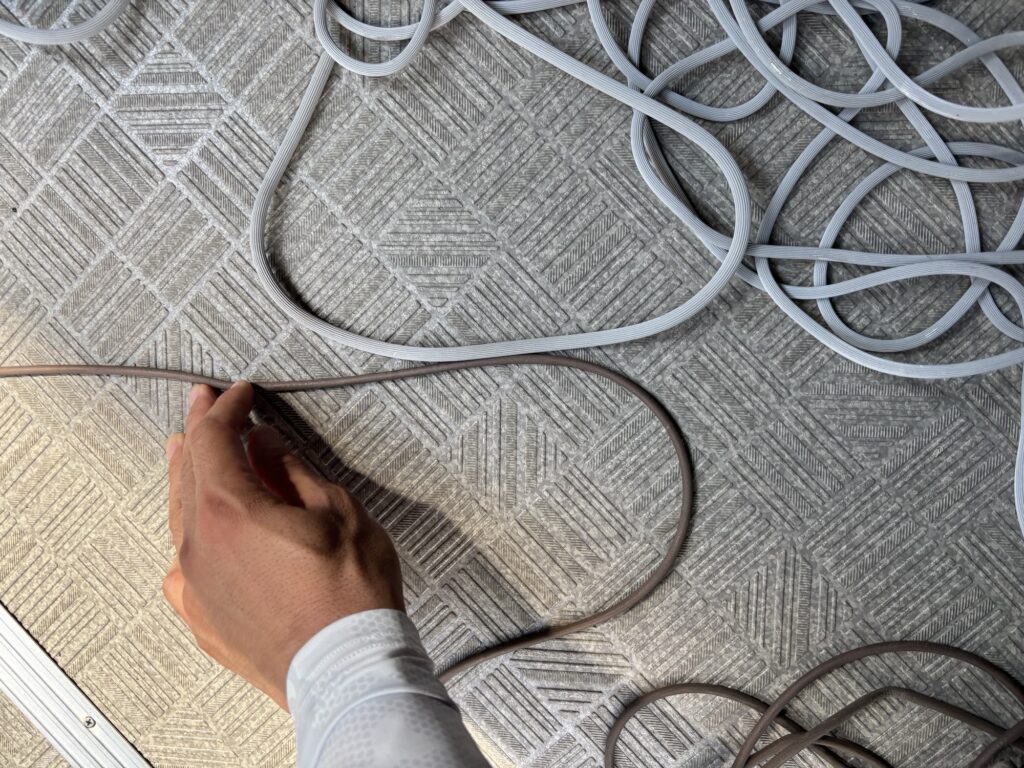
We initially considered reusing the original brown rubber spline.
However, the old spline had deteriorated with age. It had become thinner and more worn over time.
When a spline becomes too thin, it cannot properly hold the screen mesh inside the groove.
This can cause gaps and make it difficult to stretch the screen tightly.
As a result, the old spline was no longer suitable for reuse.
We prepared a new, thicker spline that was approximately twice the size of the original.
Choosing the correct spline size is important because the spline needs to fit tightly enough inside the groove to securely hold the screen in place.
Installing the New Screen
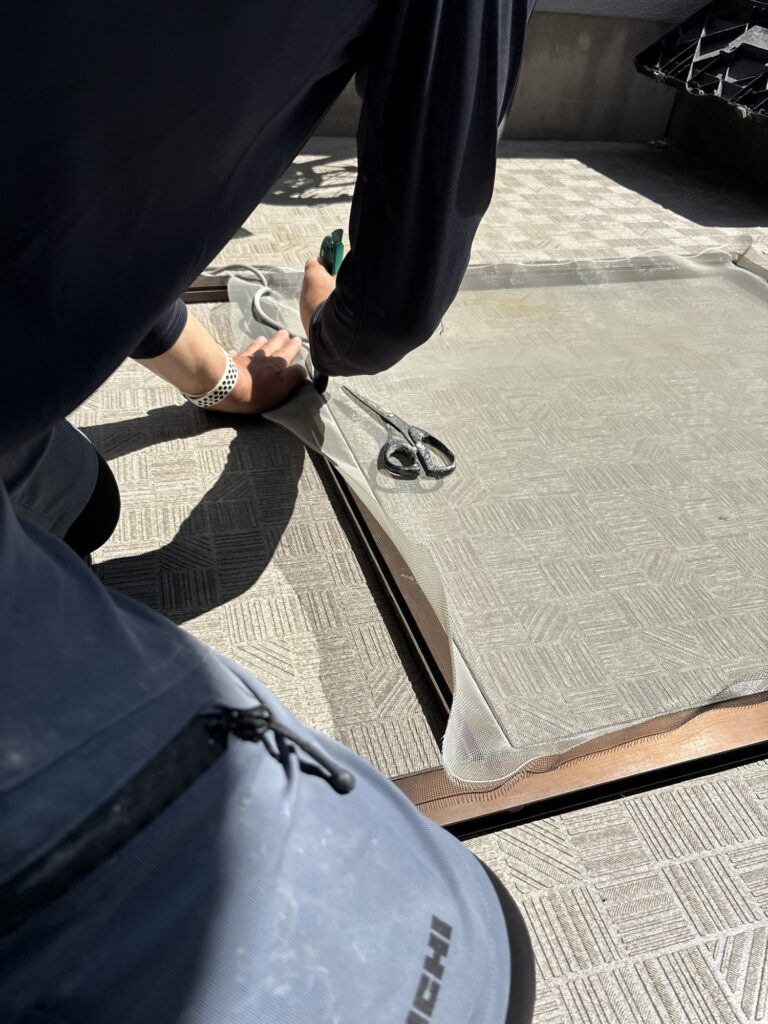
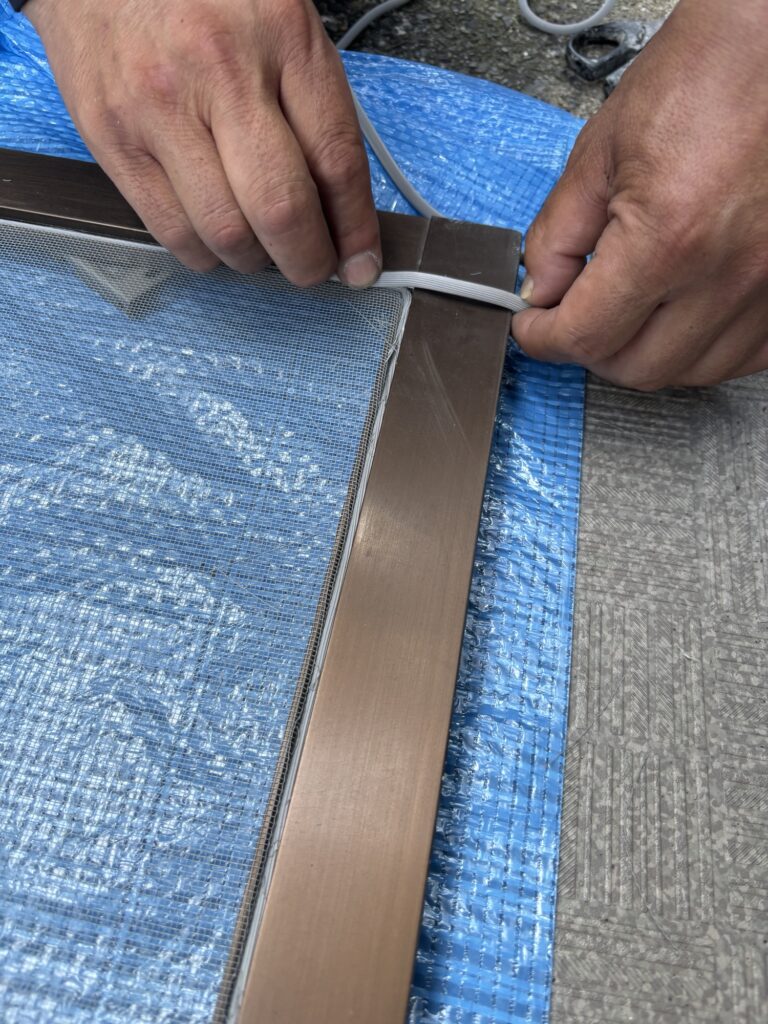
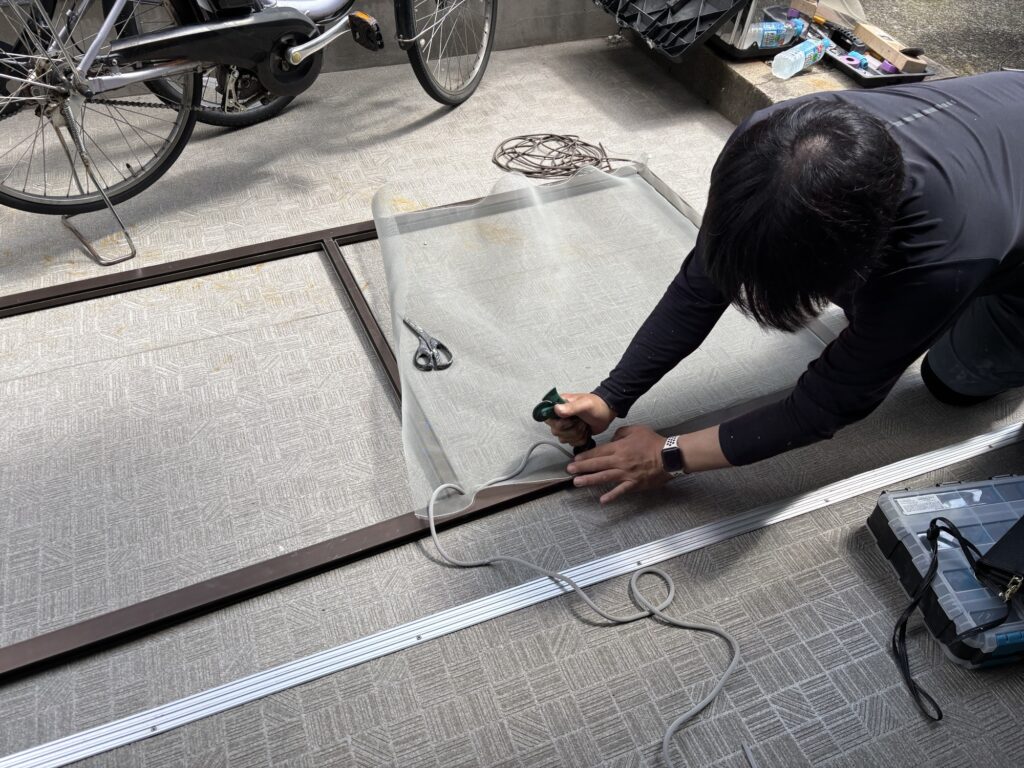
We began installing the new mesh by placing the spline into the groove using a screen installation roller.
The key is to keep the screen straight while continuously checking how much mesh is extending beyond the frame.
As the spline is pressed into the groove, the mesh becomes secured to the frame.
Once we reached approximately halfway along the frame, we continued installing the remaining section while gently pulling the screen to keep it tight.
The goal is to prevent wrinkles and sagging while avoiding excessive tension.
Cutting Off the Excess Screen
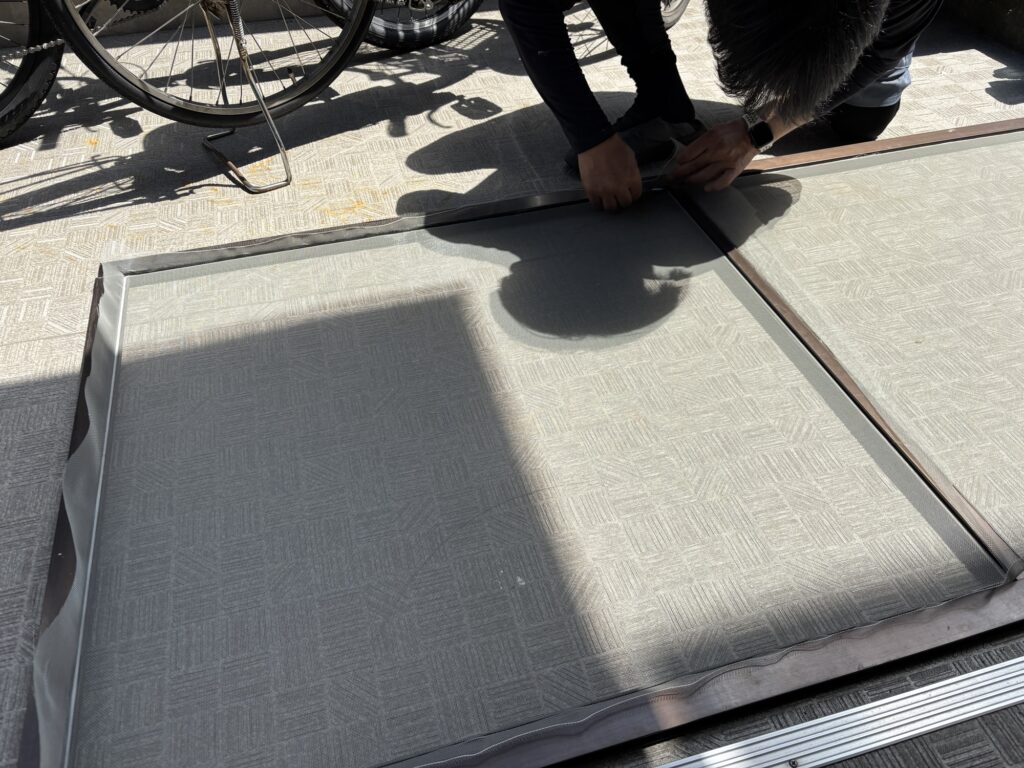
After the spline was completely installed, there was excess screen mesh around the outside of the frame.
We carefully trimmed the excess mesh with a utility knife.
This step requires some attention because the knife must cut the screen without cutting the rubber spline.
For beginners, using a small putty knife or similar tool as a guide can make this process safer and easier.
If the spline is accidentally cut, it can become loose and cause the screen to sag.
In that situation, the affected section of spline needs to be removed and reinstalled.
After trimming the excess mesh, we checked the entire screen by running our hands over it to make sure it was properly stretched and secure.
Replacing the Screen Door Rollers
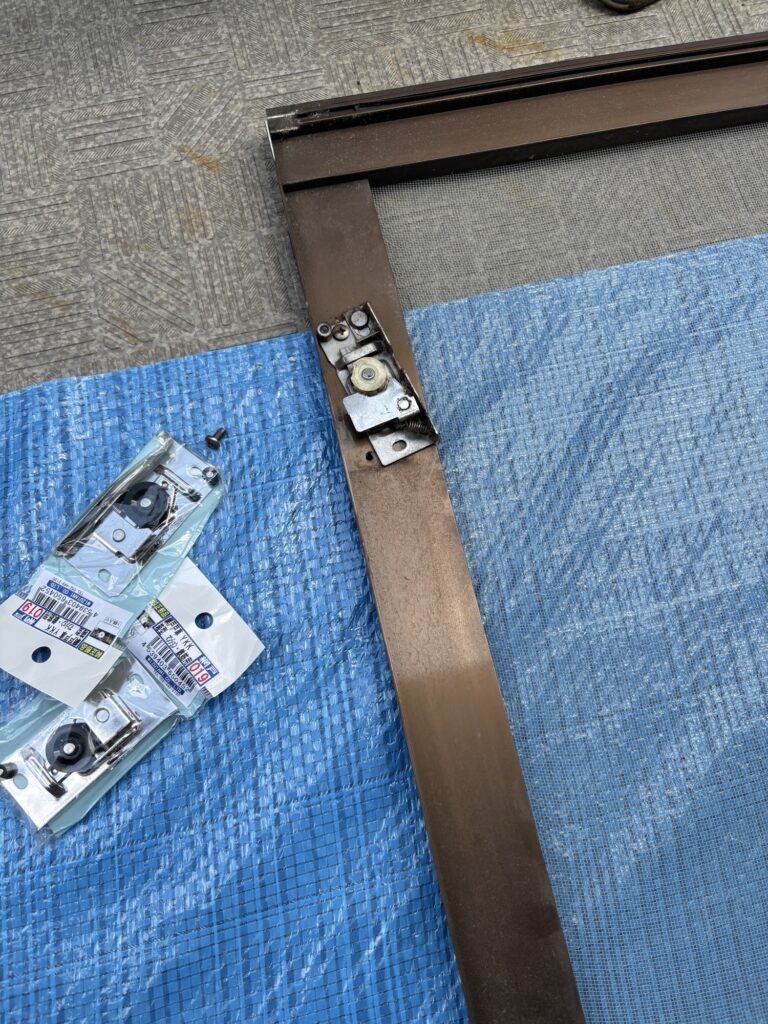
Next, we replaced the old rollers on the screen doors.
Screen door rollers can deteriorate over time. They may become rusty or develop poor movement, making the door difficult to open and close smoothly.
The original rollers were secured with screws.
However, one of the screw holes had become too worn for the original screw to hold properly.
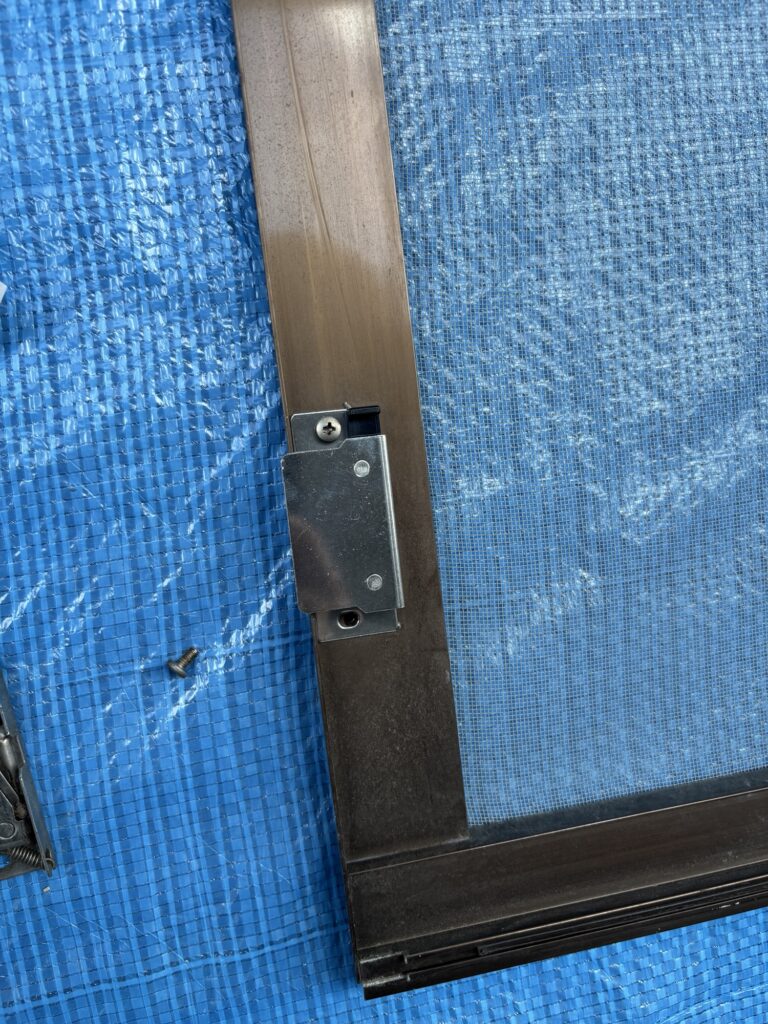
We solved this by using a slightly thicker screw to secure the roller.
If a thicker screw still cannot hold securely, another option is to move the screw horizontally to a new position while keeping it at approximately the same height.
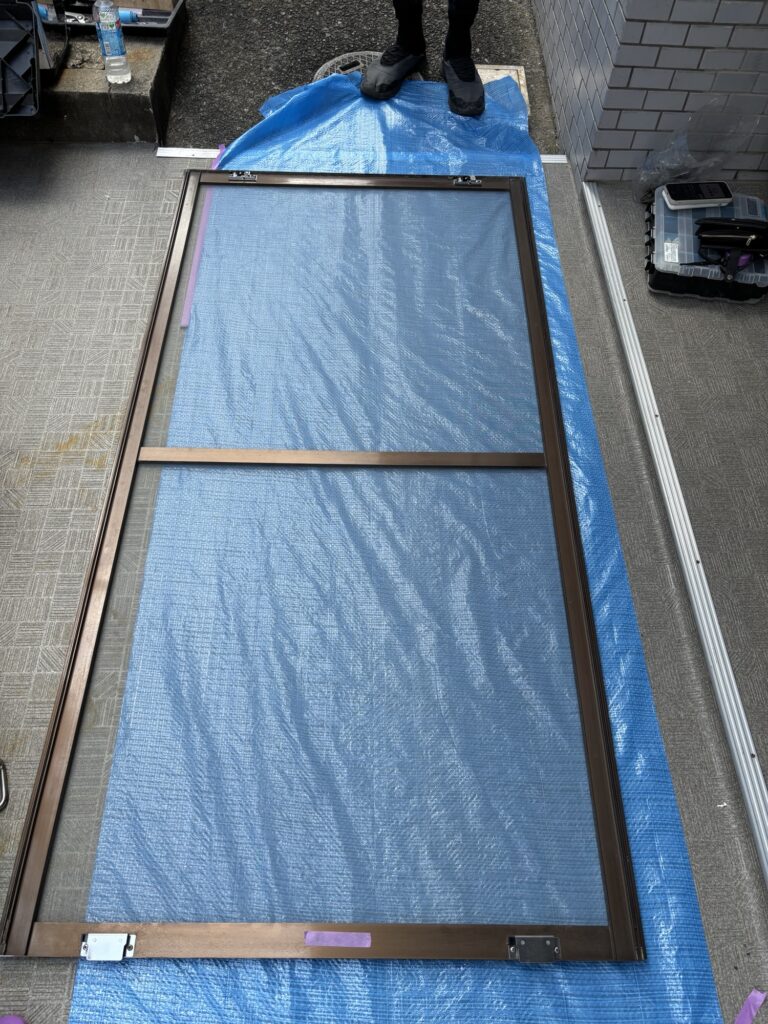
The height is important.
If the roller is installed too high, the screen door may not fit properly into the frame.
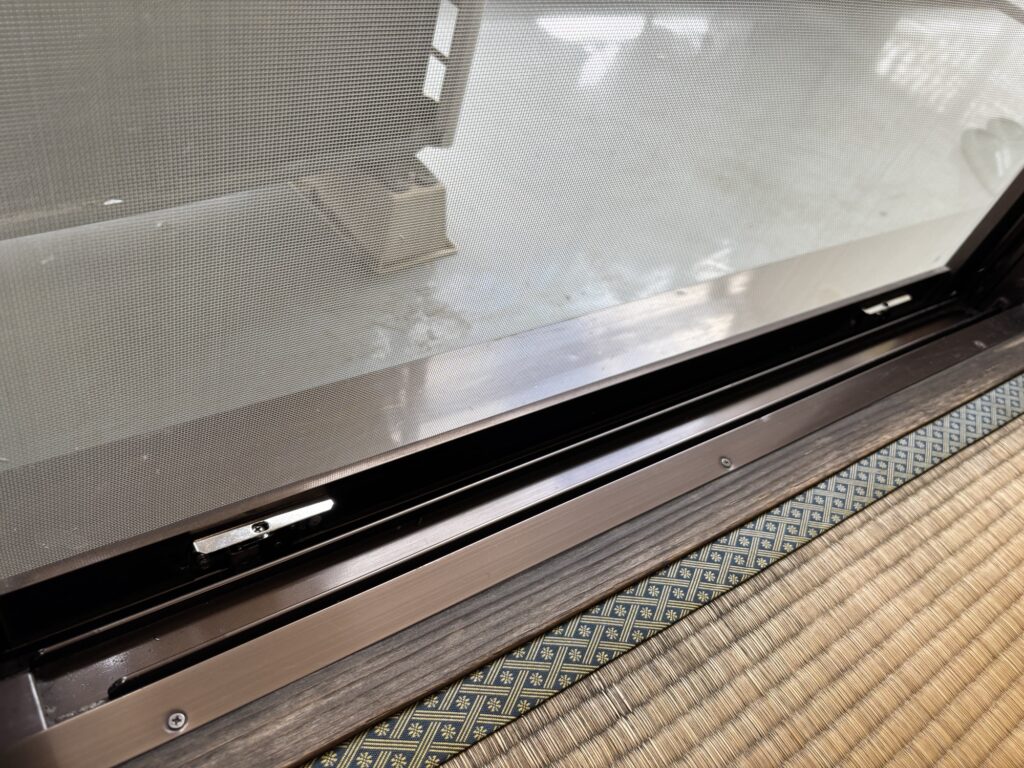
If it is installed too low, the roller may not provide sufficient support or adjustment.
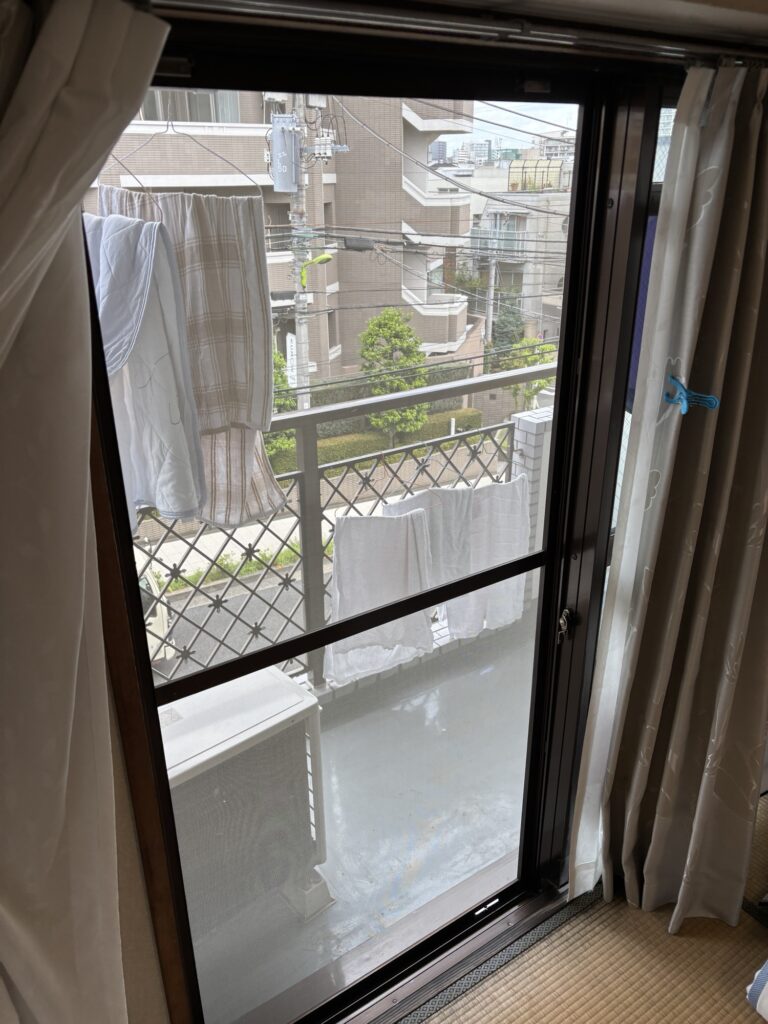
Keeping the new screw at approximately the same height helps maintain the correct position of the roller.
Replacing the Kitchen Lights
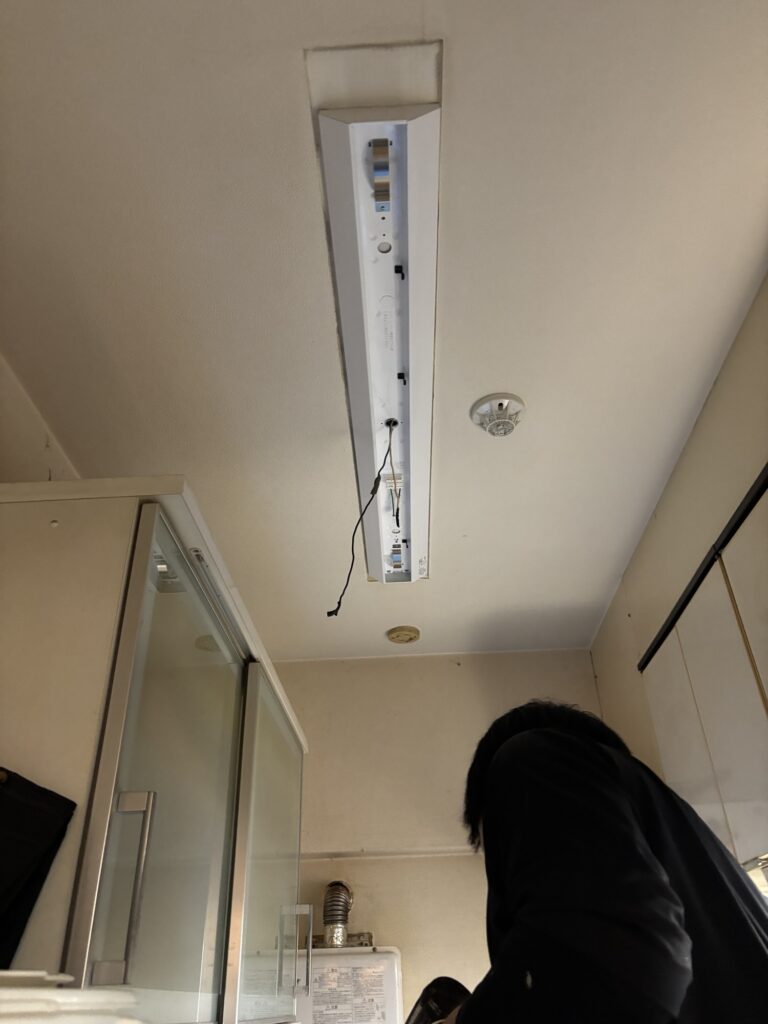
After completing the screen door work, we moved on to the kitchen lighting.
The job included replacing the ceiling light and the under-cabinet light.
Before disconnecting electrical wiring from the fixtures, we turned off the appropriate circuit breaker to prevent electrical shock and short circuits.
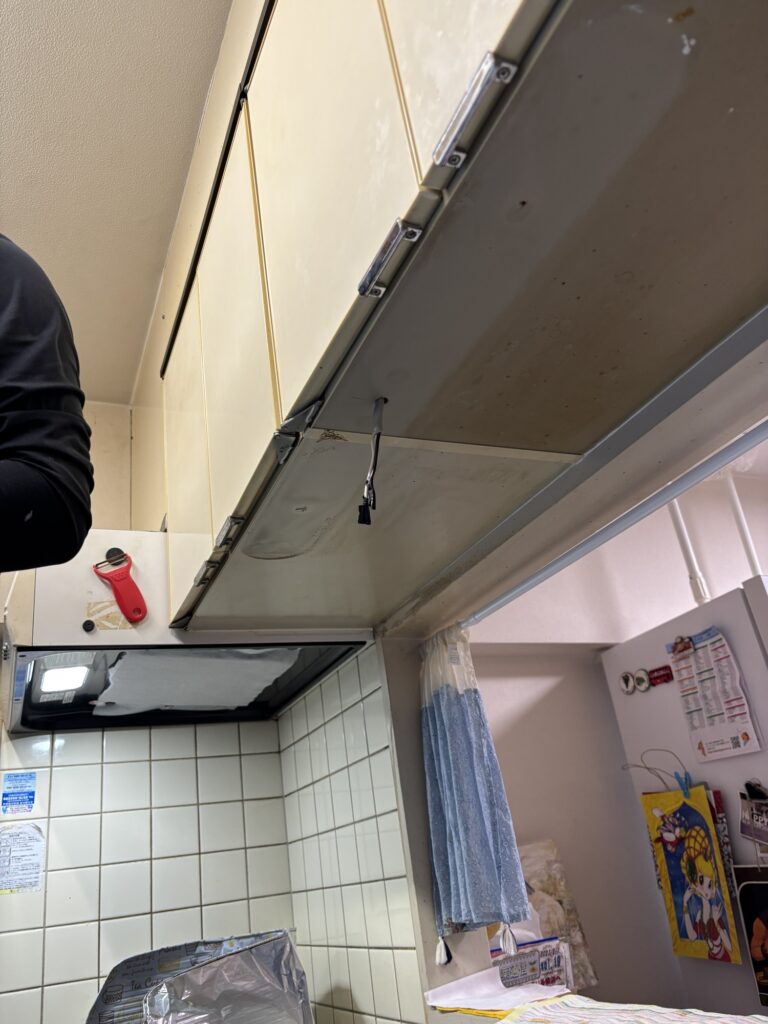
In Japan, working directly on fixed electrical wiring is work that requires the appropriate electrical qualification.
For this reason, this part of the job should not be performed by an unqualified person.
Installing the Ceiling Light
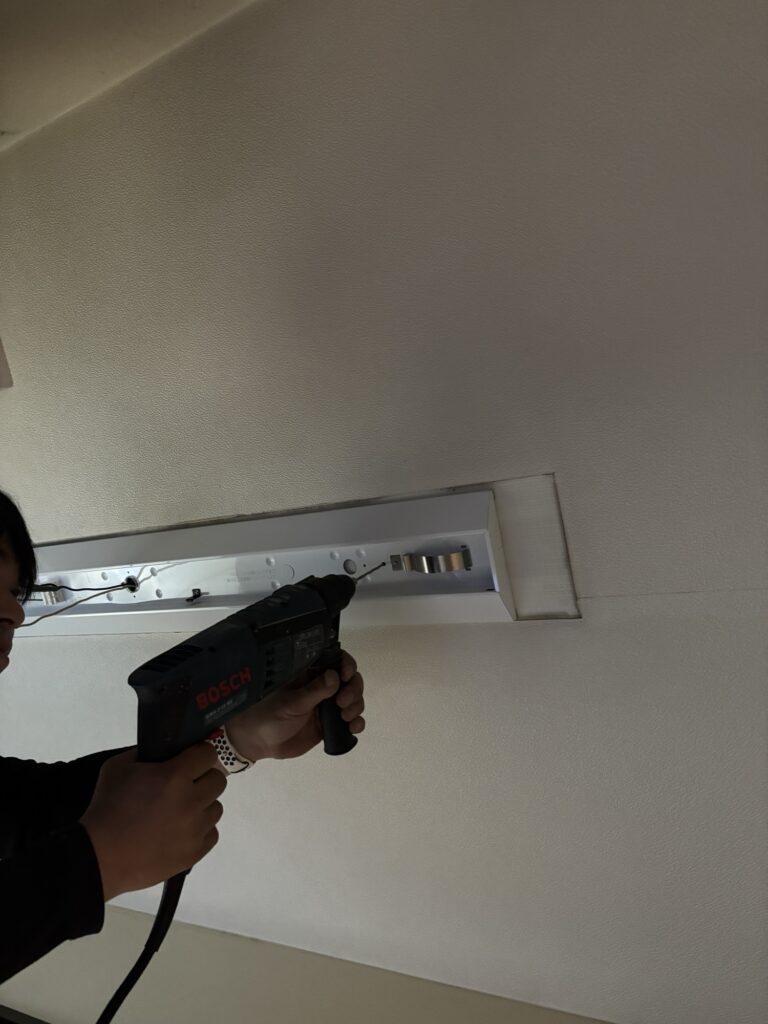
The existing screw holes in the ceiling had become enlarged, so the screws could no longer hold the fixture securely.
The ceiling substrate was concrete.
We therefore used a rotary hammer/drill to create new holes and secured the light fixture with new screws.
Rotary hammers can produce a significant amount of noise, especially when drilling into concrete.
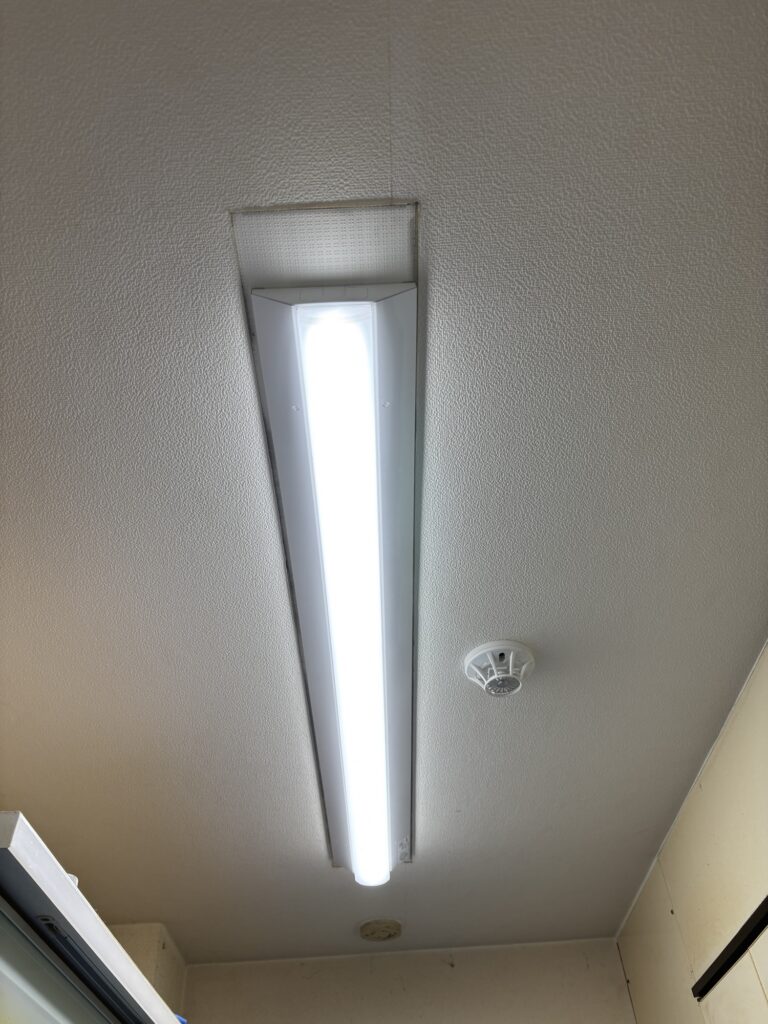
When working in an occupied home, it is considerate to tell the customer in advance that loud drilling noise will occur.
A simple warning can make the work much more comfortable for the customer.
Final Testing
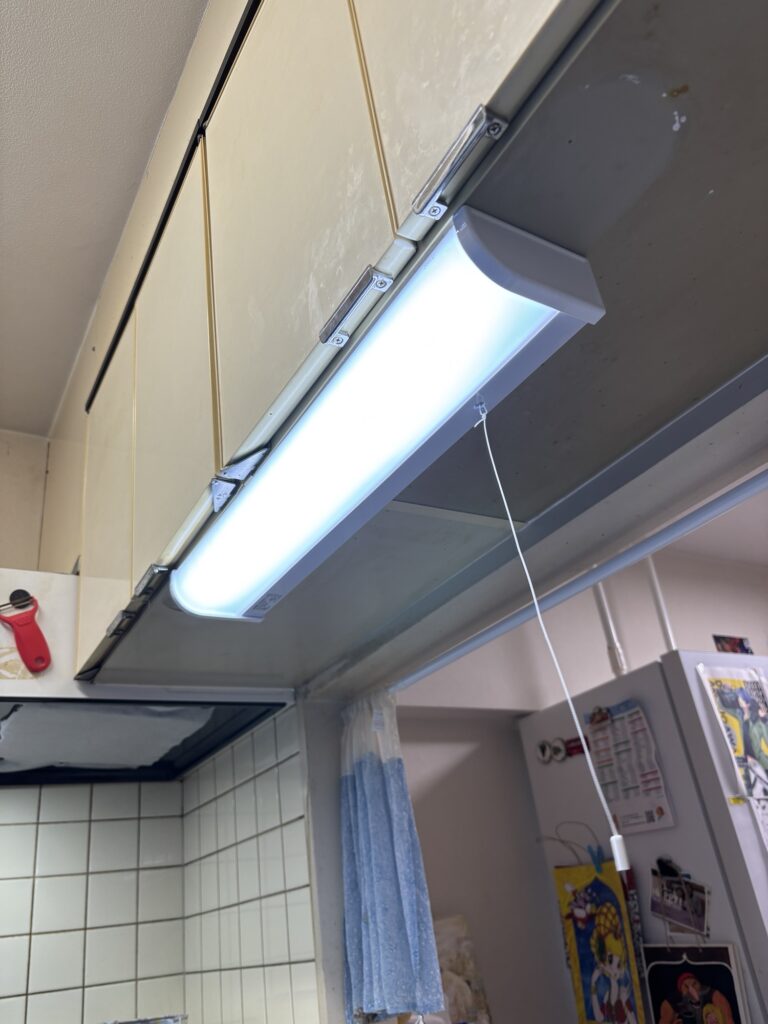
After installing both the ceiling light and the under-cabinet light, we turned the power back on and checked that both lights operated correctly.
We also checked the screen doors to make sure they moved smoothly and that the newly installed screens were properly stretched.
Once everything was confirmed to be working correctly, the job was complete.
The entire project took approximately three hours with two workers.
⸻
Tools Used
The following tools and materials were used during the project:
- Flathead screwdriver
- Utility knife
- Screen installation roller
- Putty knife or trimming guide
- New screen mesh
- Rubber spline
- Screen door rollers
- Screws
- Screwdriver/drill
- Rotary hammer/drill
- Protective covering materials
- Electrical tools for light replacement
The exact tools required can vary depending on the type of screen door frame, roller, ceiling construction, and lighting fixtures.
⸻
Professional Tips
1. Always inspect the old spline before reusing it
Old spline can look usable at first but may have become thinner and harder over the years.
If it no longer fits tightly in the groove, replacing it is usually the better option.
2. Keep the screen straight during installation
Before pressing the spline into the groove, make sure the screen is positioned correctly.
Small mistakes at the beginning can become much more noticeable as you move around the frame.
3. Don’t over-stretch the screen
The screen should be tight, but excessive tension can distort the frame or create problems during installation.
Apply steady and moderate tension as you install the spline.
4. Be careful when trimming the excess mesh
Always avoid cutting the spline.
Using a putty knife or another tool as a guide can help beginners control the utility knife more safely.
5. Check the roller height
When replacing screen door rollers, the height of the roller is critical.
Even a small difference can affect how smoothly the door fits and slides in the frame.
6. Warn customers before drilling concrete
Concrete drilling can be surprisingly loud indoors.
Giving the customer a quick warning beforehand is a simple but professional courtesy.
⸻
Common Mistakes to Avoid
Reusing worn-out spline
Old spline that has become too thin may not hold the new screen securely.
Installing the screen too loosely
A loose screen will remain wrinkled and may sag after installation.
Pulling the screen too aggressively
Too much tension can distort the screen or even affect the shape of the frame.
Cutting the spline with the utility knife
Accidentally cutting the spline can cause it to loosen and allow the screen to sag.
Installing a roller at the wrong height
A roller that is too high or too low can prevent the screen door from fitting or sliding correctly.
Forgetting to protect the customer’s home
Even a small repair can damage furniture or flooring if tools and materials are handled carelessly.
Working on fixed electrical wiring without proper qualifications
Electrical work involving fixed wiring should be performed only by someone with the required qualifications and knowledge.
⸻
What I Learned From This Project
One thing this project reminded me of is that small maintenance jobs often require more attention to detail than people expect.
Replacing screen mesh may look like a simple task, but the condition and size of the spline can make a significant difference in the final result.
The same is true for screen door rollers. A small difference in roller position can affect how the entire door operates.
Another important lesson is the value of working carefully in an occupied home.
Protecting the customer’s belongings, explaining noisy work in advance, and checking everything before leaving are all part of providing professional service.
The electrical work was also a reminder that safety and qualifications are just as important as technical skill.
A successful renovation or repair is not simply about finishing the physical work. It is also about leaving the customer with a safe, clean, and properly functioning result.
⸻
FAQ
1. How often should Japanese screen doors be rescreened?
There is no fixed replacement interval. Screen mesh can last for many years, but it should be replaced when it becomes damaged, loose, brittle, or difficult to repair.
2. Can old screen door spline be reused?
Sometimes, but it depends on its condition. If the spline has become thin, hard, damaged, or loose, replacing it with a new spline is usually the better choice.
3. Why does screen mesh become loose after installation?
Loose mesh can be caused by insufficient tension during installation, an incorrectly sized spline, or a damaged or worn-out spline.
4. What is a screen installation roller used for?
A screen installation roller is used to press the spline into the groove of the screen door frame. It helps create consistent pressure and makes installation easier.
5. Can I replace a screen door roller myself?
Some roller replacements are relatively simple, but the exact procedure depends on the door design. Correct roller height and adjustment are important for smooth operation.
6. Why do screen door rollers become difficult to move?
Rollers can become worn, rusty, dirty, or damaged over time. These problems can increase resistance and make the door harder to slide.
7. What should I do if the screw hole for a roller is stripped?
Depending on the condition, a slightly thicker screw may provide enough grip. If that is not sufficient, the roller may need to be secured at a new position while maintaining the correct height.
8. Why is it important to keep the new roller at the same height?
The roller height affects how the screen door sits inside the frame. If it is too high or too low, the door may not fit correctly or may not slide properly.
9. Can anyone replace a kitchen ceiling light in Japan?
It depends on the type of installation. Work involving fixed electrical wiring requires the appropriate electrical qualification in Japan. Unqualified people should not perform electrical work that requires a license.
10. How long did this project take?
The entire project took approximately three hours with two workers, including screen replacement, roller replacement, and kitchen lighting work.
⸻
Conclusion
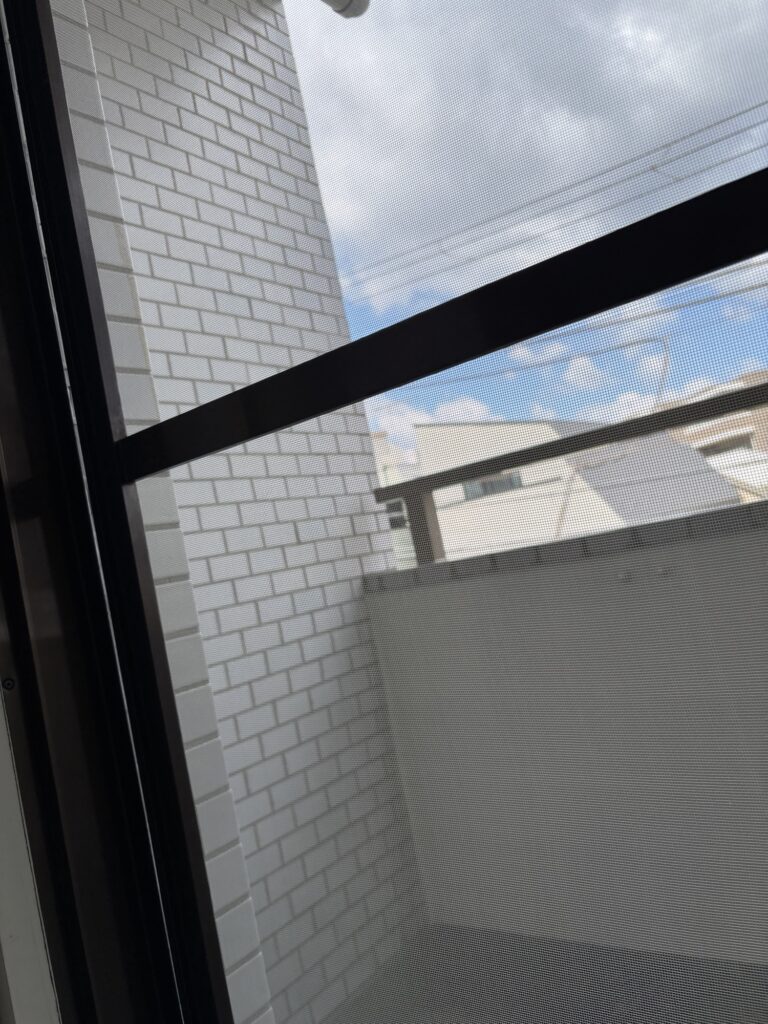
This project combined several different types of residential maintenance work: replacing two screen doors, installing new screen mesh, replacing worn rollers, and installing new kitchen lighting.
Although each task was relatively small, careful preparation and attention to detail were necessary to achieve a professional result.
The condition of the old spline, the correct tension of the screen, the position of the rollers, and the condition of the mounting holes all affected the quality of the finished work.
Working in an occupied home also required extra care to protect the customer’s belongings and minimize inconvenience.
After approximately three hours of work, the screen doors were operating smoothly, the new screens were properly tensioned, and the kitchen lights were installed and tested successfully.
Want to see more professional renovation projects? Explore my latest articles below.
Installing Vinyl Flooring in an Occupied Kitchen: Professional Preparation Tips
Installing a Used Air Conditioner in My 50-Year-Old House | A Craftsman’s DIY Project


Comments