
Replacing vinyl flooring may seem straightforward, but achieving a long-lasting, professional finish depends heavily on the preparation underneath.
On this project, I was asked by a renovation company to install new vinyl flooring (cushion floor) in a kitchen while the homeowners were still living in the property.
Working around furniture, repairing damaged subfloors, and carefully planning every joint were all essential parts of the job.
Here’s how the project came together and why each step mattered.
⸻
Working in an Occupied Home
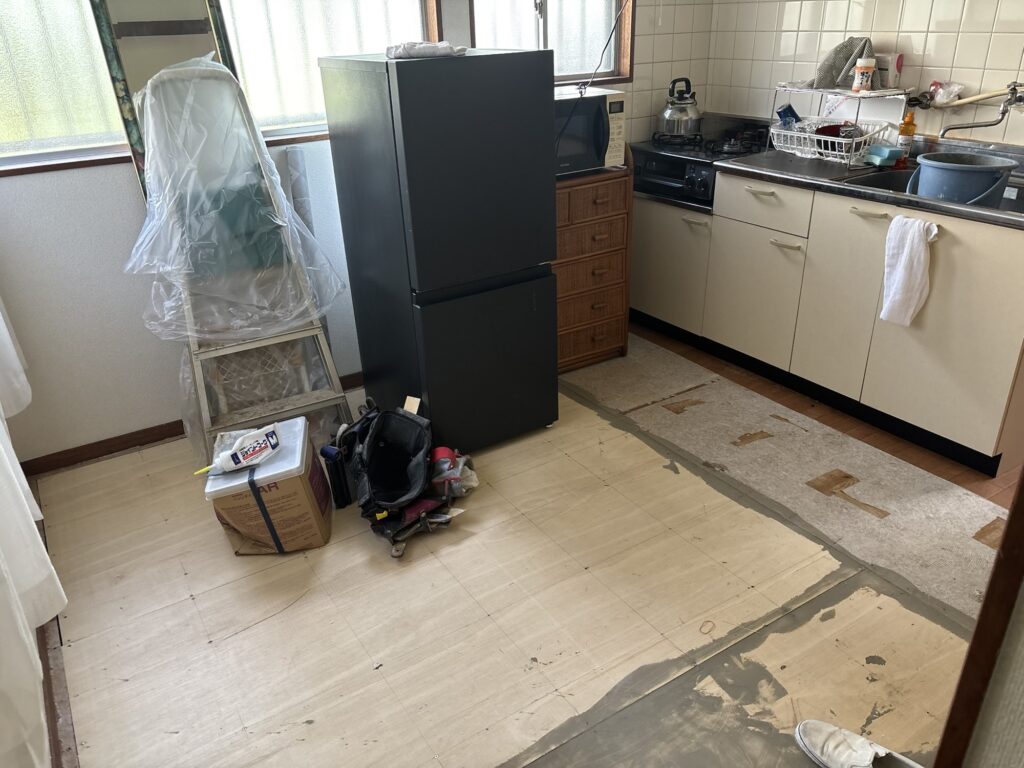
Today’s job was to install new vinyl flooring in a kitchen for a renovation company.
Because the homeowners were still living in the house, we had to move the refrigerator and other furniture throughout the installation.
Working in an occupied home always requires extra care to protect the customer’s belongings while keeping the project moving efficiently.
⸻
Repairing Moisture-Damaged Flooring
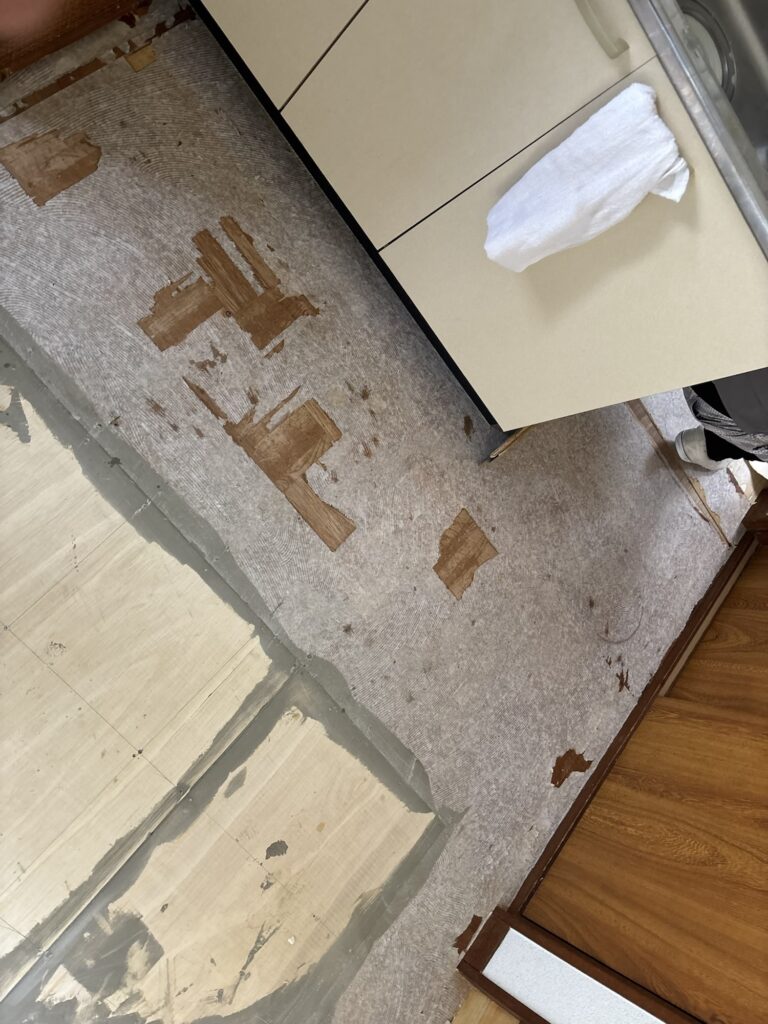
The existing floor had deteriorated due to long-term moisture exposure, so part of the plywood subfloor had already been replaced before I arrived.
The contractor had also applied the first coat of floor filler over the plywood joints in advance.
This was a huge help because floor filler needs time to dry.
Having the first coat completed before my arrival allowed me to continue the preparation work without unnecessary delays.
⸻
Removing the Old Flooring Properly
Some of the old vinyl flooring was still attached, so the first step was to remove the remaining material.
Simply pulling off the old flooring isn’t enough. Any loose backing paper must also be removed completely.
If loose paper remains underneath, the adhesive won’t bond properly. This can cause hollow spots, bubbles, or loose areas after the new flooring is installed.
The finished floor consists of three layers:
- Plywood subfloor
- Backing paper
- New vinyl flooring
For a strong bond, the backing paper must either be completely removed or firmly attached to the plywood.
⸻
Paying Extra Attention to Joints and Edges
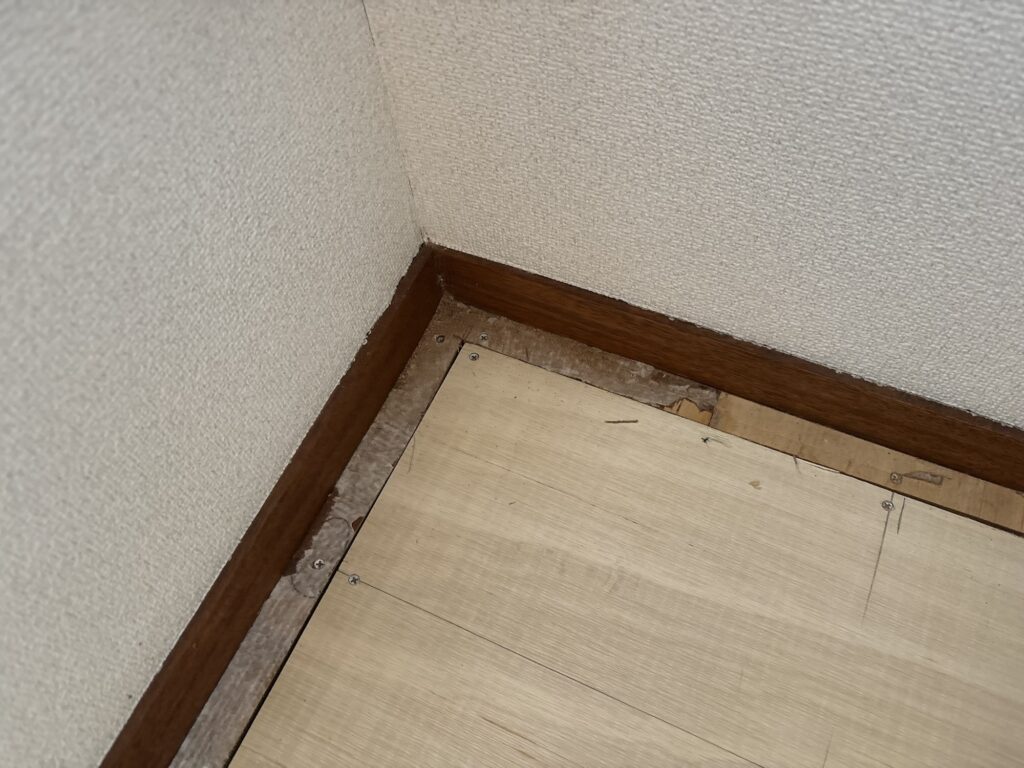
The most vulnerable areas of any vinyl floor installation are the joints and the edges.
These are the locations most likely to peel or separate over time, so I carefully inspected every section before continuing.
⸻
Applying Floor Filler
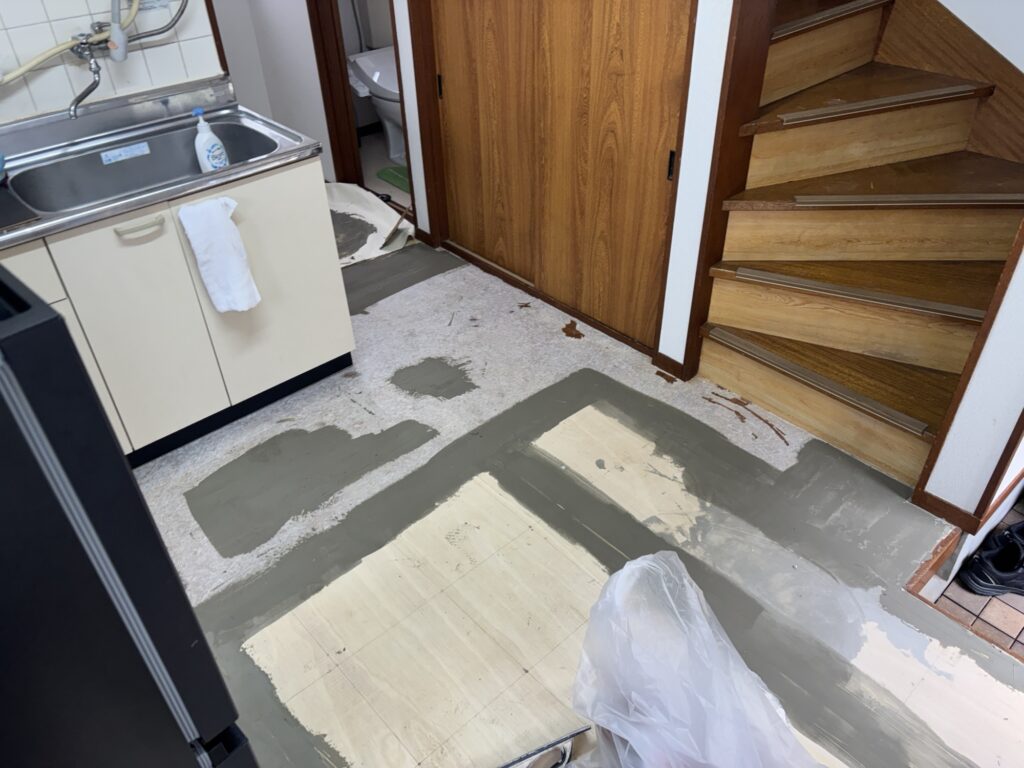
Once all the preparation work was complete, I applied floor filler.
The filler was used on:
- The joints between the newly installed plywood panels
- Damaged and deteriorated areas of the existing plywood
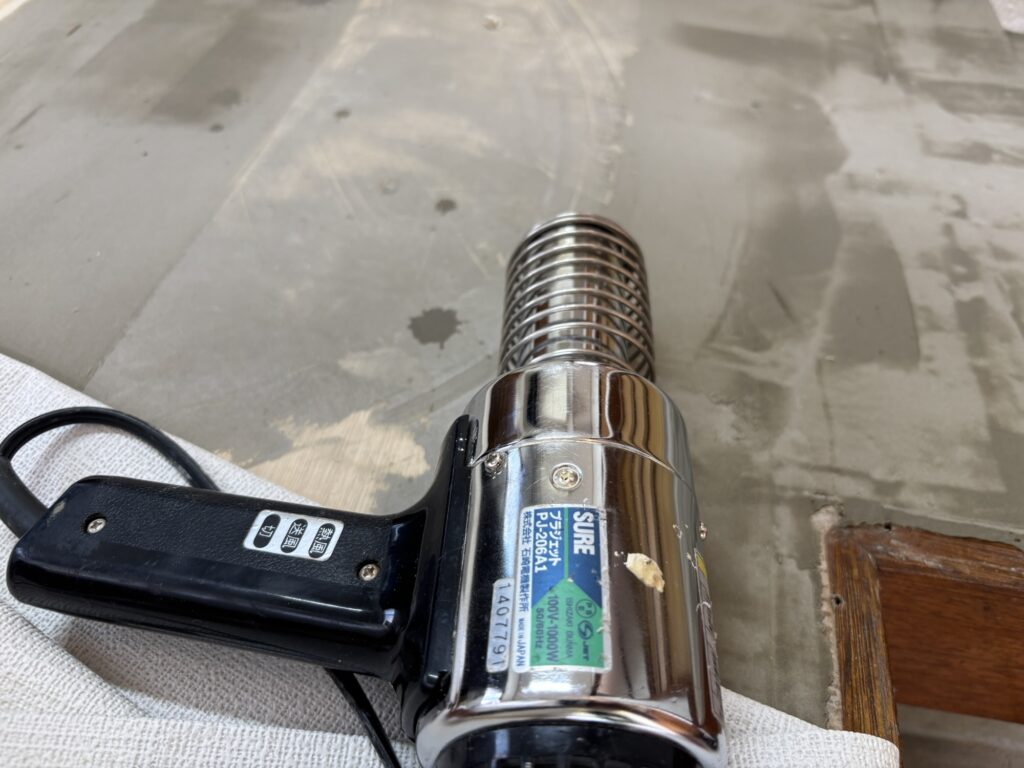
For deeper depressions, I applied one coat, dried it with a heat gun, and then applied a second coat to create a smooth, level surface.
After the filler had completely dried, I sanded everything smooth.
⸻
Planning the Flooring Layout
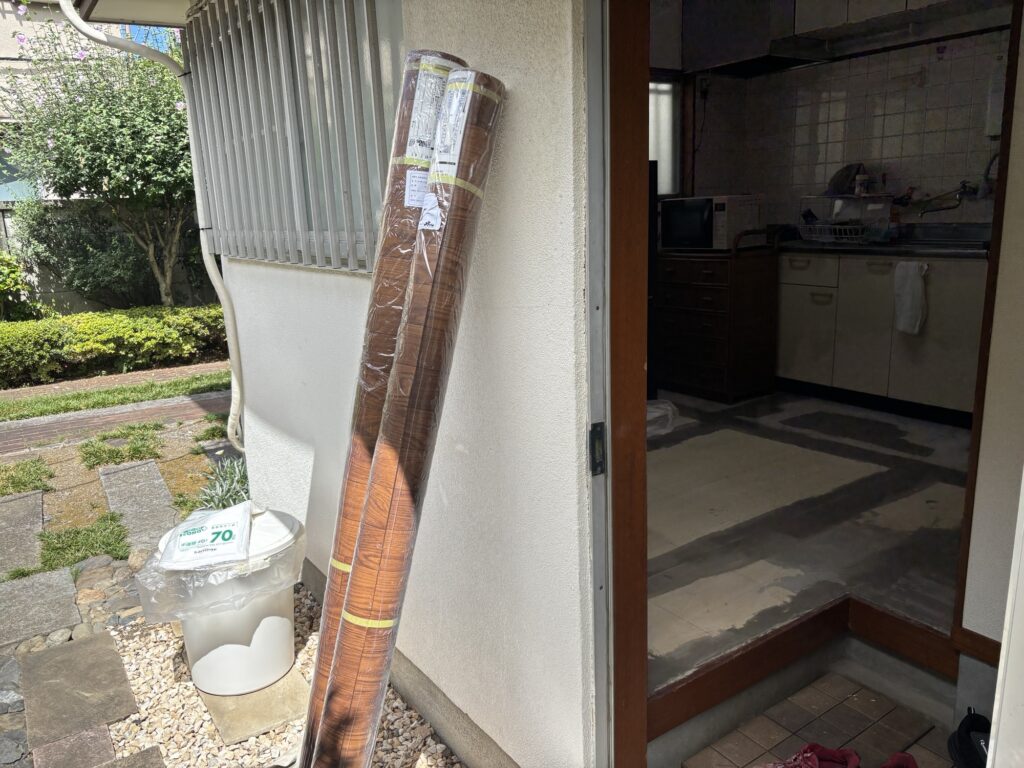
The materials consisted of:
- One piece measuring 4.6 meters
- One piece measuring 2.2 meters
Both rolls were 1.8 meters wide.
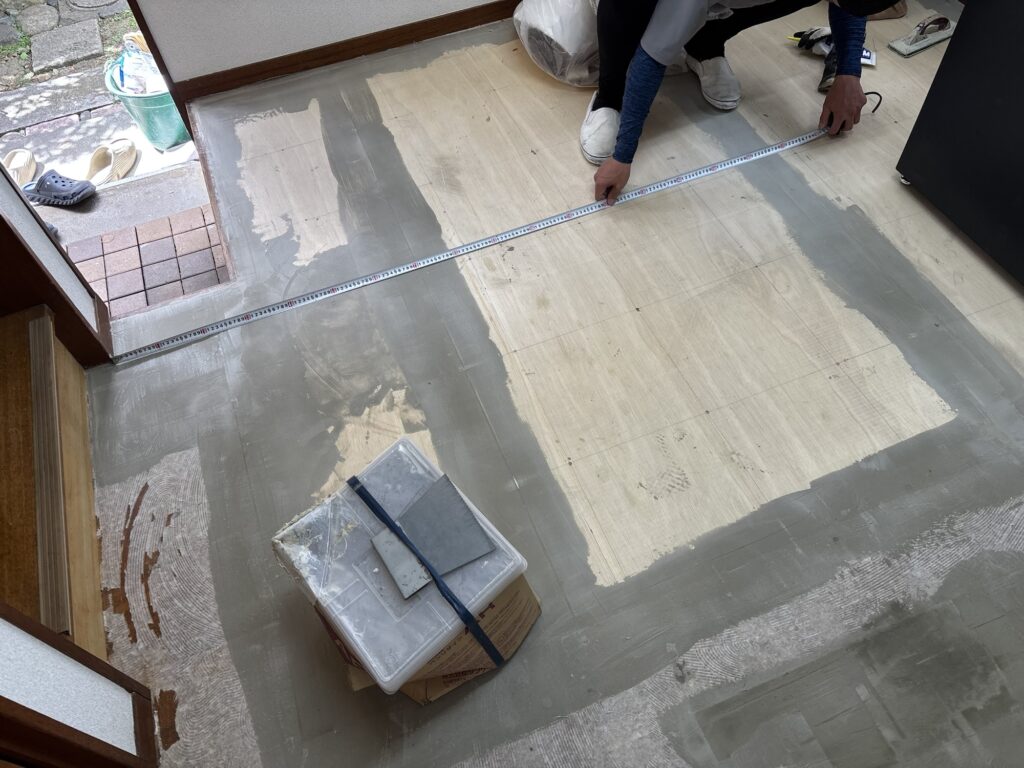
Before spreading adhesive, I snapped chalk lines to determine the best layout.
Proper planning is extremely important because I try to avoid placing flooring seams:
- Directly over filled areas
- In front of the kitchen entrance where foot traffic is highest
Flooring joints placed over filler are more likely to fail over time, much like wallpaper seams over weak repairs.
Likewise, joints near entrances receive constant pressure from foot traffic, increasing the risk of separation.
⸻
Installing the First Sheet
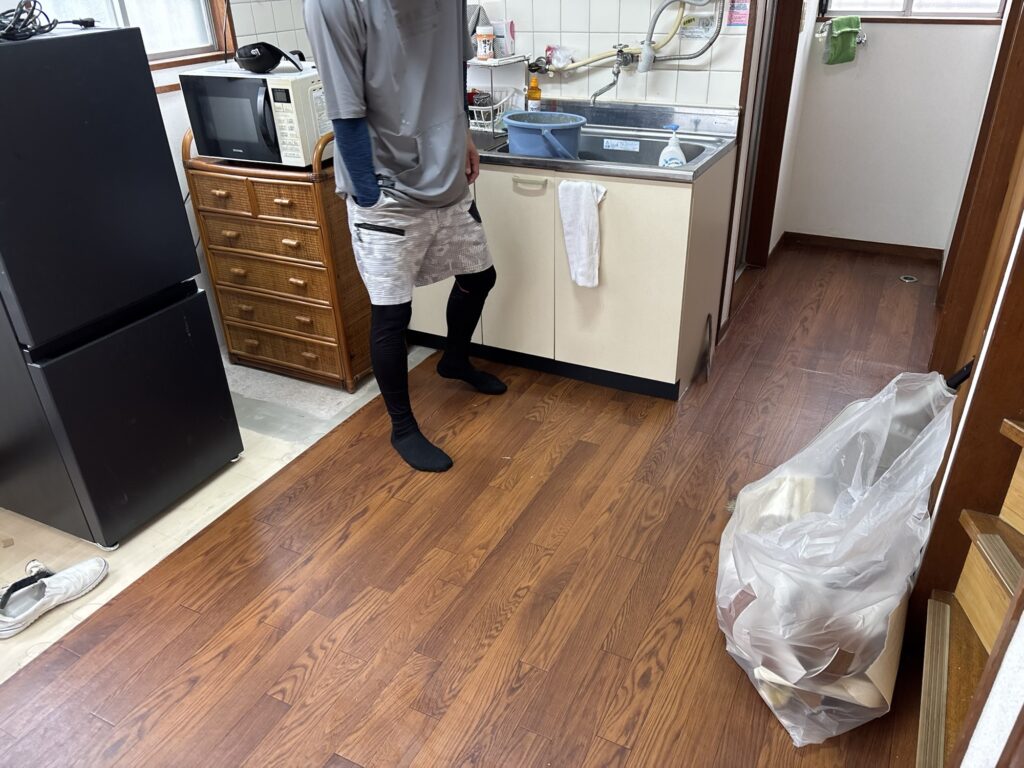
The first sheet was fairly long, so I spread adhesive over only half of the area first.
After installing the first half, I applied adhesive to the remaining section.
This method makes handling large pieces much easier and helps prevent positioning mistakes.
⸻
Cutting for a Professional Finish
One important tip when trimming vinyl flooring is not to cut it too tightly.
I leave an almost invisible amount of clearance around the edges.
If the flooring is cut too long, it can compress against the walls, causing wrinkles, buckling, or even lifting over time.
After making the initial cut with a vinyl flooring cutter, I fine-tuned the edges using a trimming knife and a smoothing tool for millimeter-level accuracy.
⸻
Installing the Second Sheet
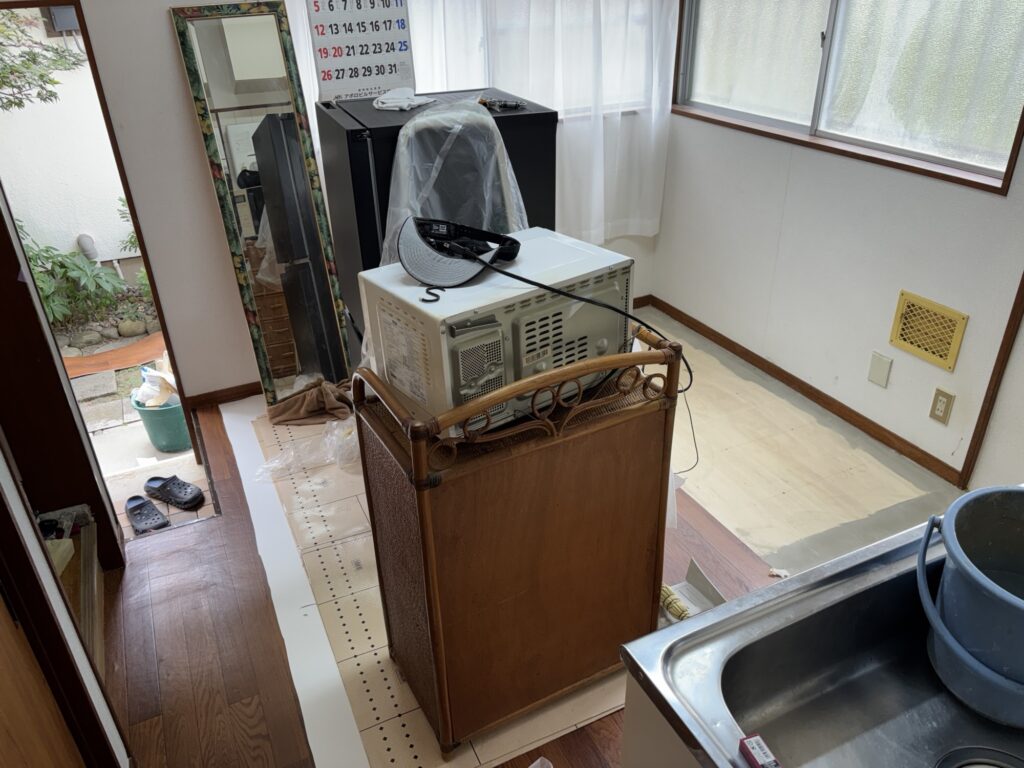
After finishing the first sheet, I carefully moved the furniture onto protective floor mats to avoid leaving marks.
The second sheet was then installed while carefully aligning the pattern and seam with the first sheet.
Another important consideration was the adhesive’s open time.
If the adhesive sits too long before installation, it becomes difficult to reposition the flooring because it grabs too quickly.
Timing is critical for achieving a clean installation.
⸻
Cutting the Seam
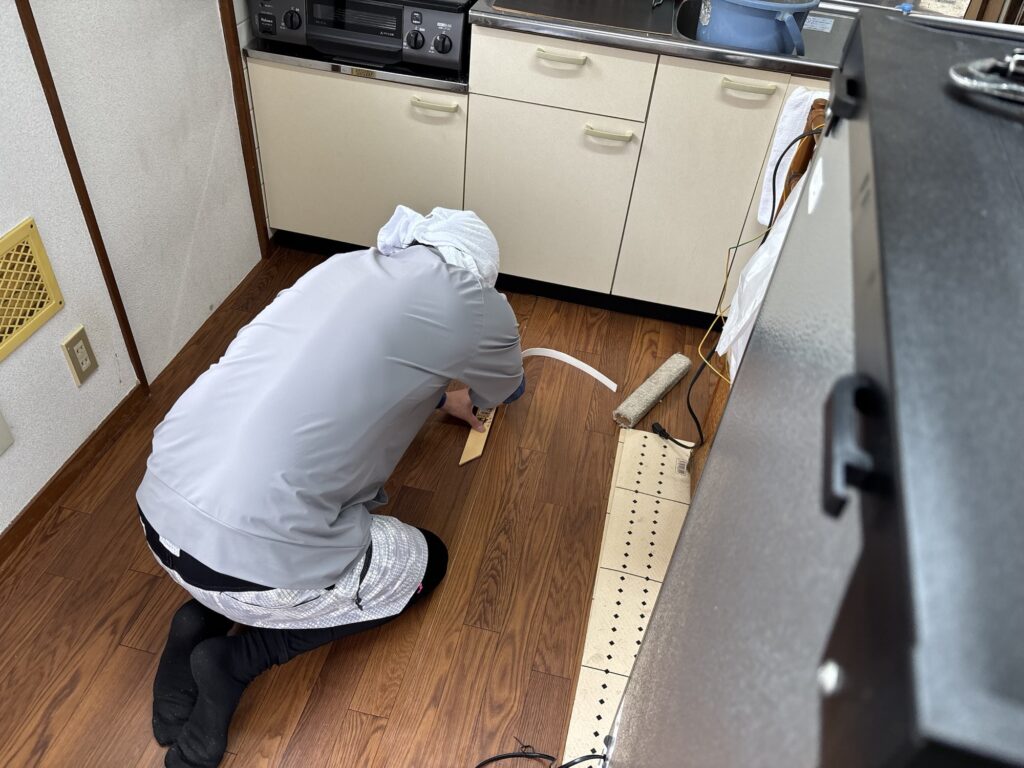
For the seam cut, I used a heavy-duty utility knife.
Unlike wallpaper, vinyl flooring is much thicker, so slightly more cutting pressure is required.
With wallpaper, cutting too deeply into drywall can damage the substrate and eventually cause the seams to open.
However, since vinyl flooring is installed over plywood, applying a little more pressure isn’t a problem.
⸻
Sealing the Joint
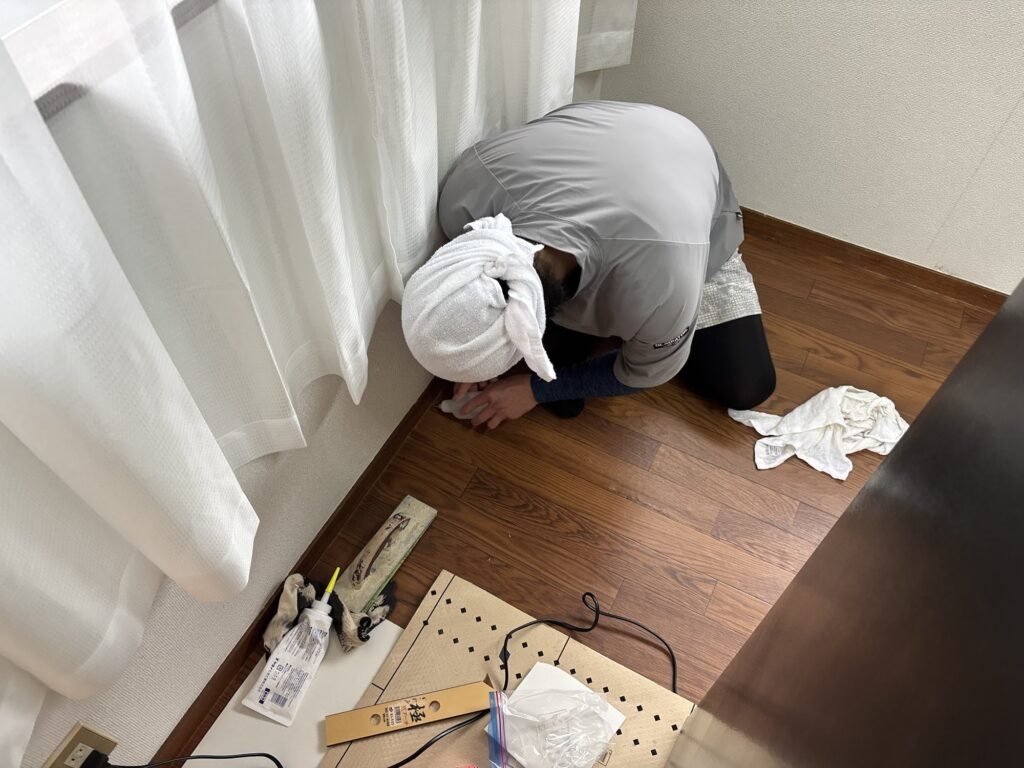
After completing the seam cut, I applied seam sealer along the joint.
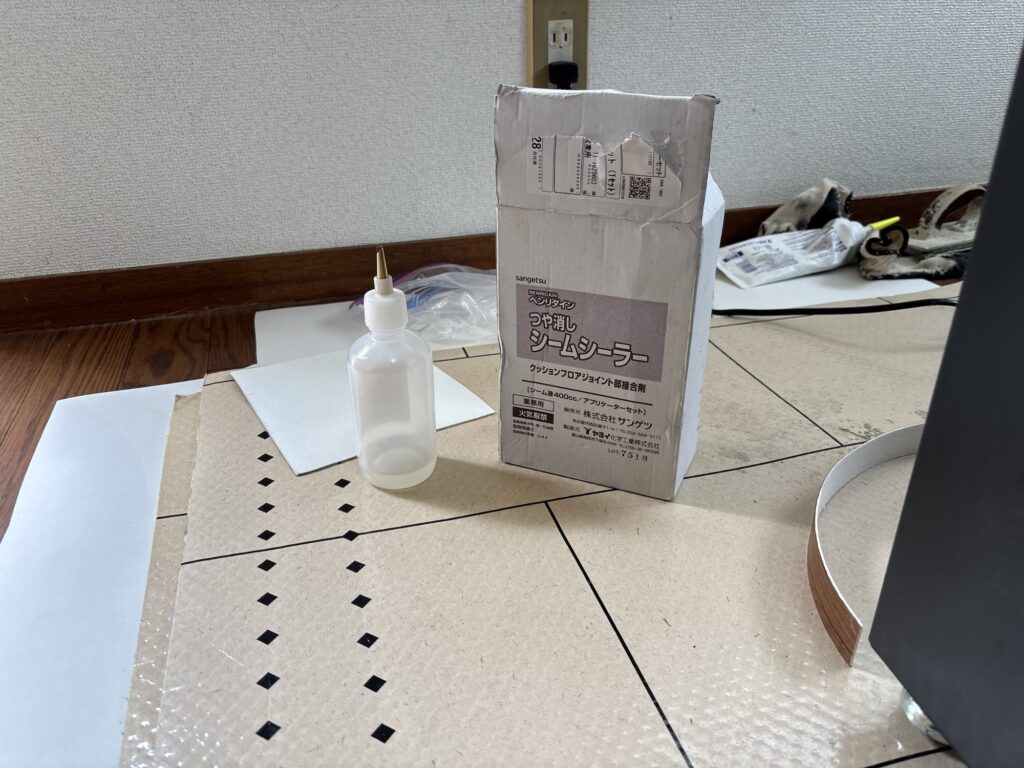
This strengthens the seam, helps prevent moisture penetration, and improves the durability of the finished floor.
⸻
Finishing the Job
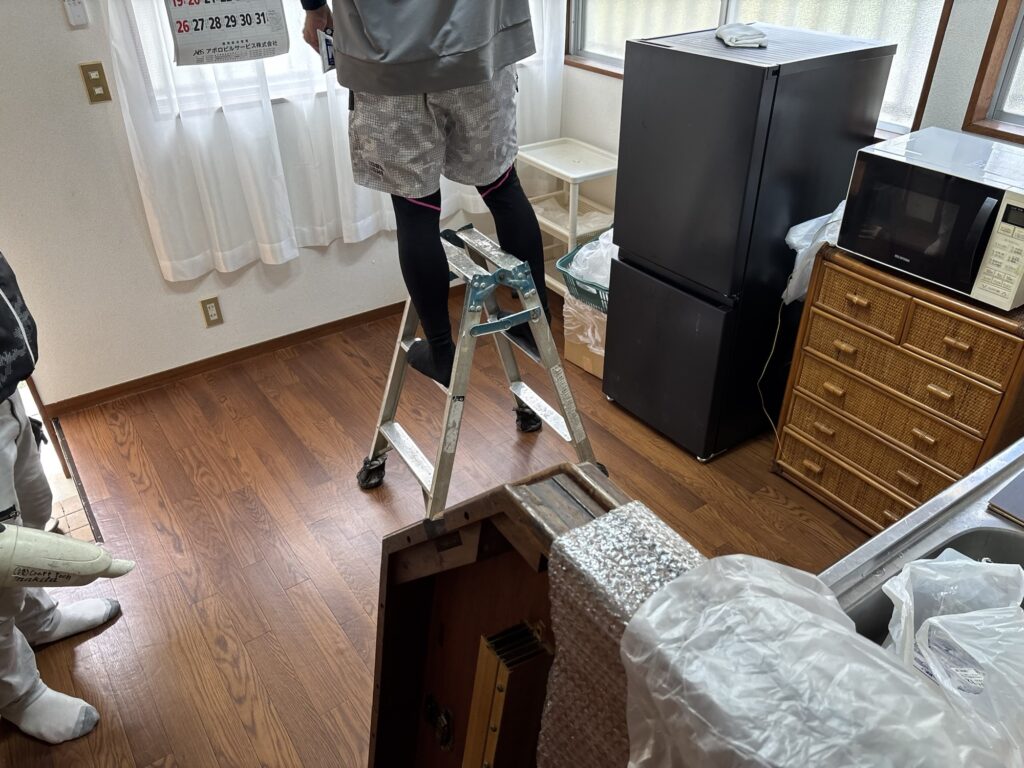
Once the installation was complete, I cleaned the work area and returned all of the furniture to its original position.
The homeowner was very happy with the finished floor and commented on how much cleaner and brighter the kitchen looked.
Satisfied customers always make the extra attention to detail worthwhile.
⸻
Tools Used
- Utility knife
- Vinyl flooring cutter
- Heat gun
- Sander
- Notched trowel
- Seam sealer
- Straight edge
- Chalk line
- Roller
⸻
Professional Tips
- Never place seams over repaired areas.
- Remove every loose piece of backing paper.
- Don’t leave adhesive open for too long.
- Leave a tiny expansion gap when trimming.
⸻
What I Learned From This Project
Every flooring installation reinforces the same lesson: preparation determines the final quality.
No matter how carefully new flooring is installed, poor substrate preparation will eventually lead to problems such as loose seams, bubbles, or lifting edges.
Taking the time to repair damaged areas, remove loose backing paper, plan seam locations, and control adhesive timing results in a floor that not only looks professional on day one but continues performing well for years.
For professional flooring installers, patience during preparation is just as important as skill during installation.
⸻
Frequently Asked Questions
Why is removing loose backing paper so important?
Loose backing paper prevents the adhesive from bonding properly to the subfloor, which can cause bubbles, hollow spots, or loose flooring over time.
⸻
Why avoid placing flooring seams over repaired areas?
Filled areas can move slightly as they age. Keeping seams away from these repairs reduces the risk of future seam failure.
⸻
What is adhesive open time?
Open time is the waiting period after spreading adhesive before installing the flooring. Installing too early or too late can reduce bonding performance and make positioning more difficult.
⸻
Why use seam sealer on vinyl flooring?
Seam sealer strengthens the joint, prevents moisture from entering the seam, and helps extend the life of the flooring installation.
⸻
Can furniture stay inside the room during installation?
Yes. In occupied homes, furniture is usually moved in stages while protective mats are used to prevent scratches or dents.
⸻
Conclusion
Installing vinyl flooring is much more than simply spreading adhesive and laying down new material.
Every step—from subfloor preparation and filler work to seam placement and final sealing—plays an important role in creating a durable, professional result.
Whether you’re a homeowner planning a renovation or a flooring installer looking to improve your technique, careful preparation will always pay off in the long run.
A well-prepared floor is the foundation of every successful flooring project.
⸻
Want to see more professional renovation projects? Explore my latest articles below.


Comments