
Project Overview
Not every wallpaper job starts with hanging wallpaper. Sometimes, the most important part is repairing the damage hidden behind the old walls. On this project, we renovated a 25 m² one-bedroom apartment that had serious moisture damage in several areas.
⸻
The Problem
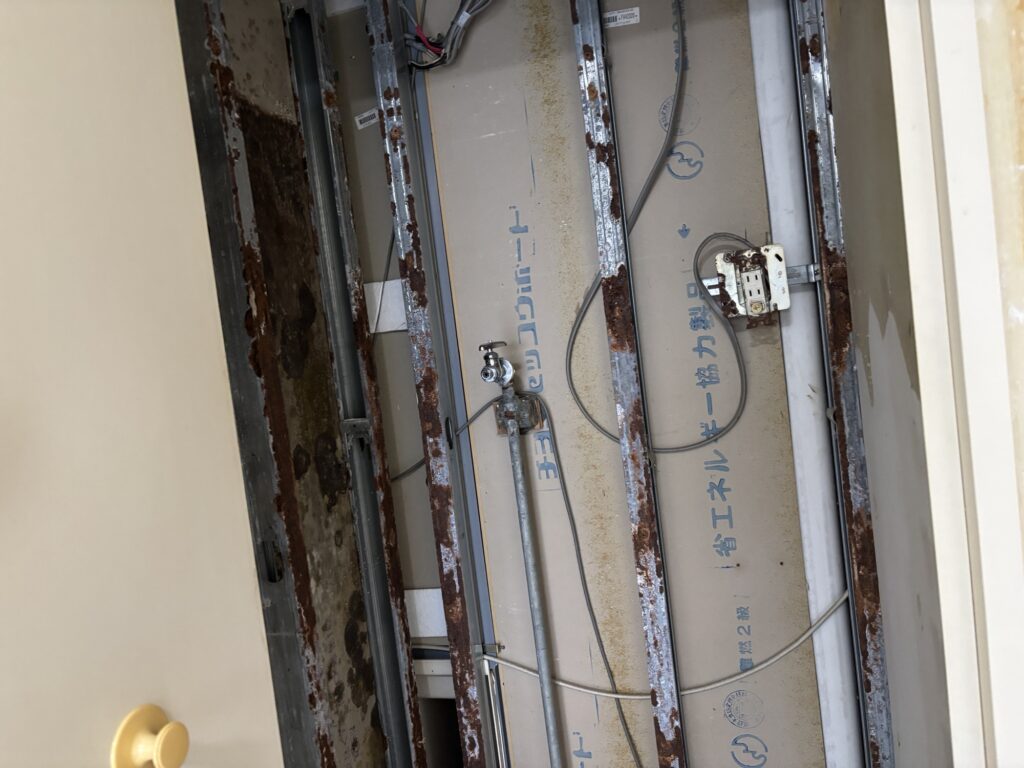
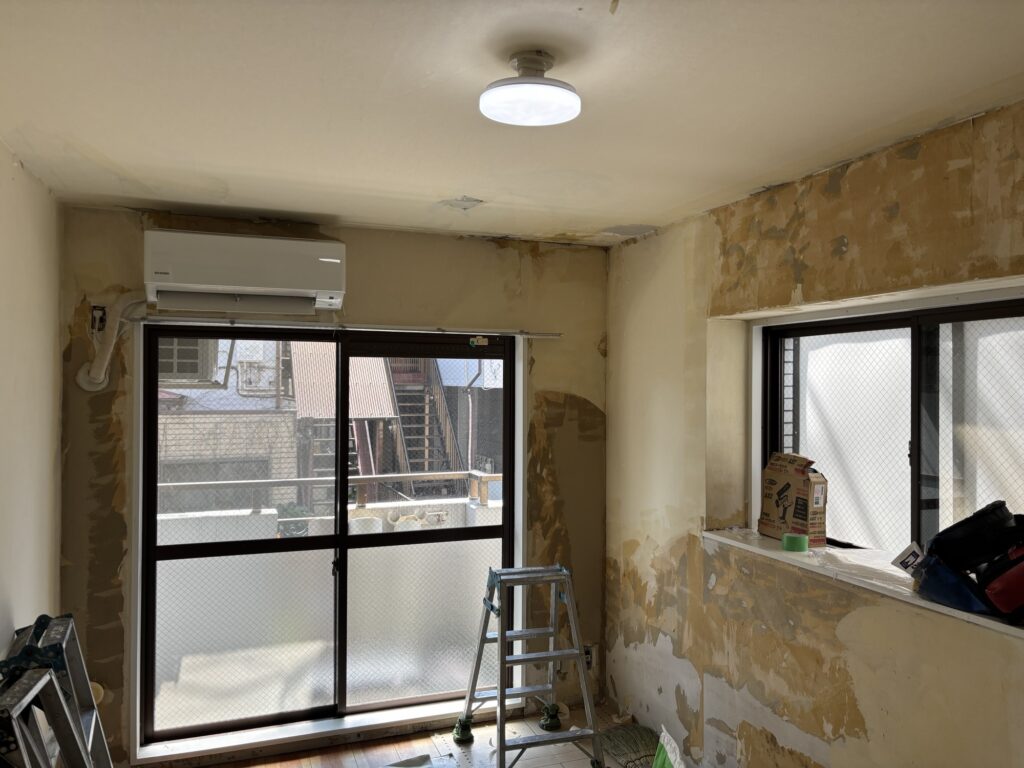
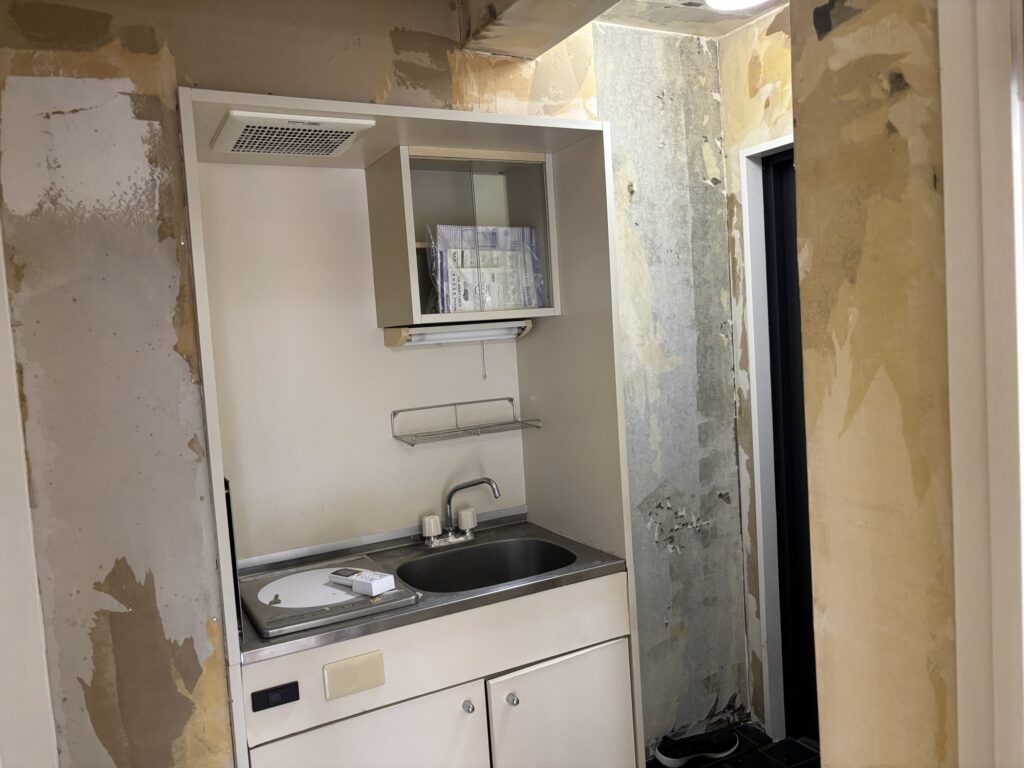
After removing the old wallpaper, we found mold caused by moisture on the wall behind the washing machine space and on the ceiling near the balcony.
The damage behind the washing machine was especially severe, so we completely removed that section of the wall.
If we had simply installed new wallpaper over the damaged surface, the weak substrate would eventually show through, and the finish would fail in a short time.
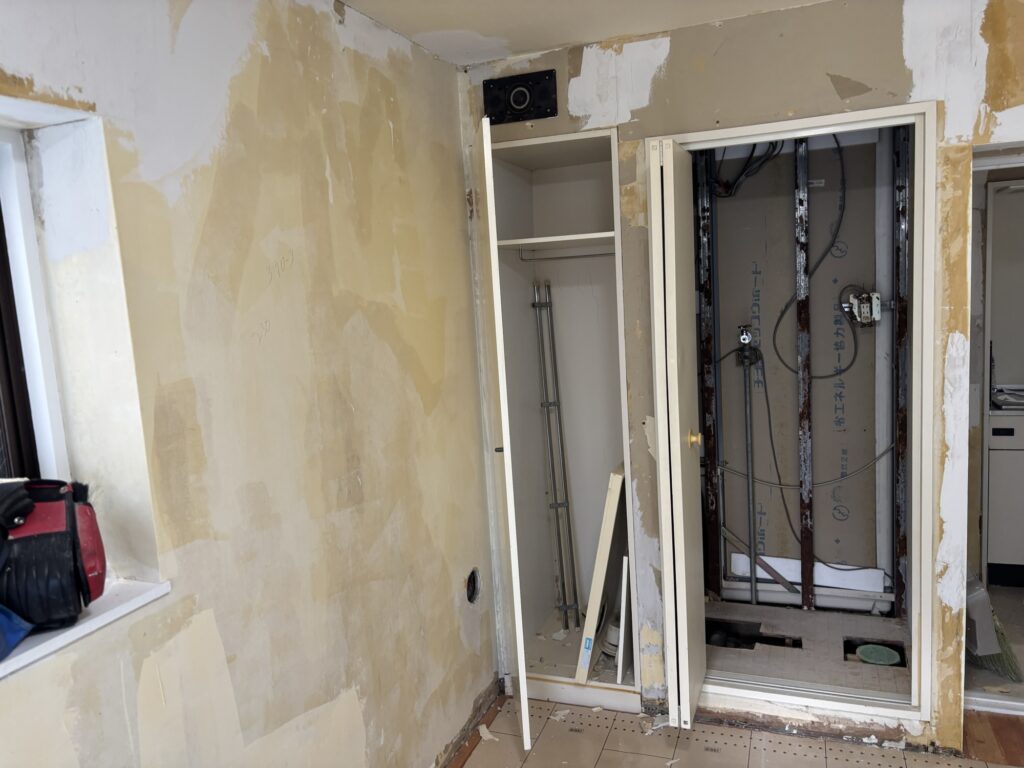
We also found moisture-damaged drywall in several other areas. After carefully removing the remaining old wallpaper backing, we applied a wall strengthening primer (Sea-Up) to reinforce the surface.
Once the primer had dried completely, we filled the damaged areas with joint compound.
Preparing the Surface
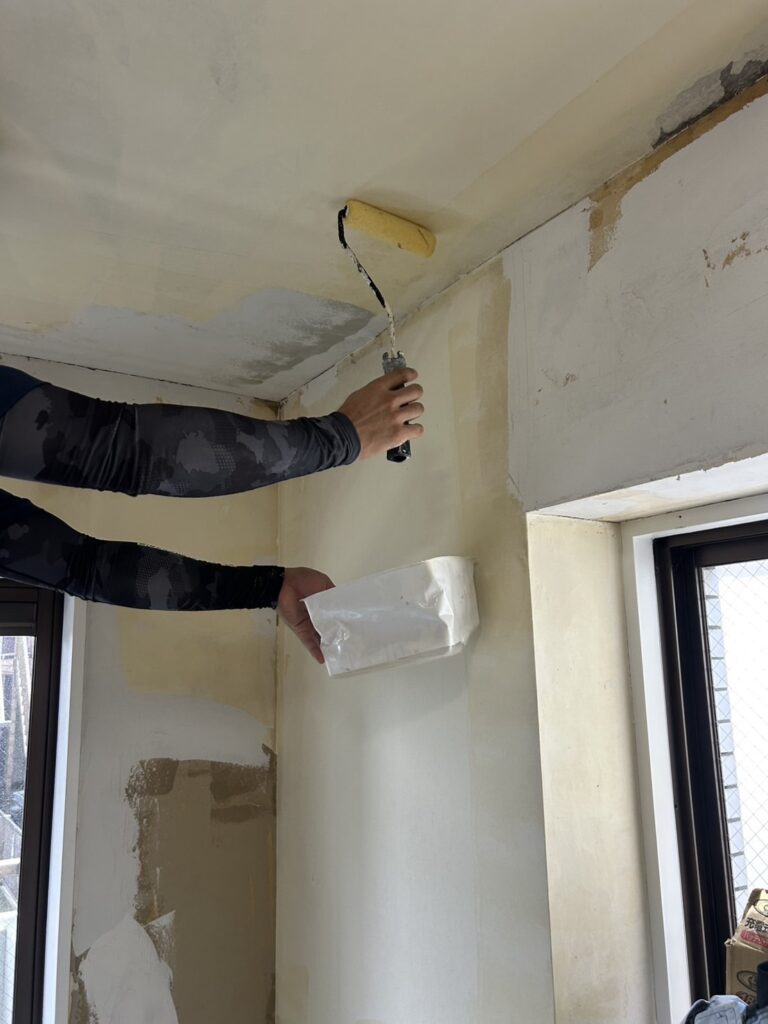
The balcony ceiling was made of mortar rather than drywall, so instead of removing it, we treated the surface with Masty, a mold-prevention coating.
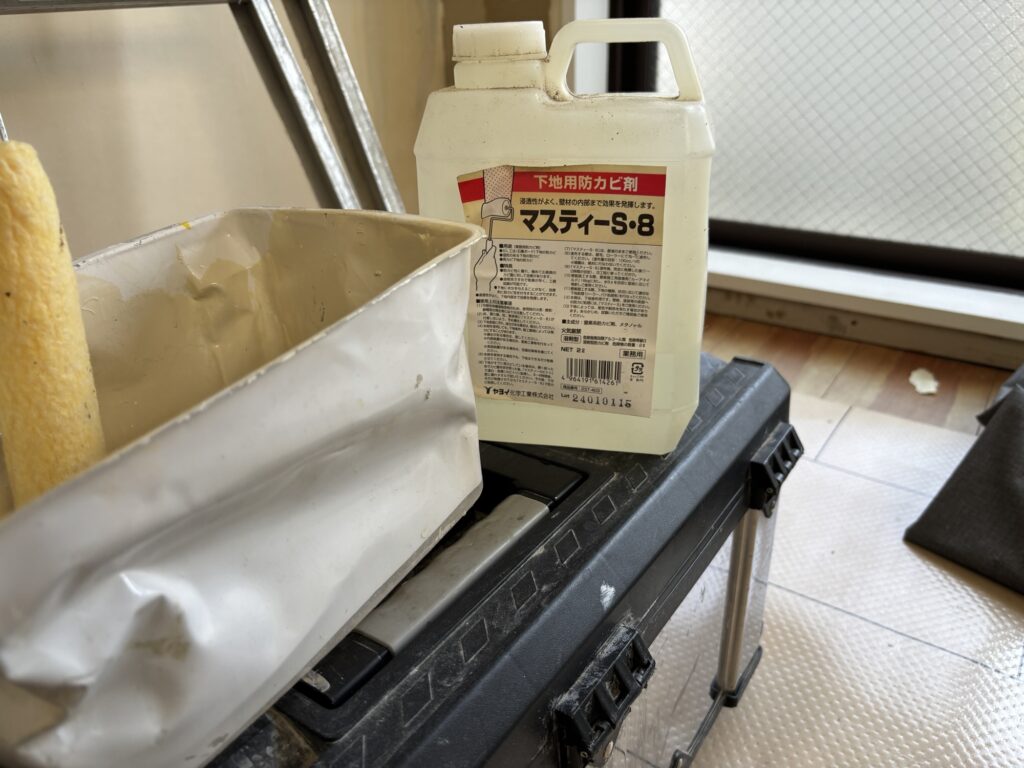
After finishing all the preparation work, we measured the wallpaper, set up the wallpaper pasting machine, and wrapped up the morning’s work.
The living room ceiling measured approximately 3.9 meters long and 2.2 meters wide. My boss and I installed three full-length strips together, while another worker installed the kitchen ceiling by himself.
Installing the Wallpaper
Today’s wallpaper was a thick embossed material, which made it much easier to install.
Thicker wallpaper does a better job of hiding minor imperfections in the substrate, making it a great choice for apartment restoration projects.
One important rule is to avoid using wallpaper that is thinner than the original material unless the drywall has been replaced. Thin wallpaper tends to reveal every imperfection underneath.
If you really want to use a thinner material, careful surface preparation becomes even more important.
After we finished the ceilings, we moved on to the walls. That’s when my boss noticed that I had forgotten to apply joint compound to one small area.
The spot was below waist height, and I simply overlooked it.
It was a good reminder that if you want the job to go smoothly, every step has to be completed carefully without rushing.
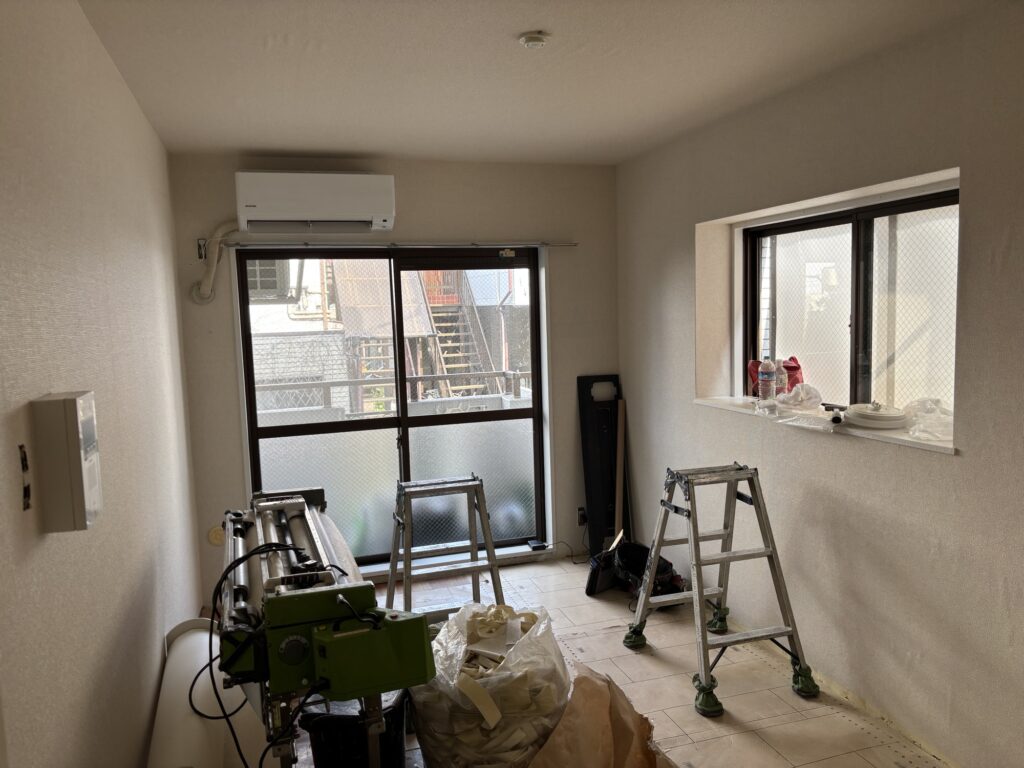
After a short break, we finished installing wallpaper throughout the apartment except for the washing machine area, which was still waiting for the rebuilt wall.
You might notice that parts of the finished ceiling appear to have small bubbles.
Those are caused by the backing paper from the previous wallpaper.
The Finished Result
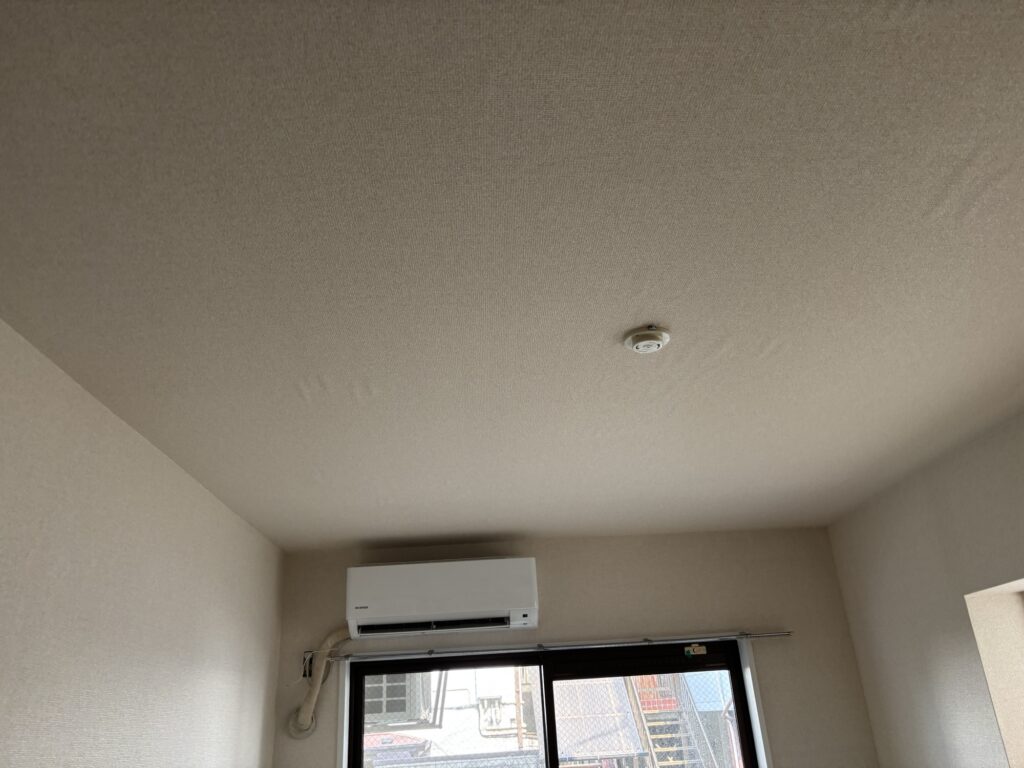
As the adhesive in the new wallpaper dries, the wallpaper tightens naturally and the bubbles disappear.
In the dry winter season, this usually takes about three days. During the humid summer months, it can take around one week.
After cleaning the room and putting away our tools, another renovation project was complete.
Related Project
Replacing Wallpaper on Beams and Walls in a Japanese Apartment with Traditional Juraku Plaster Walls
Frequently Asked Questions
Why did you remove the damaged drywall before applying joint compound?
Damaged drywall is weak and won’t provide a solid surface for repairs. Removing all loose and deteriorated material helps create a stronger, longer-lasting repair.
Can I apply joint compound over mold-damaged drywall?
No. If the drywall is soft, mold-damaged, or deteriorated, it’s best to remove the damaged material first. Applying joint compound over a weak surface can lead to future problems.
How many coats of joint compound did you apply?
The number of coats depends on the condition of the wall. In most cases, I apply two or three coats to create a smooth surface before installing wallpaper.
⸻
Thanks for reading!
Wallpaper installation isn’t just about making a room look beautiful—it’s about creating a durable finish that will last for years. Careful preparation is what separates a professional result from a temporary fix.
See you in the next project!


Comments
List of comments (1)
[…] ・Repairing Mold-Damaged Drywall Before Installing Wallpaper […]