
Project Type: Occupied condominium renovation
Location: Japan
Area: Living room, dining room, kitchen
Work: Wallpaper replacement
Crew: 3 installers
Introduction
Replacing wallpaper in an occupied home requires much more care than working in an empty property.
On this project, we replaced all of the wallpaper on the living room, dining room, and kitchen walls and ceiling in a condominium apartment after water damage from leaking pipes above the ceiling.
Because the homeowners were still living there, protecting their belongings and keeping the workspace clean was just as important as producing a beautiful finish.
Here’s how we completed the job from preparation to the final cleanup.
⸻
Job Site Report (Workflow)
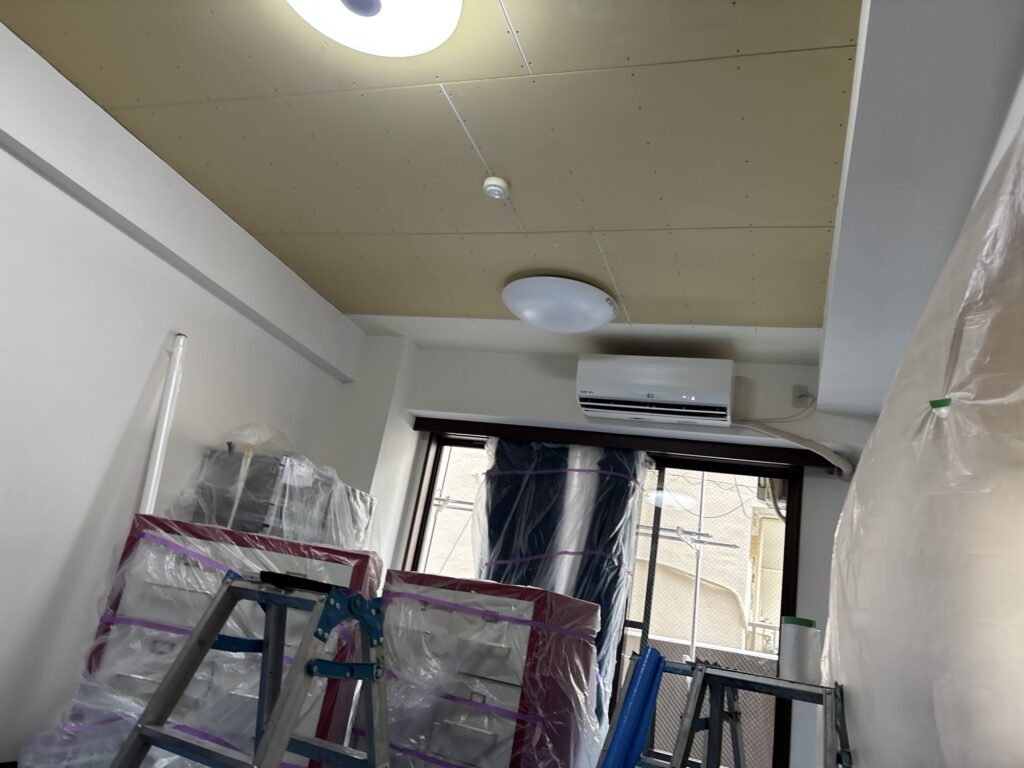
Today’s project involved replacing all of the wallpaper on the ceiling and walls in the combined living room, dining room, and kitchen of a condominium apartment.
Although the homeowners were still living in the apartment, the contractor had already organized and moved most of the furniture before we arrived. Having a tidy workspace made the job much easier and safer.
The apartment was located on the second floor. A plumbing leak from the ceiling cavity had damaged the ceiling, and approximately 90% of the plasterboard ceiling had already been replaced before our wallpaper work began.
Protecting the Work Area
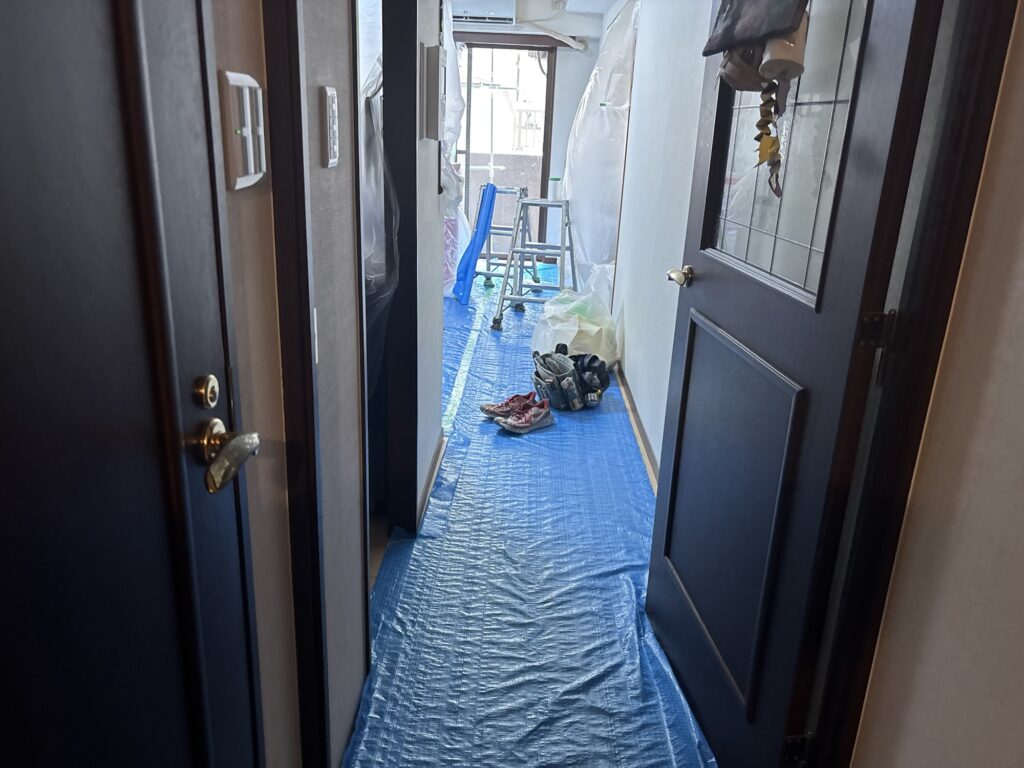
Before starting, we carefully protected both the room and the hallway outside with protective sheets.
When working in an occupied home, preventing dirt, dust, and accidental damage to the customer’s furniture is one of the highest priorities.
Removing the Old Wallpaper
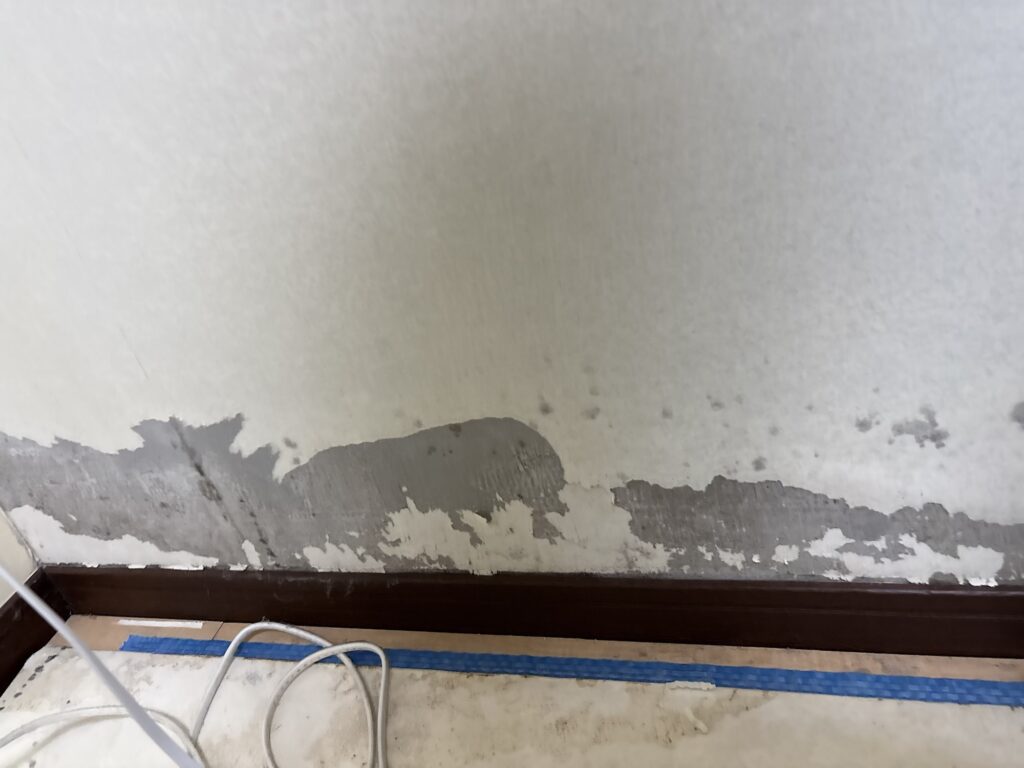
Once everything was protected, we began removing the old wallpaper.
Fortunately, the apartment was relatively new, so the substrate was generally in good condition.
On the mortar walls, however, some sections of the old wallpaper backing paper had become loose. We carefully removed every loose section before applying joint compound.
If you skip this step and apply joint compound over loose backing paper, bubbles will appear later, forcing you to remove everything and start over.
I’ve made that mistake before. Early in my career, my boss often scolded me whenever I overlooked loose backing paper.
Applying Joint Compound
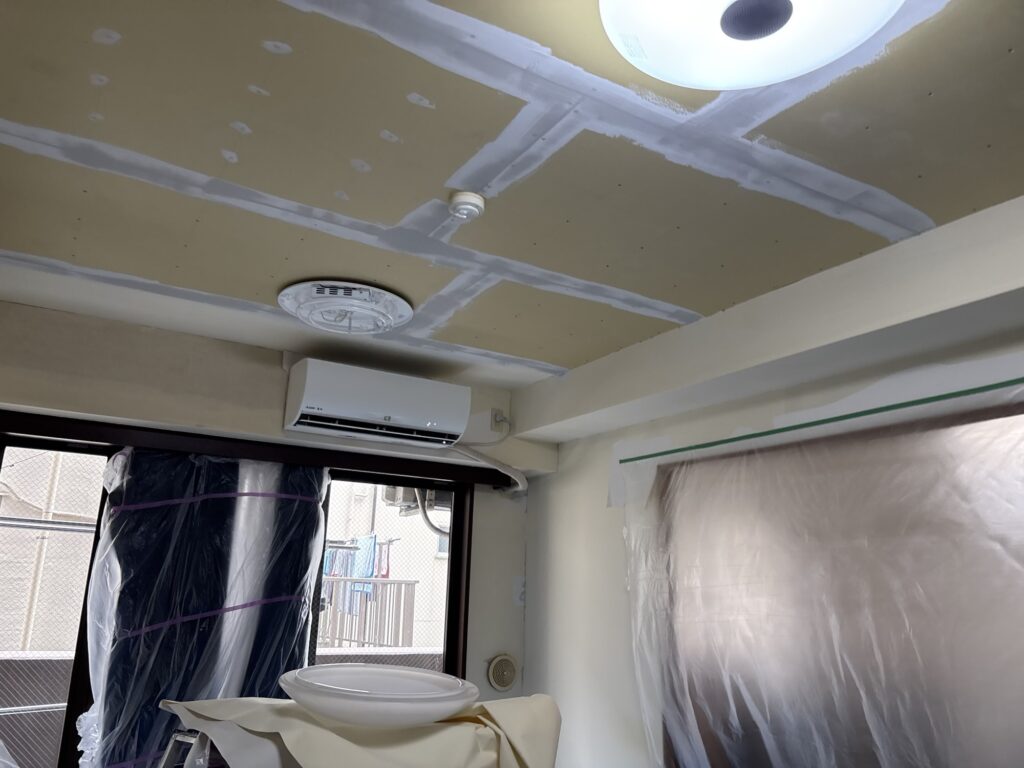
After removing all the wallpaper, we started applying the first coat of base joint compound.
For newly installed plasterboard, we normally apply two coats of base compound followed by one finishing coat.
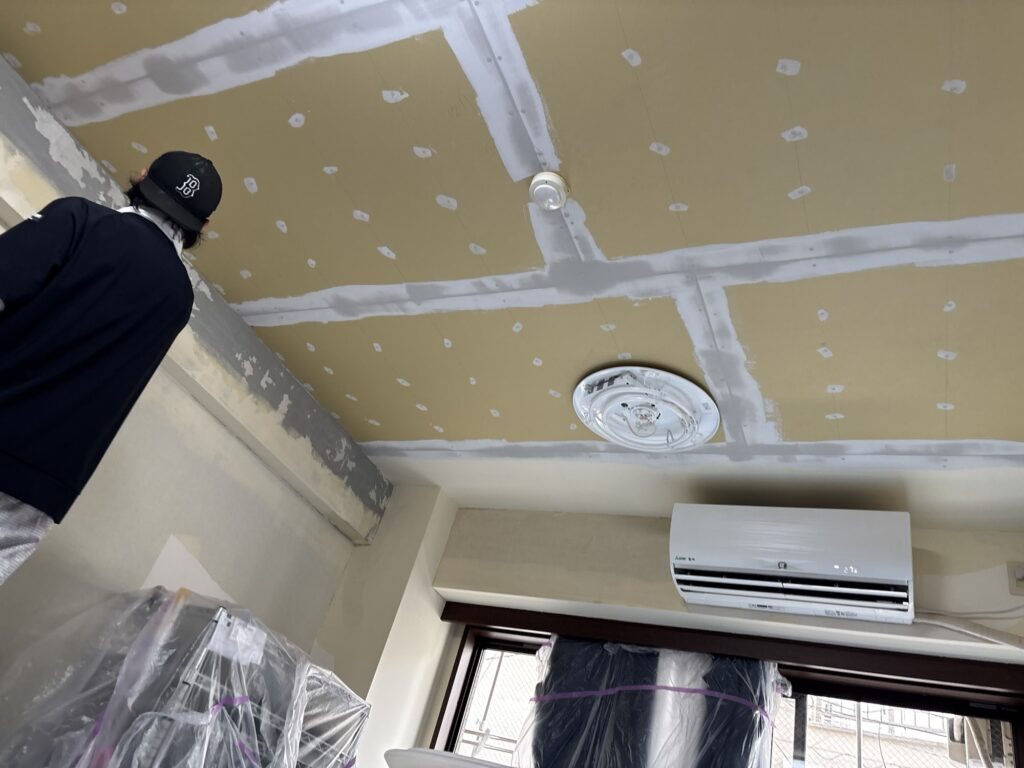
Since joint compound takes time to dry, my boss had already begun applying the first coat while the rest of us were still removing wallpaper.
After working together for many years, we’ve developed a rhythm where everyone naturally knows what needs to be done without having to say much.
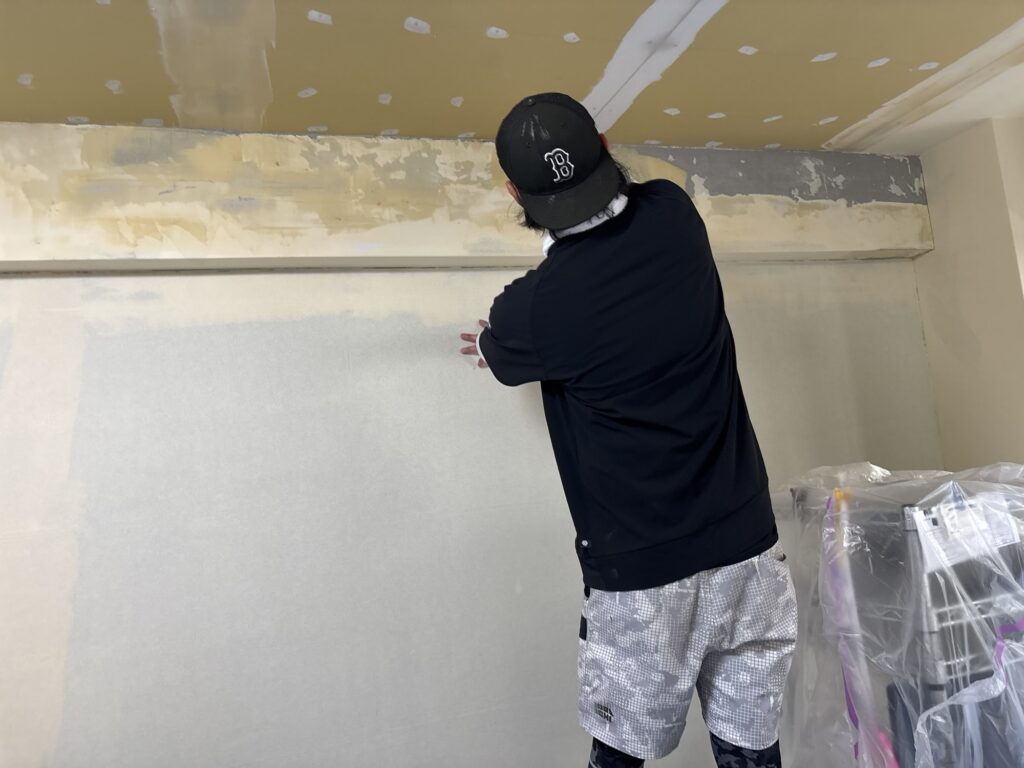
After the second coat of base compound dried, we applied the finishing compound.
Because wallpaper adhesive does not bond well to base compound alone, the finishing compound should completely cover the base compound.
For the mortar walls, the uneven areas were shallow enough that only finishing compound was needed.
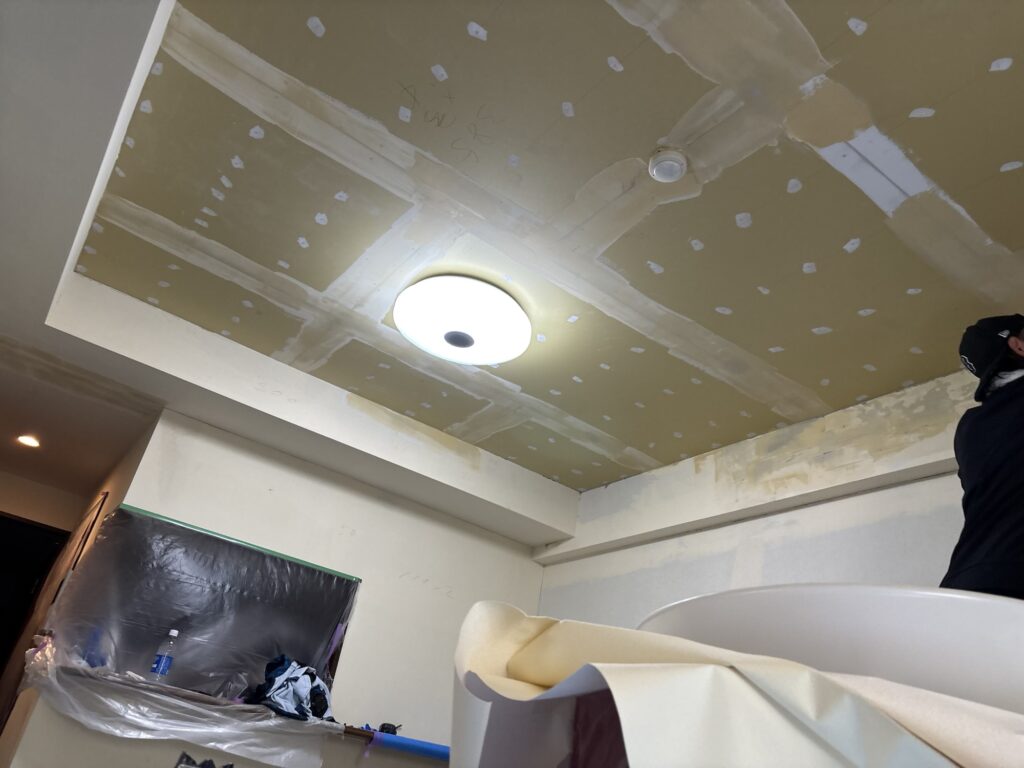
One of the most important lessons in wallpaper installation is knowing what not to do.
The wallpaper selected for this project was thick enough to hide minor imperfections, so applying base compound to the mortar walls would have been unnecessary.
I once made that exact mistake, and my boss reminded me that unnecessary work only wastes both materials and time.
Learning where extra work is unnecessary is one of the hardest skills for beginners.
Even today, I still encounter situations where experience makes all the difference. That’s one reason why I find wallpaper installation such a fascinating trade.
Preparing the Wallpaper
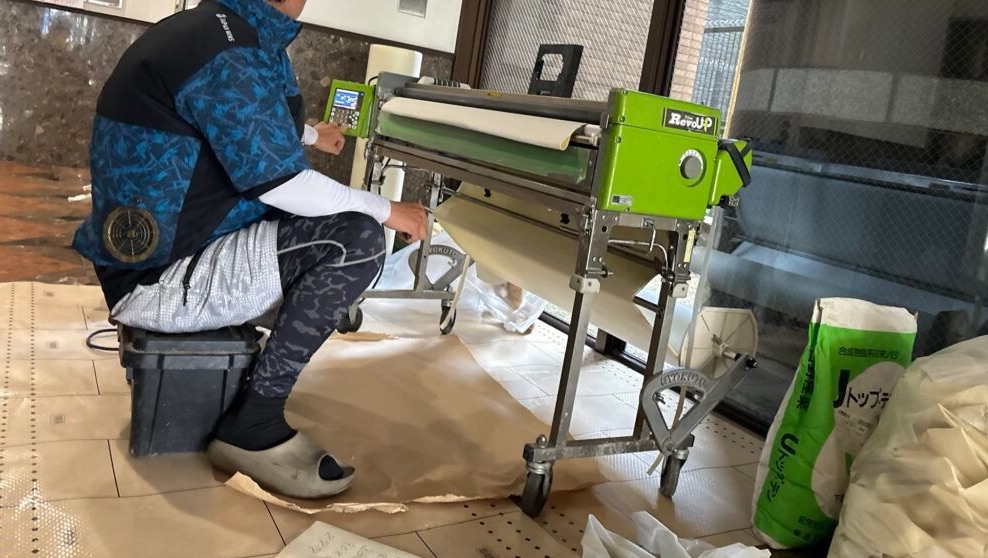
While the joint compound was drying, we measured the ceiling and beams and prepared the wallpaper using our wallpaper pasting machine.
The ceiling measured approximately 3.9 meters long, so three installers worked together to hang three full-width strips.
Installing the Ceiling Wallpaper
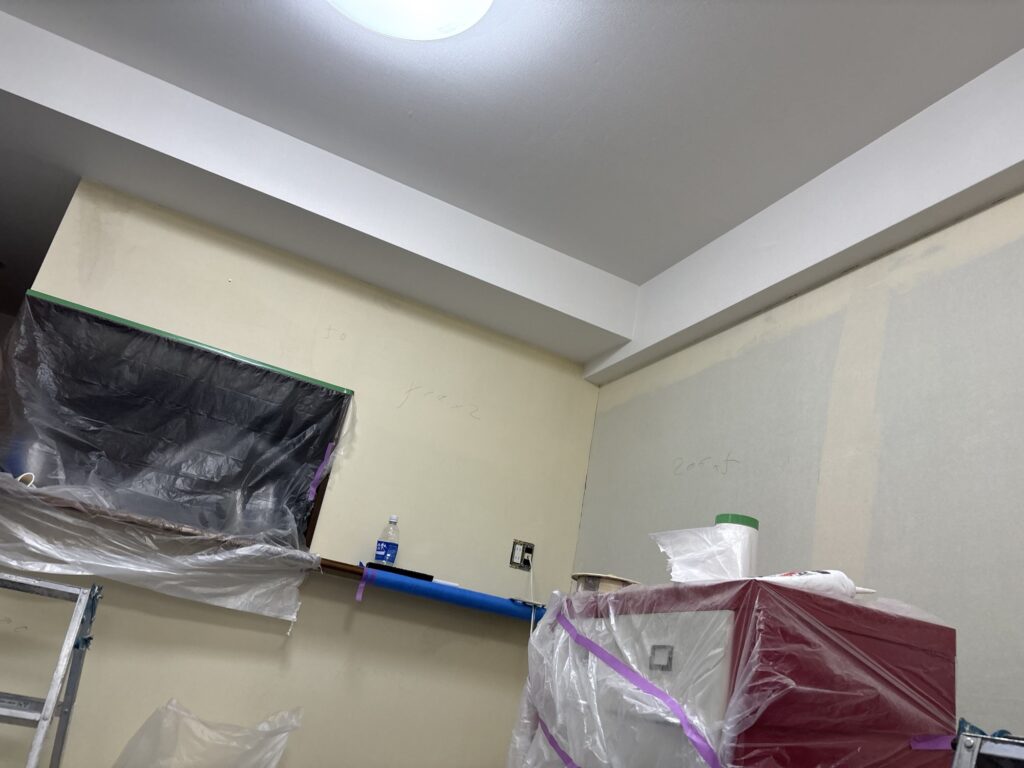
The first strip is always the most important because every following strip depends on it being perfectly straight.
As each strip was installed, trapped air bubbles were brushed from the center toward the edges.
Failing to remove air correctly can cause wrinkles or twisting later, so this is a basic but essential technique.
When installing ceiling wallpaper, we temporarily removed the light fixtures.
After finishing, we reinstalled the fixtures and turned the lights back on before inspecting every joint again.
Wallpaper joints often appear different under proper lighting, so a final inspection with the lights on is always worthwhile.
Wallpapering the Ceiling Beams
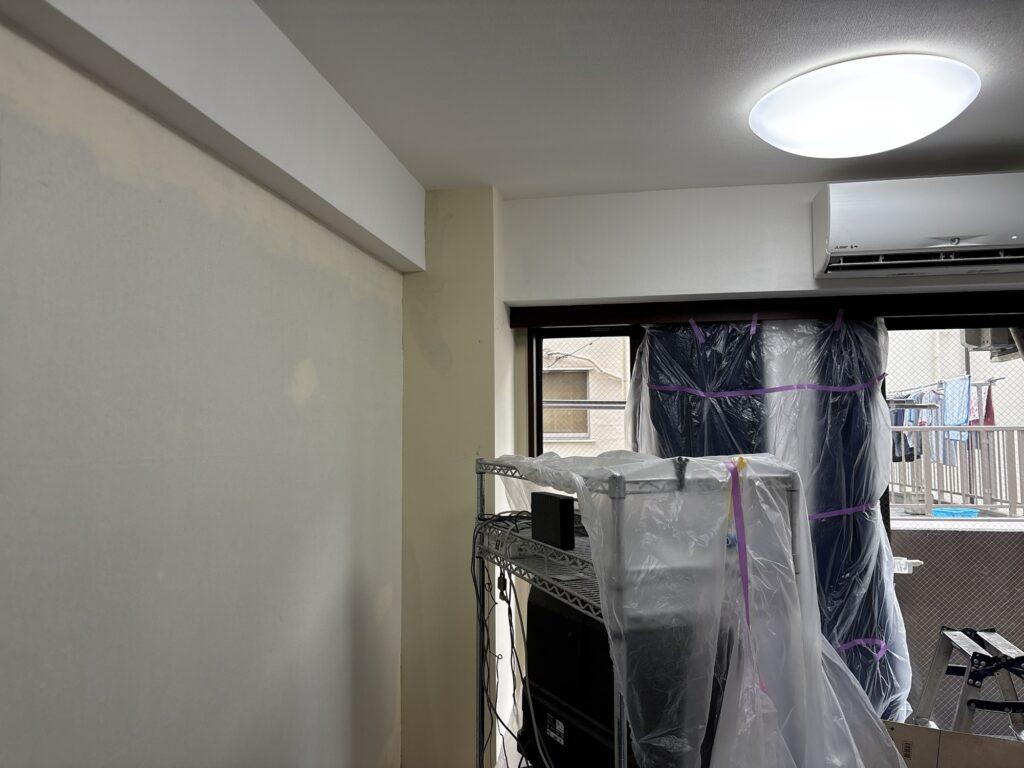
Most ceiling beams are less than 90 cm wide, so unless pattern matching is required, we install one continuous strip across the beam.
This eliminates unnecessary joints and produces a cleaner finish.
When wrapping wallpaper around corners, we use a damp sponge to press the wallpaper tightly into the corner while removing trapped air.
Wallpapering the Walls
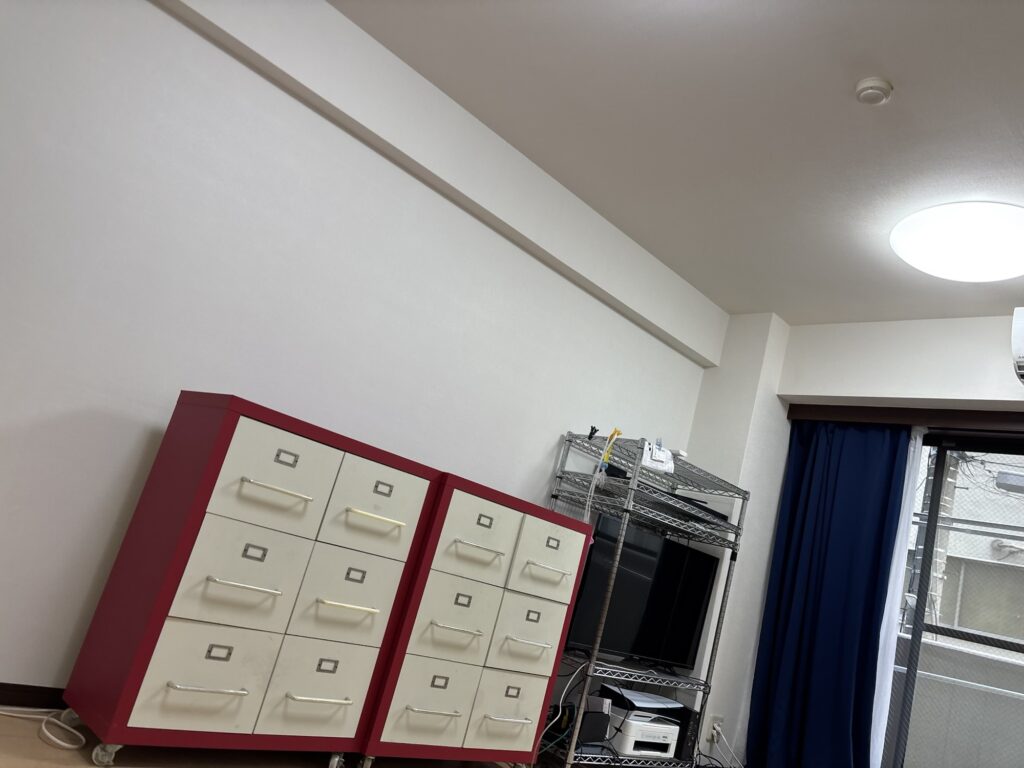
Once the ceiling and beams were complete, the three of us divided the remaining walls and finished them separately.
Wallpapering Fusuma (Traditional Sliding Doors)
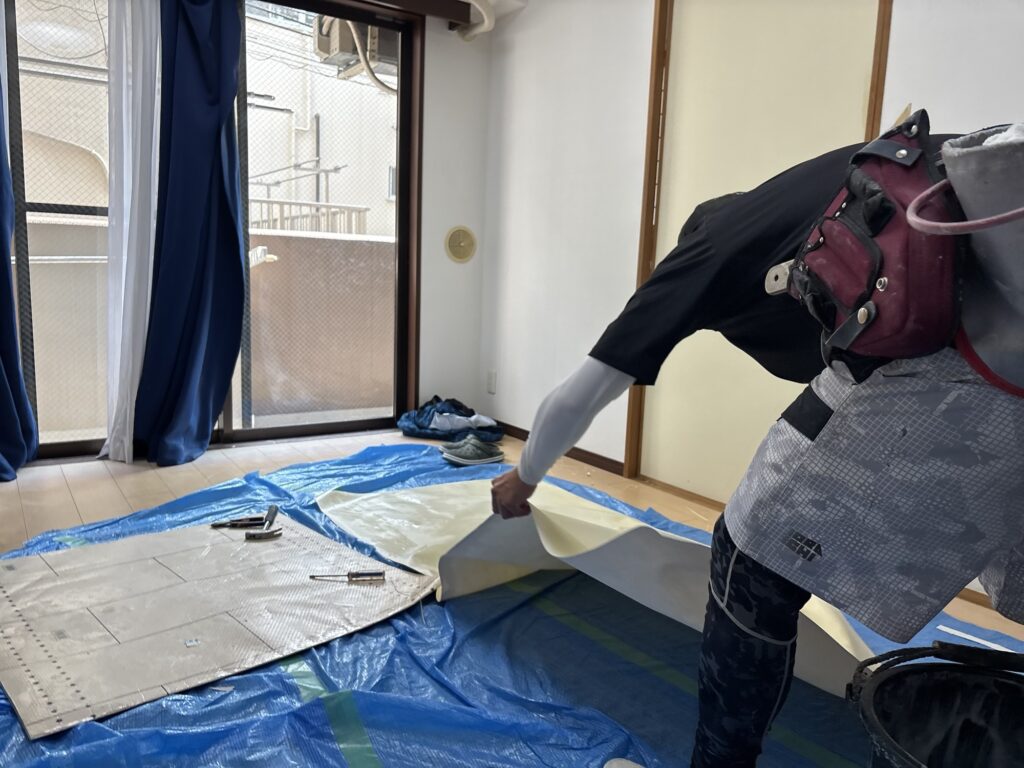
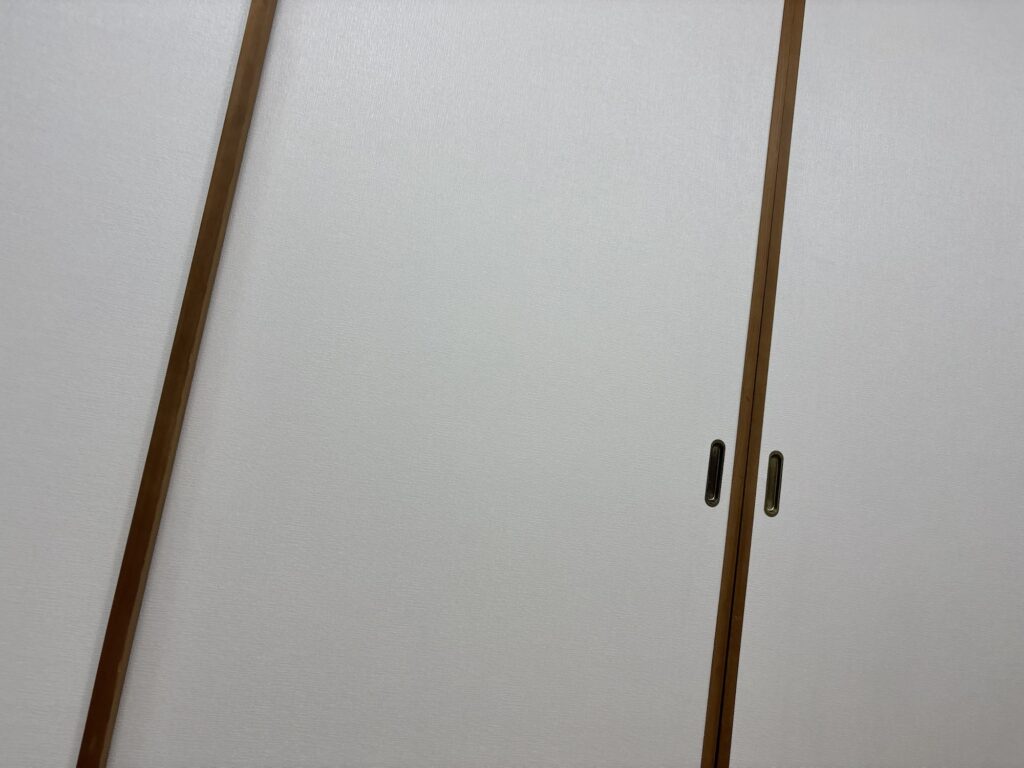
This project also included covering several fusuma (traditional Japanese sliding doors) with wallpaper.
Fusuma are traditional Japanese sliding partitions commonly used between rooms, and they are rarely found outside Japan.
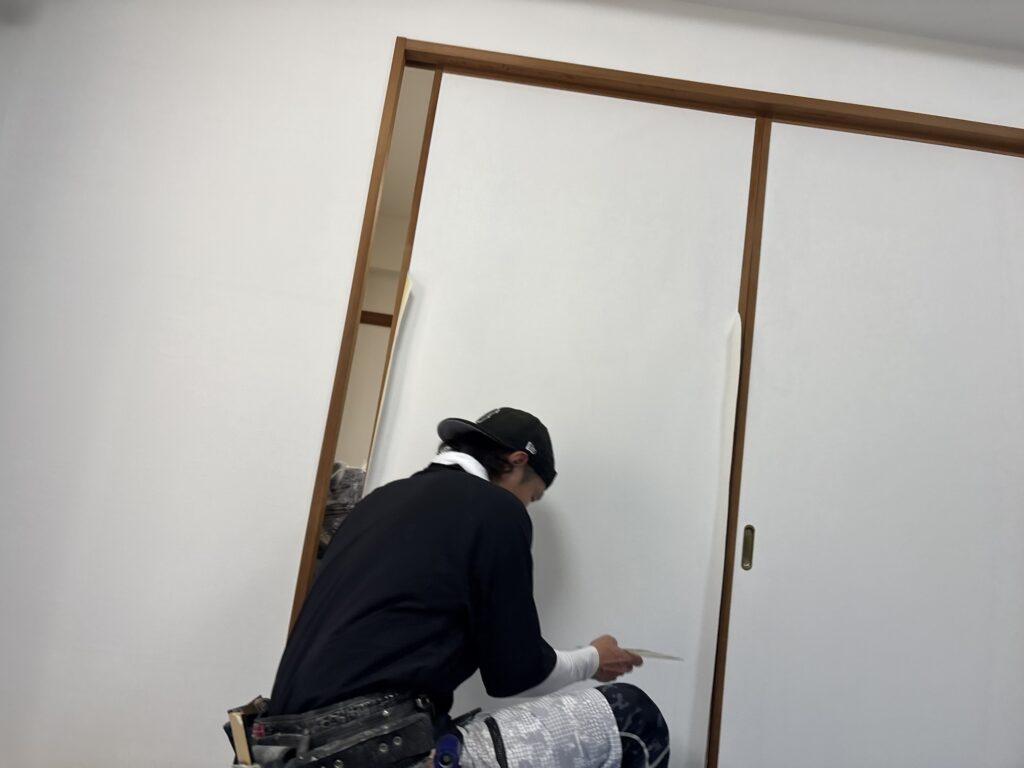
Wallpapering fusuma requires a different technique.
Applying adhesive over the entire surface can cause the door to warp as moisture is absorbed.
Instead, we apply adhesive lightly around the four edges while dampening the remaining surface with a wet sponge.
Wallpapering fusuma is one of the more advanced skills in Japanese interior finishing and is generally considered work for experienced professionals.
Final Cleanup
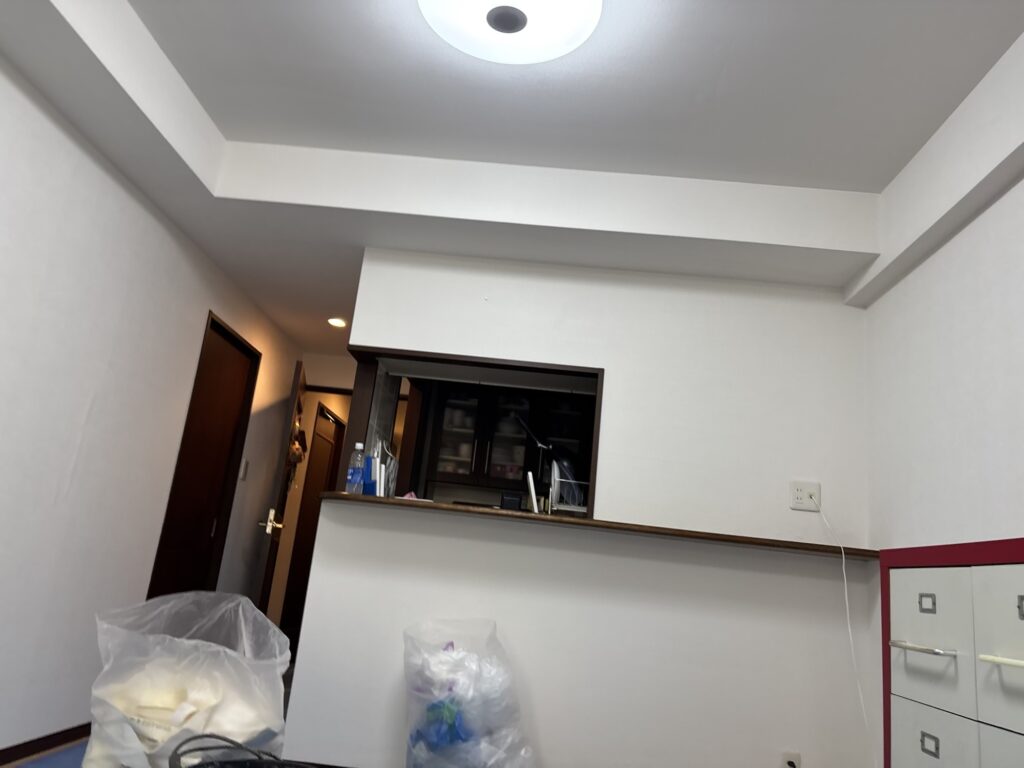
After completing all the wallpaper installation, we cleaned the room, removed the protective coverings, packed up our tools, and finished the day’s work.
Before leaving, the homeowner kindly offered us cold drinks.
After a long day’s work, it was the perfect way to end another rewarding project.
⸻
Tools Used
- Wallpaper pasting machine
- Joint knives
- Base joint compound
- Finishing joint compound
- Sanding sponge
- Wallpaper smoothing brush
- Utility knife
- Straight edge
- Tape measure
- Damp sponge
- Protective floor covering
- Masking tape
- Step ladder
⸻
Professional Tips
Always remove loose wallpaper backing
Applying joint compound over loose backing paper will almost always cause bubbles later.
Know when extra work isn’t necessary
Experienced installers understand that not every surface needs multiple coats of joint compound. Choosing the correct repair method saves both time and materials.
Inspect wallpaper joints with the lights on
Ceiling joints often look different once the room is fully illuminated. Always perform a final inspection after reinstalling the light fixtures.
Use one full strip across beams whenever possible
If no pattern matching is required, using one continuous strip eliminates joints and produces a cleaner finish.
Wallpapering fusuma requires a different adhesive technique
Applying adhesive over the entire surface may warp traditional Japanese sliding doors. Proper moisture control is essential.
⸻
What I Learned From This Project
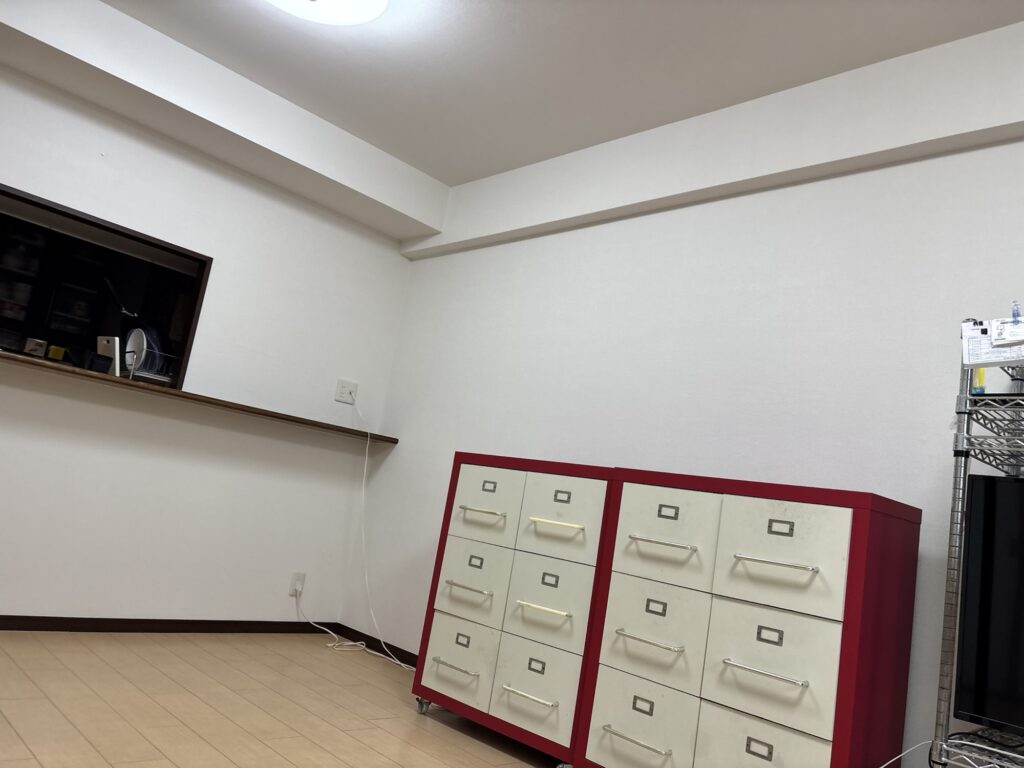
Every wallpaper project reinforces the importance of experience.
Technical skills such as applying joint compound or hanging wallpaper can be learned relatively quickly. However, knowing which steps can be skipped—and which ones should never be skipped—comes only through years of hands-on work.
This project reminded me that efficient work is not about doing more. It’s about doing exactly what is necessary to achieve the best possible finish.
⸻
Frequently Asked Questions
Why do you apply three coats of joint compound on new drywall?
Two base coats fill the joints and imperfections, while the finishing coat creates a smooth surface that allows wallpaper adhesive to bond properly.
Why remove loose wallpaper backing before applying joint compound?
Loose backing paper can absorb moisture and create bubbles after the compound dries.
Why is the first ceiling strip so important?
Every following strip is aligned with the first one. If the first strip isn’t perfectly straight, the entire ceiling can become misaligned.
Why don’t you apply adhesive over the entire fusuma?
Too much moisture can cause the traditional sliding door to warp. Professional installers use a specialized adhesive method to prevent deformation.
Is wallpaper installation difficult?
Basic installation is possible for many DIY enthusiasts, but achieving seamless joints and making the right decisions during surface preparation takes years of experience.
⸻
Conclusion
This project demonstrated that successful wallpaper installation depends on far more than simply hanging wallpaper.
Careful preparation, understanding different substrates, making the right repair decisions, and working efficiently as a team all contribute to a professional result.
Every job presents new challenges, and that’s exactly what makes this profession so rewarding. Whether working on modern apartments or traditional Japanese interiors like fusuma, there is always something new to learn and improve.


Comments