
Working as a wallpaper installer has given me the opportunity to learn many different renovation skills.
Although wallpaper installation is my main job, my boss originally worked as an air conditioner installer, so I’ve been able to help with many AC installations over the years and learn the trade firsthand.
Today was my day off, so I finally decided to install a used air conditioner in one of the upstairs rooms of my own house.
The timing couldn’t have been better. It was 35°C (95°F), and surviving another summer without an air conditioner wasn’t an option.
Fortunately, I received this used unit from a job site about two weeks ago, making this the perfect DIY project.
⸻
Cleaning the Room Before Starting
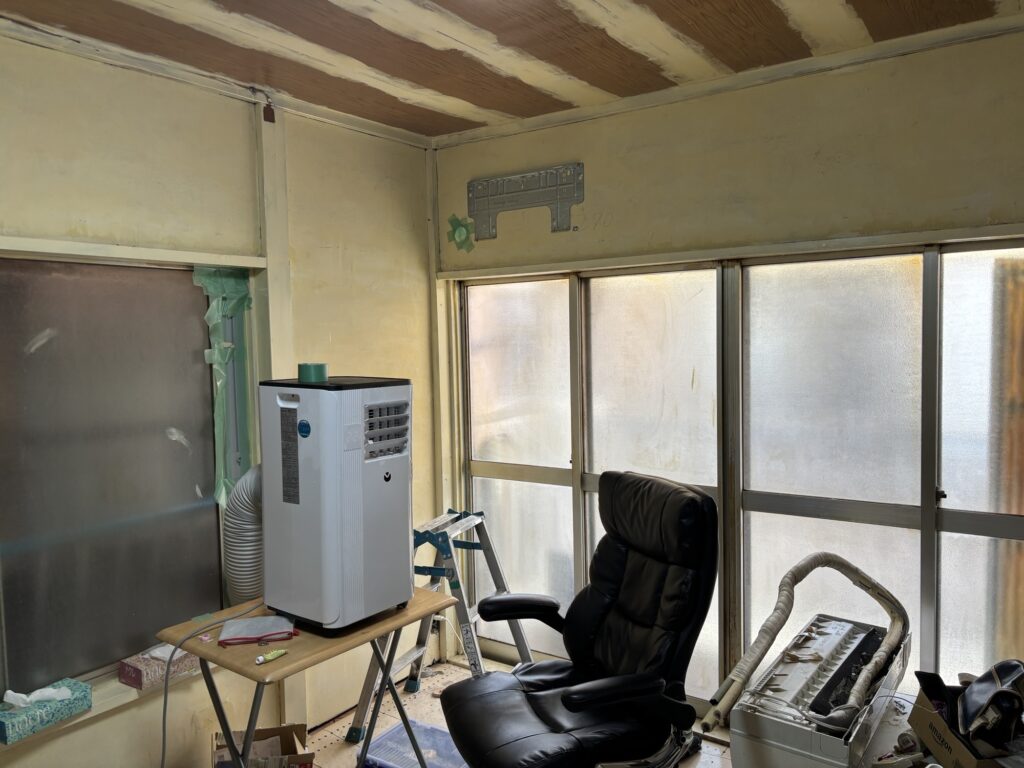
Since this room is part of my everyday living space, it was full of furniture and random items.
Before touching any tools, I started by cleaning and organizing everything.
Working in a cluttered room makes it easy to lose tools or accidentally damage furniture.
Taking a few minutes to clean first always makes the installation safer and more efficient.
⸻
Preparing the Indoor Unit
The wall sleeve and mounting plate had already been installed beforehand.
Mounting Plate Alignment
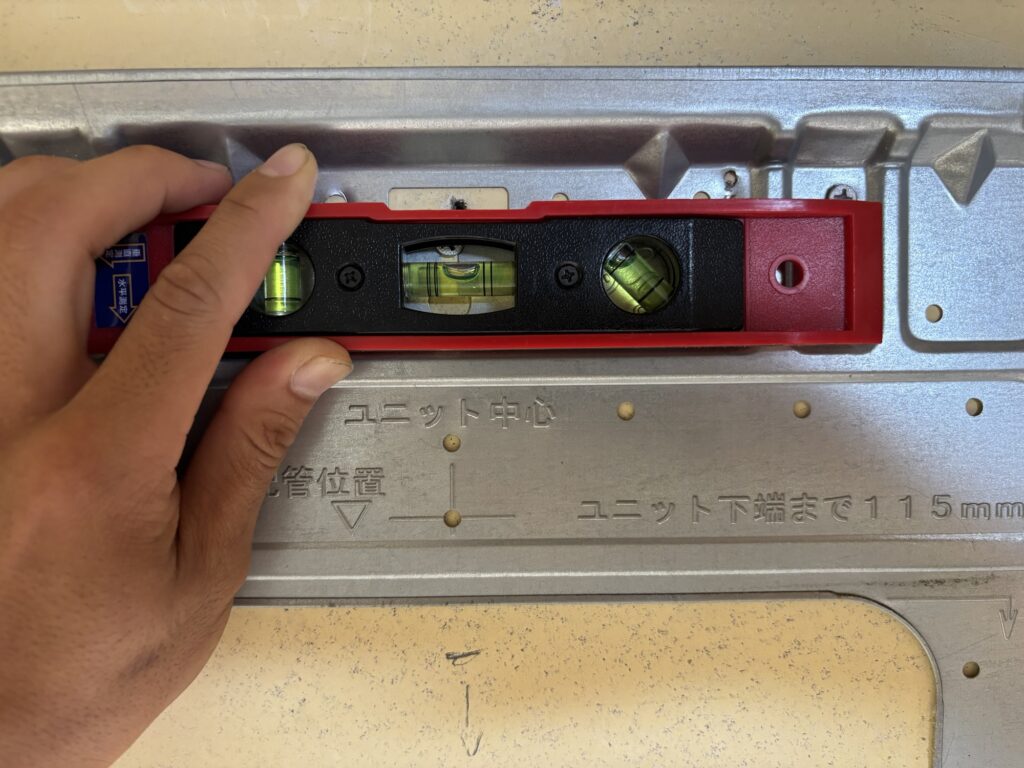
The mounting plate should be perfectly level or tilted only very slightly toward the direction where the condensate drain hose will carry water away.
Even a small mistake here can affect drainage.
Cleaning the Filter
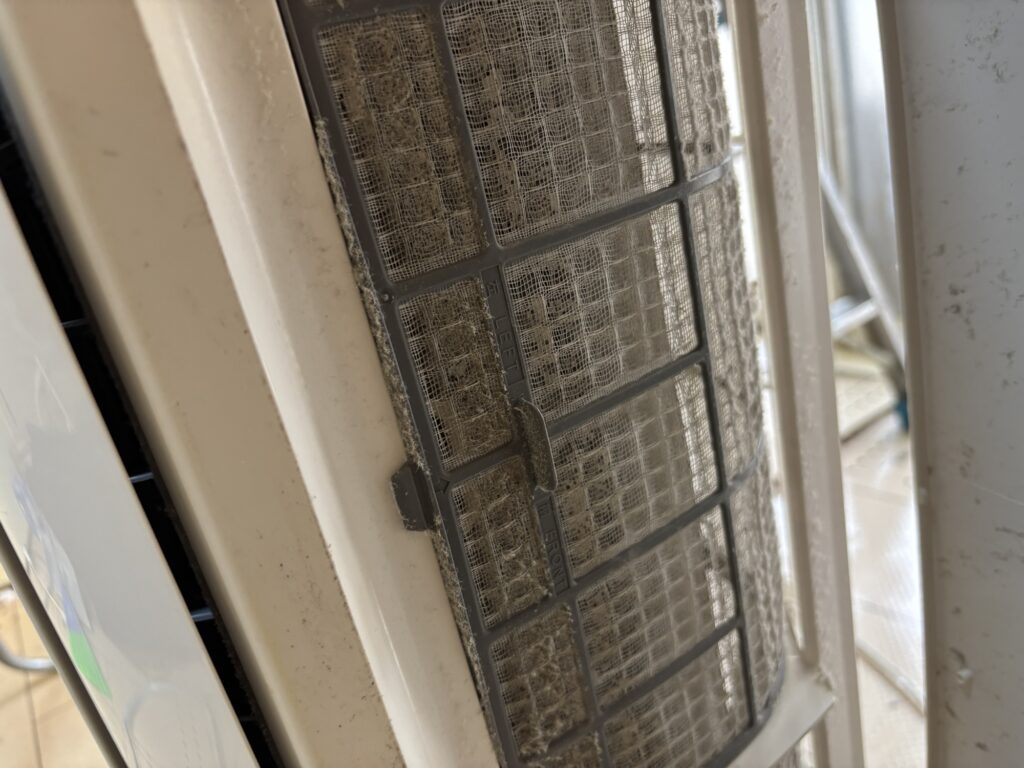
When I opened the front cover, I noticed the air filter was dirty.
Since it was a used air conditioner, I removed the filter and washed it before installation.
Cleaning the filter is one of the easiest maintenance tasks, but it’s also one of the most important.
A dirty filter reduces airflow and cooling performance, so it’s always worth doing before installing a used unit.
⸻
Replacing the Wiring and Drain Hose
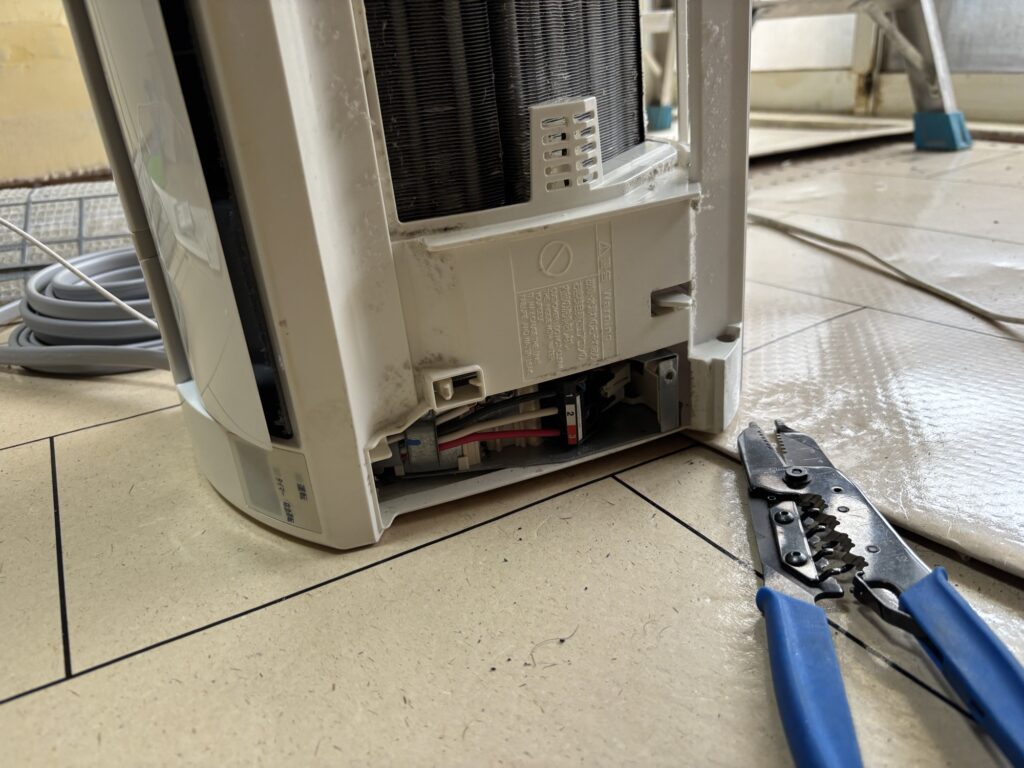
Before hanging the indoor unit, I removed the old wiring and drain hose and installed new ones.
Because my house is over 50 years old, it doesn’t have grounded wall outlets.
To solve this, I prepared a longer ground wire so it could be connected to the outdoor unit instead.
⸻
Pre-Bending the Refrigerant Pipes
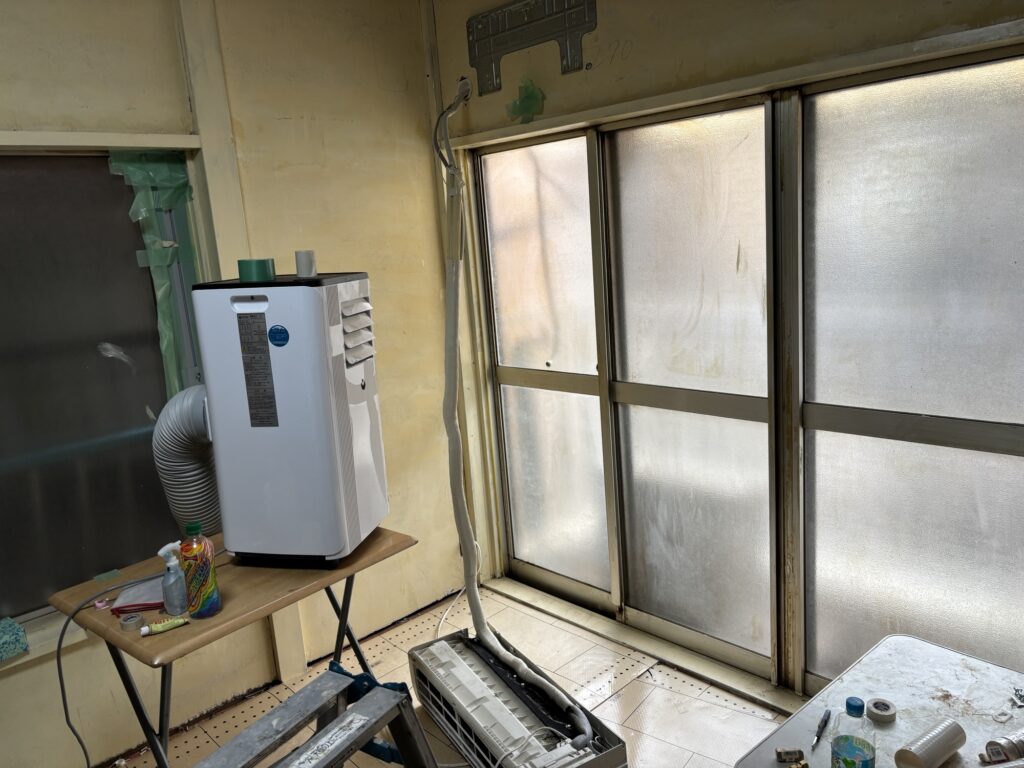
One lesson I learned from working with my boss was to bend the refrigerant pipes before hanging the indoor unit.
I measured the exact position beforehand so the pipes would pass straight through the wall opening.
I actually learned this lesson the hard way.
Early on, I forgot to pre-bend the pipes while working on a customer’s house.
The pipes wouldn’t line up with the wall sleeve, and my boss gave me a very strict lecture.
That mistake has stayed with me ever since.
This is one of the biggest advantages of being a tradesman who enjoys DIY.
The lessons I learn on professional job sites directly improve the work I do on my own home.
⸻
Installing the Indoor Unit
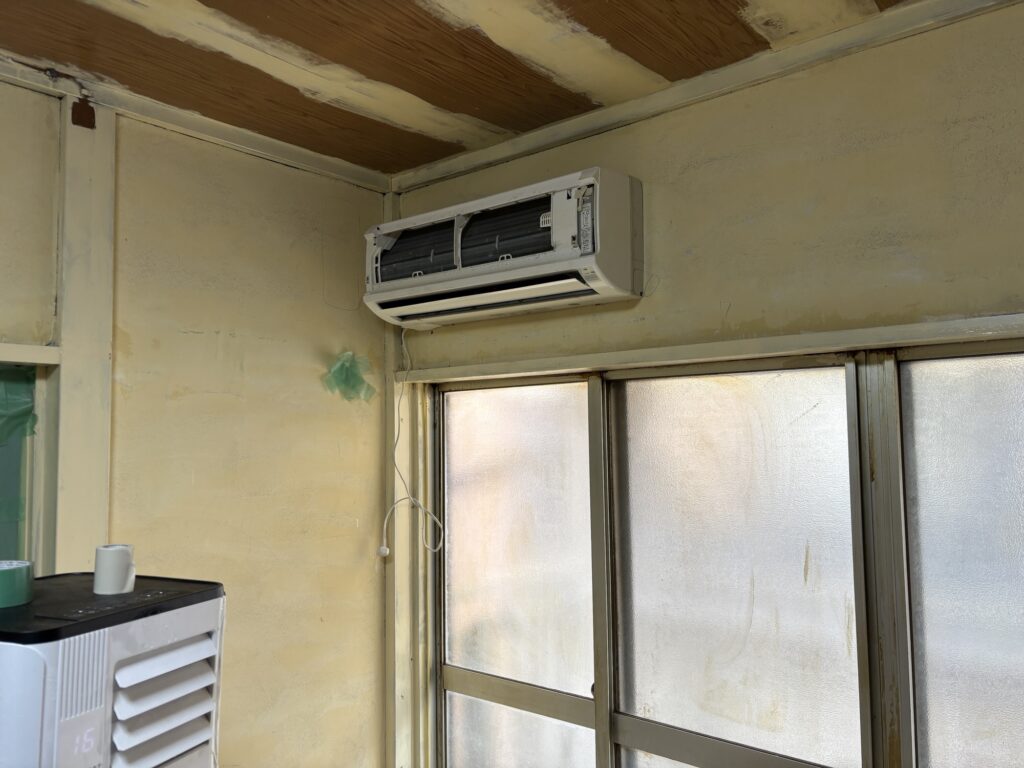
After taping the wiring, refrigerant pipes, and drain hose together, everything was ready.
Because I had already shaped the pipes correctly, they passed smoothly through the wall opening, making the installation much easier.
⸻
The Unexpected Trip to the Hardware Store
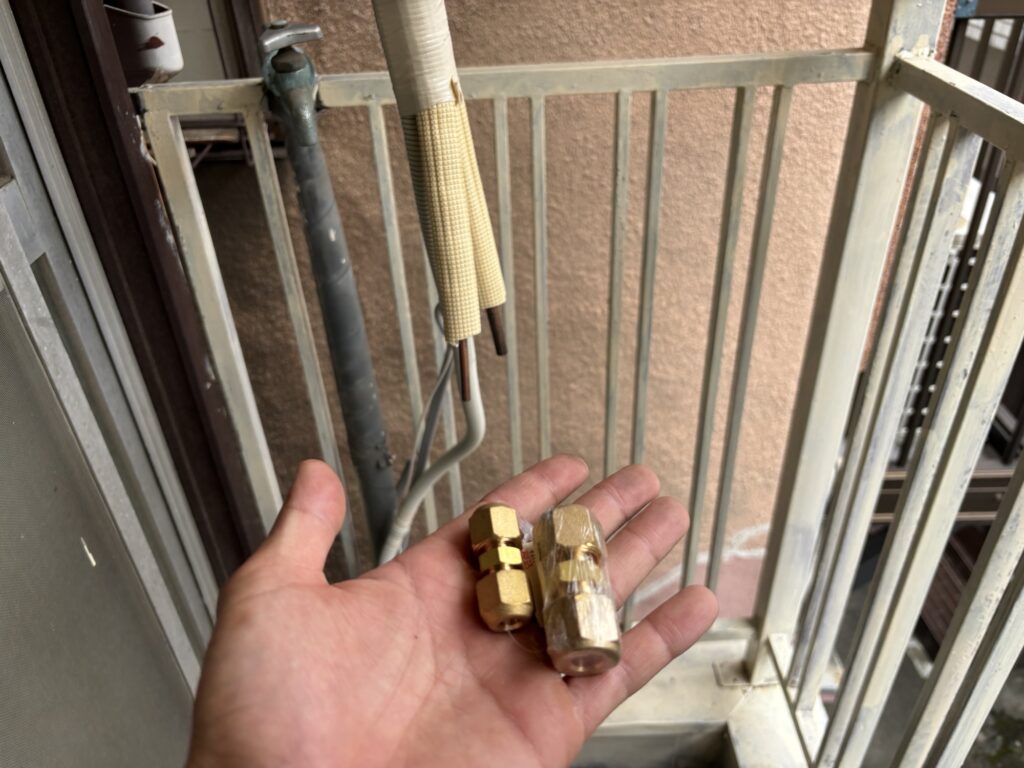
Just when I thought everything was going smoothly, I realized I had forgotten the flare nuts.
Even though I always try to prepare materials the day before, somehow I still end up making a last-minute trip to the hardware store.
That’s just part of DIY.
⸻
Connecting the Outdoor Unit
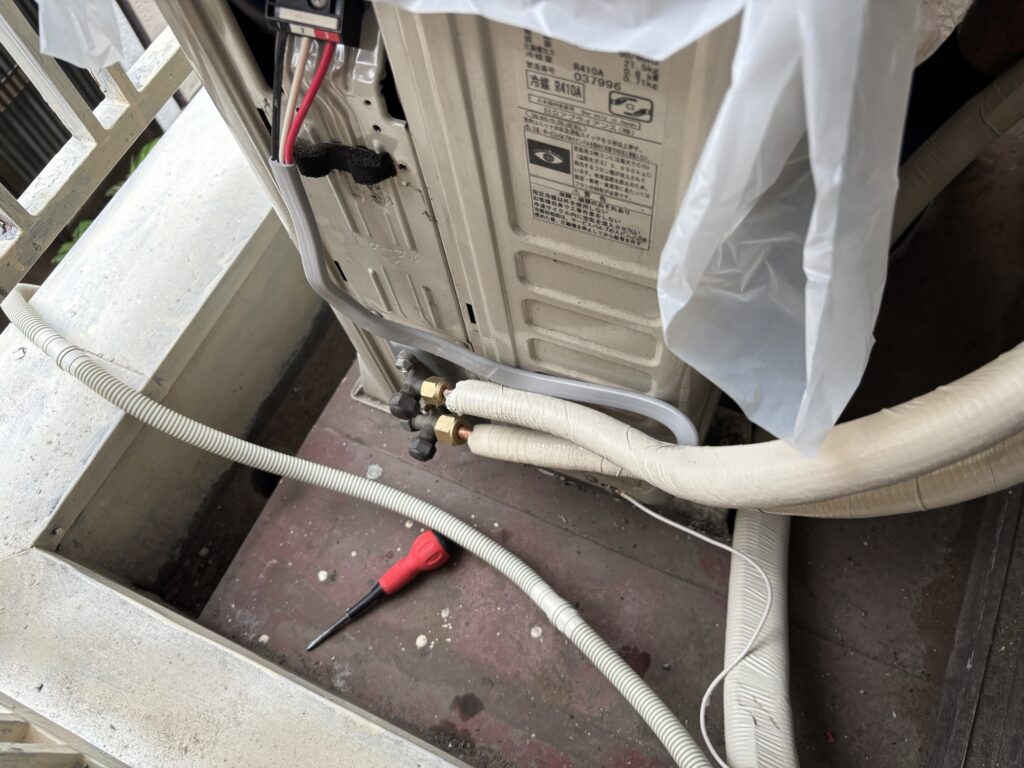
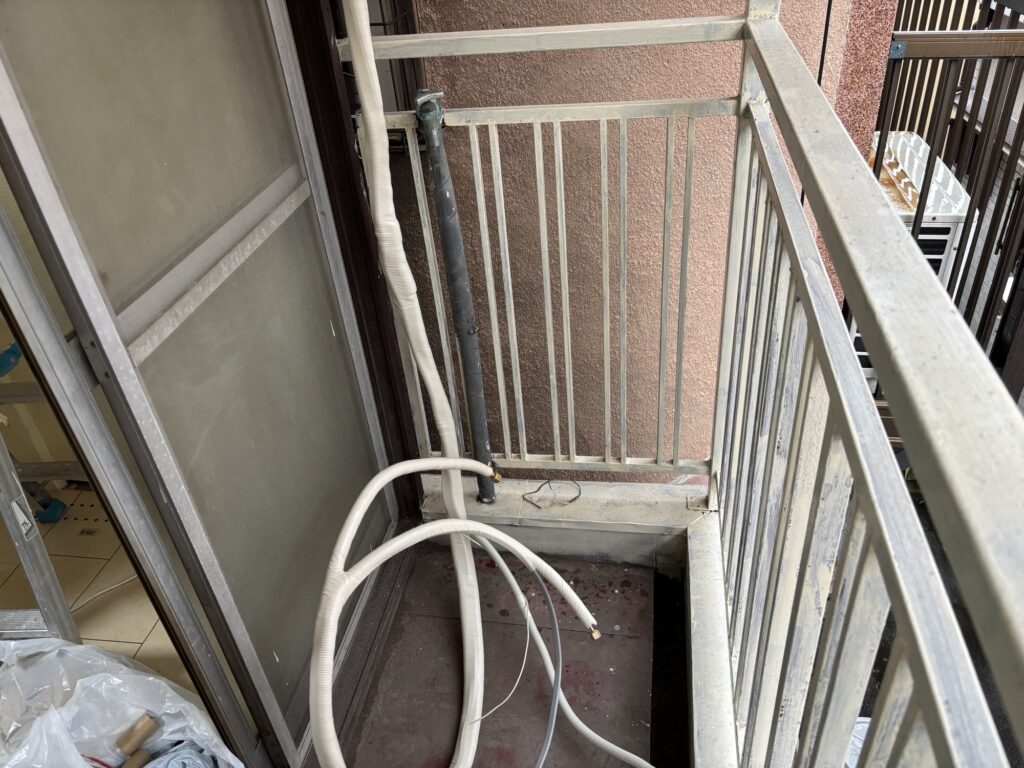
The existing refrigerant pipes weren’t long enough.
To solve this, I connected the old and new pipes using a flare union connector.
This is one of the most critical parts of the installation.
If the flare connection isn’t made correctly, refrigerant can leak, and the air conditioner won’t cool properly.
The key is to align the pipe perfectly so the flare nut spins smoothly by hand before tightening it with a wrench.
When I first started learning AC installation, this part took me a long time.
Getting the pipe perfectly aligned with the outdoor unit connection is the secret.
⸻
Testing the Air Conditioner
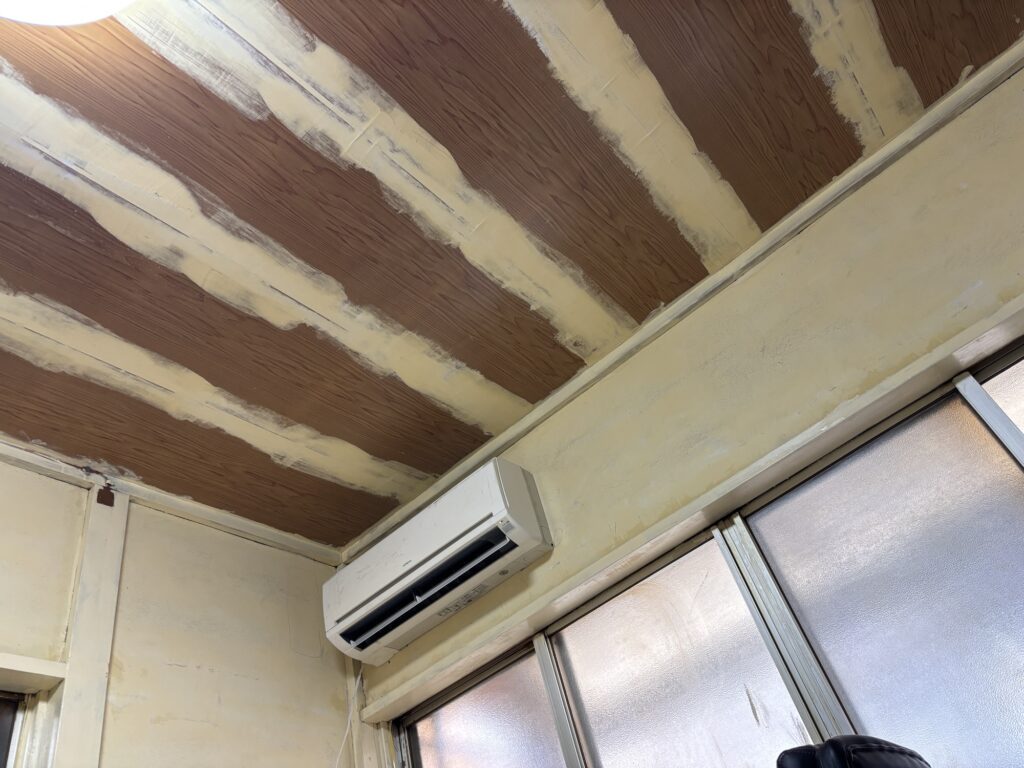
After connecting the wiring, sealing the wall opening with putty, and finishing the installation, it was finally time for the test run.
But there was a problem.
The air coming out wasn’t cold.
Fortunately, I had experienced this exact issue before while working with my company.
Back then, the service valves on the outdoor unit had accidentally been left closed.
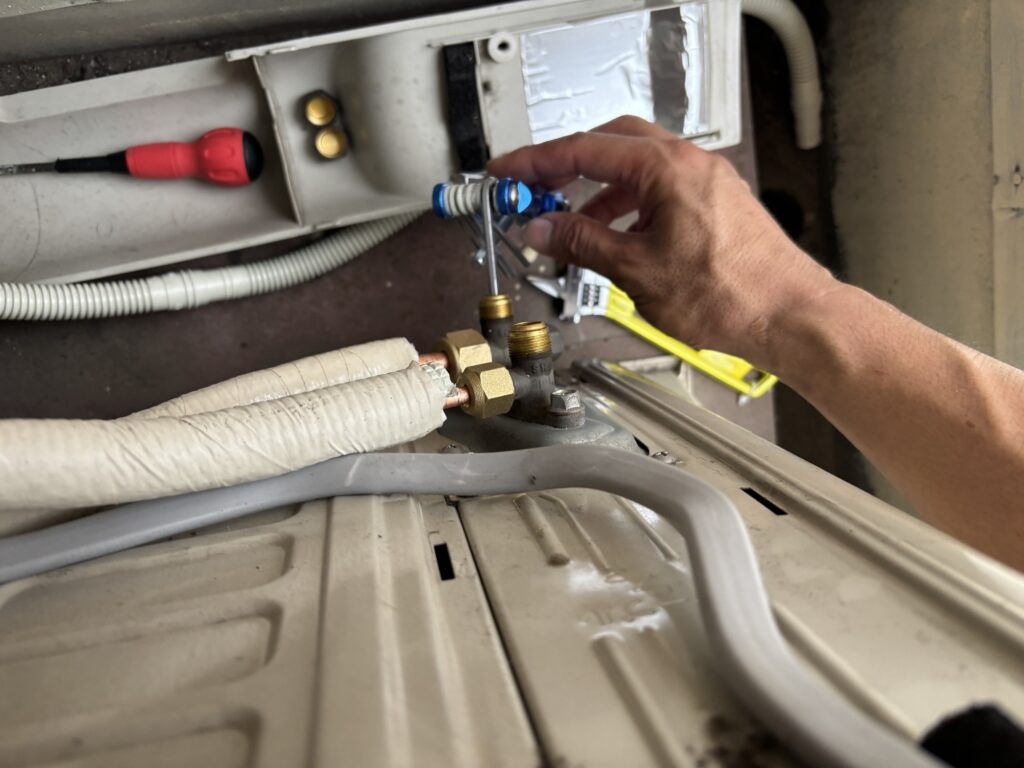
Remembering that experience, I checked the valves.
Sure enough, they were still closed.
After opening them with a hex wrench and waiting a few minutes, cold air finally started blowing.
Success.
⸻
What I Learned From This Project
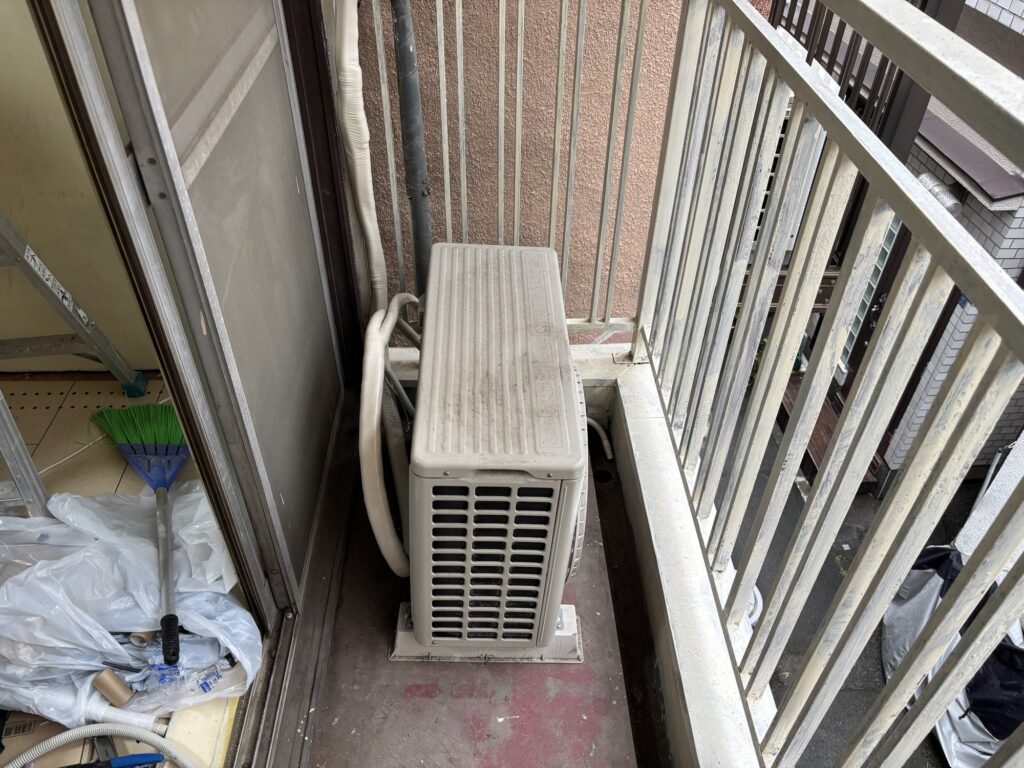
Installing this air conditioner reminded me how valuable real job-site experience is.
My company pays me a salary, but the practical knowledge I gain from every project is worth even more.
There are countless small techniques, habits, and problem-solving skills that simply can’t be learned from videos or books.
Personally, these are experiences I would gladly pay to learn.
Instead, I’m fortunate enough to earn money while gaining those skills, and then apply them to renovating my own house.
That’s one of the best parts of being a tradesman who loves DIY.
⸻
Conclusion
This project wasn’t just about installing an air conditioner.
It was a reminder that every mistake and every lesson learned on professional job sites eventually becomes an advantage in my own DIY projects.
Experience is one of the most valuable tools a craftsman can have.
I’m looking forward to continuing to improve my home while applying the skills I learn every day on the job.


Comments