
Project Data
- Project Type: Water-Damaged Ceiling Repair & Wallpaper Replacement
- Building Type: Condominium Apartment
- Location: Japan
- Floor: 6th Floor
- Area: Approximately 20 m² (1K)
- Work Area: Ceiling and Walls
- Cause of Damage: Water leakage from piping above the ceiling
- Crew: 3 Workers + 1 Site Supervisor
- Working Time: Approximately 6 hours
- Work Performed: Partial Gypsum Board Replacement, Ceiling Wallpaper Installation, Wall Wallpaper Installation
- Ceiling Size: Approximately 3.0 m × 2.5 m
- Ceiling Wallpaper: White stone-pattern wallpaper
- Wall Wallpaper: Navy wallpaper
- Maximum Wall Height: Approximately 2.5 m
Installation Data
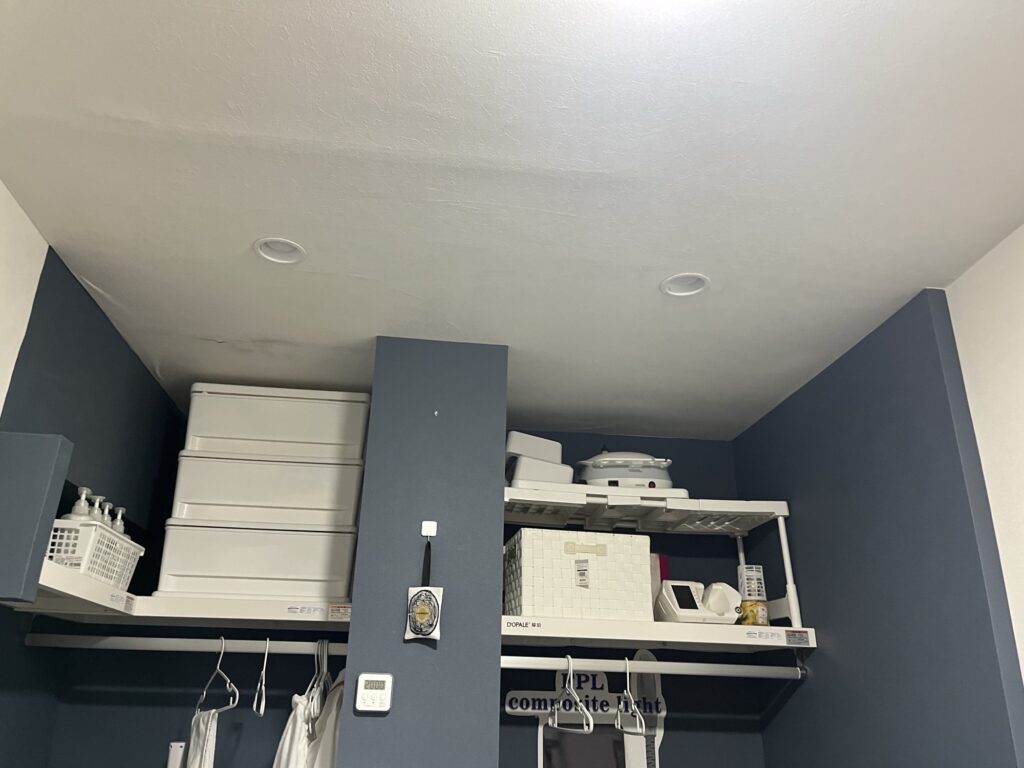
- Ceiling Wallpaper: 90 cm wide × approximately 2.6 m long × 3 pieces, plus one piece approximately 90 cm × 95 cm
- Ceiling Area: Approximately 3.0 m × 2.5 m
- Wall Height: Up to approximately 2.5 m
- Wall Wallpaper: Navy-colored wallpaper
- Gypsum Board Repair: Partial replacement due to water damage
- Joint Treatment: Two coats of basecoat joint compound + one coat of finishing compound
- Drying Method: Heat gun
- Caulking: White caulk used in the inside corners before cutting
Introduction
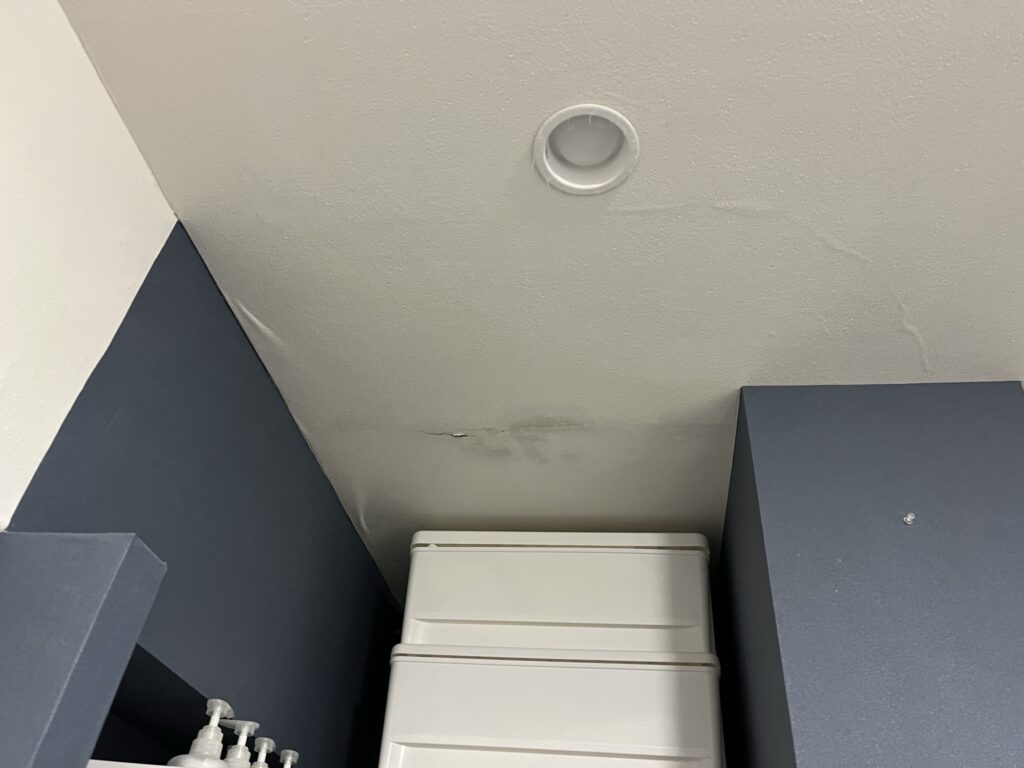
Today’s project was a wallpaper replacement job in a small 1K apartment on the sixth floor of a condominium building.
A pipe running above the ceiling in the back room had developed a water leak. As a result, part of the existing gypsum board ceiling had cracked, and the wallpaper had also torn and deteriorated.
The job involved replacing the damaged section of ceiling board and installing new wallpaper on both the ceiling and walls.
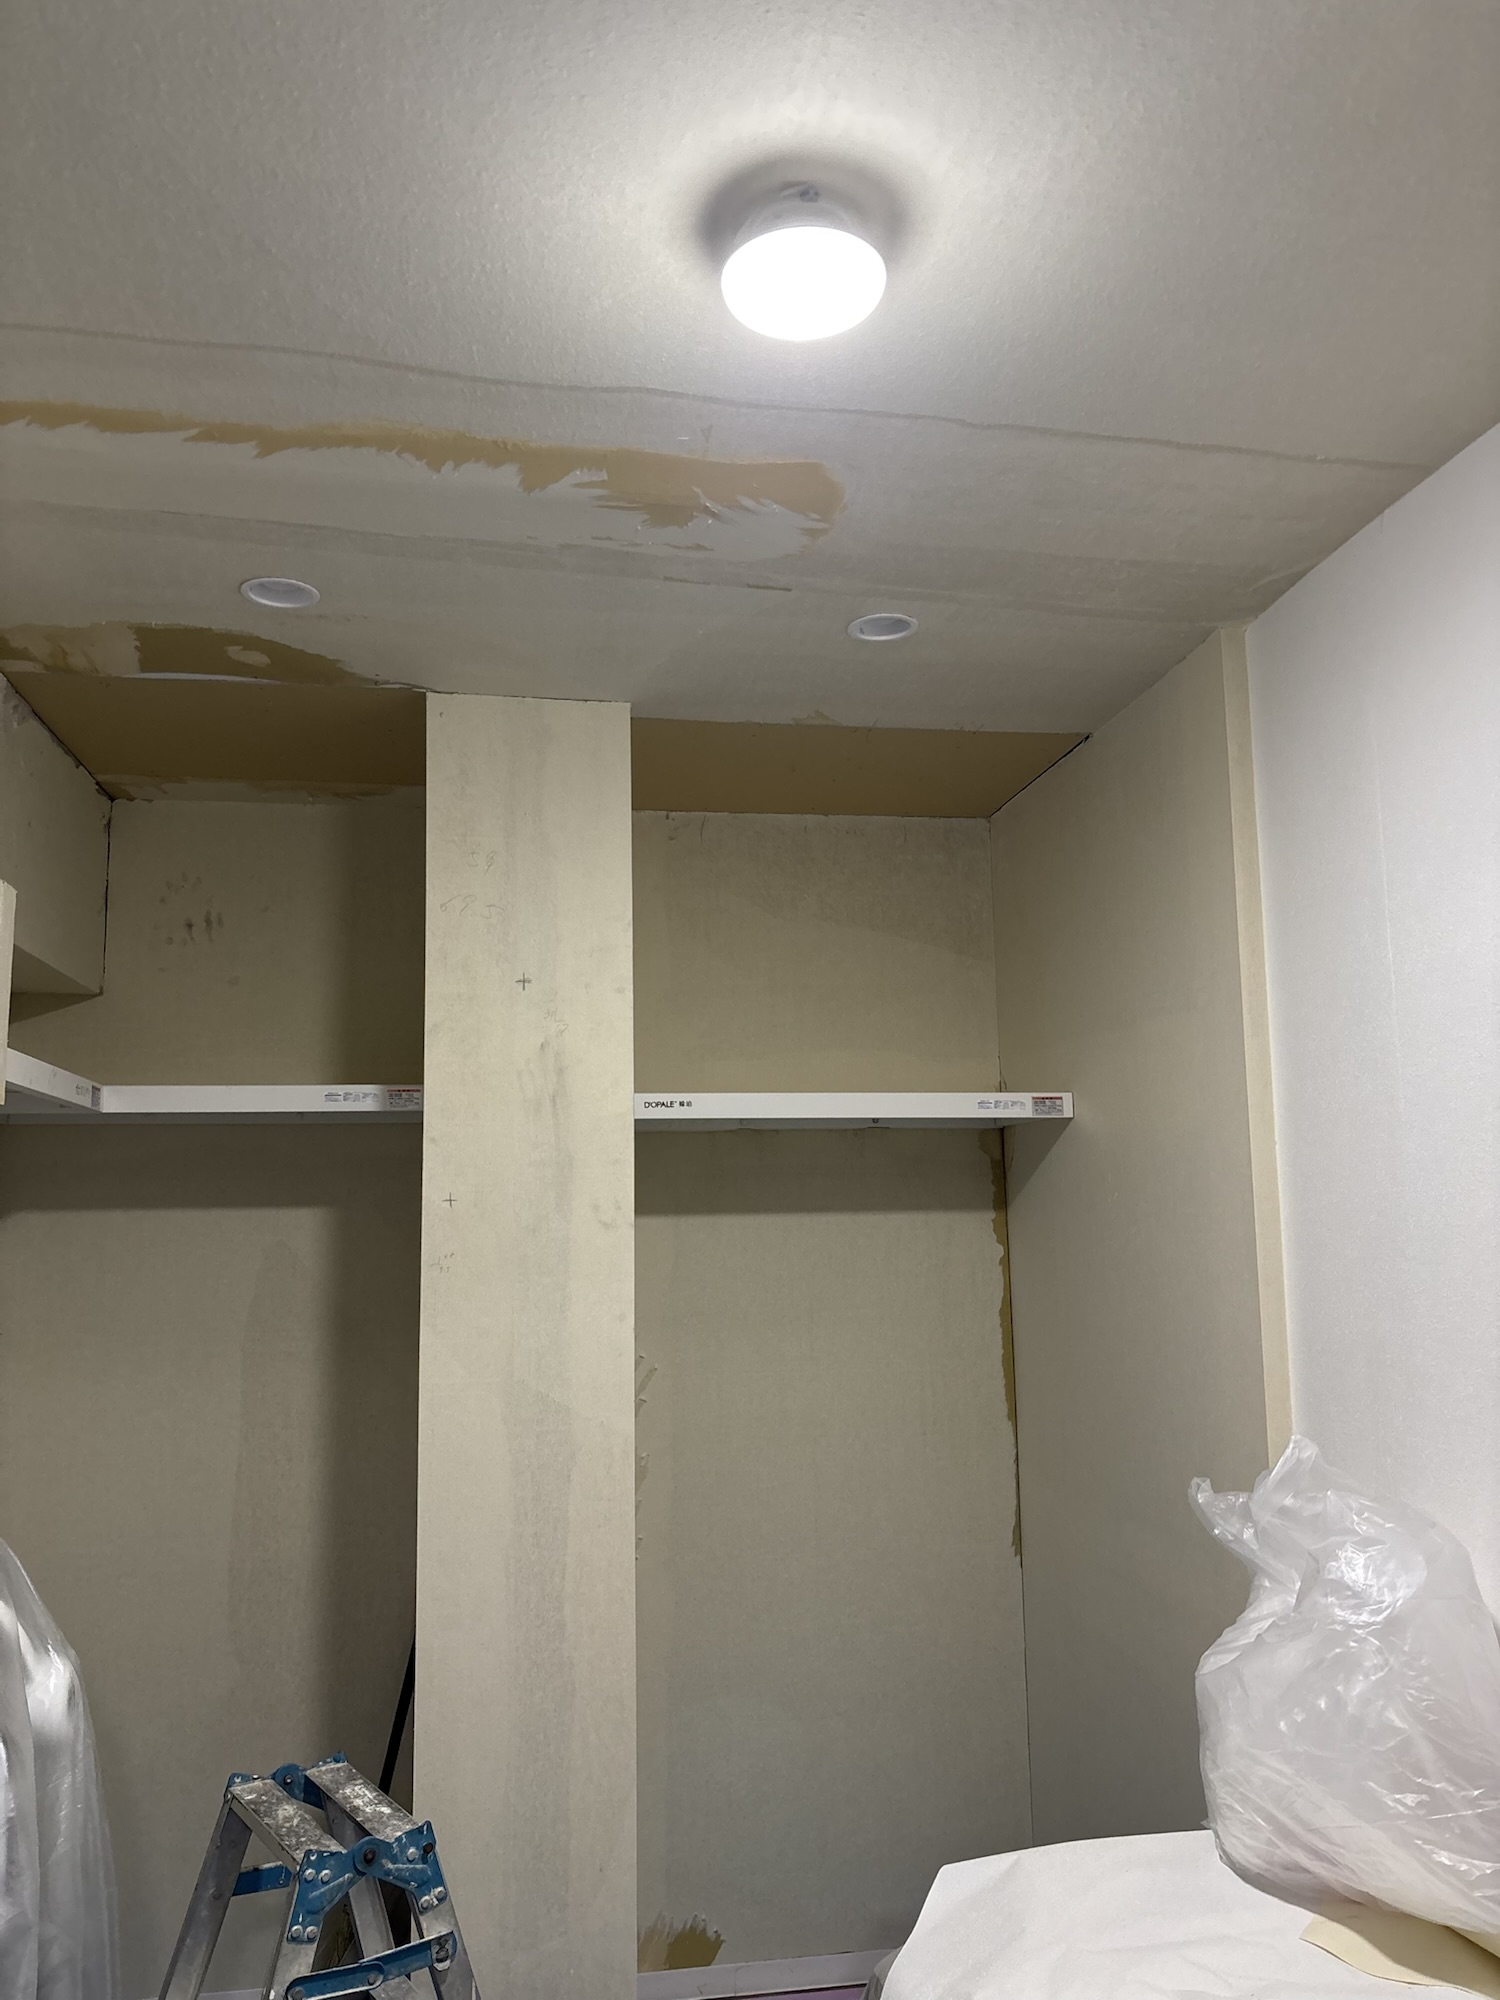
Three workers and one site supervisor started the work together.
I had to leave the site temporarily during the project, so I did not see the actual gypsum board replacement process. However, when I returned, the new gypsum board had already been installed on the ceiling.
The repaired area was quite uneven, so we applied two coats of basecoat joint compound before applying the finishing compound.
Work Flow — Site Report
1. Replacing the Damaged Ceiling Board
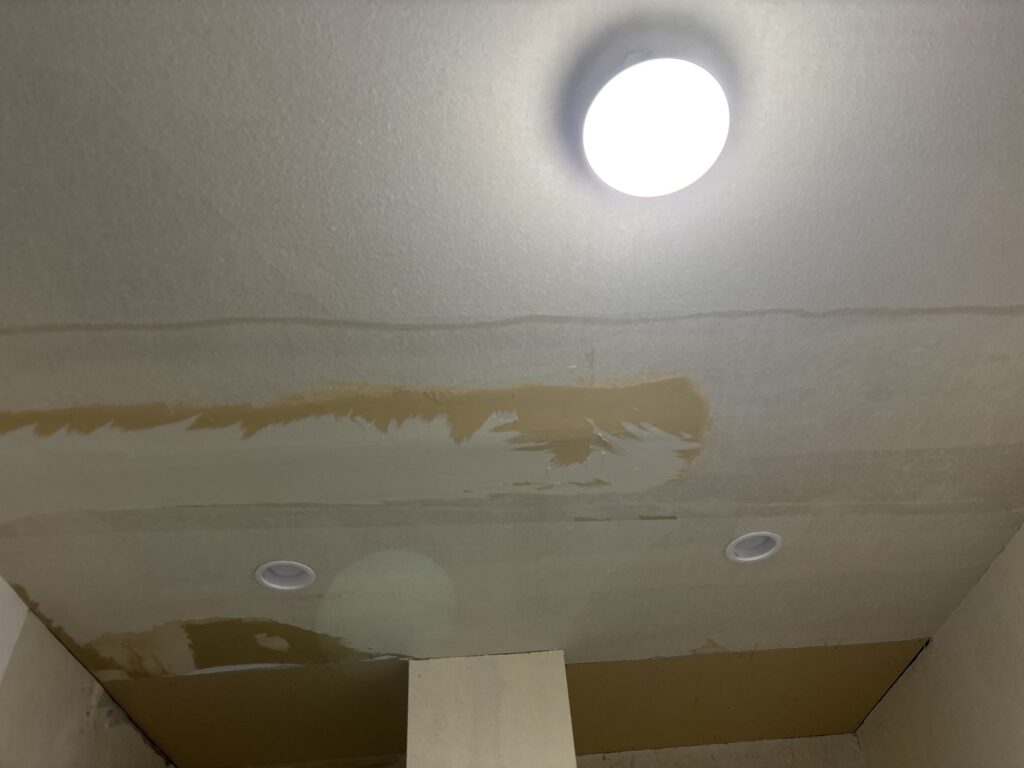
The existing ceiling had been damaged by water leaking from the piping above it.
The gypsum board had cracked, and the existing wallpaper had also torn. The damaged section of board was removed and replaced with new gypsum board.
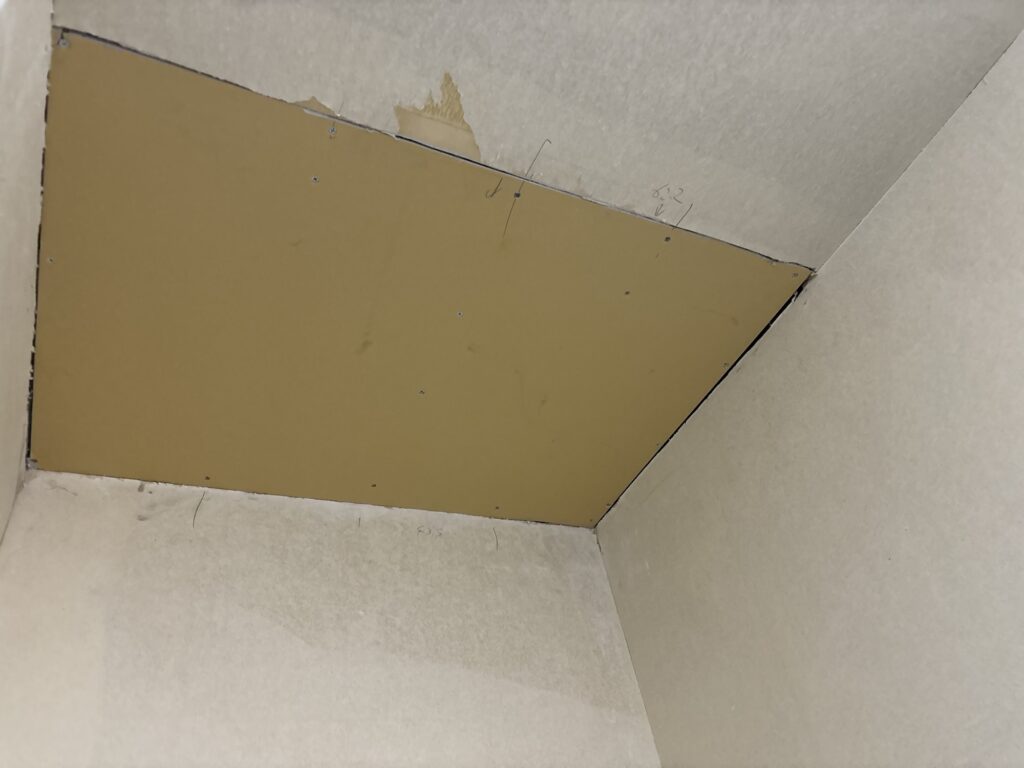
Unfortunately, I was away from the site during this part of the work, so I could not photograph or observe the board replacement process directly.
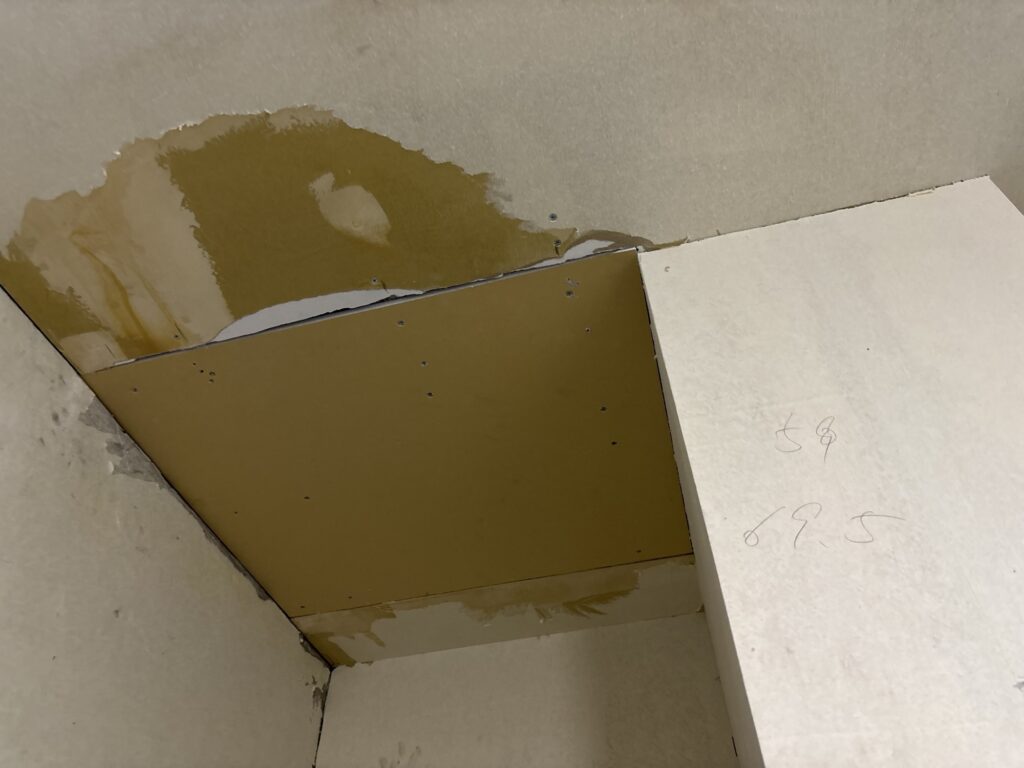
When I returned, the new gypsum board was already in place and ready for joint treatment.
Because the repaired area was uneven, we applied two coats of basecoat joint compound.
2. Applying Joint Compound
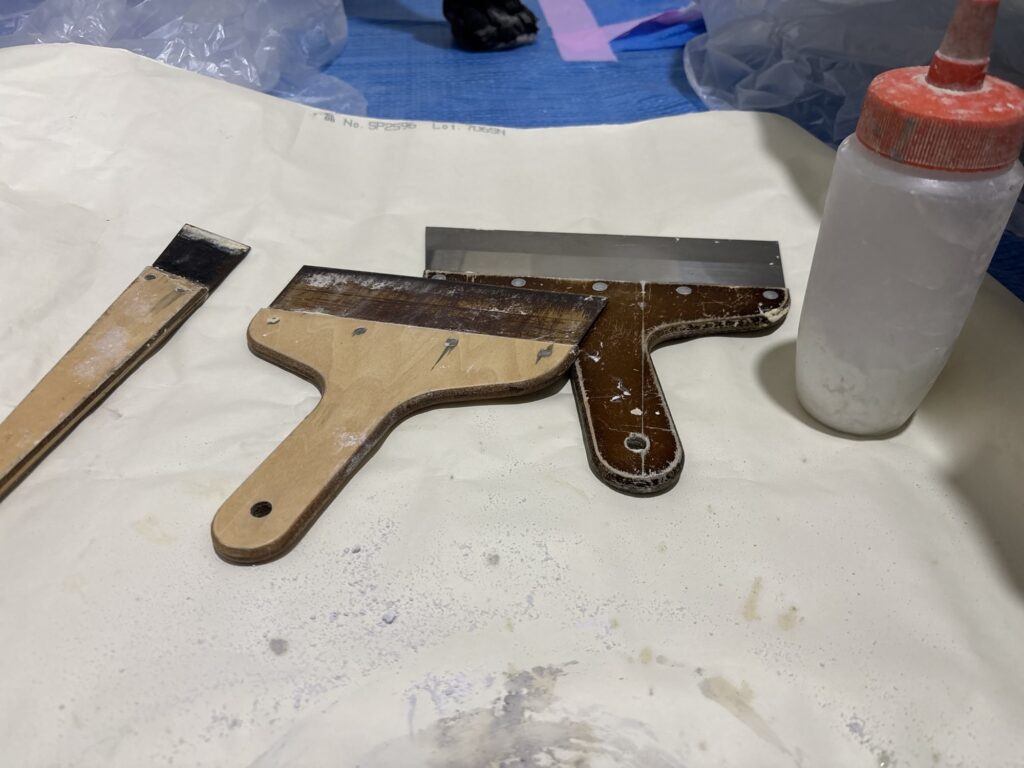
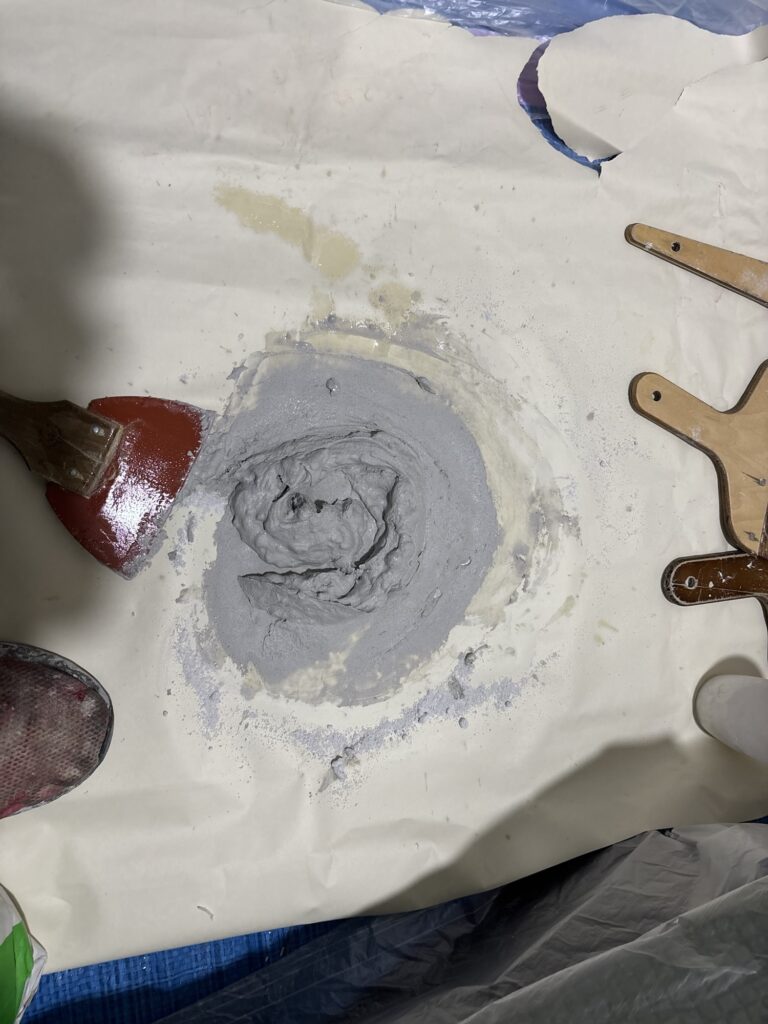
When applying joint compound, we mainly use three types of putty knives: a small knife, a medium knife, and a large knife.
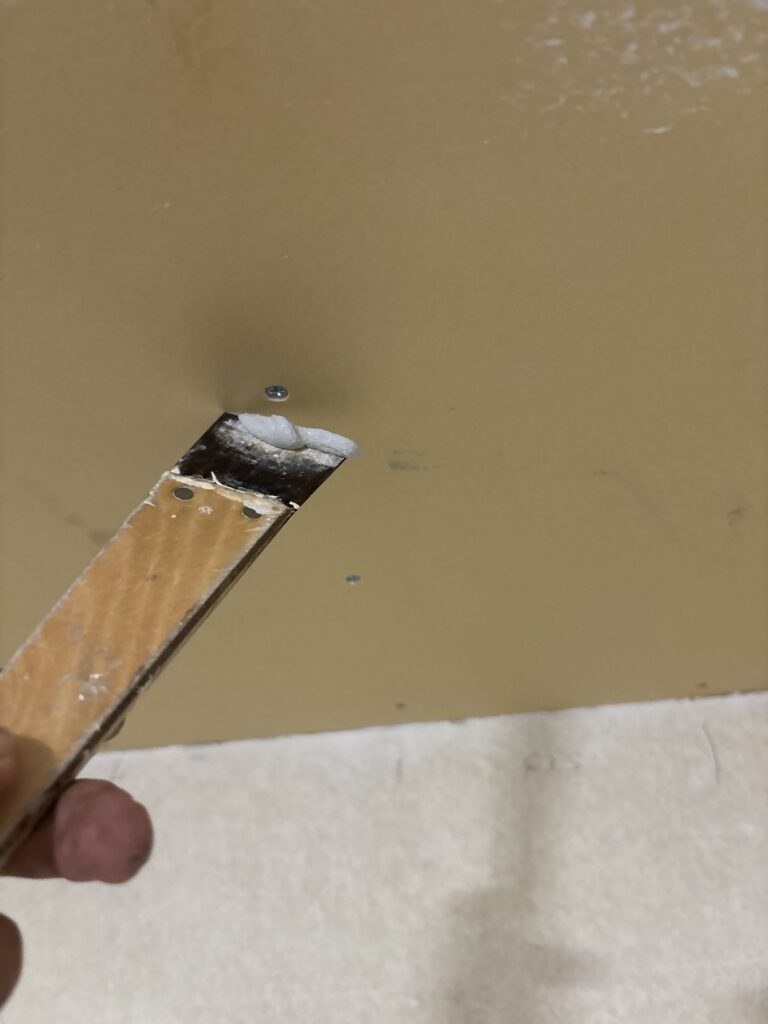
The small putty knife is useful for filling screw holes and applying compound in narrow spaces.
The medium putty knife is useful when applying basecoat compound or working around columns and other areas where a large knife is too difficult to use.
The large putty knife is mainly used for finishing compound and for applying basecoat compound over a wider area when there is a significant difference in height.
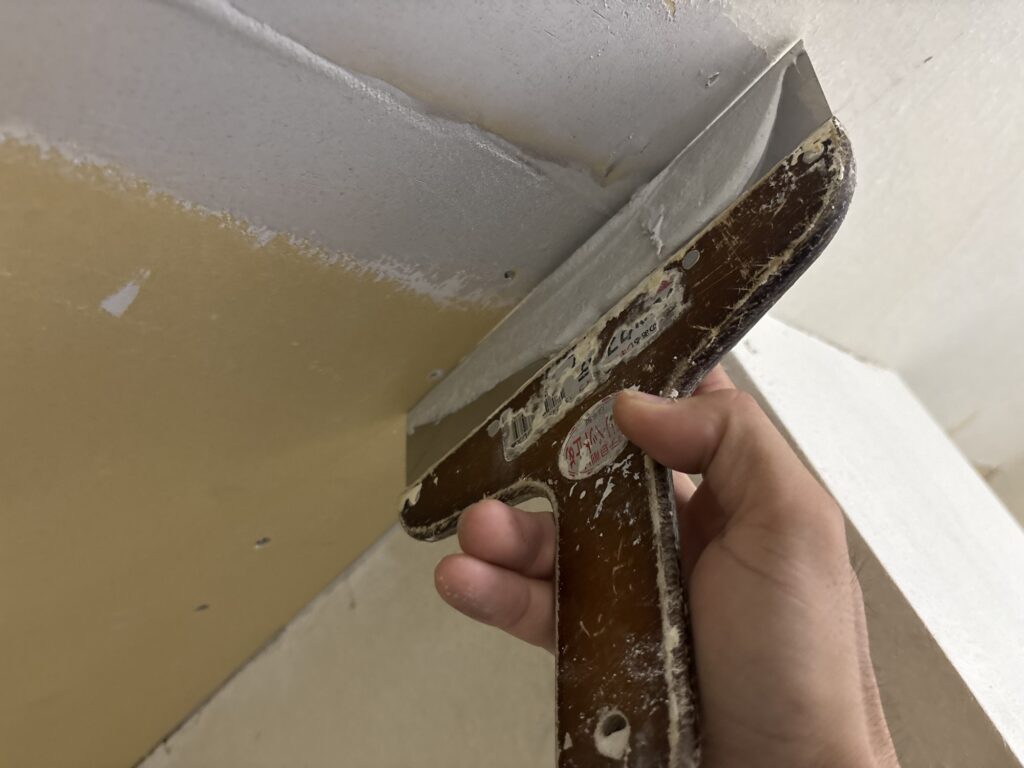
As a basic rule, you should keep the putty knife relatively upright when applying compound.
If you use the knife too flat, too much compound can remain on the surface and create an unnecessary raised area.
There are situations where intentionally using the knife at a flatter angle is useful, but first, it is important to learn the basic technique.
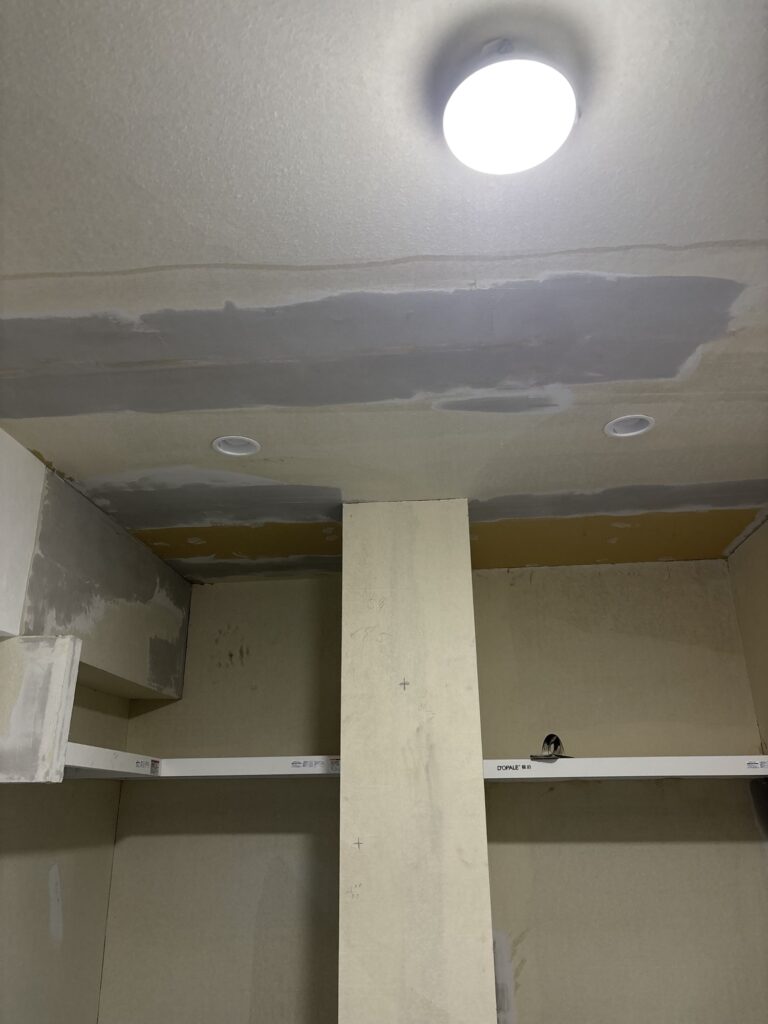
For this project, we applied two coats of basecoat compound.
After drying the compound with a heat gun, we applied the finishing compound.
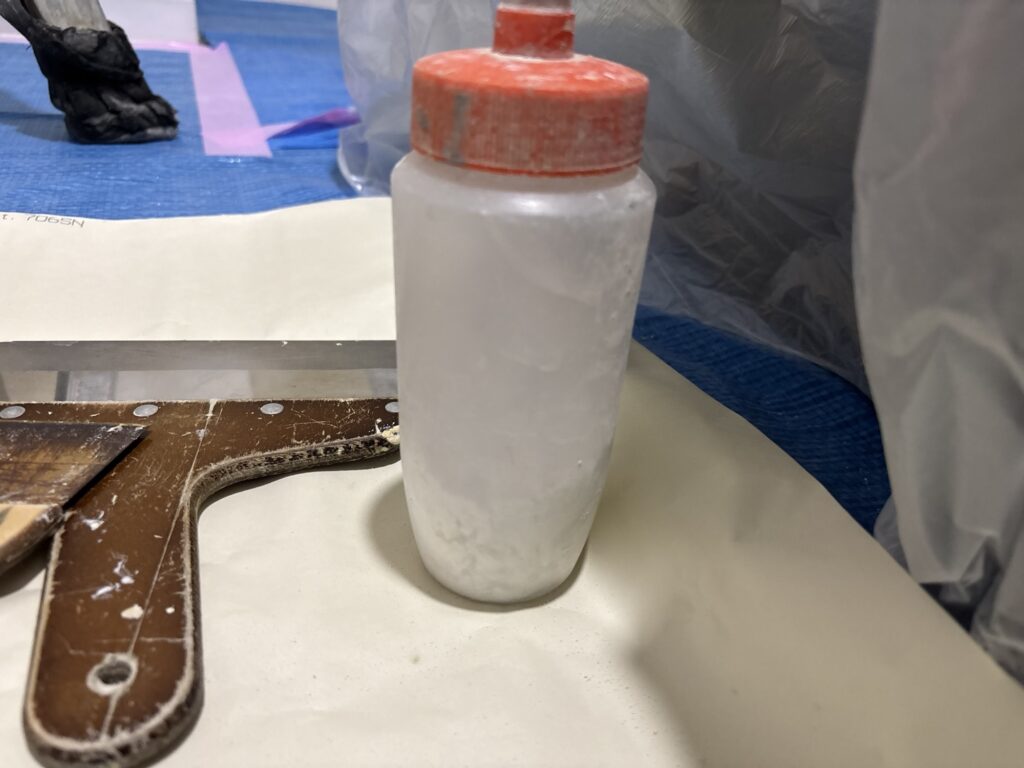
If you need joint compound to harden more quickly, another option besides using a heat gun is to mix an appropriate hardener into the compound. This can accelerate the setting process.
Some types of joint compound can be accelerated with a compatible hardener. Always follow the manufacturer’s instructions and use the recommended amount.
3. Planning the Ceiling Wallpaper Layout
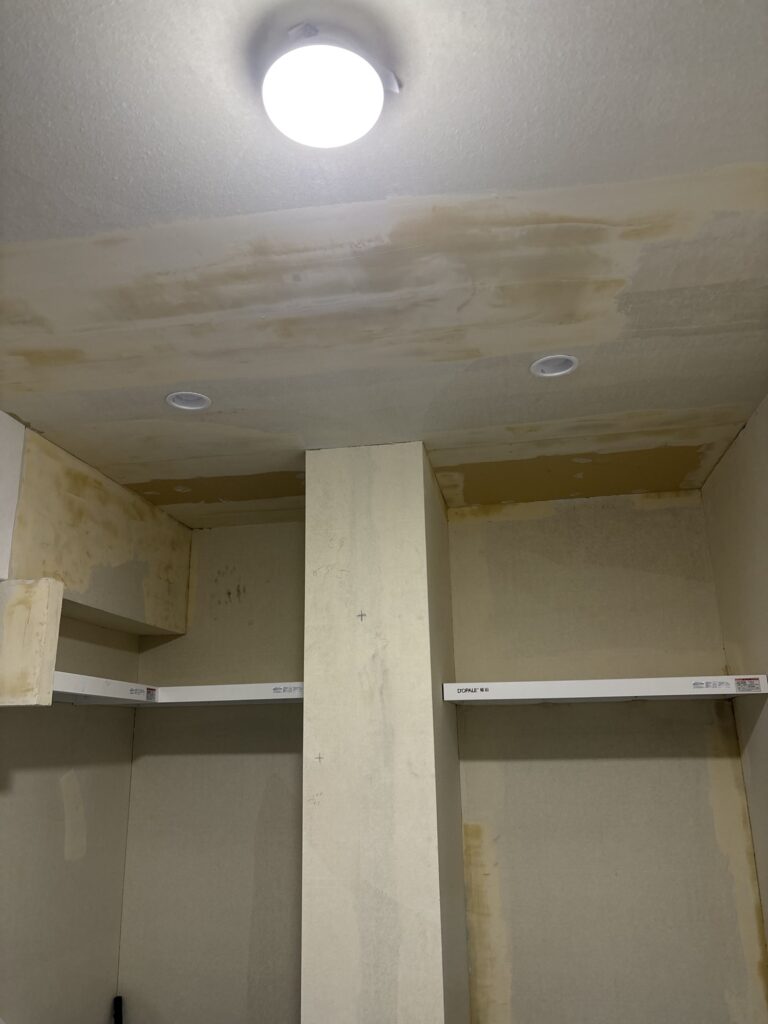
The ceiling was approximately 3 m wide and 2.5 m long.
We used a white stone-pattern wallpaper.
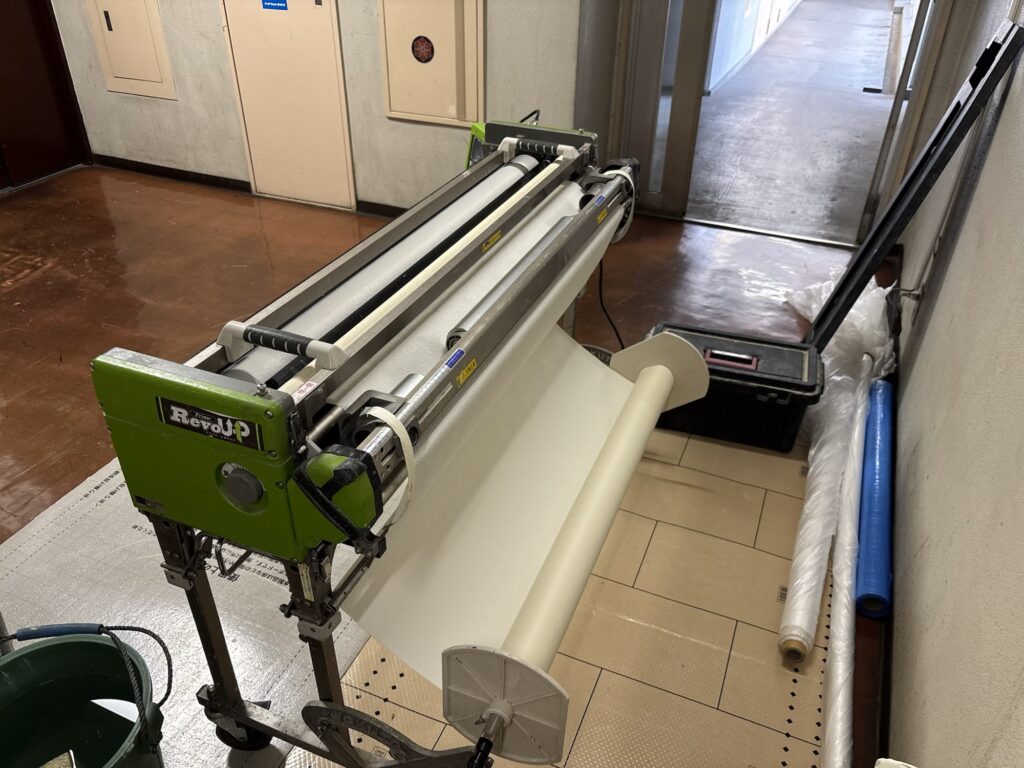
Using the wallpaper pasting machine, we prepared three pieces measuring approximately 90 cm wide × 2.6 m long, plus one piece measuring approximately 90 cm × 95 cm.
Two workers installed the ceiling wallpaper together.
For the first piece, we positioned the wallpaper so that it extended past the center column.
This allowed us to use the shorter 90 cm × 95 cm piece for the remaining areas at the back on both sides.
This layout had two advantages.
First, it reduced material waste. Second, because the remaining sections were shorter, they were easier to install.
Planning the layout before starting the installation can make a significant difference in both material efficiency and ease of installation.
4. Dealing With a Torn Piece of Wallpaper
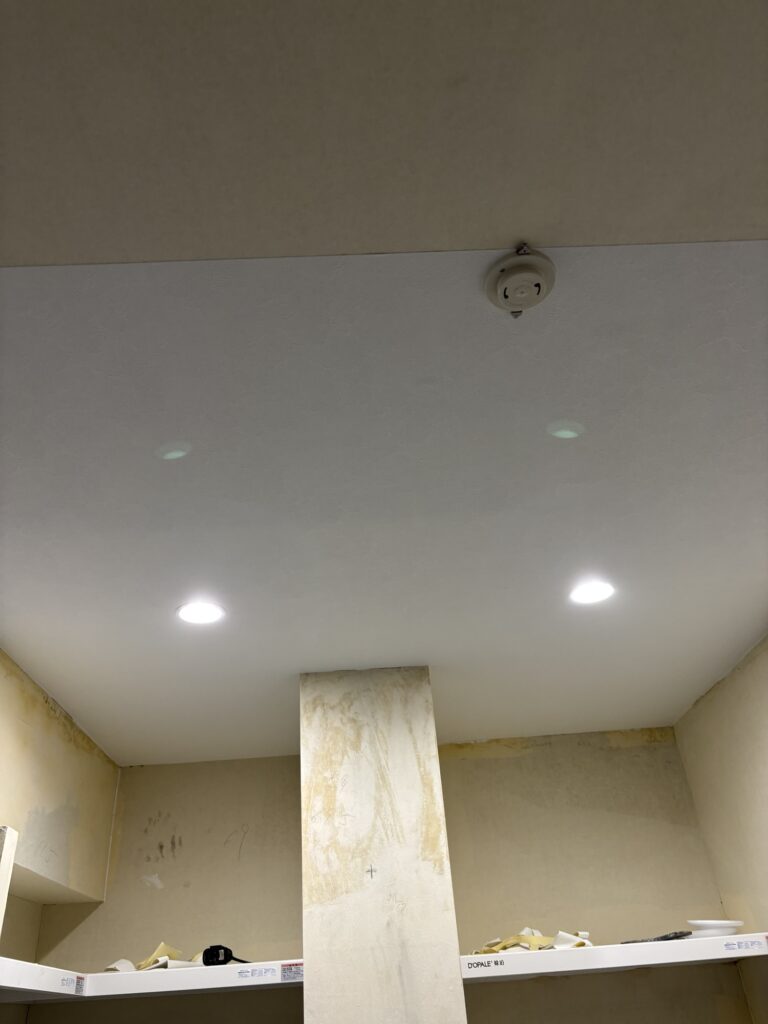
While installing one of the 2.6 m-long ceiling pieces, the edge of the wallpaper accidentally tore.
Instead of trying to continue with the damaged piece, we immediately stopped and installed a new 2.6 m-long piece.
However, we did not throw away the damaged piece.
We cut off the damaged section with scissors and kept the remaining usable material for the final section.
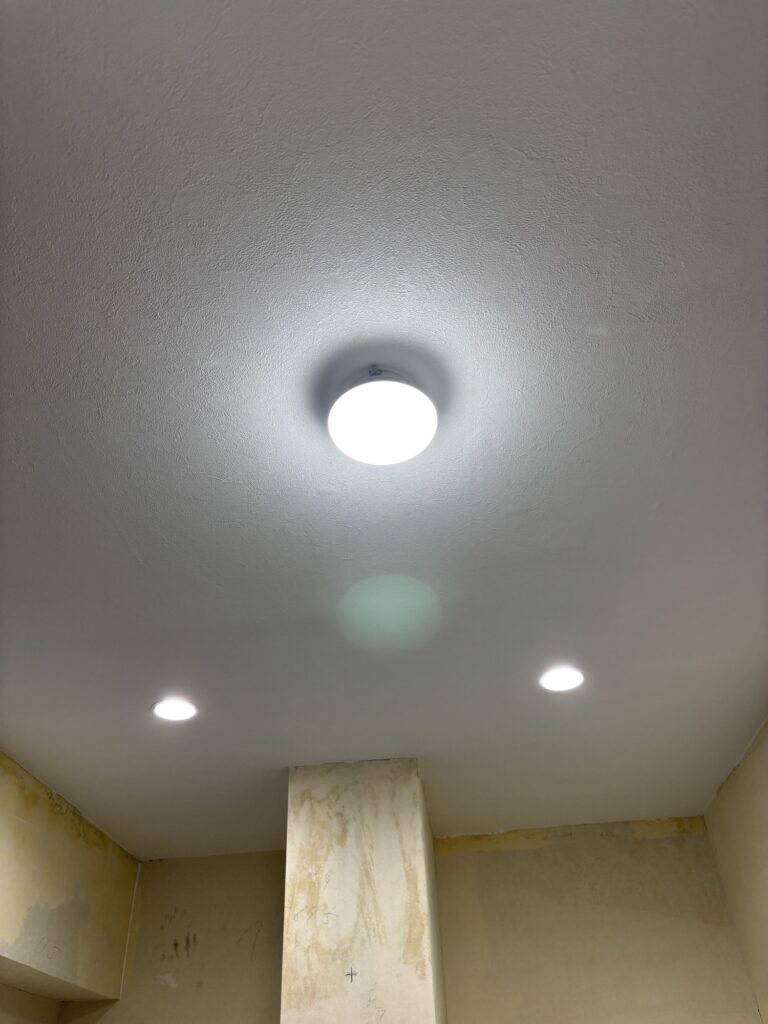
The final section was only about 60 cm wide, so there was no need to prepare another full piece of wallpaper.
This is a good example of why experience is important in wallpaper installation.
Unexpected problems happen on site. With enough experience, you can stay calm and find a practical way to use the remaining material instead of simply throwing it away.
5. Installing the Navy Wall Wallpaper
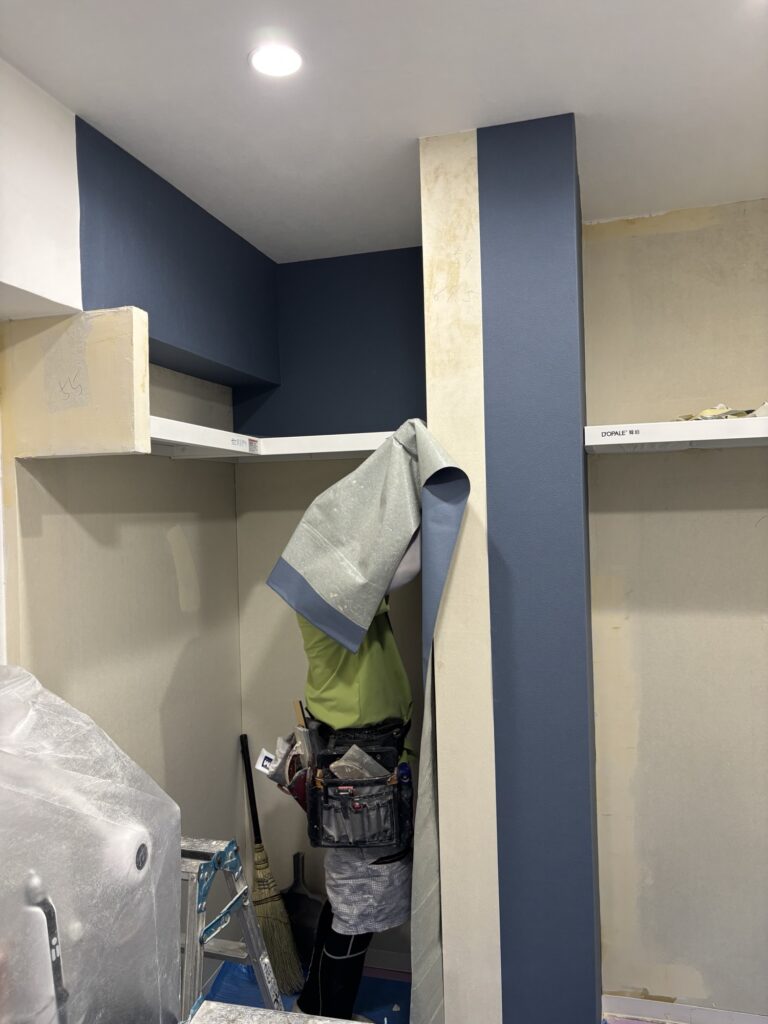
After finishing the ceiling, we moved on to the walls.
Two workers divided the work and installed the navy-colored wallpaper.
I normally install white wallpaper quite often, so I usually carry white caulk with me.
However, navy caulk is not something I use frequently, so I did not have any with me on site.
To avoid visible gaps when cutting the wallpaper into the inside corners, we applied white caulk to the inside corners beforehand.
This allowed the edge of the wallpaper to sit against the caulk when it was cut, helping prevent visible gaps.
Preparing the corners in advance also meant that we did not have to apply caulk after cutting.
It also eliminated the need to purchase a color of caulk that we rarely use.
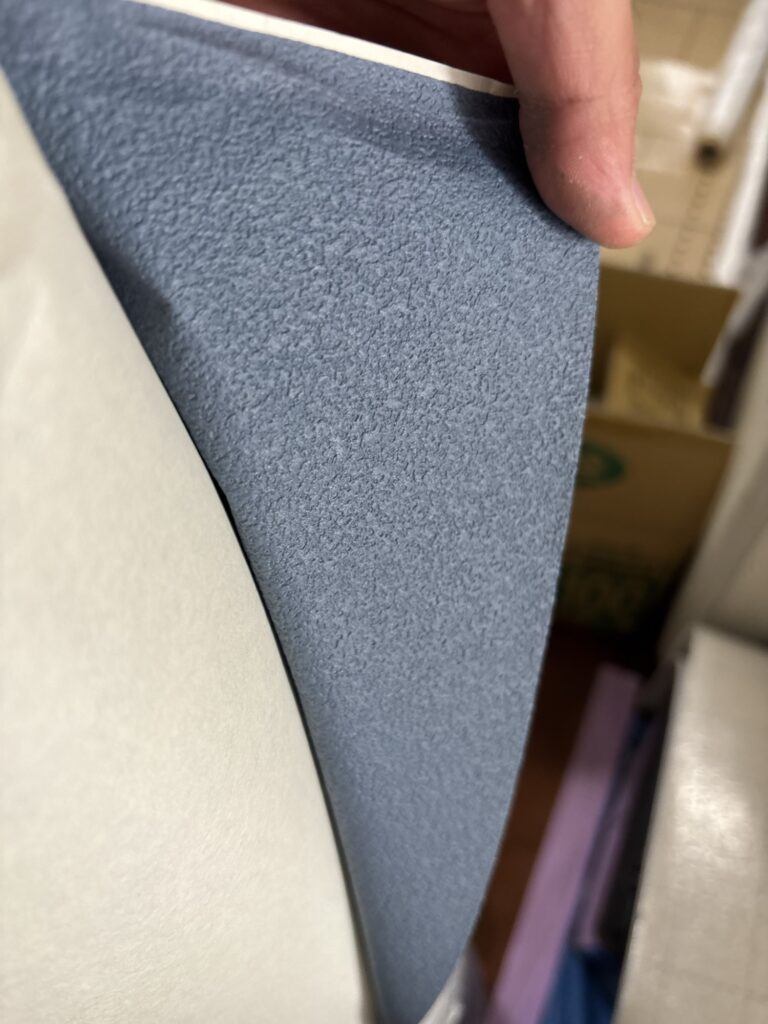
The wallpaper had a slightly paper-like texture, which also made it relatively easy to match the joints.
Even if a very small gap appeared at a joint, the dark color of the wallpaper made it less noticeable.
With white wallpaper, even a small joint gap can appear dark and become much more obvious.
6. Removing Air Bubbles
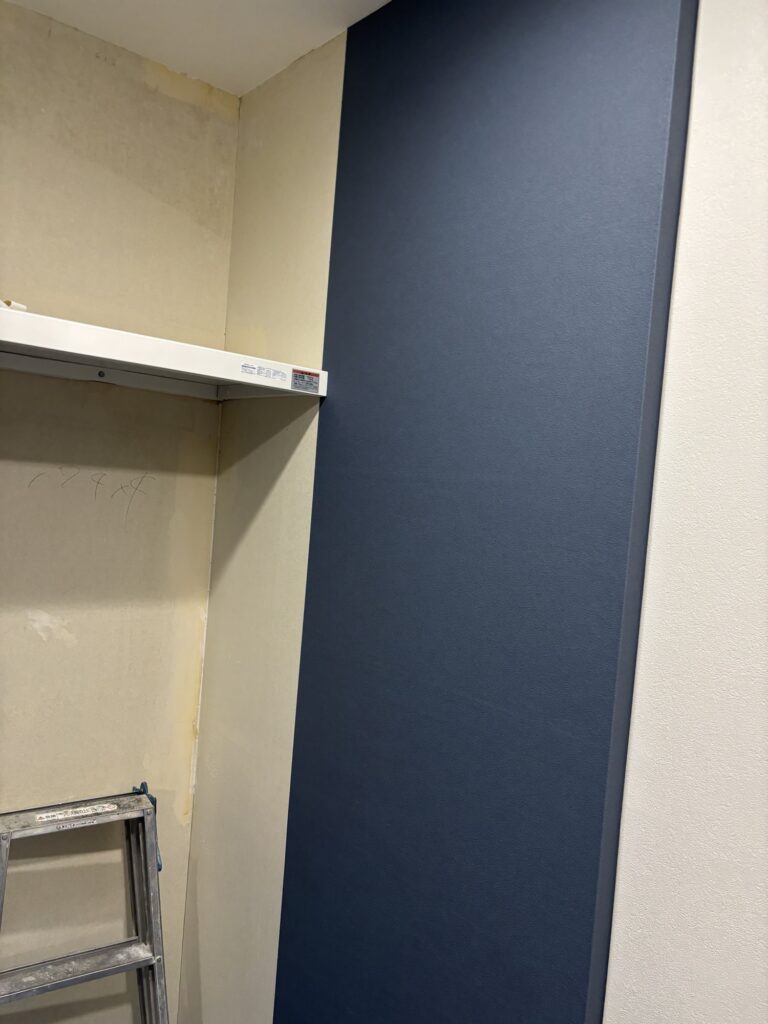
The highest part of the wall was approximately 2.5 m high.
Generally, the longer the wallpaper is, the more difficult it can be to remove air bubbles.
The key is to position the wallpaper straight and then use a smoother to push the air from the center toward the outside edges.
If the wallpaper has shrunk or the air is difficult to remove, it is better to lift the wallpaper back up temporarily and release the trapped air.
Trying to force the air out by aggressively pressing with the smoother can cause the wallpaper to tear or create wrinkles.
The basic idea is to let the air escape naturally rather than fighting against the movement of the wallpaper.
7. Working Around Outside Corners
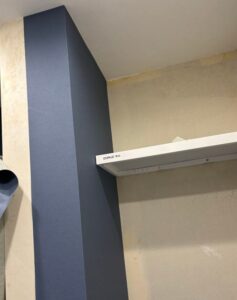
When installing wallpaper around an outside corner, such as a column, we use a damp sponge to gently work the corner while using the smoother to stretch and position the wallpaper around it.
This helps the wallpaper follow the shape of the corner without creating unnecessary tension or wrinkles.
8. Cutting the Joint Between Different Colors
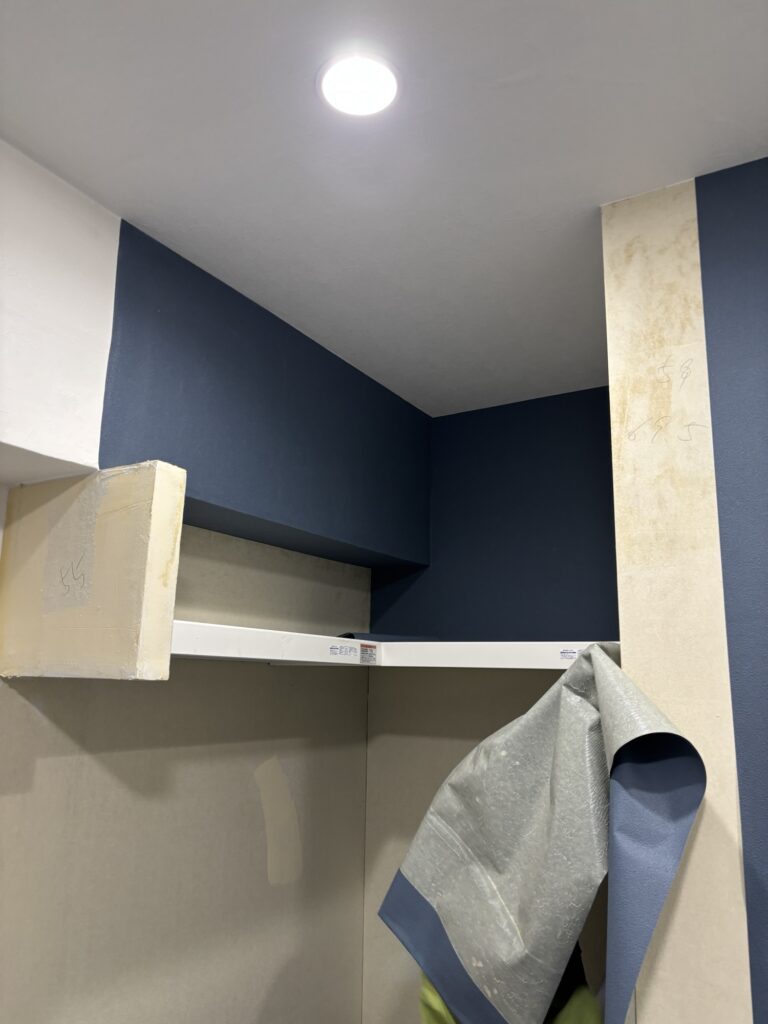
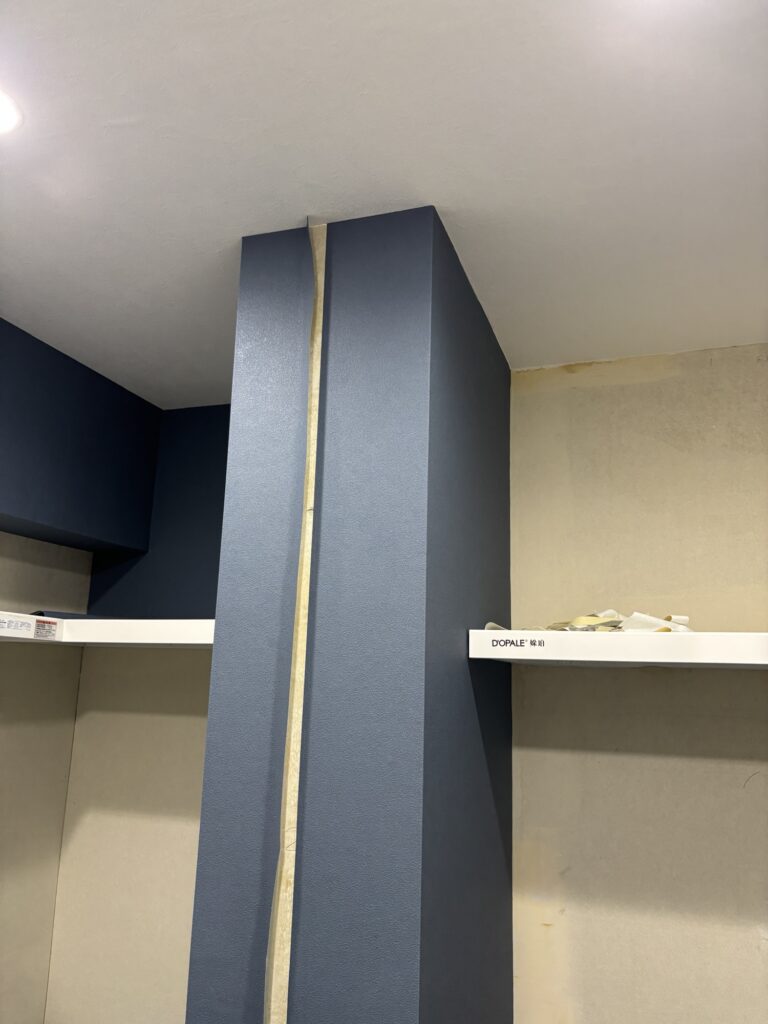
There was an existing white wallpaper section on a beam that had to be joined with the new navy wallpaper.
Because the colors were completely different, even a slightly uneven joint cut would be noticeable.
Before starting the installation, we marked a straight reference line so we could confirm the correct position and maintain a straight installation.
When making the joint cut, we used a ruler or putty knife as a guide and carefully cut in a straight line.
There was also a square box below the beam.
The existing white wallpaper reached almost exactly to the corner line of the box. Because there was not quite enough excess material to make a completely straight cut, I made the final 1 cm of the cut at a slight angle.
If there had been enough extra white wallpaper, I could have made the entire cut straight.
However, because the existing material was just barely long enough, I made the cut at the minimum necessary position.
Small decisions like this can make a difference when working with limited existing material.
9. Final Cleanup
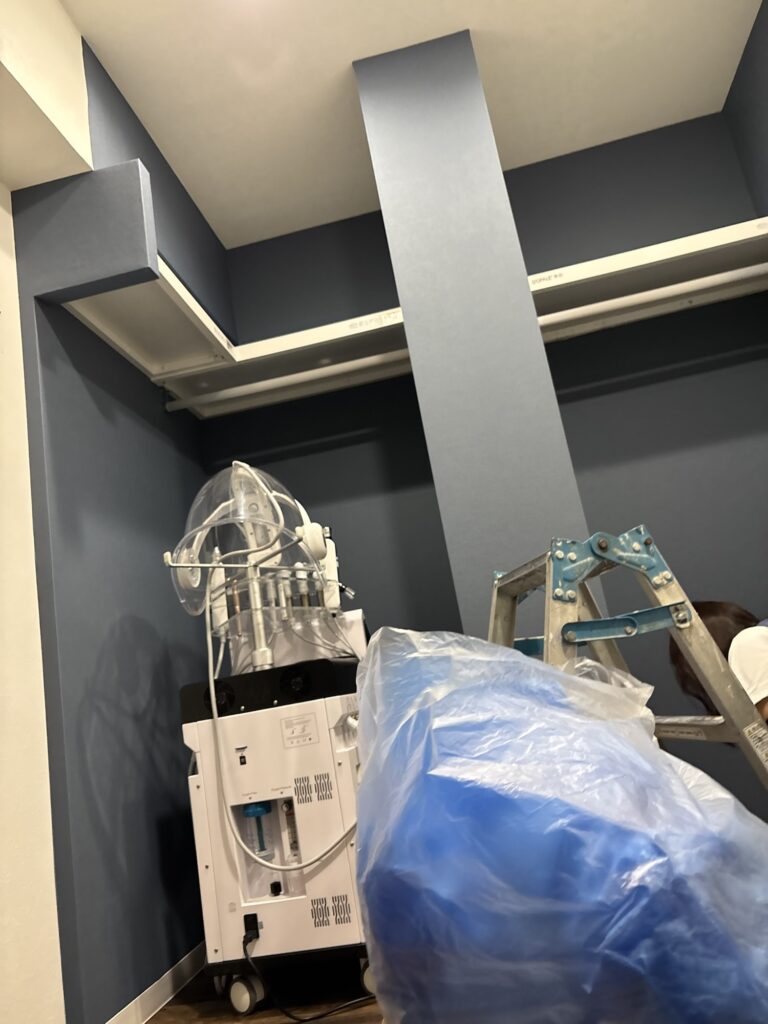
After all the wallpaper had been installed, we cleaned the work area and organized the tools and materials.
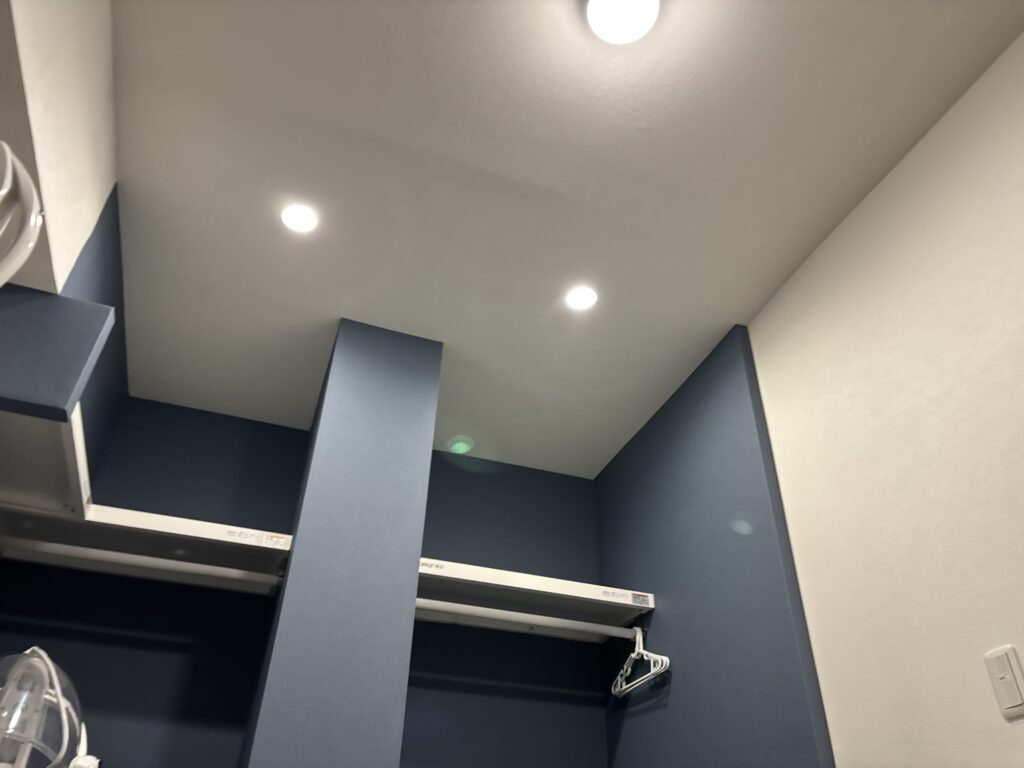
The damaged ceiling area had been completely restored, and the combination of the white ceiling and navy walls created a clean contrast.
The final appearance was neat and professional.
The entire project took approximately six hours.
Tools Used
- Wallpaper pasting machine
- Small putty knife
- Medium putty knife
- Large putty knife
- Smoother
- Ruler
- Scissors
- Heat gun
- Damp sponge
- Utility knife
- Caulking gun
- Joint compound
- Wallpaper
Professional Tips
1. Choose the Right Putty Knife
Using the correct size of putty knife makes joint treatment much easier.
Use a small knife for screw holes and tight spaces, a medium knife for general basecoat work and areas around columns, and a large knife for finishing work and wider areas.
2. Keep the Basic Angle of the Putty Knife in Mind
When applying joint compound, keep the knife relatively upright.
Using it too flat can leave too much compound on the surface and create unwanted height differences.
There are situations where a flatter angle is useful, but beginners should first master the basic technique.
3. Plan the Wallpaper Layout Before Cutting
Careful planning can reduce waste and make difficult areas easier to install.
For the ceiling, positioning the first sheet over the center column allowed us to use a shorter piece for the remaining sections.
4. Don’t Immediately Throw Away Damaged Material
A torn sheet may still be useful if the damaged section can be cut away.
In this project, we reused the remaining material for a narrower final section instead of throwing it away.
5. Prepare Difficult Corners in Advance
Applying caulk to inside corners before installing and cutting the wallpaper can help prevent visible gaps.
It can also eliminate the need to apply caulk after installation.
6. Don’t Force Air Bubbles Out
If the wallpaper is difficult to smooth, do not force it aggressively.
Lift the wallpaper back up, release the trapped air, and then smooth it again.
This reduces the risk of tearing and wrinkles.
7. Use Reference Lines for Contrasting Joints
When joining two strongly contrasting colors, such as white and navy, even a small deviation can be noticeable.
Marking a straight reference line before installation can help keep the joint accurate.
Common Mistakes to Avoid
1. Applying Too Much Joint Compound
Applying too much compound can create unnecessary height differences that remain visible after wallpaper installation.
Apply the appropriate amount and build up the surface gradually.
2. Holding the Putty Knife Too Flat
A very flat angle can leave too much compound on the surface.
Learn the basic upright angle first before experimenting with different angles.
3. Forcing Air Bubbles Out With Excessive Pressure
Trying to push stubborn air bubbles out with too much force can damage the wallpaper.
If necessary, lift the wallpaper and release the air before smoothing it again.
4. Cutting a Contrasting Joint Without a Reference Line
When two different colors meet, an uneven cut can be immediately noticeable.
Always establish a straight reference before making an important joint cut.
5. Throwing Away Usable Wallpaper
A damaged piece does not necessarily mean the entire sheet is unusable.
Check whether the damaged section can be removed and the remaining material used somewhere else.
6. Waiting Until After Installation to Think About Caulking
For difficult inside corners, preparing the area before installation can make the final result cleaner and save time.
7. Ignoring Material Length
When working with existing wallpaper or limited material, always check how much excess material is actually available before cutting.
Sometimes a small angled cut can save an otherwise difficult situation.
What I Learned From This Project
This project reminded me that wallpaper installation is not only about knowing how to apply wallpaper correctly.
It is also about making decisions when unexpected problems occur.
The torn ceiling wallpaper was a good example. Instead of wasting the damaged sheet, we removed the damaged section and reused the remaining material for the final narrow section.
The project also showed the importance of planning.
By carefully deciding where to place the first ceiling sheet, we were able to reduce material waste and make the remaining sections easier to install.
I also found that preparing the inside corners with caulk before installing the navy wallpaper was an efficient solution when the appropriate color of caulk was not available.
Small decisions like these may seem insignificant, but they can save material, reduce work, and improve the final result.
Most importantly, experience helps you remain calm when something unexpected happens.
You cannot predict every problem on a renovation site, but with enough experience, you can usually find a practical solution.
FAQ
1. Why did the ceiling need to be repaired?
The ceiling was damaged by water leaking from piping above it. The gypsum board had cracked, and the existing wallpaper had also torn.
2. How many workers were involved in this project?
Three workers and one site supervisor worked on the project.
3. How long did the entire project take?
The work took approximately six hours.
4. Why were two coats of basecoat joint compound applied?
The repaired ceiling area was uneven and required additional leveling before the finishing compound and wallpaper could be applied.
5. Why use different sizes of putty knives?
Different sizes are useful for different situations. Small knives are useful for screw holes and narrow spaces, medium knives are useful for general basecoat work, and large knives are useful for finishing and wider areas.
6. Why was a shorter piece of wallpaper used on part of the ceiling?
The first ceiling sheet was positioned so that it extended over the center column. This allowed shorter pieces to be used for the remaining areas, reducing material waste and making the installation easier.
7. What should you do if wallpaper tears during installation?
Stop and assess the damage instead of forcing the installation. If possible, replace the damaged sheet and cut away the damaged section of the original sheet so the remaining material can be reused elsewhere.
8. How can you prevent gaps in inside corners?
Applying a suitable caulk to the inside corner before cutting the wallpaper can help prevent visible gaps.
9. How do you remove air bubbles from long sheets of wallpaper?
Position the wallpaper accurately and use a smoother to push air from the center toward the outside edges. If the air is difficult to remove, lift the wallpaper and release the trapped air before smoothing it again.
10. Why are straight joint cuts especially important with dark wallpaper?
When dark wallpaper meets white wallpaper, the color contrast makes any uneven joint very noticeable. Using a straight reference line and a ruler or putty knife as a cutting guide helps create a cleaner joint.
Conclusion
This was a relatively small project, but it involved several important wallpaper installation techniques.
We repaired a water-damaged section of the ceiling, applied joint compound, installed new white stone-pattern wallpaper on the ceiling, and finished the walls with navy wallpaper.
The project also required careful material planning, especially when one of the ceiling sheets was accidentally damaged.
By reusing the remaining material and carefully planning the layout, we were able to minimize waste.
The contrast between the white ceiling and navy walls also worked very well visually.
After all the wallpaper was installed, we cleaned and organized the work area, bringing the six-hour project to a successful finish.
The damaged ceiling area was restored, the wallpaper was installed cleanly, and the finished space had a sharp and balanced appearance.


Comments