
Project and Work Details
Project Type: Detached House Kitchen Renovation
Location: Japan
Area: Kitchen
Work: Wallpaper removal, wall preparation, ceiling and wall wallpaper installation
Crew: 2 workers
Working Time: Approximately 3.5 hours
Wallpaper Type: Thick, lightly colored wallpaper suitable for renovation work
Introduction
Today, I worked on a wallpaper replacement project in the kitchen of a detached house in Japan.
The kitchen, range hood, and wall cabinets were being replaced, so the wallpaper was also being renewed as part of the renovation.
There were two workers on site: myself and one assistant.
When we arrived, the old wallpaper had already been removed. However, the backing paper was still attached to the walls.
Removing the remaining backing paper properly was one of the most important parts of this project because even small imperfections can become visible after new wallpaper is installed.
In this article, I will show you how we prepared the walls, repaired the substrate, measured and prepared the wallpaper, and installed the new wallpaper on the ceiling and walls.
Job Site Report
Removing the Remaining Backing Paper
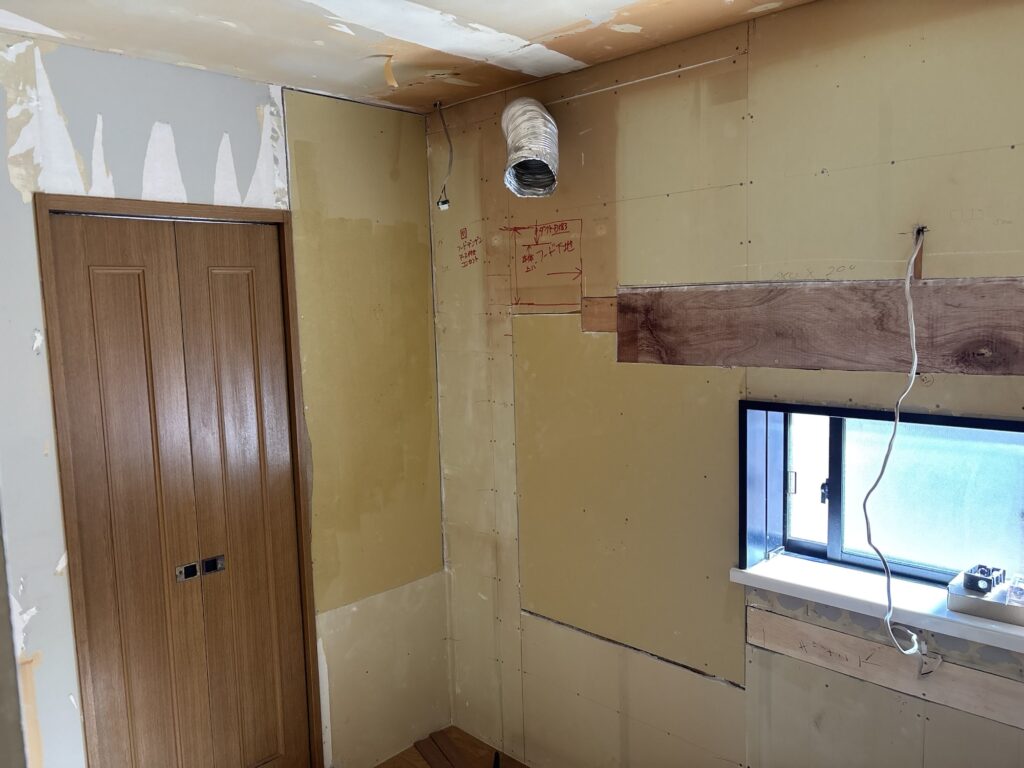
The old wallpaper had already been removed before we arrived, but a layer of backing paper remained on the walls.
Even if the backing paper is not visibly loose, it can become noticeable after new wallpaper is installed, especially when using a thin wallpaper material.
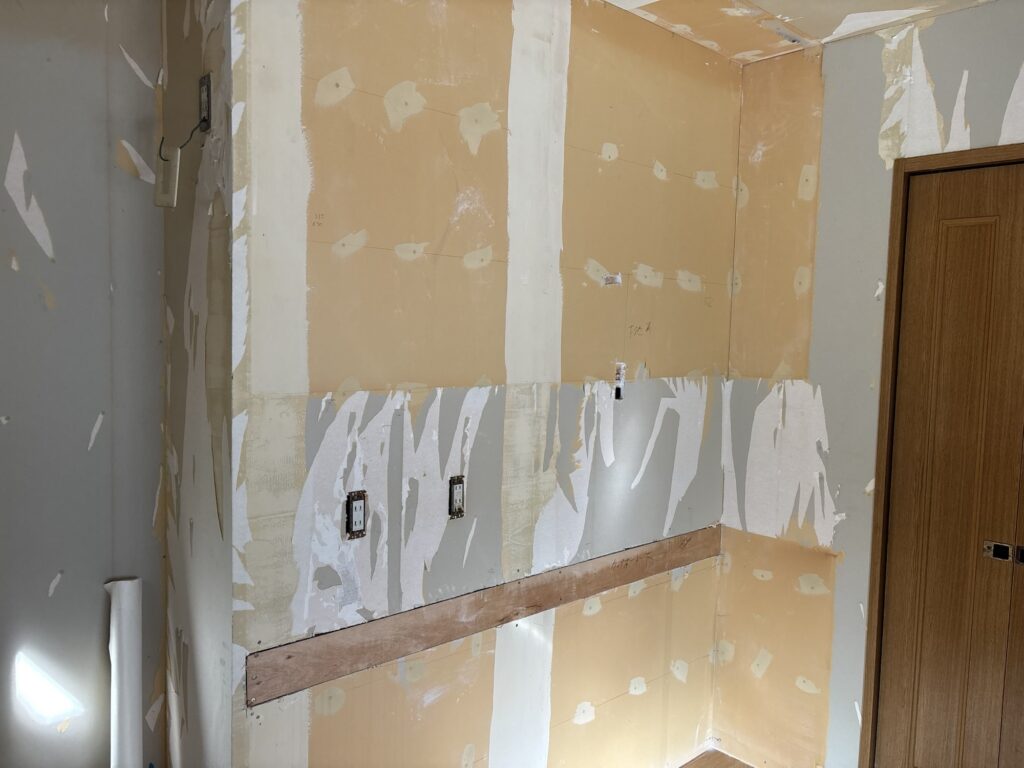
For this reason, I try to remove as much of the remaining backing paper as possible before applying new wallpaper.
If the backing paper is difficult to remove, I sometimes leave it in place and use joint compound to create a smooth surface.
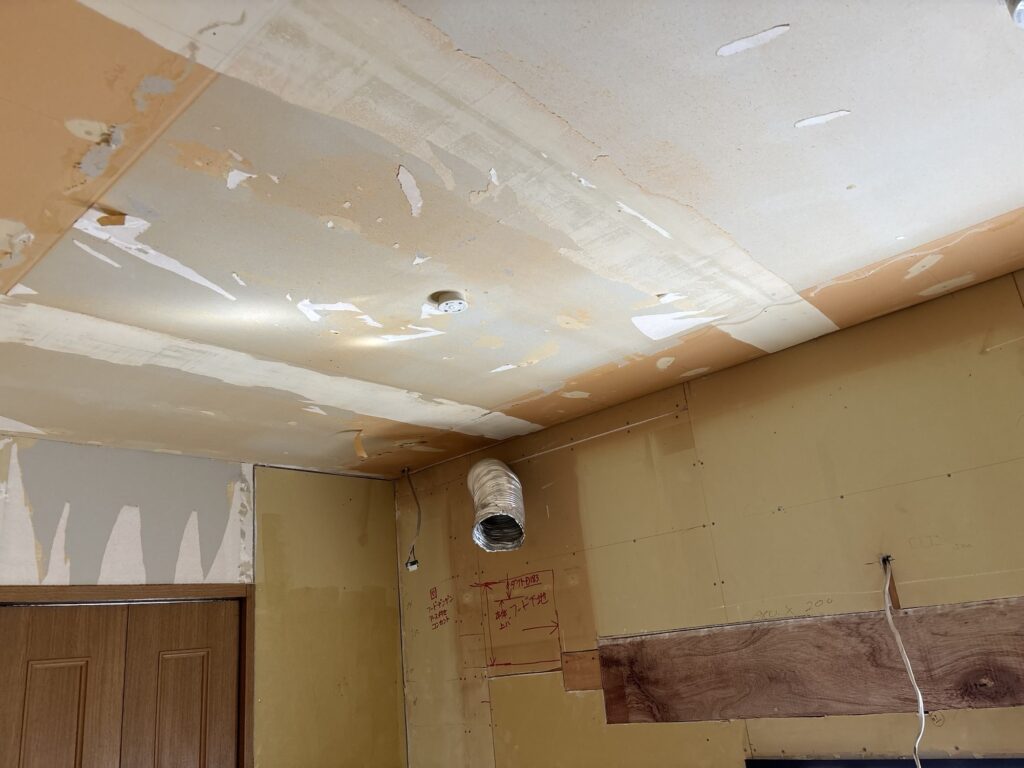
After removing the backing paper, I used a sander to smooth the surface and prepare it for filling.
Repairing the Wall Surface
We then applied a first coat of joint compound to the walls.
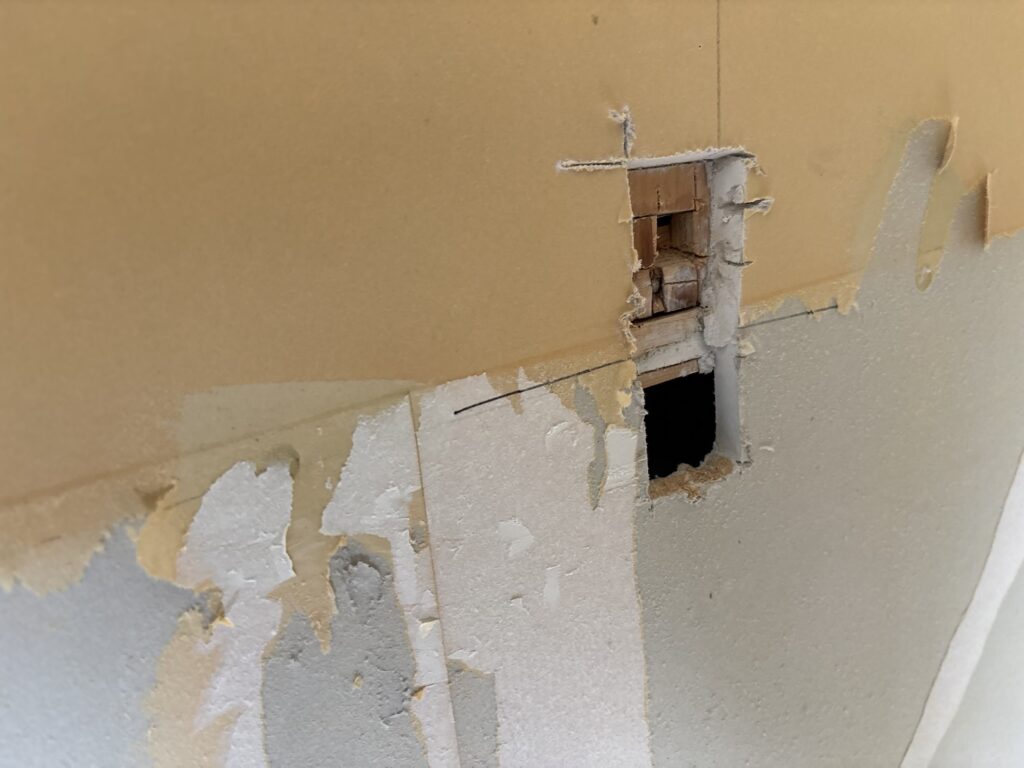
There was also a hole where an old electrical outlet had been located because the outlet had been moved.
Instead of filling the entire hole with joint compound, I had my assistant cover it with a piece of 12 mm thick wood and secure it with screws.
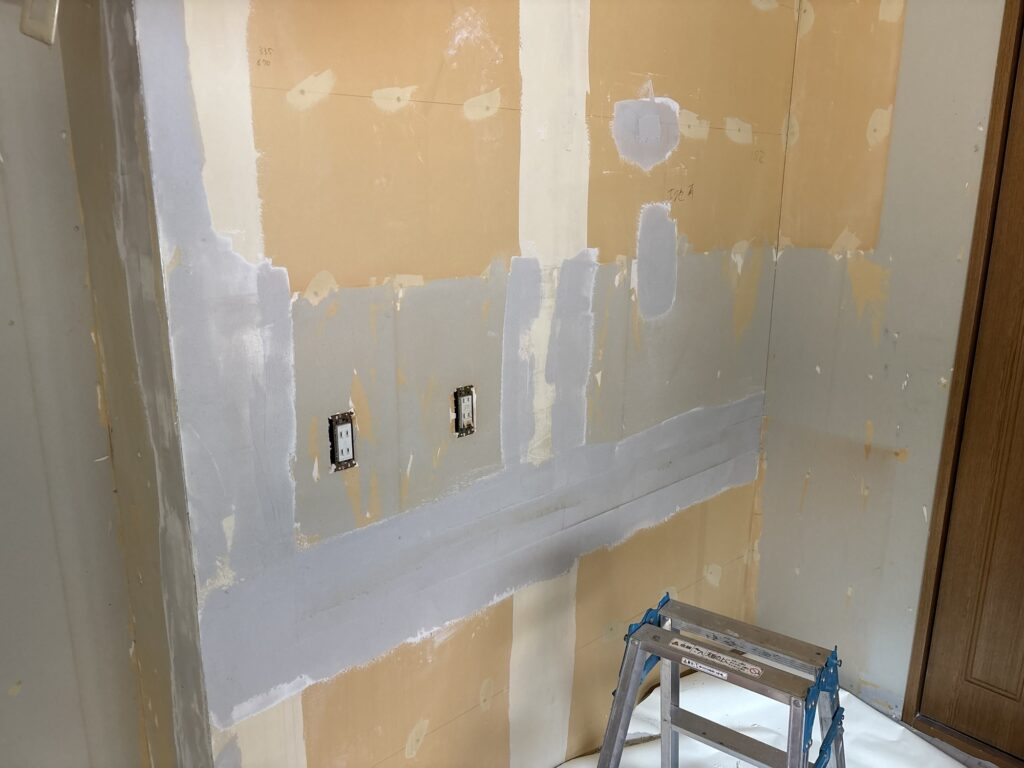
A large hole can be filled with joint compound, but this takes time to dry.
When the hole is large enough, using a piece of wood can save time and also provide a more stable surface for the final finish.
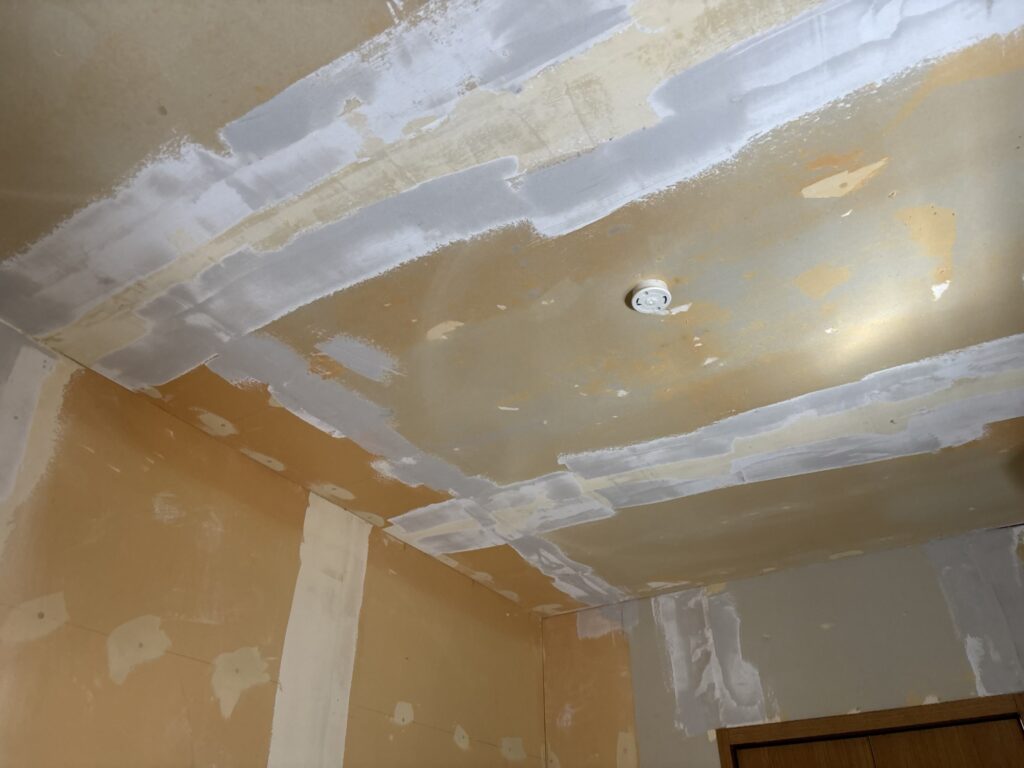
There were also some deeper areas that required additional filling.
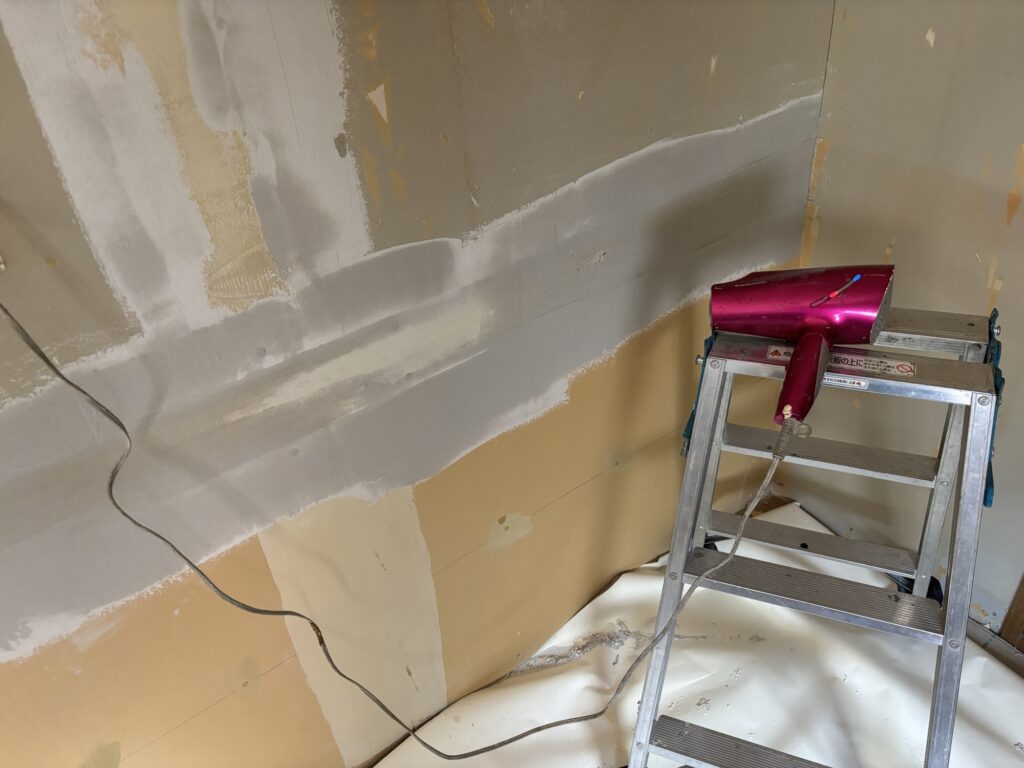
For these areas, I applied three coats of joint compound, using a hair dryer to help dry the material between coats.
Applying the Finishing Compound
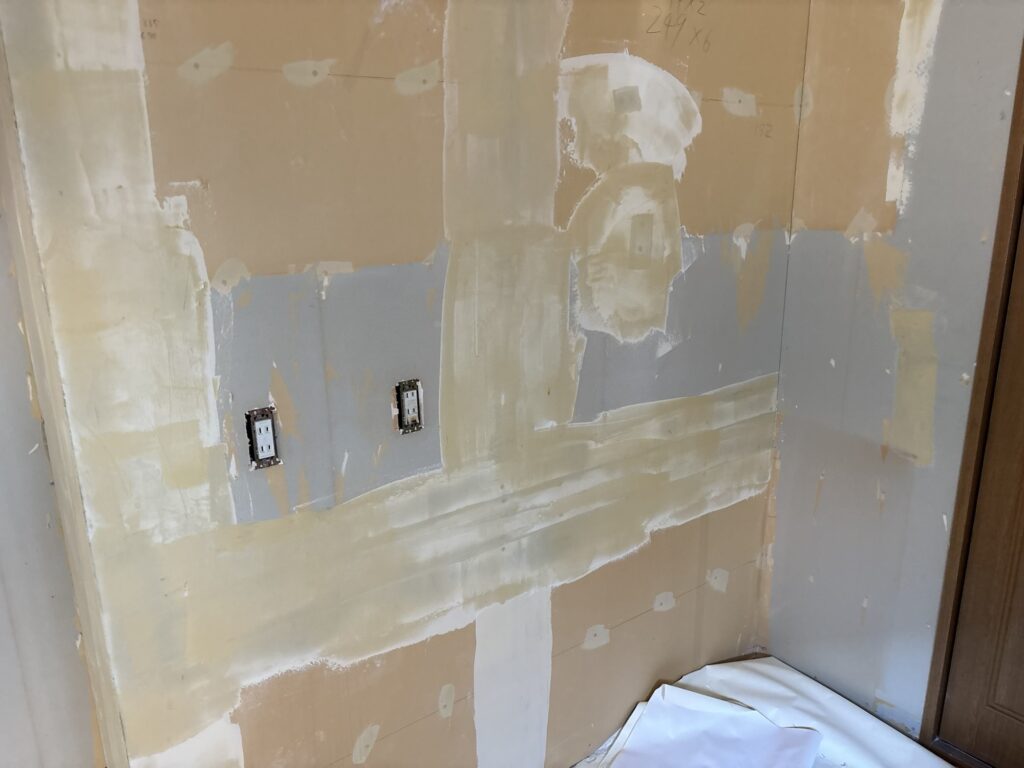
After the first coats had dried, I applied a finishing coat of joint compound to create a smoother surface.
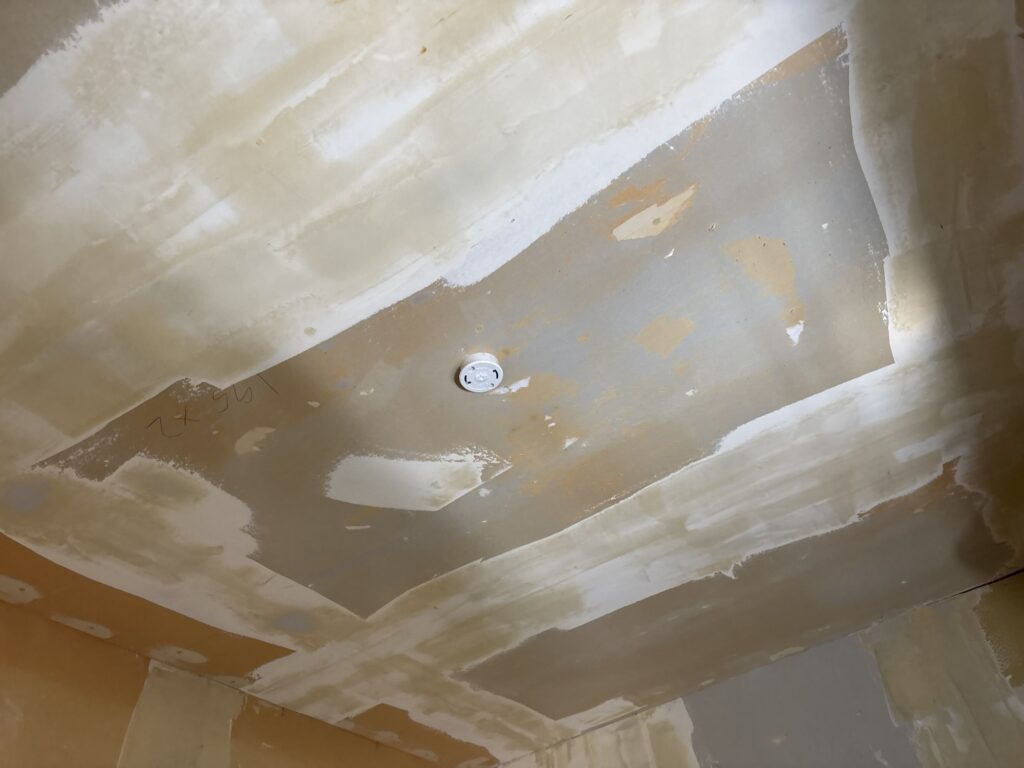
While the finishing compound was drying, I measured the ceiling and walls and prepared the wallpaper using a wallpaper pasting machine.
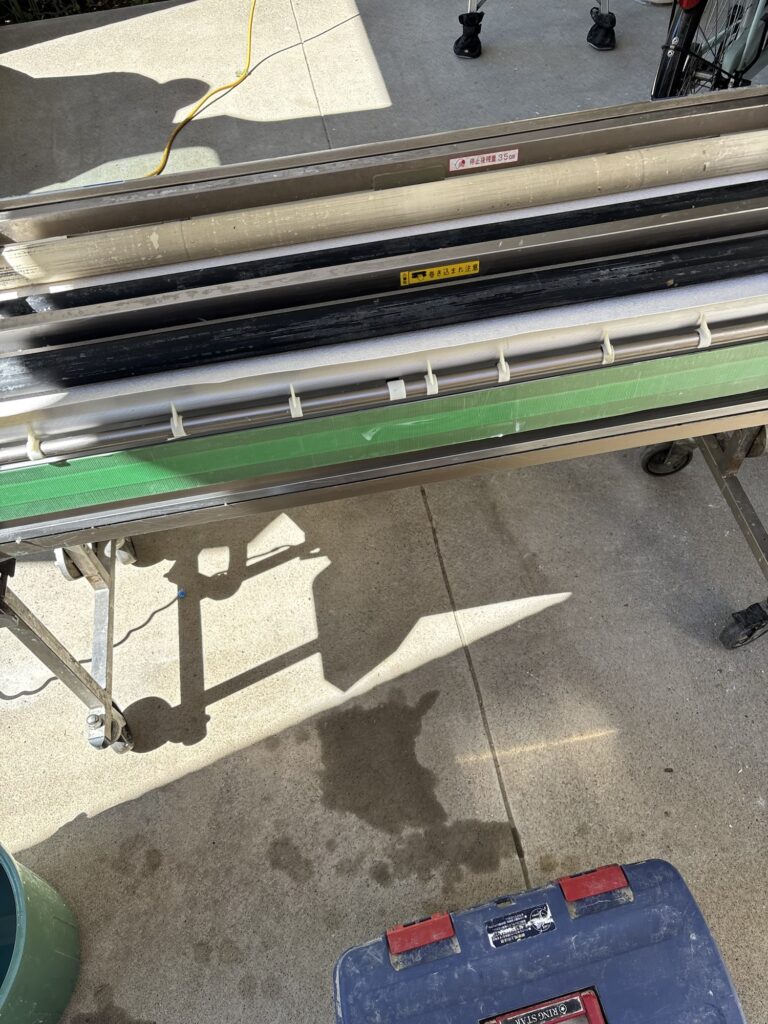
The ceiling required four pieces of wallpaper.
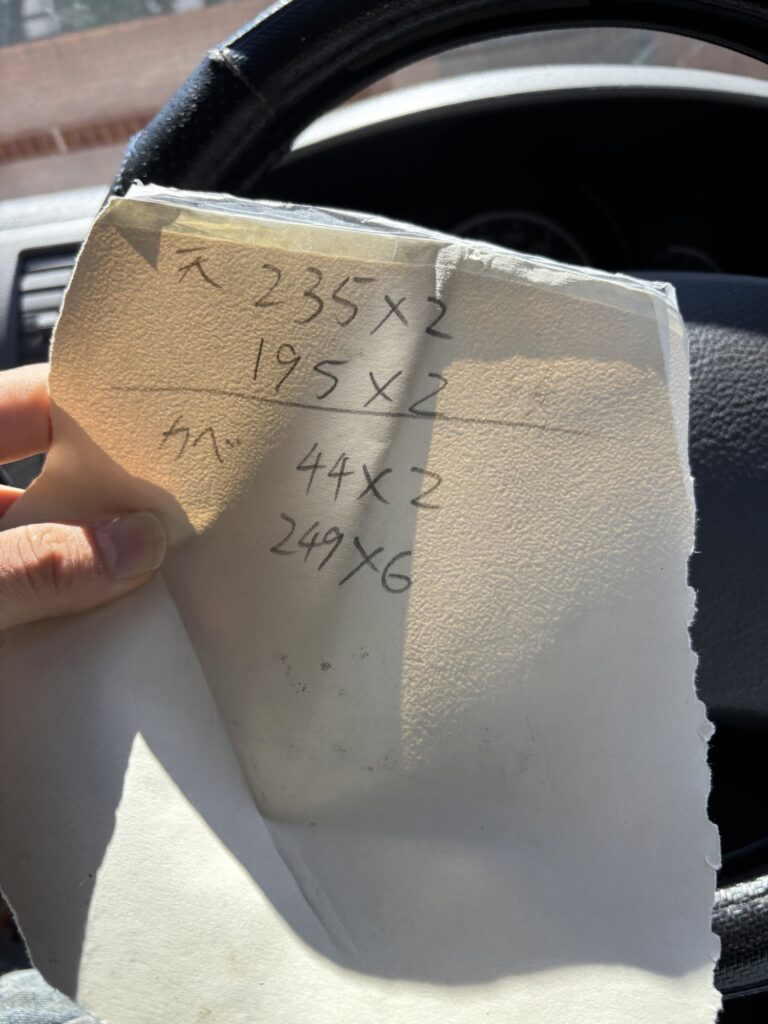
Two pieces were 235 cm long, and two pieces were 195 cm long.
The walls required eight pieces.
Two pieces were 44 cm long, and six pieces were 249 cm long.
All of the wallpaper was 90 cm wide.
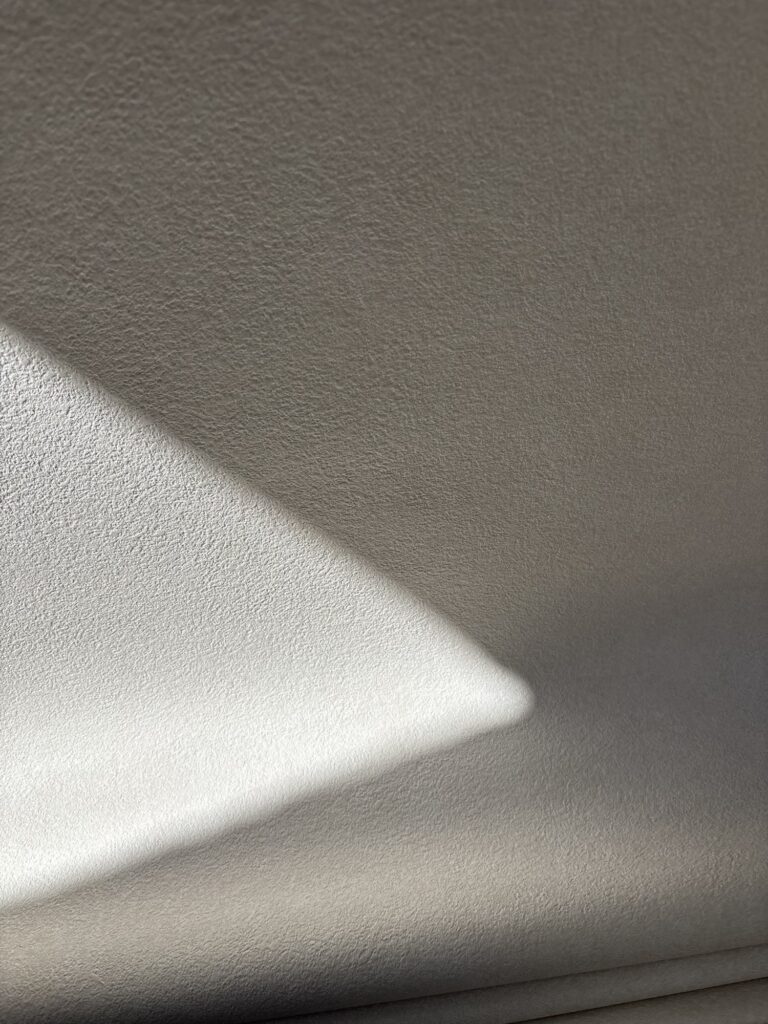
The material was a thick, slightly colored wallpaper commonly used for renovation and restoration work.
Planning the Ceiling Layout
Before installing the ceiling wallpaper, I carefully planned the position of each sheet.
I adjusted the layout to avoid placing joints directly over areas with joint compound.
I also planned the position of the wallpaper joints so that the ceiling sealing line would be positioned in a convenient location.
Because I was going to install the ceiling wallpaper by myself, I marked the starting position with a chalk line.
This gave me a straight reference line and made it easier to install the first sheet accurately.
Installing the Ceiling Wallpaper
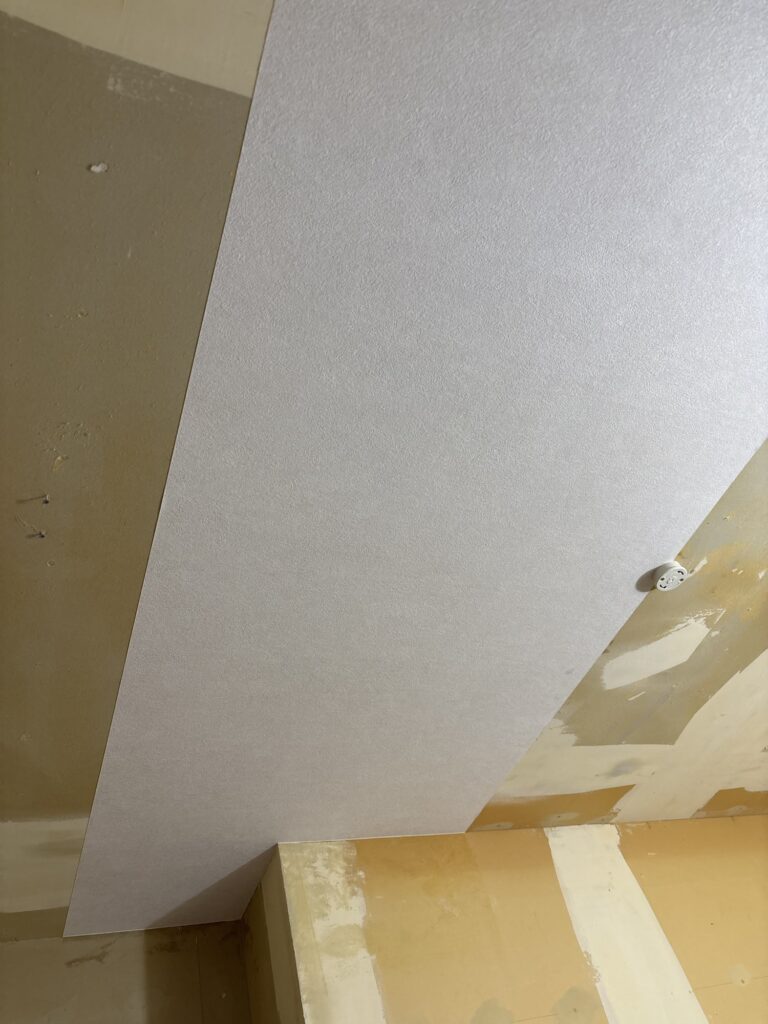
Using the chalk line as a reference, I positioned the first sheet of wallpaper and began smoothing it into place.
I used a wallpaper smoother to push air bubbles from the center toward the edges.
After the wallpaper was properly positioned, I pressed a spatula against the edges and carefully trimmed the excess material with a utility knife.
The first sheet is always the most important part of a wallpaper installation.
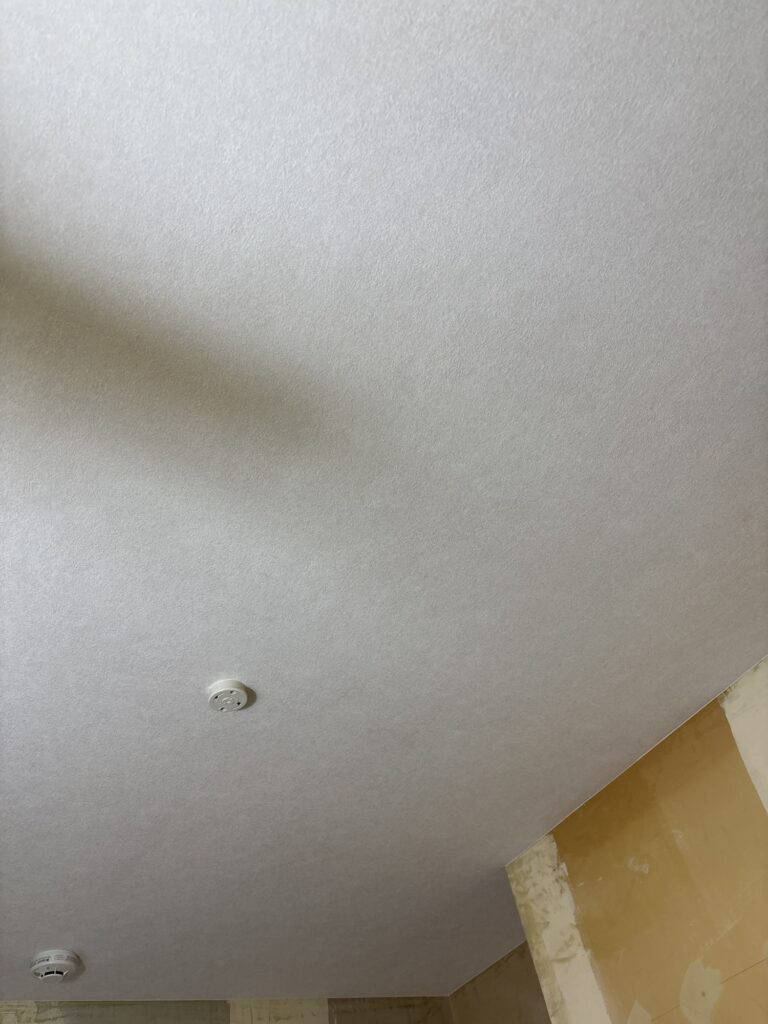
If the first sheet is installed straight, the second and third sheets are much easier to install.
However, if the first sheet is installed at an angle, the problem can become more noticeable as you continue across the ceiling.
For this reason, I always concentrate especially carefully when installing the first sheet.
For the following sheets, I aligned the joints carefully and used a seam roller to bring the two edges together.
One important point is that a joint can sometimes open slightly after it initially looks perfect.
I have experienced this many times, so I check the joints repeatedly during the installation.
I usually check them four or five times while working rather than assuming that the joint will remain closed.
Installing the Wall Wallpaper
After completing the ceiling, we moved on to the walls.
The starting position is also very important when installing wall wallpaper.
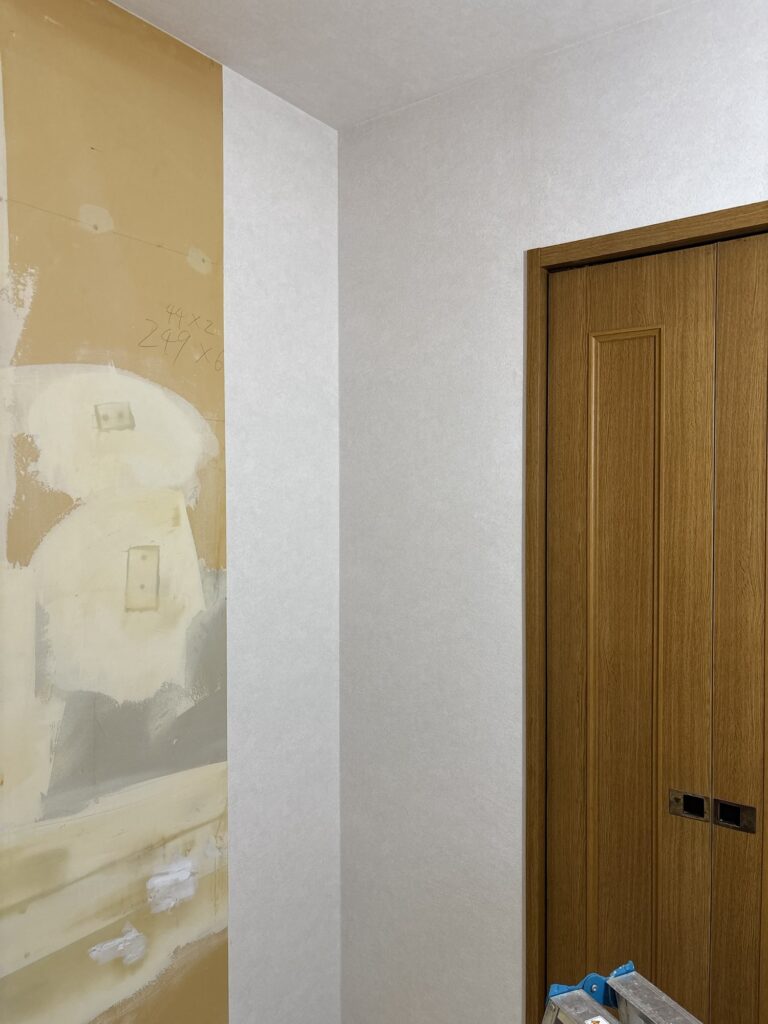
For this project, I started from an inside corner.
In general, wrapping the wallpaper around an inside corner can create a cleaner appearance.
In this case, I was able to position the wallpaper so that the joint compound areas could be avoided, so I marked the starting position with a chalk line and continued from there.
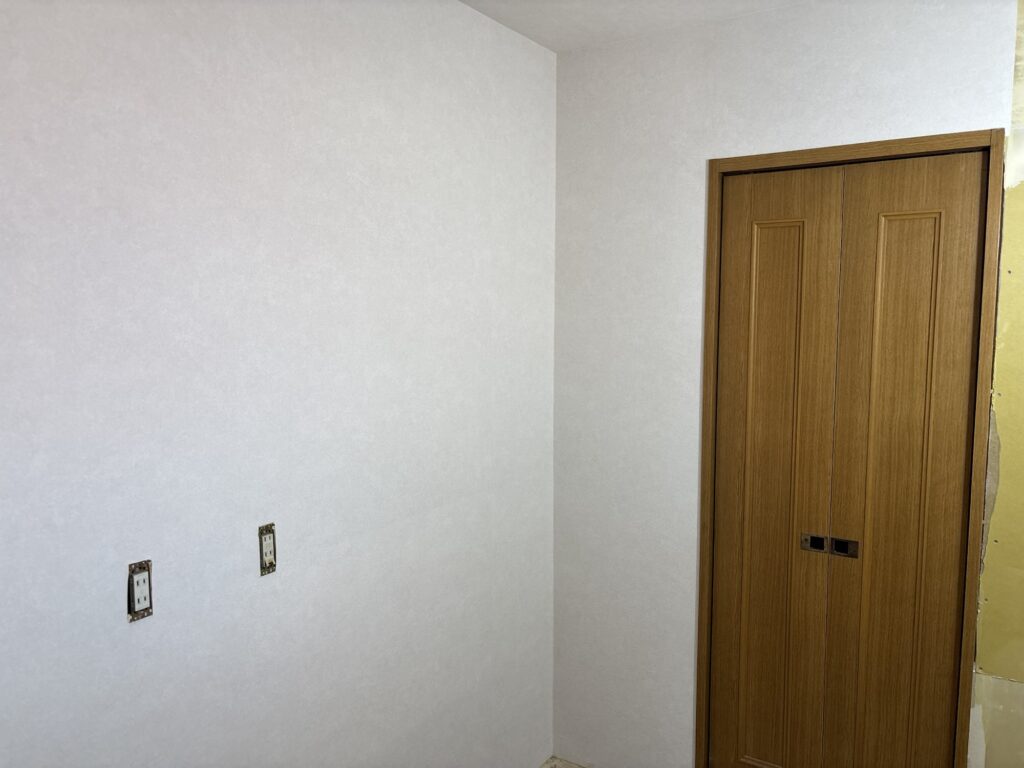
Before installing the wallpaper, I sanded the joint compound to smooth the surface.
However, I discovered that one of the deeper areas had not completely dried.
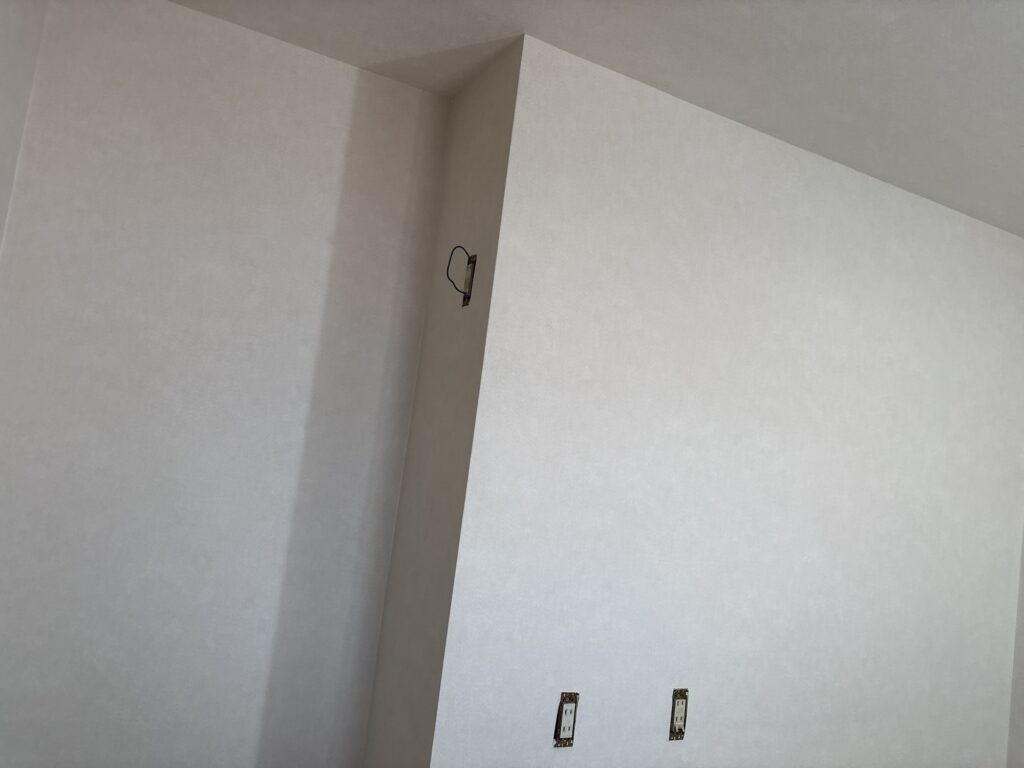
When I sanded it, part of the joint compound became damaged.
I repaired the area with joint compound and used joint sealant to make sure the surface was ready before installing the wallpaper.
Final Installation and Cleanup
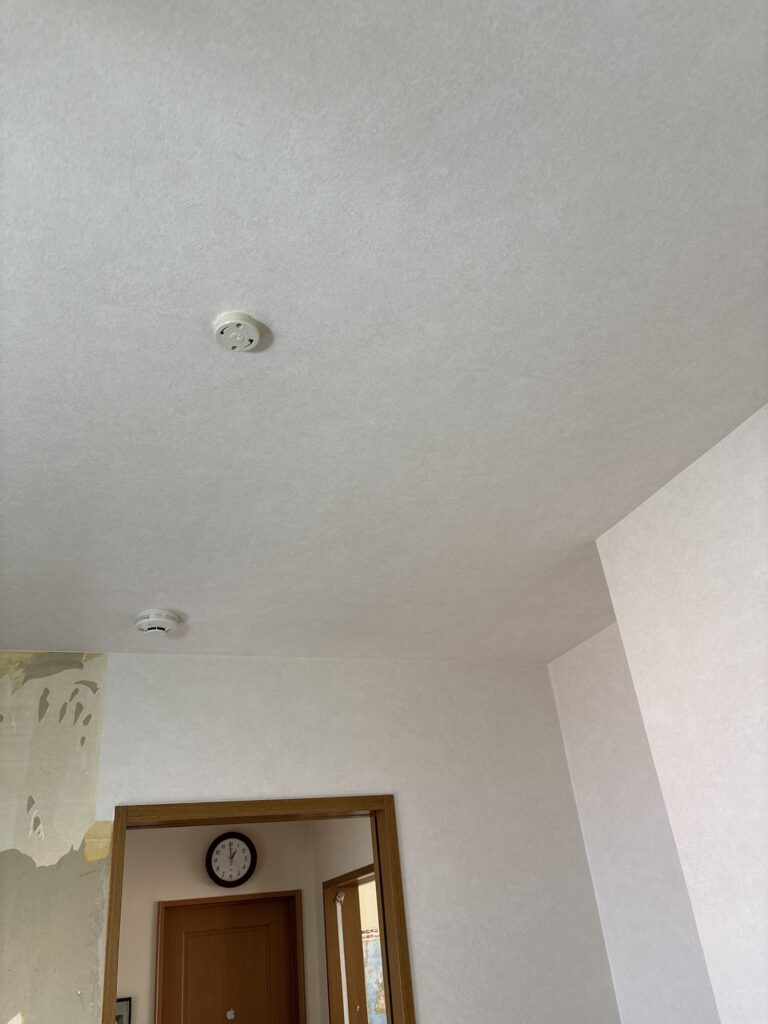
Because we had carefully removed the old backing paper beforehand, the new wallpaper did not show any unwanted bumps or raised areas.
The finished surface looked clean and smooth.
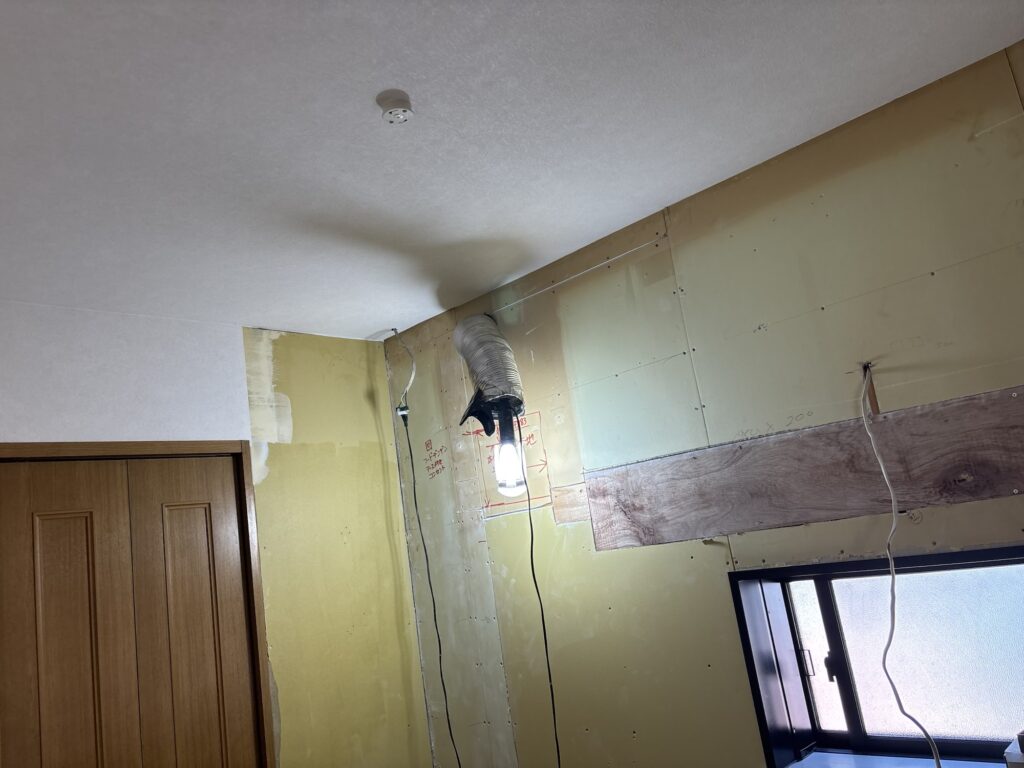
One section of the kitchen wall was going to receive a kitchen panel, so we did not install wallpaper in that area.
After completing the wallpaper installation, we cleaned the work area and organized our tools and materials.
The entire job took approximately three and a half hours.
Related Project
Black Wallpaper Installation in a Lived-In Tokyo Apartment: Kitchen and Living Room
Tools Used
- Wallpaper pasting machine
- Wallpaper smoother
- Utility knife
- Spatula
- Seam roller
- Sander
- Hair dryer
- Chalk line
- Screws
- 12 mm thick wood
- Joint compound
- Joint sealant
Professional Tips
Take Time to Prepare the Surface
The final appearance of wallpaper depends heavily on the condition of the substrate.
Even backing paper that looks firmly attached can sometimes become visible through new wallpaper.
Removing it when possible can prevent problems later.
Use Wood for Large Holes
When repairing a large hole, filling everything with joint compound can take a long time to dry.
Using a suitable piece of wood to close the opening can provide a solid base and reduce drying time.
Plan the First Sheet Carefully
The first sheet determines the direction of the following sheets.
Taking a little extra time to mark the starting position can make the rest of the installation much easier.
Check Joints More Than Once
A wallpaper joint can look perfect immediately after installation and then open slightly later.
Checking the joints several times during the installation helps prevent small problems from becoming visible after the job is finished.
Common Mistakes to Avoid
Leaving Loose or Problematic Backing Paper
If the remaining backing paper is loose or uneven, it can cause bumps under the new wallpaper.
Remove it when possible and make the surface smooth before installation.
Starting Without a Reference Line
Starting without checking the first sheet can lead to an angled installation.
A chalk line provides a reliable reference, especially when working alone.
Rushing the First Sheet
The first sheet is the foundation for the rest of the installation.
Taking extra care with the first sheet can save time later.
Sanding Joint Compound Before It Is Fully Dry
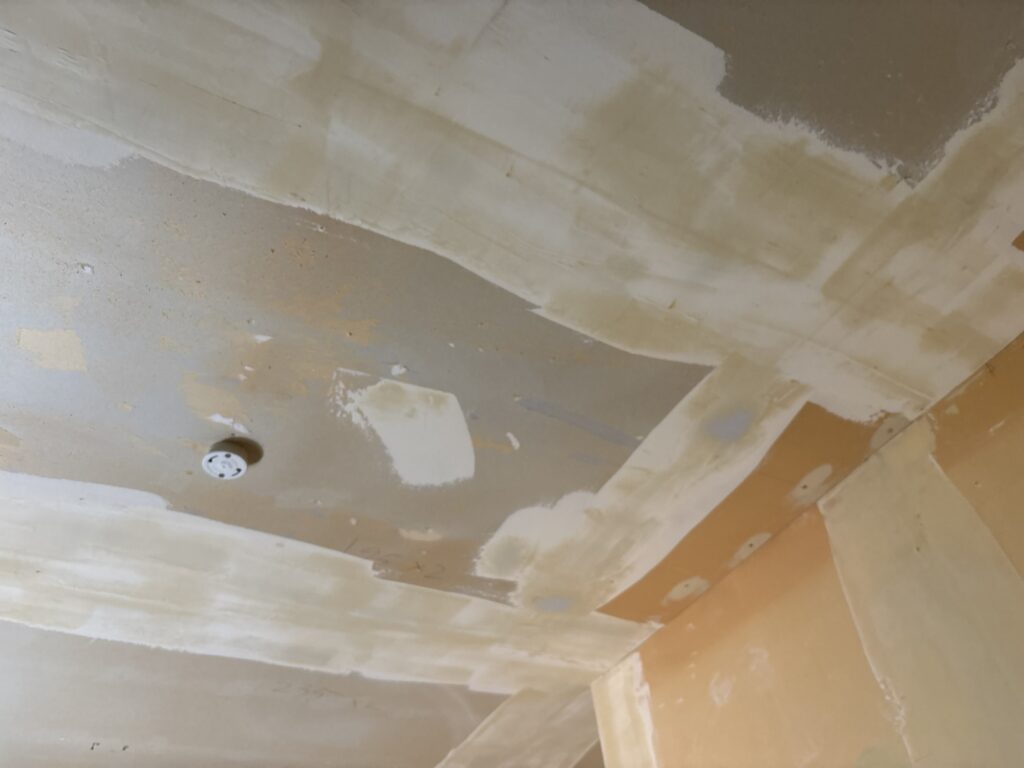
If the compound is still wet inside, sanding can damage the surface and create another repair job.
Deep areas may require additional drying time before sanding.
Checking a Joint Only Once
A joint that looks good immediately after installation may open later.
Check important joints repeatedly while continuing the work.
What I Learned From This Project
This project reminded me that good wallpaper installation starts long before the wallpaper is actually put on the wall.
Surface preparation, layout planning, and careful positioning are just as important as the installation itself.
I also found that spending extra time removing the old backing paper was worthwhile.
Because the backing paper had been removed properly, the new wallpaper had a clean and smooth appearance without unwanted raised areas.
Another important lesson was the value of planning the first sheet.
When working alone, having a clear chalk line made the ceiling installation much easier and helped keep everything straight.
Small preparation steps can make a big difference in the final result.
Related Project
FAQ
1. Why do you remove the old backing paper?
Even backing paper that does not look loose can sometimes become visible under new wallpaper, especially when using thinner materials. Removing it helps create a smoother finished surface.
2. Can you install new wallpaper over old backing paper?
Yes, but the condition of the backing paper is important. If it is firmly attached and smooth, it may be possible to leave it. If it is loose or uneven, it is better to remove it or repair the surface first.
3. Why did you use wood to repair the large hole?
A large hole can be filled with joint compound, but it may take a long time to dry. A piece of wood can provide a solid base and make the repair faster.
4. Why did you apply three coats of joint compound?
Some areas of the wall were deeper than others. Multiple coats were necessary to gradually build up the surface and create a smooth base for the wallpaper.
5. Why is the first sheet of wallpaper so important?
The first sheet establishes the direction for the following sheets. If it is straight, the rest of the installation becomes much easier.
6. Why did you use a chalk line?
A chalk line provides a straight reference point. It is especially useful when installing a large sheet of wallpaper by yourself.
7. Why do you check wallpaper joints several times?
Wallpaper joints can sometimes open slightly after they initially look finished. Rechecking them during the installation helps catch problems before the job is completed.
8. Why didn’t you install wallpaper on part of the kitchen wall?
That section was going to receive a kitchen panel, so installing wallpaper there was unnecessary.
9. How long did this kitchen wallpaper job take?
The entire project took approximately three and a half hours with two workers.
10. What type of wallpaper was used?
We used a thick, slightly colored wallpaper that is commonly suitable for renovation and restoration work.
Conclusion
This kitchen wallpaper replacement was completed in approximately three and a half hours with two workers.
Although the actual wallpaper installation was relatively quick, careful surface preparation was essential to achieving a clean result.
Removing the old backing paper, repairing damaged areas, planning the layout, and carefully installing the first sheet all contributed to the final finish.
For me, wallpaper installation is not just about putting wallpaper on a wall. Good preparation and careful attention to small details are what make the finished work look professional.


Comments