

Project Type: Ceiling and Wall Wallpaper Replacement
Location: 5th Floor Apartment, Japan
Work Area: Living Room and Hallway
Crew: 2 Wallpaper Installers and 1 Site Supervisor
Working Time: 7 Hours
Project Details: Removal of old wallpaper, surface preparation, joint repairs, and installation of new wallpaper following water damage from the apartment above.
Introduction
Today, we worked on a wallpaper replacement project in a fifth-floor apartment in Japan.
The project involved replacing the ceiling wallpaper in the living room and hallway, as well as some sections of wall wallpaper.
The apartment had suffered water damage caused by a leak from the sixth-floor unit above. As a result, some sections of the ceiling and wall plasterboard had already been replaced.
Two wallpaper installers and one site supervisor worked together on this project.
Our main tasks were removing the existing wallpaper, preparing the surfaces, repairing imperfections, and installing the new wallpaper.
Although the installation itself took less time than the preparation, proper surface preparation was especially important for achieving a clean and professional finish.
Related Project
Ceiling and Wall Wallpaper Replacement in an Occupied-Ready Apartment in Japan
Job Site Report: Step-by-Step Workflow
1. Removing the Old Wallpaper
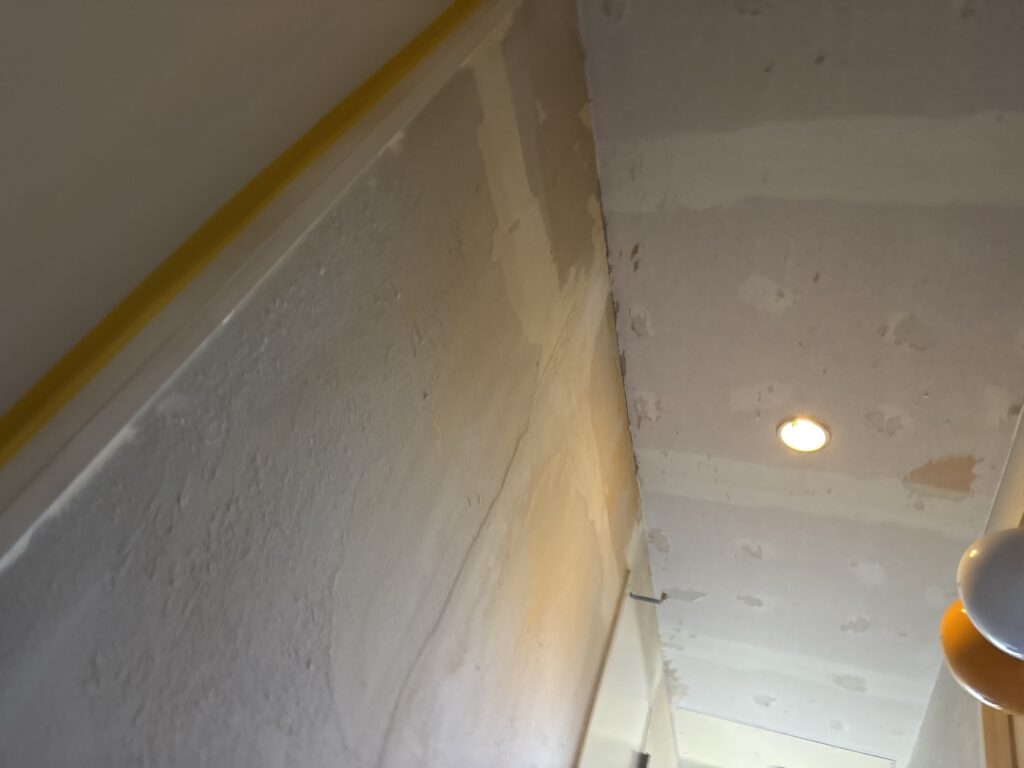
We started by removing the existing wallpaper from the ceilings and walls.
One installer worked in the living room, while I was responsible for removing the wallpaper in the hallway.
The hallway substrate was slightly deteriorated, and some of the backing paper from the old wallpaper had become loose.
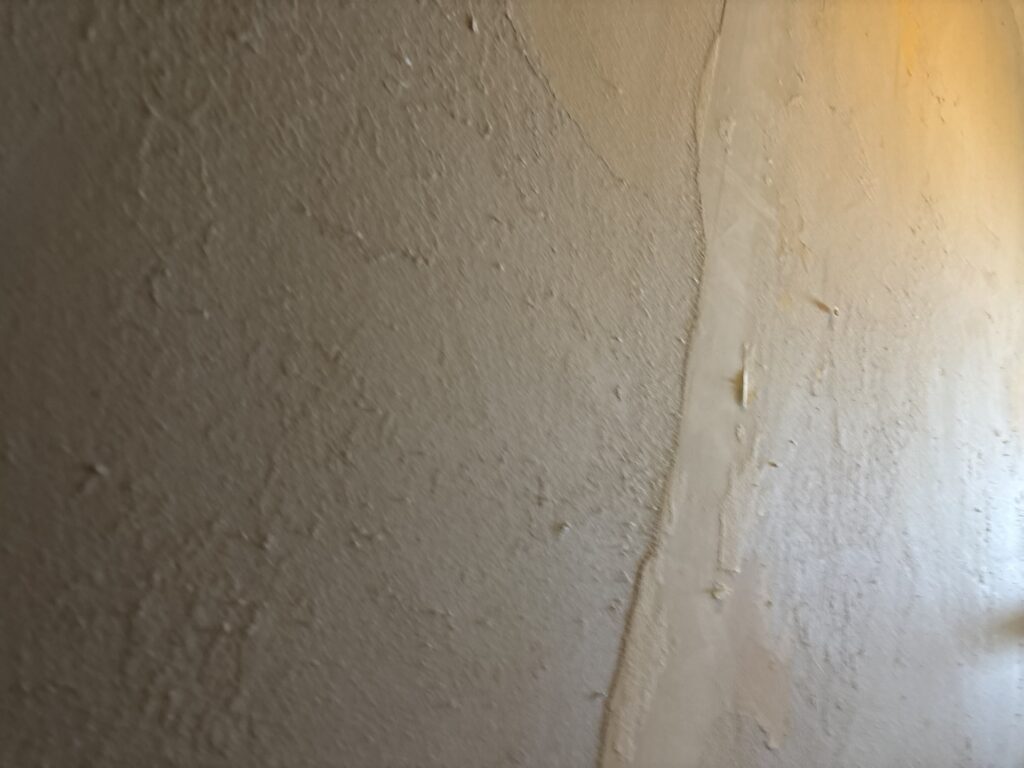
I removed as much of the loose backing paper as possible.
After removing most of it, I used a putty knife to scrape the entire surface and carefully remove the remaining small pieces of backing paper.
I then used a power sander to smooth the surface.
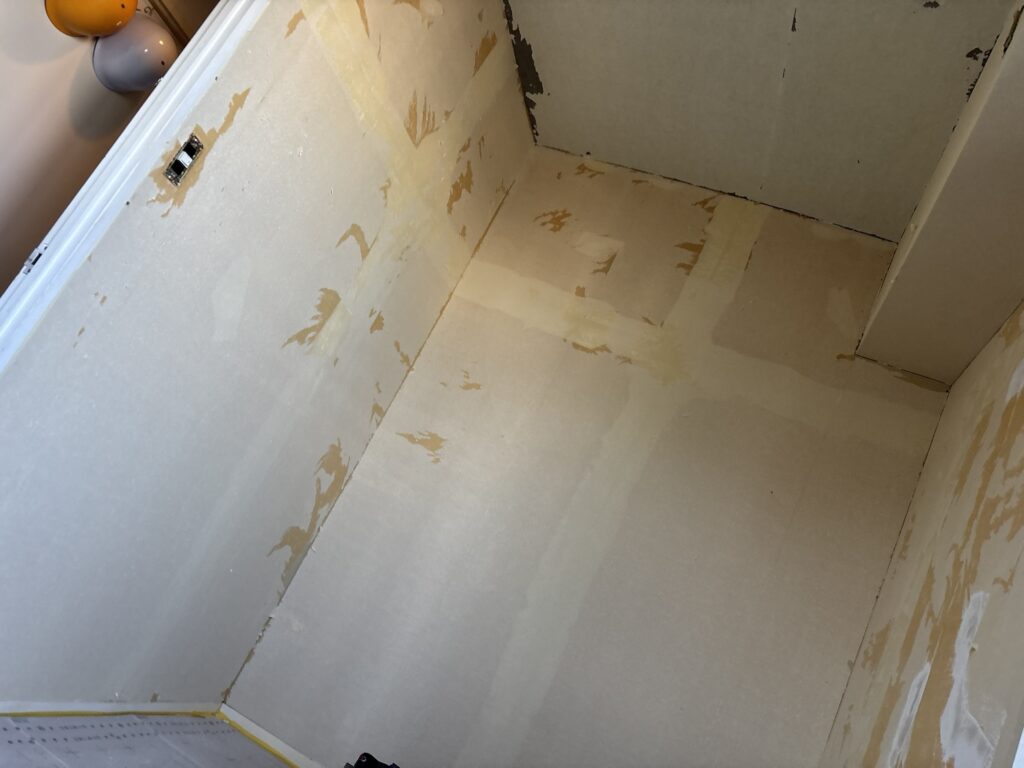
Sanding before applying filler helps reduce uneven areas and minimizes the amount of filler needed later.
2. Checking the Plasterboard Joints
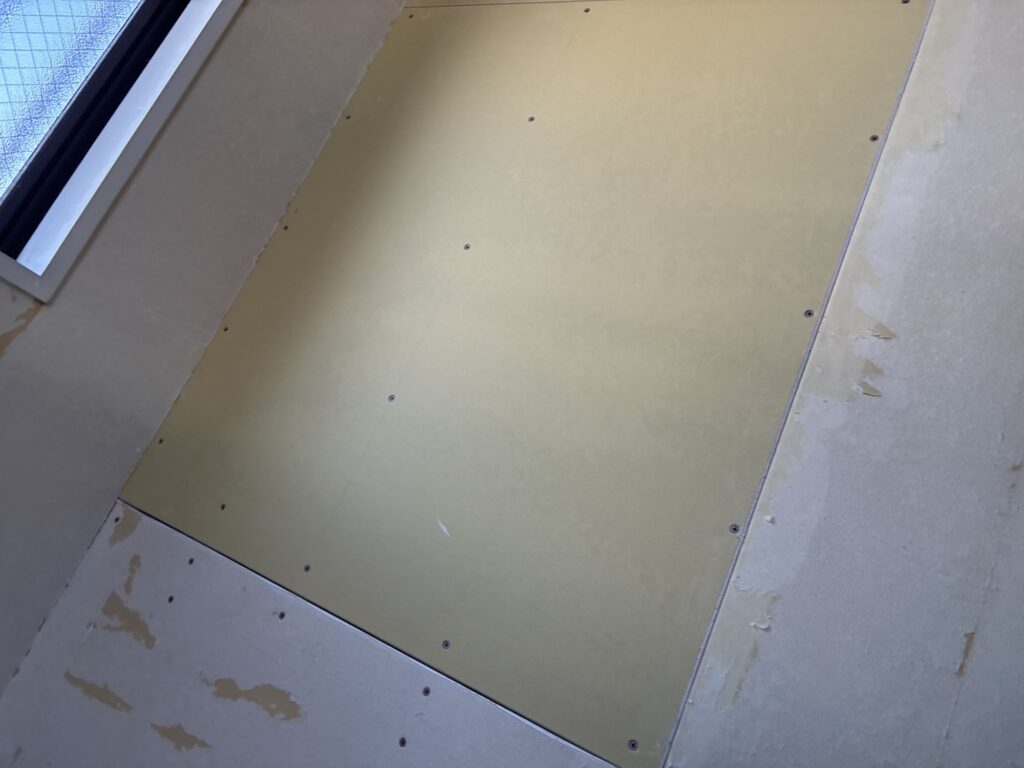
After preparing the surface, I applied the first coat of base filler to the newly installed plasterboard sections.
However, I noticed that one of the plasterboard joints was moving.
After checking the area, I discovered that there was no timber backing behind the joint to support the edges of the plasterboard.
If we had continued applying filler and installed the wallpaper without fixing this problem, the joint could have moved later and caused cracks in the filler.
This would also have affected the final wallpaper finish.
I reported the problem to the site supervisor and asked him to repair it.
He removed the plasterboard, installed additional timber backing, and secured the board properly.
Checking the stability of the substrate before wallpaper installation is essential. Even perfect wallpaper installation cannot compensate for an unstable surface.
3. Applying Base Filler and Finishing Filler
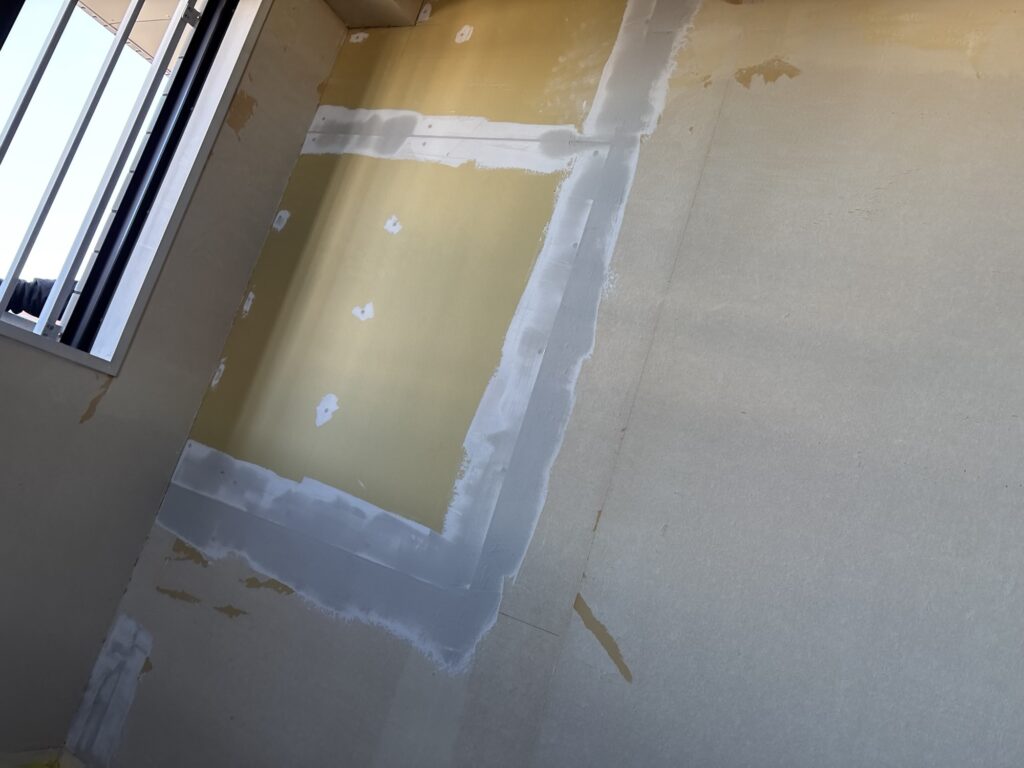
Once the plasterboard joint had been repaired, I continued preparing the surfaces.
I applied the first coat of base filler across the necessary areas.
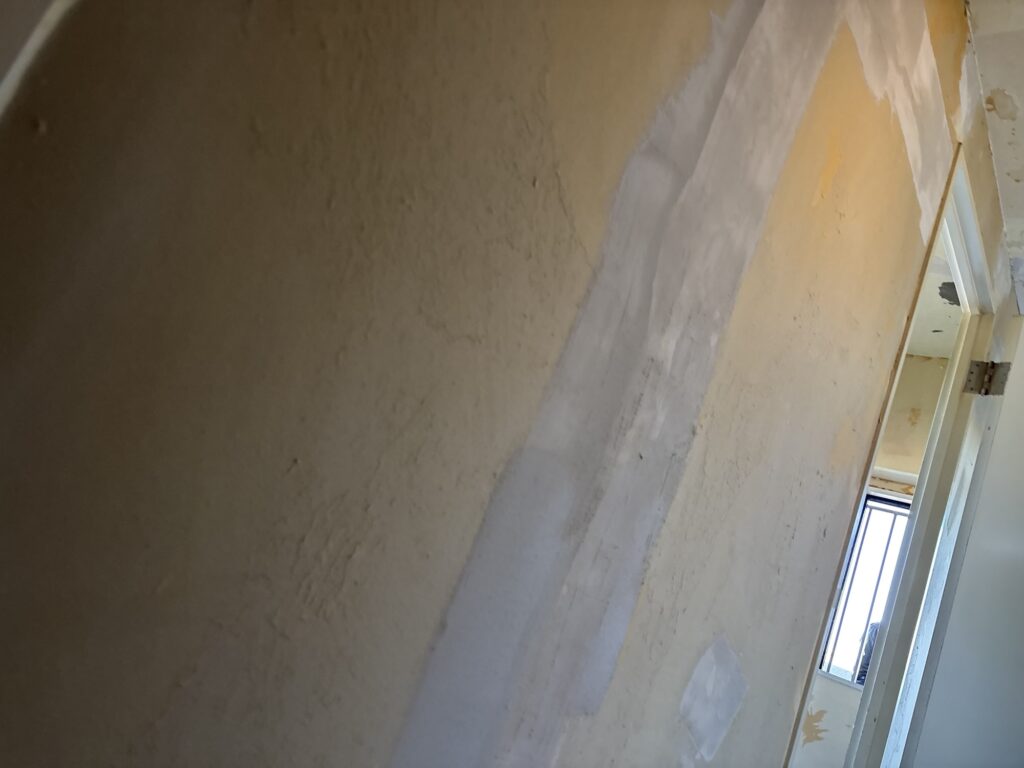
To speed up the drying process, I used a heat gun.
For deeper gaps and uneven areas, I applied a second or even a third coat of base filler where necessary.
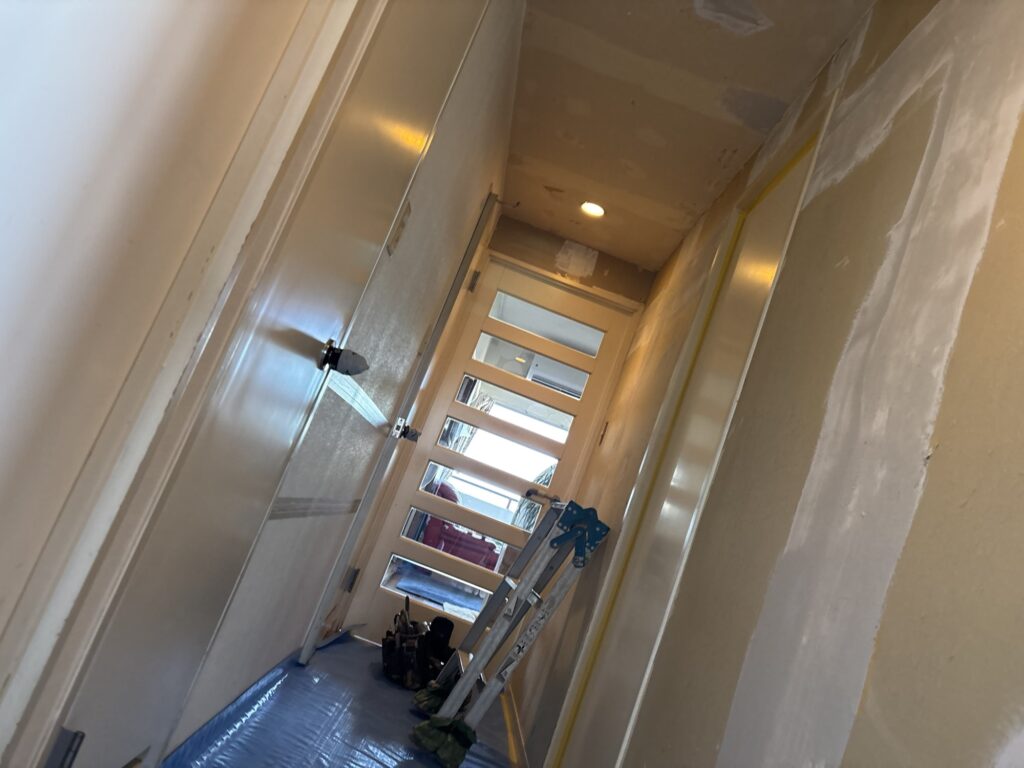
After completing the base repairs, I applied the final finishing coat of filler to create a smooth surface.
At this point, the surface preparation was complete.
4. Measuring and Preparing the Wallpaper
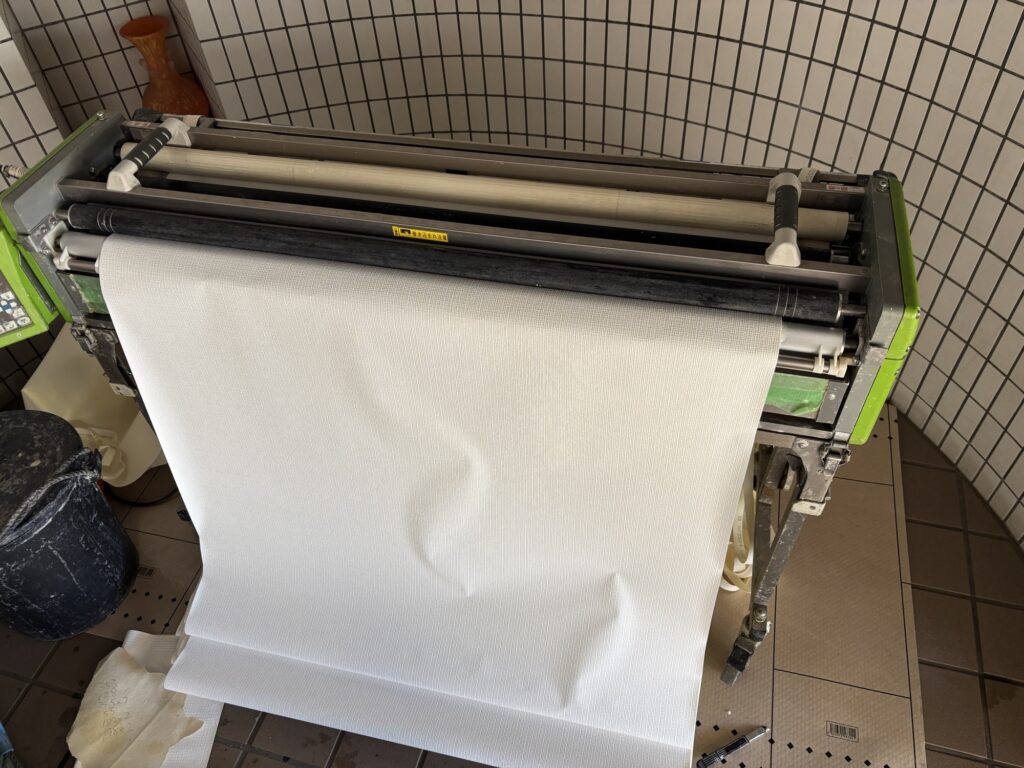
While the filler was drying, we measured the ceilings and walls and prepared the wallpaper using a wallpaper pasting machine.
The measurements were as follows:
Ceilings:
- Hallway: 635 cm in length
- Living room: 385 cm × 2 strips
Hallway Walls:
- 213 cm × 5 strips
- 223 cm × 1 strip
- Several additional pieces with different measurements
We used different wallpaper materials for the ceilings and walls.
The ceiling wallpaper had a white stone-textured pattern.
The wall wallpaper was a light-colored material with a subtle grid pattern.
Keeping the materials organized and cutting them to the correct lengths helped us work efficiently during installation.
5. Installing the Ceiling Wallpaper
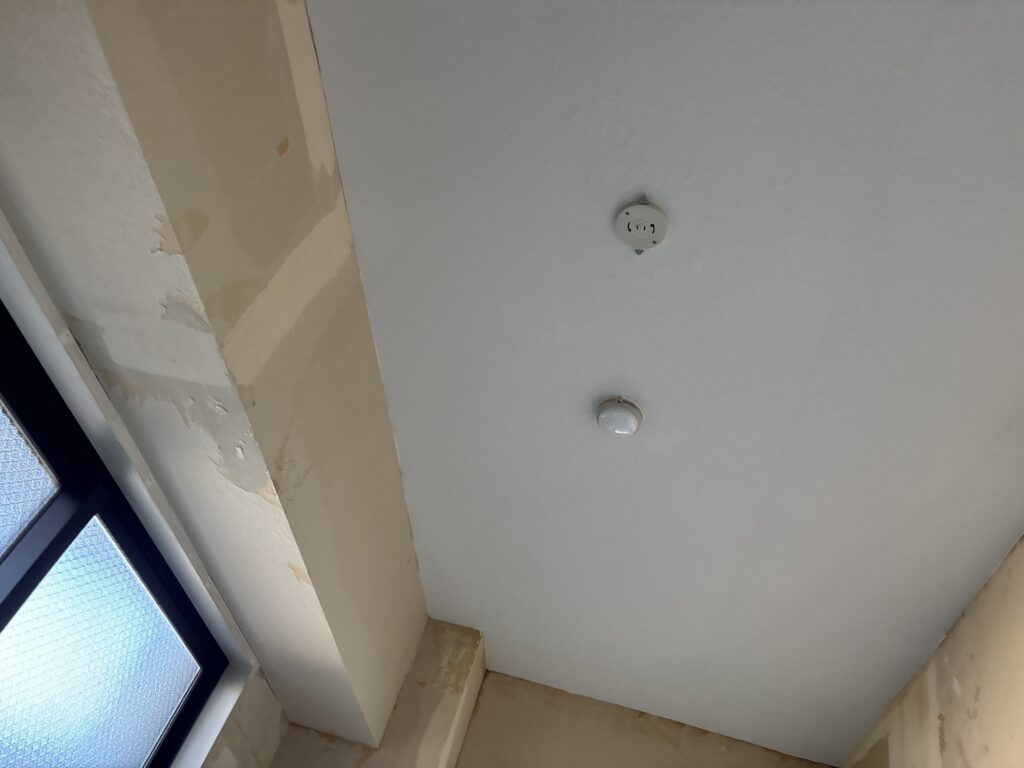
We started installing the wallpaper from the living room ceiling, working together as a team.
After positioning each strip, we used a wallpaper smoothing tool to push air bubbles from the center toward the edges.
This technique helps prevent trapped air and creates a smooth finish.
There was a fire alarm installed in the ceiling that could not be removed.
We carefully made a cut in the wallpaper to fit around the fire alarm, passed the material around it, and trimmed away the excess.
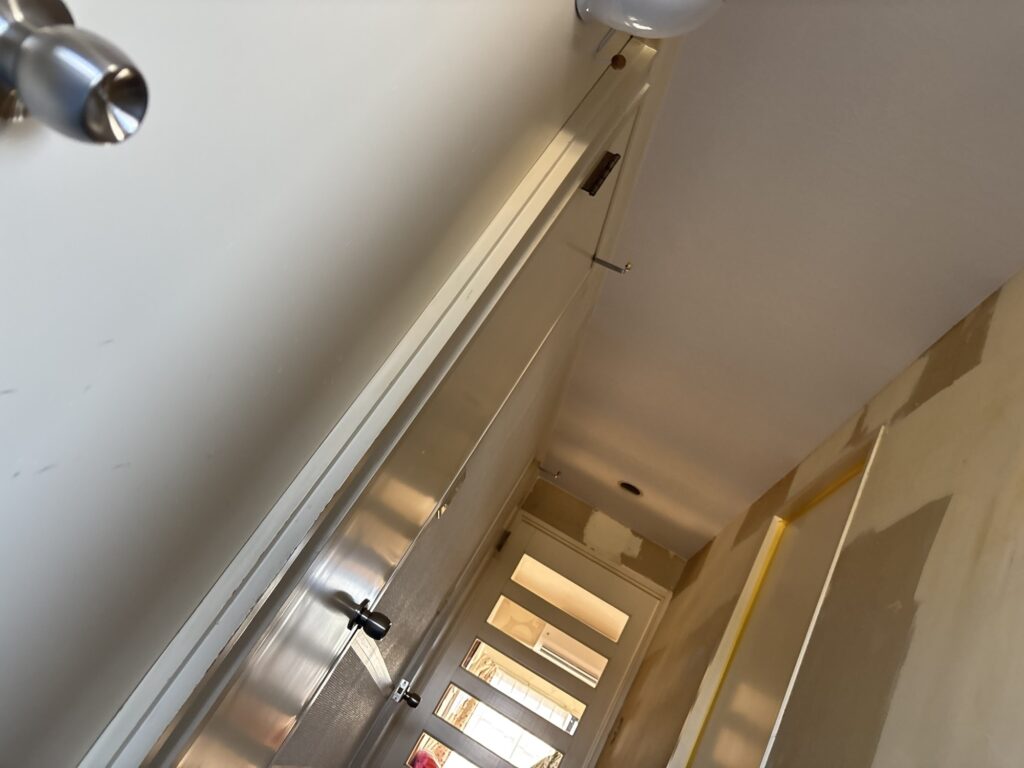
The hallway ceiling was particularly long, measuring 635 cm.
When installing such a long strip, it is important to keep the wallpaper straight and prevent it from becoming twisted or wrinkled.
We carefully aligned the material and continued smoothing it across the ceiling.
We completed all the ceiling wallpaper installation in approximately 40 minutes.
6. Installing the Wall Wallpaper
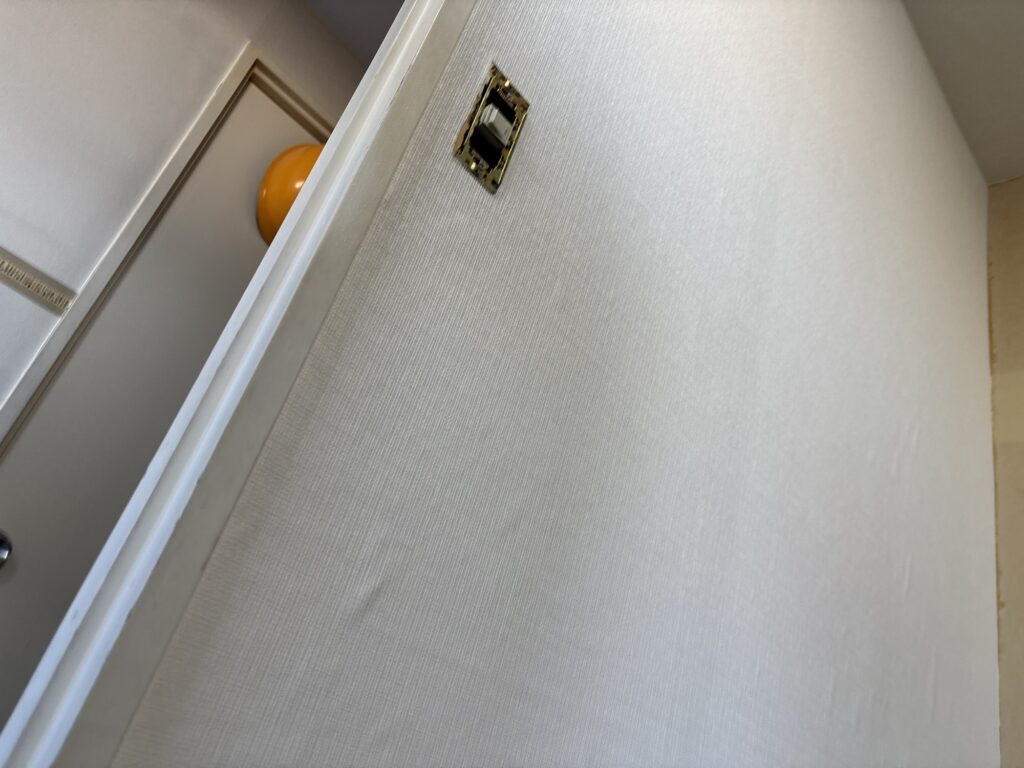
After finishing the ceilings, we moved on to the wall wallpaper.
The wall material was relatively thin, which meant that imperfections in the underlying surface could easily show through.
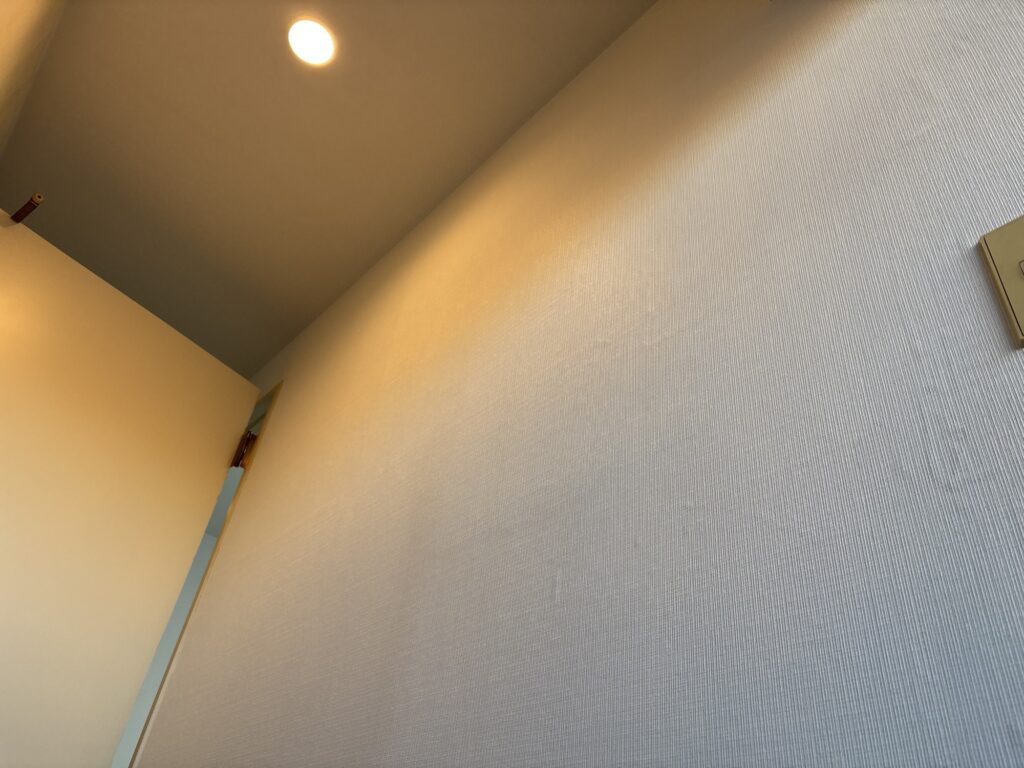
Because of this, careful surface preparation was especially important.
Before installation, I thoroughly sanded the filler and checked the entire surface by running my hand over it.
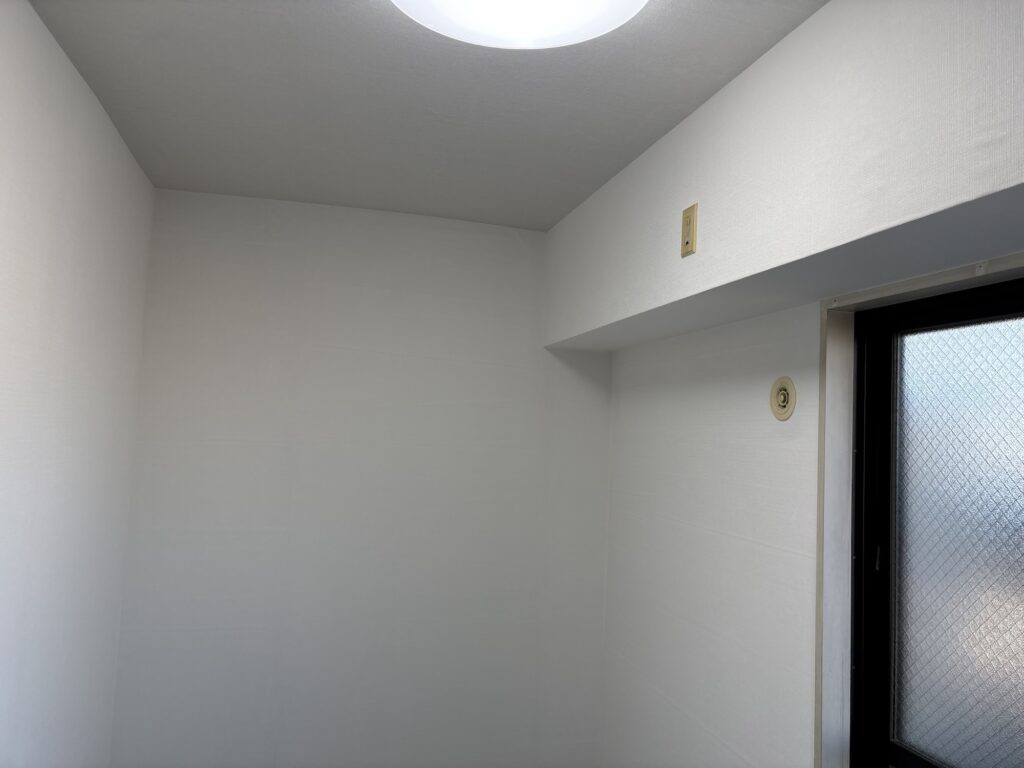
Even a small bump or a single layer of leftover backing paper can become visible through thin wallpaper.
If I felt an area that might show through the finished wallpaper, I applied additional filler and corrected it before proceeding.
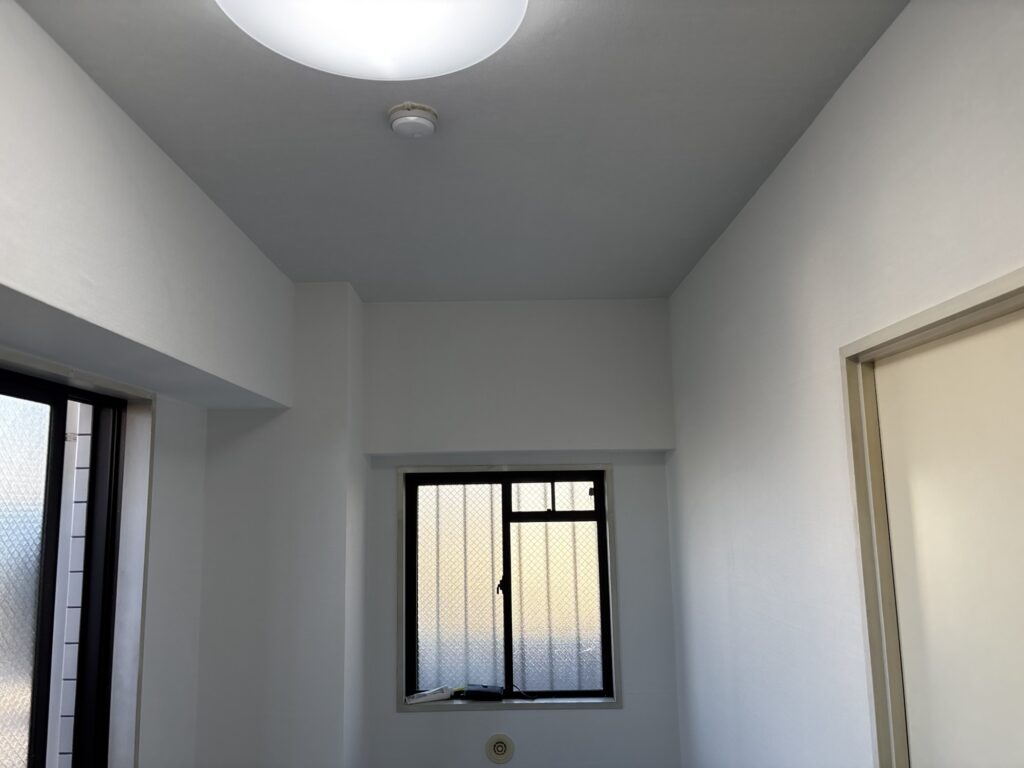
For minor imperfections, I sometimes use caulking compound or a suitable lightweight filler before installing the wallpaper.
Thin wallpaper requires extra care because the final appearance depends heavily on the quality of the substrate.
7. Final Inspection and Cleanup
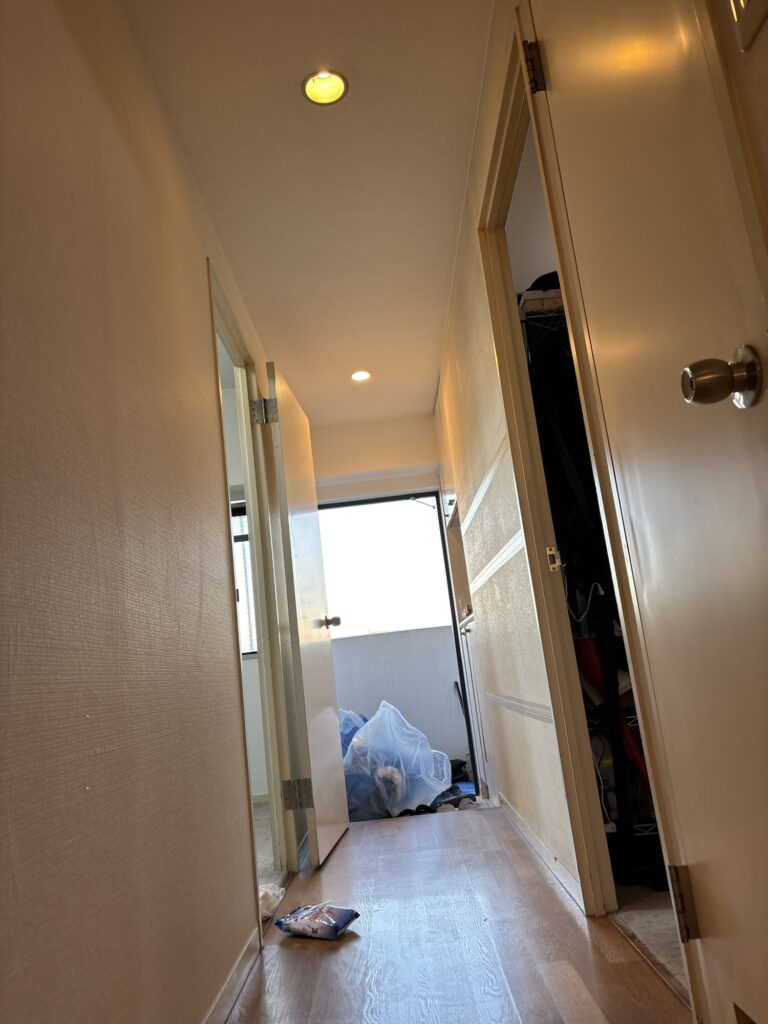
After installing all the ceiling and wall wallpaper, we checked the finished surfaces.
We made sure the wallpaper was properly smoothed and that there were no obvious bubbles, wrinkles, or visible imperfections.
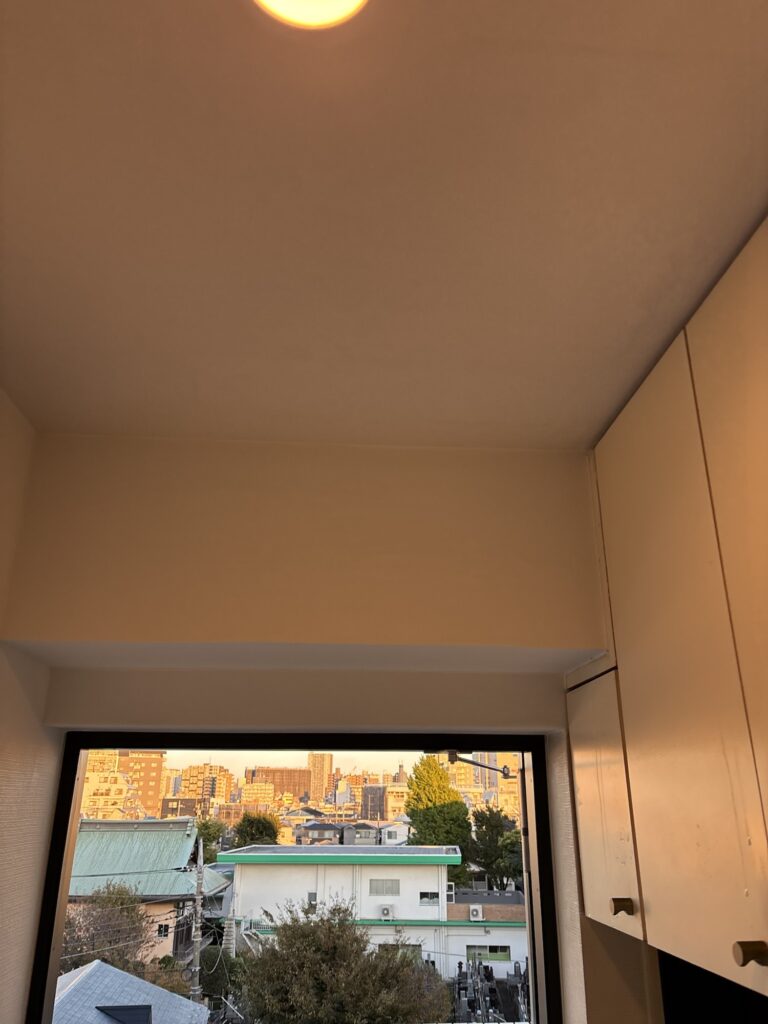
Finally, we cleaned the work area and completed the project.
The total working time was approximately seven hours.
Related Project
Water-Damaged Ceiling Board Replacement and Navy Wallpaper Installation in a 20 m² Apartment
Tools Used
The following tools and materials were used during this project:
- Wallpaper stripping tools
- Putty knife
- Power sander
- Sandpaper
- Base filler
- Finishing filler
- Heat gun
- Measuring tape
- Wallpaper pasting machine
- Wallpaper smoothing tool
- Utility knife
- Caulking compound or lightweight filler
- Ceiling and wall wallpaper
Professional Tips
1. Remove Loose Backing Paper Completely
Old wallpaper backing paper can become loose, especially in areas affected by water damage.
If it is left behind, it may cause an uneven finish or affect the adhesion of the new wallpaper.
Remove as much loose material as possible before applying filler.
2. Sand Before Applying Filler
Sanding the substrate before applying filler helps remove small bumps and reduces the amount of filler required.
This makes the surface preparation process more efficient.
3. Always Check Plasterboard Joints
Plasterboard joints must be properly supported.
If there is no timber backing behind a joint, the boards may move and eventually cause cracks in the filler.
Always check the stability of repaired plasterboard before proceeding.
4. Pay Extra Attention When Using Thin Wallpaper
Thin wallpaper makes surface imperfections more noticeable.
Carefully sand the filler and check the surface by hand before installation.
If you find any bumps or uneven areas, correct them before applying the wallpaper.
5. Prepare the Surface Before Focusing on Installation Speed
In my experience, approximately 80% of the quality of wallpaper installation comes from preparation, while the actual installation accounts for the remaining 20%.
Even if the wallpaper is installed carefully, poor surface preparation can ruin the final appearance.
Taking enough time to prepare the substrate is one of the most important parts of professional wallpaper work.
Common Mistakes to Avoid
1. Leaving Loose Backing Paper Behind
Installing new wallpaper over loose backing paper can result in an uneven surface.
Always remove loose material before applying filler.
2. Ignoring Moving Plasterboard Joints
Applying filler over an unstable joint will not solve the underlying problem.
The joint may move again and cause cracks.
Make sure the plasterboard is properly supported before continuing.
3. Applying Too Much Filler
Applying filler without first removing bumps and uneven areas can create unnecessary work.
Sand the surface first and apply filler only where needed.
4. Not Checking the Surface by Hand
Looking at the wall is not always enough to identify small imperfections.
Run your hand over the surface to detect bumps that might become visible after wallpaper installation.
5. Handling Thin Wallpaper Carelessly
Thin wallpaper can easily reveal small imperfections underneath.
Always make sure the surface is smooth and handle the material carefully during installation.
6. Rushing Long Ceiling Strips
Long wallpaper strips can become twisted or wrinkled during installation.
Take your time when positioning the material and keep it properly aligned.
What I Learned From This Project
One important lesson from this project was the importance of checking the plasterboard joints before applying filler.
We discovered that one joint had no timber backing, which could have caused cracks in the finished surface.
By identifying the problem early and asking the site supervisor to correct it, we avoided a potential issue after installation.
I also realized once again how important surface preparation is when working with thin wallpaper.
Even a small amount of unevenness can affect the final appearance.
Wallpaper installation is not simply about sticking wallpaper onto a wall.
It requires careful inspection, proper repairs, accurate measurements, and attention to detail.
I believe that good preparation is the foundation of high-quality wallpaper work.
Frequently Asked Questions (FAQ)
1. Why does wallpaper need to be replaced after water damage?
Water damage can cause wallpaper to peel, stain, or lose adhesion. In some cases, the underlying plasterboard may also need to be replaced.
2. Why is it important to remove old wallpaper backing paper?
Loose backing paper can create an uneven surface and affect the appearance of the new wallpaper. Removing it helps create a better foundation.
3. Why do plasterboard joints need timber backing?
Timber backing supports the edges of plasterboard and helps prevent movement. Without proper support, joints may move and cause cracks in the filler.
4. Why do wallpaper installers use filler?
Filler is used to repair gaps, joints, dents, and other imperfections. It creates a smooth surface before wallpaper installation.
5. Why is sanding necessary before wallpaper installation?
Sanding removes bumps and uneven areas. It helps create a smooth substrate and improves the final appearance.
6. Why is thin wallpaper more difficult to install?
Thin wallpaper can reveal small imperfections underneath. This means the substrate must be prepared more carefully than when using thicker materials.
7. How do you prevent air bubbles when installing wallpaper?
Use a wallpaper smoothing tool to push air bubbles from the center toward the edges. Work carefully to avoid wrinkles and trapped air.
8. How do you install wallpaper around a fire alarm?
When the fire alarm cannot be removed, carefully cut the wallpaper to fit around its shape and trim away the excess material. Always follow the applicable safety requirements and avoid damaging the device.
9. How long did this wallpaper replacement project take?
This project took approximately seven hours, including wallpaper removal, surface preparation, filler application, wallpaper installation, and cleanup.
10. What is the most important part of wallpaper installation?
In my experience, surface preparation is the most important part. A smooth and stable substrate is essential for achieving a clean and professional finish.
Conclusion
Today’s project involved replacing the ceiling and wall wallpaper in a fifth-floor apartment following water damage from the unit above.
We removed the old wallpaper, repaired the substrate, reinforced an unstable plasterboard joint, applied filler, and installed new ceiling and wall wallpaper.
The entire project took approximately seven hours with two wallpaper installers and one site supervisor.
The biggest takeaway was that proper surface preparation is essential for achieving a high-quality finish.
Even experienced wallpaper installers need to pay close attention to small details before applying the wallpaper.
A good finish starts long before the first strip of wallpaper is installed.
Related Project
Replacing Wallpaper, Vinyl Flooring, and Baseboards in an Occupied Laundry Room


Comments