

Project Type: Apartment Interior Renovation
Location: 4th Floor, Apartment Building, Japan
Room Type: 1K Studio Apartment
Floor Area: Approximately 20 m²
Crew: 3 workers
Work Completed: Wallpaper removal, nicotine stain sealing, surface preparation, ceiling and beam wallpaper installation, wall wallpaper installation, old air conditioner removal, and cleanup
Working Time: 7.5 hours
Next Step: Installation of a new air conditioner
Introduction
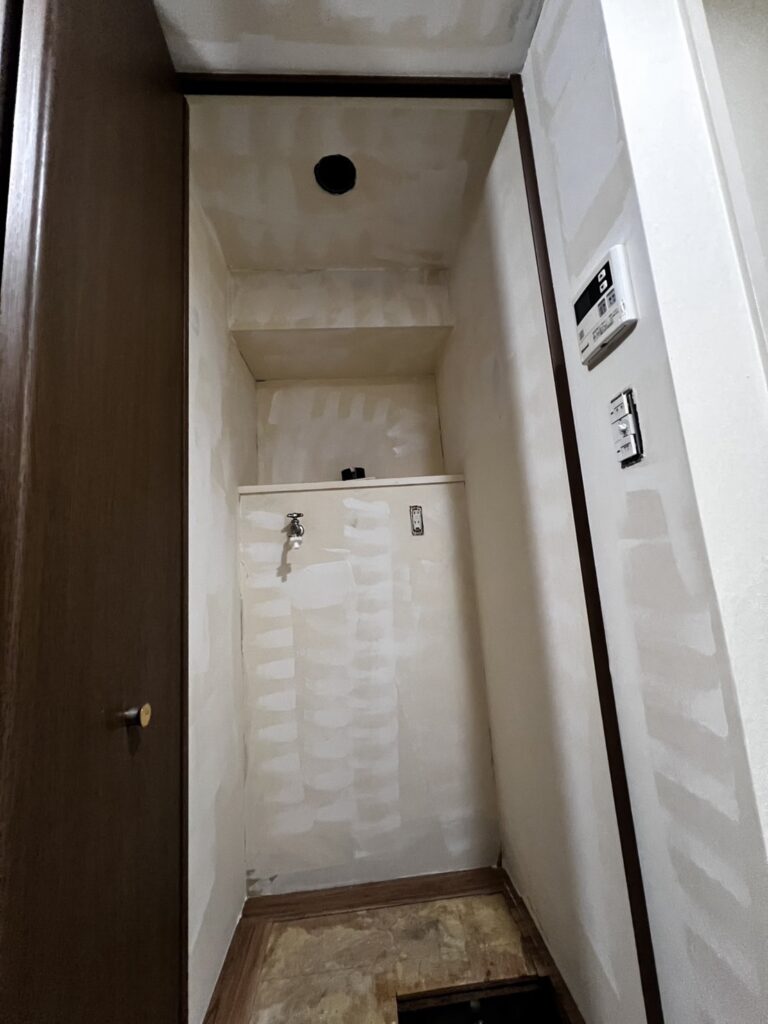
Today, our team worked on the interior renovation of a 20-square-meter apartment on the fourth floor of a condominium building in Japan.
The apartment was vacant, but the previous tenant had been a smoker. Cigarette smoke and nicotine stains had left a strong odor throughout the room, so we needed to take extra steps before installing the new wallpaper.
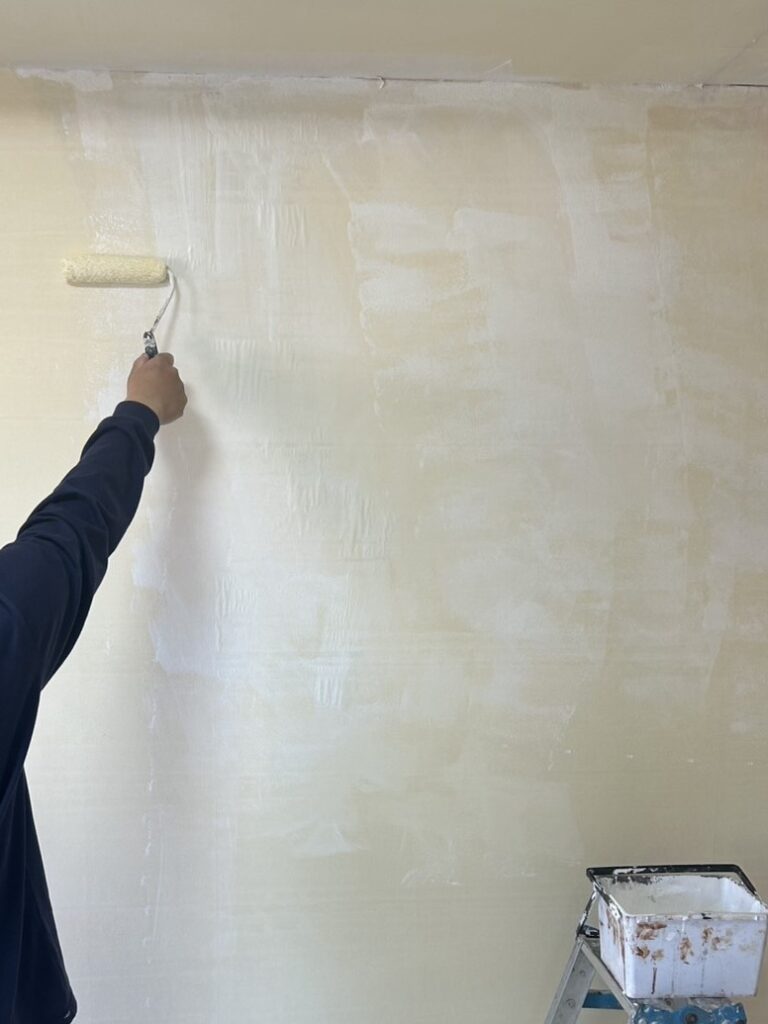
Our team consisted of three workers. The main tasks included removing the old wallpaper, applying a stain-blocking sealer to the walls and ceiling, removing the existing air conditioner, preparing the surfaces, and installing new wallpaper.
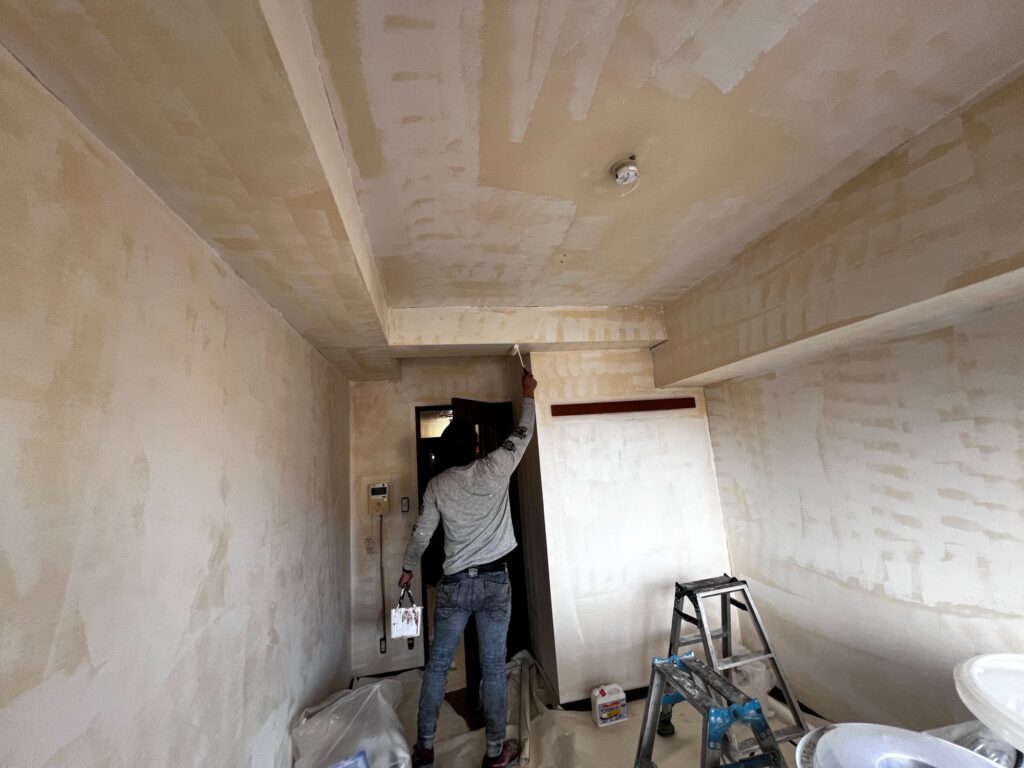
We used thick, heavily embossed wallpaper, which made the installation process relatively straightforward. We completed the wallpaper work and cleanup in seven and a half hours.
A new air conditioner will be installed during a separate visit.
Related Project
Commercial Restoration Work in Japan: Wallpaper Installation and Toilet Tile Replacement
Job Site Report: Step-by-Step Workflow
1. Removing the Old Wallpaper
We started by removing the existing wallpaper from the walls and ceiling.
Because the previous tenant had smoked indoors, the room had a noticeable cigarette smell. Nicotine residue can remain on interior surfaces, so simply covering the old wallpaper with new material would not be enough to address the problem.
After removing the old wallpaper, we prepared the exposed surfaces for the next stage.
2. Applying a Stain-Blocking Sealer
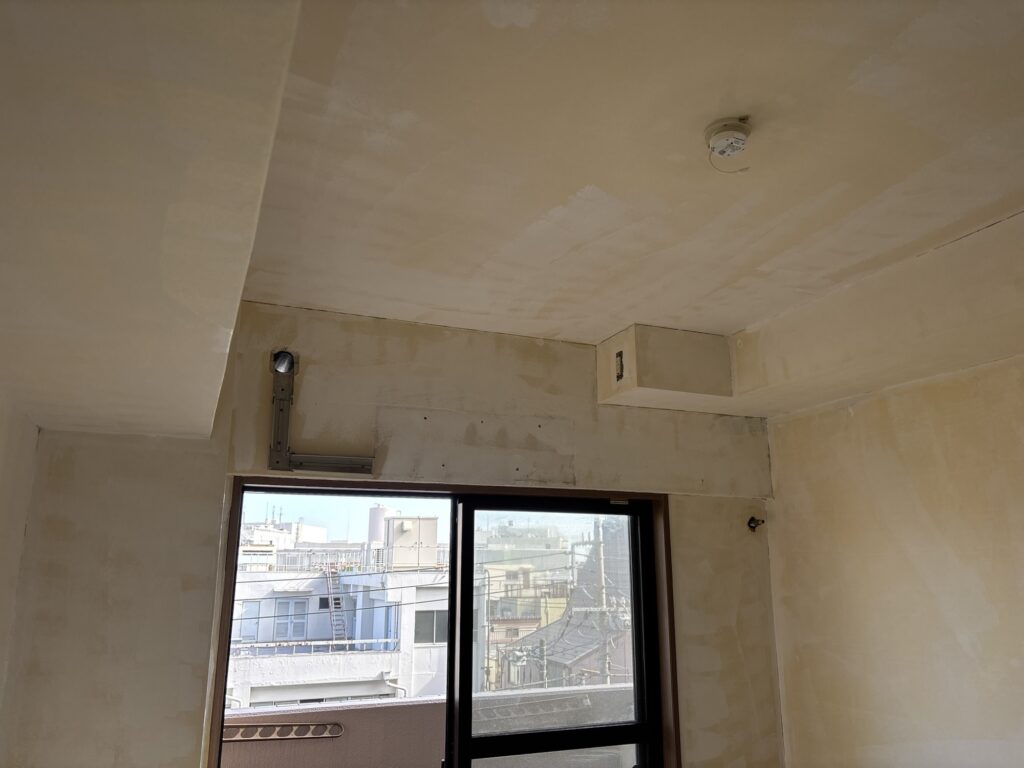
Once the wallpaper had been removed, we applied a stain-blocking sealer to the walls and ceiling.
This product helps prevent stains and nicotine discoloration from bleeding through the new wallpaper. It can also help reduce problems caused by residual contamination on suitable surfaces.
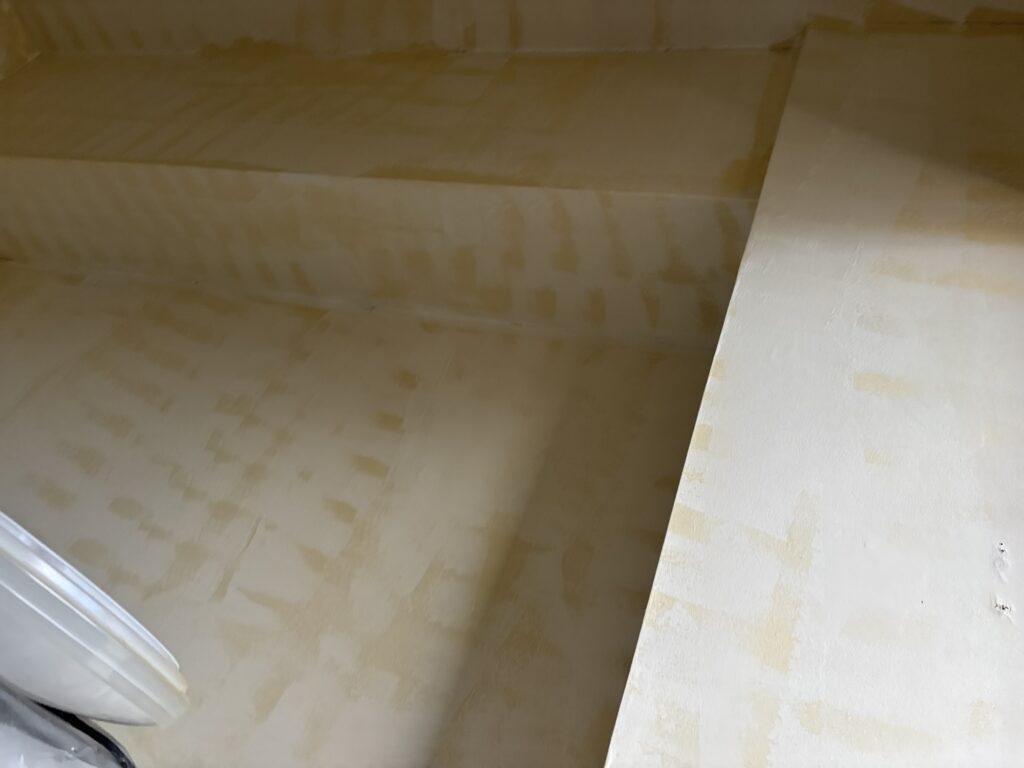
However, a sealer alone does not necessarily eliminate a strong cigarette odor. Thorough cleaning and appropriate treatment of contaminated surfaces may also be necessary.
We also sprayed an alcohol-based cleaning agent onto the doors and other interior fixtures, then wiped them clean.
3. Removing the Old Air Conditioner
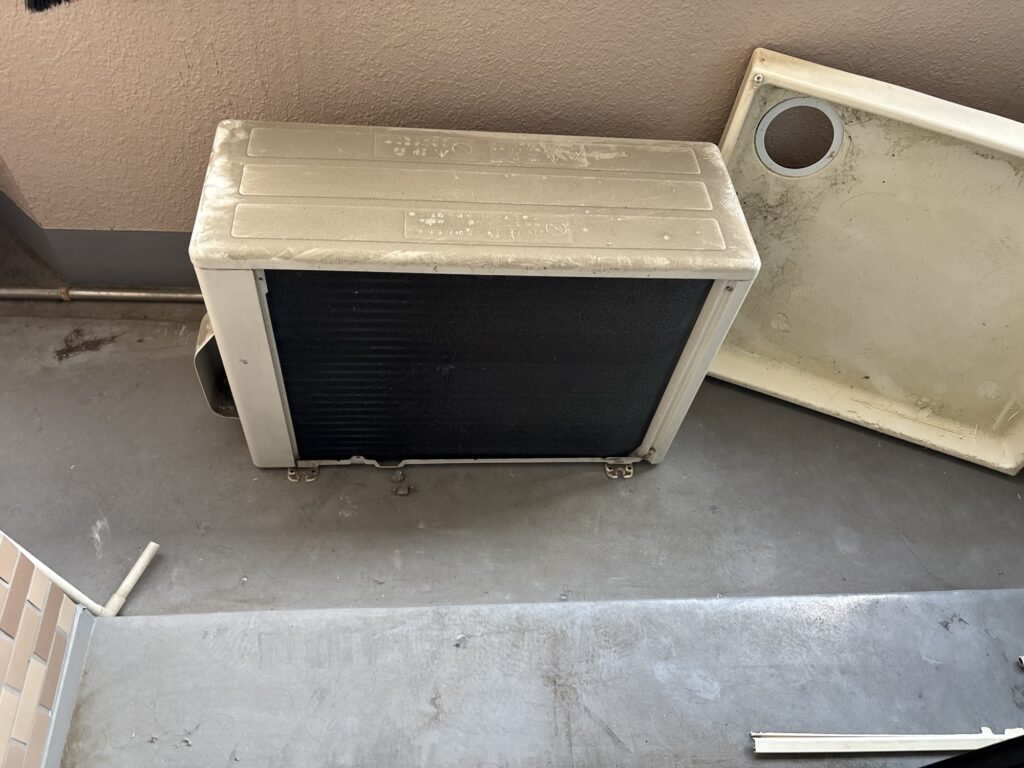
The existing room air conditioner also needed to be removed because a new unit would be installed later.
For this type of air conditioner, refrigerant recovery must be handled correctly before disconnecting the refrigerant lines.
The normal procedure may involve closing the appropriate service valves and operating the unit in cooling mode or a manufacturer-specified forced-cooling mode to recover refrigerant into the outdoor unit. The exact procedure depends on the equipment and its condition.
In this case, we tried to start the unit using the switch on the indoor unit, holding it down for more than ten seconds. However, the air conditioner did not operate.
When an air conditioner will not run, we cannot assume that the refrigerant has already been recovered or that the system is empty. The refrigerant condition must be verified, and recovery should be carried out using the appropriate equipment and procedure.
After addressing the refrigerant safely, we disconnected the electrical supply and removed the wiring, pipes, and indoor unit.
Air conditioner removal involves electrical and refrigerant hazards, so it should be performed by appropriately qualified personnel using the correct procedures.
4. Filling Gaps and Preparing the Surfaces
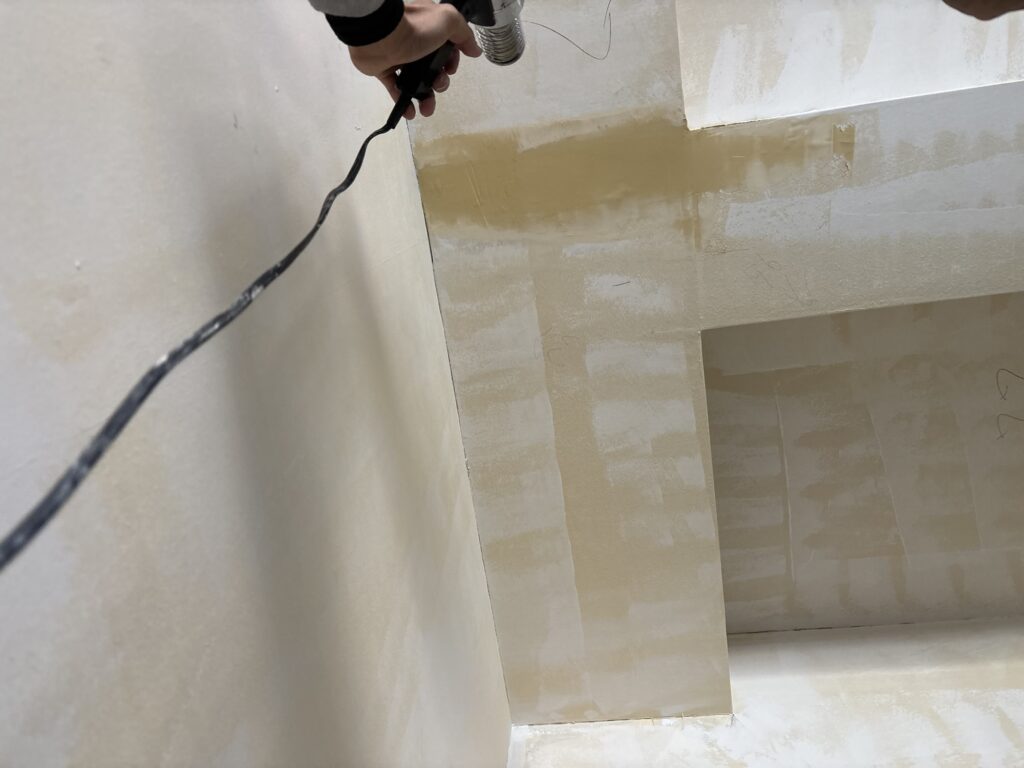
Next, we applied finishing putty to small holes, uneven areas, and places where the surface had noticeable height differences.
Proper surface preparation is important because wallpaper can reveal imperfections in the substrate after installation.
Fortunately, the wallpaper selected for this project was thick and had a pronounced embossed texture. This helped conceal minor surface irregularities, so we did not need to spend as much time achieving an extremely smooth finish as we would with thin, smooth wallpaper.
Even so, the substrate still needed to be sufficiently flat, clean, and dry.
5. Measuring and Cutting the Ceiling Wallpaper
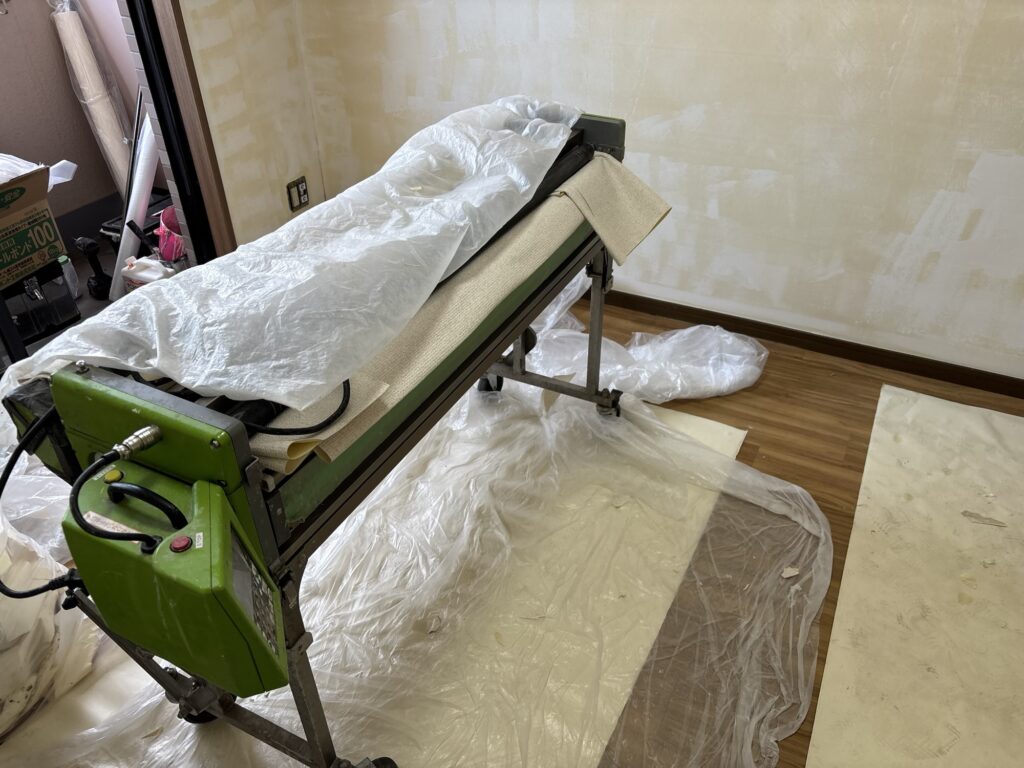
We measured the ceiling and beams before feeding the wallpaper through the wallpaper pasting machine.
For the ceiling, we prepared two strips, each approximately 310 cm long.
The ceiling was 187 cm wide. Instead of cutting off both factory edges of the wallpaper, we left one edge untrimmed on each strip and prepared the material at approximately 94 cm wide.
This allowed us to cover the ceiling with two wider strips rather than preparing three narrower strips.
Japanese wallpaper rolls often have a nominal width of around 92–93 cm after trimming the factory edges. Depending on the material, leaving an edge untrimmed can provide additional usable width.
However, the actual dimensions vary by product, so it is important to check the material before cutting.
We also measured the beams, preparing wallpaper for the longest section of approximately 420 cm and cutting the additional lengths required for the remaining areas.
6. Installing the Ceiling Wallpaper
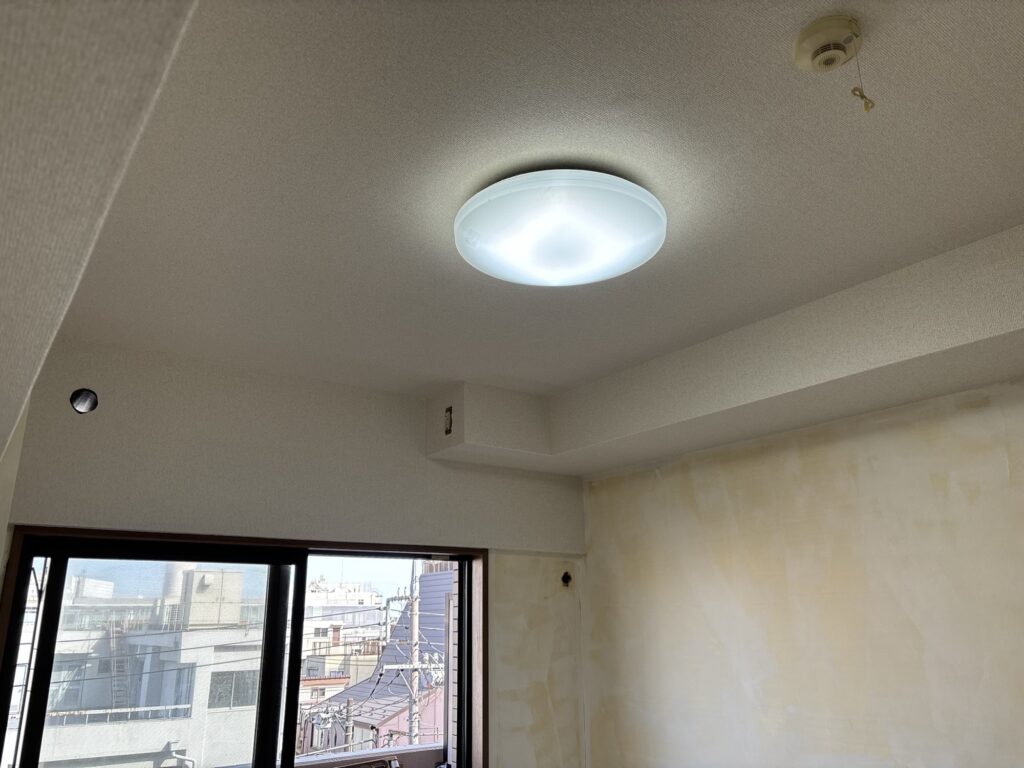
Two workers installed the ceiling wallpaper together.
The material was easy to handle, so we decided to install it without snapping chalk lines. Instead, we carefully controlled the exposed edges and maintained an even position as we worked across the ceiling.
This approach saved time, but it required concentration.
If the first strip gradually drifts out of alignment, the remaining width may not be sufficient to cover the opposite side properly.
For inexperienced installers, I recommend marking reference lines before installation. A little extra preparation can prevent alignment problems later.
After positioning each strip, we pushed air bubbles from the center toward the edges. We then formed the corners using a wallpaper smoother and trimmed the excess material with a taping knife and utility knife.
For the second strip, we aligned the seam carefully before using a seam roller to press the joint together from both sides.
7. Wrapping Wallpaper Around the Beams
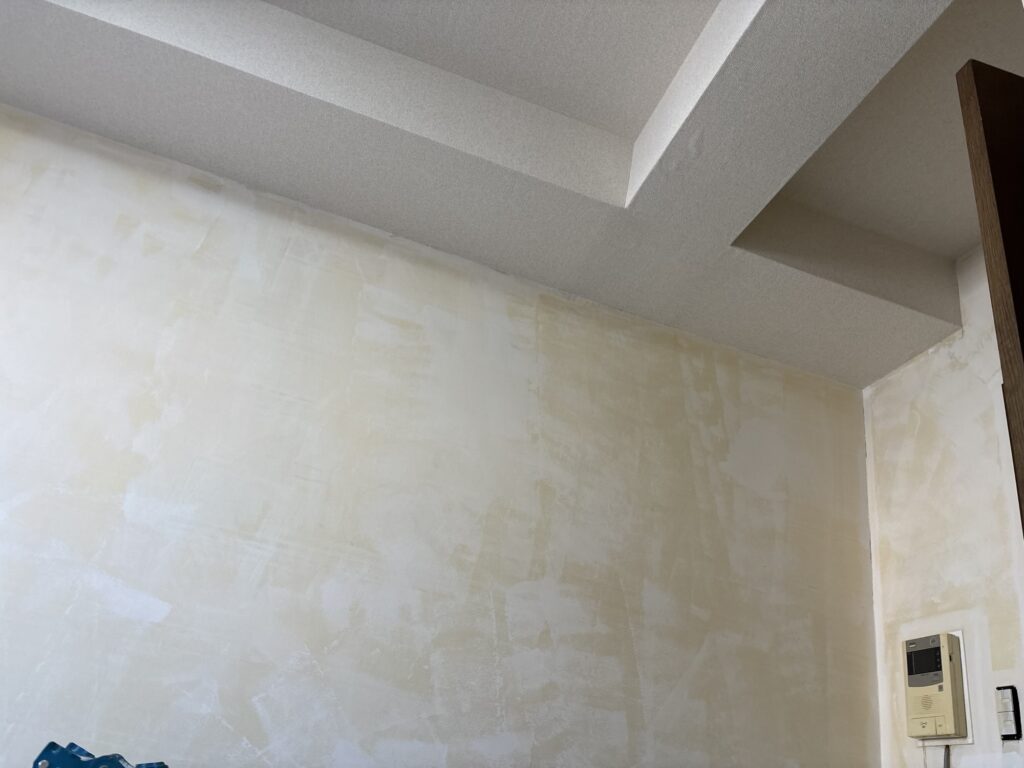
The beams required additional attention because the wallpaper had to wrap around their corners.
If the material is stretched or folded incorrectly, it can tear at the corners. To reduce this risk, we made small relief cuts at the appropriate points before wrapping the wallpaper around the edges.
We then used a damp sponge to help form the corners and guide the material into position.
It is important to maintain enough tension to keep the wallpaper flat without overstretching it.
If the material is not properly formed around the corner, it may loosen or develop wrinkles, resulting in an uneven finish.
Taking extra care around beams and other projections makes a noticeable difference to the final appearance.
8. Measuring and Cutting the Wall Wallpaper
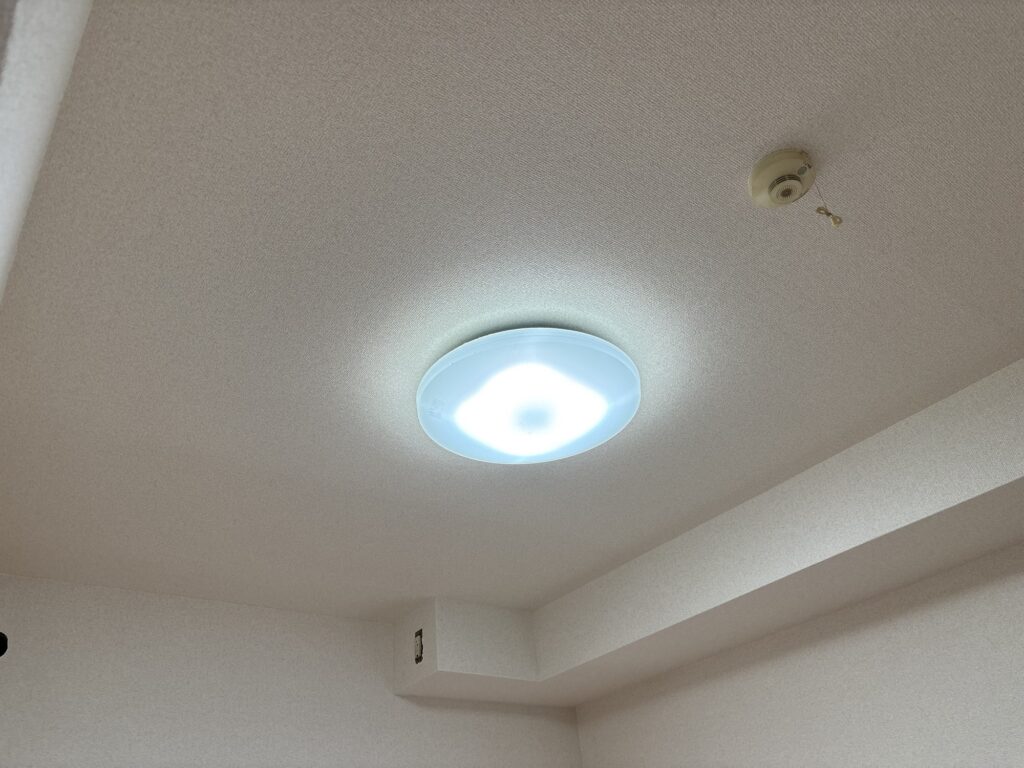
After finishing the ceiling and beams, we measured the walls and prepared the remaining wallpaper using the pasting machine.
The tallest wall section measured approximately 230 cm. We also measured and cut additional pieces for sections with different dimensions.
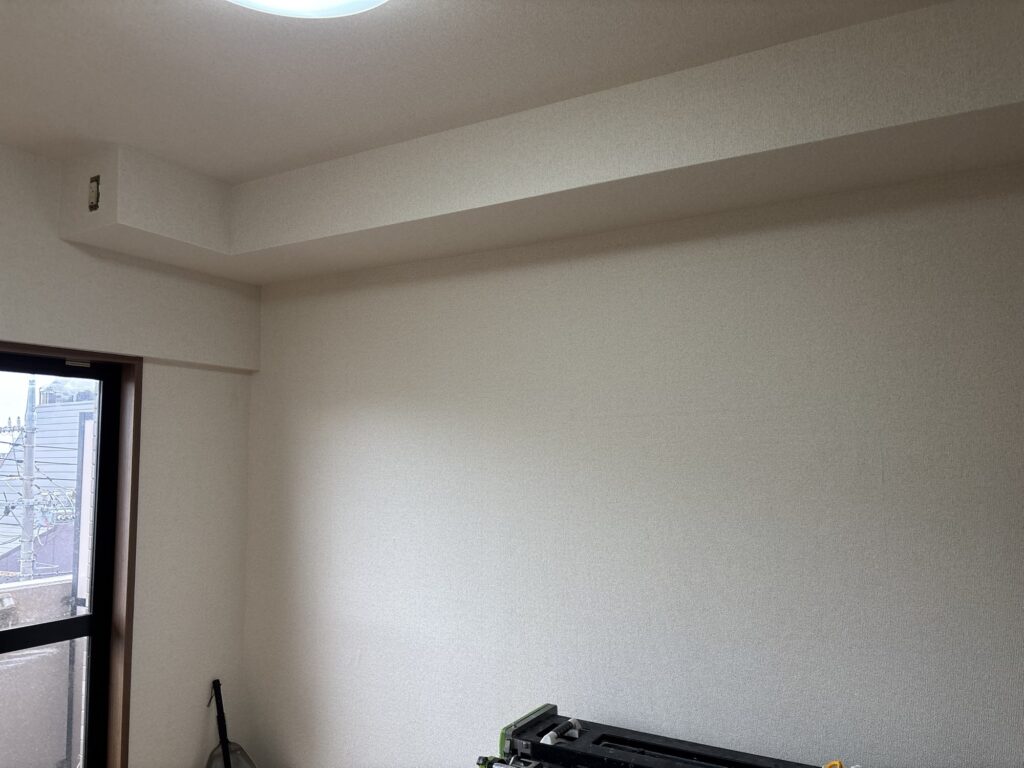
All the strips were prepared at approximately 93 cm wide after trimming.
For many Japanese wallpaper products, the usable width is around 93 cm when both factory edges are removed. If an edge is left untrimmed, a strip may provide approximately 95 cm of usable width, depending on the material.
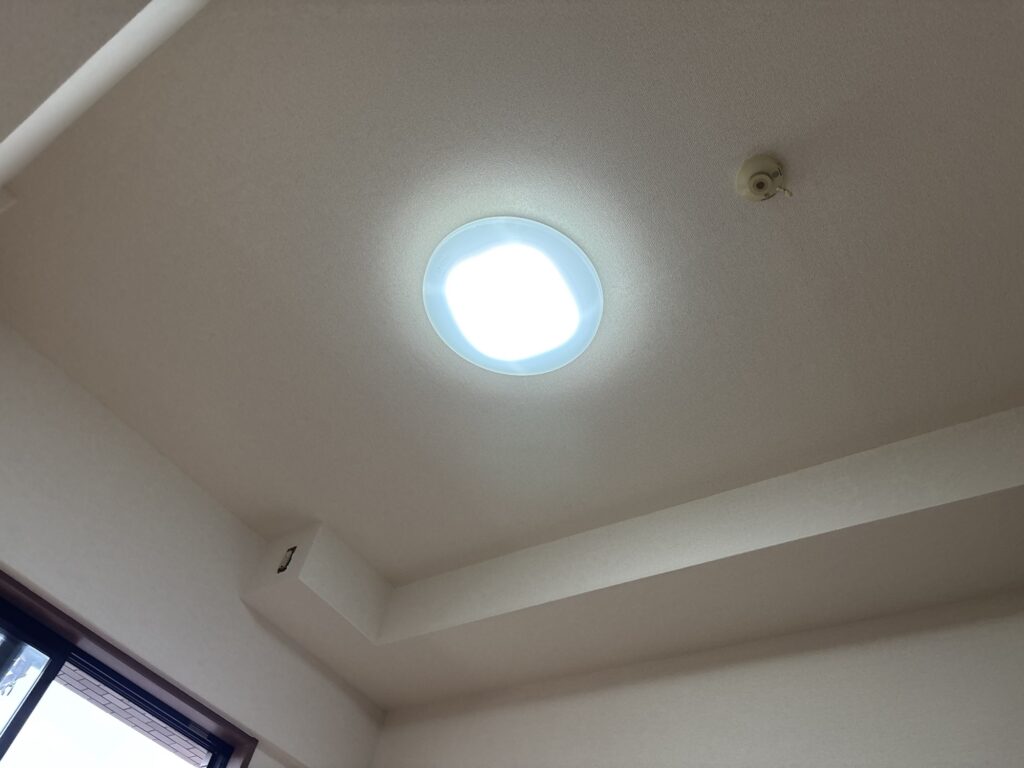
One important detail is the printed information along the edge of the wallpaper. Some products have lettering or other markings near the factory edge.
If these markings are not removed when necessary, they may show through or become visible after the wallpaper has been installed. Always inspect the material and follow the manufacturer’s recommendations.
9. Installing the Wall Wallpaper
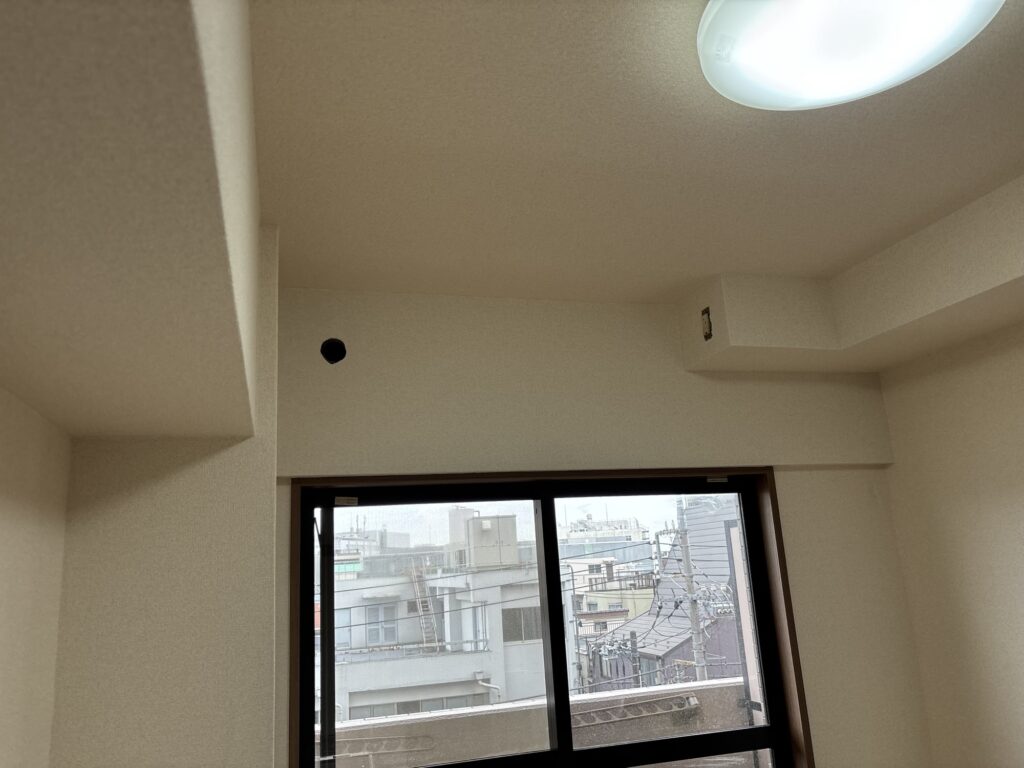
Because the wallpaper was easy to handle, we completed the wall installation in approximately two hours.
We positioned each strip carefully, keeping the wallpaper straight and aligning the seams as we worked.
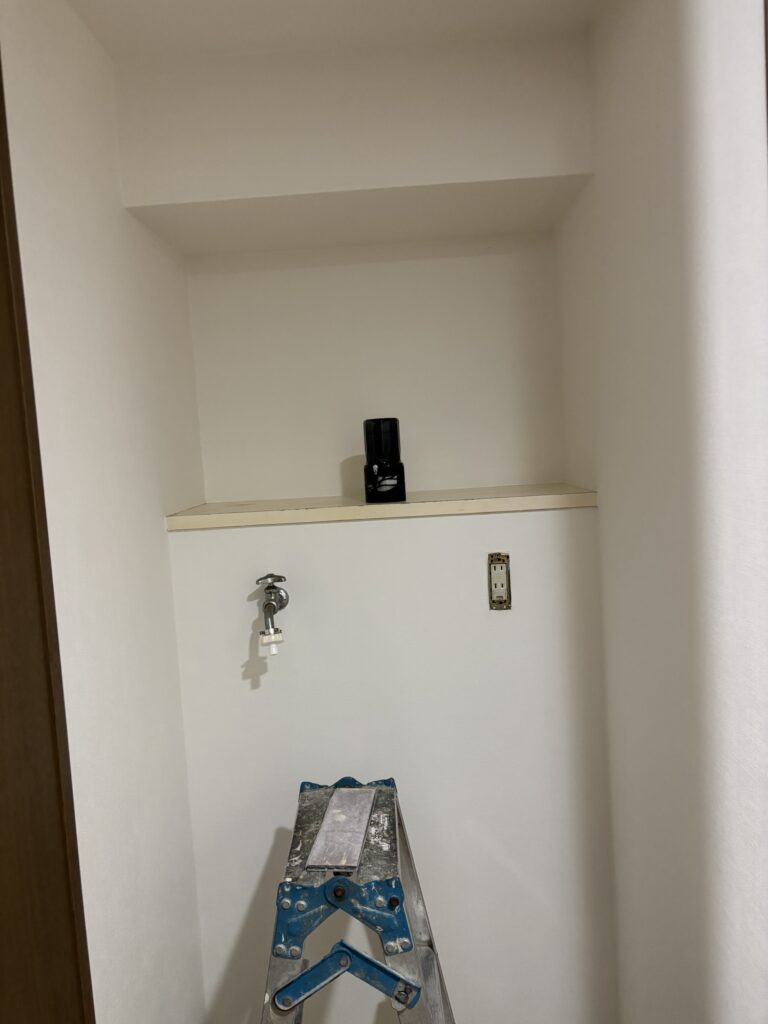
After pressing the material onto the wall, we removed air bubbles, formed the corners, and trimmed the excess wallpaper.
We also checked the seams and edges to make sure the material was properly attached and the finish looked consistent.
The thick, embossed surface made this material relatively forgiving during installation, allowing us to work efficiently.
10. Final Cleanup and Inspection
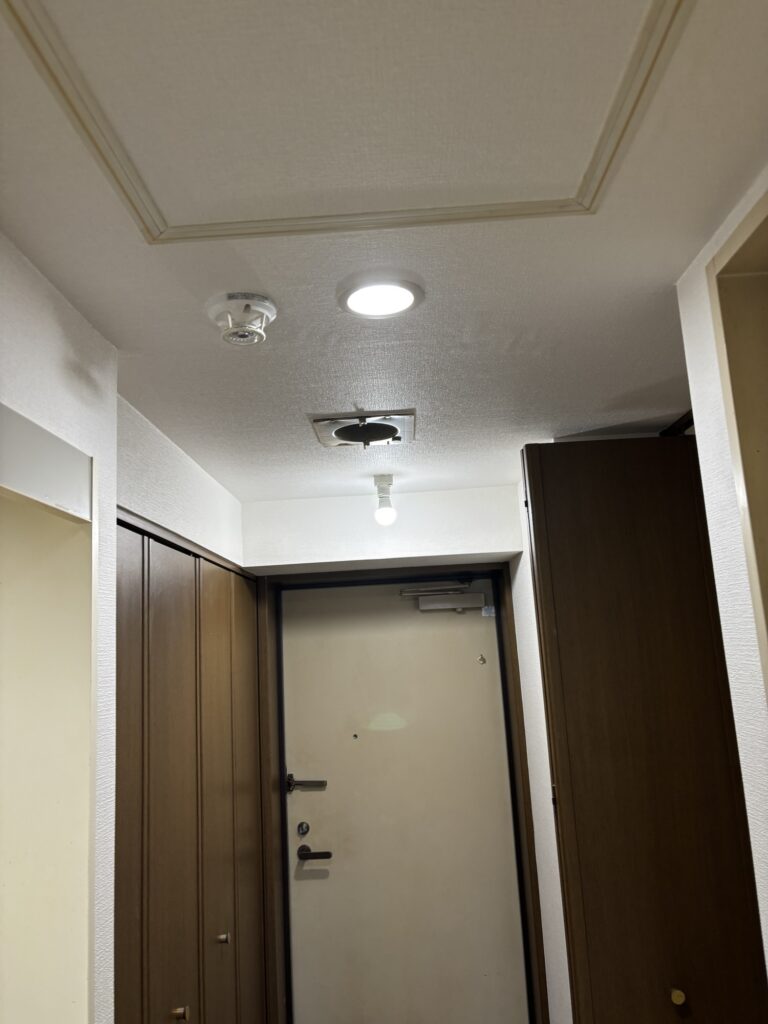
Once the ceiling, beams, and walls were finished, we cleaned the work area and organized our tools and materials.
We checked the completed wallpaper for visible wrinkles, bubbles, uneven seams, and poorly trimmed edges.
The work was completed safely, and the total working time was approximately seven and a half hours.
The next step will be installing the new air conditioner during a separate visit.
Tools Used
- Wallpaper pasting machine
- Wallpaper smoother
- Joint roller
- Taping knife
- Utility knife
- Measuring tape
- Finishing putty and application tools
- Stain-blocking sealer
- Alcohol-based cleaning agent
- Cleaning cloths and a sponge
- Appropriate tools for air conditioner removal
The specific tools and products required may vary depending on the condition of the room, the wallpaper material, and the equipment being removed.
Professional Tips
1. Treat Nicotine Contamination Before Installing New Wallpaper
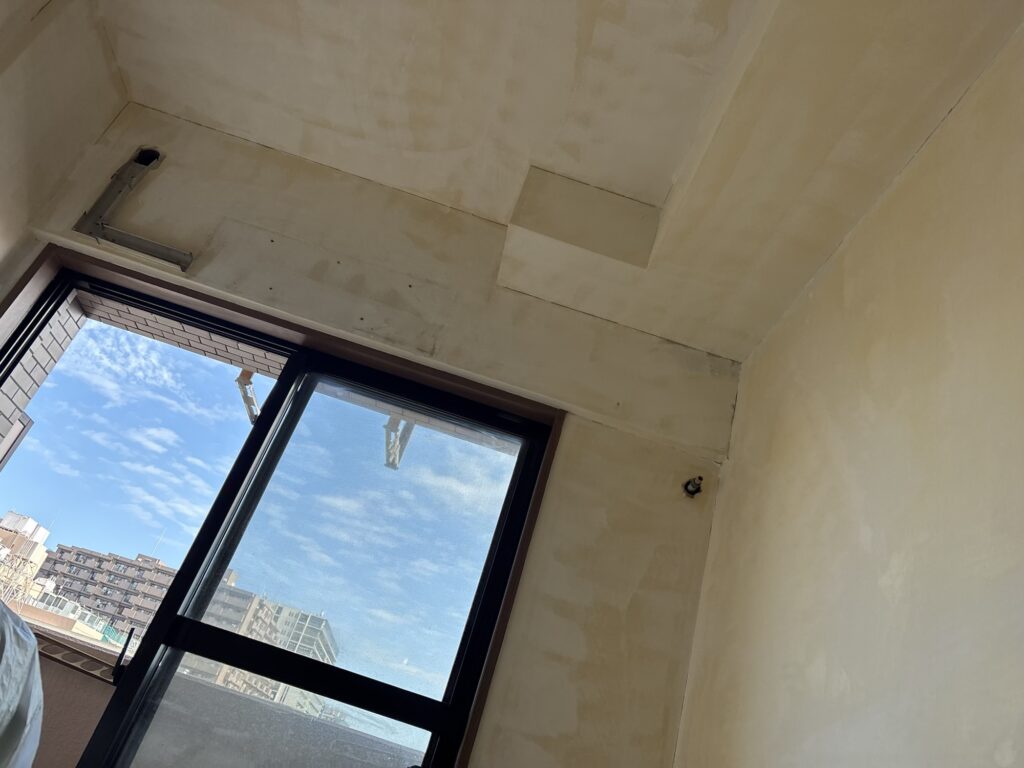
When renovating a room previously occupied by a smoker, inspect the walls, ceiling, doors, and other fixtures for discoloration and odor.
Removing the old wallpaper and applying a suitable stain-blocking sealer can help prevent discoloration from appearing through the new finish. However, persistent odors may require additional cleaning or treatment of the underlying surfaces.
2. Choose Wallpaper That Suits the Substrate
Thick, embossed wallpaper can conceal minor surface irregularities better than thin, smooth material.
This can reduce the amount of cosmetic finishing required, but it does not replace proper preparation. Large bumps, loose material, moisture problems, and unstable surfaces should be addressed before installation.
3. Plan the Ceiling Layout Before Cutting
Measure the ceiling carefully and calculate the number of strips required before feeding the material through the pasting machine.
In this project, leaving one factory edge untrimmed on each strip allowed us to cover a 187 cm-wide ceiling using two strips.
Always confirm the actual usable width of the wallpaper before relying on this method.
4. Keep the Ceiling Strips Straight
When installing wallpaper without chalk lines, maintain a consistent reference along the ceiling.
A small alignment error at the beginning can become more noticeable as the installation progresses.
If you are still developing your skills, marking reference lines is a practical way to improve accuracy.
5. Take Your Time Around Beams
Corners and beams require careful handling because the wallpaper can tear, wrinkle, or become loose when wrapped around them.
Make appropriate relief cuts, form the corners carefully, and avoid stretching the material excessively.
6. Check the Factory Edges
Inspect the wallpaper for printed lettering, markings, or other details along the edges.
Depending on the product, these may need to be trimmed off to prevent them from showing through the finished surface.
7. Follow the Correct Air Conditioner Removal Procedure
Air conditioner removal is not simply a matter of disconnecting the pipes.
Refrigerant must be handled correctly, and electrical components must be isolated safely. If the unit does not operate, do not assume that the refrigerant has disappeared.
Use the manufacturer’s procedure and appropriate refrigerant recovery equipment, and have qualified personnel carry out work requiring specialist knowledge or certification.
Related Project
Partial Ceiling Wallpaper Replacement in a Japanese Apartment: A Two-Hour Repair
Common Mistakes to Avoid
1. Covering Nicotine Stains Without Proper Preparation
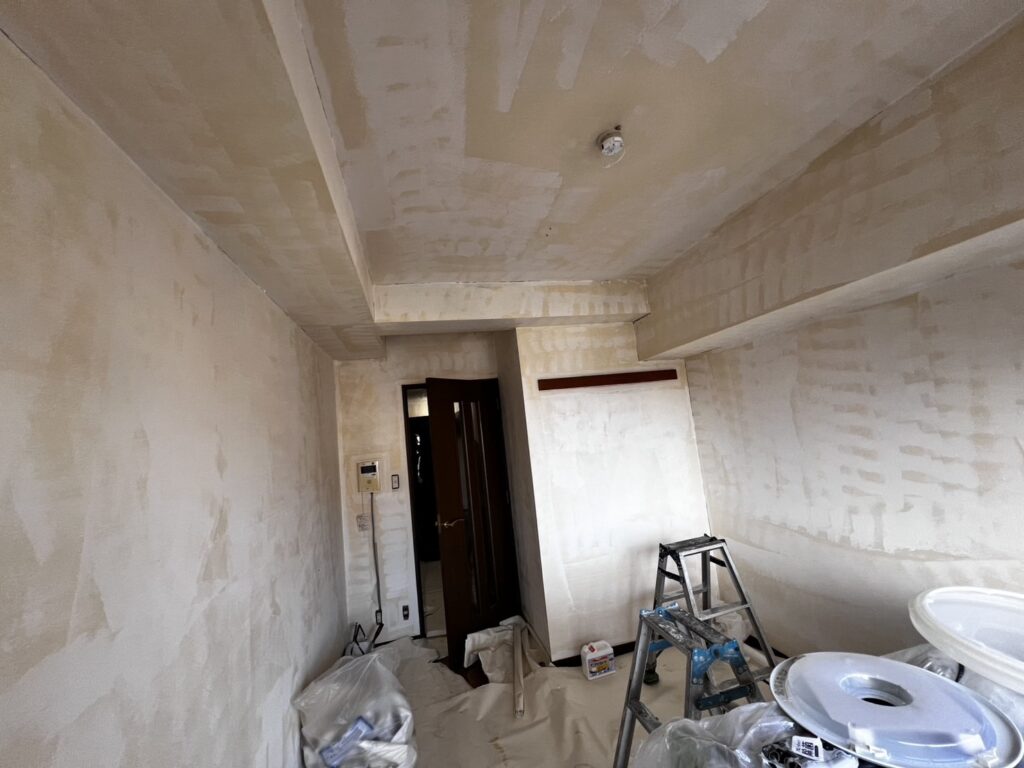
Installing new wallpaper directly over contaminated surfaces can allow stains or odors to persist.
Remove the old wallpaper, assess the substrate, and use suitable cleaning and sealing products before installing the new material.
2. Assuming Thick Wallpaper Hides Every Imperfection
Embossed wallpaper can conceal minor irregularities, but it will not reliably hide large bumps, deep holes, or unstable surfaces.
Fill significant defects and prepare the substrate properly.
3. Cutting Wallpaper Before Checking the Layout
Cutting strips without considering the room dimensions can lead to unnecessary waste or insufficient coverage.
Measure the ceiling, walls, and beams first, then calculate the required lengths and widths.
4. Allowing Ceiling Strips to Drift Out of Alignment
A strip that starts straight can gradually move off course during installation.
Use a clear reference line or check the alignment frequently to avoid running short of material at the opposite edge.
5. Rushing the Beam Corners
Pulling wallpaper too tightly around a beam can cause tears or wrinkles.
Prepare the corners carefully and form the material gradually rather than forcing it into position.
6. Leaving Printed Edge Markings Exposed
Some wallpaper products have printed information along the edges. If it remains visible after installation, it can affect the appearance of the finished wall.
Inspect the material before installation and trim the edges where required.
7. Assuming a Non-Running Air Conditioner Has No Refrigerant
An air conditioner that will not start may still contain refrigerant.
Never loosen refrigerant connections based on an assumption that the system is empty. Follow the correct recovery procedure and applicable safety requirements.
What I Learned From This Project
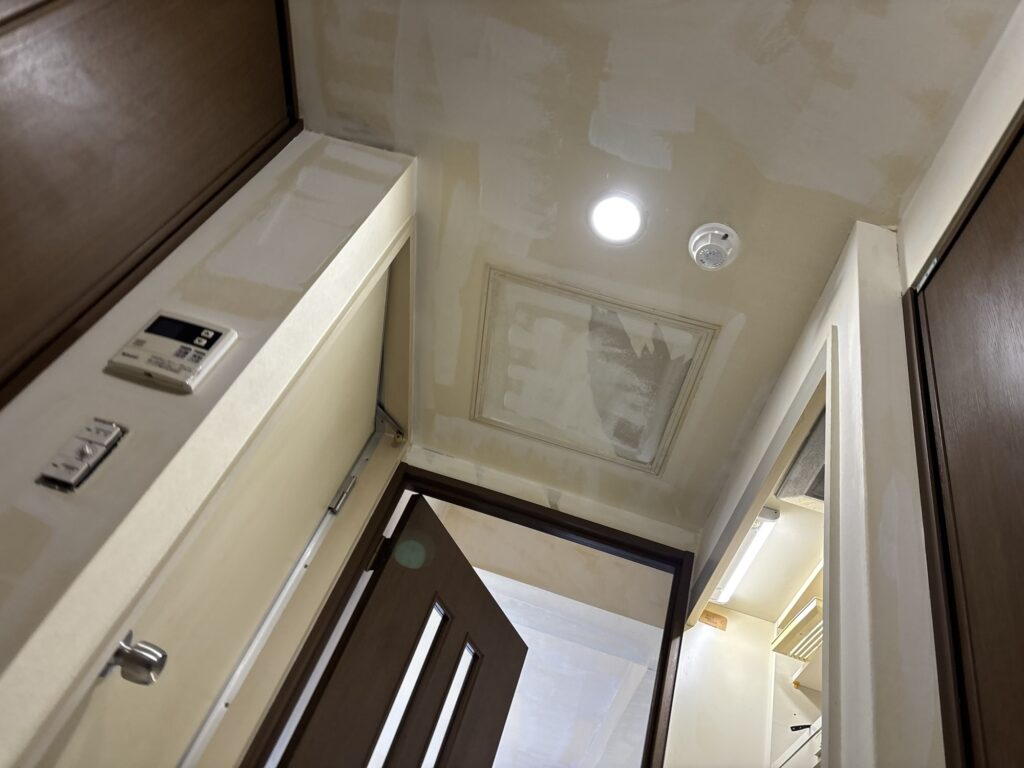
This project was a good example of how proper planning and material selection can make a wallpaper installation more efficient.
The cigarette contamination meant we needed to pay attention to the condition of the walls and ceiling before installing the new material. Applying a suitable stain-blocking sealer was an important part of preparing the room for its new finish.
The ceiling layout was another useful part of the job. By measuring the 187 cm-wide ceiling carefully and leaving one factory edge untrimmed on each strip, we were able to cover it using two strips instead of three.
The thick, embossed wallpaper also made the installation easier. Because the material was relatively forgiving, we completed the wall installation in around two hours.
At the same time, the project reminded me that saving time should never come at the expense of accuracy or safety. Ceiling alignment, beam corners, and air conditioner removal all require careful attention.
We finished the work in seven and a half hours, and the apartment was ready for the next stage of renovation: installing the new air conditioner.
FAQ: Wallpaper Installation and Apartment Renovation
1. How long does it take to install wallpaper in a 20 m² apartment?
The time required depends on the room layout, the condition of the walls, the ceiling height, and the type of wallpaper.
In this project, three workers completed the scheduled renovation work in approximately seven and a half hours. The wall wallpaper installation itself took around two hours.
2. Can new wallpaper eliminate cigarette smoke odors?
Not necessarily. Removing contaminated wallpaper and applying a suitable sealer can help, but nicotine and smoke residue may remain on the underlying walls, ceiling, doors, and other surfaces.
Persistent odors may require additional cleaning, treatment, or replacement of contaminated materials.
3. Why apply a stain-blocking sealer after removing wallpaper?
A suitable sealer can help prevent nicotine stains and other discoloration from bleeding through the new wallpaper.
The correct product depends on the substrate and the type of contamination. Surface preparation and drying according to the manufacturer’s instructions are also important.
4. Does thick embossed wallpaper require less surface preparation?
It can reduce the amount of cosmetic finishing needed because its texture helps disguise minor irregularities.
However, significant holes, bumps, loose substrate, and moisture damage should still be addressed before installation.
5. Why did we use two strips for the ceiling instead of three?
The ceiling was approximately 187 cm wide. By leaving one factory edge untrimmed on each strip, we prepared two wider strips at approximately 94 cm each.
This provided enough coverage for the ceiling. The method depends on the actual material width and should be checked before cutting.
6. Why is it important to keep ceiling wallpaper straight?
If the first strip gradually moves out of alignment, the remaining material may not cover the opposite edge properly.
Maintaining a consistent reference line helps prevent gaps and reduces the risk of having to cut and install additional strips.
7. How do you prevent wallpaper from tearing around beams?
Carefully prepare the corners and make appropriate relief cuts where needed. Form the wallpaper around the beam gradually, using suitable tools to guide the material into position.
Avoid pulling the wallpaper too tightly, as excessive tension can cause tearing or wrinkles.
8. Why must the edges of wallpaper sometimes be trimmed?
Factory edges may contain printed lettering, markings, or uneven edges. Trimming can help create clean seams and prevent unwanted markings from showing through.
The amount that needs to be trimmed depends on the product and the installation method.
9. What should you do if an air conditioner will not start during removal?
Do not assume that the refrigerant has already been recovered or that the system is empty.
The refrigerant condition must be verified, and recovery must be performed using the correct procedure and suitable equipment. Electrical isolation and other safety requirements must also be followed.
10. Can the new air conditioner be installed on the same day as wallpaper installation?
It depends on the work schedule, equipment availability, and whether the installation area is ready.
In this project, we completed the wallpaper work first and planned to install the new air conditioner during a later visit.
Conclusion
Today, our three-person team renovated a 20 m² apartment on the fourth floor of a condominium building in Japan.
The previous tenant had smoked indoors, so we removed the old wallpaper, applied a stain-blocking sealer to the walls and ceiling, and cleaned the doors and other fixtures before installing the new wallpaper.
We also removed the old air conditioner, prepared the surfaces with finishing putty, and installed thick, embossed wallpaper on the ceiling, beams, and walls.
Careful measurements helped us reduce unnecessary cuts, while the easy-to-handle material allowed us to complete the wall installation in approximately two hours.
After seven and a half hours of work, we cleaned and organized the site. The next stage will be installing the new air conditioner.
For me, this project was another reminder that good results come from combining efficient planning, careful installation, and proper preparation of the underlying surfaces.


Comments