

Project Information
- Building Type: Three-story apartment building
- Floor: 3rd Floor
- Room Type: 1LDK Apartment
- Room Size: Approximately 35 m²
- Project Location: Japan
- Work Area: Partial wall wallpaper replacement and window screen replacement
- Crew Size: 3 workers
- Working Time: Approximately 7.5 hours
Work Details
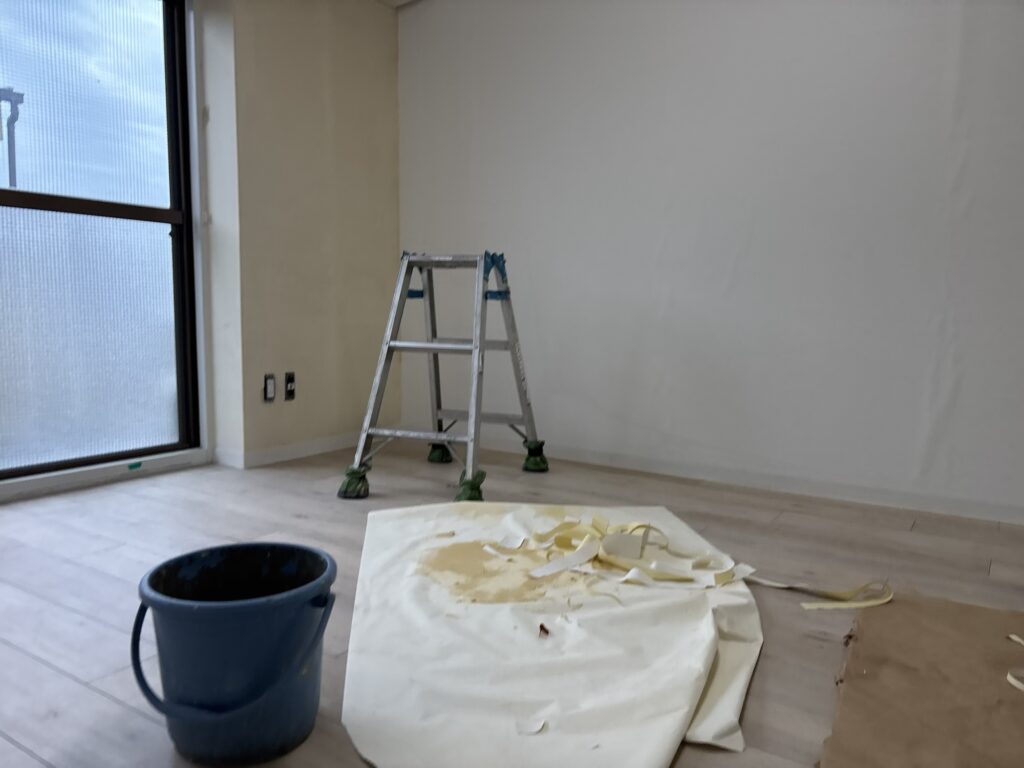
- Removal of existing wallpaper
- Preparation of wall surfaces
- Application of finishing putty
- Installation of new wallpaper
- Window screen replacement
- Other painting and miscellaneous renovation work
Introduction
Today, we worked on a partial wallpaper replacement project in a 35-square-meter, 1LDK apartment on the third floor of a three-story apartment building in Japan.
Three workers were assigned to the project. In addition to wallpaper installation, there were also painting and miscellaneous renovation tasks.
Our main job was to replace wallpaper on selected wall surfaces while keeping the surrounding wallpaper and existing soft baseboards intact.
Although this was not a particularly large project, careful preparation and attention to detail were essential.
In this article, I will explain the wallpaper installation process, some techniques for protecting existing materials, and how we replaced the window screen.
Related Project
Job Site Report: Step-by-Step Process
1. Preparing the Existing Wallpaper for Removal
Before removing the old wallpaper, I made small cuts along the boundaries between the wallpaper that would be replaced and the wallpaper that would remain.
I used a putty knife as a guide and carefully scored the wallpaper with a utility knife.
This step is important because joint sealant (caulking) may have been applied along the seams.
If the old wallpaper is removed without cutting these boundaries first, the sealant can pull on the surrounding wallpaper and cause it to peel away.
By cutting along the seams beforehand, I could prevent unnecessary damage to the wallpaper that was not being replaced.
I also applied the same technique along the top edge of the soft baseboards.
Since the baseboards were going to remain in place, I carefully scored the wallpaper along their upper edges.
This helped prevent the soft baseboards from peeling away together with the old wallpaper.
2. Removing the Old Wallpaper and Checking the Wall Surface
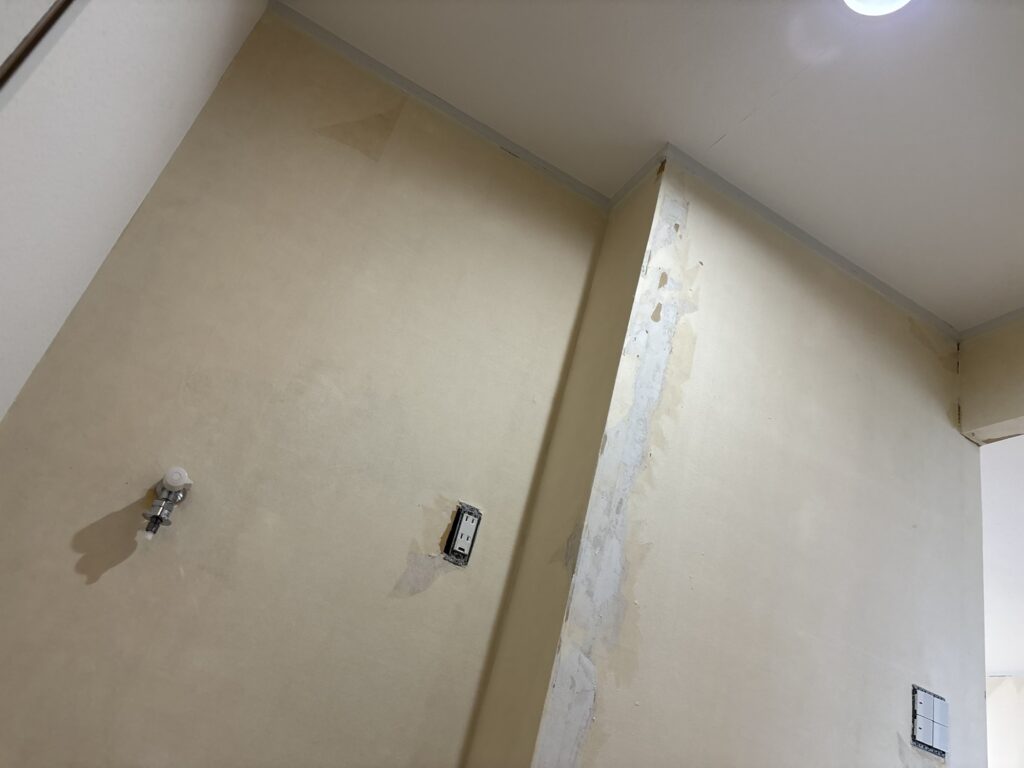
After preparing the boundaries, I started removing the old wallpaper.
Most of the backing paper was firmly attached to the wall and could be left in place.
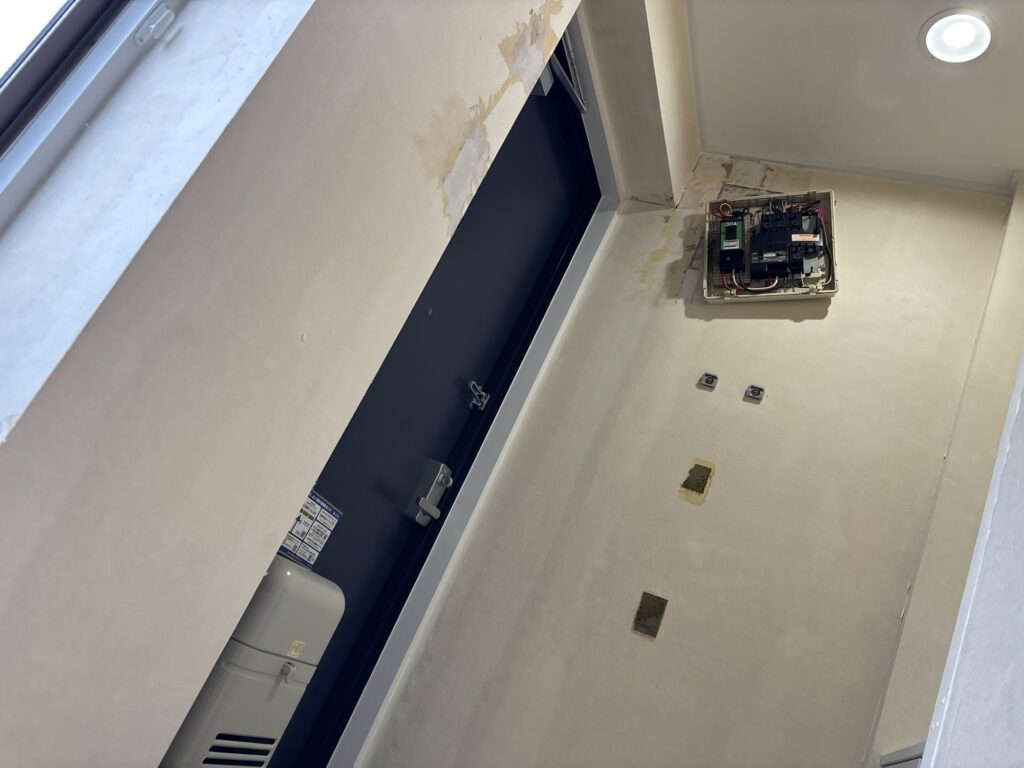
However, there were some areas where only the base-coat putty had been applied directly to the wall.
I removed the backing paper in those areas to create a suitable surface for the new wallpaper.
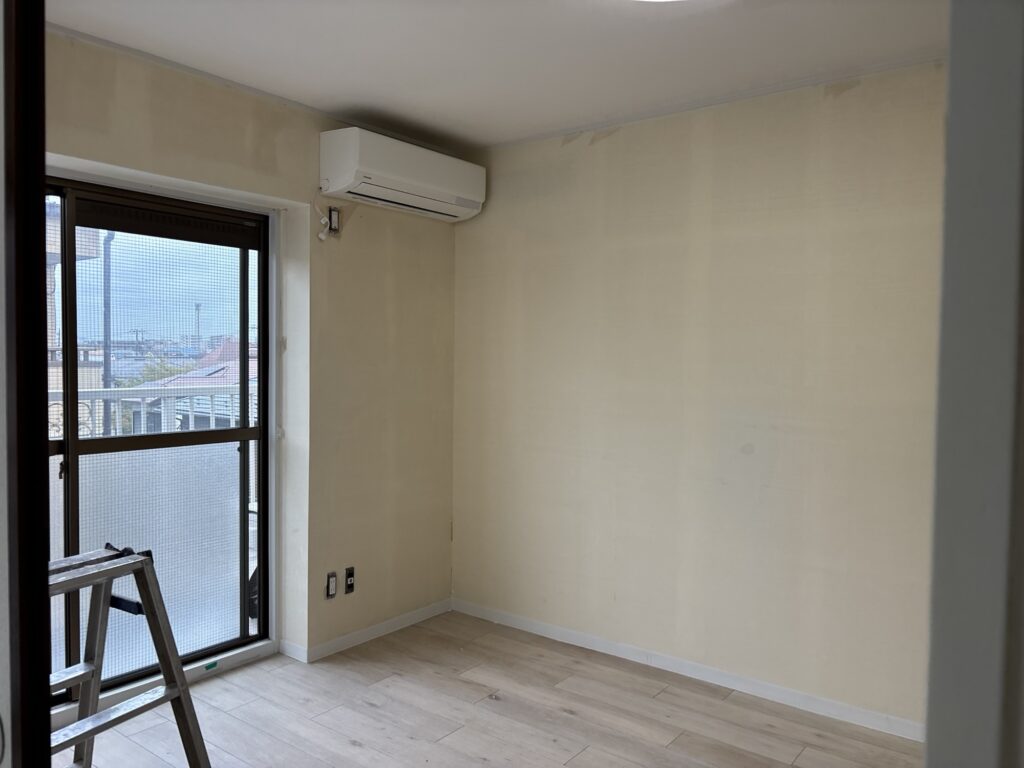
Checking the condition of the existing wall surface is an important part of wallpaper replacement.
Leaving loose or poorly attached backing paper can cause problems when installing new wallpaper.
3. Applying Finishing Putty
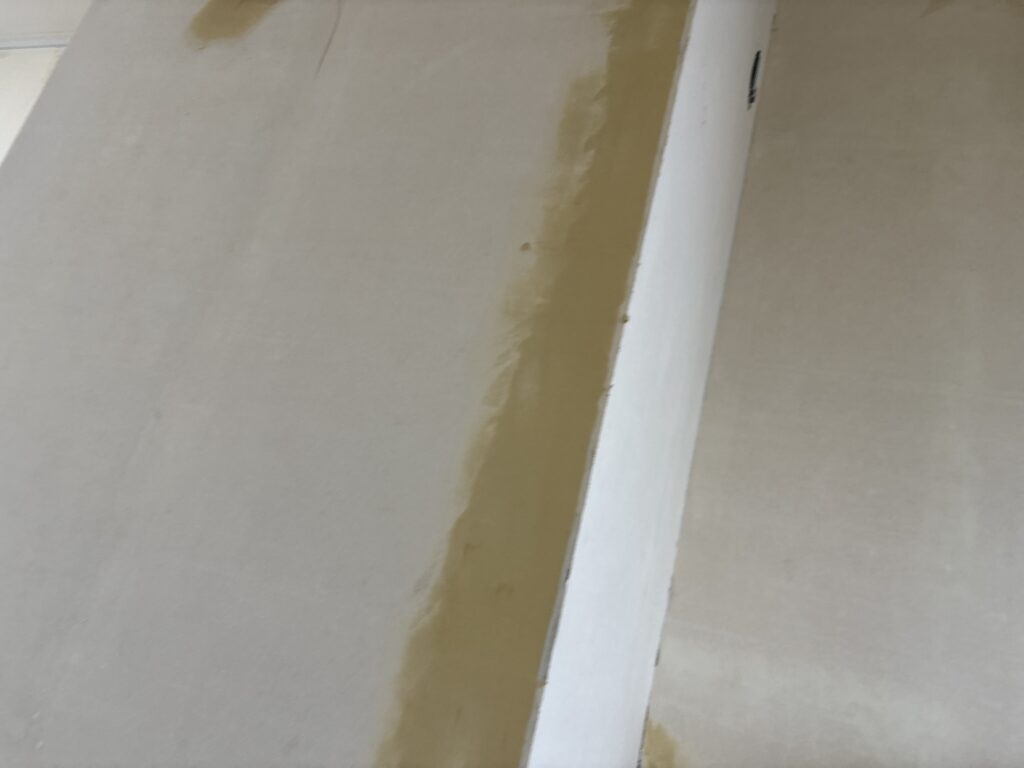
After removing the necessary backing paper, I completed the surface preparation.
I then applied one coat of finishing putty over the wall surface.
There were no areas with particularly large differences in level. Also, the new wallpaper material was relatively thick and had a pronounced embossed texture.
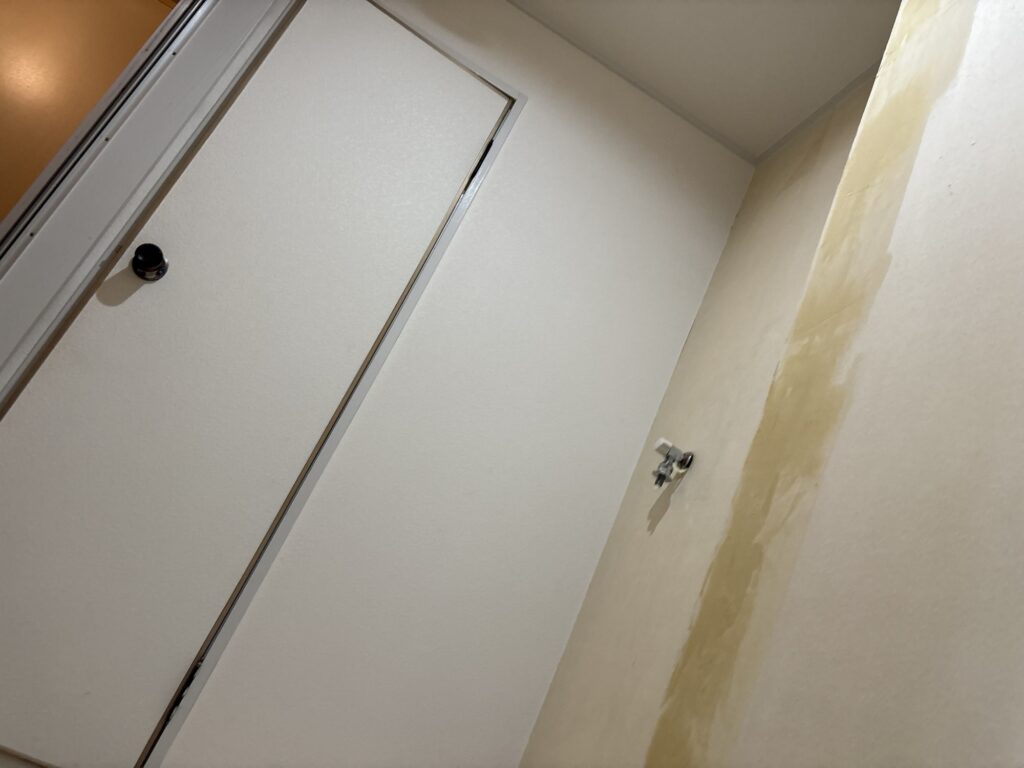
For these reasons, an additional coat of base putty was not necessary.
Choosing the appropriate amount of surface preparation depends on the condition of the wall and the characteristics of the wallpaper being installed.
4. Measuring and Preparing the New Wallpaper
While waiting for the putty to dry, I measured the wall surfaces and prepared the wallpaper using a wallpaper pasting machine.
The tallest section of the wall measured approximately 228 cm.
I also measured the smaller sections individually and prepared the required wallpaper pieces.
Accurate measurements help reduce material waste and make the installation process more efficient.
5. Installing Wallpaper in the Living Room
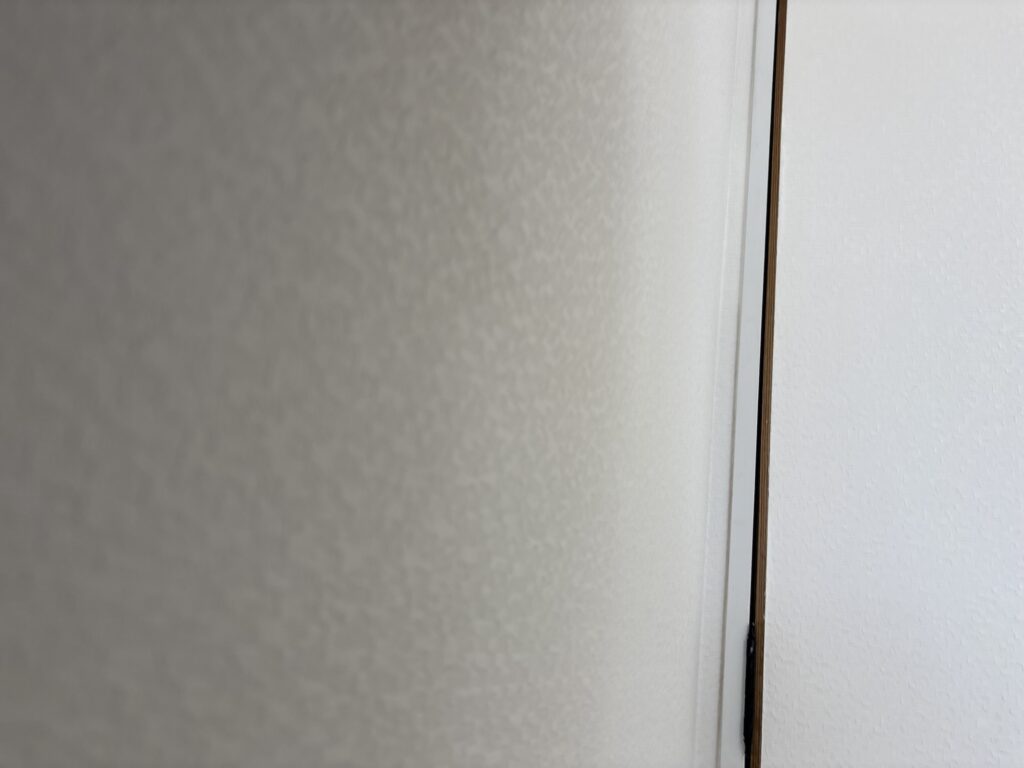
I started installing the new wallpaper in the living room.
At the starting point, I wrapped the wallpaper approximately 3 cm around the inside corner.
There was a storage frame just beyond the corner.
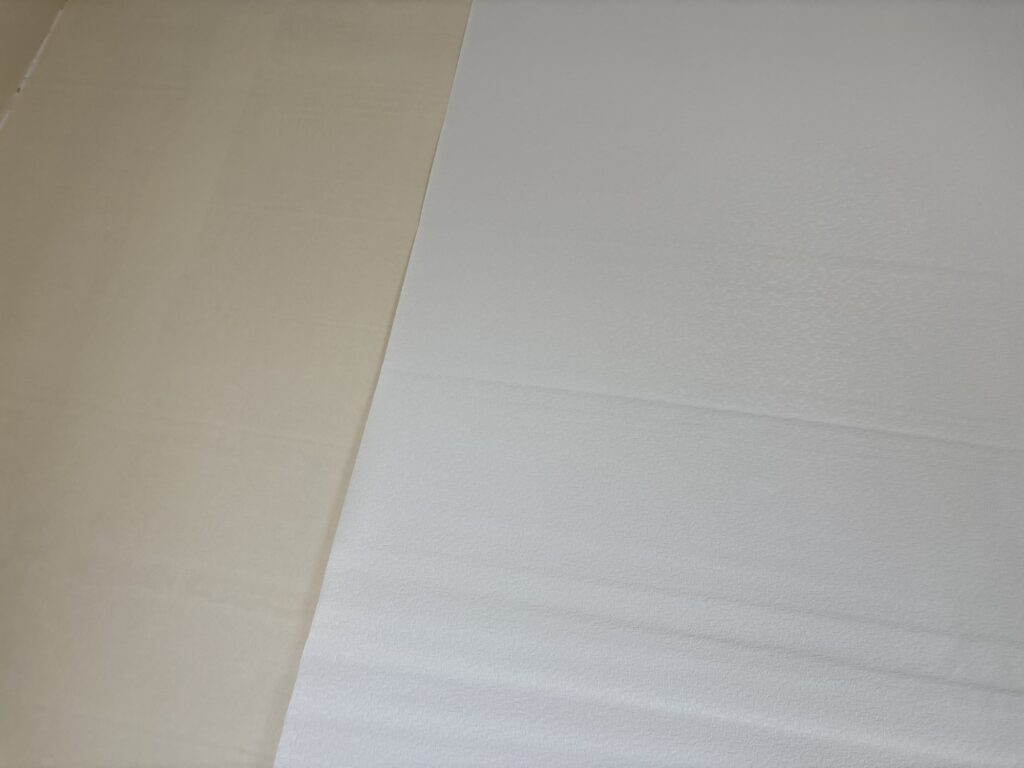
By wrapping the wallpaper around the corner, I could extend the edge directly to the frame without needing to make an additional cut at that point.
This approach also saved time because the gap between the frame and the wall was very narrow.
Another important consideration was the condition of the frame itself.
Since frames are installed by people, they are not always perfectly straight.
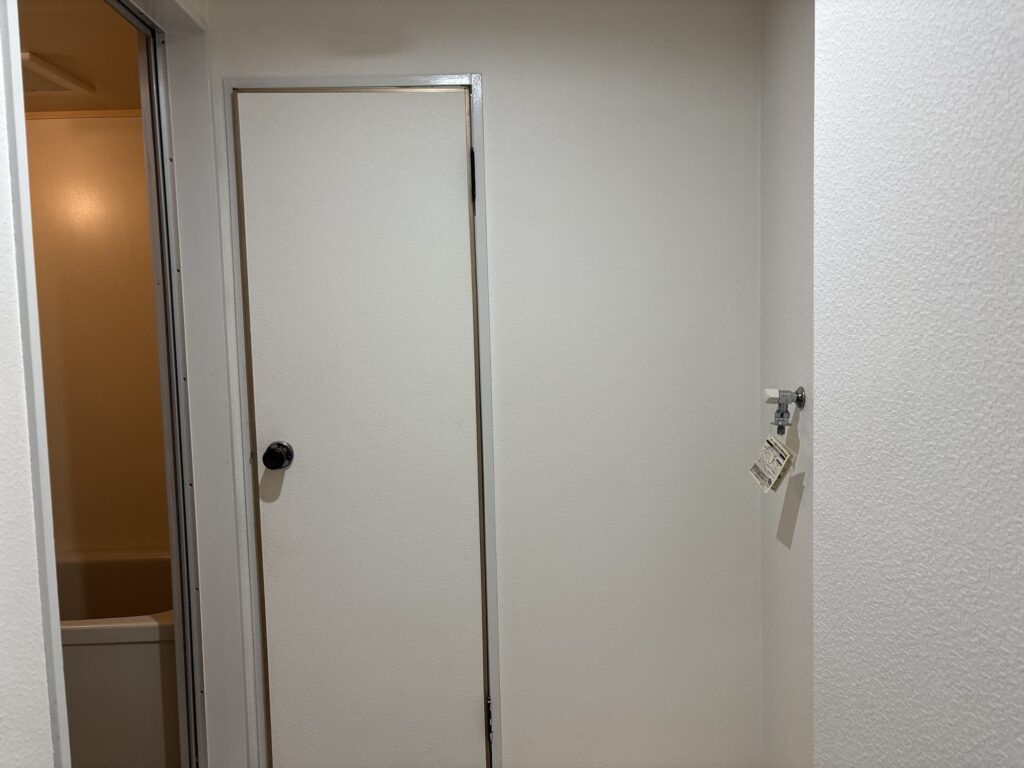
If you try to force the wallpaper edge to follow an uneven frame, wrinkles can develop.
Instead, I focused on keeping the wallpaper straight and trimming the excess material where necessary.
This produced a cleaner finish.
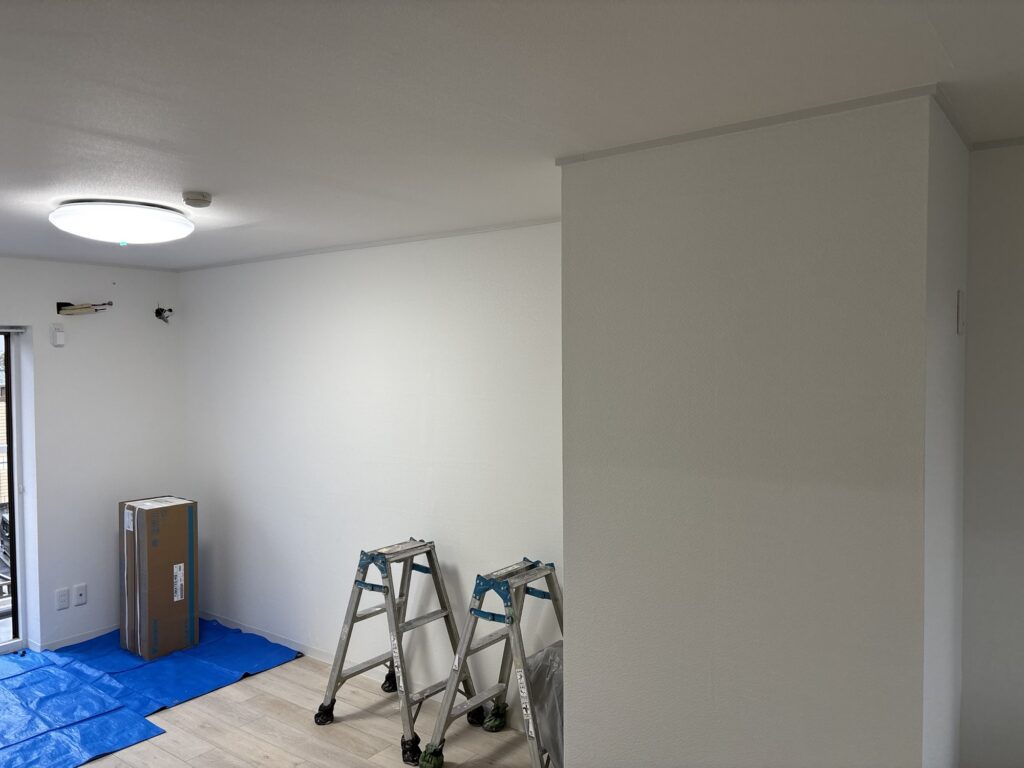
6. Installing Wallpaper Around the Air Conditioner
At the opposite end of the wall, there was an air conditioner.
The space between the unit and the wall was very narrow, making it difficult to insert my hands and tools.
I carefully used a putty knife and a wallpaper smoother to guide the wallpaper and make the necessary cuts.
Normally, I extend the utility knife blade by approximately 2 cm when cutting wallpaper.
However, this was not long enough to reach the area behind the air conditioner.
For this particular situation, I extended the blade by approximately 10 cm so I could reach the cutting area.
The way you use your tools should depend on the working conditions.
Adapting your technique to the available space is an important part of professional wallpaper installation.
7. Replacing the Window Screen
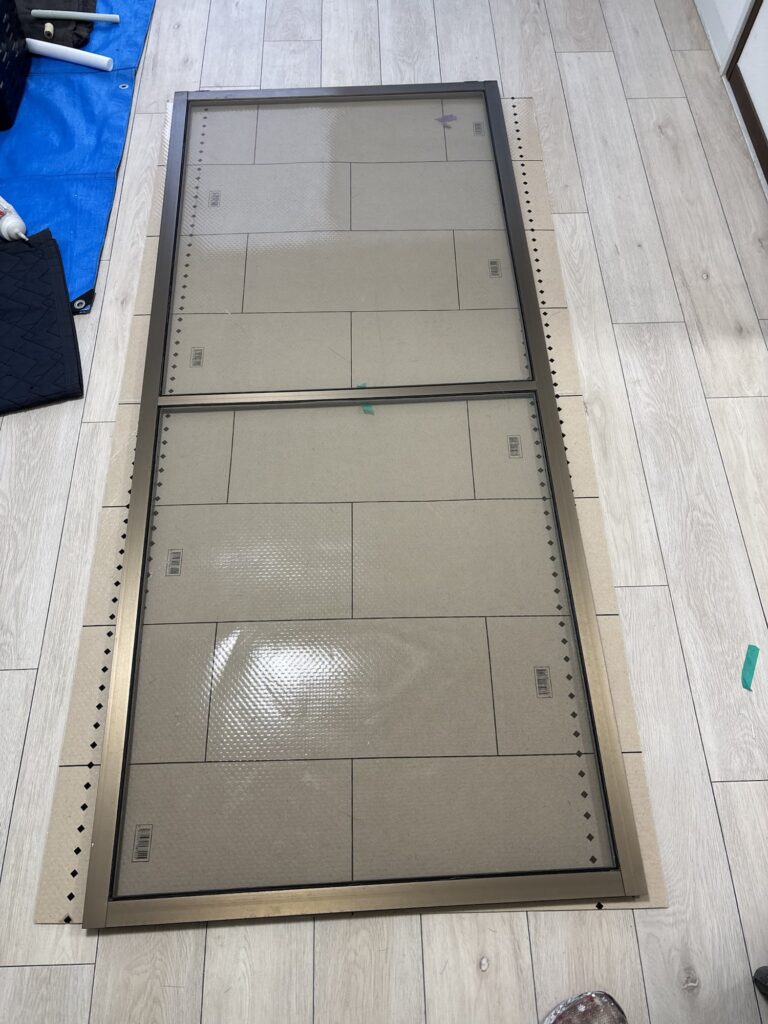
After completing the wallpaper installation, I moved on to replacing the window screen.
First, I turned the screen frame over and located the rubber spline running around the edges of the mesh.
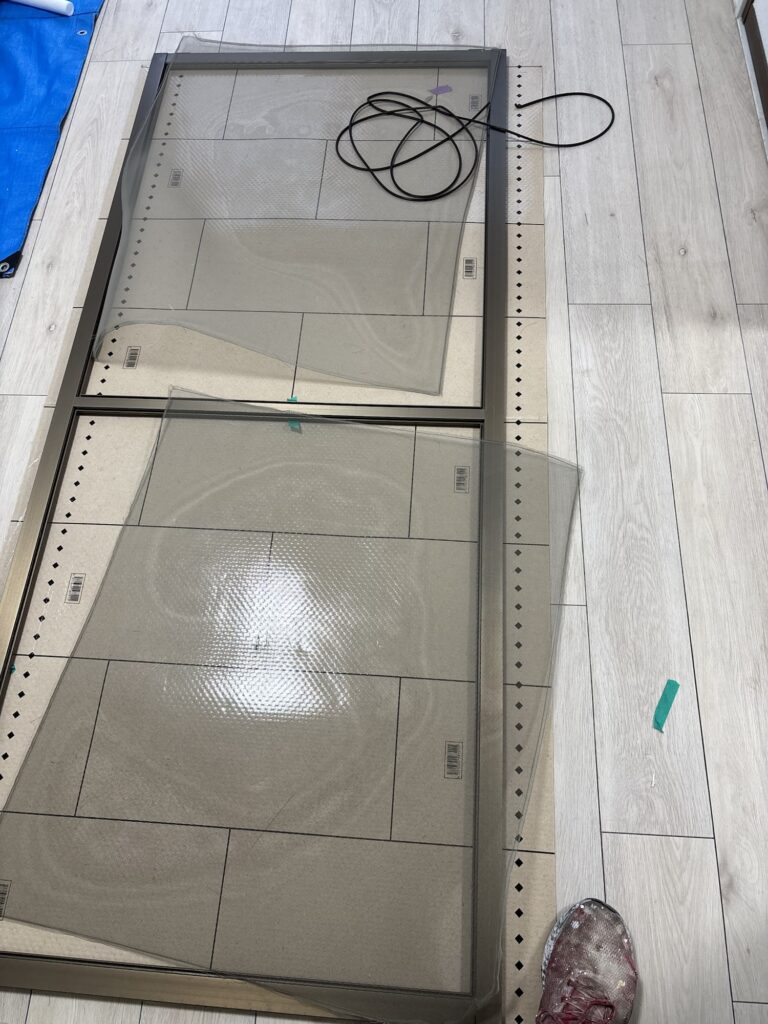
By removing the rubber spline, I was able to take out the old screen mesh.
As a general rule, if the existing rubber spline is still in good condition, there is no need to replace it.
However, if the rubber has deteriorated or become thinner, it may not hold the new mesh securely.
This can cause the screen to become loose or sag over time.
Related Project
Replacing Two Japanese Screen Doors, Repairing Rollers, and Replacing Kitchen Lights
8. Installing the New Window Screen Mesh
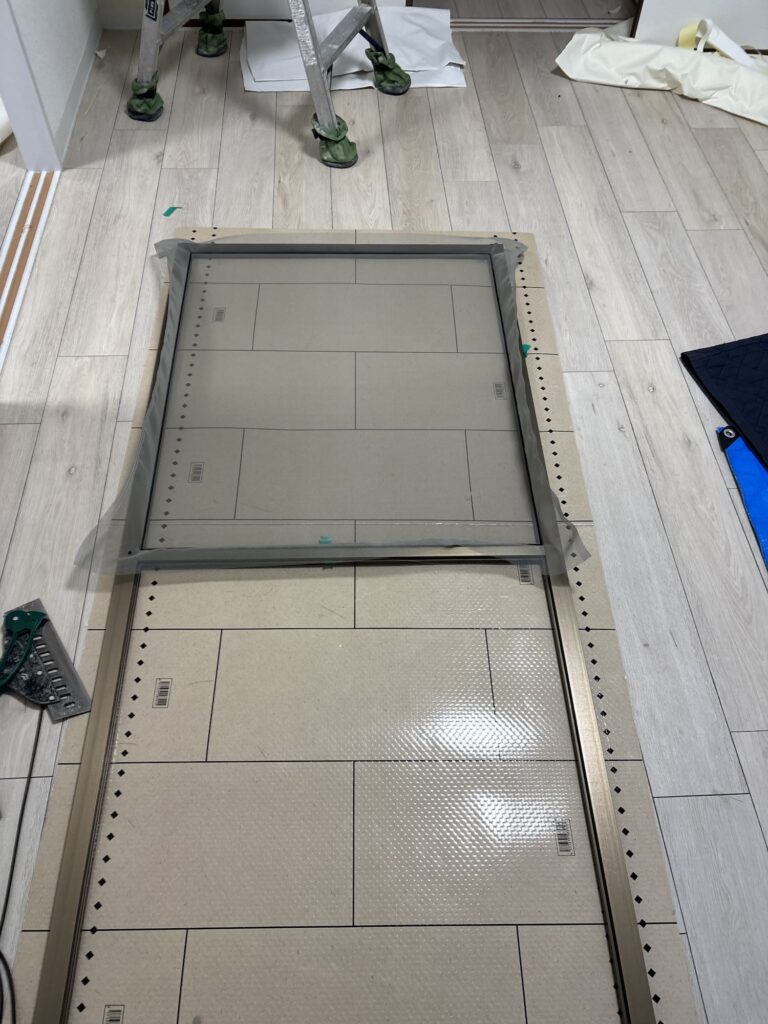
When installing the new mesh, I focused on keeping it straight and properly aligned.
I used a window screen roller to press the rubber spline into the groove along the frame.
After inserting the spline halfway around the frame, I began applying gentle tension to the mesh while continuing to install the remaining spline.
It is important to find the right balance when pulling the mesh.
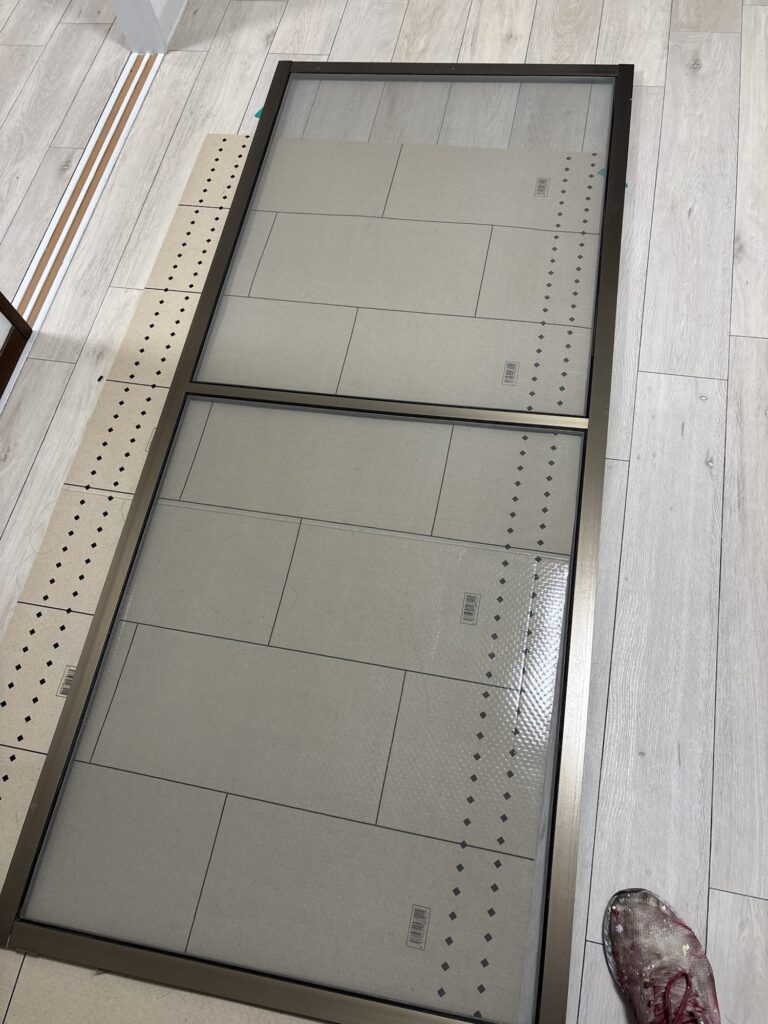
If you pull too hard, the mesh can become distorted.
If you do not apply enough tension, the finished screen may sag.
I aimed for roughly 70% of my pulling strength, keeping the tension gentle and consistent.
During installation, I occasionally checked the mesh by hand.
I also checked the screen frame from a parallel position to make sure the mesh was not sagging.
After installing the entire screen, I trimmed away the excess mesh.
Finally, I checked the cut edges to make sure no mesh threads were frayed or sticking out.
With the window screen replacement completed, our work for the day was finished.
Total Working Time: Approximately 7.5 hours.
Tools Used
The following tools and equipment were used during this project.
- Utility knife – For cutting wallpaper and trimming excess material.
- Putty knife – For guiding cuts and working in narrow spaces.
- Wallpaper smoother – For pressing wallpaper against the wall and removing air bubbles.
- Wallpaper pasting machine – For applying wallpaper adhesive evenly.
- Measuring tape – For measuring wall dimensions and preparing wallpaper.
- Finishing putty – For correcting minor surface imperfections.
- Window screen roller – For pressing the rubber spline into the screen frame.
- Rubber spline – For securing the new window screen mesh.
- Window screen mesh – Replacement material for the existing screen.
Professional Tips
1. Always Cut the Boundaries Before Removing Wallpaper
When replacing only part of a wall, carefully cut the boundary between the old wallpaper and the section that will remain.
This helps prevent joint sealant from pulling on the surrounding wallpaper.
2. Protect Existing Soft Baseboards
If the soft baseboards are not being replaced, cut along their upper edges before removing the old wallpaper.
This reduces the risk of accidentally peeling them away.
3. Do Not Apply More Putty Than Necessary
The amount of surface preparation should depend on the wall condition and the thickness and texture of the new wallpaper.
Thicker wallpaper with a pronounced embossed pattern may hide minor surface imperfections better than thin, smooth wallpaper.
However, the wall must still be properly prepared.
4. Keep Wallpaper Straight Around Uneven Frames
Do not automatically assume that a door or storage frame is perfectly straight.
Maintaining a straight wallpaper line and trimming the excess material can produce a better finish than forcing the wallpaper to follow an uneven frame.
5. Adjust Your Cutting Technique to the Situation
A standard utility knife blade extension may not be sufficient in narrow spaces.
Choose an appropriate cutting method based on the available working space, while maintaining control of the blade.
6. Apply Consistent Tension When Installing Window Screens
When installing screen mesh, avoid pulling too hard or leaving it too loose.
Apply gentle, consistent tension and check the mesh regularly as you work.
Common Mistakes to Avoid
1. Removing Wallpaper Without Cutting the Boundaries
Failing to score the boundaries first can cause the surrounding wallpaper to peel away, especially when joint sealant has been applied.
2. Damaging Existing Baseboards
Removing wallpaper without cutting along the top edge of the soft baseboard can cause the baseboard to come loose.
3. Leaving Loose Backing Paper
Loose backing paper can affect the quality of the new wallpaper installation.
Always check the wall surface and remove any poorly attached material.
4. Applying Too Much Putty
Unnecessary putty work increases preparation time and can create additional work during sanding and finishing.
Assess the surface carefully before deciding how much putty is needed.
5. Forcing Wallpaper to Follow an Uneven Frame
Trying to match every irregularity in a frame can create wrinkles and an uneven finish.
Maintain a straight line and trim the excess material carefully.
6. Pulling Window Screen Mesh Too Tightly
Excessive tension can distort the mesh and affect its appearance.
Use consistent tension instead of pulling as hard as possible.
7. Failing to Check the Finished Screen
After trimming the mesh, always inspect the edges for loose or frayed threads.
A final inspection helps ensure a neat result.
What I Learned From This Project
This project reminded me that good wallpaper installation is not just about applying new material to a wall.
Protecting the existing finishes is equally important.
Small preparation steps, such as cutting the boundaries before removing wallpaper, can prevent unnecessary repairs and save time later.
I also had to adapt my cutting technique around the air conditioner because the working space was very limited.
The window screen replacement was another good reminder that applying the right amount of tension is essential for a clean finish.
Even on a relatively small project, careful preparation, appropriate tool selection, and attention to detail make a big difference.
These small decisions are what help improve the quality and efficiency of everyday renovation work.
Frequently Asked Questions (FAQ)
1. Why should you cut the wallpaper boundaries before removing old wallpaper?
Cutting the boundaries helps prevent joint sealant from pulling on and damaging the surrounding wallpaper during removal.
2. Do you always need to remove the old wallpaper backing paper?
No. If the backing paper is firmly attached and the wall surface is suitable, it can often remain. Loose or poorly attached backing paper should be removed.
3. Why was only finishing putty used in this project?
The wall did not have any major uneven areas, and the new wallpaper was relatively thick with a pronounced embossed texture. Therefore, an additional coat of base putty was unnecessary.
4. How much should wallpaper be wrapped around an inside corner?
The amount depends on the wall layout and the surrounding details. In this project, I wrapped the wallpaper approximately 3 cm around the corner to reach the nearby storage frame.
5. How do you install wallpaper behind an air conditioner?
Use suitable tools, such as a putty knife and wallpaper smoother, to guide the material into narrow spaces. Carefully adjust your cutting technique to the available working space.
6. Can you reuse the old rubber spline when replacing a window screen?
Yes, if the rubber spline is still in good condition. However, if it has deteriorated or become thinner, replacing it is recommended to ensure the mesh stays securely in place.
7. Why does window screen mesh become loose?
Loose mesh can result from insufficient tension during installation, a deteriorated rubber spline, or improper installation.
8. How tight should window screen mesh be when installing it?
The mesh should be held with gentle, consistent tension. Pulling too hard can distort it, while insufficient tension can cause sagging.
9. What tool is used to install window screen mesh?
A window screen roller is used to press the rubber spline into the groove of the frame, securing the mesh in place.
10. How long did this project take?
The work took approximately 7.5 hours. Three workers were assigned to the project, which included partial wallpaper replacement, window screen replacement, and other renovation tasks.
Conclusion
Today’s project involved partial wallpaper replacement and window screen repair in a 35-square-meter, 1LDK apartment in Japan.
Although the wallpaper replacement covered only selected wall surfaces, careful preparation was necessary to protect the existing wallpaper and soft baseboards.
We also had to work around an air conditioner with limited space and complete the window screen replacement.
The total working time was approximately 7.5 hours.
Every renovation project has its own challenges, even when the work appears relatively simple.
By paying attention to small details and choosing the right techniques for each situation, we can achieve better results and work more efficiently.
Thank you for reading!
I will continue sharing real renovation projects and practical wallpaper installation techniques from Japan.
The Japanese Wallpaper Craftsman


Comments