

Project Information
Project Type: Interior Painting and Wall Surface Preparation
Location: 4th-Floor Apartment, Japan
Property Type: 1DK Apartment
Floor Area: Approximately 35 m²
Work Scope: Wall and Ceiling Painting, Wall Repairs, Putty Application, and Door Painting
Crew Size: 3 Workers
Working Time: 7.5 Hours
Project Status: In Progress
Introduction
Today, we continued the interior painting project we started yesterday. The job involved painting the entire interior of a 35-square-meter, 1DK apartment on the fourth floor of a residential building in Japan.
Three workers worked together to complete the painting and wall preparation.
Our main tasks today were applying the second coat of white paint, repairing a section of wall around the washing machine area, and painting interior doors and other fixtures.
One of the most important parts of this job was preparing the repaired wall surface for painting. A smooth, properly prepared surface is essential for achieving a professional finish.
In this article, I will explain our workflow, the tools we used, and some important techniques for achieving a clean and even paint finish.
Related Project
Painting a 35 m² Apartment in Japan: Surface Preparation, Masking, and White Paint Application
Job Site Report: Step-by-Step Painting Process
1. Applying the Second Coat of White Paint
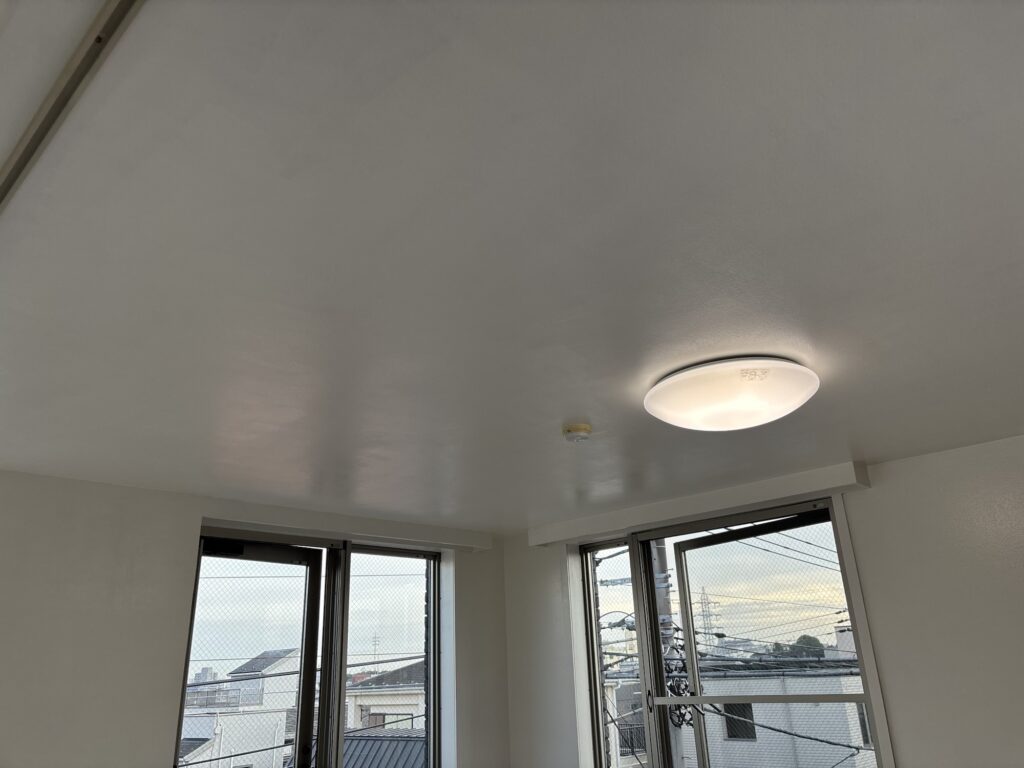
We started by applying the second coat of white paint to the areas we had painted yesterday.
After applying the first coat, some unevenness and differences in coverage were still visible. Applying a second coat helped create a more consistent color and a cleaner overall appearance.
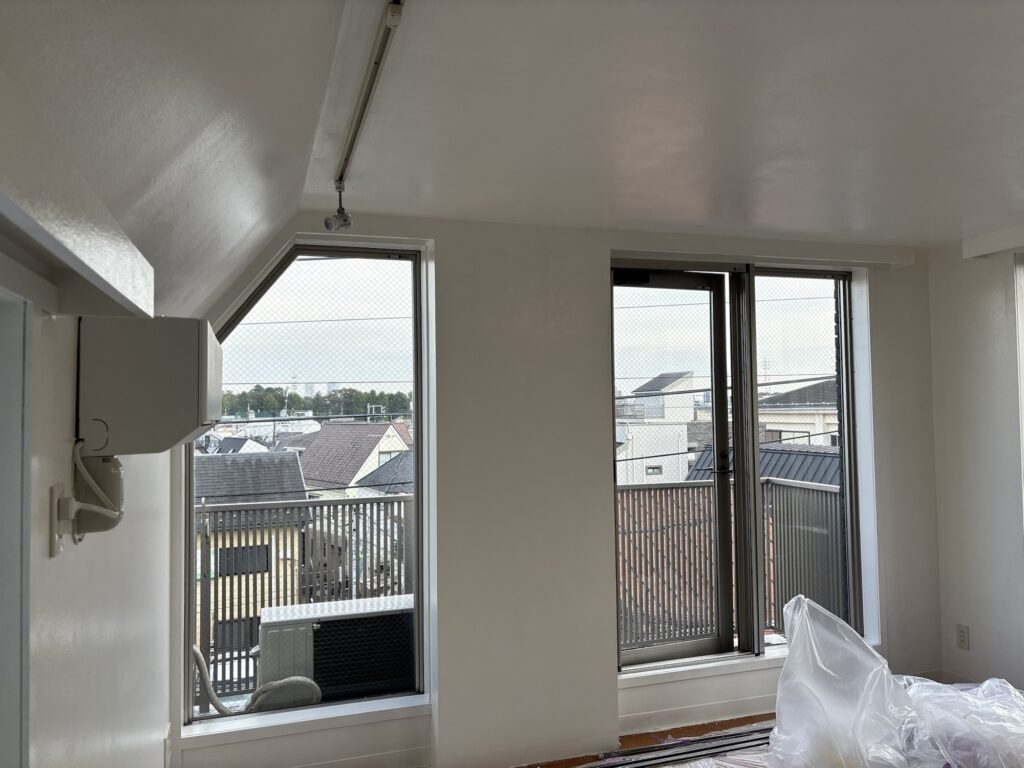
Even when the first coat looks reasonably good, the second coat can make a significant difference in the final result.
Allowing the first coat to dry properly before applying the next coat is also important for achieving an even finish.
2. Repairing the Wall Around the Washing Machine Area
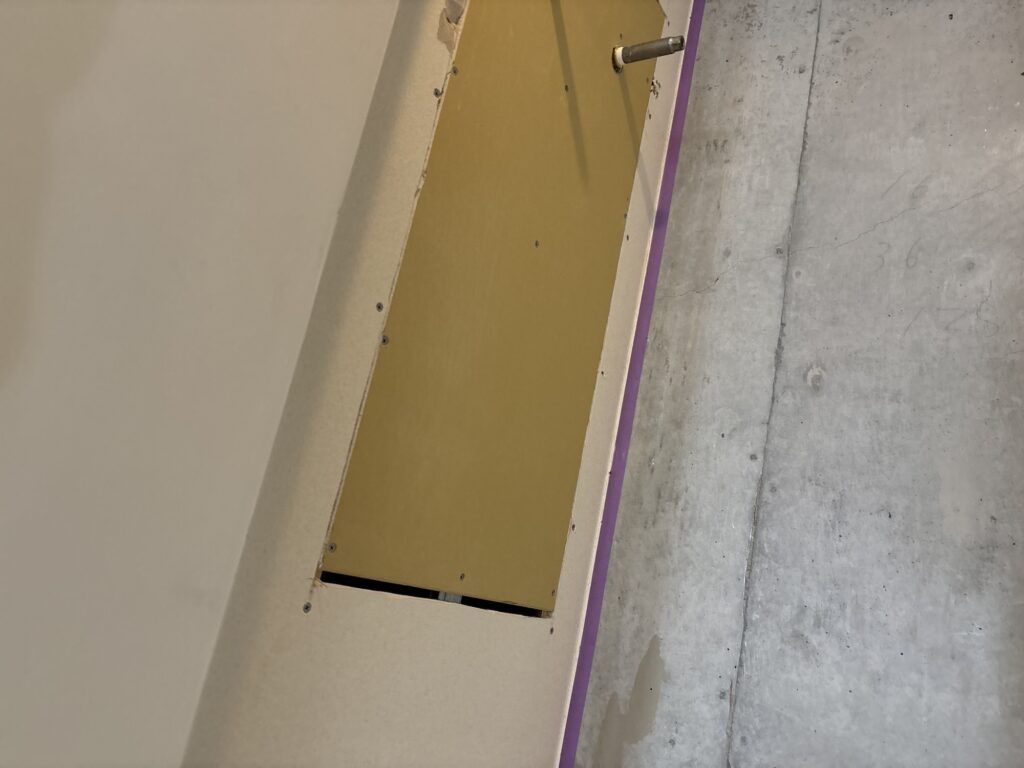
Yesterday, plumbing work was carried out around the washing machine water supply. A section of the wall had been opened to allow access to the plumbing and then closed again.
As a result, we needed to repair the groove and uneven areas around the section that had been reopened.
Before painting, these imperfections had to be filled and smoothed out.
Paint can make even small surface defects surprisingly noticeable. Minor bumps, scratches, uneven joints, and dust trapped in the finish can all affect the final appearance.
For this reason, we took extra care with the wall preparation.
3. Applying the First Coat of Wall Putty
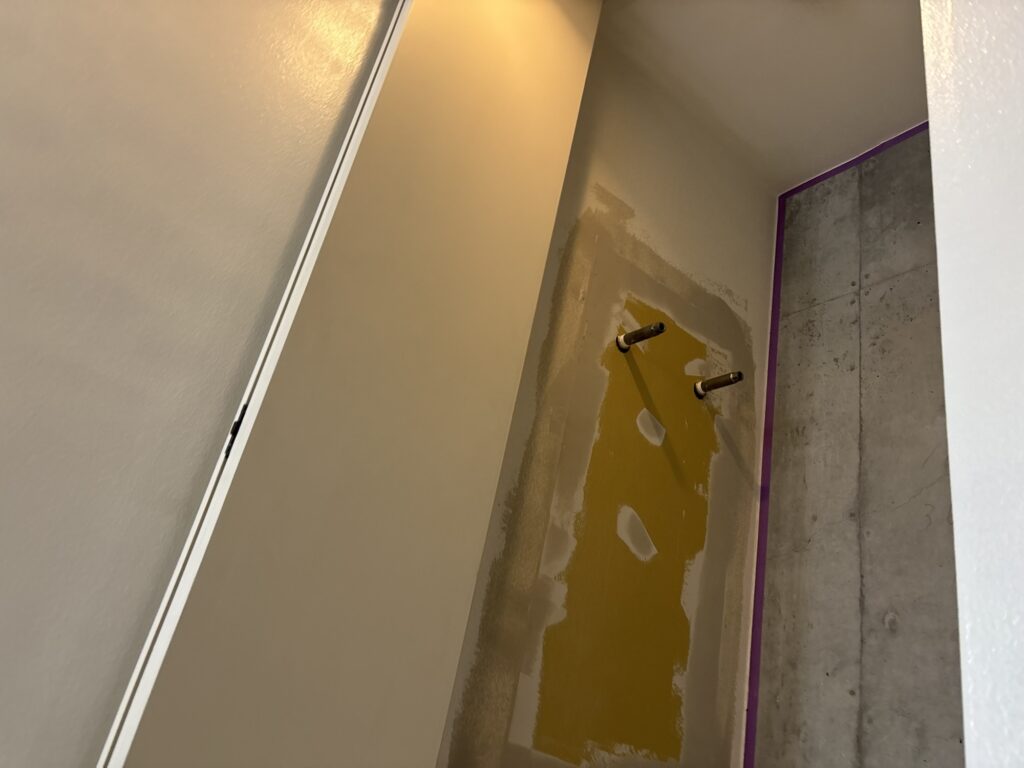
We began by applying the first coat of base putty to fill the groove and level the repaired area.
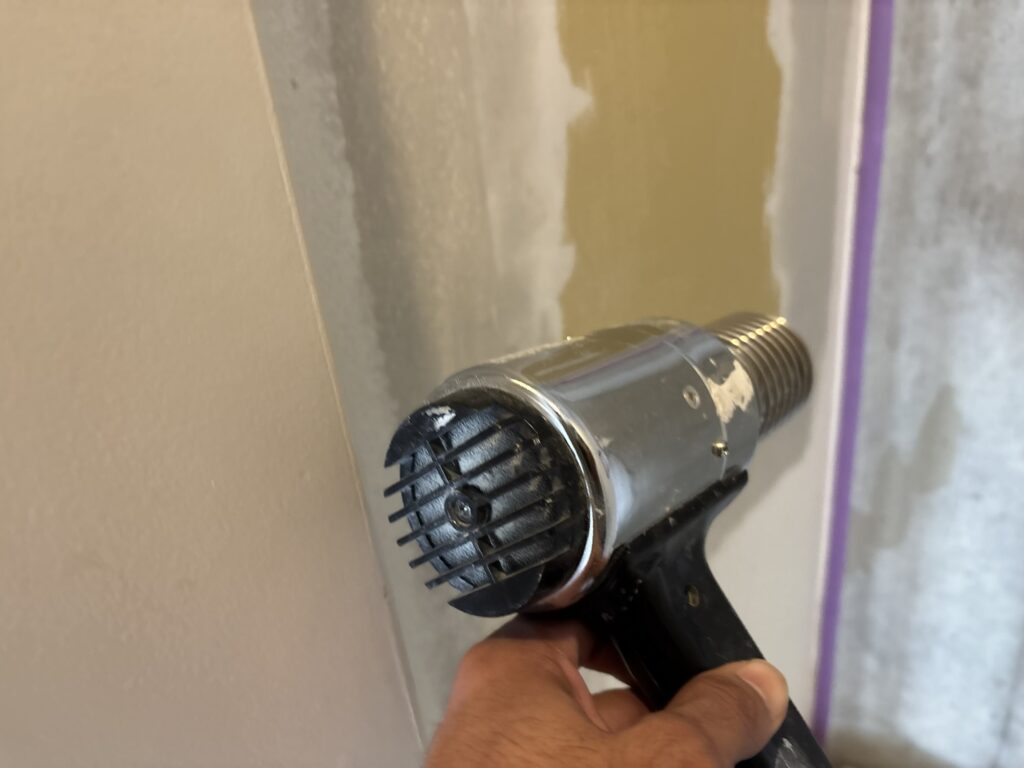
After applying the putty, we used a heat gun to help speed up the drying process.
The drying time depends on the type of putty, the thickness of the application, and the surrounding conditions. It is important to make sure the material is sufficiently dry before continuing.
Once the first coat had dried, we applied a second coat of putty to improve the surface.
Using multiple thin applications can make it easier to achieve a smooth, level finish than trying to fill a deep groove in one pass.
4. Sanding and Applying Acrylic Finishing Putty
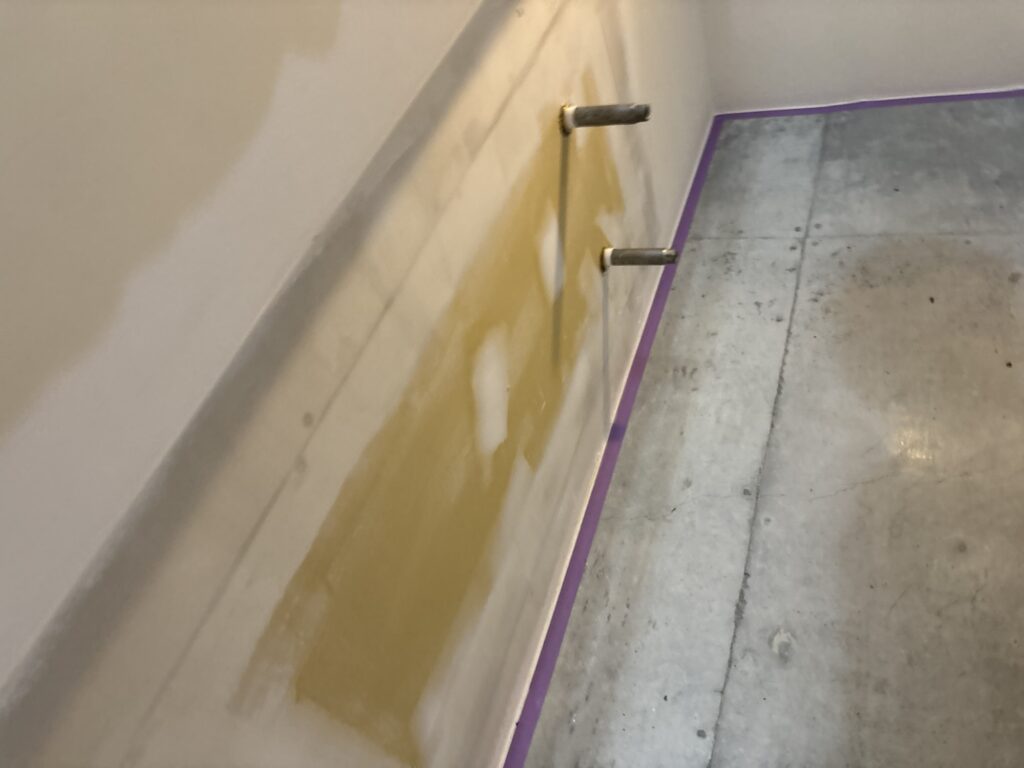
After the second coat of base putty had dried, we sanded the repaired area to remove excess material and smooth the surface.
However, base putty alone does not always provide the smooth finish required for painting.
Depending on the product, base putty can leave a relatively rough or porous surface. If paint is applied directly over it, differences in texture and surface absorption may become visible.
To improve the finish, we applied acrylic finishing putty over the repaired area.
The finishing putty helps create a smoother surface and can improve the consistency of the final painted appearance.
It is important to use a finishing material that is compatible with the paint system and the existing wall surface.
After applying the finishing putty, we allowed it to dry before preparing the surface for painting.
5. Painting the Repaired Wall
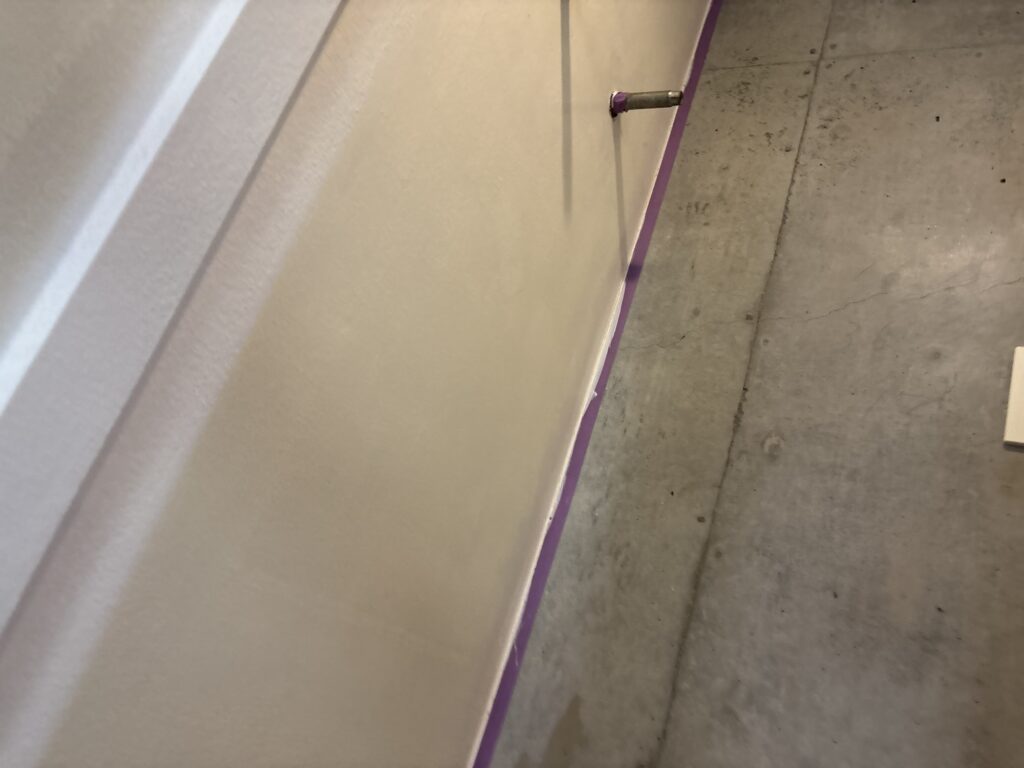
Once the wall preparation was complete, we painted the repaired area using a roller and a brush.
The roller was useful for covering larger, relatively flat areas, while the brush allowed us to work more carefully around edges and smaller sections.
Proper preparation is especially important when painting over repaired areas. Even if the paint color matches perfectly, differences in surface texture can make the repair visible.
We therefore paid close attention to the smoothness of the surface before applying the paint.
After the first coat had dried sufficiently, we applied the second coat to achieve a more uniform finish.
6. Painting the Doors and Other Interior Fixtures
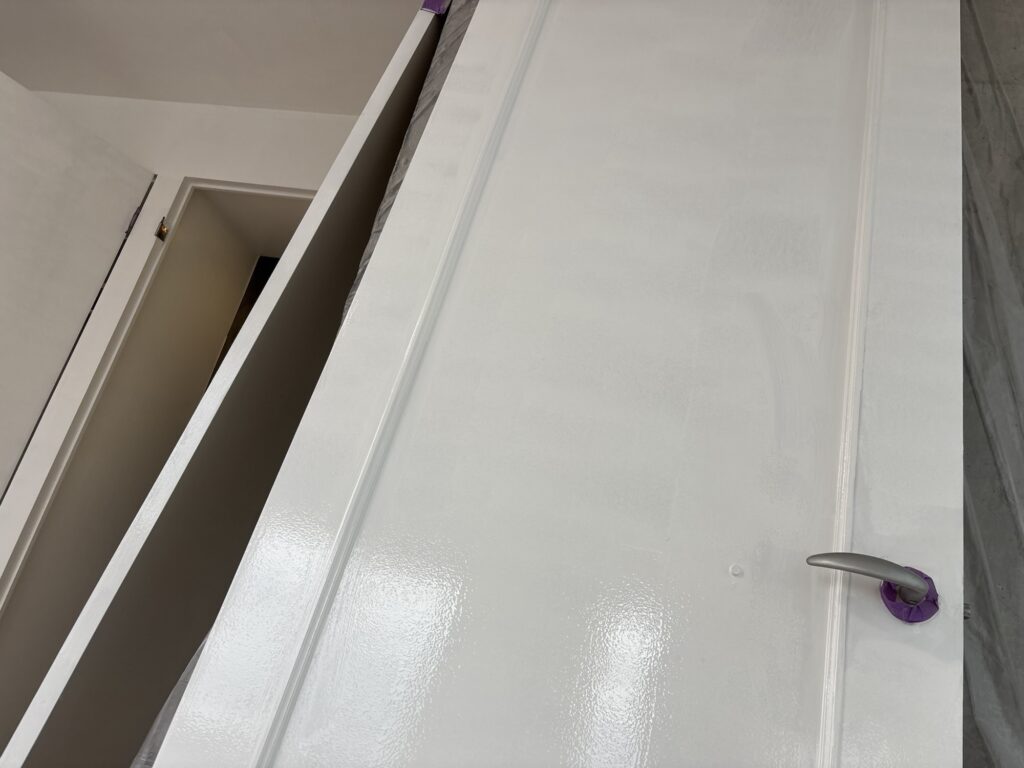
In addition to the walls, we painted the doors and other interior fixtures.
These areas require careful work because edges, corners, and changes in surface shape can be more noticeable than on large, flat walls.
Using the appropriate brush and applying the paint evenly helped us work around these details.
By the end of the day, we had completed the planned painting and surface preparation for this stage of the project.
7. Preparing for the Next Visit
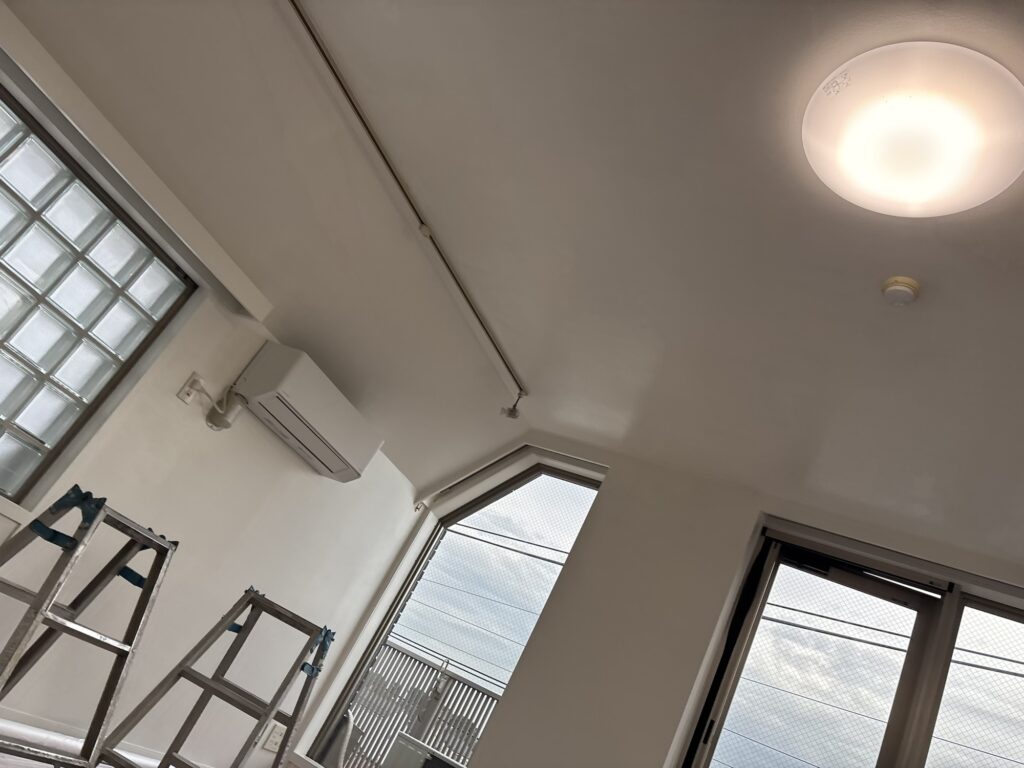
Our work today took approximately seven and a half hours.
The next time we visit the apartment, we plan to inspect the white-painted areas and continue with the gray paint.
Checking the completed white surfaces before moving on will help us identify any imperfections that need additional attention.
The project is still in progress, but today’s work brought us closer to completing the apartment’s interior finish.
Tools Used
The following tools and materials were used during today’s work.
Paint Roller: Used to apply paint evenly over larger wall surfaces.
Paint Brushes: Used for edges, corners, doors, and other detailed areas.
Base Putty: Used to fill grooves and repair damaged or uneven wall surfaces.
Acrylic Finishing Putty: Used to create a smoother surface before painting.
Heat Gun: Used to help speed up the drying of the putty where appropriate.
Sander: Used to smooth the dried putty and remove excess material.
Sandpaper: Used to refine the repaired surface and prepare it for finishing.
White Paint: Used for the second coat on previously painted areas and for newly repaired sections.
Gray Paint: Planned for the next stage of the project.
Using the correct materials and tools for each stage helps improve the quality and consistency of the finished work.
Related Project
Wallpaper Installation and Herringbone Cushion Flooring in a 2LDK Apartment
Professional Tips for a Smooth Paint Finish
1. Do Not Skip the Second Coat
A single coat may leave uneven coverage, visible marks, or differences in color intensity.
Applying a second coat after the first has dried properly helps create a more consistent appearance.
Always follow the paint manufacturer’s instructions regarding drying times and recoat intervals.
2. Spend Enough Time on Surface Preparation
A smooth paint finish starts long before the roller touches the wall.
Small bumps, scratches, grooves, and uneven joints can become more noticeable after painting.
Inspecting the surface carefully and correcting these defects beforehand can save time and reduce the need for touch-ups later.
3. Choose the Right Putty for Each Stage
Base putty and finishing putty serve different purposes.
Base putty is generally used to fill and level imperfections, while a suitable finishing putty can help create a smoother surface.
Choosing the appropriate material for the depth of the repair and the required finish is an important part of the process.
4. Make Sure the Putty Is Dry Before Sanding
Sanding putty before it has dried sufficiently can damage the surface and make it difficult to achieve a smooth result.
Although a heat gun can help speed up drying, excessive heat may cause problems such as premature surface drying or cracking, depending on the material and conditions.
Follow the product instructions and allow sufficient drying time.
5. Check the Surface Before Painting
After sanding, inspect the repaired area from different angles.
Raking light, which shines across the wall rather than directly onto it, can help reveal small bumps and depressions.
Removing sanding dust and correcting visible imperfections before painting will help improve the final result.
6. Use Rollers and Brushes for Different Purposes
Rollers are efficient for covering large areas, while brushes provide better control around edges and detailed sections.
Using both tools appropriately can help create a consistent finish without leaving missed areas around corners and fixtures.
7. Inspect Repairs After Painting
A repaired area may look smooth before painting but appear different once the paint has dried.
Check for uneven texture, visible repair lines, and differences in paint coverage.
If necessary, correct the problem before proceeding with the remaining work.
Common Mistakes to Avoid
1. Applying Paint Over an Uneven Surface
Paint does not automatically hide dents, grooves, or raised edges.
In many cases, these defects become more noticeable after the paint dries.
How to avoid it: Inspect the wall carefully, fill imperfections, and sand the surface before painting.
2. Applying the Second Coat Too Early
Applying another coat before the previous coat has dried sufficiently can affect the finish and the performance of the paint.
How to avoid it: Follow the manufacturer’s recommended drying time and recoat instructions.
3. Using Only Base Putty for a High-Quality Finish
Base putty may leave a rougher surface than is desirable for certain painting applications.
How to avoid it: Evaluate the surface after sanding and apply a compatible finishing material when necessary.
4. Leaving Dust on the Surface
Sanding dust can interfere with paint application and create an undesirable finish.
How to avoid it: Remove dust thoroughly before applying primer or paint, following the requirements of the coating system.
5. Overheating the Putty With a Heat Gun
Using too much heat can affect drying and may damage some materials.
How to avoid it: Use controlled heat only when appropriate for the product, maintain a suitable distance, and keep the heat moving.
6. Rushing the Finishing Work
Small imperfections can be easy to overlook when working quickly, especially near corners and repaired sections.
How to avoid it: Take time to inspect the surface at each stage rather than relying on the final coat of paint to hide mistakes.
What I Learned From This Project
Today’s work reminded me how important wall preparation is when painting an interior.
Applying paint with a roller is relatively straightforward, but achieving a smooth, consistent finish requires much more than simply covering the wall with color.
The repaired area around the washing machine was a good example. Because plumbing work had required part of the wall to be opened and closed again, we needed to fill the groove, apply multiple coats of putty, sand the surface, and use acrylic finishing putty before painting.
Each step served a different purpose.
I also noticed how much the second coat improved the appearance of the white-painted areas. Compared with the first coat alone, the second coat provided more consistent coverage and a cleaner finish.
My experience installing wallpaper has taught me that preparation is essential for achieving a professional result. Painting requires the same attention to detail, and in some situations, the condition of the underlying surface is even more noticeable after the finish has been applied.
The main lesson from this project is simple: good painting starts with good surface preparation.
Taking the time to prepare the wall properly makes it easier to achieve a clean, attractive, and durable finish.
Frequently Asked Questions (FAQ)
1. Why Is a Second Coat of Paint Necessary?
A second coat helps improve coverage, even out the color, and create a more consistent appearance. Whether two coats are necessary depends on the paint, the existing surface, and the manufacturer’s instructions.
2. Why Does Wall Preparation Matter Before Painting?
Paint can highlight surface defects such as scratches, grooves, bumps, and uneven joints. Proper preparation helps create a smoother and more professional-looking finish.
3. What Is the Difference Between Base Putty and Acrylic Finishing Putty?
Base putty is generally used to fill gaps and level imperfections. Acrylic finishing putty is used for finer surface preparation when a smoother finish is required. The appropriate products depend on the substrate and paint system.
4. Can I Paint Directly Over Dried Putty?
Not always. The putty may need to be sanded, cleaned, and primed before painting. Follow the instructions for the specific putty and paint products being used.
5. Can a Heat Gun Be Used to Dry Wall Putty?
A heat gun may help speed up drying for certain products, but it is not suitable for every material or situation. Excessive heat can cause problems, so follow the manufacturer’s recommendations and use controlled heat only when appropriate.
6. Why Is Sanding Necessary Before Painting?
Sanding removes excess putty, smooths uneven areas, and helps prepare the surface for finishing. It also makes it easier to identify imperfections that need further repair.
7. Why Can Repaired Areas Look Different After Painting?
Differences in texture, porosity, and paint absorption can make repaired areas stand out. Proper filling, sanding, and any necessary priming help reduce these differences.
8. Should I Use a Roller or a Brush for Interior Painting?
Both tools are useful. Rollers are generally better for larger areas, while brushes provide greater control around edges, corners, and detailed fixtures.
9. How Long Does It Take to Paint a 35 m² Apartment?
The working time depends on the condition of the walls, the amount of preparation required, the number of workers, and the number of paint coats. In this project, three workers spent approximately seven and a half hours on the day’s work, including wall repairs and painting. This was not the total time required to complete the entire apartment.
10. What Should Be Checked Before Moving on to Another Paint Color?
Inspect the completed areas for uneven coverage, visible repairs, rough patches, and other imperfections. Make sure the white paint has dried sufficiently and correct any problems before proceeding with the next color.
Conclusion
Today, we continued painting a 35 m² apartment by applying the second coat of white paint, repairing a wall around the washing machine area, and painting the doors and other interior fixtures.
The most time-sensitive part of the work was preparing the repaired wall. We applied base putty, allowed it to dry, sanded the surface, and used acrylic finishing putty to achieve a smoother finish before painting.
We then applied the paint with rollers and brushes, allowing the first coat to dry before applying the second coat where required.
The entire day’s work took approximately seven and a half hours with a crew of three.
Next time, we plan to inspect the white-painted areas and continue painting with gray.
This project is another reminder that the quality of a painted wall depends not only on the paint itself but also on the care taken during surface preparation.
A smooth, professional finish begins with a well-prepared surface.
Permalink: apartment-interior-painting-wall-repair-second-coat
Tags: Interior Painting, Apartment Renovation, Wall Repair, Wall Putty, Acrylic Finishing Putty, Surface Preparation, Painting Techniques, DIY Renovation, Japanese Construction, Wallpaper Craftsman


Comments