
Project Type:Residential Renovation – Laundry Room / Washroom Renovation
Location:Japan
Area:Laundry Room / Washroom
Work:Wallpaper Replacement, Vinyl Flooring Installation, Baseboard Replacement
Pattern Repeat: 25 cm
Working Time: 1 Day
Occupied Home: Yes
Crew:2 Wallpaper Installers (Wallpaper), Flooring and Baseboard Installation Completed by Another Crew Member
Introduction
Today’s project involved a complete renovation of a residential laundry room.
The scope of work included replacing the wallpaper, installing new vinyl flooring (cushion flooring), and replacing the baseboards.
Because the homeowners were still living in the house, protecting the surrounding area and working carefully around existing fixtures was just as important as the installation itself.
Patterned wallpaper also required extra preparation and precise installation to achieve a professional finish.
⸻
Project Report (Step-by-Step)
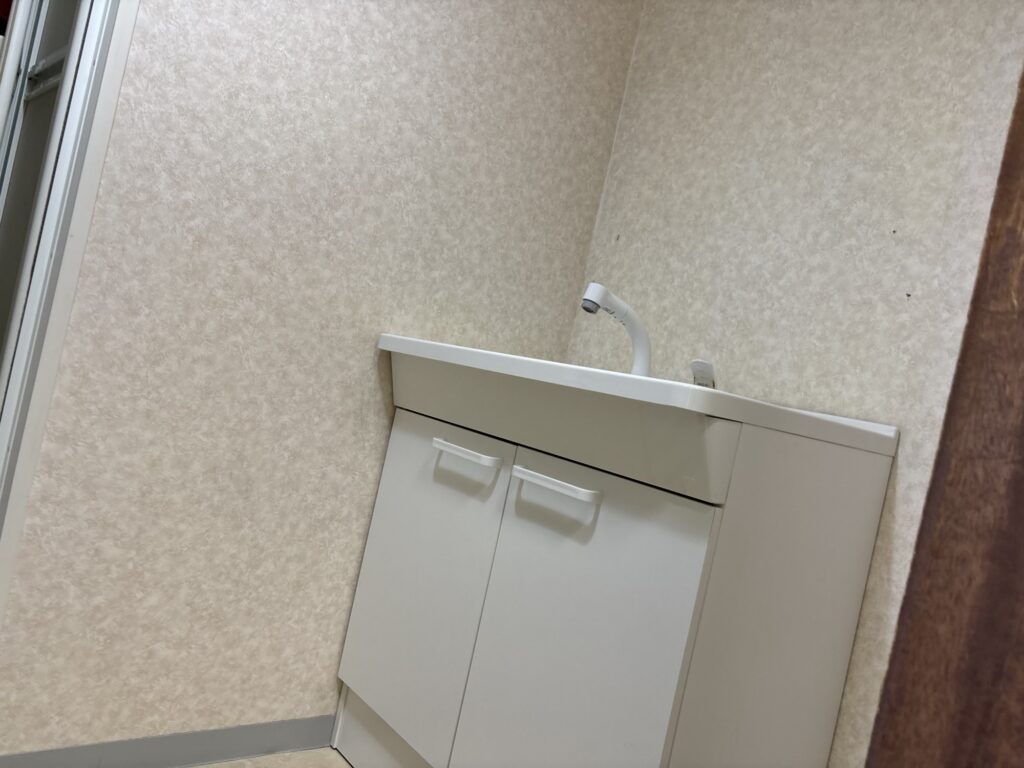
Protecting the Home Before Work Begins
Since this was an occupied home, the first step was protecting the room with covering materials to prevent dust and debris from spreading during demolition and installation.
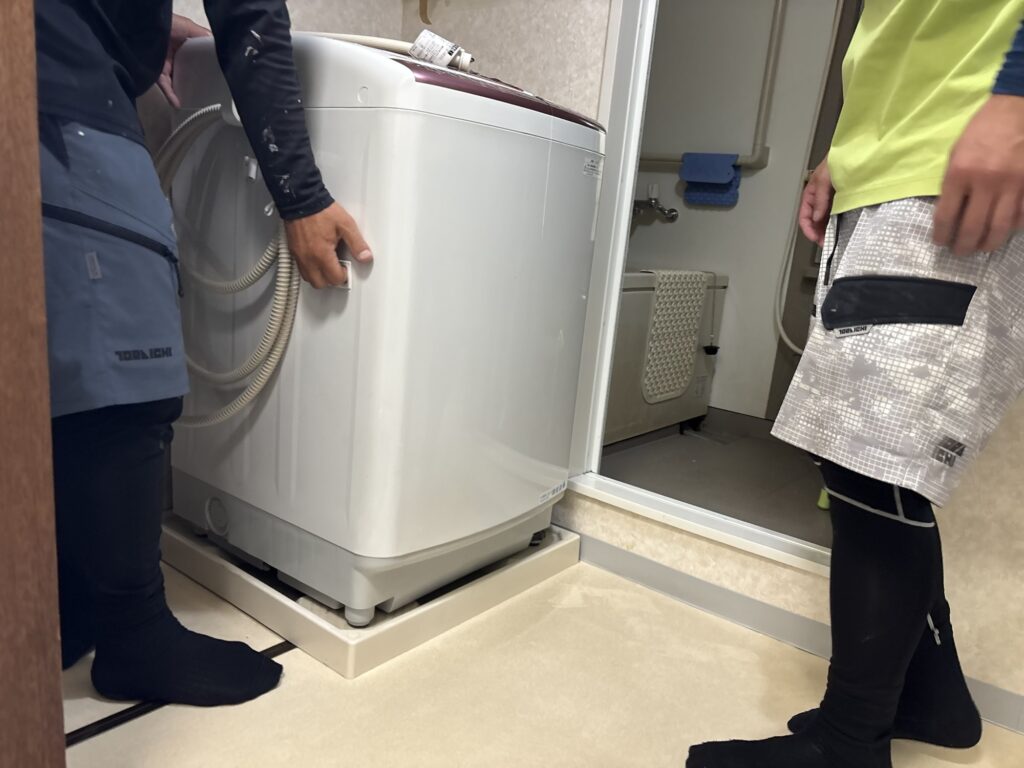
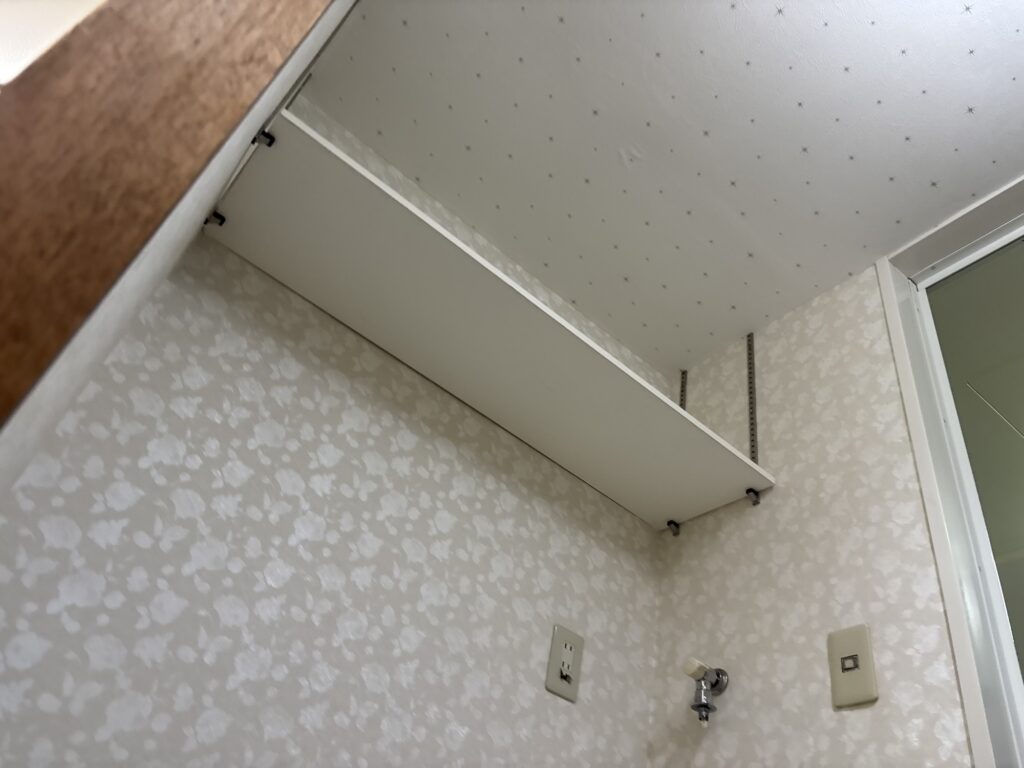
We then removed or moved the washing machine, storage shelves, and vanity to create enough working space.
Whenever possible, I recommend removing fixtures such as vanities before wallpaper installation.
It produces a much cleaner and more professional finish than trying to cut wallpaper around them.
Removing the Old Wallpaper
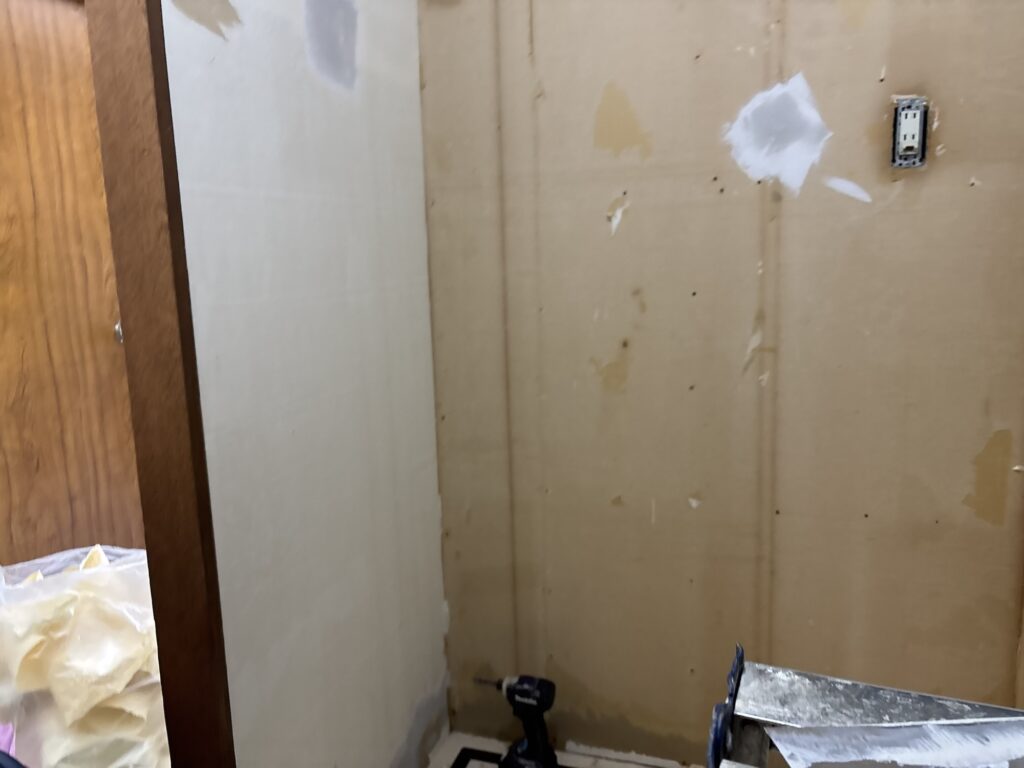
After preparing the room, we stripped the old wallpaper.
Because this was an older house, many nails had been driven into the wall substrate.
Some had worked loose over time and were sticking out from the surface.
Each protruding nail was hammered back into place before any repairs began.
If these nails are left exposed, they will telegraph through the new wallpaper, creating visible bumps that ruin the finished appearance.
One important lesson is that hammering a nail once isn’t always enough.
Driving one nail back into the wall can sometimes cause another nearby nail to pop out. For stubborn nails that continued to move, we either cut them off, removed them completely, or replaced them with screws when necessary.
Wall Preparation
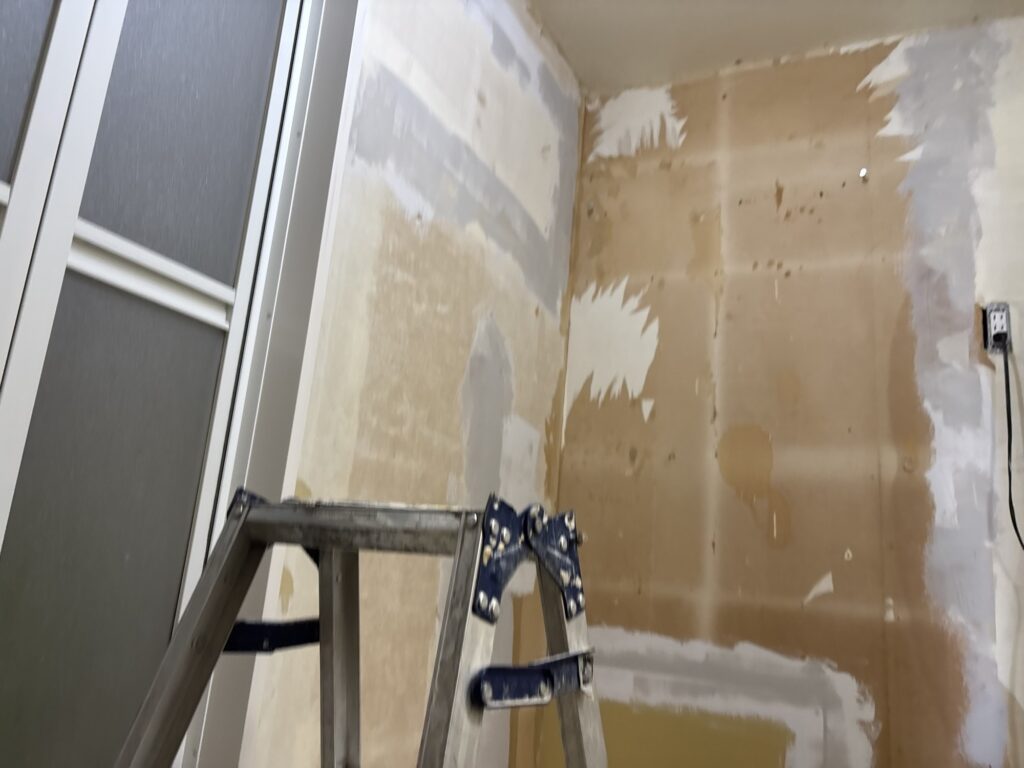
The wallpaper selected for this project was a thin patterned material, meaning the wall preparation had to be especially thorough.
Remaining backing paper was carefully removed before applying joint compound.
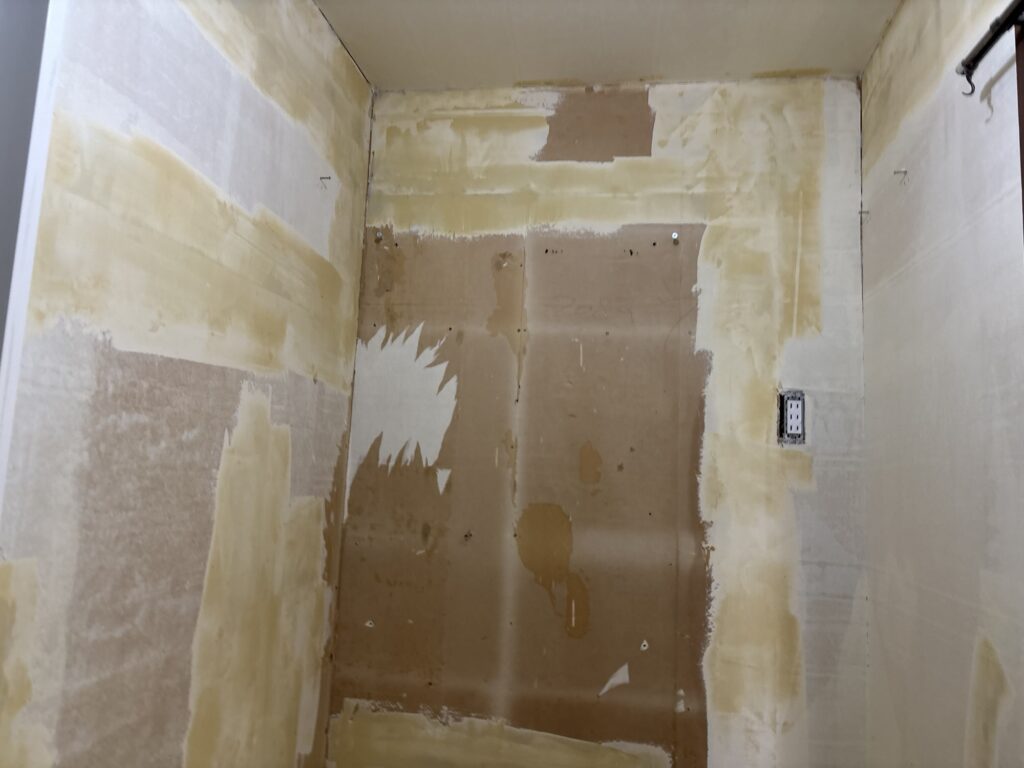
The wall received:
- Two coats of base joint compound
- One final coat of finishing compound
While the first coat was drying, several areas of the substrate began to bubble.
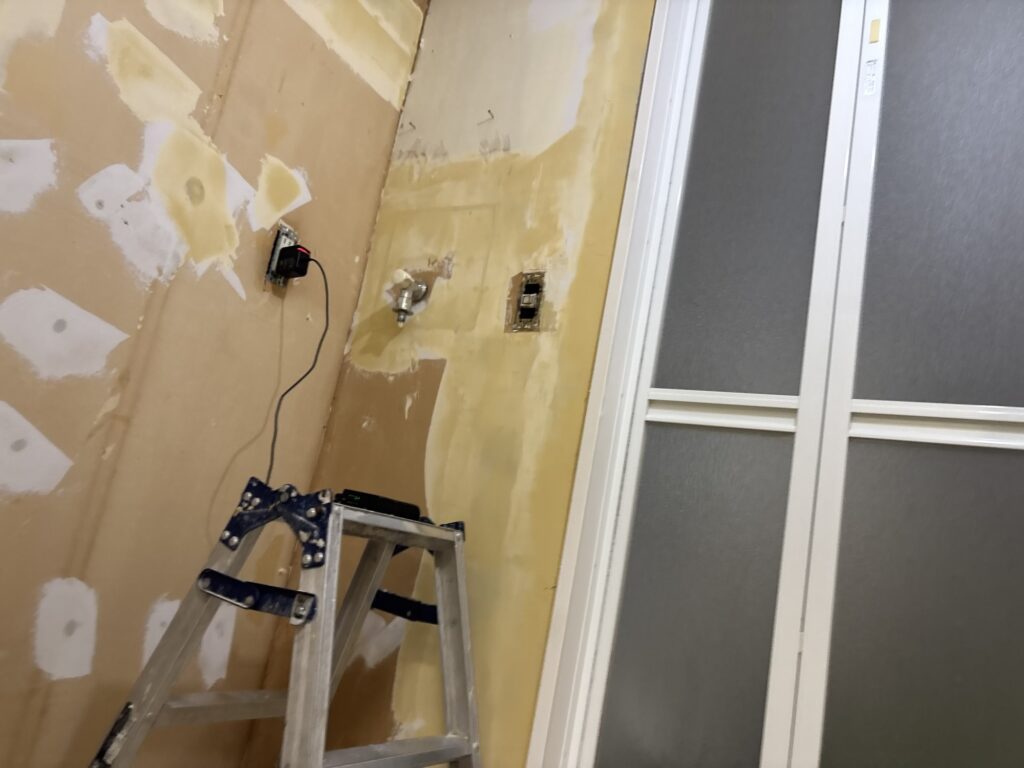
These weak areas were removed completely before being repaired again with fresh compound.
Because laundry rooms are humid environments, the compound dried much more slowly than usual. A heat gun was used to speed up the drying process.
Measuring and Cutting the Wallpaper
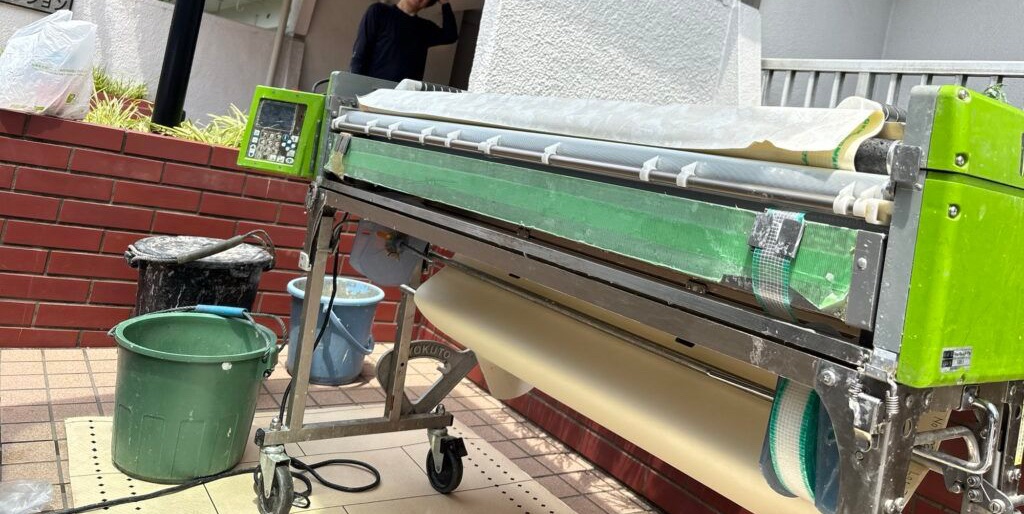
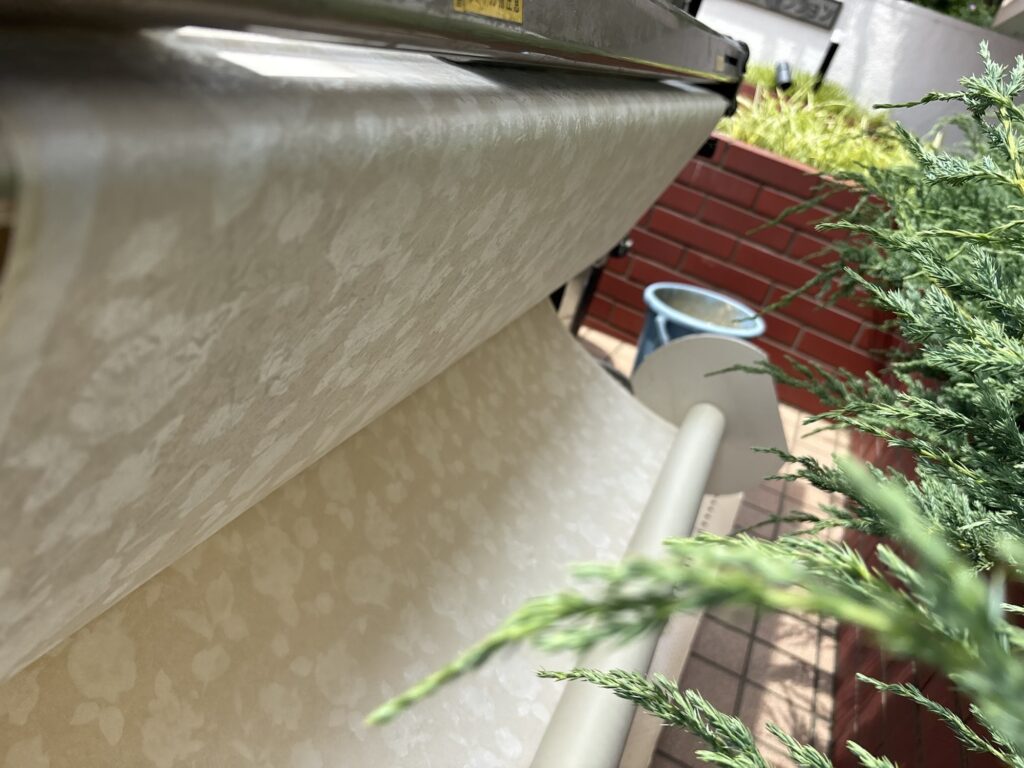
While waiting for the compound to dry, we measured every wall and prepared the wallpaper using a wallpaper pasting machine.
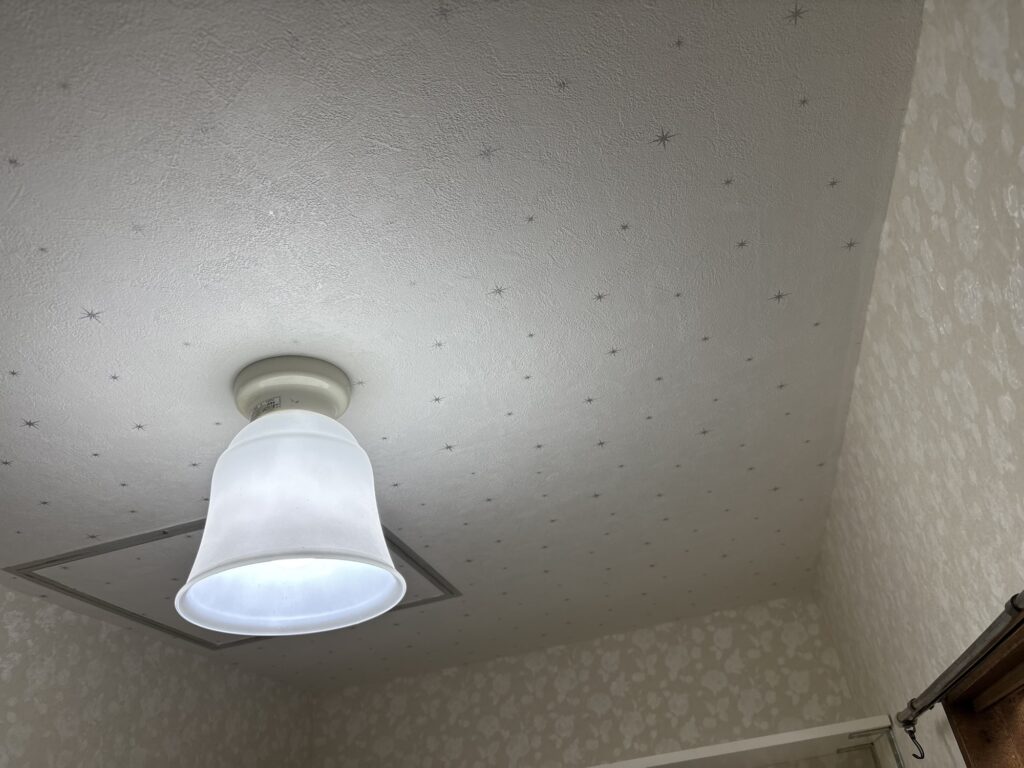
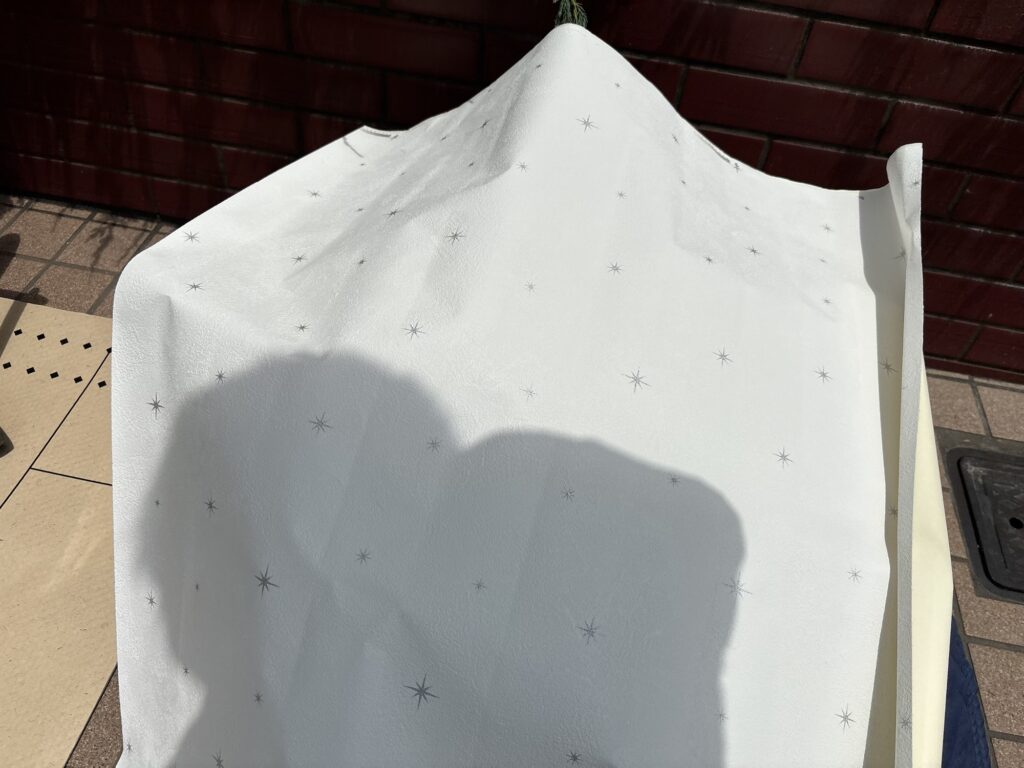
The ceiling and walls used different patterned wallpaper designs.
Pattern matching requires careful planning before cutting each strip.
The wallpaper repeat for this project was 25 cm, meaning the same design repeats every 25 centimeters.
To avoid running short during pattern matching, we always added an extra 25 cm to the measured wall height before cutting.
Without this additional length, matching the pattern would have been impossible.
Preparing the Wallpaper Edges
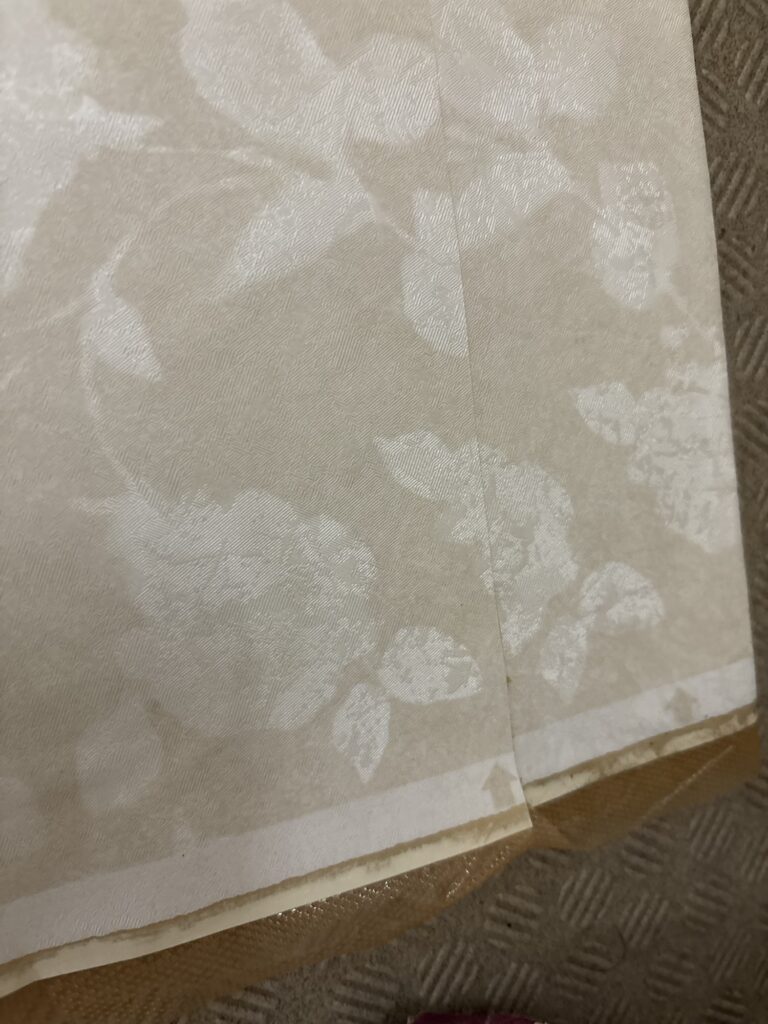
Two different tapes were applied along both edges of each wallpaper strip.
The green tape acted as a cutting tape, protecting the drywall from damage during double-cutting.
The orange tape helped prevent the wallpaper adhesive from drying before installation.
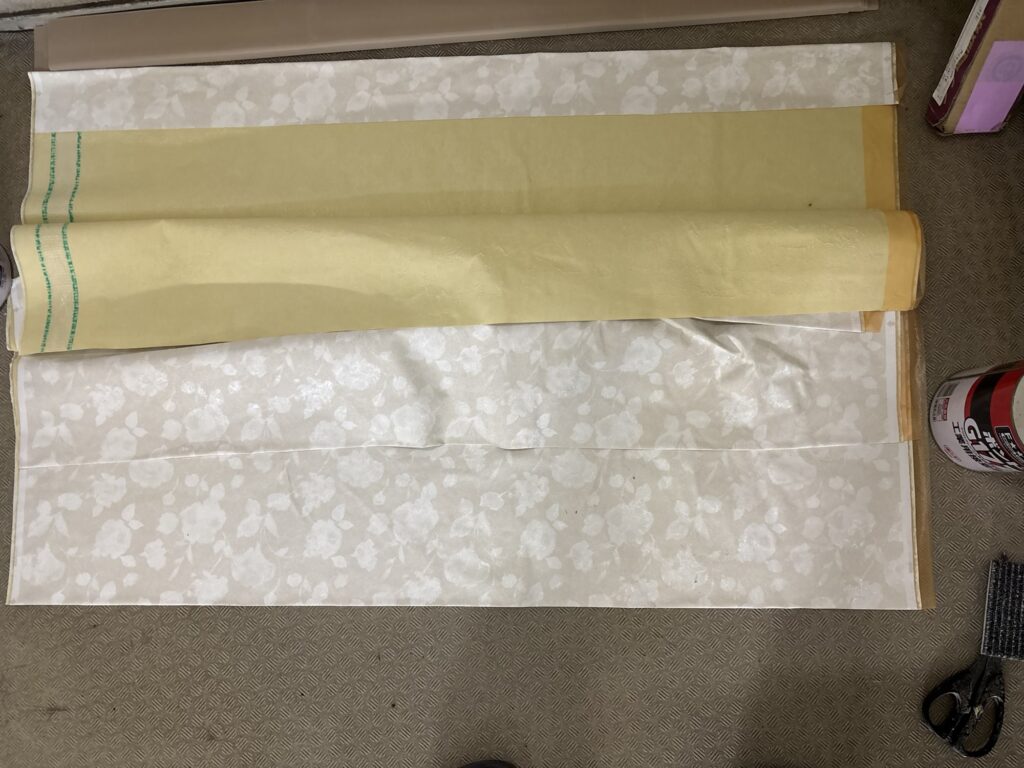
The correct order is important:
- Green tape underneath
- Orange tape on top
Installing Patterned Wallpaper
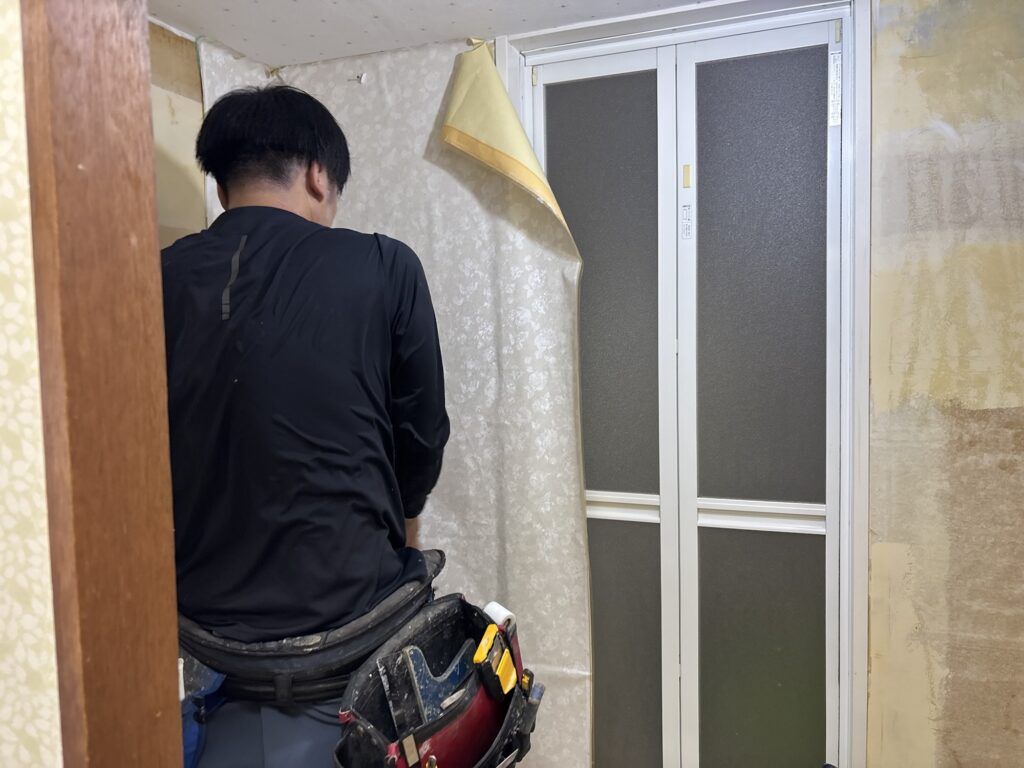
Patterned wallpaper requires precision from the very first strip.
If the first strip is even slightly crooked, every following strip will also become misaligned, making the finished room look uneven.
Before hanging the first sheet, we carefully established a perfectly straight reference line.
When installing the second strip, we repeatedly lifted and checked the wallpaper while aligning the printed pattern with the previous sheet before making the final placement.
Double-Cutting the Seams
Joint cutting requires the right amount of pressure.
Applying too much pressure can damage the drywall underneath.
Applying too little pressure may leave the wallpaper uncut, creating unnecessary problems during seam removal.
Developing the correct cutting pressure simply comes with experience and repeated practice.
After each seam was cut, a seam roller was used to firmly press the joints together for a clean finish.
Completing the Project
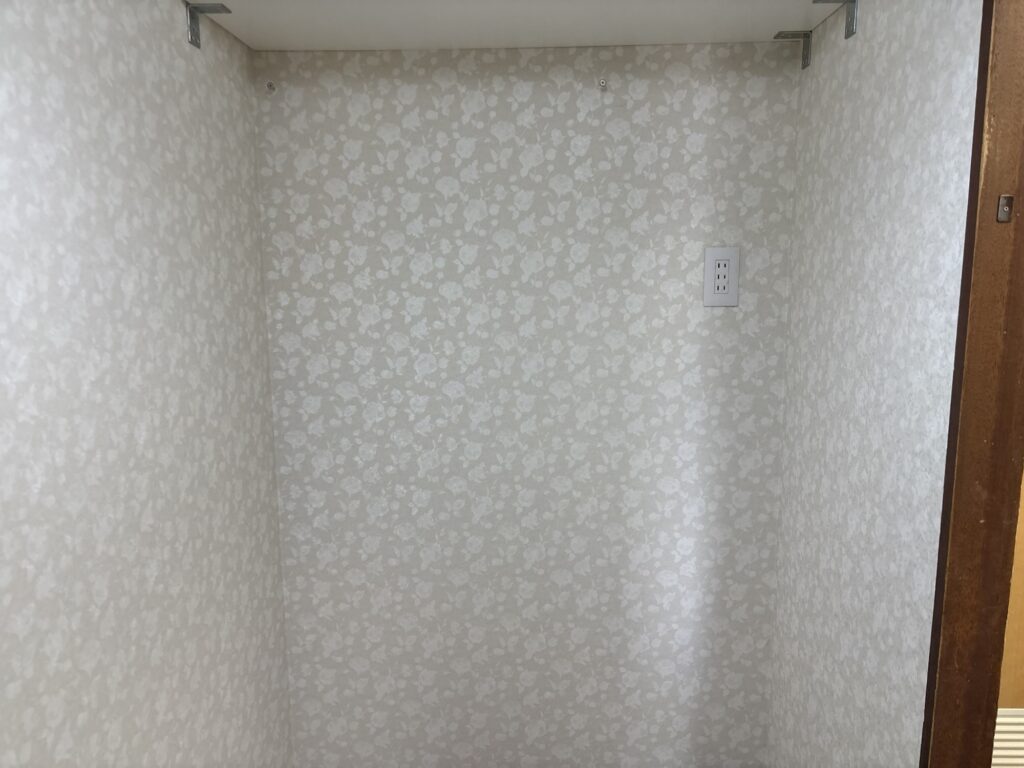
Working as a two-person team, we completed the ceiling and wall wallpaper installation efficiently.
Although patterned wallpaper is more difficult than plain wallpaper, seeing every pattern line up perfectly makes the finished room look much more impressive.
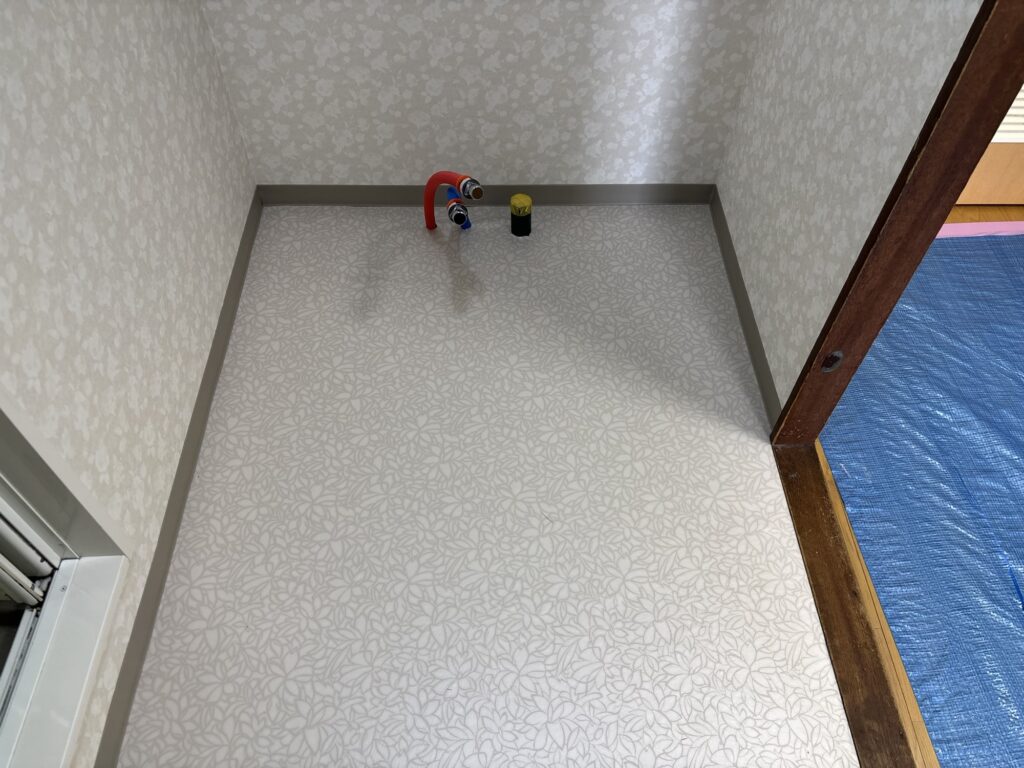
After the wallpaper installation was completed, another crew member installed the new vinyl flooring and baseboards, bringing the renovation to a successful finish.
⸻
Tools Used
- Wallpaper Steamer (if required)
- Utility Knife
- Snap-Off Blades
- Putty Knives
- Joint Compound
- Finishing Compound
- Sanding Sponge
- Heat Gun
- Wallpaper Pasting Machine
- Measuring Tape
- Chalk Line / Laser Level
- Seam Roller
- Cutting Tape (Green)
- Adhesive Protection Tape (Orange)
- Hammer
- Screwdriver
- Protective Floor Covering
⸻
Professional Tips
- Always remove removable fixtures before installing wallpaper whenever possible.
- Never ignore protruding nails—they will show through thin wallpaper.
- Patterned wallpaper requires much more accurate wall preparation than plain wallpaper.
- Always add one full pattern repeat when cutting patterned wallpaper.
- Establish a perfectly straight first strip to keep the entire room aligned.
- Use the correct cutting pressure when double-cutting seams to avoid damaging the substrate.
- In humid rooms, using a heat gun can significantly reduce drying time for joint compound.
⸻
Common Mistakes to Avoid
- Forgetting to add one pattern repeat when cutting wallpaper.
- Leaving protruding nails in the wall.
- Hanging the first strip slightly crooked.
- Cutting seams with too much pressure.
- Installing wallpaper before the joint compound is fully dry.
⸻
What I Learned From This Project
This project reminded me that successful wallpaper installation begins long before the first sheet is hung.
Proper preparation, careful wall repairs, accurate pattern planning, and patience all contribute to a high-quality finish.
Patterned wallpaper may require more time and attention than plain wallpaper, but the final result is well worth the extra effort.
⸻
Frequently Asked Questions (FAQ)
Why should bathroom or laundry room fixtures be removed before wallpaper installation?
Removing fixtures allows the wallpaper to be installed behind them, creating cleaner edges and a more professional appearance.
Why do protruding nails need to be repaired?
Even small nail heads can create visible bumps beneath thin wallpaper.
What is a wallpaper repeat?
A wallpaper repeat is the distance before the printed pattern repeats itself. Accurate cutting depends on this measurement.
Why use a heat gun when applying joint compound?
Laundry rooms tend to be humid, which slows drying. A heat gun helps speed up the curing process.
Why is the first strip so important?
Every following strip is aligned from the first one. If it is crooked, the entire installation will gradually become misaligned.
⸻
Conclusion
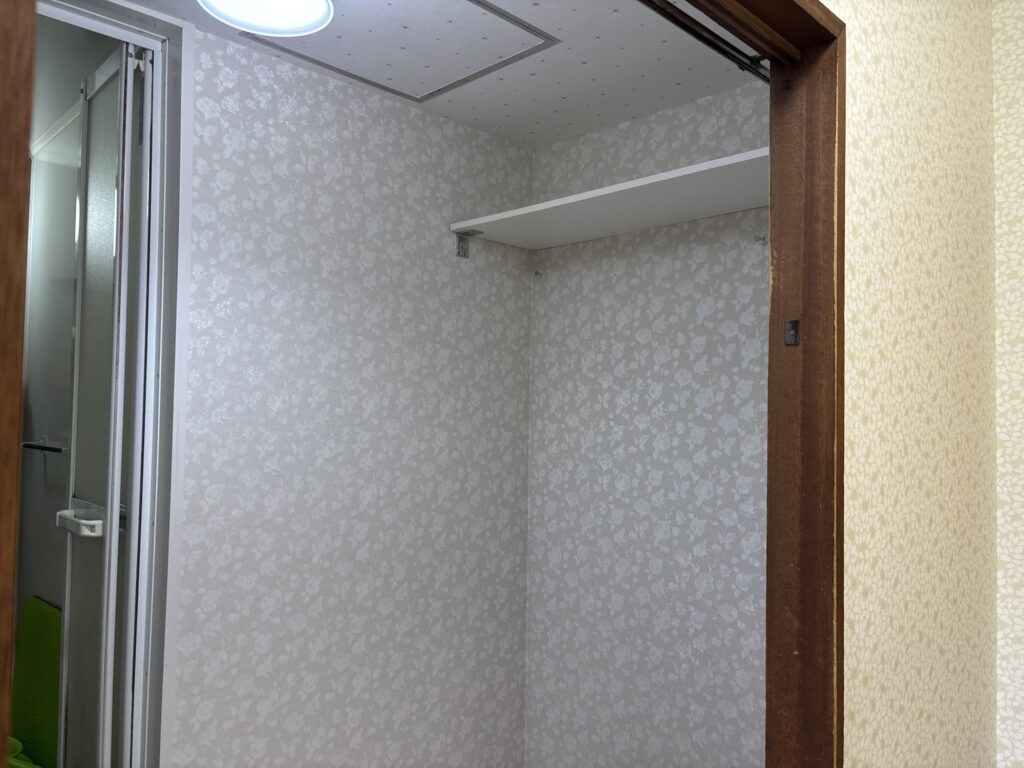
This occupied-home renovation required careful preparation, precise repairs, and accurate pattern matching to achieve a professional finish.
From repairing protruding nails and applying multiple coats of joint compound to carefully aligning every wallpaper pattern, each step played an important role in the final result.
Although patterned wallpaper demands extra patience and experience, the finished room demonstrates how proper preparation and attention to detail can completely transform a space.
Want to see more professional renovation projects? Explore my latest articles below.
Installing Vinyl Flooring in an Occupied Kitchen: Professional Preparation Tips


Comments