
Project Data
- Project Type: Partial Wallpaper Replacement & Paint Touch-Up
- Building Type: Condominium Apartment
- Floor: 4th Floor
- Apartment Size: Approximately 80 m² (2LDK)
- Wallpaper Area: Approximately 20 m²
- Wallpaper Locations: Walls and Walk-In Closet
- Ceiling: Wallpaper installation included
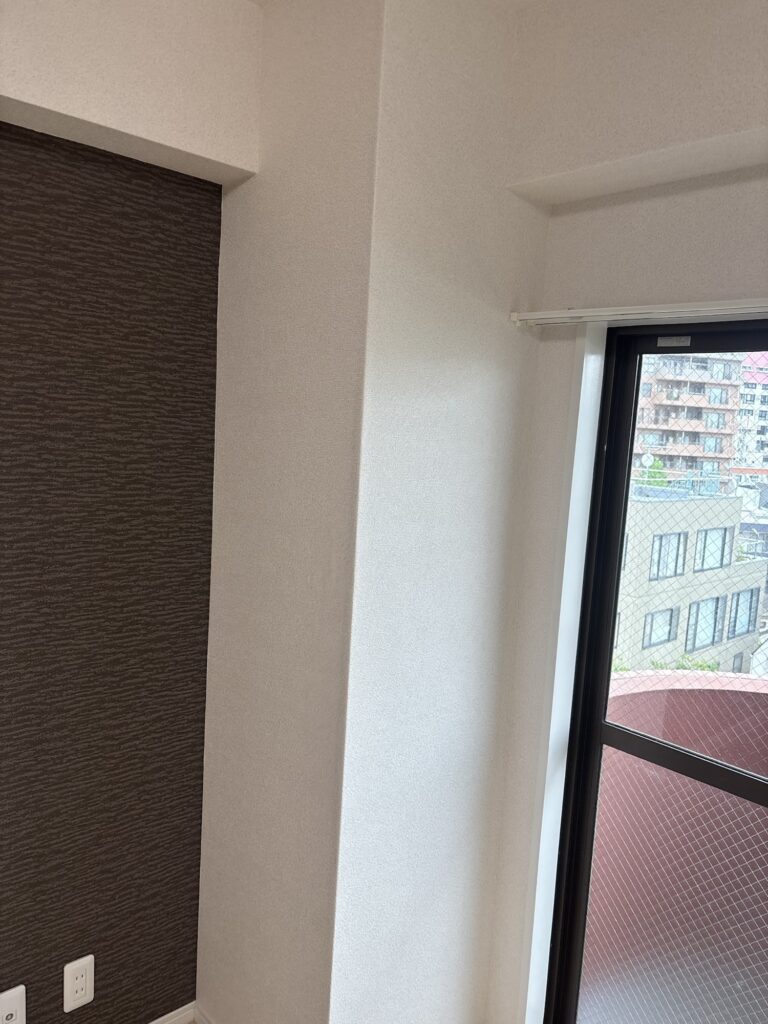
- Accent Wall: No replacement
- Crew: 2 Wallpaper Installers
- Working Time: Approximately 6.5 hours
- Starting Condition: Old wallpaper had already been removed and one coat of base joint compound had been applied
Introduction
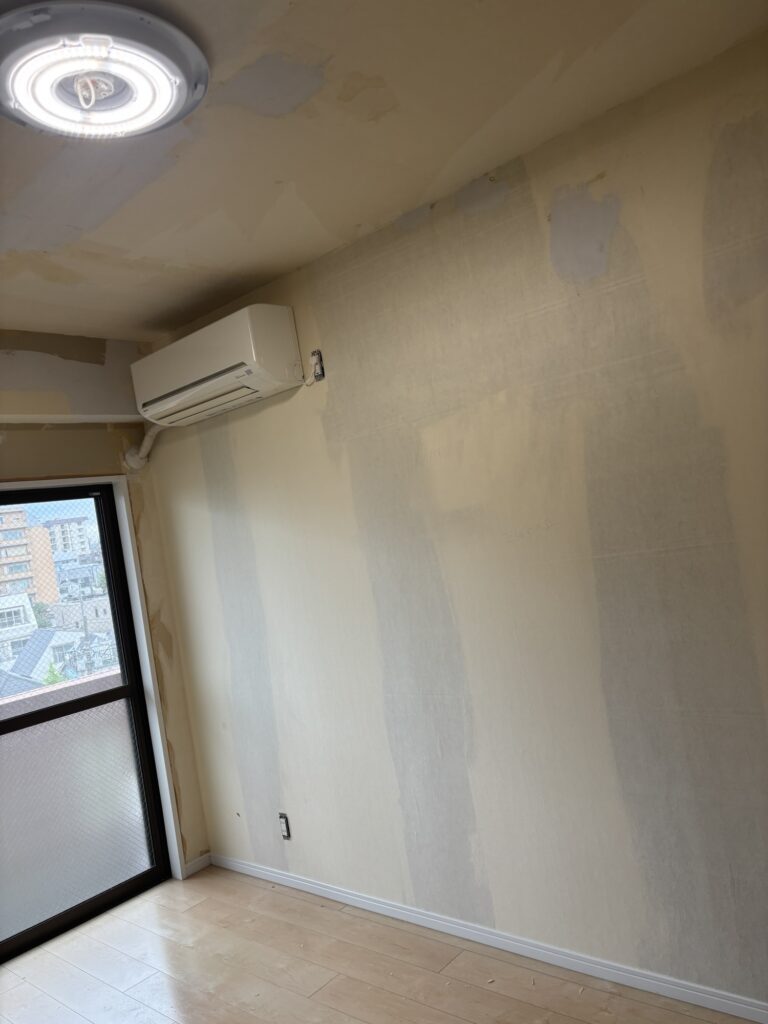
Today’s project was a partial wallpaper replacement and paint touch-up job in an approximately 80 m², 2LDK condominium apartment on the fourth floor.
Two wallpaper installers worked on the project.
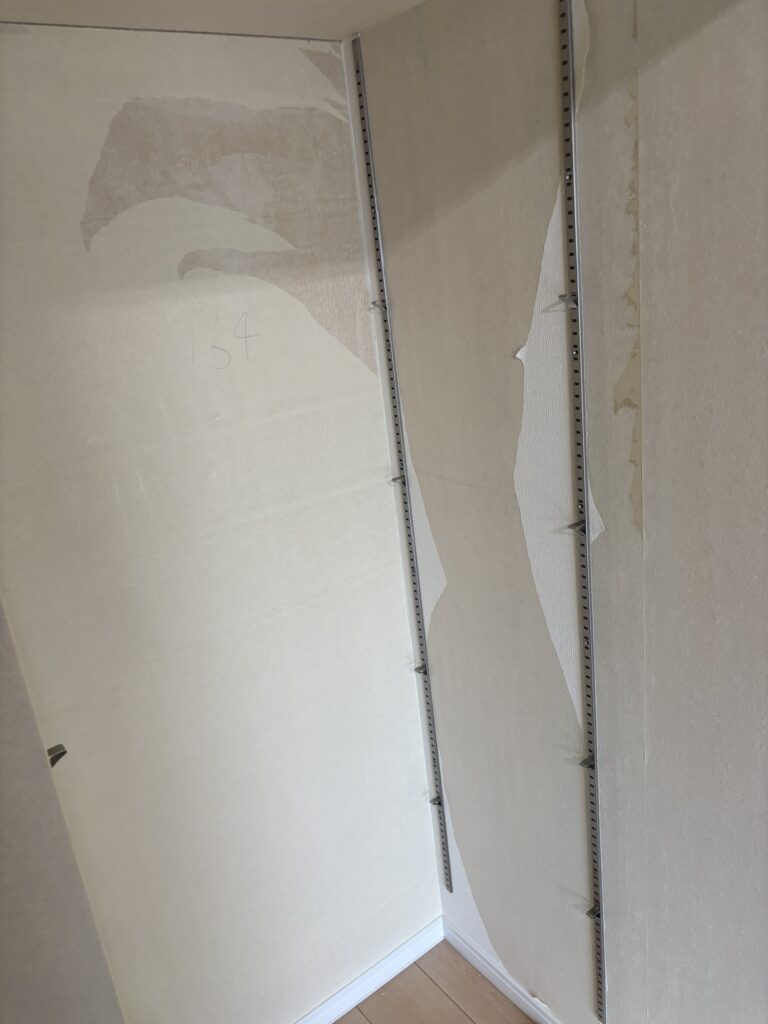
The wallpaper replacement area was approximately 20 m². We replaced wallpaper on the walls, excluding the existing accent wall, as well as inside the walk-in closet. Ceiling wallpaper and beam areas were also included in the work.
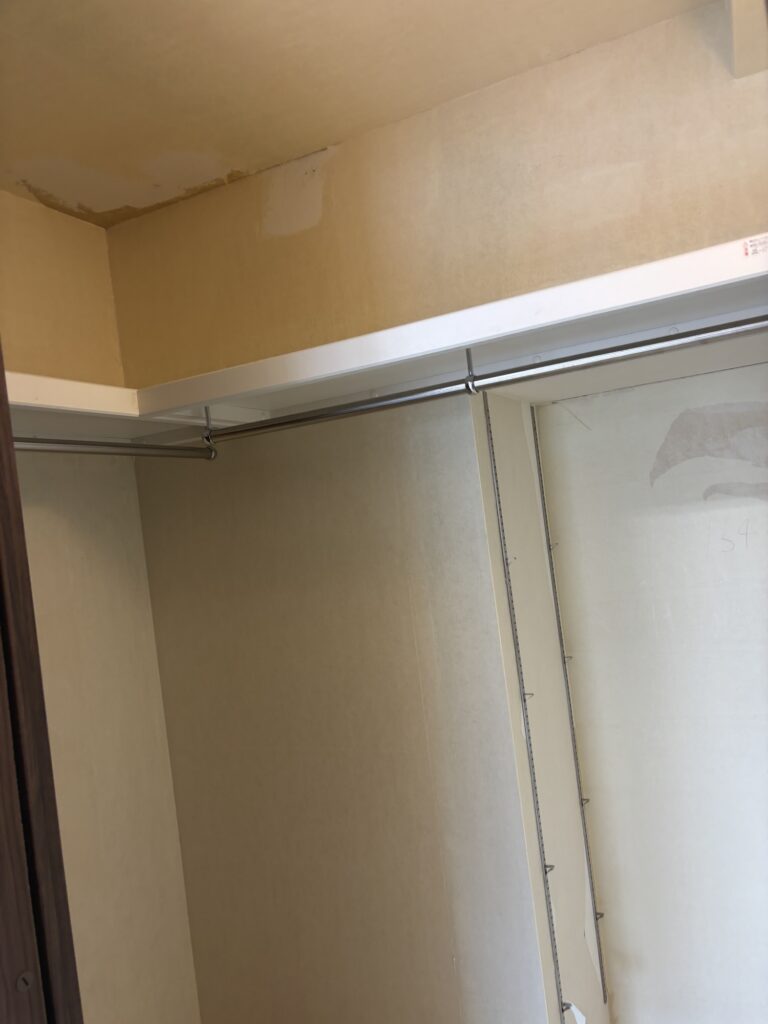
Before we started, the old wallpaper had already been removed and one coat of base joint compound had been applied to the walls.
Our first task was to apply finishing joint compound over the areas where the base coat had been applied.
Related Project
Work Flow – Site Report
1. Applying the Finishing Joint Compound
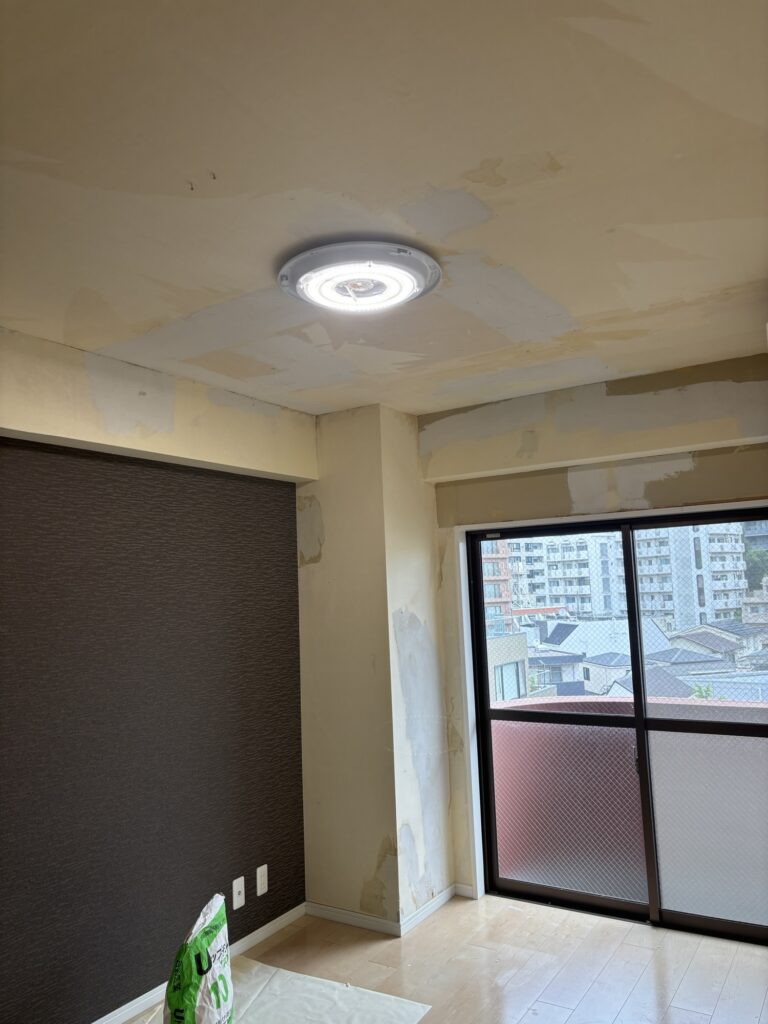
We started by applying finishing joint compound over the entire area covered by the base coat.
The reason for this additional layer is that the surface of the base joint compound does not provide the best surface for wallpaper adhesive. Applying a finishing coat creates a smoother surface and improves the adhesion of the wallpaper paste.
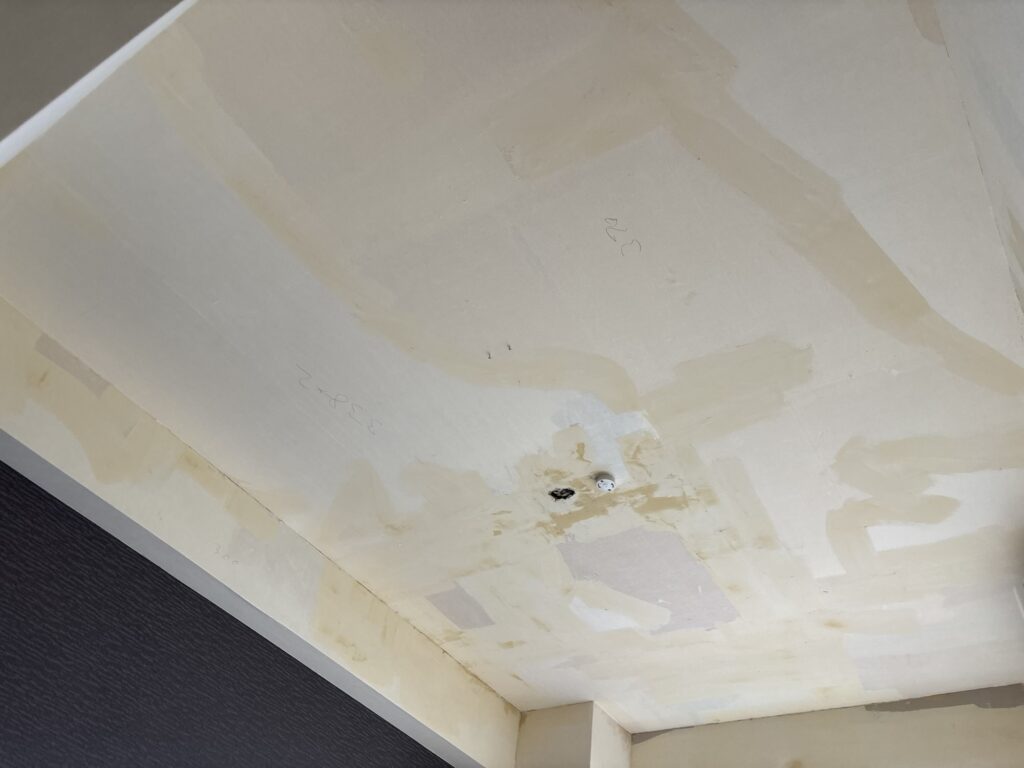
When replacing wallpaper installed by another contractor, we sometimes find areas where the old wallpaper is loose or bubbling. After removing these sections, we occasionally discover that only the base coat of joint compound had been applied.
This is something to watch out for because wallpaper adhesive may not bond properly to an unfinished base coat.
2. Repairing a Hole in the Ceiling
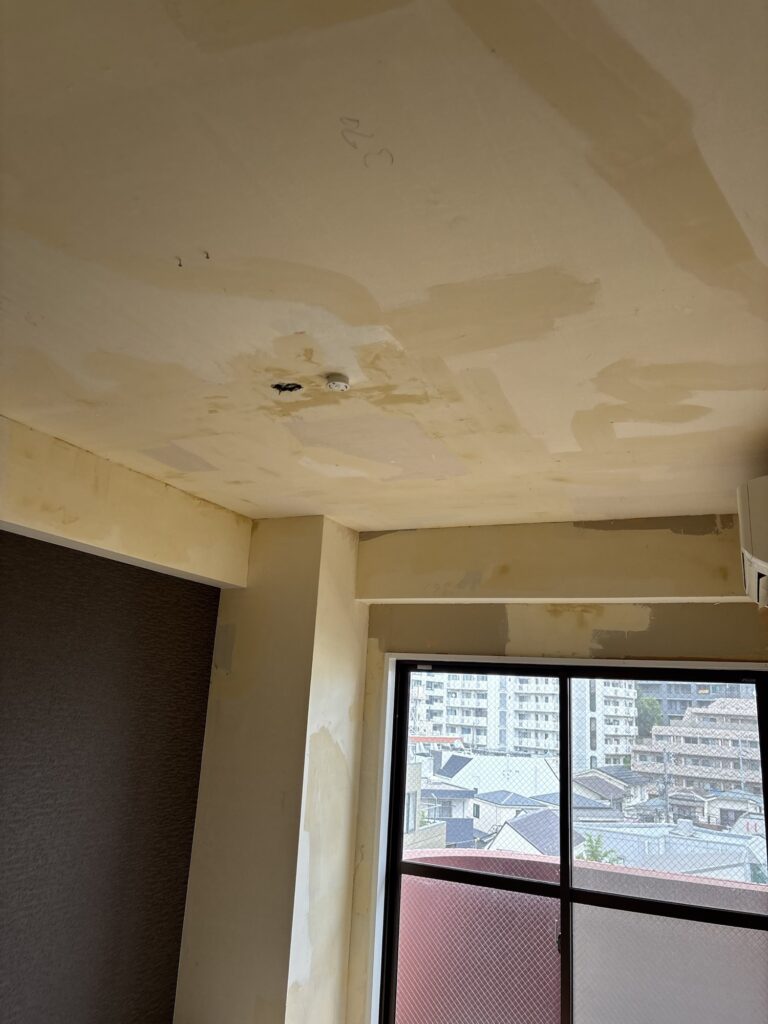
There was a hole in the ceiling approximately the size of a fist.
Fortunately, the hole was located in an area that would be hidden by a light fixture.
Normally, we might repair a hole like this with joint compound. However, because the hole was relatively large and the inside was hollow, applying a large amount of joint compound could cause it to sag or fall through the opening. It would also take longer to dry.
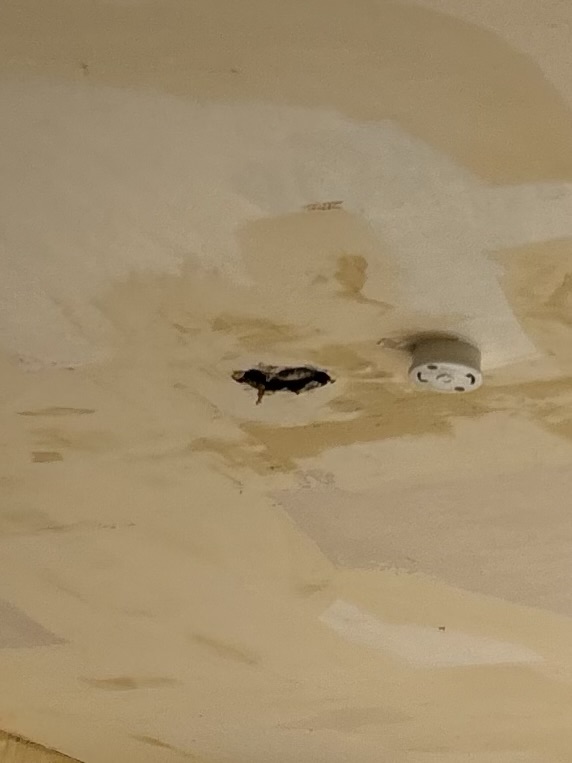
To maintain efficiency, we decided to use a different method called bagging or patching with wallpaper over the opening, rather than filling the entire hole with joint compound.
Choosing the appropriate repair method is important because not every hole needs to be repaired in exactly the same way.
3. Measuring and Preparing the Wallpaper
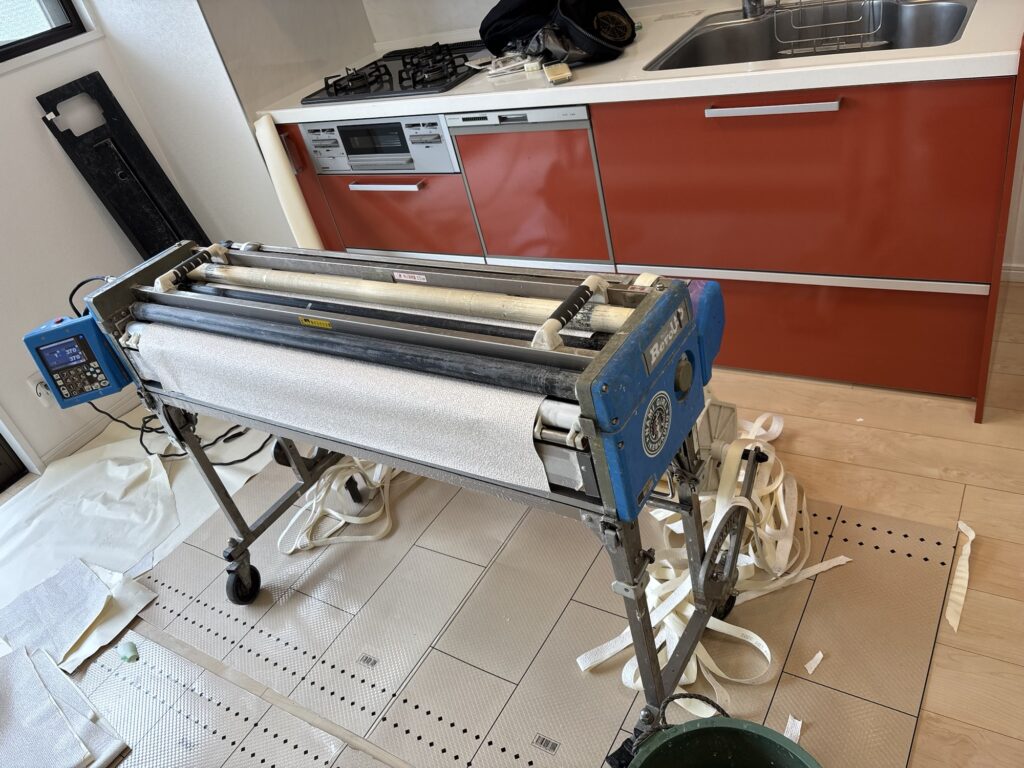
After finishing the joint compound work, we allowed it to dry.
While it was drying, we measured the ceiling and beam areas and prepared the wallpaper using a wallpaper pasting machine.
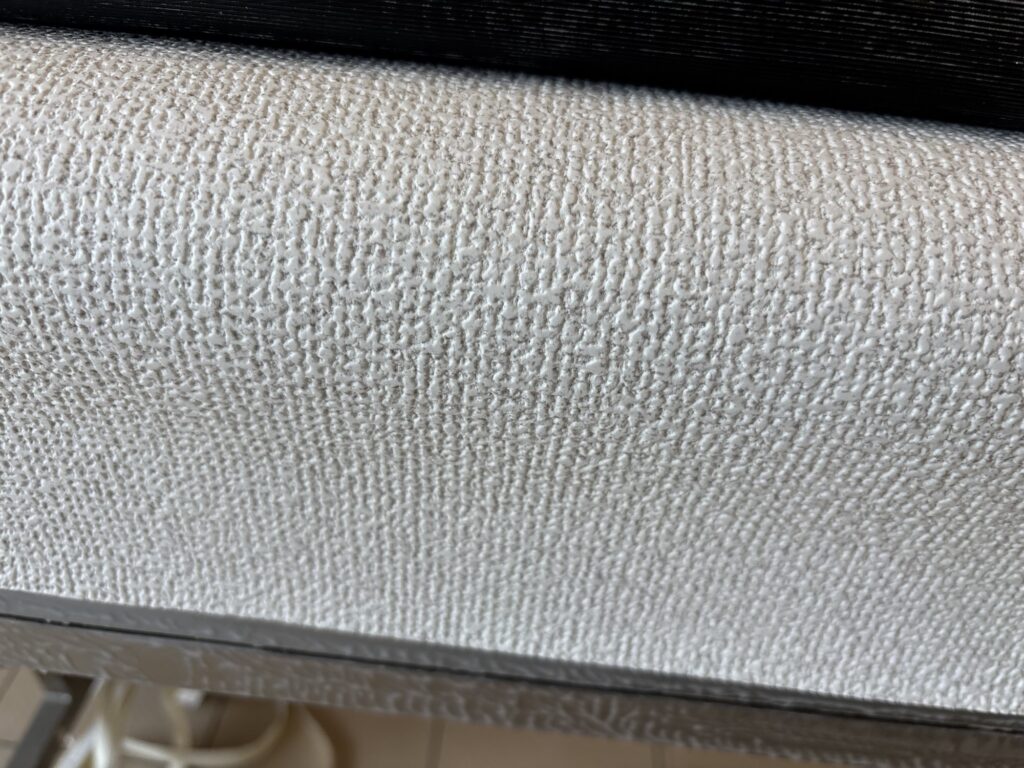
The ceiling wallpaper consisted of:
- 350 cm × 1 piece
- 320 cm × 2 pieces
The beam wallpaper consisted of:
- 325 cm × 1 piece
- 199 cm × 1 piece
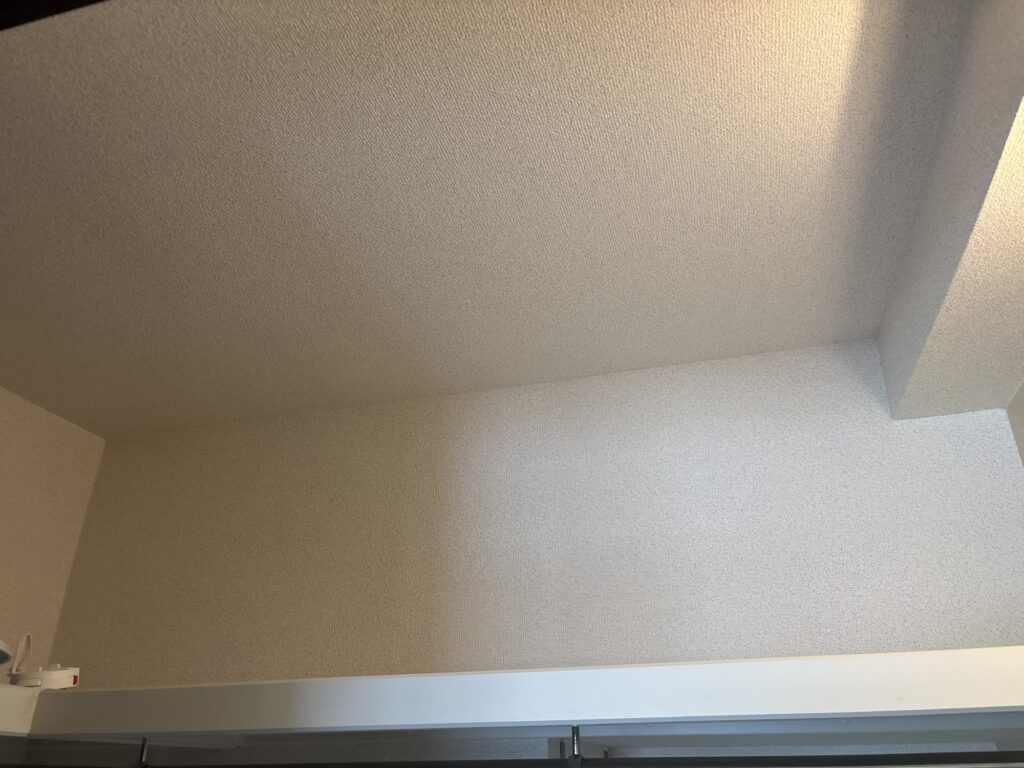
After all the wallpaper was prepared, two workers began installing the ceiling wallpaper.
4. Installing the Ceiling Wallpaper
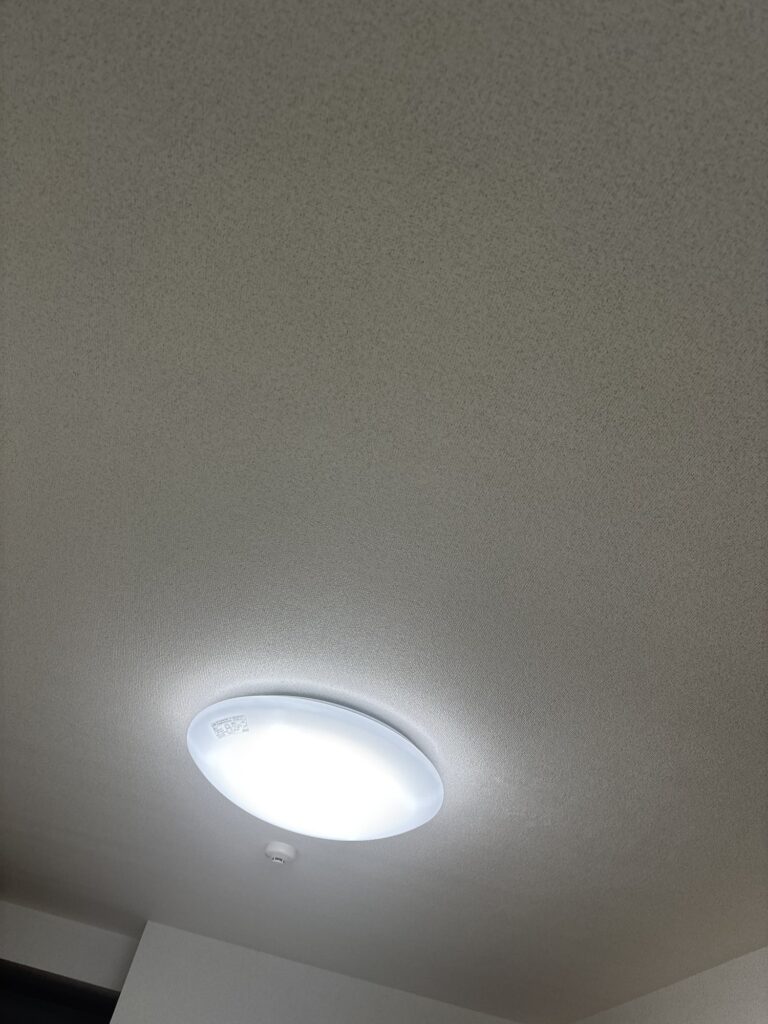
Because the ceiling wallpaper pieces were quite long, keeping the wallpaper straight was especially important.
We worked from the center toward the outside, using a wallpaper smoother to push out air bubbles.
The longer the wallpaper is, the more difficult it becomes to remove trapped air.
It is important not to force the air out aggressively. If you try to push the bubbles out too quickly or against the natural direction of the wallpaper, the material can wrinkle.
Instead, we carefully follow the flow of the wallpaper and gradually work the air toward the edges.
5. Installing Wallpaper on the Beams
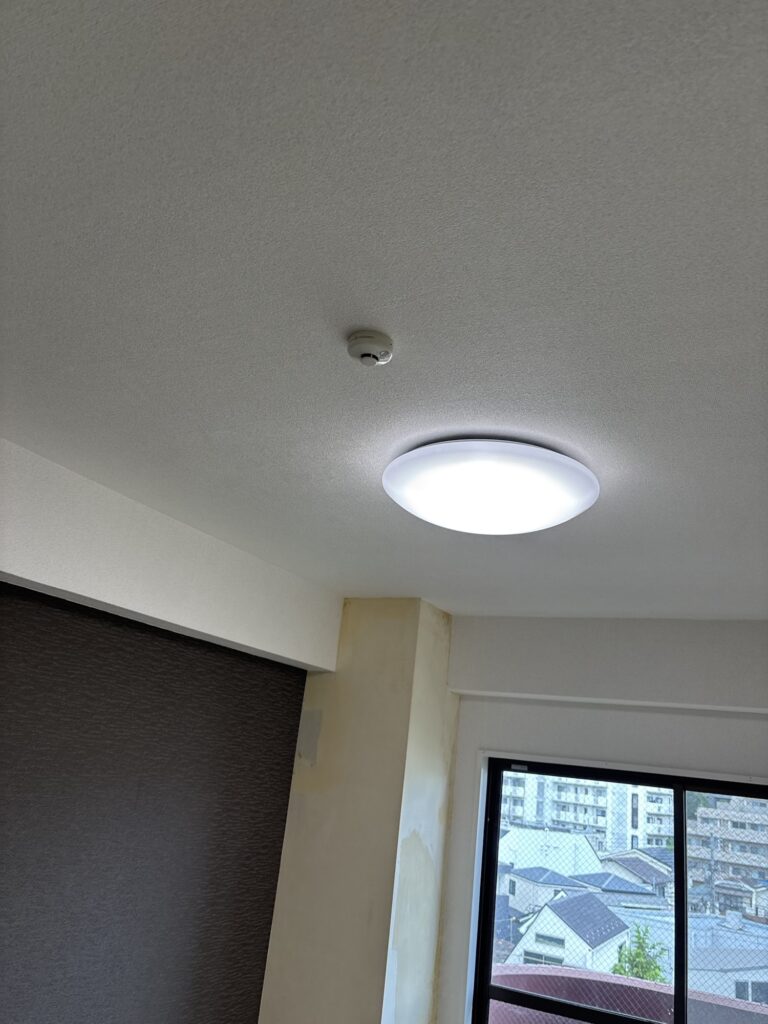
When installing wallpaper around the beams, we paid particular attention to the outside corners.
We used a damp sponge to gently smooth and stretch the wallpaper so that the outside corners would remain sharp and well-defined.
This step is important because if the wallpaper is not properly stretched around the corner, it can become loose and appear slightly saggy later.
A clean, sharp corner makes a noticeable difference in the final appearance.
6. Installing the Wall Wallpaper
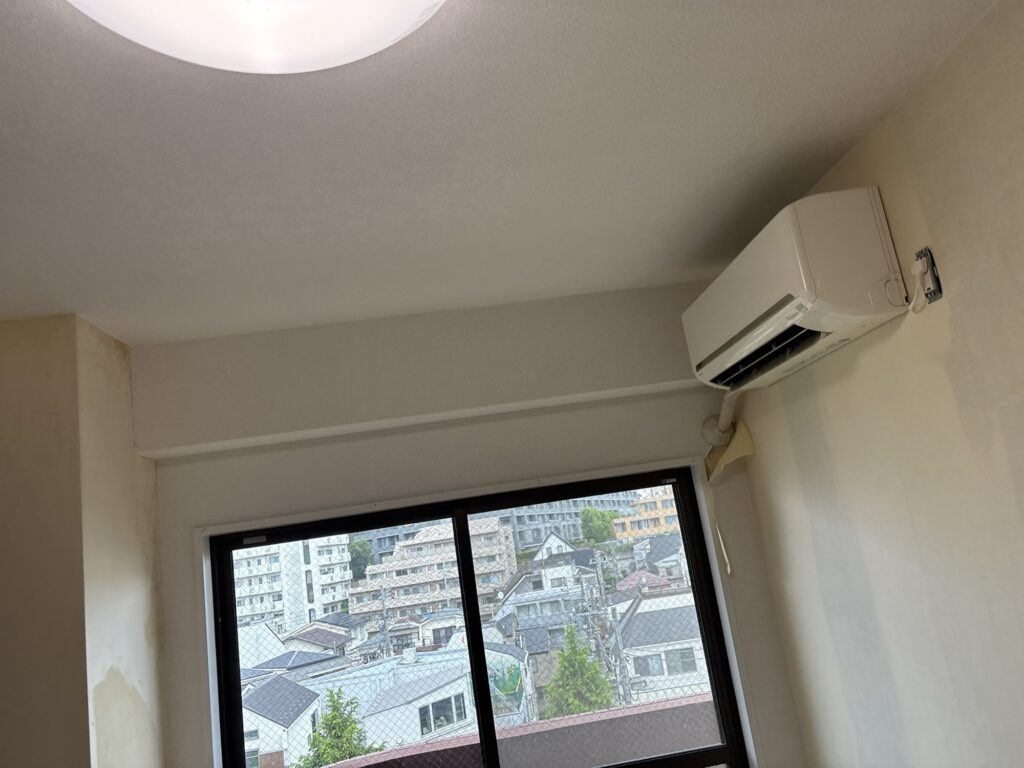
After completing the ceiling and beams, we moved on to the walls.
The tallest wall section was approximately 240 cm high.
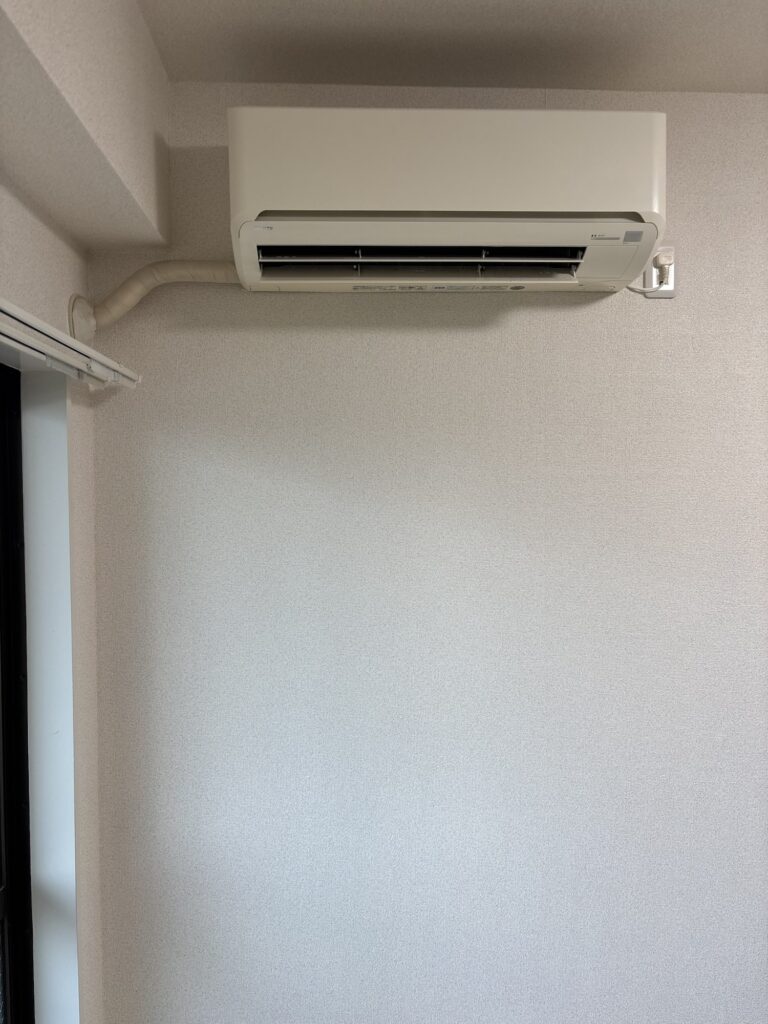
The most time-consuming section was the wall around the air conditioner.
Installing wallpaper around an air conditioner can be difficult because the unit and its pipes make it difficult to approach the area from above.
Related Project
Installing a Used Air Conditioner in My 50-Year-Old House | A Craftsman’s DIY Project
Instead, we started from below and worked the wallpaper upward.
After making several careful cuts, we worked the wallpaper underneath the air-conditioning pipes and continued installing it around the unit.
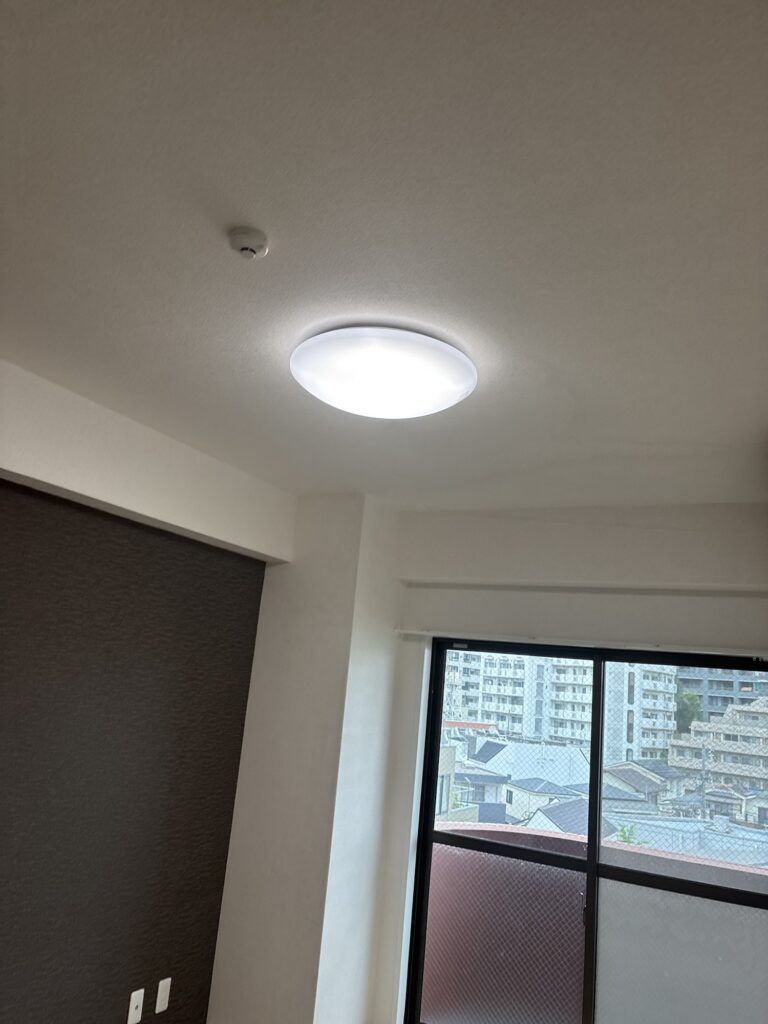
When installing wallpaper around equipment that cannot be removed, making small, controlled cuts is an important technique.
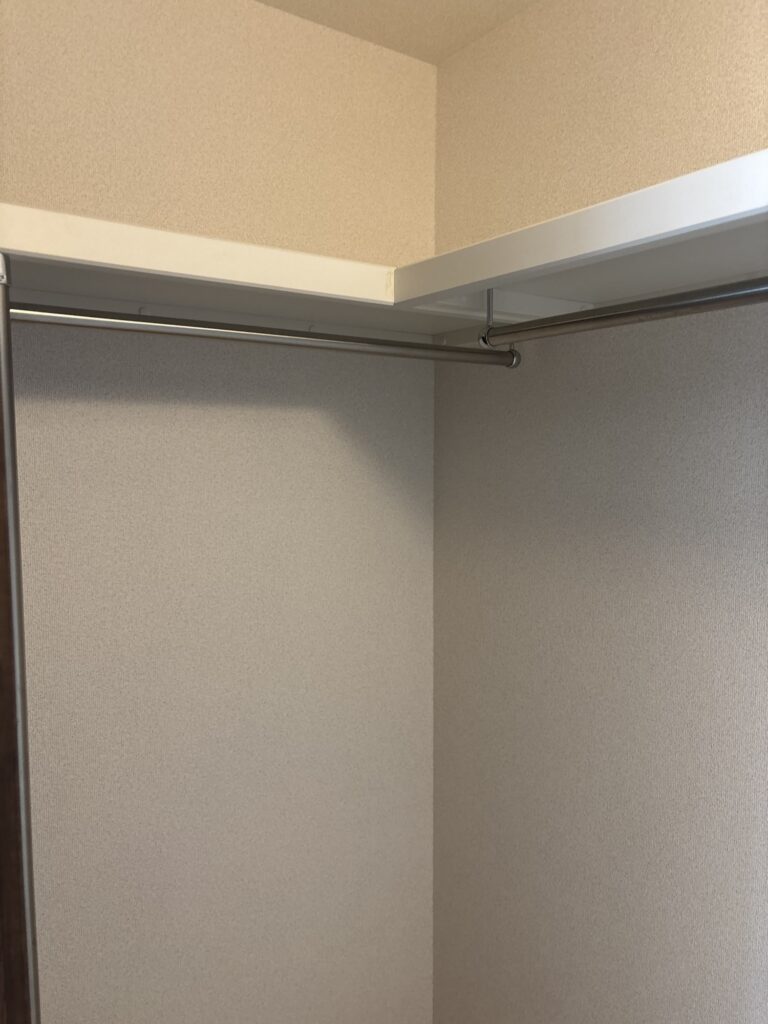
If you try to force the wallpaper around the equipment without making enough relief cuts, the wallpaper can become stressed and tear.
7. Final Paint Touch-Up
After all of the wallpaper installation was completed, we performed some simple paint touch-up work.
Once the wallpaper and paint touch-ups were finished, the project was complete.
The total working time was approximately 6.5 hours.
Related Project
Tools Used
The main tools and equipment used for this project included:
- Wallpaper pasting machine
- Wallpaper smoother
- Wallpaper knife
- Joint compound
- Joint compound trowel
- Sanding tools
- Measuring tape
- Damp sponge
- Paint and paintbrush for touch-ups
- Cutting tools for detailed areas around the air conditioner
Professional Tips
1. Do Not Skip the Finishing Coat
When only base joint compound has been applied, the surface may not provide the best adhesion for wallpaper paste.
Applying finishing joint compound over the base coat helps create a better surface for wallpaper installation.
2. Do Not Force Air Bubbles Out
When installing long pieces of wallpaper, pushing too aggressively can create wrinkles.
Work gradually from the center toward the edges and let the air escape naturally.
3. Pay Attention to Outside Corners
Outside corners can easily become loose if the wallpaper is not properly stretched and smoothed.
Using a damp sponge can help shape the wallpaper around the corner and create a clean finish.
4. Use Controlled Cuts Around Equipment
When wallpapering around an air conditioner or other fixed equipment, small relief cuts make the installation much easier.
Avoid making one large cut because it can weaken the wallpaper and make tearing more likely.
5. Choose the Repair Method Based on the Hole
Not every hole needs to be filled completely with joint compound.
For larger hollow openings, a suitable patching or wallpaper-covering method may be more efficient than trying to fill the entire opening with compound.
Common Mistakes to Avoid
Applying Wallpaper Directly Over an Unfinished Base Coat
Base joint compound alone may not provide the ideal surface for wallpaper adhesive. Applying a finishing coat can improve the surface condition.
Trying to Remove Air Bubbles Too Aggressively
Forcing trapped air out can create wrinkles or stretch the wallpaper unnecessarily.
Leaving Loose Corners
If wallpaper around an outside corner is not properly stretched, the corner can become loose and look uneven after installation.
Making Too Few Cuts Around an Air Conditioner
Trying to wrap wallpaper around pipes and equipment without enough relief cuts can put excessive stress on the material and cause it to tear.
Filling Large Hollow Holes Without Considering the Drying Time
Large amounts of joint compound can sag or take a long time to dry when applied over a hollow opening. The repair method should be selected according to the size and condition of the hole.
What I Learned From This Project
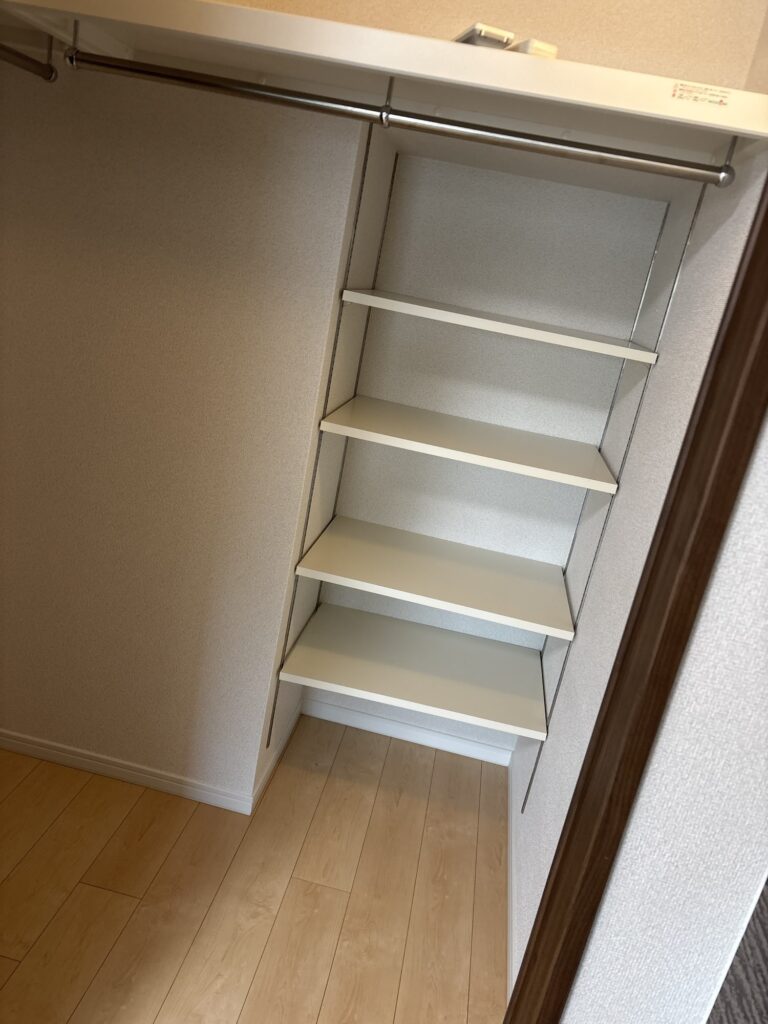
This project reminded me that efficient wallpaper installation is not only about installing the material quickly.
The condition of the substrate, the size and location of holes, the length of the wallpaper, the shape of corners, and the presence of fixed equipment all affect the installation process.
The section around the air conditioner was particularly time-consuming because the unit could not be removed. In situations like this, having the right cutting technique is essential.
I also found that choosing the right repair method can save a significant amount of time. Instead of automatically filling every opening with joint compound, it is important to consider the size, depth, location, and drying conditions of the repair.
Good preparation and making the right decisions before installation can make the entire job smoother and more efficient.
FAQ
1. Why is finishing joint compound applied over the base coat?
Finishing joint compound creates a smoother surface and provides a better substrate for wallpaper adhesive than an unfinished base coat.
2. Can wallpaper be installed directly over base joint compound?
It may be possible in some situations, but the surface may not provide ideal adhesion or a sufficiently smooth finish. Applying a finishing coat is often a safer approach for professional wallpaper installation.
3. Why did you not fill the ceiling hole completely with joint compound?
The hole was relatively large and hollow, and it was located where a light fixture would hide it. Filling the entire opening could have caused the compound to sag and would have increased drying time.
4. Why is installing wallpaper around an air conditioner difficult?
The air conditioner and its pipes restrict access and make it difficult to manipulate the wallpaper from above. Careful cutting is required to fit the wallpaper around the equipment.
5. How do you prevent wallpaper from wrinkling when installing long pieces?
Work gradually from the center toward the edges with a wallpaper smoother. Avoid forcing trapped air out too aggressively.
6. Why do you use a damp sponge on outside corners?
A damp sponge helps smooth and shape the wallpaper around the corner while allowing the material to stretch properly. This helps create a sharper and more stable corner.
7. What happens if wallpaper is not properly stretched around an outside corner?
The wallpaper can become loose and may appear slightly saggy around the corner after installation.
8. How long did this project take?
The entire project took approximately 6.5 hours with two workers.
9. How large was the apartment?
The condominium apartment was approximately 80 m² and had a 2LDK layout.
10. Was the entire apartment wallpapered?
No. This was a partial wallpaper replacement. Approximately 20 m² of wallpaper was replaced, including wall areas and the inside of the walk-in closet, along with the ceiling and beam areas described in the project.
Conclusion
This was a partial wallpaper replacement and paint touch-up project in an approximately 80 m², 2LDK condominium apartment.
The work included finishing joint compound, repairing a ceiling opening, preparing wallpaper with a pasting machine, installing wallpaper on the ceiling, beams, walls, and inside the walk-in closet, as well as completing a small amount of paint touch-up work.
The most challenging part of the project was installing wallpaper around the existing air conditioner. Careful cutting and positioning were necessary to avoid damaging the wallpaper.
By using the appropriate techniques for each situation and choosing efficient repair methods, two workers were able to complete the project in approximately 6.5 hours.
Every renovation site is slightly different, and adapting the installation method to the actual conditions is an important part of professional wallpaper work.


Comments