
Project Data
- Property: Condominium apartment
- Floor: 4th floor
- Layout: 3LDK
- Total Area: Approximately 90 m²
- Work Area: Living room and kitchen
- Crew: 2 wallpaper installers + 1 site supervisor
- Working Time: Approximately 7 hours on the first day
- Main Work: Wallpaper removal, drywall repair, skim coating, ceiling and wall wallpaper installation
- Wallpaper: Thin white wallpaper with a subtle texture
- Additional Issue: Cracked wallpaper above a balcony-side window
Installation Data
- Ceiling wallpaper: 260 cm × 6 pieces
- Long beam: 260 cm × 1 piece
- Wall wallpaper: Up to 248 cm high × 7 pieces
- Substrate: Plasterboard/drywall with some newly replaced sections
- Joint Treatment: Base coat + finishing coat
- Final Touch: White joint caulk around some inside corners
Introduction
Today’s project was a wallpaper replacement job in a 3LDK condominium apartment on the fourth floor.
The apartment has a total floor area of approximately 90 m². Our work focused mainly on the living room and kitchen ceilings and walls.
There were three people working on the project: two wallpaper installers and one site supervisor.
Part of the living room wall had apparently been damaged by water leakage, so sections of the plasterboard had already been replaced.
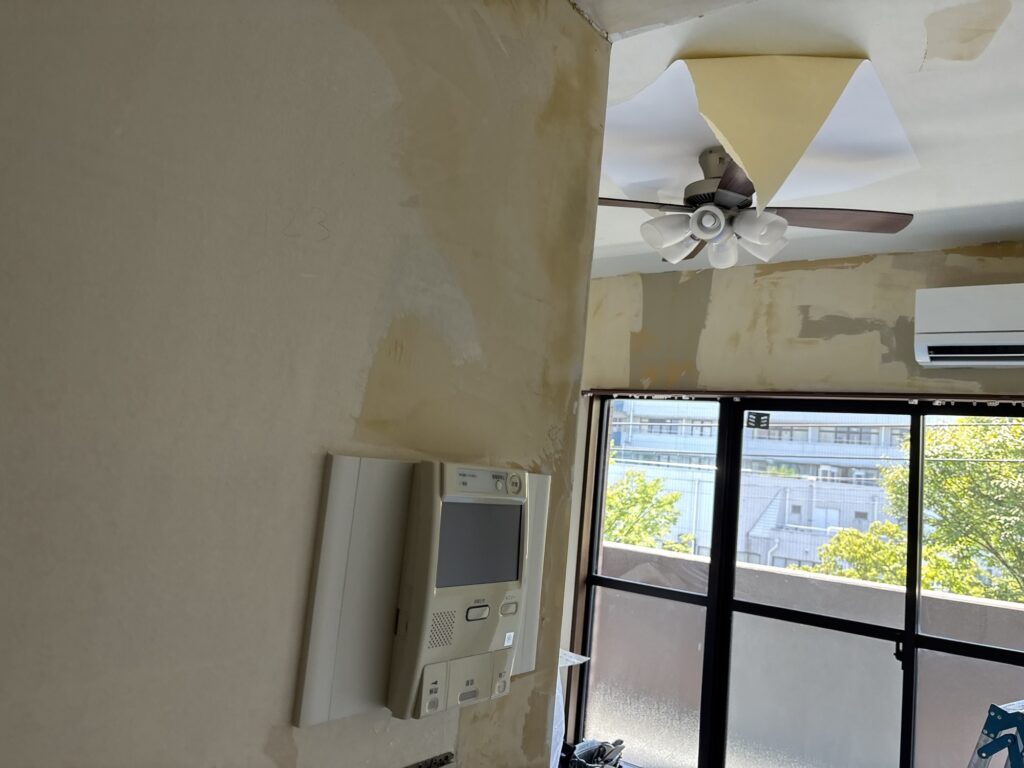
There was also a visible crack in the wallpaper above a window facing the balcony.
At first glance, it looked like a simple wallpaper crack. However, after removing the old wallpaper, we discovered an issue with the plasterboard underneath.
The edge of the newly installed plasterboard had not been properly beveled before the boards were joined together.
This became an important part of the repair process.
Work Flow — On-Site Report
1. Inspecting the Cracked Area
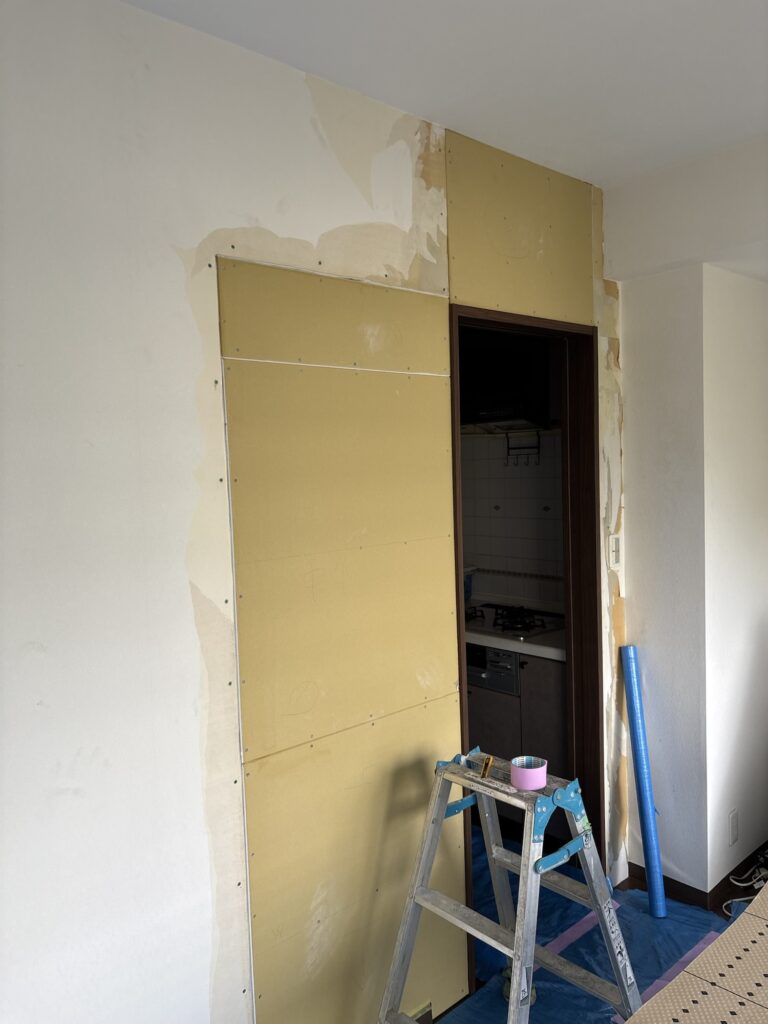
We first removed the old wallpaper around the cracked section above the balcony-side window.
After exposing the substrate, we found that the edges of the plasterboard had been joined without creating a proper bevel.
When plasterboard edges are butted together without sufficient preparation, there is not enough space for joint compound to properly fill and reinforce the joint.
Over time, movement caused by earthquakes and other structural movement can cause the boards to shift slightly.
That movement can eventually appear as a crack in the wallpaper installed over the joint.
Simply installing new wallpaper over the existing surface would therefore risk having the same crack appear again.
To prevent this, we used a utility knife to carefully cut and bevel the plasterboard edges before repairing the joint.
2. Removing the Old Wallpaper and Loose Lining Paper
After addressing the damaged area, we removed the old wallpaper from the walls and ceilings.
We also carefully removed any loose lining paper that had lifted from the substrate.
This step is extremely important.
If loose lining paper is left underneath new wallpaper, it can create bubbles, uneven areas, or other surface defects after the new wallpaper is installed.
Even when the substrate looks relatively clean, we carefully checked for areas that were not firmly attached.
3. Applying the Base Coat
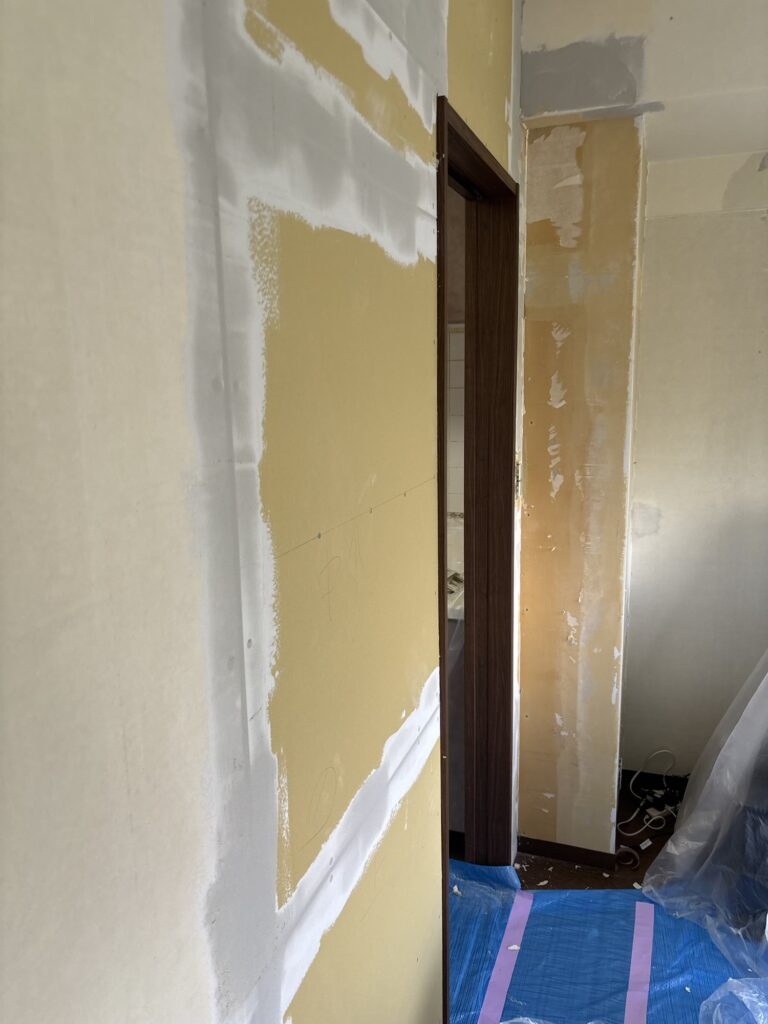
Once the surface preparation was complete, we applied the first layer of joint compound.
The deeper joints around the newly replaced plasterboard required two to three applications of base coat.
Instead of trying to fill a deep joint completely in one application, we allowed each layer to dry before applying the next one.
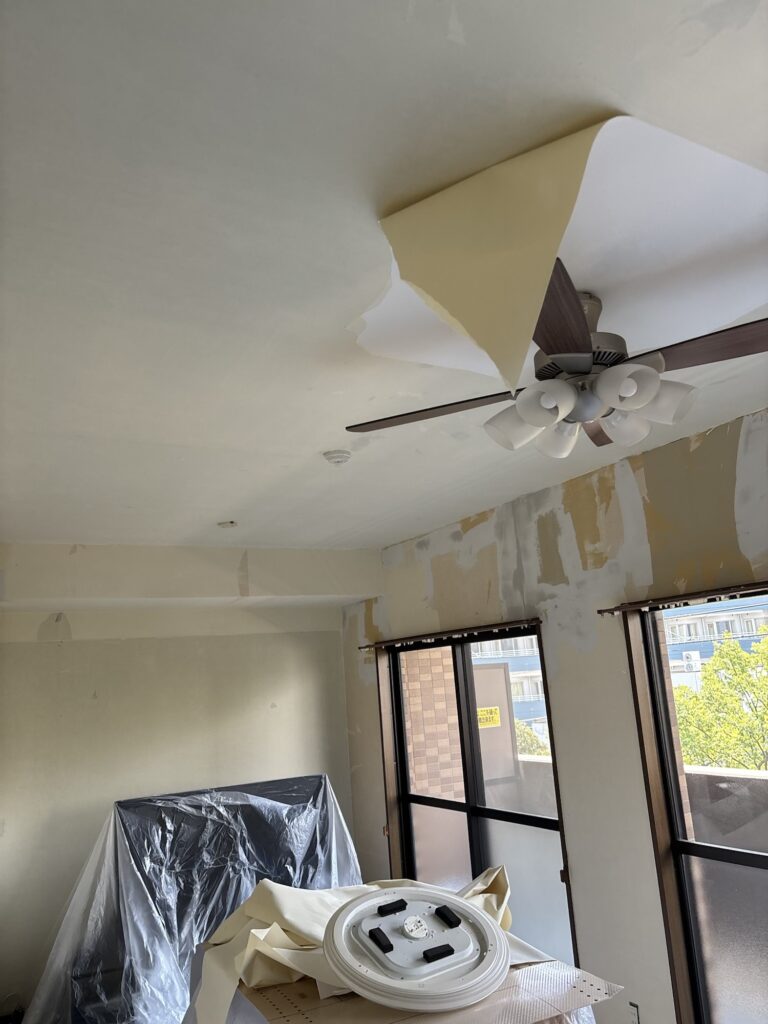
After the compound had dried, we checked the surface by both looking at it and touching it with our hands.
Visual inspection alone can sometimes miss small depressions or uneven areas.
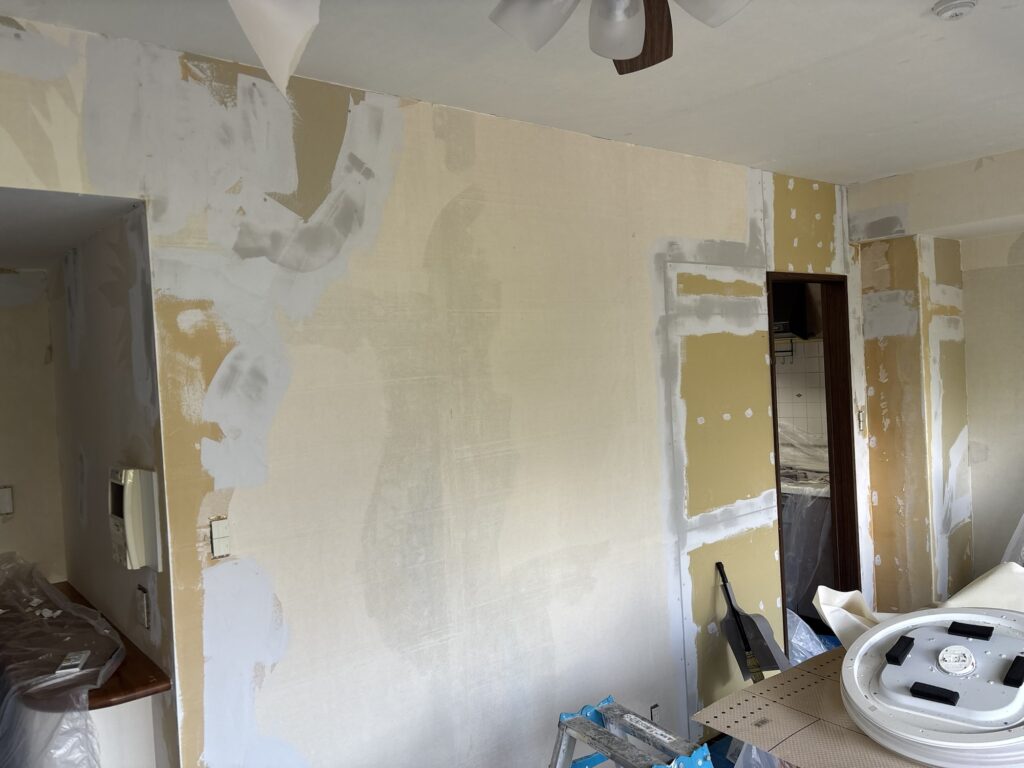
Running your hand over the surface makes it much easier to detect subtle grooves and unevenness.
4. Applying the Finishing Coat
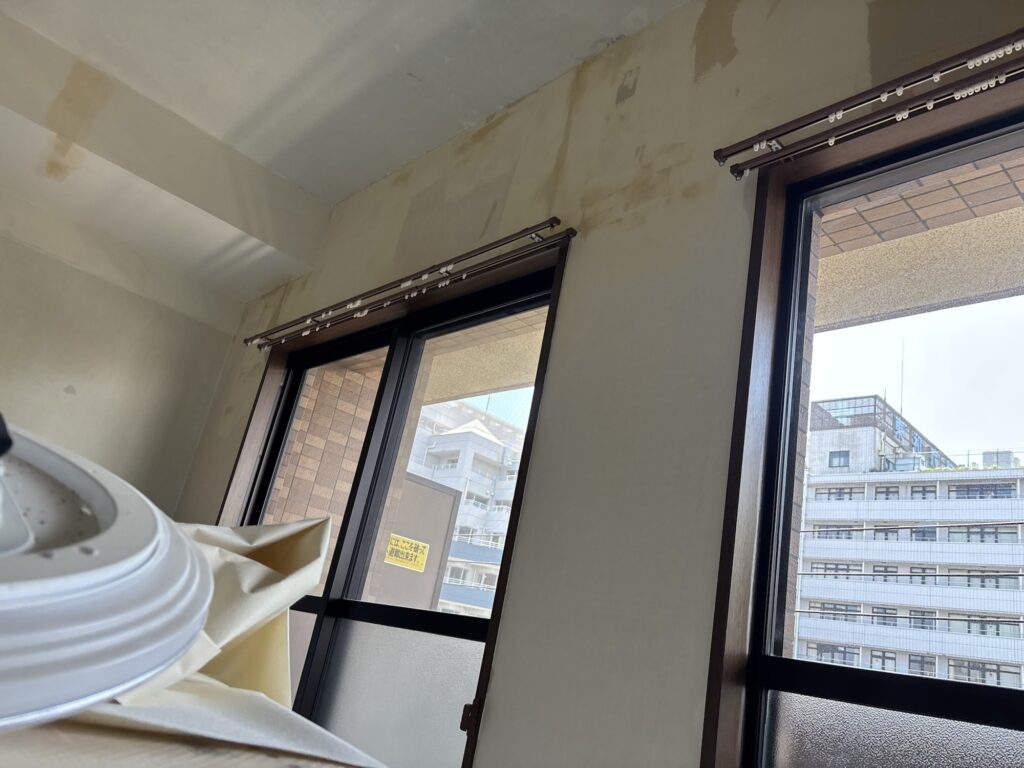
After the base coat was properly prepared, we applied the finishing coat.
The finishing compound was spread wider than the base coat to create a smooth transition between the repaired area and the surrounding plasterboard.
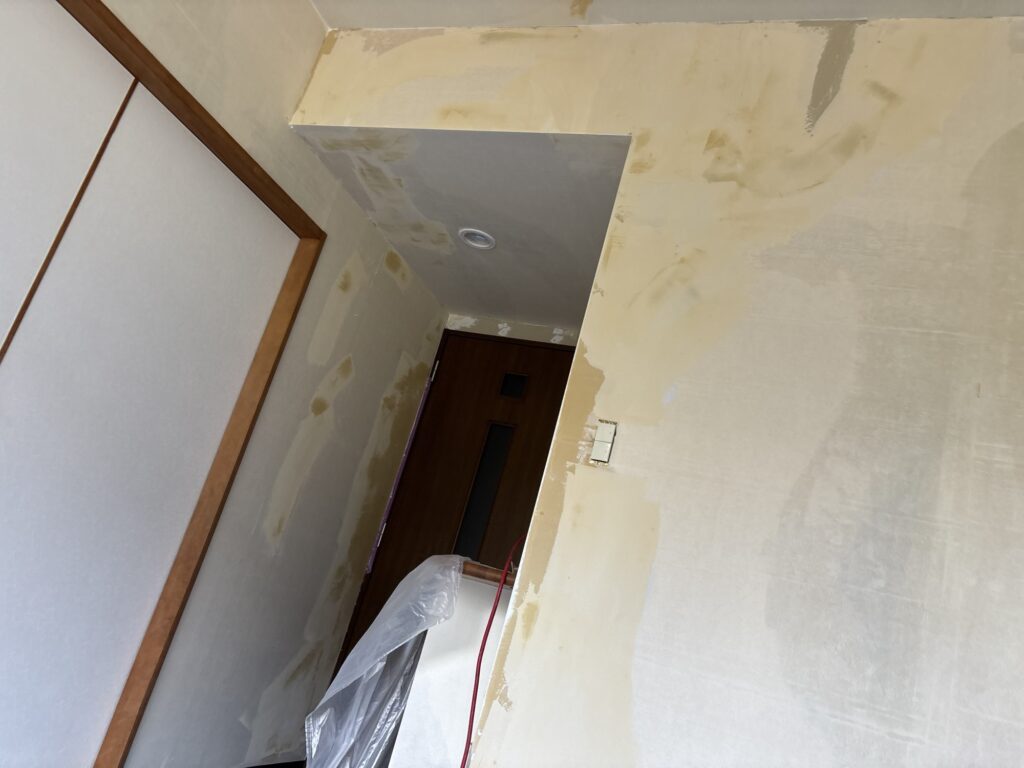
Using a wider taping knife helps reduce visible edges and makes it easier to create a flat surface.
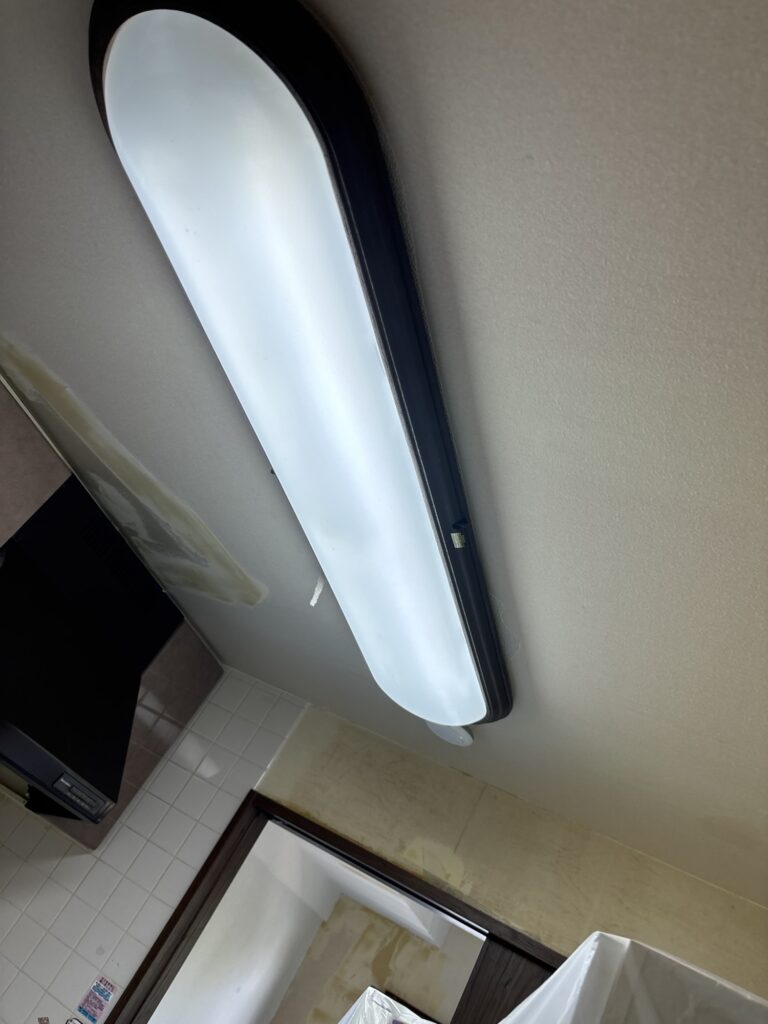
This step is especially important when installing relatively thin wallpaper because imperfections underneath can easily show through the finished surface.
5. Sanding and Final Surface Preparation
After the finishing coat had dried, we carefully sanded the surface.
The wallpaper selected for this project was relatively thin and had joints that could easily become noticeable.
It also showed substrate imperfections more easily than thicker, heavily embossed wallpaper.
For that reason, we spent extra time sanding the finishing compound to create a smooth and even surface.
Good wallpaper installation begins with good substrate preparation.
6. Measuring and Preparing the Wallpaper
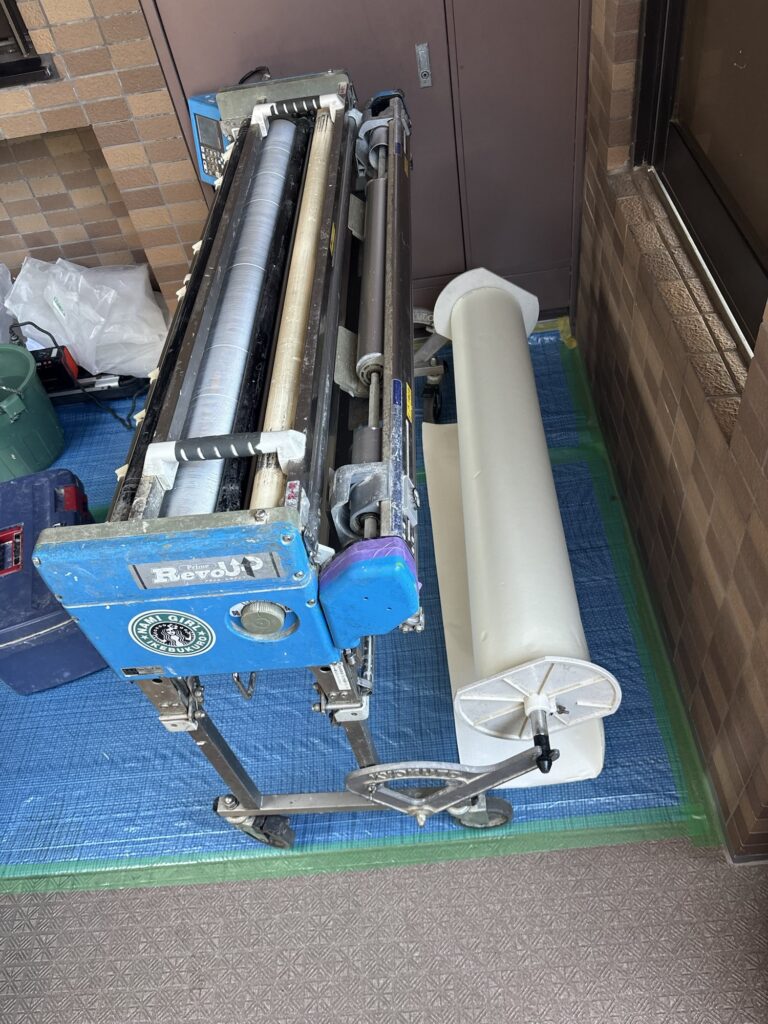
Once the substrate was ready, we measured the ceiling and walls and prepared the wallpaper using a wallpaper pasting machine.
The ceiling required six pieces measuring approximately 260 cm each.
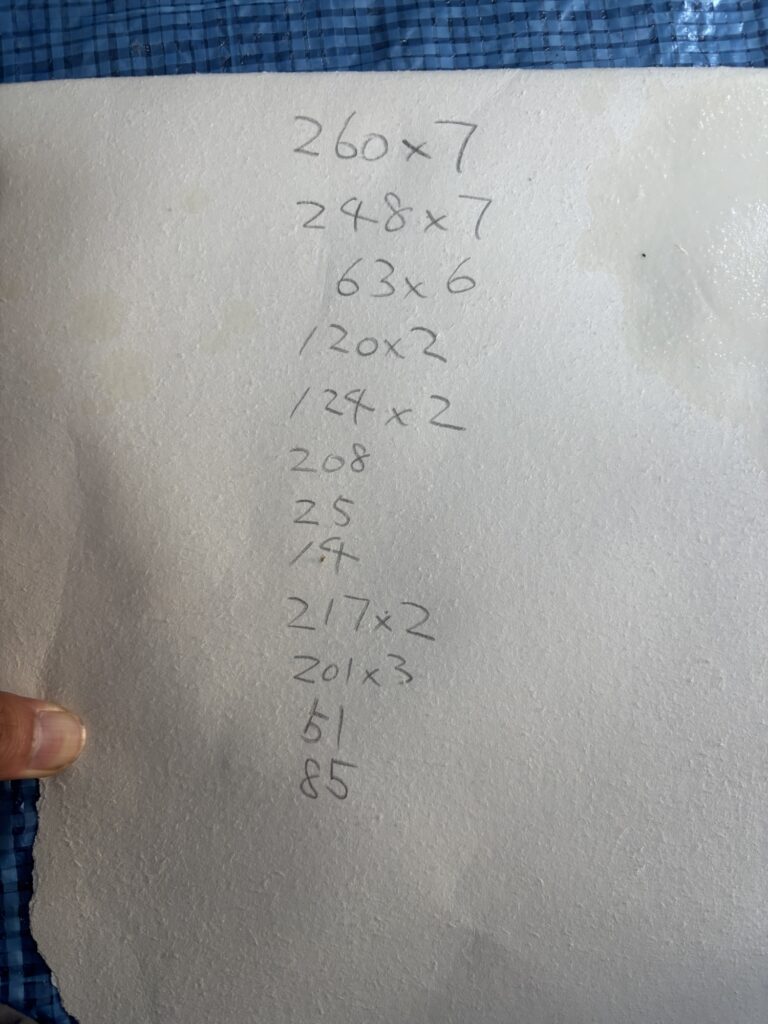
The long beam required one additional piece measuring approximately 260 cm.
The highest wall section was approximately 248 cm high and required seven pieces.
We also prepared several smaller pieces for narrow sections and other detailed areas.
7. Setting the First Line
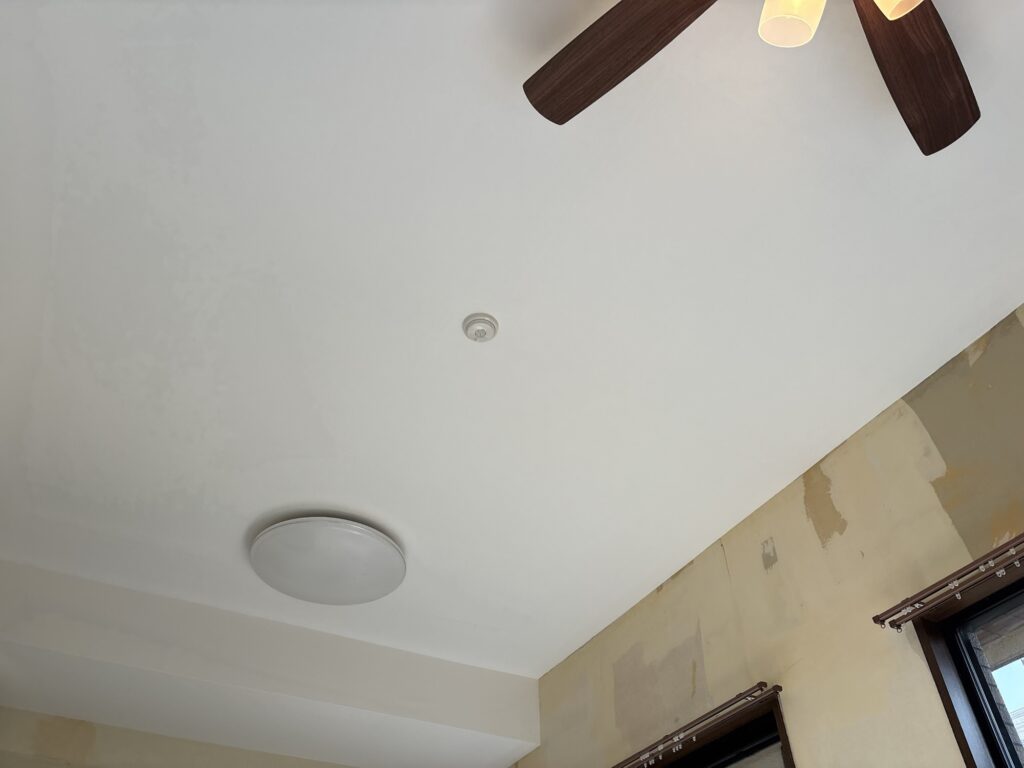
Before installing the wallpaper, we marked a straight reference line for the first sheet.
This is one of the most important steps when installing multiple sheets of wallpaper.
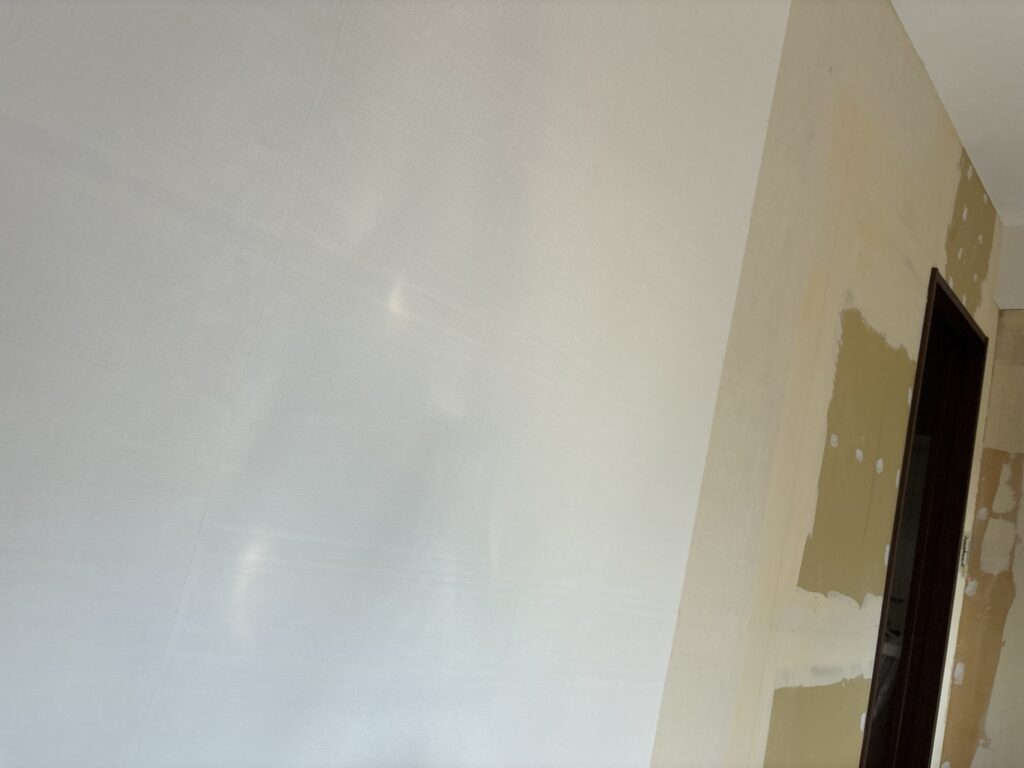
If the first sheet is installed at an angle, the second sheet will follow it. The third sheet can then become even more misaligned.
A small error at the beginning can gradually become a much larger problem across an entire wall.
Installing the first sheet accurately makes the rest of the installation much easier.
8. Installing the Thin White Wallpaper
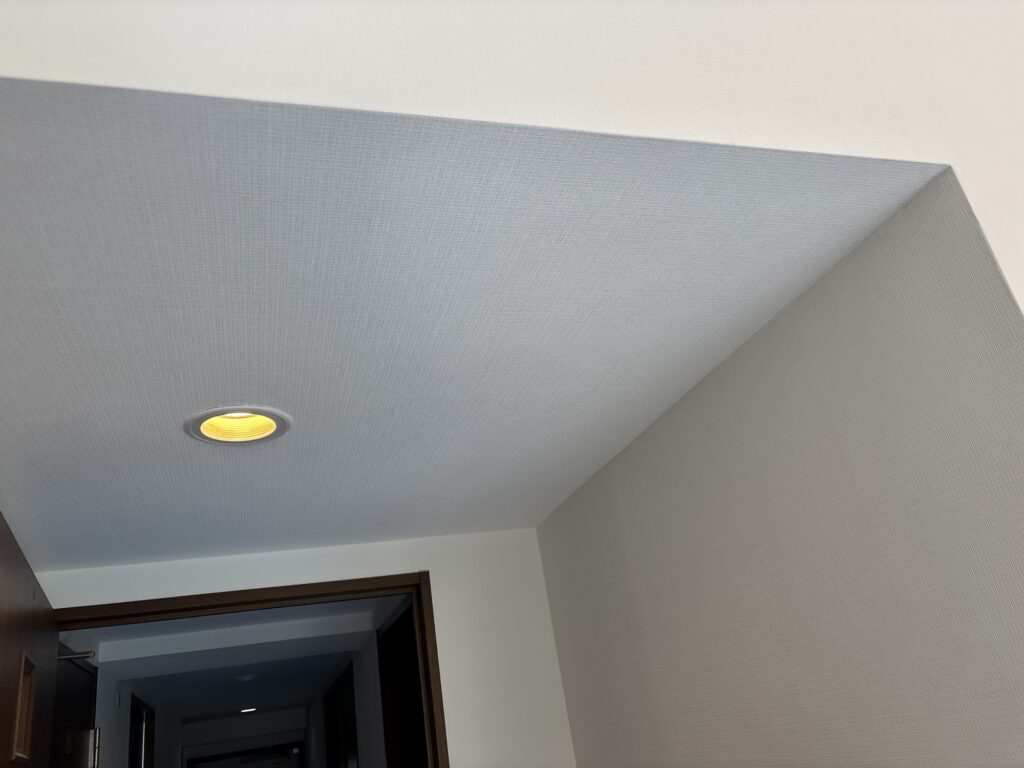
The wallpaper used for this project was white and relatively thin.
Because of its thickness and color, the joints were more noticeable than they would be with thick or heavily textured wallpaper.
Air removal therefore had to be done carefully.
If too much pressure is used while removing air, thin wallpaper can develop wrinkles or stretch marks.
The wallpaper also makes imperfections in the substrate easier to see, which is why the sanding and surface preparation had to be particularly thorough.
9. Finishing the Wallpaper Joints
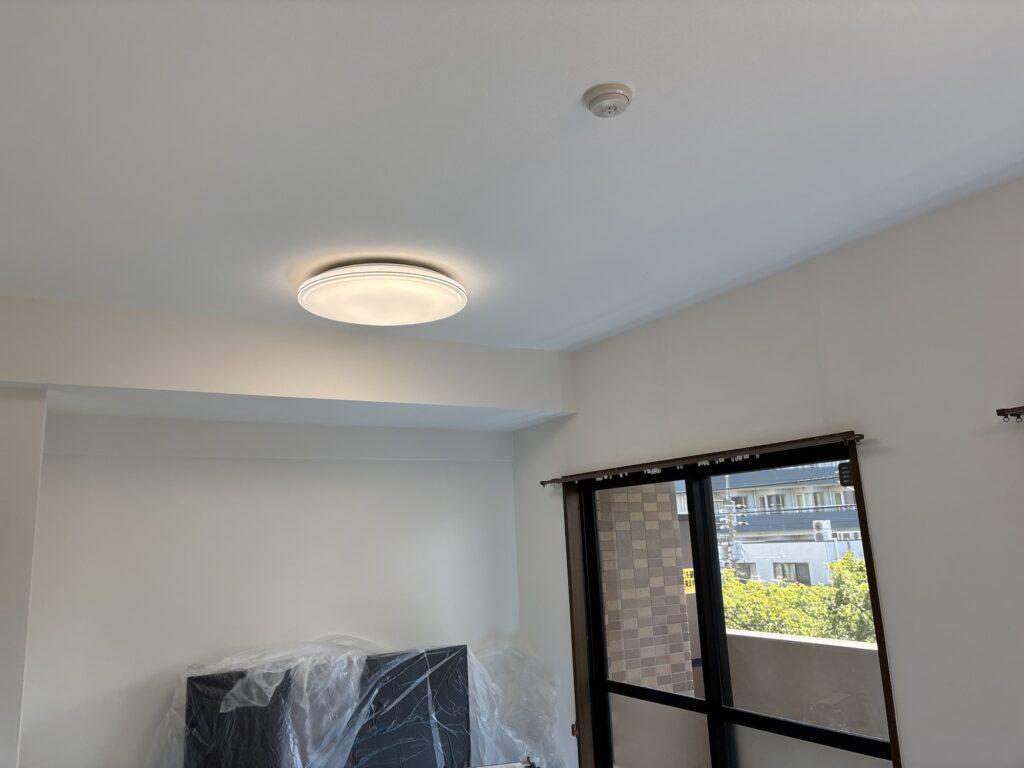
When bringing two sheets of wallpaper together, we carefully worked the joint from the center outward using a seam roller.
Rather than forcing the wallpaper together from a point close to the joint, we gradually worked from areas farther away toward the joint.
This helps reduce the risk of wrinkles and produces a cleaner seam.
The technique is especially useful when working with thinner wallpaper that is more sensitive to stretching and pressure.
10. Finishing the Inside Corners
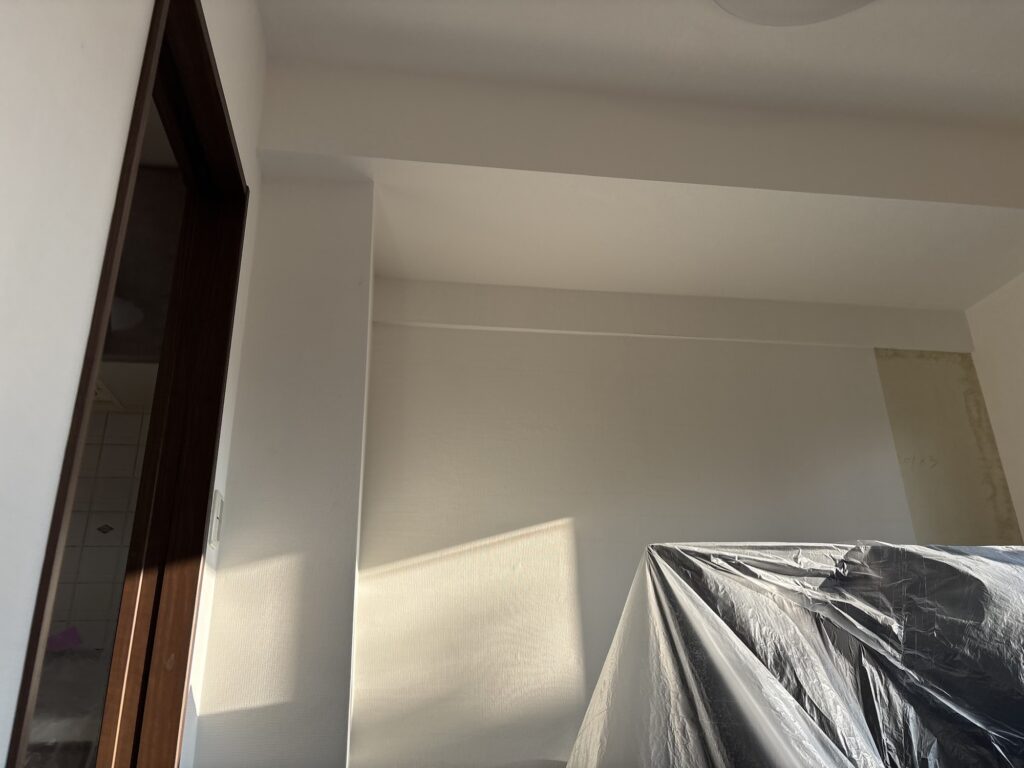
The cut edges around some inside corners were slightly more noticeable than usual.
After the wallpaper installation was complete, we applied white joint caulk to these areas.
This helped blend the cut edge into the surrounding white wallpaper and made the finished corners less noticeable.
11. End of the First Day
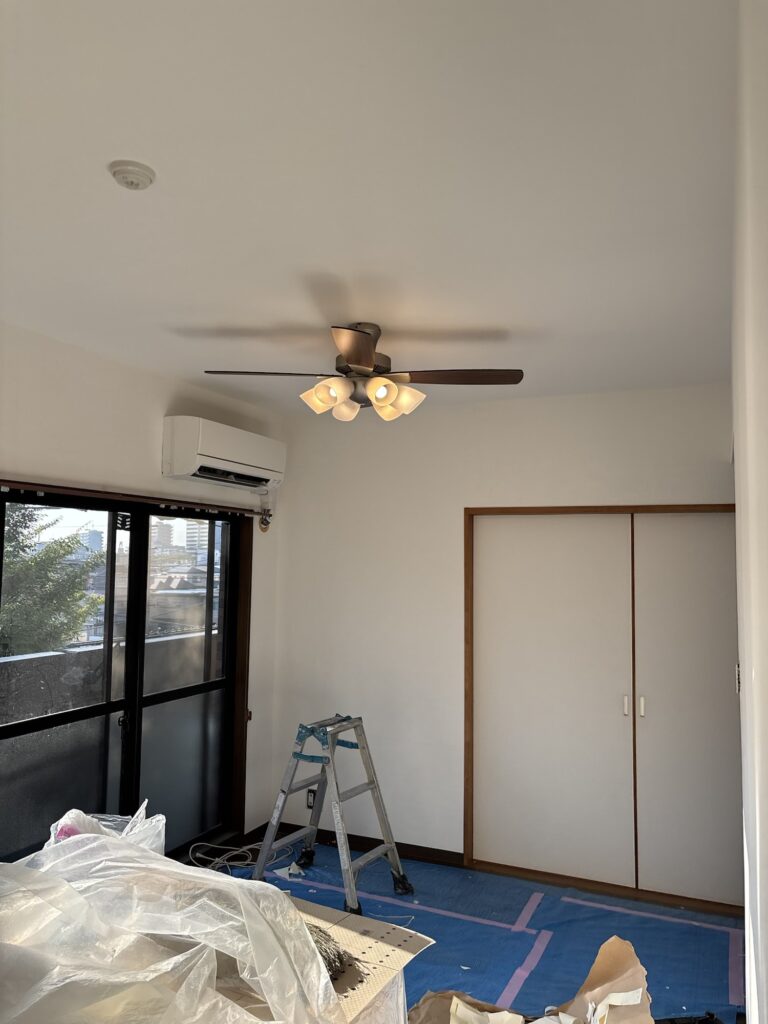
After approximately seven hours of work, we completed the planned work for the day, except for part of the living room wall and the kitchen ceiling and walls.
I had to move to another job, so I was not able to supervise the remaining wallpaper installation personally.
The remaining wallpaper was installed and completed by the crew the following day.
Related Project
Tools Used
The main tools and equipment used for this project included:
- Utility knife
- Wallpaper seam roller
- Taping knives
- Sanding tools
- Power sander
- Measuring tape
- Chalk line
- Wallpaper pasting machine
- Joint compound
- White joint caulk
- Various hand tools for substrate preparation
Each tool plays an important role, but the quality of the final result depends heavily on how carefully the tools are used.
Professional Tips
1. Don’t Cover a Problem With New Wallpaper
If wallpaper is cracked, don’t assume that replacing the wallpaper alone will solve the problem.
Always inspect the substrate.
If the underlying plasterboard joint is weak or improperly prepared, the crack can return after the new wallpaper is installed.
2. Feel the Surface With Your Hand
Don’t rely only on your eyes when checking the substrate.
Small depressions and ridges can sometimes be difficult to see but are easy to feel with your fingertips or palm.
A combination of visual and tactile inspection gives you a better chance of finding imperfections before wallpaper installation.
3. Make the First Sheet Perfectly Straight
The first sheet determines the direction of the sheets that follow.
Taking a little extra time to establish a straight reference line can save a lot of trouble later.
4. Thin Wallpaper Requires Better Surface Preparation
Thick, heavily textured wallpaper can hide some minor imperfections.
Thin wallpaper cannot.
If you are installing thin wallpaper, spend more time on filling, sanding, and inspecting the substrate before installation.
5. Don’t Force the Seam
When closing a wallpaper joint, avoid aggressively pushing the material directly toward the seam.
Gradually work toward the joint using a seam roller.
This helps prevent wrinkles and unnecessary stretching.
Common Mistakes to Avoid
Mistake 1: Installing Wallpaper Over a Weak Joint
If a plasterboard joint is not properly reinforced, a new wallpaper installation may crack in the same location.
Mistake 2: Leaving Loose Lining Paper
Loose lining paper underneath new wallpaper can cause bubbles and uneven surfaces.
Remove anything that is not firmly attached.
Mistake 3: Applying Too Much Joint Compound at Once
Deep joints may require multiple applications.
Trying to fill a deep joint in one thick layer can make drying and finishing more difficult.
Mistake 4: Skipping Proper Sanding
Even a small ridge or depression can become visible through thin wallpaper.
Proper sanding is essential for a clean finish.
Mistake 5: Starting Without a Reference Line
If the first sheet is crooked, the entire installation can gradually become misaligned.
Always establish a reliable starting line.
Mistake 6: Using Too Much Force When Removing Air
Thin wallpaper can wrinkle or stretch when excessive pressure is applied.
Work carefully and gradually.
What I Learned From This Project
This project reminded me that wallpaper installation is not simply about putting new wallpaper on a wall.
The condition of the substrate is just as important as the wallpaper itself.
The cracked wallpaper above the balcony-side window looked like a simple surface problem at first.
However, after removing the wallpaper, we discovered that the plasterboard joint had not been properly beveled.
If we had simply installed new wallpaper over it, there was a good chance that the crack would eventually return.
This is why experienced wallpaper installers spend so much time on preparation.
A smooth and durable wallpaper finish starts long before the first sheet is installed.
I was also reminded of how important surface preparation is when working with thin white wallpaper.
The material used for this project was relatively unforgiving. Small imperfections and joints were more likely to become visible.
Taking extra time to prepare the substrate made a significant difference to the final result.
FAQ
1. Why did the wallpaper crack above the window?
The crack was related to movement at a plasterboard joint. The plasterboard edges had not been properly beveled and prepared, which made the joint more susceptible to movement and cracking.
2. Can you simply install new wallpaper over a cracked area?
Not always.
If the underlying substrate is damaged or the joint is weak, the crack may return. The cause of the crack should be inspected and repaired before installing new wallpaper.
3. Why do plasterboard edges need to be beveled?
Beveling creates additional space for joint compound and allows the joint to be properly filled and reinforced.
4. Why is loose lining paper removed before wallpaper installation?
Loose lining paper can move underneath the new wallpaper and cause bubbles, lifting, or uneven areas.
5. Why was the finishing compound applied wider than the base coat?
A wider finishing coat creates a smoother transition between the repaired joint and the surrounding surface. This makes the repair less visible after wallpaper installation.
6. Why is thin wallpaper more difficult to install?
Thin wallpaper can make substrate imperfections and joints more visible. It can also be more susceptible to wrinkles if too much pressure is used during air removal.
7. Why is the first sheet of wallpaper so important?
The first sheet establishes the direction for the sheets that follow. If it is crooked, the error can continue across the entire wall.
8. How do you make wallpaper joints less noticeable?
Accurate cutting, proper alignment, careful seam rolling, and good substrate preparation are all important. In some areas, white joint caulk can also be used to reduce the visibility of cut edges.
9. How long did this project take?
The first day of work took approximately seven hours. The remaining wallpaper was completed by the crew the following day.
10. What is the most important part of wallpaper installation?
In my experience, proper substrate preparation is one of the most important parts.
A wallpaper installer can use high-quality material and excellent installation techniques, but if the substrate is poorly prepared, the final result may still show defects.
Related Project
Replacing Wallpaper on Beams and Walls in a Japanese Apartment with Traditional Juraku Plaster Walls
Conclusion
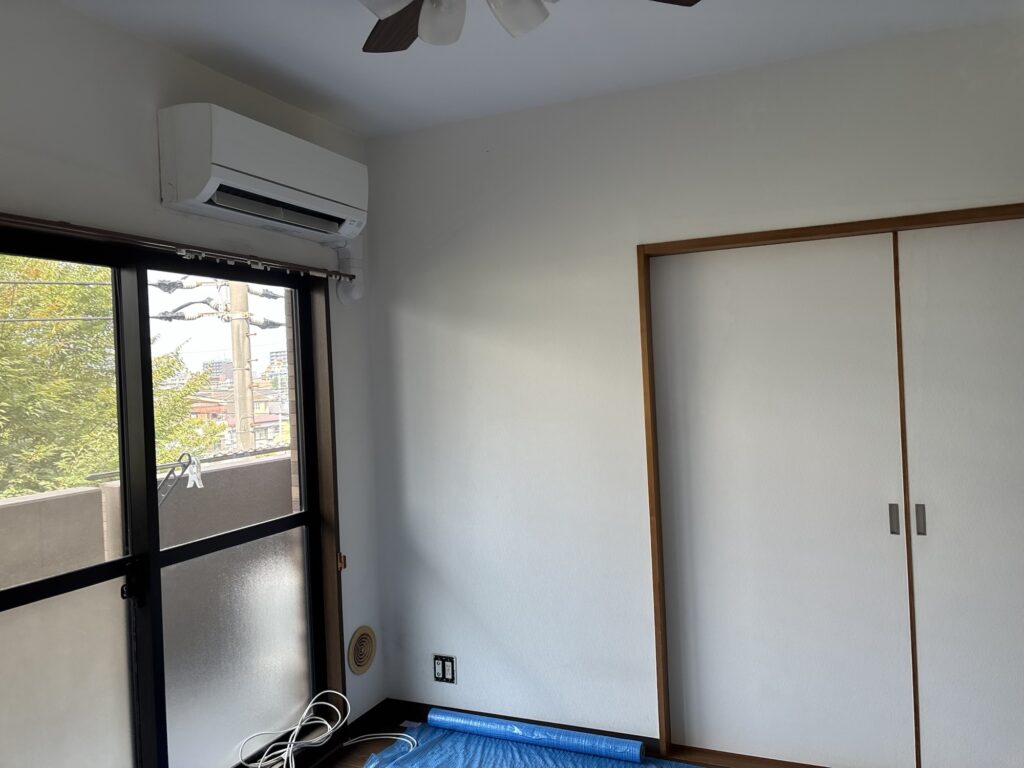
This 90 m² condominium project was a good example of why wallpaper replacement requires more than simply removing old wallpaper and installing new material.
The cracked area above the balcony-side window revealed an underlying plasterboard joint problem that needed to be repaired before installing the new wallpaper.
We carefully removed the old wallpaper and loose lining paper, repaired the plasterboard joints, applied base and finishing coats, sanded the surfaces, and prepared the new wallpaper.
Because the selected wallpaper was relatively thin and white, careful substrate preparation and precise installation were particularly important.
The first day took approximately seven hours, and the remaining areas were completed by the crew the following day.
For a professional wallpaper installation, the quality of the finished surface is determined not only by how the wallpaper is installed, but also by how carefully the surface is prepared beforehand.


Comments