
Project Information
- Project Type: Hotel Interior Renovation
- Location: Japan
- Work Area: Approximately 13 square meters
- Work: Gypsum board installation, wallpaper installation, vinyl floor tile installation, and soft baseboard installation
- Crew: 4 workers on Day 1; 4 workers on Day 2, including 2 site supervisors
- Materials: 12 mm gypsum board, thick gray wallpaper, herringbone-patterned wallpaper, 50 cm × 50 cm vinyl floor tiles, and soft baseboards
- Total Working Time: 6.5 hours on Day 1 and 8 hours on Day 2
Introduction
Today, I would like to share a hotel interior renovation project in Japan.
The work took place in a room of approximately 13 square meters on the first floor of a hotel. The planned work included installing wallpaper on the ceiling and walls, laying vinyl floor tiles, and installing soft baseboards.
Four workers worked on the first day: two from our company and two from the company that requested the work. On the second day, two workers from our company and two site supervisors worked together.
When we arrived at the site, some of the ceiling and wall surfaces had not yet been covered with gypsum board. Therefore, part of the first day’s work involved installing 12 mm gypsum board before moving on to the finishing work.
Work Process: Site Report
Day 1: Gypsum Board Installation and Surface Preparation
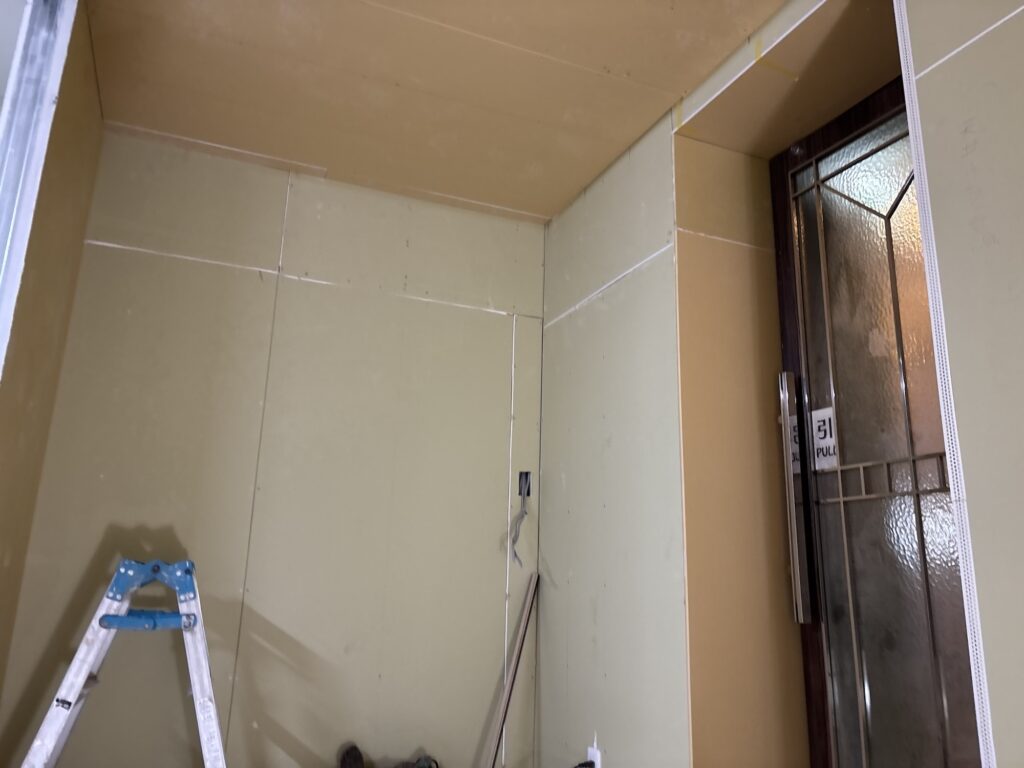
When we arrived, the gypsum board had not yet been installed in some areas of the ceiling and walls.
We began by installing 12 mm gypsum board onto the ceiling and selected wall areas.
Marking the Stud Lines Before Fixing the Board
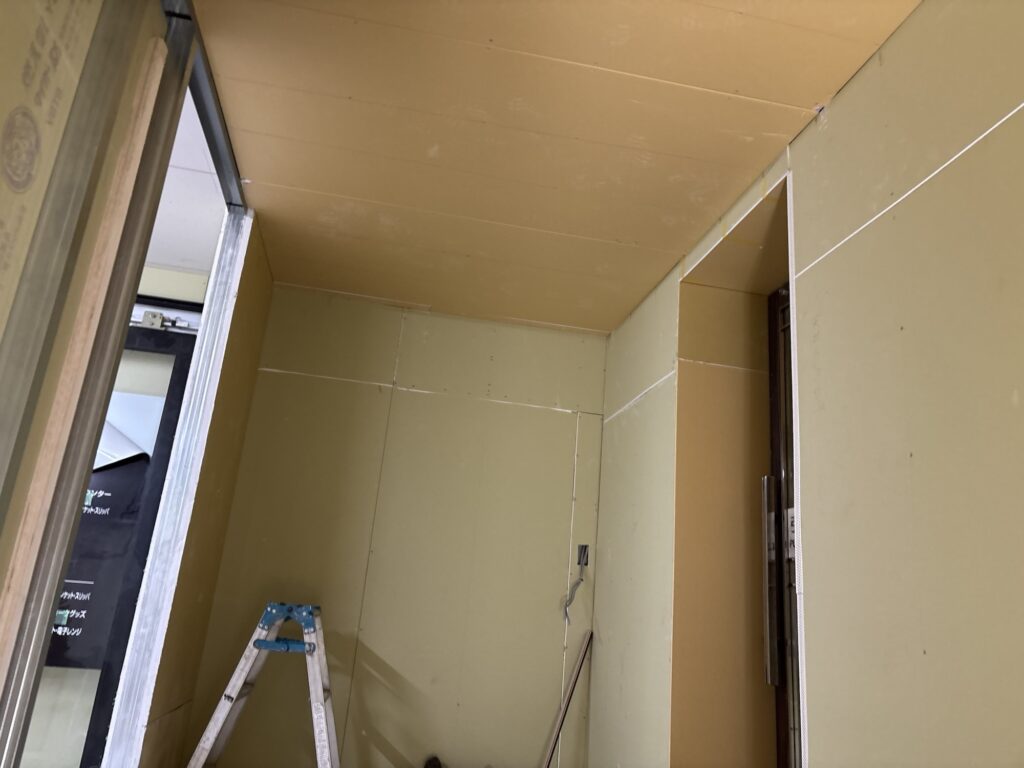
Before fixing the boards, we marked the positions of the underlying light-gauge steel framing. This made it easier to identify where to drive the screws and helped the installation proceed more smoothly.
It is important to avoid driving the screws too deeply. If a screw penetrates too far into the gypsum board, it may fail to hold the board securely.
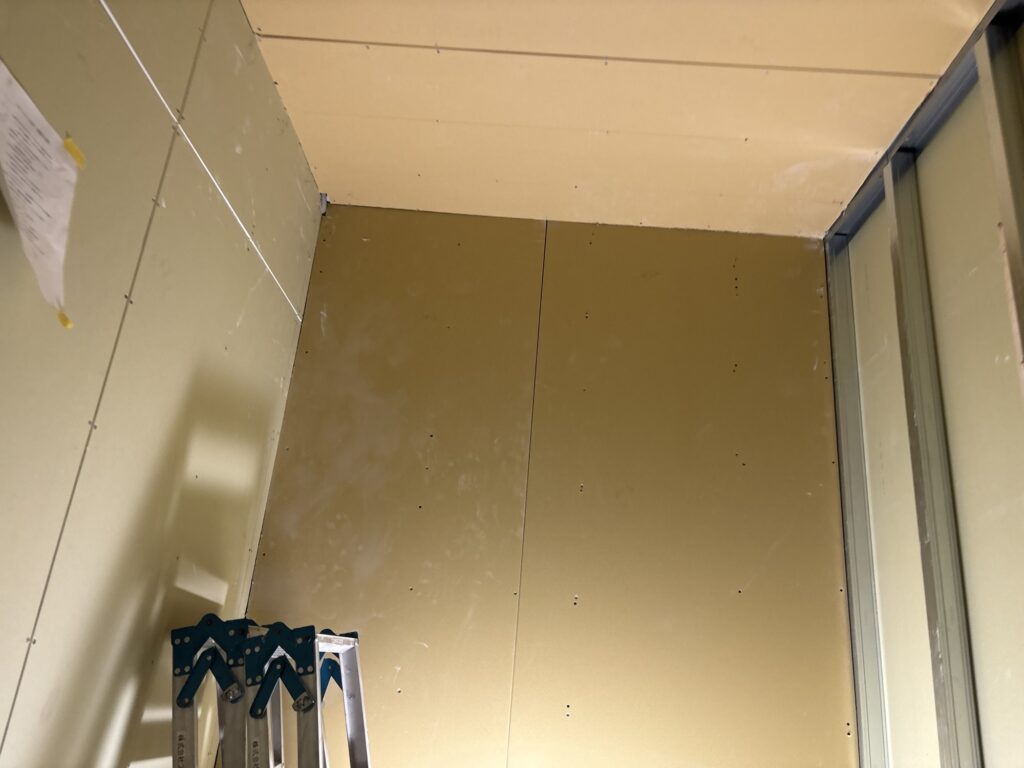
The size of each board also needs to be considered carefully. If a piece is cut too large, it may crack when screws are driven into it. Cutting the board to the appropriate size helps prevent this problem.
For small adjustments, using a gypsum board rasp or a similar tool is often an effective way to achieve the correct fit.
Preparing the Board Joints
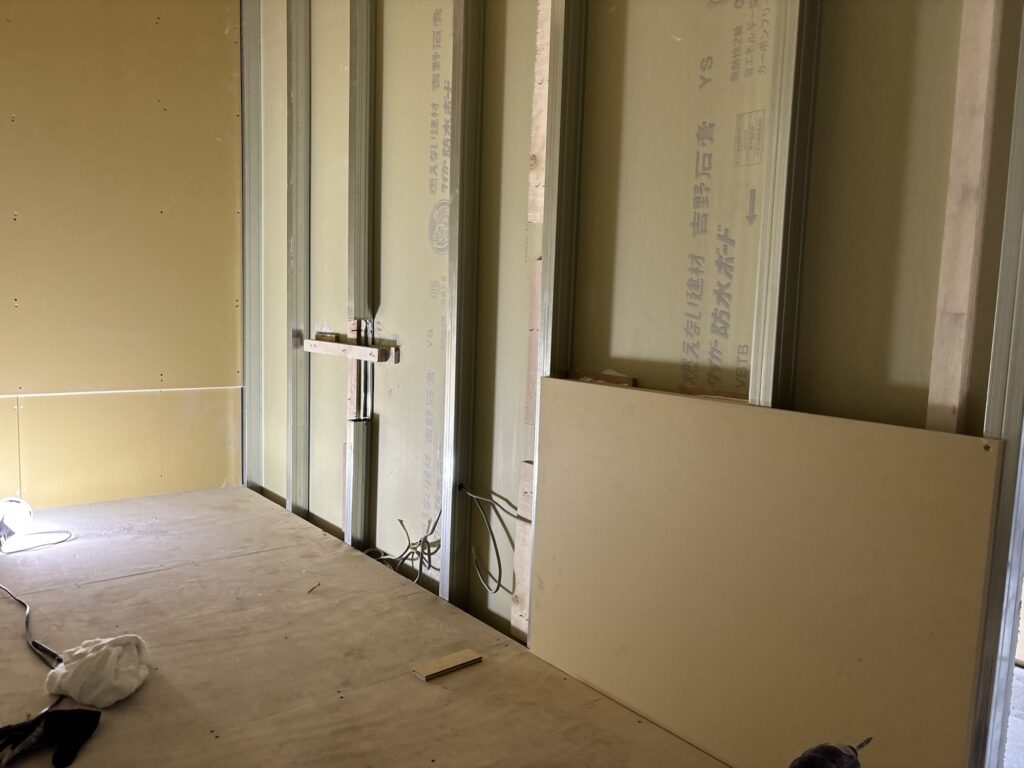
The edges of the gypsum boards were beveled at the joints.
Creating a slight groove at the joints allows joint compound to fill the space more effectively. This helps create a smoother surface for wallpaper installation.
If the joints are not beveled, it can be difficult to apply enough compound into the joint. This may increase the risk of cracks appearing along the seams later.
Applying Joint Compound
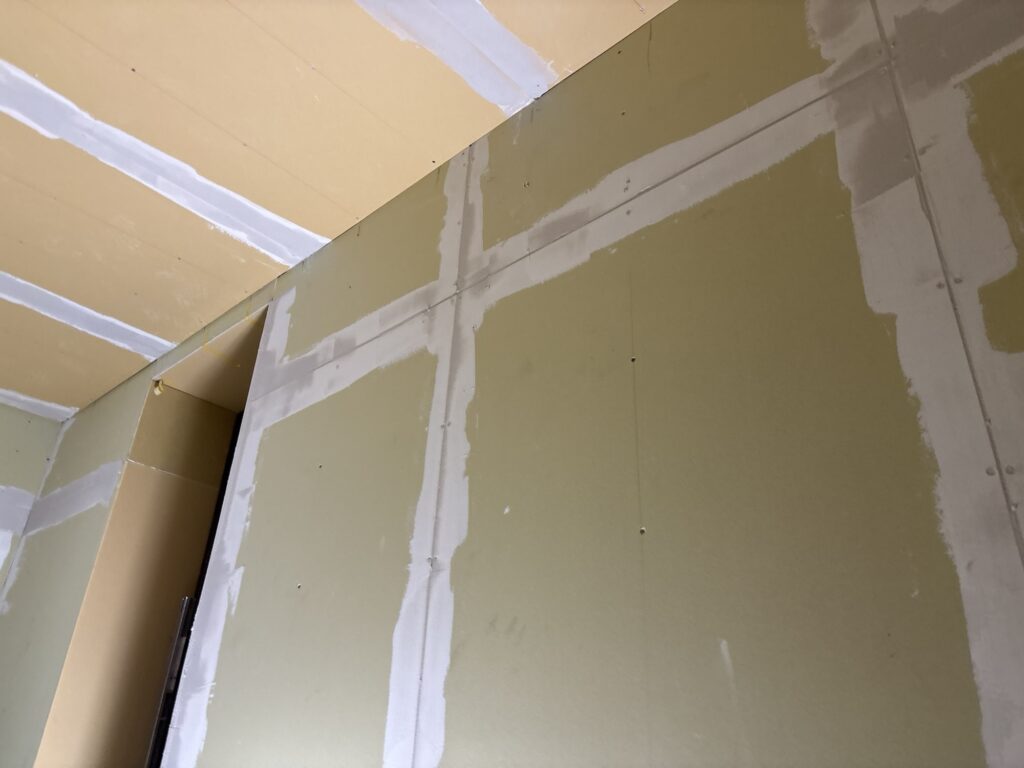
After all the gypsum boards were installed, we applied two coats of base joint compound and one coat of finishing compound.
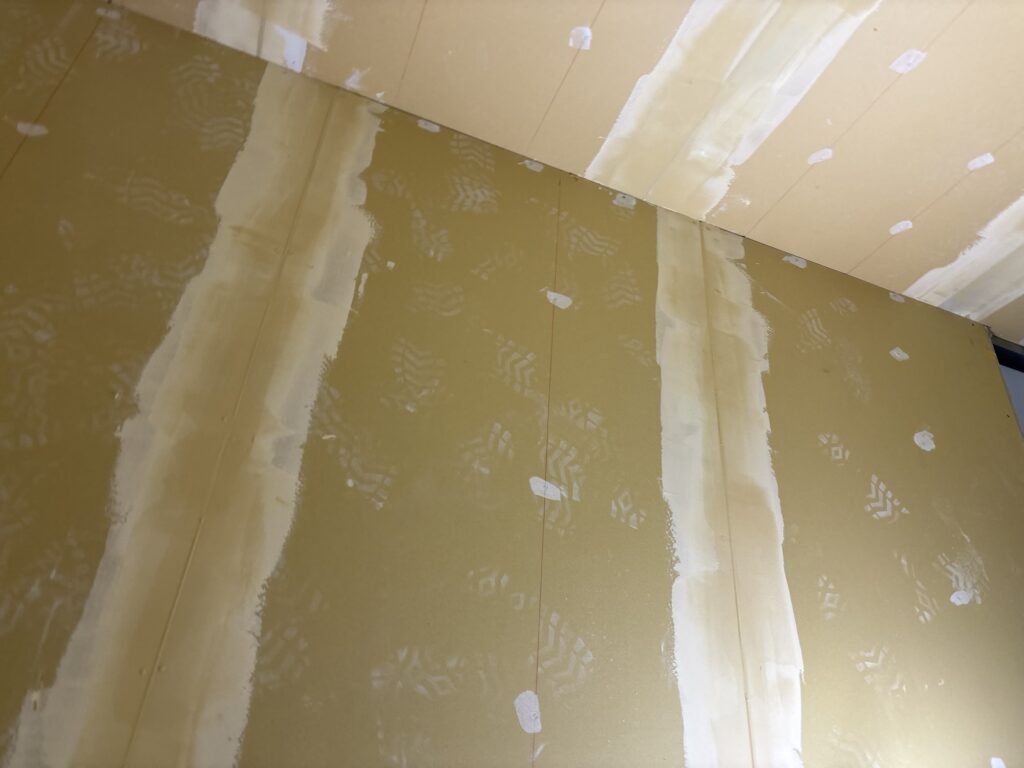
Once the surface preparation was complete, we finished the first day’s work.
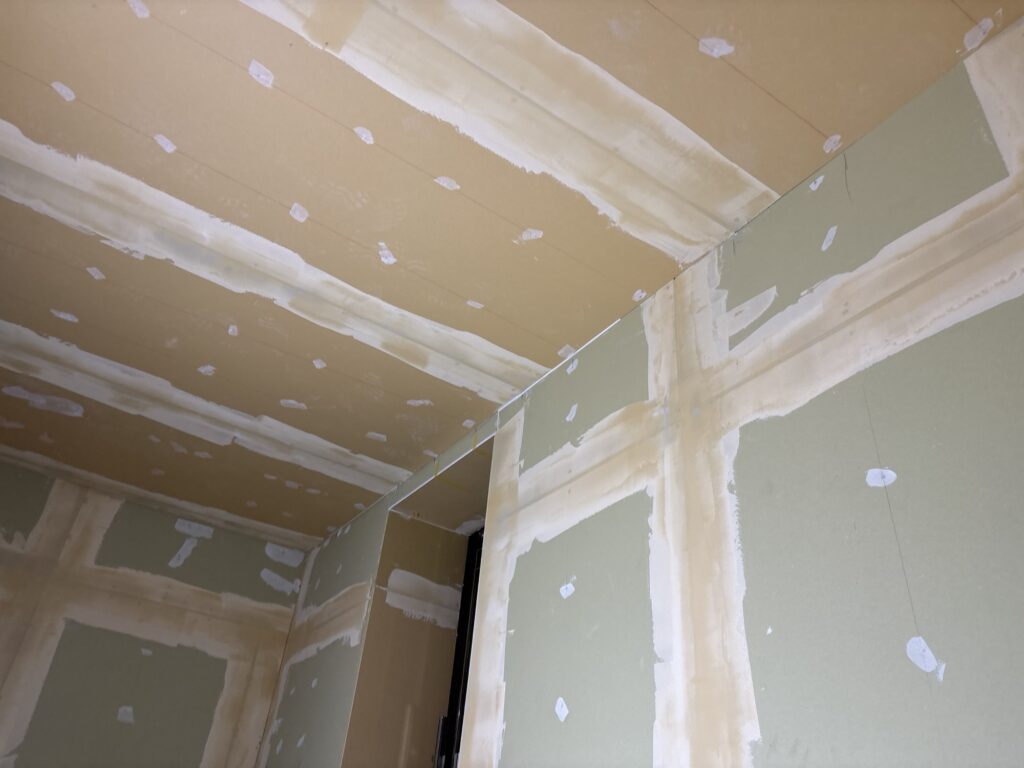
The total working time on Day 1 was approximately 6.5 hours.
Related Project
Replacing Water-Damaged Drywall and Rebuilding a Laundry Area Before Wallpaper Installation
Day 2: Wallpaper and Floor Tile Installation
On the second day, we moved on to wallpaper installation and vinyl floor tile installation.
Two workers and two site supervisors worked on the project.
Completing the Surface Preparation
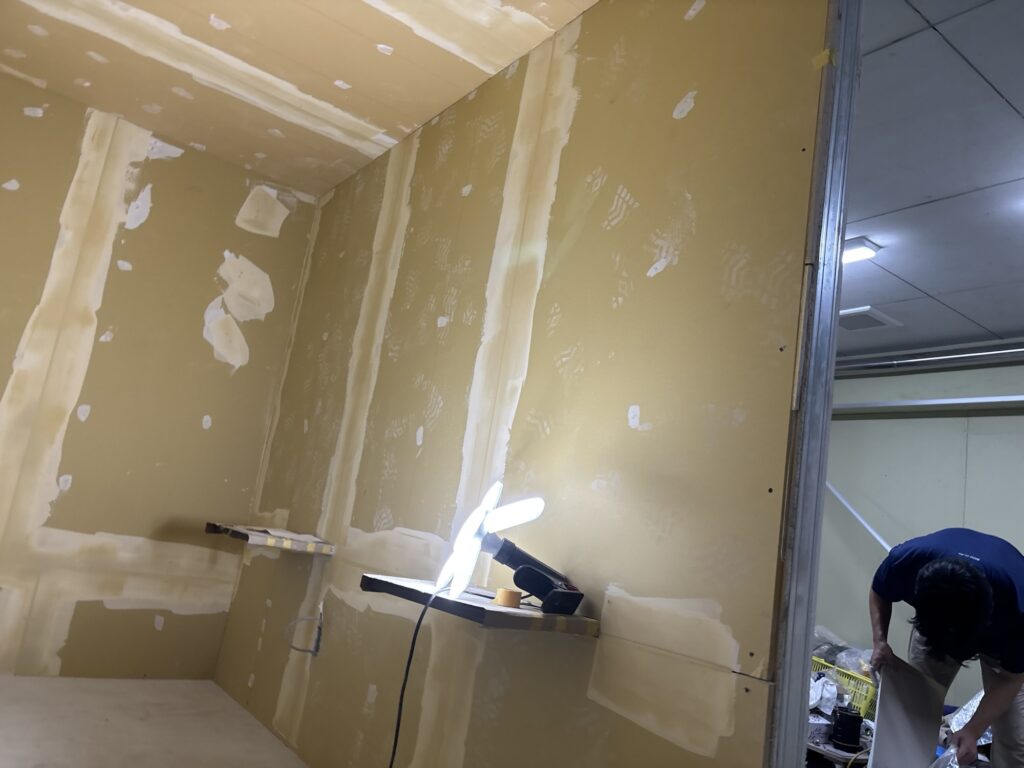
The previous day’s work had included installing new gypsum board and applying most of the joint compound.
However, there were still a few areas that needed additional compound. We applied the compound and allowed it to dry thoroughly before continuing.
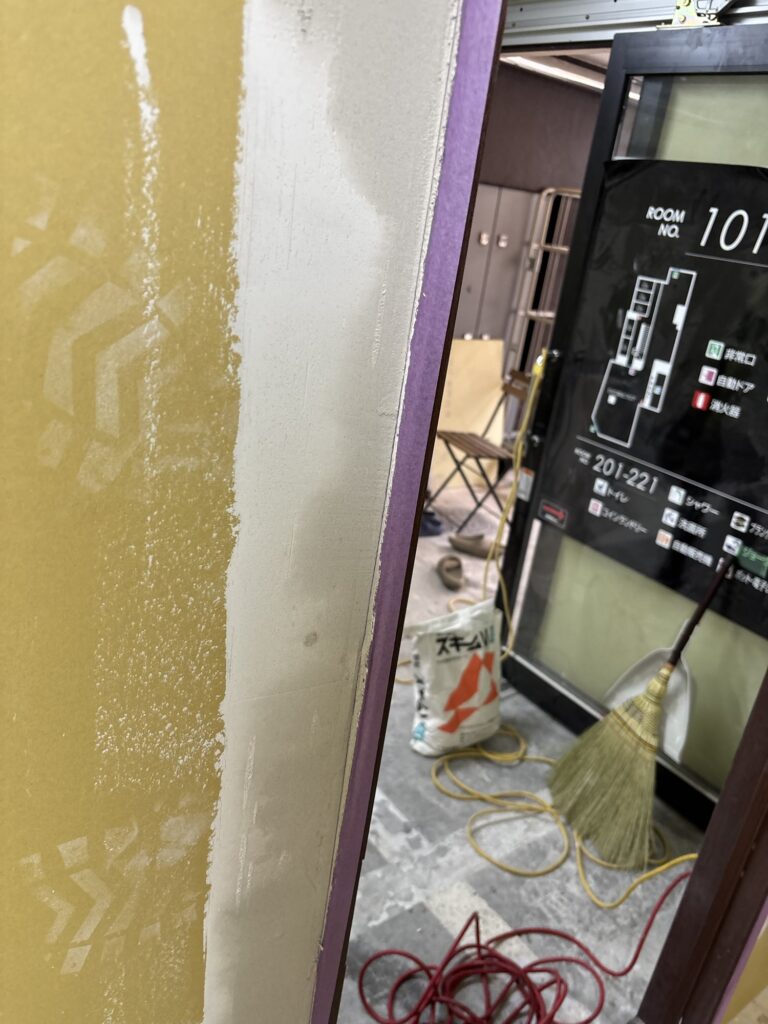
The area around the door frame had some deep grooves. To prevent the compound from getting onto the frame, we applied masking tape before filling the grooves.
This is a useful precaution because joint compound can stick firmly to a door frame and become difficult to remove after it dries.
Preparing the Ceiling Wallpaper
While the joint compound was drying, we measured and prepared the ceiling wallpaper using a wallpaper pasting machine.
The ceiling material was a thick gray wallpaper.
We prepared two strips, each measuring approximately:
- Length: 433 cm
- Width: 90 cm
Before installing the first strip, we marked a straight starting line with a chalk line. We used this mark as a guide to help keep the wallpaper straight.
Installing the Ceiling Wallpaper and Cutting the Joint
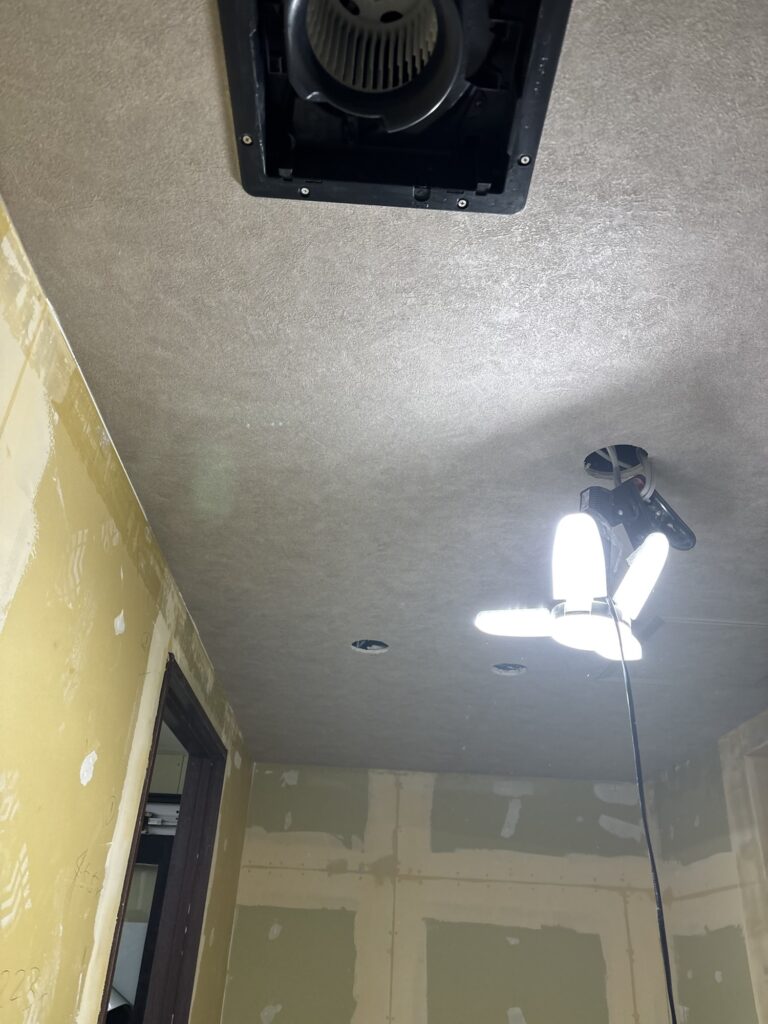
For this installation, we planned to double-cut the wallpaper joints. Therefore, we placed joint protection tape beneath both edges of the wallpaper.
We overlapped the second strip by approximately 3 cm and pressed the wallpaper into place. Using a wallpaper smoother, we worked from the center toward the edges to remove air bubbles.
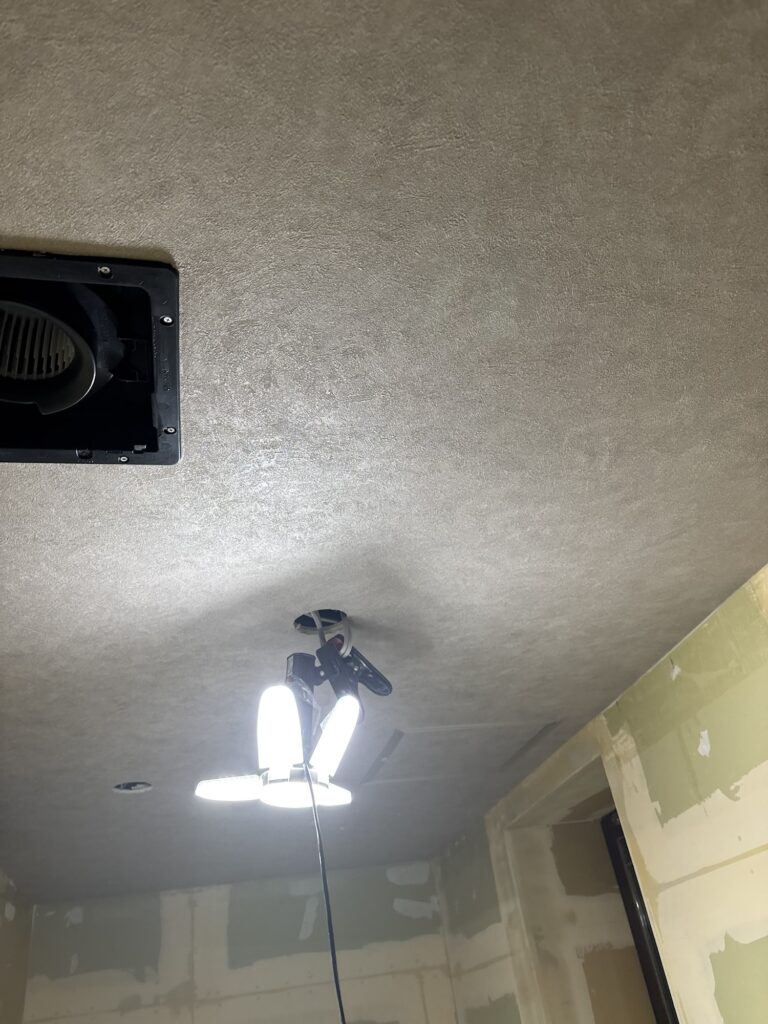
When cutting the joint, we positioned the cut over the joint protection tape. We then used a spatula or straightedge as a guide to make a straight cut.
It is important not to cut in an area where there is no joint protection tape. If the blade cuts into the gypsum board underneath, it may damage the surface.
Damage to the gypsum board can contribute to the wallpaper joint opening after installation.
After completing the ceiling, we moved on to the walls.
Installing the Patterned Wall Wallpaper
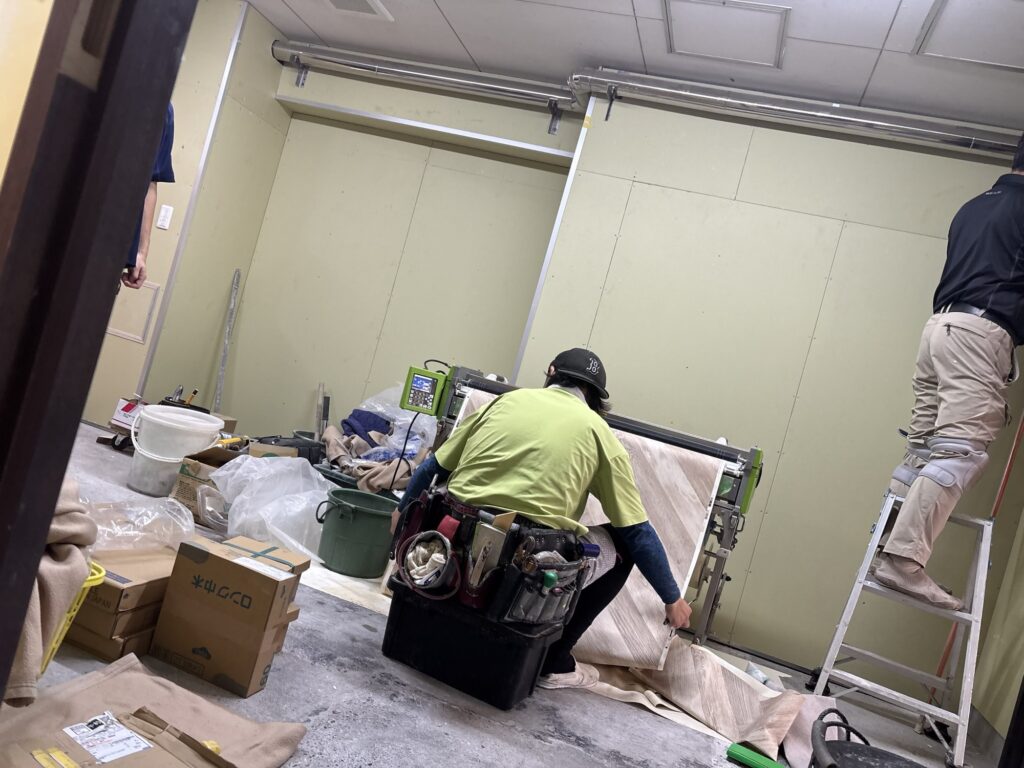
The wall material was a herringbone-patterned step-pattern wallpaper.
With this type of pattern, the matching position shifts from one strip to the next, alternating between the upper and lower positions. Because of this, the wallpaper must be measured and prepared with the pattern repeat in mind.
The pattern repeat also means that each strip needs to be cut longer than the actual wall height.
The wall height in this room was approximately 230 cm, but we prepared each strip about 30 cm longer to allow for pattern matching and trimming.
With wallpaper that does not require pattern matching, we would normally prepare all the necessary strips at once. For this project, however, we prepared and installed one strip at a time to make it easier to manage the pattern.
Choosing the Starting Position
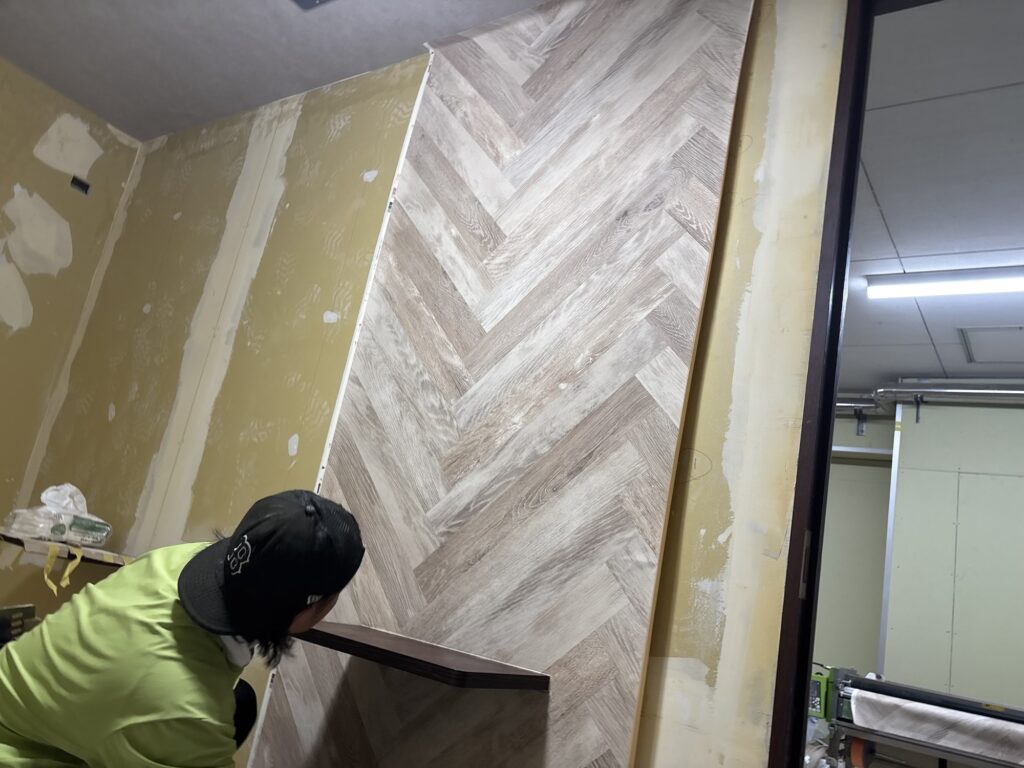
When deciding where to start, we considered how the pattern would connect around the room.
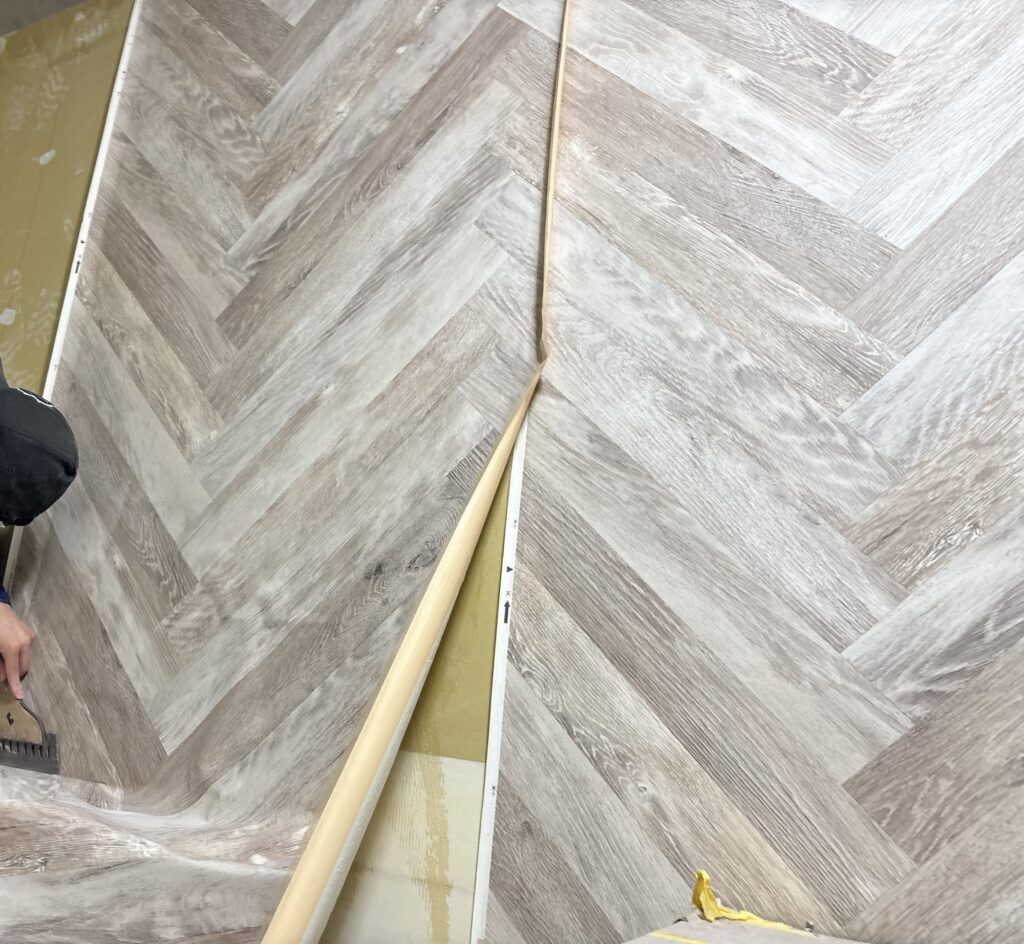
We selected a starting position that would allow the wallpaper to wrap around all four corners as naturally as possible.
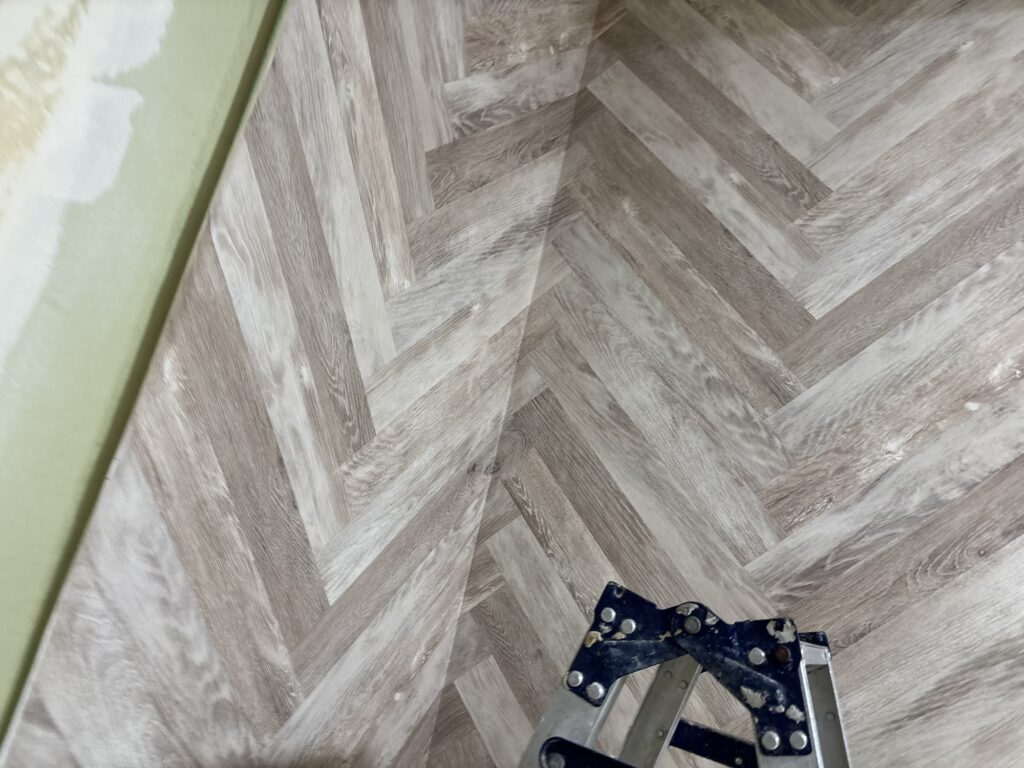
Since the wallpaper was 90 cm wide, the ideal arrangement was to have approximately 45 cm wrap around each side of a corner, using the corner as the center point.
If the first strip is installed only about 10 cm before a corner, it can become difficult to match the pattern with the next strip. This is an important point to consider when planning the starting position.
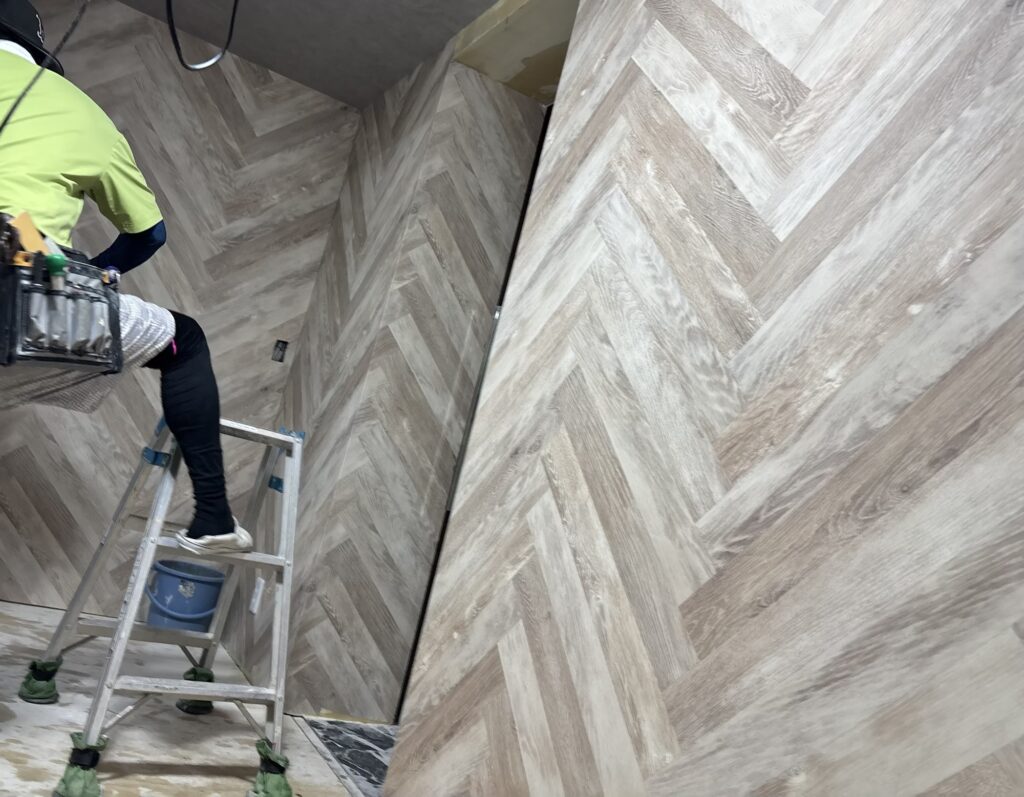
Another challenge is that the wallpaper can become slightly curved after wrapping around a corner.
To prevent this, we measured the position beyond the corner with a tape measure and made adjustments so that the wallpaper could continue in a straight line.
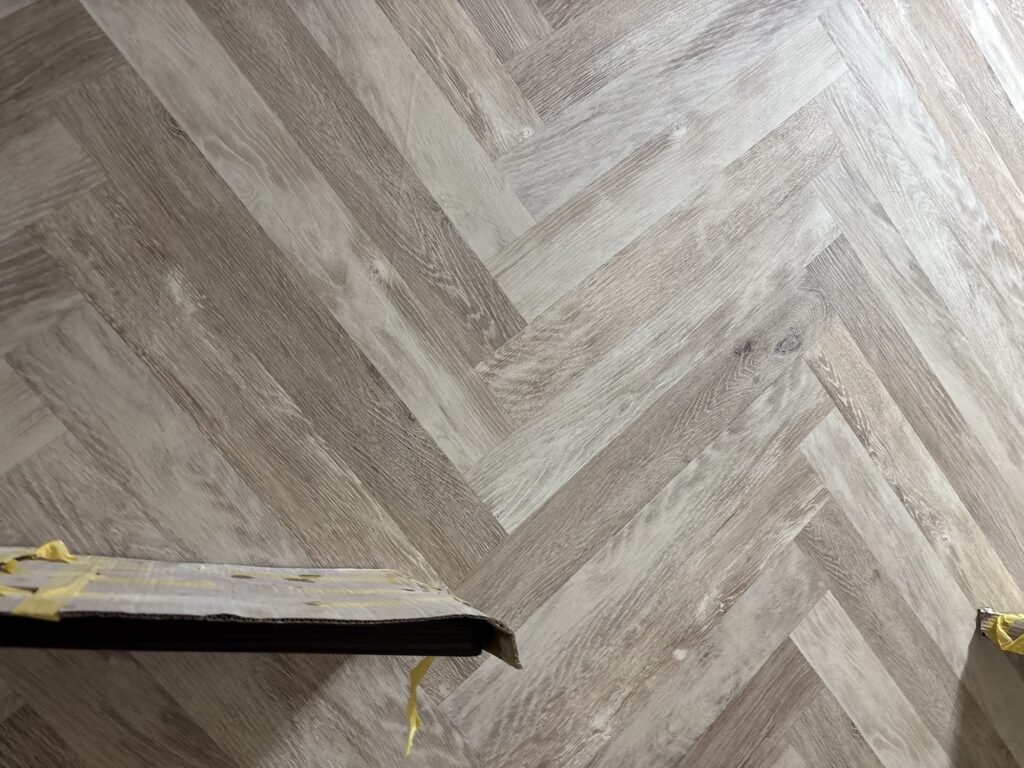
Patterned wallpaper can make even a small amount of misalignment more noticeable, depending on the material. For this reason, we needed to work more carefully than usual.
When joining the strips, we overlapped the wallpaper and gently lifted the upper strip to check that the pattern was aligned. Only after confirming the pattern did we use the smoother to remove air bubbles and fully press the wallpaper into place.
If the entire surface is pressed down before the pattern is matched, it becomes much more difficult to adjust the position.
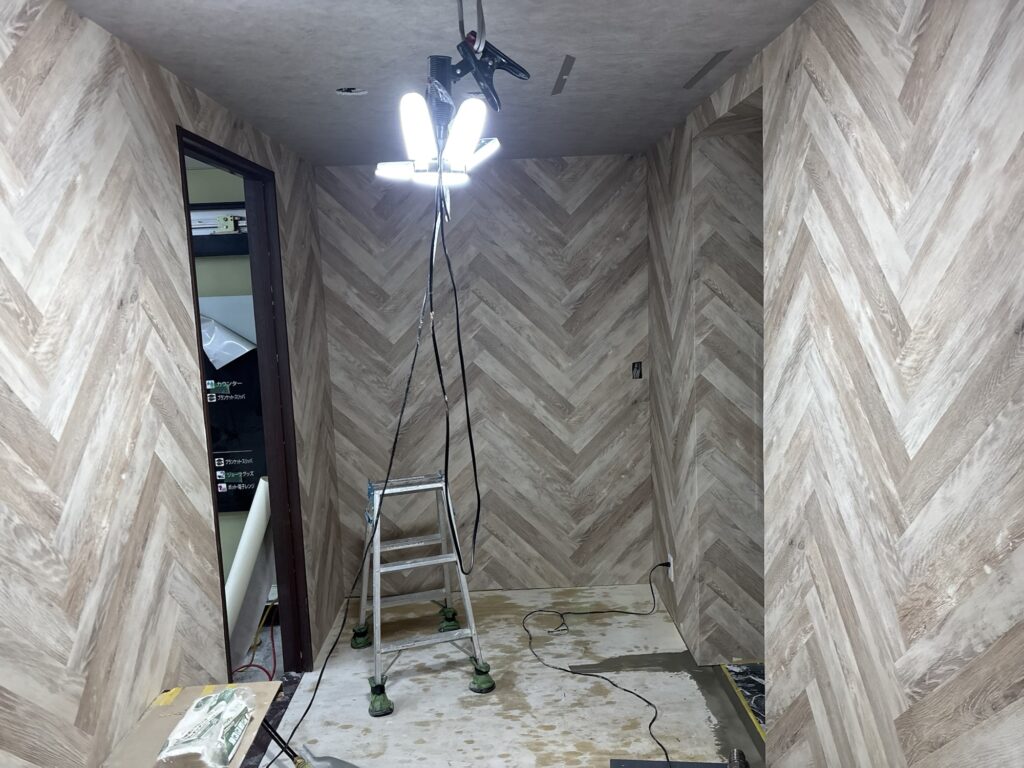
We continued this process until all the wall wallpaper was installed.
Because of the pattern matching, the wallpaper installation took approximately twice as long as installing a plain wallpaper without a pattern repeat.
Related Project
Installing the Vinyl Floor Tiles
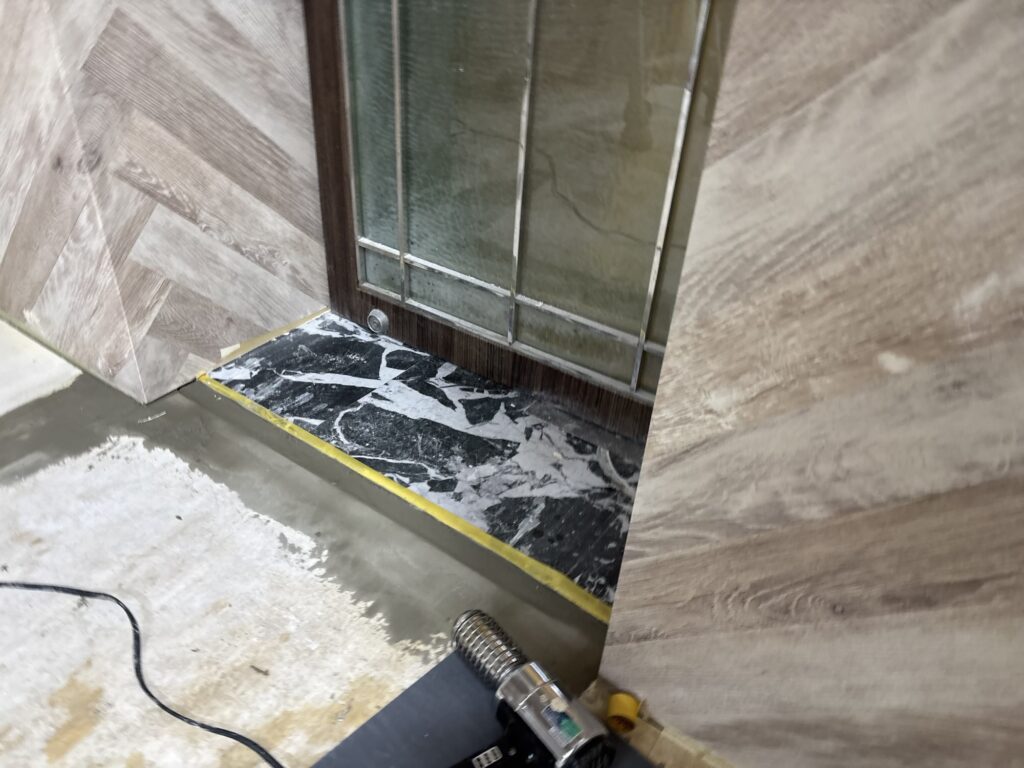
After finishing the wallpaper, we moved on to the floor.
We installed 50 cm × 50 cm vinyl floor tiles.
There was a slight depression at the boundary between the new and existing vinyl floor tile areas. We applied compound to level the surface and create a smoother transition.
This leveling process required careful attention. Even a difference of just a few millimeters can make a joint look uneven or unattractive.
To achieve a better result, we applied compound, dried it with a heat gun, and placed a tile over the area to check the level. We repeated this process approximately five times until the surface was ready.
Cutting and Installing the Floor Tiles
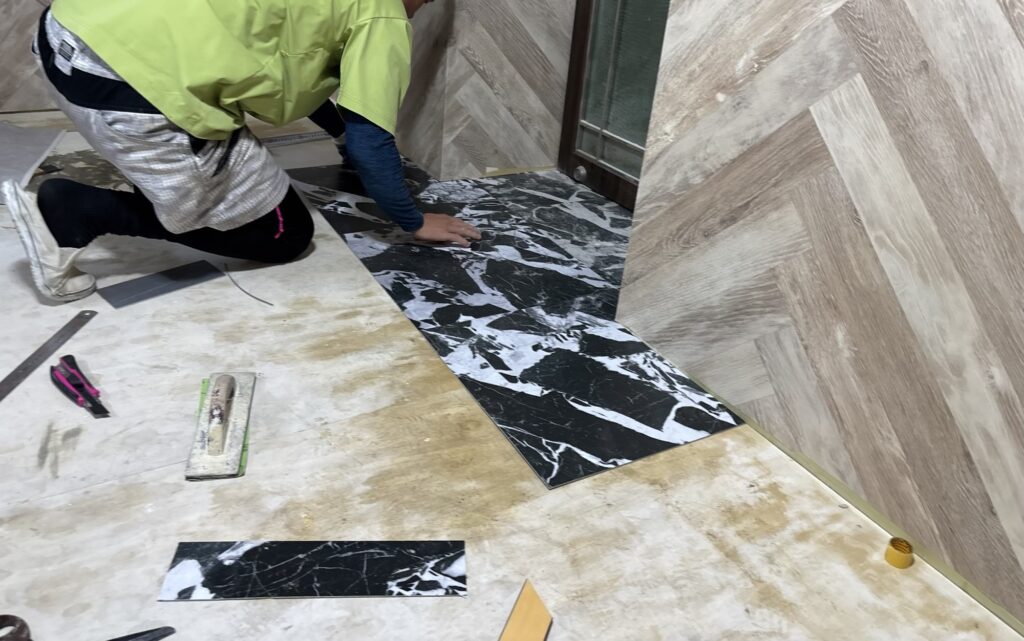
After completing the preparation, we applied the adhesive and began laying the floor tiles.
The areas around the door frame were the most time-consuming and technically challenging parts of the floor installation.
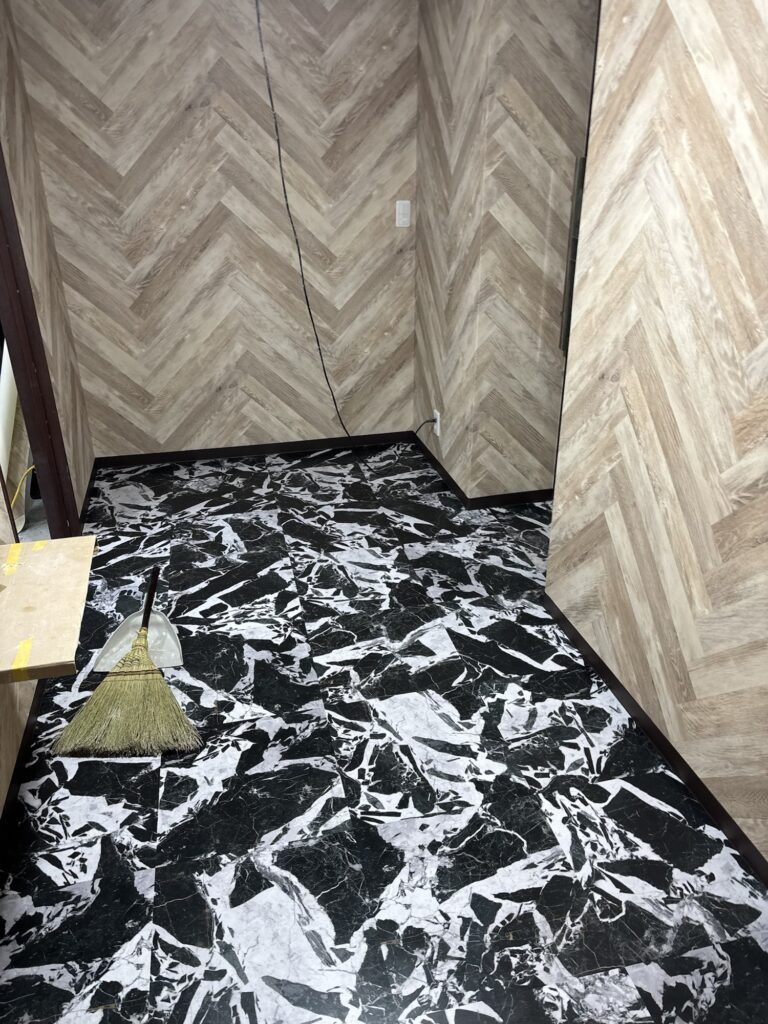
The tiles needed to be cut accurately using a straightedge. If the cut was too small, a gap could appear. If it was too large, the tile might not fit into place.
For areas that require detailed cuts, it is generally better to cut the tile before applying adhesive. We could then place it in position and check the fit before installation.
Trying to make the same detailed cuts after applying adhesive can be difficult because the adhesive may stick to the tile and make the work messy.
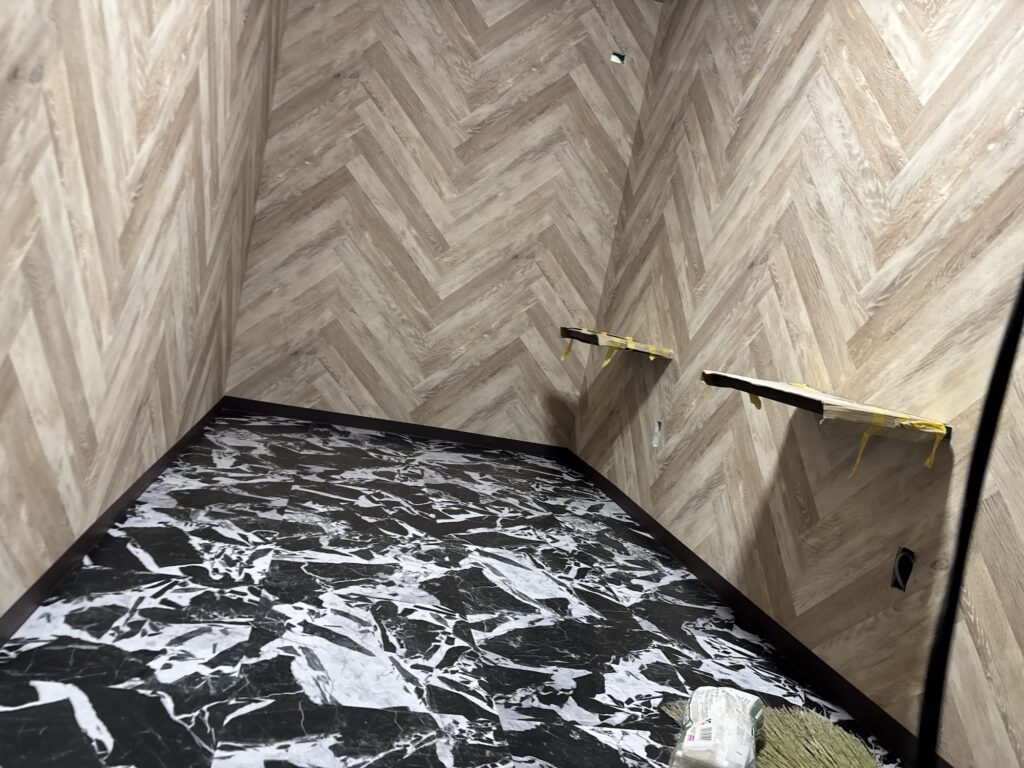
After all the floor tiles were installed, we finished the floor by installing the soft baseboards.
This completed the work for the day.
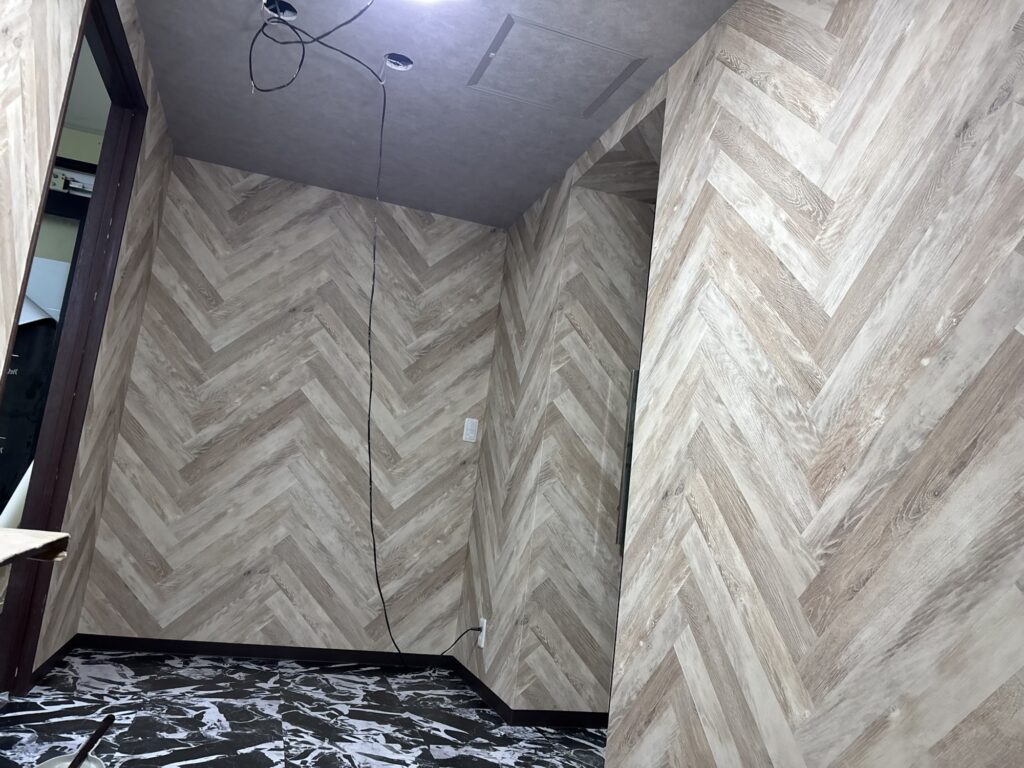
The total working time on Day 2 was approximately 8 hours.
Tools Used
The following tools and materials were used during this project:
- Gypsum board
- Screws
- Chalk line
- Gypsum board rasp
- Joint compound
- Putty knives
- Sanding tools
- Masking tape
- Wallpaper pasting machine
- Tape measure
- Wallpaper smoother
- Spatula or straightedge
- Joint protection tape
- Utility knife
- Heat gun
- Adhesive
- Vinyl floor tiles
- Soft baseboards
Professional Tips
Mark the Framing Lines Before Installing Gypsum Board
Marking the positions of the underlying framing before fixing the board makes it easier to locate the correct screw positions. This can improve both accuracy and efficiency.
Avoid Driving Screws Too Deeply
Screws should hold the gypsum board securely without breaking through the surface. Driving them too deeply can reduce their ability to hold the board in place.
Bevel Gypsum Board Joints
Beveling the edges of the boards at the joints creates space for joint compound. This helps produce a smoother surface and reduces the risk of problems along the seams.
Use Joint Protection Tape When Double-Cutting Wallpaper
When double-cutting wallpaper joints, joint protection tape helps protect the gypsum board underneath from being damaged by the blade.
Plan the Starting Position for Patterned Wallpaper
With patterned wallpaper, the starting position affects how the pattern connects around the room. Planning the corners in advance can make the finished result look more consistent.
Match the Pattern Before Fully Pressing the Wallpaper
Always check the pattern alignment before pressing the entire strip into place. Once the wallpaper is fully adhered, making adjustments becomes much more difficult.
Check Floor Levels Carefully
When connecting new floor tiles to existing tiles, even a small difference in height can be noticeable. Repeatedly checking the surface during preparation helps achieve a cleaner transition.
Make Detailed Cuts Before Applying Adhesive
For complicated areas such as door frames, dry-fitting the tiles before applying adhesive makes it easier to adjust the cuts and avoid working with a sticky surface.
Common Mistakes to Avoid
Driving Screws Too Deeply
If screws are driven too far into gypsum board, they may break through the board and fail to secure it properly.
Cutting Gypsum Board Too Large
Boards that are cut too large may crack when being fixed with screws. Measure carefully and make small adjustments with a rasp when necessary.
Failing to Bevel the Board Joints
Without beveled joints, it may be difficult to fill the seams properly with compound. This can contribute to cracks appearing along the joints.
Allowing Compound to Get on Door Frames
Applying compound directly beside a door frame without protecting it can leave difficult-to-remove residue. Masking tape is a simple way to prevent this.
Cutting Wallpaper Without Joint Protection Tape
Cutting directly over the gypsum board can damage the surface. Always use suitable joint protection when performing a double-cut joint.
Pressing Patterned Wallpaper Before Matching the Design
If the wallpaper is fully pressed down before the pattern is aligned, repositioning it can be difficult and may affect the final appearance.
Starting Too Close to a Corner
If the starting position is poorly planned, the pattern may become difficult to match at the corners.
Skipping the Floor Leveling Process
A small height difference between floor tiles can make the finished joint look uneven. Proper leveling is an important part of the preparation.
Making Detailed Tile Cuts After Applying Adhesive
Applying adhesive before completing complicated cuts can make the tiles messy and harder to handle. Dry-fitting first is often more efficient.
What I Learned From This Project
This project reminded me how important preparation and accurate measurements are in interior finishing work.
The gypsum board installation required careful attention to screw placement, board size, and joint preparation. These details may seem small, but they have a direct effect on the quality of the finished wallpaper.
The patterned wallpaper also required much more time than a plain material. Matching the pattern, planning the starting position, and keeping the wallpaper straight around the corners all required patience and precision.
The floor tile installation was another reminder that the preparation underneath the material is just as important as the installation itself. The slight depression between the existing and new tiles required repeated leveling and checking before we could achieve a satisfactory result.
Overall, the project showed me once again that careful preparation, accurate cutting, and attention to detail are essential for achieving a clean and professional finish.
Frequently Asked Questions
1. What type of renovation project was this?
This was a hotel interior renovation project involving gypsum board installation, wallpaper installation, vinyl floor tile installation, and soft baseboard installation.
2. How large was the room?
The room was approximately 13 square meters.
3. How many workers were involved?
Four people worked on the first day: two workers from our company and two workers from the requesting company. On the second day, two workers and two site supervisors worked on the project.
4. What type of wallpaper was used?
A thick gray wallpaper was used on the ceiling, and a herringbone-patterned step-pattern wallpaper was used on the walls.
5. Why was the wall wallpaper prepared longer than the wall height?
The wallpaper had a repeating pattern that shifted between strips. The extra length allowed us to match the pattern and trim the excess material.
6. Why is the starting position important when installing patterned wallpaper?
The starting position affects how the pattern connects around the room, especially at the corners. Planning the starting point helps create a more consistent appearance.
7. Why is joint protection tape used when cutting wallpaper joints?
It helps protect the gypsum board underneath from being damaged by the cutting blade during the double-cutting process.
8. Why was the floor surface leveled before installing the new tiles?
There was a slight depression at the boundary between the existing and new floor tiles. Leveling the area helped create a smoother and cleaner transition.
9. Why is it better to make detailed floor tile cuts before applying adhesive?
Dry-fitting the tiles before applying adhesive makes it easier to check the fit and adjust the cuts. It also prevents the adhesive from making the tiles difficult to handle.
10. How long did the project take?
The first day’s work took approximately 6.5 hours, and the second day’s work took approximately 8 hours.
Conclusion
This hotel renovation project involved more than simply installing wallpaper and floor tiles. It required careful gypsum board preparation, accurate measurements, detailed pattern matching, and precise floor leveling.
The patterned wallpaper and the floor tile work around the door frames were particularly challenging, but they were also valuable opportunities to focus on technique and accuracy.
By taking the time to prepare the surfaces properly and check each step carefully, we were able to complete the wallpaper, floor tile, and soft baseboard installation.
Thank you for reading about this project. I hope this site report was helpful to anyone interested in wallpaper installation, flooring work, or interior renovation in Japan.


Comments