
Project Data
- Project Type: Detached house renovation
- Location: Japan
- Area: Washroom and bathroom entrance
- Work Performed: Wallpaper installation and cushion flooring installation
- Crew: 1 wallpaper installer and 1 site supervisor
- Working Time: Approximately 5.5 hours
Installation Details
- Ceiling Wallpaper: 170 cm × 90 cm, 2 pieces
- Wall Wallpaper: 237 cm × 90 cm, 5 pieces + 1 spare piece
- Washroom Floor: Approximately 185 cm × 175 cm
- Cushion Flooring Material: Approximately 200 cm × 180 cm
Introduction
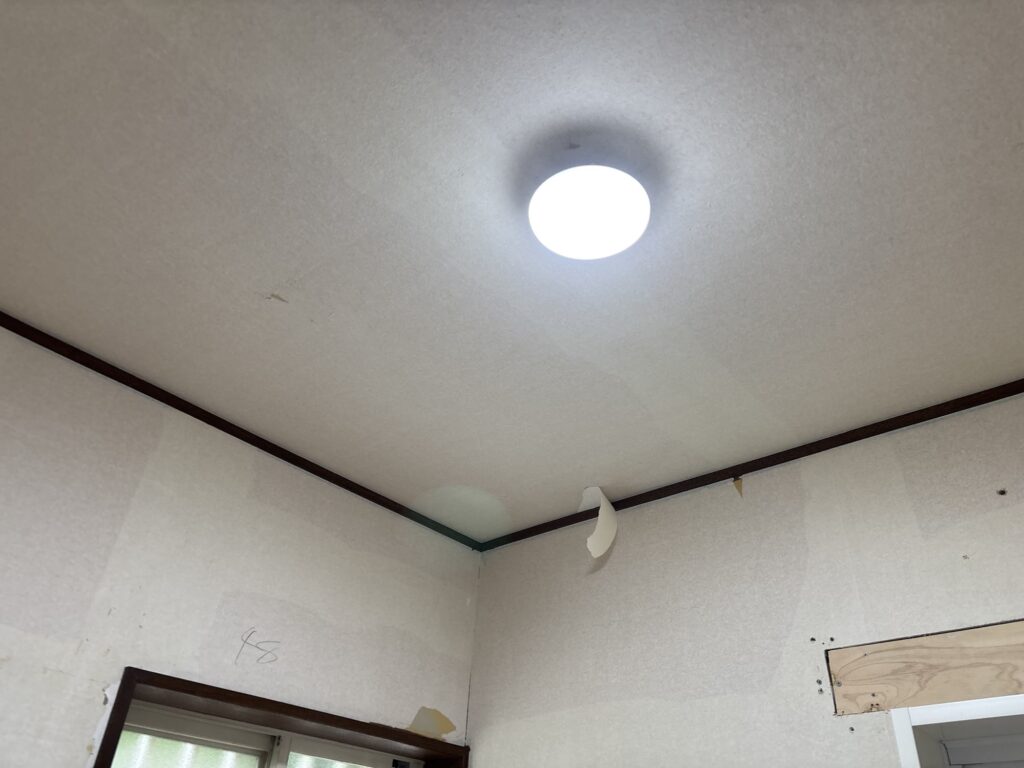
Today, I would like to share a renovation project I worked on in a detached house in Japan.
This project involved installing new wallpaper and cushion flooring in a washroom. The renovation was being carried out because a new unit bathroom and a new washbasin were going to be installed.
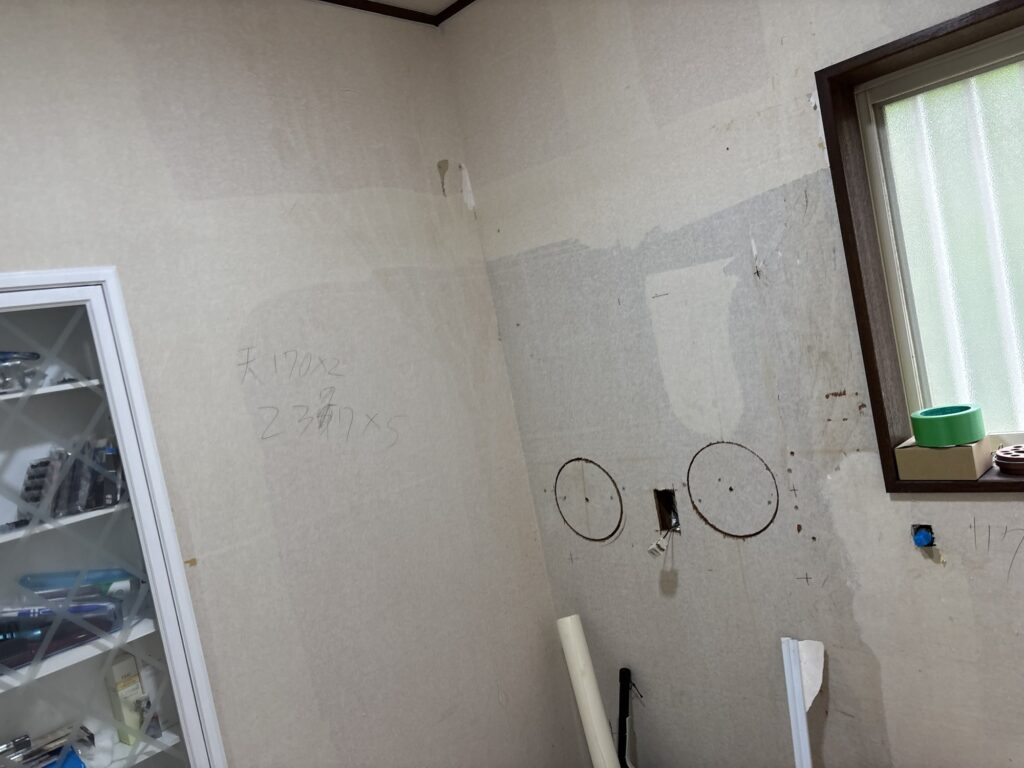
As part of the plumbing and electrical work, some sections of the walls had been opened and repaired to accommodate new plumbing fixtures, electrical outlets, and other equipment.
I worked on this project with one site supervisor. My responsibility was to prepare the surfaces, install the wallpaper, and replace the cushion flooring.
The weather was rainy that day, and the high humidity made the putty take longer to dry. Fortunately, the wall substrate was in fairly good condition, and the new wallpaper was relatively thick, so the preparation was not too difficult.
Related Project
Replacing Wallpaper, Vinyl Flooring, and Soft Baseboards in a Bathroom Vanity Area
Job Site Report: Step-by-Step Work Process
1. Preparing the Walls
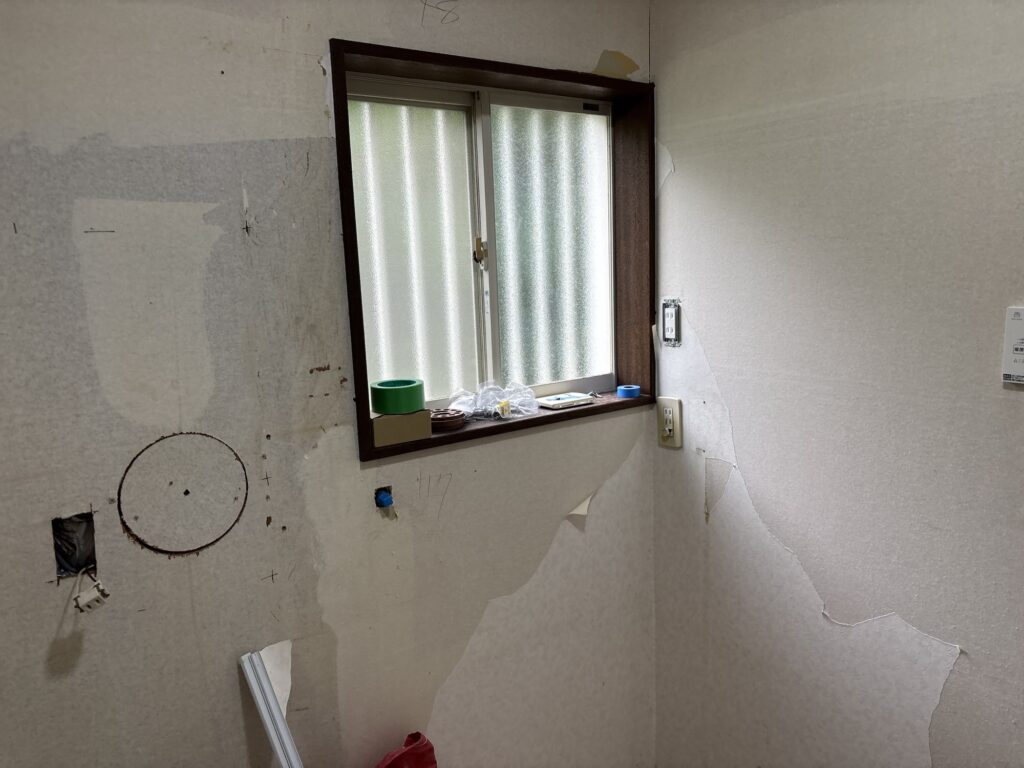
When we started, the old wallpaper had already been removed.
I inspected the wall surfaces and applied base putty to the deeper grooves and uneven areas.
Fortunately, the substrate was not in bad condition. Since the new wallpaper was relatively thick, minor imperfections would be less likely to show through after installation.
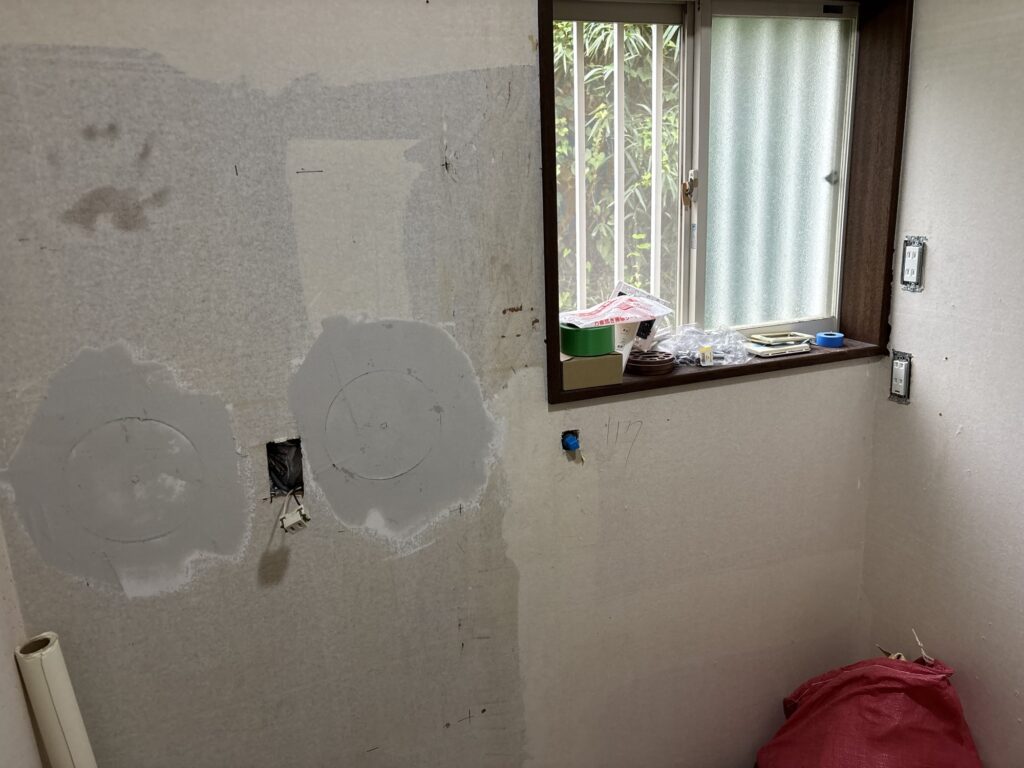
However, the deeper grooves still needed to be filled properly, so I applied base putty to those areas first.
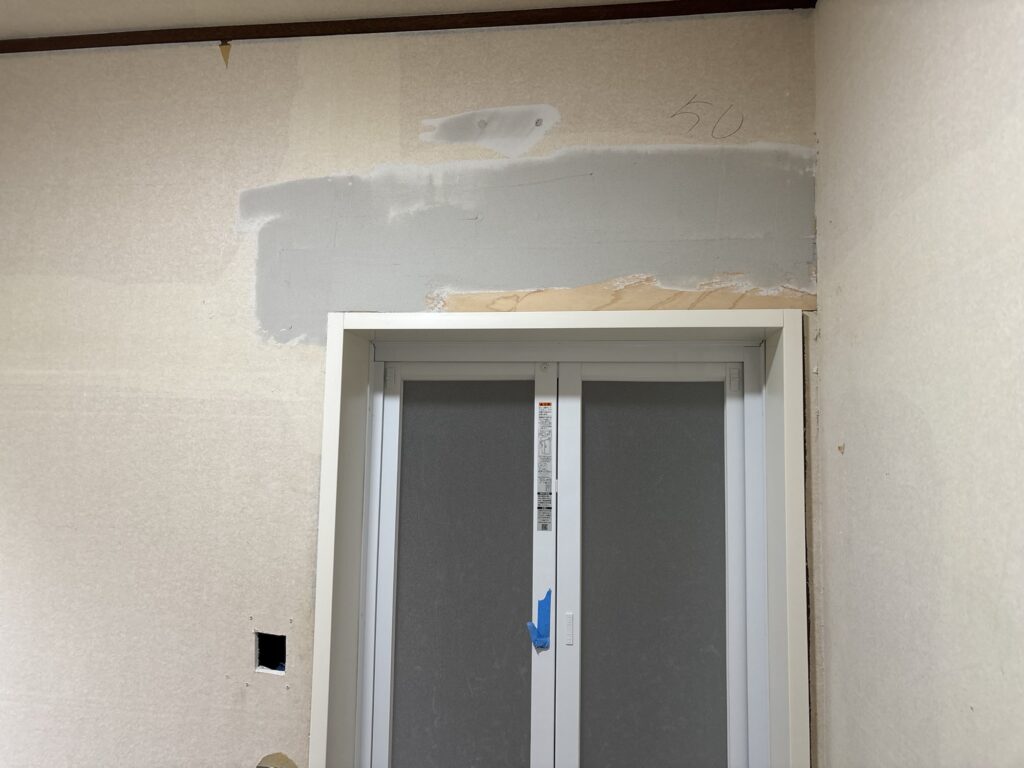
Because it was raining and the humidity was high, I knew the putty would take longer than usual to dry. Rather than waiting without doing anything, I moved on to preparing the wallpaper.
2. Measuring and Preparing the Wallpaper
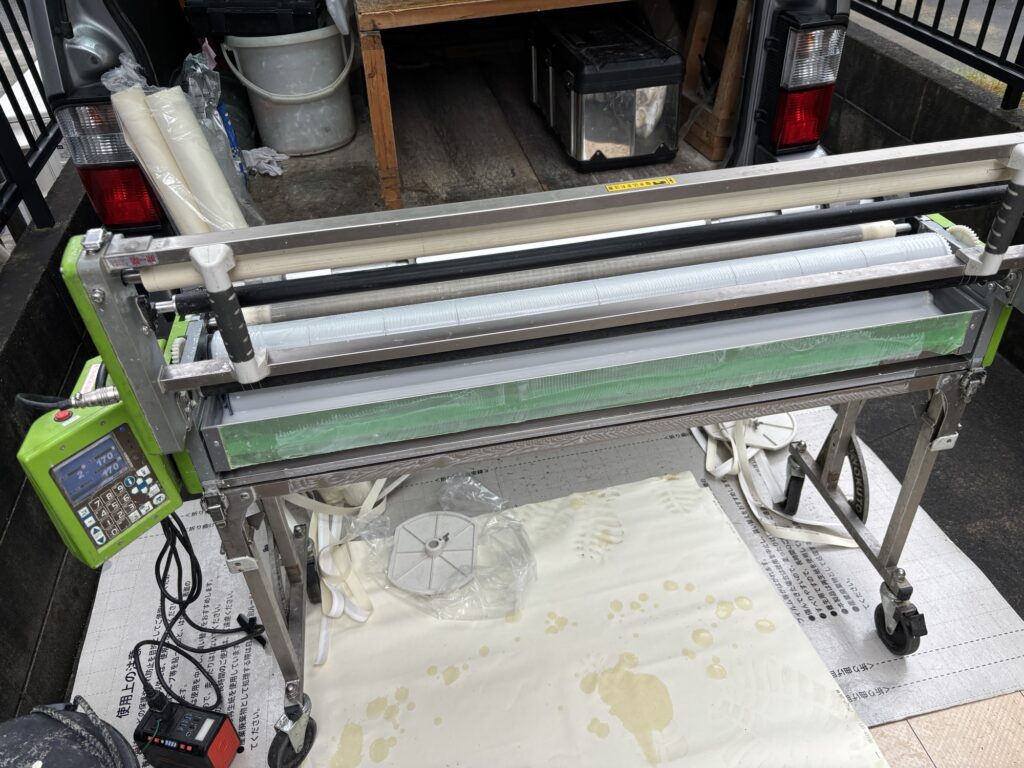
I measured the ceiling and walls, then ran the wallpaper through the wallpaper pasting machine.
For the ceiling, I prepared two pieces. Each piece was approximately 170 centimeters long and 90 centimeters wide.
For the walls, I prepared five pieces, each approximately 237 centimeters long and 90 centimeters wide. I also prepared one extra piece as a spare.
I prepared several smaller pieces for the areas that required different measurements.
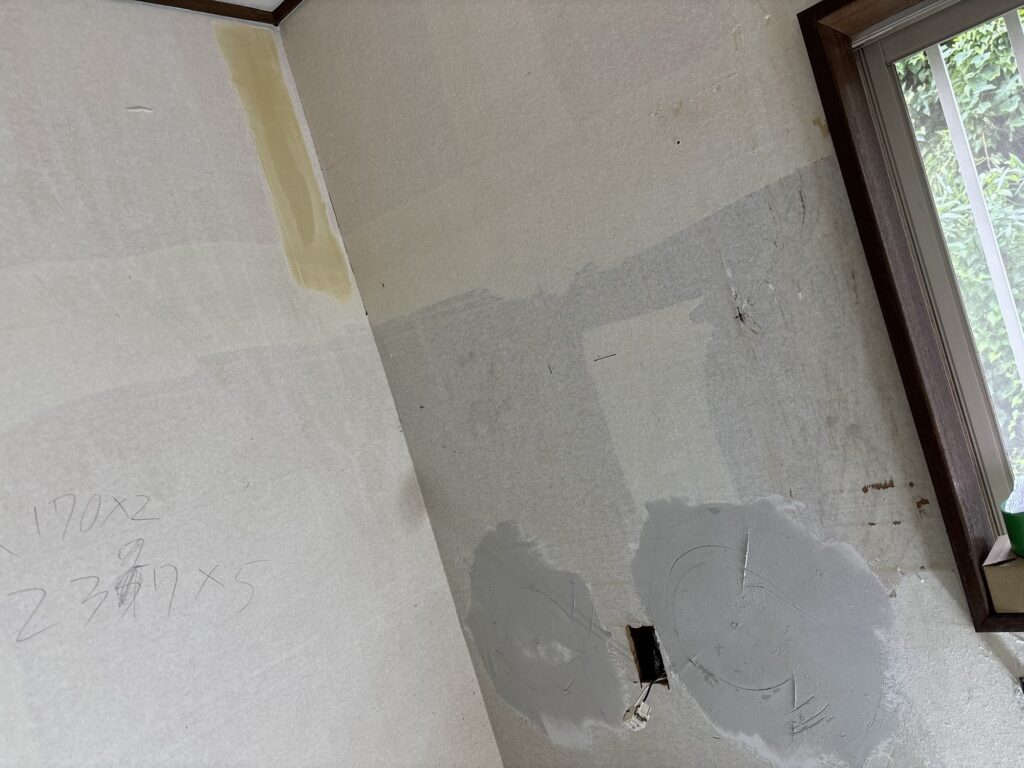
After preparing the wallpaper, I applied a second coat of base putty to the deeper grooves and finish putty to the shallower uneven areas.
3. Installing the Ceiling Wallpaper
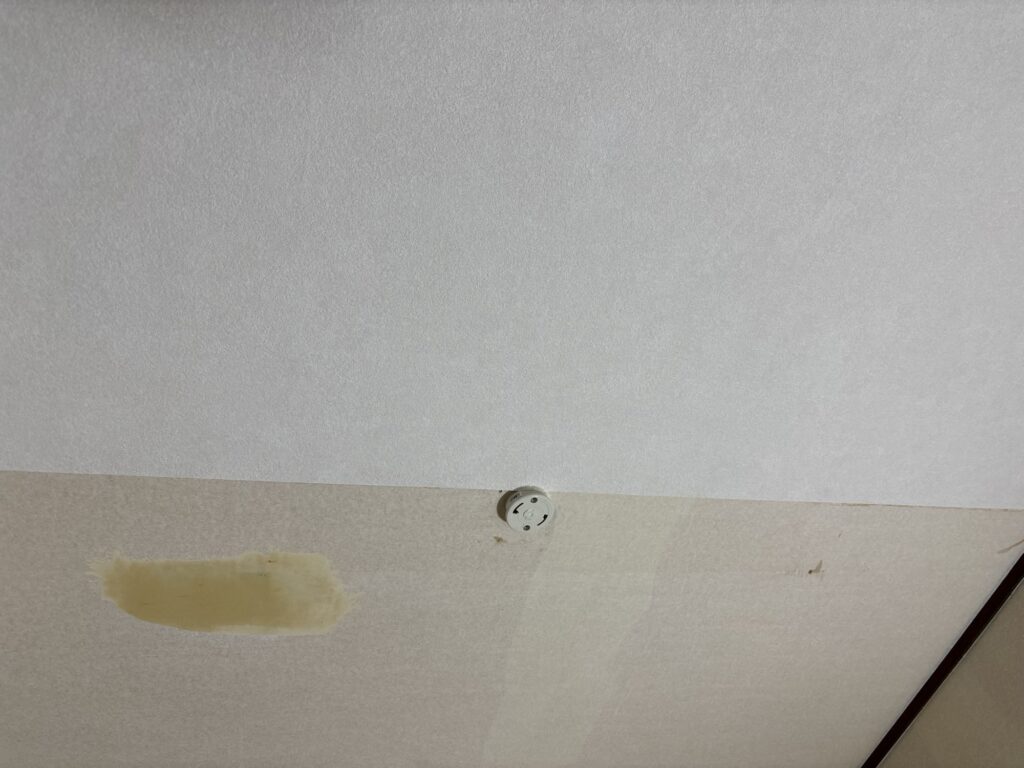
Once the ceiling and part of the walls were ready, I started with the ceiling.
A light fixture was attached to the ceiling and would have interfered with the installation, so I removed it before applying the wallpaper.
When deciding where to start, I tried to avoid placing the new wallpaper directly over areas where the old wallpaper had been repaired with putty.
Wallpaper can sometimes bubble or lift over thick putty areas, so avoiding those locations where possible helps produce a more stable finish.
I marked the starting position carefully so the wallpaper would not gradually become crooked.
Then, I attached the wallpaper and used a smoother to push air bubbles from the center toward the edges.
After that, I pressed the corners firmly, used a spatula to create a sharp edge, and cut the wallpaper with a utility knife.
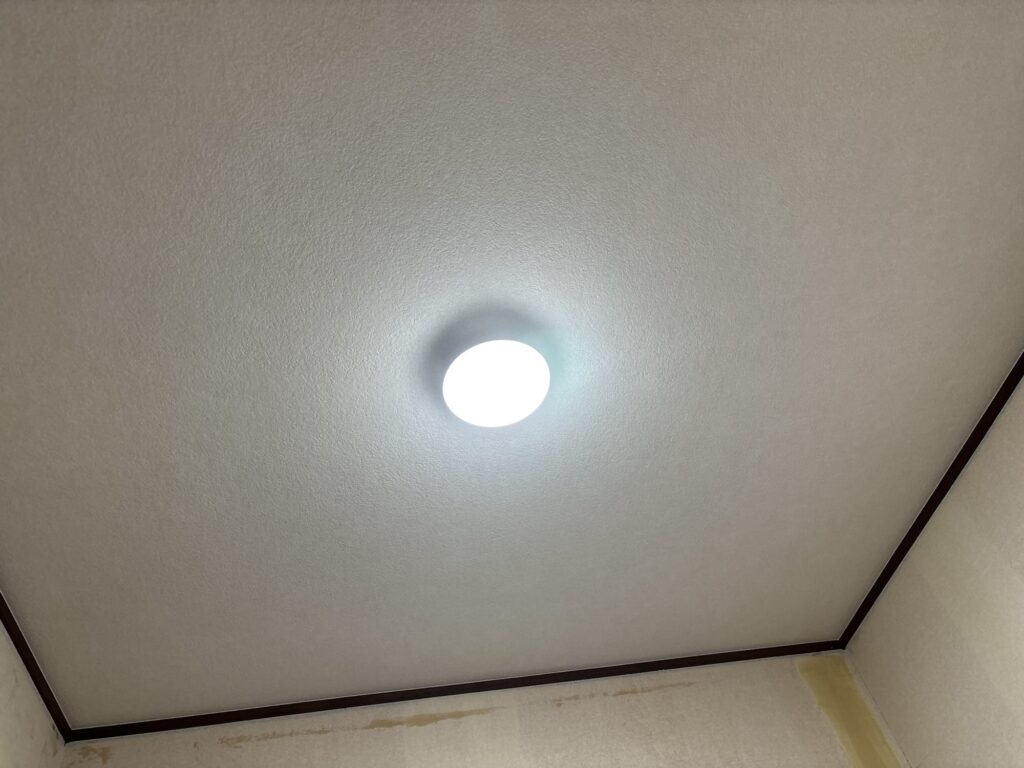
Creating a clean, accurate corner is especially important. If the corner is not properly formed before cutting, the finished cut may become wavy instead of straight.
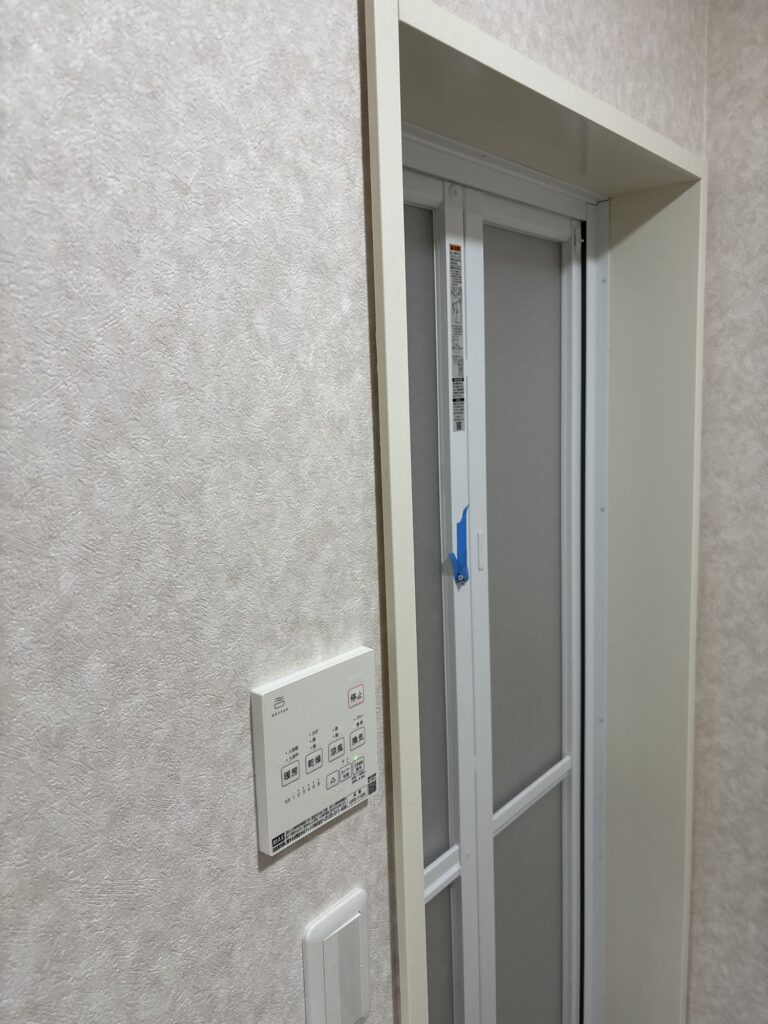
4. Installing Wallpaper Around the Bathroom Door Frame
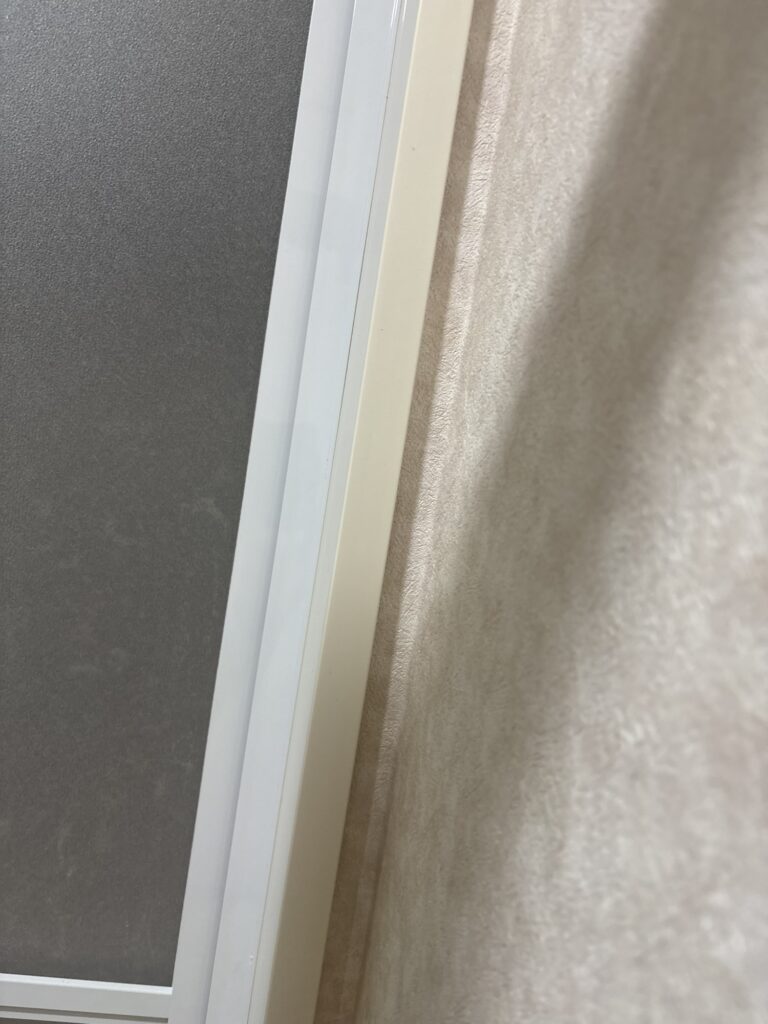
The area around the bathroom door frame was particularly narrow. There was not much room to insert my hand or work comfortably with a knife.
To make the installation easier, I wrapped the wallpaper around from the front and tucked it into the space around the door frame.
If I had installed the wallpaper as separate pieces without wrapping it around, the narrow working space would have made cutting more difficult, and the finished appearance would not have been as clean.
The key was to avoid pressing down the entire sheet immediately.
I first positioned the wallpaper while checking the line of the door frame. Then, I gradually attached it while making small adjustments to keep it straight.
I also had to be careful when removing air bubbles. Trying to force the bubbles out too aggressively can twist the wallpaper and create wrinkles or distortion.
5. Continuing the Putty Work
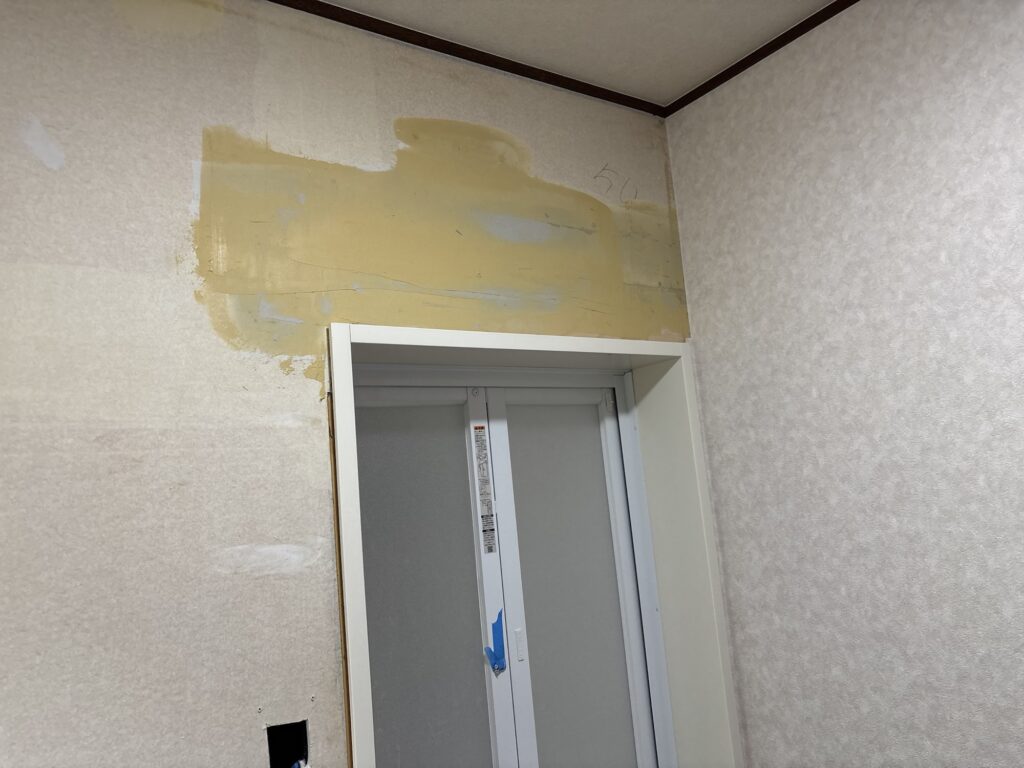
After completing the ceiling and some of the wall installation, I applied finish putty to the remaining deeper grooves.
I also applied putty to the joint areas of the floor substrate where necessary.
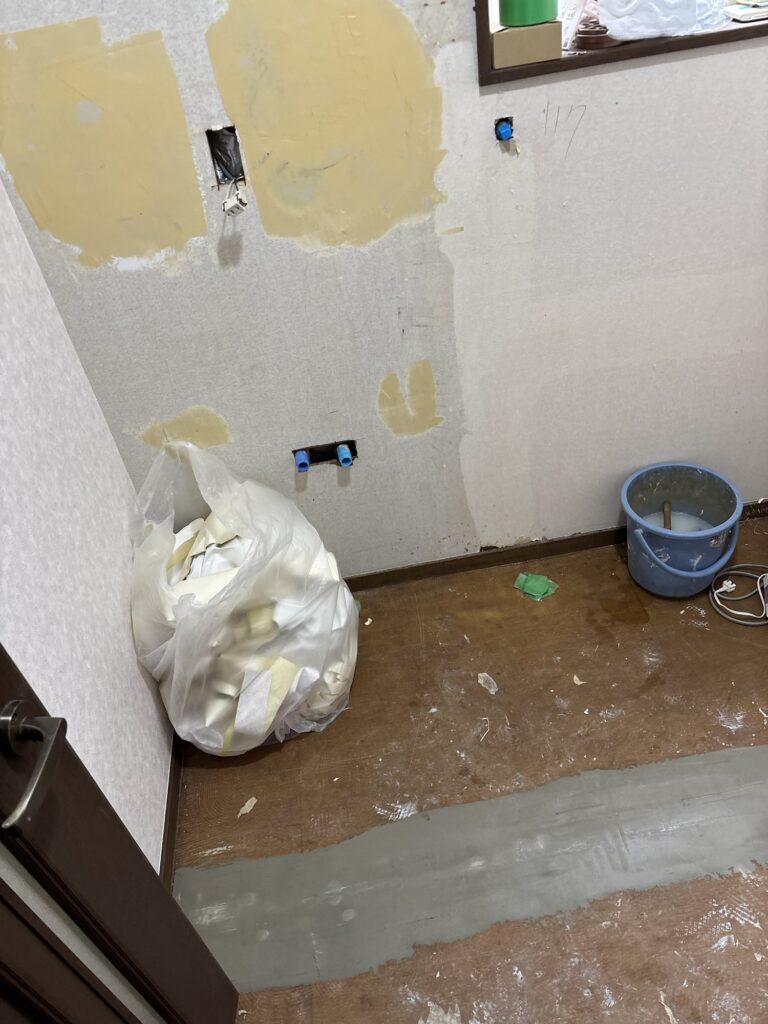
While the putty was drying, I took a lunch break.
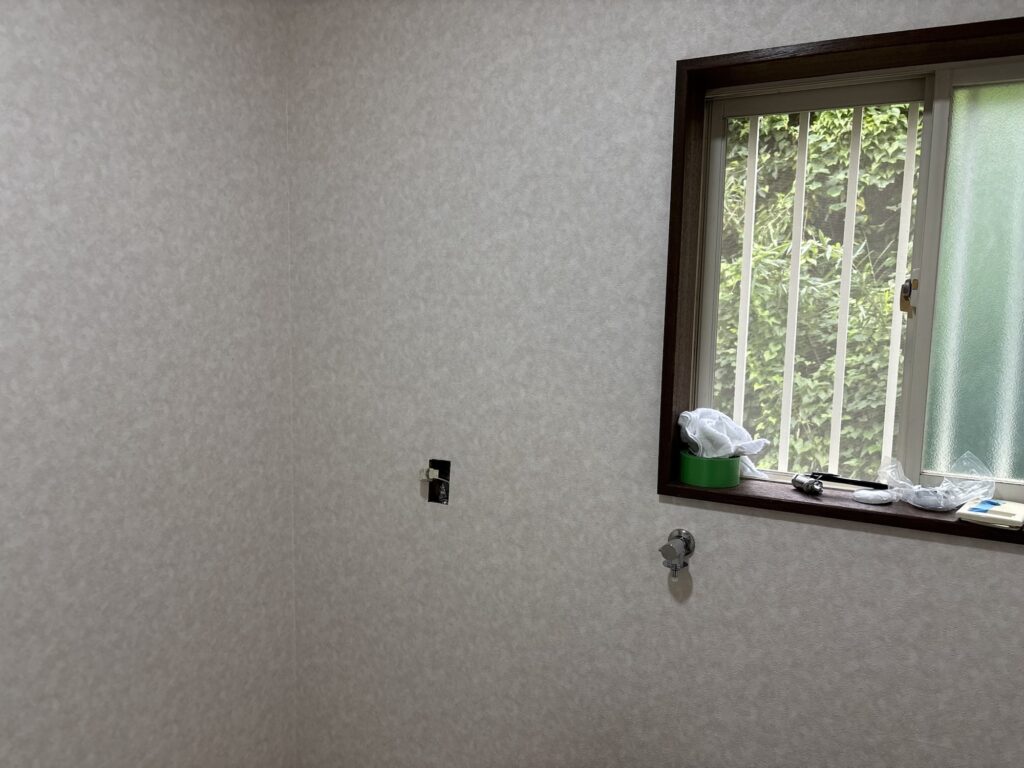
Once the putty had dried sufficiently, I finished installing the remaining wallpaper and moved on to the cushion flooring.
6. Measuring and Installing the Cushion Flooring
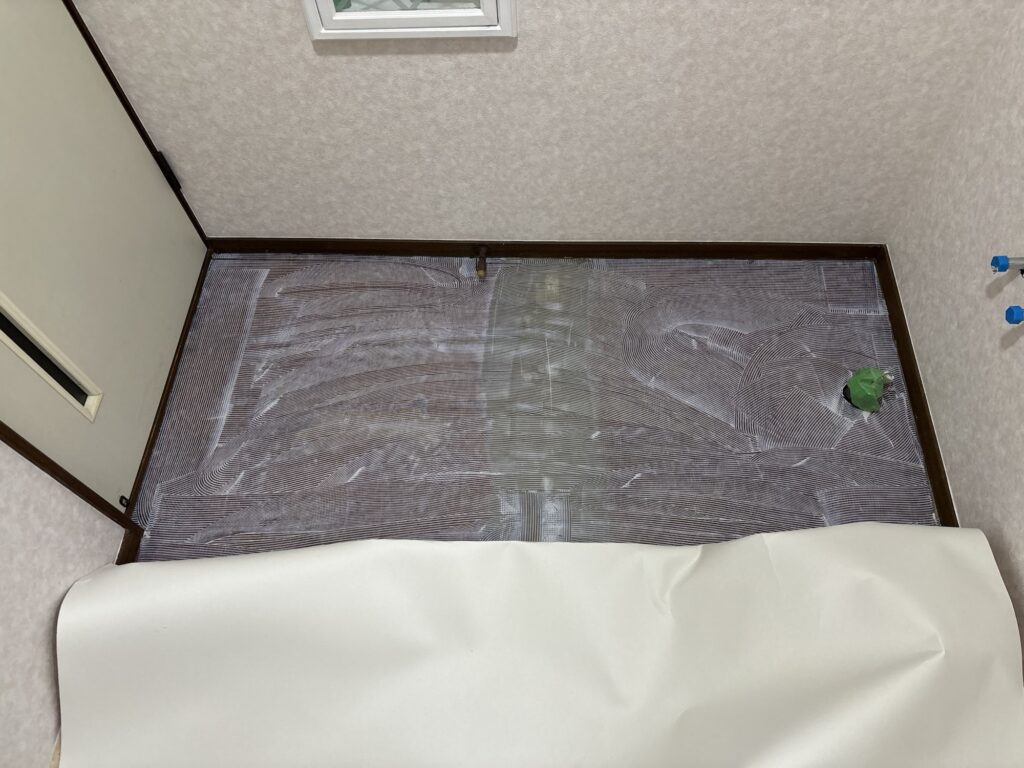
The washroom floor measured approximately 185 centimeters long by 175 centimeters wide.
The cushion flooring material was supplied at approximately 200 centimeters long by 180 centimeters wide.
Since the material was already close to the required size, I decided not to cut it down in advance. Instead, I planned to position it carefully and make the final cuts in place.
First, I aligned the edge of the cushion flooring with the door-frame line at the washroom entrance.
After positioning it straight, I folded back half of the material and applied adhesive to the exposed floor.
I then carefully laid that half down, making sure it did not shift or become crooked.
As with wallpaper, I worked from the center toward the outside to remove air bubbles.
Next, I folded back the remaining half, applied adhesive, and attached it in the same way.
7. Cutting the Cushion Flooring
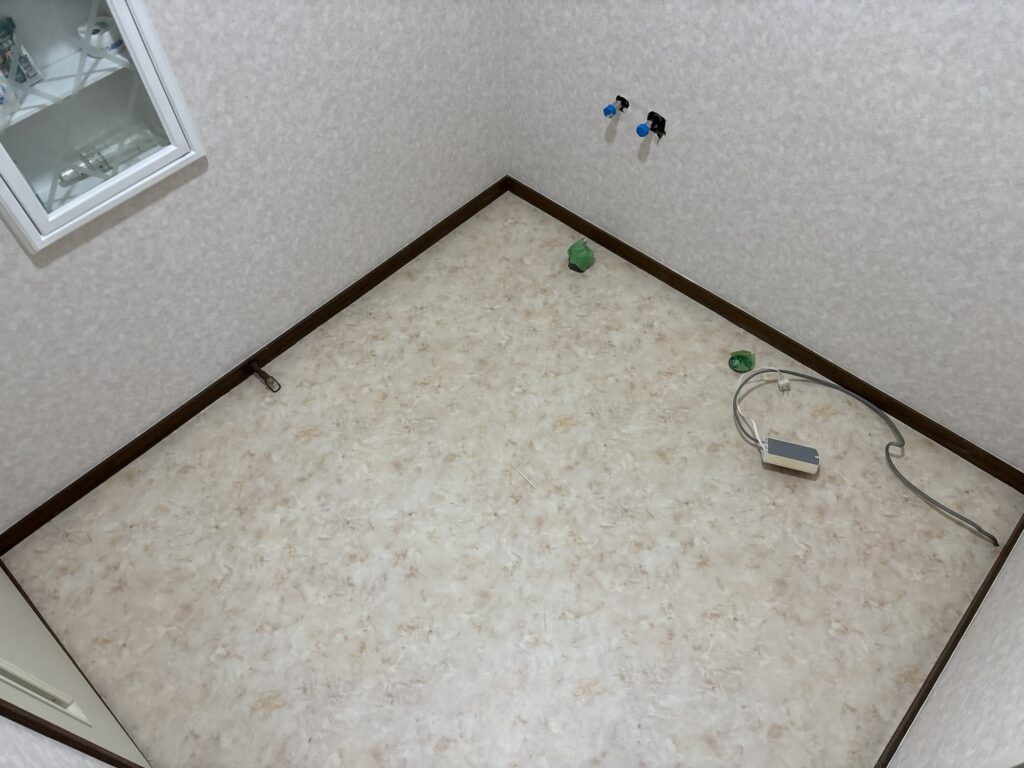
After removing the air bubbles with a smoother, I cut the straight edges using a corner cutter.
One thing to be careful about when using a corner cutter is the blade depth.
Depending on how far the blade is extended, it can cut too shallow or too deep.
When using a corner cutter for the first time in an area, I prefer to make the initial cut in a location that will eventually be hidden by the washing machine or washbasin.
That way, if I accidentally cut too deeply and create a small gap, it will be in a place that will not be visible after the fixtures are installed.
I also prefer to start with a slightly longer cut and gradually adjust it shorter.
This gives me more room to correct the cut instead of removing too much material at once.
Thinking about what could happen if a mistake occurs gives me more peace of mind and often leads to better workmanship.
8. Finishing Around the Bathroom Entrance
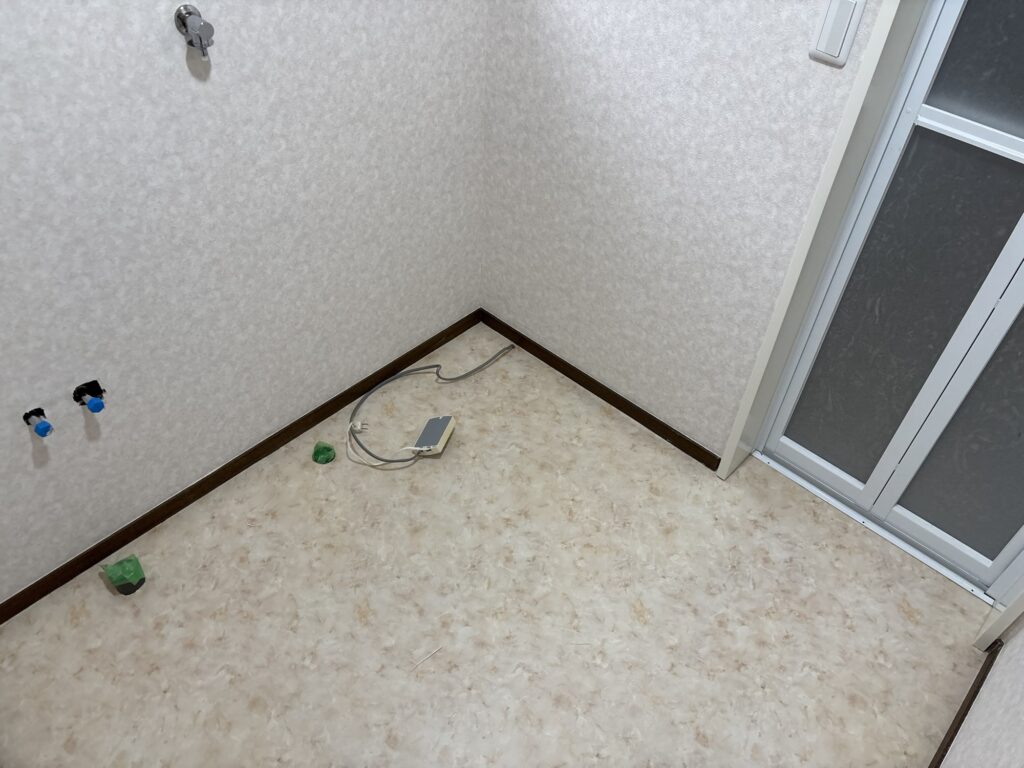
There was a gap of approximately one centimeter beneath the frame at the bathroom entrance.
I cut the cushion flooring slightly longer and tucked it into that gap.
If the material is cut exactly to the visible edge without accounting for the space underneath the frame, the gap can remain visible and make the installation look unfinished.
Finally, I cleaned the work area and put the tools and materials back in order.
That marked the end of the day’s work.
The total working time was approximately five and a half hours.
Related Project
Toilet Renovation: Replacing the Toilet, Wallpaper, and Vinyl Flooring in a Small Apartment Bathroom
Tools Used
- Wallpaper pasting machine
- Wallpaper smoother
- Spatula
- Utility knife
- Base putty
- Finish putty
- Measuring tape
- Cushion flooring adhesive
- Corner cutter
Professional Tips
1. Use Drying Time Productively
When working in humid conditions, putty can take longer to dry.
Instead of simply waiting, use that time to measure, cut, and prepare the wallpaper or other materials.
This helps keep the project moving while allowing the substrate to dry properly.
2. Avoid Applying Wallpaper Directly Over Thick Putty Areas
Wallpaper can sometimes bubble or lift over areas with a thick layer of putty.
When possible, choose a starting position that avoids those areas. Proper surface preparation is also important to reduce the risk of problems later.
3. Create Sharp Corners Before Cutting
When cutting wallpaper around corners, press the corner firmly and use a spatula to create a clear, straight edge.
A poorly formed corner can cause the cut line to become wavy, even if the knife itself is sharp.
4. Wrap Wallpaper Around Narrow Door-Frame Areas
When the space around a door frame is narrow, wrapping the wallpaper around from the front can make it easier to install and cut.
Installing separate pieces without considering the limited working space can make the finishing process more difficult.
5. Start Cushion Flooring Cuts Conservatively
When using a corner cutter, it is safer to begin with a slightly longer cut and gradually adjust it.
If the blade cuts too deeply, the material may become too short and leave a gap. A little extra material gives you room to make corrections.
6. Plan for Mistakes
Whenever possible, make initial cuts in areas that will be hidden by fixtures or furniture.
This does not replace careful work, but it reduces the consequences of an unexpected mistake and helps you work with more confidence.
Common Mistakes to Avoid
1. Cutting Wallpaper Without Forming the Corner Properly
If the corner is not sharp and straight before cutting, the finished edge may become wavy.
2. Trying to Remove Air Bubbles Too Aggressively
Excessive force can twist the wallpaper and create wrinkles. Work gradually from the center toward the edges.
3. Installing Separate Wallpaper Pieces in a Narrow Space Without a Plan
Limited hand space can make cutting difficult and lead to a less attractive finish. Consider wrapping the material around the frame when appropriate.
4. Cutting Cushion Flooring Too Short
Failing to account for gaps beneath frames can leave visible spaces. Cut slightly longer where necessary and tuck the material into the gap.
5. Cutting Too Deeply With a Corner Cutter
An incorrectly adjusted blade can remove too much material. Start carefully, especially when using the tool in a new area.
What I Learned From This Project
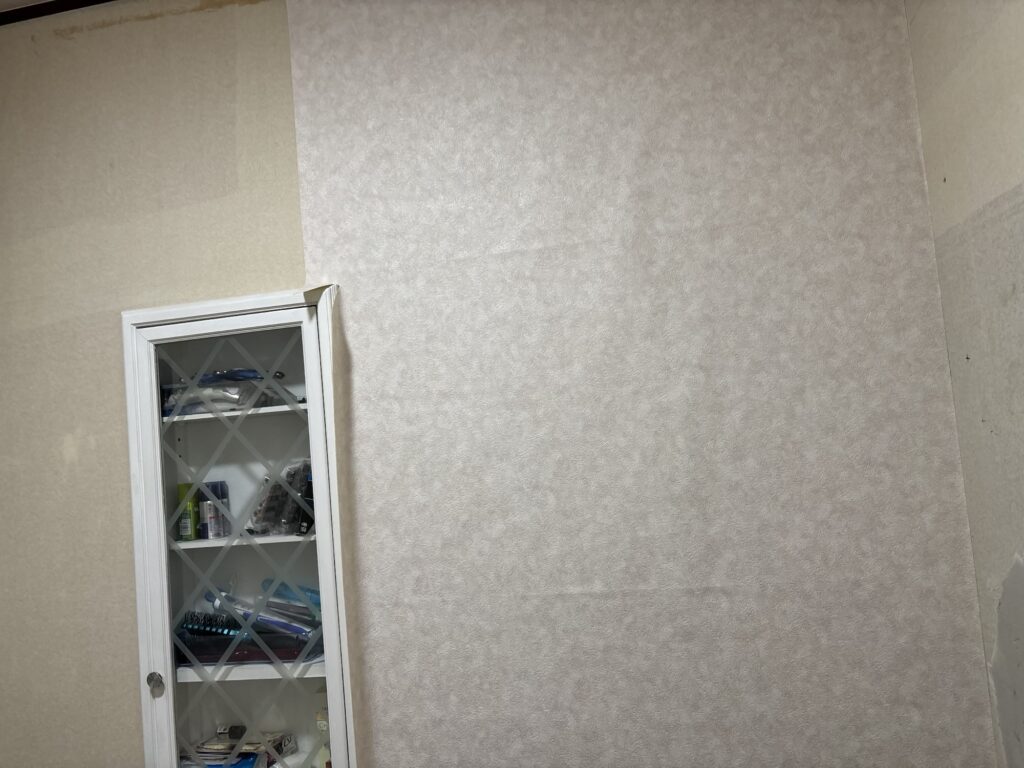
This project reminded me that good installation is not only about applying wallpaper or flooring. It is also about making decisions before and during the work.
The substrate was in relatively good condition, and the thick wallpaper made the preparation easier. However, the rainy weather slowed the drying of the putty, so I had to adjust the order of my tasks.
I also found that narrow areas, such as the bathroom door frame, require a different approach from large, open walls. Wrapping the wallpaper around the frame made the installation and finishing process more manageable.
The cushion flooring work also reinforced the importance of leaving room for adjustment. By starting with a slightly longer cut and considering which areas would be hidden by fixtures, I could reduce the risk of making an irreversible mistake.
Overall, the project went smoothly, and I was able to complete both the wallpaper and cushion flooring installation in approximately five and a half hours.
Frequently Asked Questions
1. What type of property was this project in?
This was a detached house in Japan. The work took place in the washroom as part of a larger bathroom and washbasin renovation.
2. Why was the washroom being renovated?
A new unit bathroom and a new washbasin were being installed. The renovation also involved preparing the walls for new plumbing fixtures, electrical outlets, and other equipment.
3. How many people worked on the project?
One wallpaper installer and one site supervisor worked on the project.
4. How long did the work take?
The work took approximately five and a half hours, including surface preparation, wallpaper installation, cushion flooring installation, and cleanup.
5. How did the rainy weather affect the work?
The humidity caused the putty to dry more slowly. To use the time efficiently, I measured and prepared the wallpaper while waiting for the putty to dry.
6. Why is it important to avoid thick putty areas when installing wallpaper?
Wallpaper can sometimes bubble or lift over thick or uneven putty areas. Avoiding those areas where possible, along with proper surface preparation, helps improve the finished result.
7. Why did you wrap the wallpaper around the bathroom door frame?
The space around the door frame was narrow, making it difficult to insert a hand and cut comfortably. Wrapping the wallpaper around from the front made it easier to install and finish neatly.
8. Why did you not cut the cushion flooring before installing it?
The cushion flooring was supplied at approximately 200 cm × 180 cm, while the floor measured approximately 185 cm × 175 cm. Since the material was close to the required size, I decided to position it first and make the final cuts in place.
9. How can you avoid cutting cushion flooring too short?
Start with a slightly longer cut and gradually adjust it. Also, account for gaps beneath door frames and other areas where the flooring needs to be tucked in.
10. What is the most important lesson from this project?
Careful planning and allowing room for adjustment are essential. Considering drying time, narrow working spaces, and the possibility of mistakes can lead to a cleaner and more efficient installation.
Conclusion
This washroom renovation was a good example of how wallpaper and cushion flooring installation require both technical skill and careful planning.
Although the rainy weather slowed the drying of the putty, I was able to use that time to prepare the wallpaper and keep the project moving.
The narrow bathroom door frame and the cushion flooring cuts required particular attention, but by choosing the right installation methods and allowing room for adjustment, I was able to complete the work smoothly.
In the end, the wallpaper and cushion flooring installation was completed in approximately five and a half hours.
Every project offers an opportunity to improve technique, and this one reminded me that small decisions during preparation and installation can make a big difference in the final result.


Comments