
Project Details
- Project Type: Partial wallpaper replacement after water damage
- Property Type: First-floor condominium apartment
- Work Areas: Kitchen ceiling and walls, selected walls in the living room and entrance
- Crew: 2 wallpaper installers and 1 site supervisor
- Material: Stone-textured wallpaper
- Material Prepared: Approximately 30 meters
- Working Conditions: Occupied apartment
- Main Challenge: Limited material quantity and wallpaper installation around ceiling fixtures
Introduction
Today, I’d like to share a wallpaper replacement project in a first-floor condominium apartment in Japan.
The work included replacing the wallpaper on the kitchen ceiling and walls, as well as selected walls in the living room and entrance.
The kitchen ceiling had apparently been damaged by water leaking from pipes above it. Before we arrived, the damaged ceiling gypsum board had already been replaced with new boards.
Because the customer was still living in the apartment, protecting the floors, furniture, and other belongings was an important part of the preparation.
This project also involved several decisions about work efficiency, corner finishing, material usage, and how to work with a limited amount of wallpaper.
Related Project
Job Site Report: Step-by-Step Workflow
Protecting the Occupied Apartment
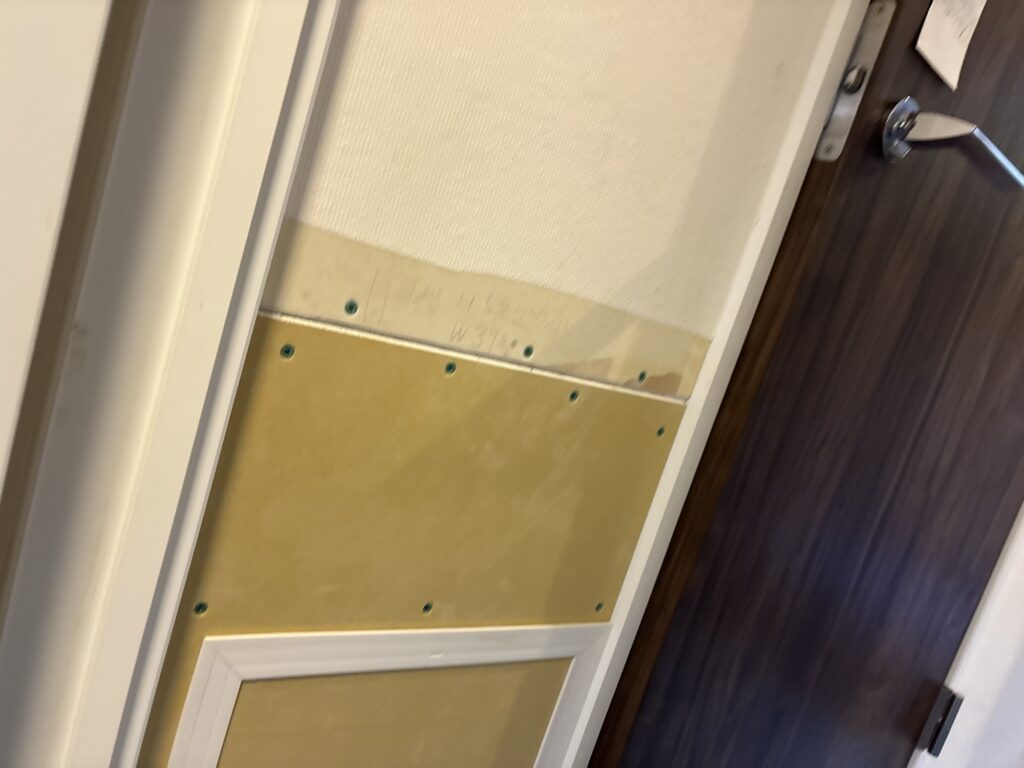
Before starting the wallpaper work, we covered the floors, furniture, and other areas that needed protection.
Working in an occupied home requires extra care. Even a small amount of paste, dust, or a tool accidentally dropped on a floor or piece of furniture could cause damage or inconvenience to the customer.
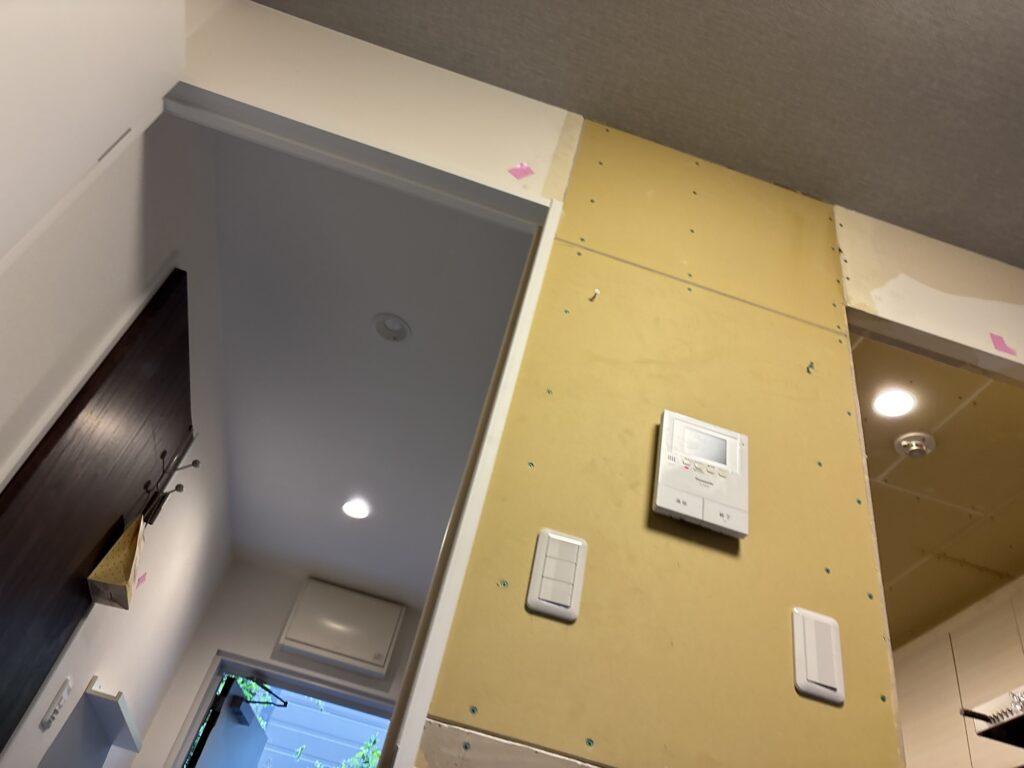
Taking time to prepare proper protection helps keep the work area clean and reduces the risk of accidents.
Removing the Old Wallpaper and Preparing the New Gypsum Board
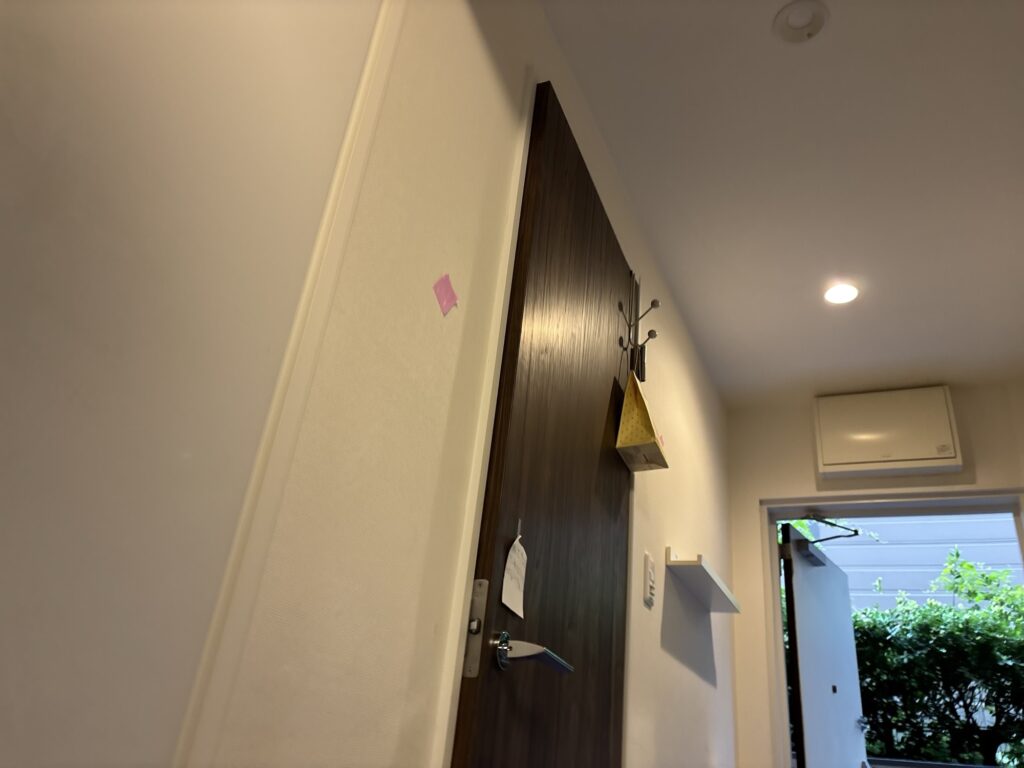
After the protection work was complete, one installer began removing the old wallpaper.
At the same time, I applied base-coat joint compound to the joints of the newly installed gypsum board on the kitchen ceiling. After that, I moved on to removing the old wallpaper as well.
The joints on new gypsum board can take a relatively long time to dry after applying the base coat. Applying the base coat early allows it to dry while other work is being done, which helps improve overall efficiency.
Installing a Corner Bead
I also noticed that a corner bead was missing from part of an outside corner where a beam met a wall.
Although it is possible to finish some corners with joint compound alone, installing a corner bead can produce a cleaner and more consistent result when the wallpaper is wrapped around the corner.
For this reason, I installed a corner bead in the missing section before continuing with the preparation.
Fixing a Corner Bead That Did Not Bond Properly
While installing the corner bead, one small section did not bond properly and became slightly raised.
If I had applied joint compound over it as it was, the raised section could have created an uneven area beneath the wallpaper.
To prevent that, I cut out and removed only the affected section with a utility knife. I then applied joint compound to level the area properly.
This was a small repair, but correcting it at this stage was important for achieving a smooth finish later.
Applying the Finish Coat and Preparing the Wallpaper
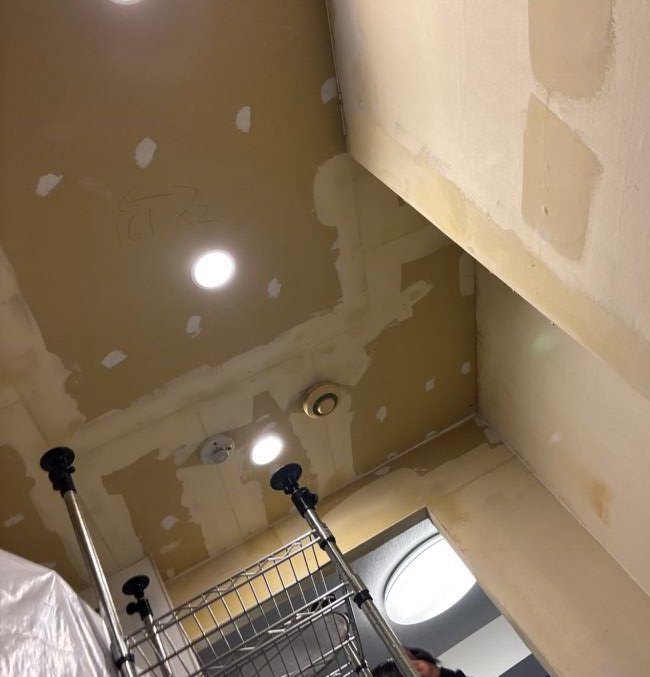
After the base coat had dried, I applied the finish coat of joint compound.
While the compound was drying, I measured the required wallpaper lengths and ran the material through the wallpaper pasting machine.
The wallpaper we used had a stone-textured design, and we had approximately 30 meters prepared for the project.
Because the amount of material was limited, careful measuring and cutting were especially important.
Planning the Ceiling Installation
The kitchen ceiling could have been installed using the longer direction, but we decided to install the wallpaper across the shorter direction.
There were two main reasons for this decision:
- The available material was just enough, so we wanted to minimize waste.
- The ceiling had fixtures such as a light and a fire alarm, which made the shorter direction more practical for this installation.
Installing in the longer direction would have resulted in more material waste.
The ceiling dimensions were:
- 161 cm × 2 pieces
- 132 cm × 1 piece
- Width: 90 cm for all three pieces
Measuring the Wall Wallpaper
For the walls in the living room, kitchen, and entrance, I prepared the following main pieces:
- 237 cm × 3 pieces
- 225 cm × 4 pieces
- Additional smaller pieces for the remaining sections
I measured the wallpaper carefully and prepared the material using the wallpaper pasting machine.
When the amount of material is limited, accurate measurements are essential. Even a small mistake can make it difficult to complete the work without running short.
Installing the Kitchen Ceiling Wallpaper
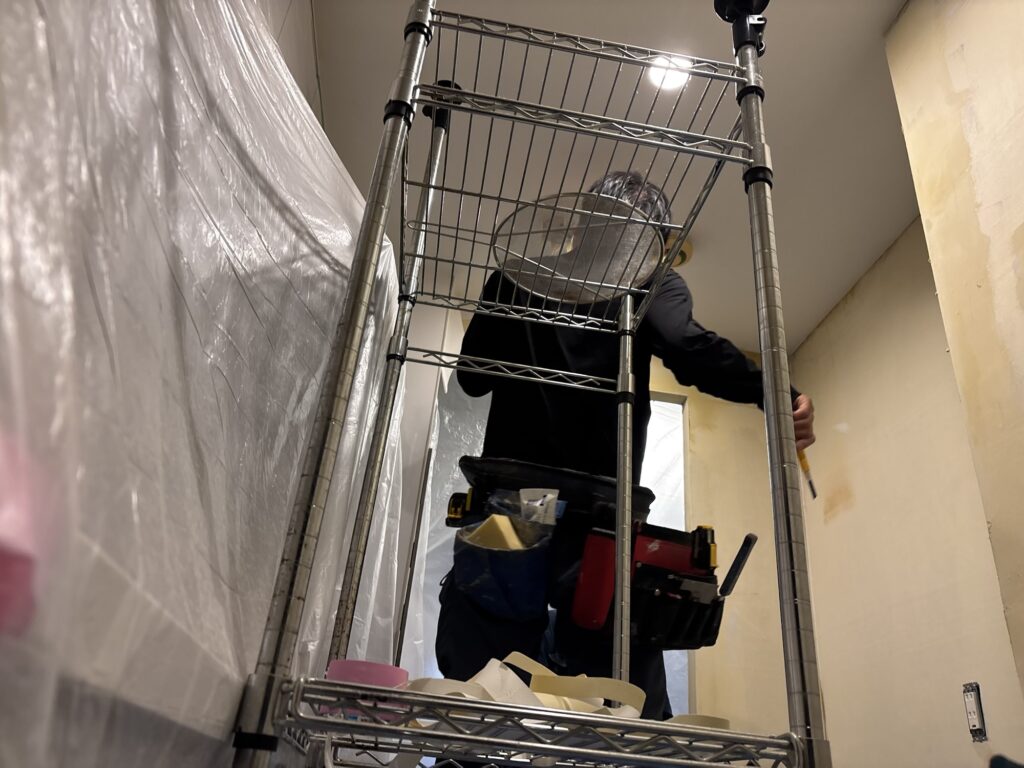
The kitchen ceiling could be covered with three strips of wallpaper.
We started by installing the center strip. After positioning and securing it, the two installers worked separately, with one person moving to each side to install the remaining wallpaper.
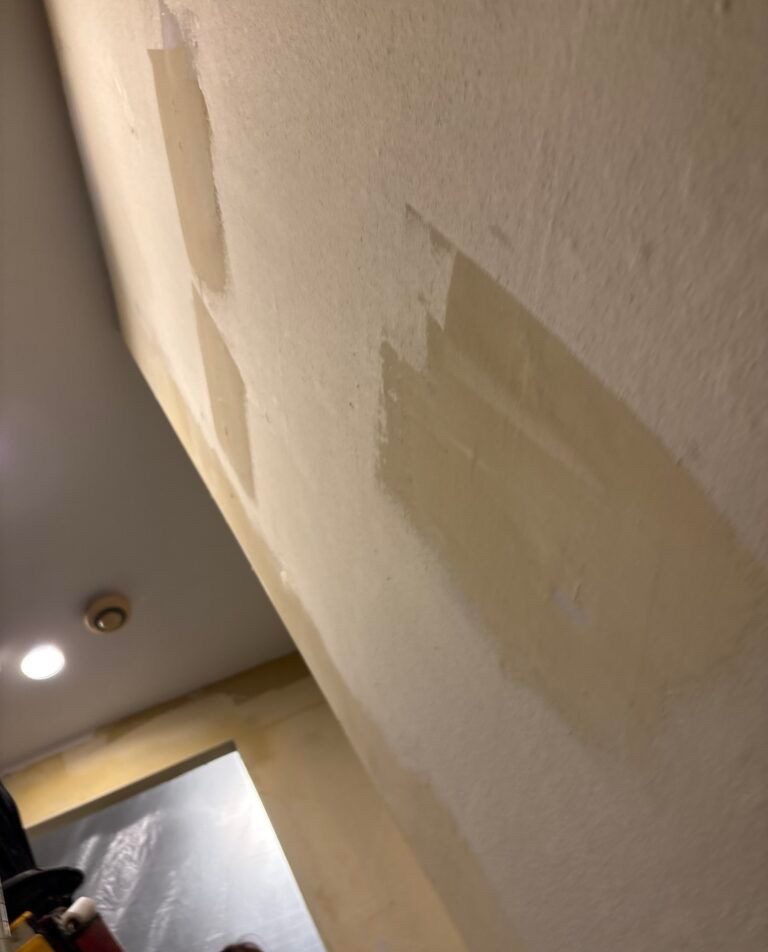
Starting from the center allowed us to divide the work into two directions.
If we had started from one end, it would have been more difficult for two people to work efficiently at the same time. Beginning in the center helped us make better use of the available manpower and reduced unnecessary waiting.
Leaving the Site for an Emergency Job
After we finished installing the kitchen ceiling wallpaper, we took our lunch break.
During the break, I was urgently called to another job and had to leave the site.
Before leaving, I had measured all the wallpaper and prepared it using the pasting machine. Since the material quantity was very tight, I was concerned about whether the remaining work could be completed without running out.
Fortunately, I later received a message that the wallpaper had been installed successfully without any problems.
I was relieved to hear that.
However, this experience reminded me that trying to reduce costs by preparing the absolute minimum amount of material can create unnecessary mental pressure, especially when there is little room for mistakes.
Related Project
Replacing Water-Damaged Wallpaper in a Small Japanese Kitchen – A 25 m² 1DK Apartment Project
Tools Used
- Wallpaper pasting machine
- Utility knife
- Joint compound tools
- Sanding tools
- Measuring tape
- Wallpaper smoother
- Corner finishing tools
- Protective sheeting and covering materials
Professional Tips
Apply Base Coat Early When Possible
New gypsum board joints can take time to dry after the base coat is applied.
Applying the base coat early allows it to dry while other tasks are being completed. This can make the overall workflow more efficient.
Use Corner Beads for Cleaner Outside Corners
Although some corners can be finished with joint compound alone, a corner bead can help create a more consistent outside corner.
A properly installed corner bead can also improve the appearance of the wallpaper as it wraps around the corner.
Correct Raised Areas Before Applying More Compound
If a corner bead or another part of the substrate is not properly bonded and becomes raised, applying joint compound over it may create a bump.
It is better to remove or correct the problem first, then apply compound to create a smooth surface.
Plan Wallpaper Direction Before Cutting
The direction of wallpaper installation can affect both material waste and the difficulty of working around fixtures.
Before cutting, consider the ceiling or wall dimensions, the location of lights and other fixtures, and the amount of material available.
Measure Carefully When Material Is Limited
When the material quantity is tight, accurate measurements become even more important.
Planning the cutting layout in advance can help reduce waste and lower the risk of running out of material before the job is finished.
Common Mistakes to Avoid
Applying Joint Compound Over a Raised Corner Bead
If a corner bead is not firmly attached, applying compound over the raised section can leave an uneven surface.
Always check the bead before applying the next coat.
Related Project
Ignoring the Condition of the Substrate
New gypsum board, repaired areas, and water-damaged sections may require different preparation.
Do not assume that every area is ready for wallpaper simply because the old wallpaper has been removed.
Cutting Wallpaper Without a Clear Layout
Cutting pieces without considering the installation direction, fixtures, and available material can lead to unnecessary waste.
A proper cutting plan is especially important when working with a limited quantity of wallpaper.
Using the Absolute Minimum Amount of Material
Reducing material costs is important, but preparing too little material can make the job stressful and leave no room for measurement errors or unexpected problems.
A small amount of extra material can provide valuable flexibility.
Forgetting to Protect the Customer’s Belongings
In an occupied apartment, floors and furniture must be protected before work begins.
Skipping or rushing the protection process can lead to damage, extra cleaning, or complaints.
What I Learned From This Project
This project reminded me that wallpaper installation is not only about applying wallpaper to a wall or ceiling.
Preparation, material planning, and small decisions made before installation can have a major effect on the final result and the efficiency of the work.
The issue with the corner bead was a good example. It was a small problem, but correcting it before applying the compound helped prevent a larger finishing problem later.
I also learned again how important material planning is. We were able to complete the work successfully, but having only a very small amount of material left little room for mistakes.
In the future, I want to continue improving my measuring and cutting process so that I can reduce waste while also maintaining a comfortable margin for unexpected situations.
Frequently Asked Questions
1. Why was the kitchen ceiling gypsum board replaced?
The ceiling had apparently been damaged by water leaking from pipes above it. The damaged gypsum board had been replaced before the wallpaper installation began.
2. Why is protecting the floor and furniture important in an occupied apartment?
Wallpaper installation involves paste, tools, dust, and other materials that can potentially damage floors or furniture. Proper protection helps prevent accidents and keeps the customer’s home clean.
3. Why did you apply base-coat joint compound before removing all the old wallpaper?
The joints on new gypsum board can take time to dry. Applying the base coat early allowed it to dry while other work was being completed, improving the overall workflow.
4. Why did you install a corner bead?
A corner bead helps create a cleaner and more consistent outside corner. It can also improve the appearance of the wallpaper where it wraps around the corner.
5. What did you do when part of the corner bead became raised?
I cut out and removed the affected section with a utility knife before applying joint compound. This prevented the raised area from causing an uneven finish.
6. Why did you install the ceiling wallpaper in the shorter direction?
The available material was limited, and the ceiling had fixtures such as a light and a fire alarm. Installing in the shorter direction helped reduce waste and made the installation more practical.
7. How much wallpaper was prepared for this project?
Approximately 30 meters of stone-textured wallpaper was prepared.
8. Why did you start installing the ceiling wallpaper from the center?
Starting from the center allowed two installers to work toward opposite sides. This helped improve efficiency compared with starting from one end.
9. What is the risk of preparing too little wallpaper?
If the material is too limited, there may be no room for measurement mistakes, cutting errors, or unexpected additional work. This can create unnecessary stress and may make it difficult to complete the job.
10. What is one of the most important parts of wallpaper installation?
Careful preparation is one of the most important parts. Proper substrate preparation, accurate measurements, material planning, and protection of the work area all contribute to a good final result.
Conclusion
This first-floor apartment project involved wallpaper replacement in the kitchen, living room, and entrance, including a kitchen ceiling with newly replaced gypsum board following water damage.
The work required careful protection, substrate preparation, corner-bead installation, accurate measuring, and efficient wallpaper installation.
Although I had to leave the site unexpectedly for another job, the remaining wallpaper installation was completed successfully.
This project was another reminder that good wallpaper work depends not only on installation technique, but also on preparation, planning, and making the right decisions before the wallpaper goes onto the surface.


Comments