
Project Data
- Project Type: Full Apartment Renovation
- Location: Tokyo, Japan
- Property: Second-floor condominium apartment
- Layout: 2LDK
- Floor Area: Approximately 70 square meters
- Work: Wallpaper installation and cushion flooring installation
- Crew: 3 workers
- Duration: 3 days
- Total Working Time: Approximately 21.5 hours
Installation Data
- Wallpaper: Embossed vinyl wallpaper, wood-grain wallpaper, tatami-room wallpaper, and diatomaceous earth wallpaper
- Flooring: Wood-grain cushion flooring
- Other Work: Substrate repairs, sealer application, floor patching, and soft baseboard installation
- Day 1: Wallpaper removal, substrate preparation, putty work, and ceiling wallpaper installation
- Day 2: Wall and ceiling wallpaper installation, plus floor substrate preparation
- Day 3: Cushion flooring, soft baseboards, and finishing work
Introduction
Today, I would like to share a three-day wallpaper and cushion flooring installation project at a condominium apartment in Japan.
The apartment was undergoing a full renovation. It was located on the second floor and had a 2LDK layout, with a total floor area of approximately 70 square meters.
Three workers were scheduled to complete the wallpaper and flooring work over three days.
This project included several different types of wallpaper, including embossed vinyl wallpaper, smooth patterned wallpaper for a Japanese-style room, and diatomaceous earth wallpaper. Each material required a slightly different installation technique.
We also had to deal with uneven mortar surfaces, damaged wallpaper backing, newly installed gypsum board, and several areas that needed additional substrate preparation.
In this article, I will explain the work from the first day through completion, along with some of the techniques and precautions that helped us achieve a clean finish.
Work Process: Site Report
Day 1: Wallpaper Removal, Substrate Preparation, and Ceiling Installation
On the first day, we began by removing the old wallpaper and preparing the substrates.
Some sections of the walls and ceilings were made of mortar. In these areas, the backing paper from the old wallpaper had become loose and bubbled because of the condition of the substrate.
We removed the loose material and applied sealer to reinforce the surface.
Mortar can have poor adhesion with wallpaper paste, so applying sealer is important. Without proper surface preparation, the wallpaper may not adhere well, which can eventually lead to peeling.
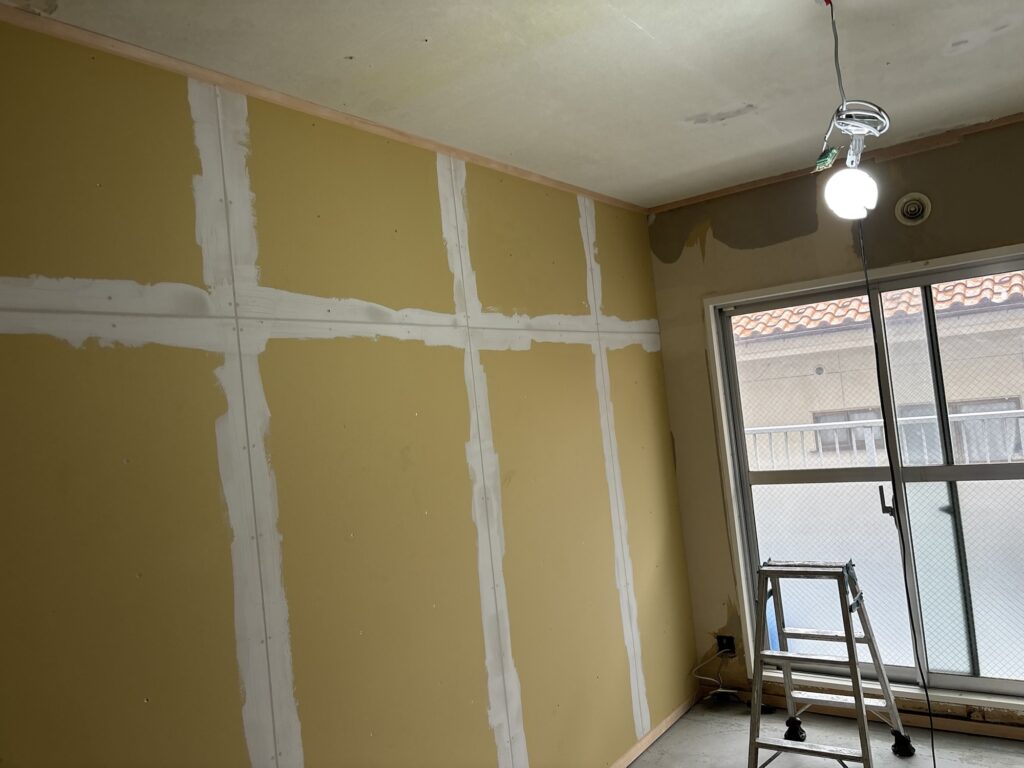
Some sections of the walls had new gypsum board installed. These areas required two to three applications of base-coat joint compound to build up and level the surface.
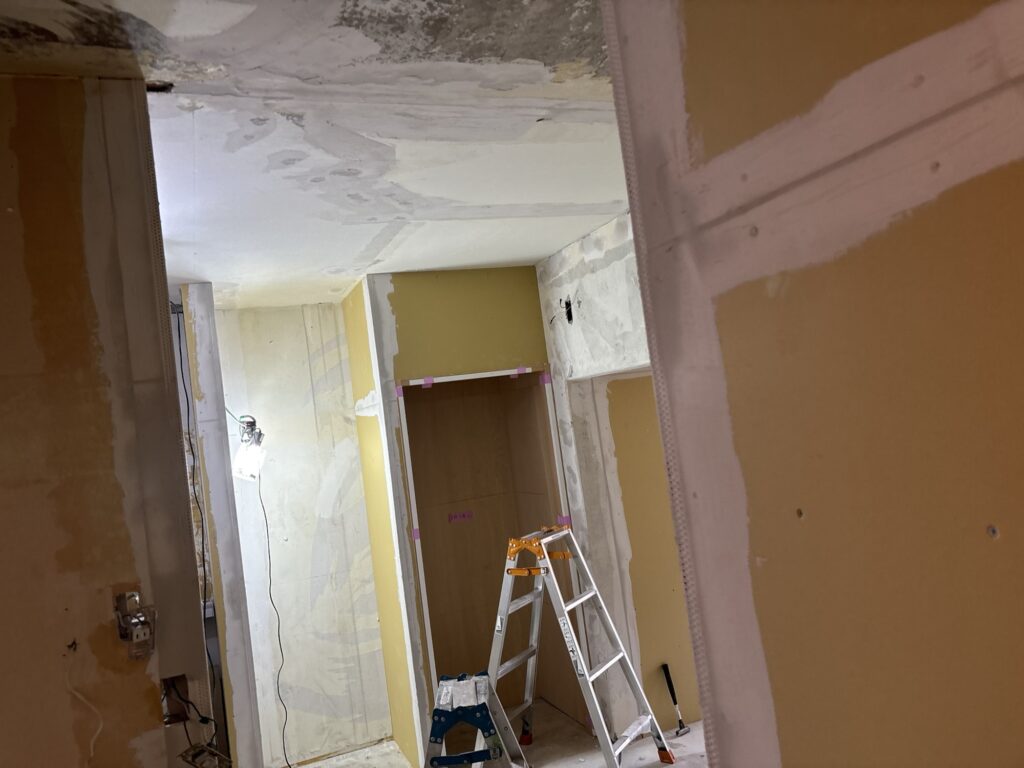
After allowing the base coat to dry, we applied finishing compound to create a smoother surface.
While the finishing compound was drying, we measured the ceiling dimensions and prepared the wallpaper using a wallpaper pasting machine.
Installing the Living Room Ceiling Wallpaper
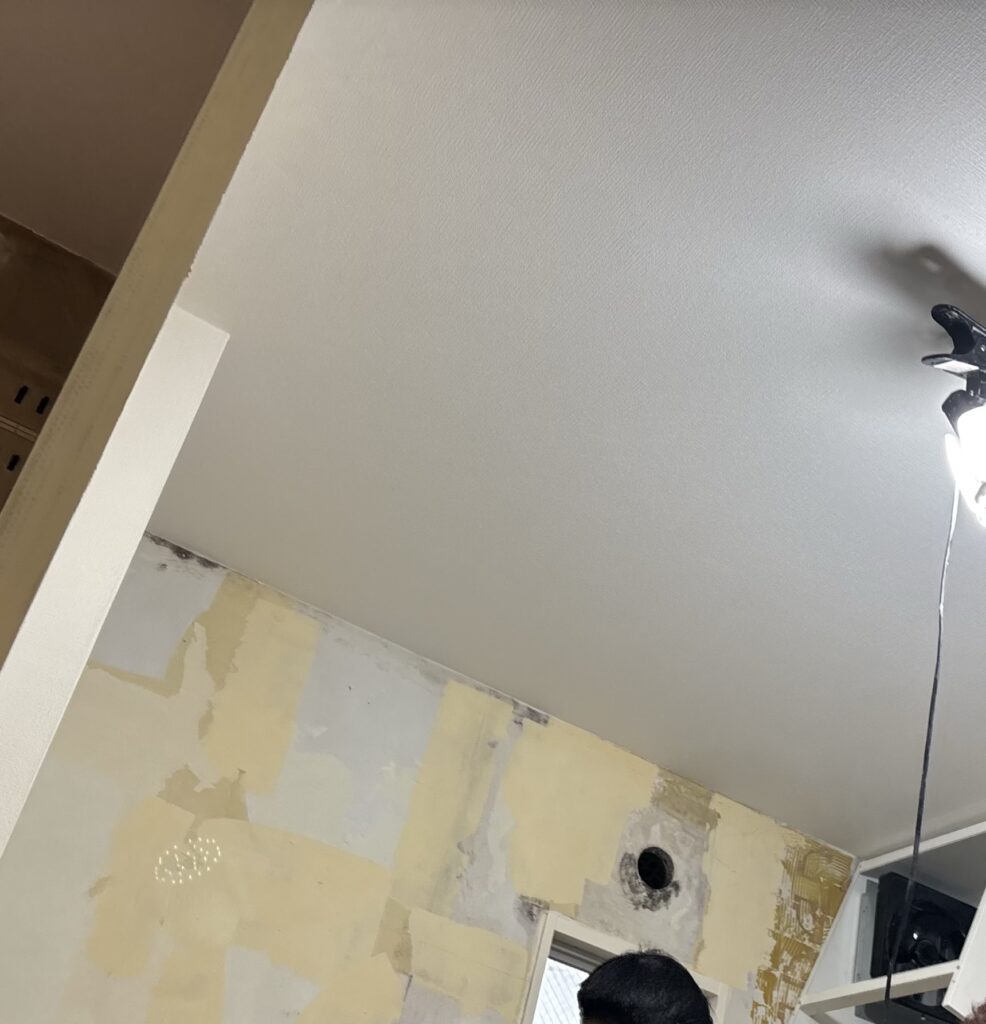
The living room ceiling was divided into several wallpaper lengths:
- 462 cm
- 235 cm × 2 pieces
- 325 cm
- 138 cm
All pieces were approximately 90 cm wide.
When installing ceiling wallpaper, the starting position is important. If the first piece is positioned incorrectly, there may not be enough material to cover the remaining area.
For this reason, we measured carefully with a tape measure and marked the starting lines before applying the wallpaper.
After positioning the wallpaper, we used a wallpaper smoother to push air bubbles from the center toward the edges.
If a bubble was difficult to remove, we carefully lifted the wallpaper slightly and released the trapped air. In some cases, gently stretching the wallpaper forward by hand also helped.
It is important not to force the smoother aggressively. Excessive pressure can cause the wallpaper to twist or become distorted.
Related Project
Installing the Bedroom Ceiling Wallpaper
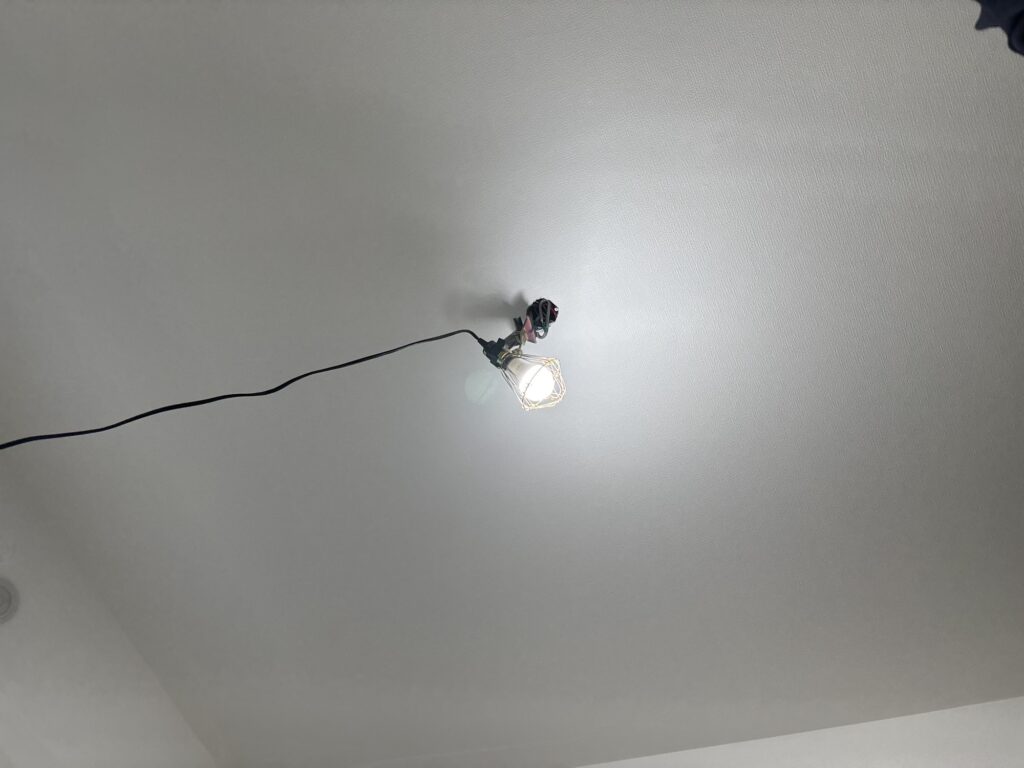
The bedroom ceiling required three pieces of wallpaper, each approximately 350 cm long and 90 cm wide.
For the first piece, we aligned the edge of the wallpaper with the edge of the ceiling and began installation.
However, one important point to remember is that the edge of a ceiling is not always perfectly level.
If the ceiling edge is straight and level, the wallpaper can be installed directly along it. But in actual renovation work, the ceiling may have slight variations of several millimeters.
This is normal in construction, especially in older buildings.
If you force the wallpaper tightly against an uneven ceiling edge, the wallpaper may gradually curve or twist as you continue installing it.
Instead, we checked the wallpaper’s alignment and the way air bubbles were moving while keeping the material as straight as possible. Any excess material extending beyond the edge was trimmed afterward.
By the end of the first day, we had completed the ceiling wallpaper installation.
The total working time was approximately 7.5 hours.
Day 2: Wall Wallpaper, Japanese-Style Room, and Floor Preparation
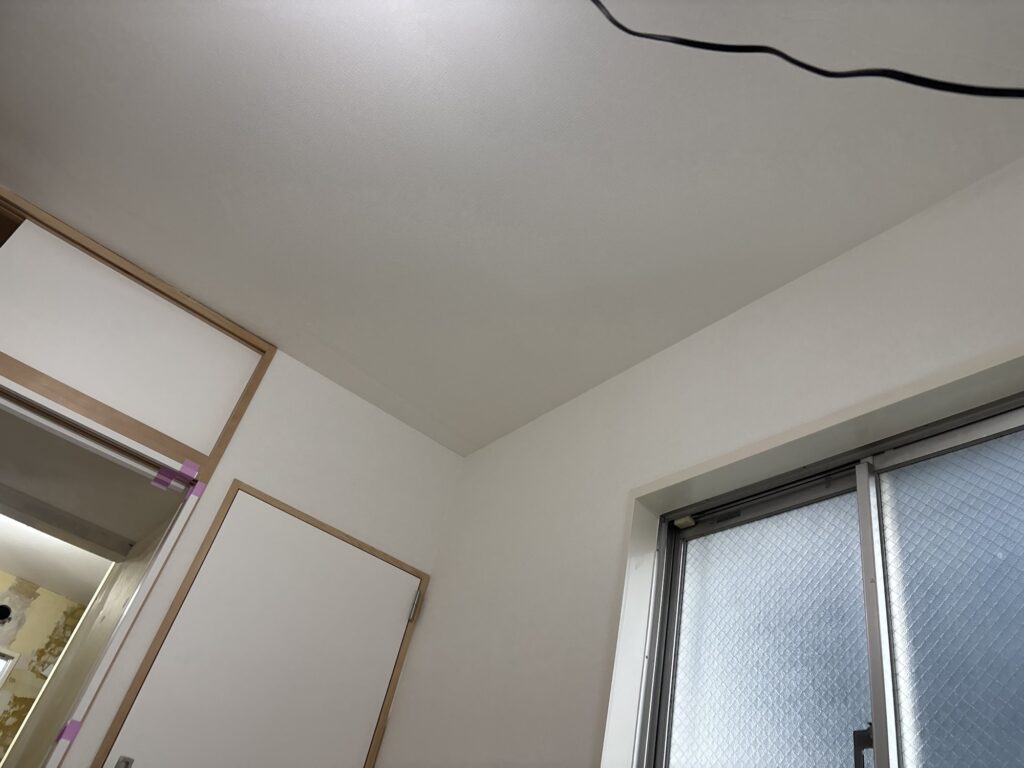
On the second day, we started by installing wallpaper on the walls of the bedrooms.
The tallest sections required eight pieces measuring approximately 240 cm. We also prepared several smaller pieces for other areas.
The wallpaper used in the bedrooms had a noticeable embossed texture. This made it relatively easy to handle and install.
With two workers, we completed the bedroom walls in approximately one hour.
Installing the Japanese-Style Room Ceiling
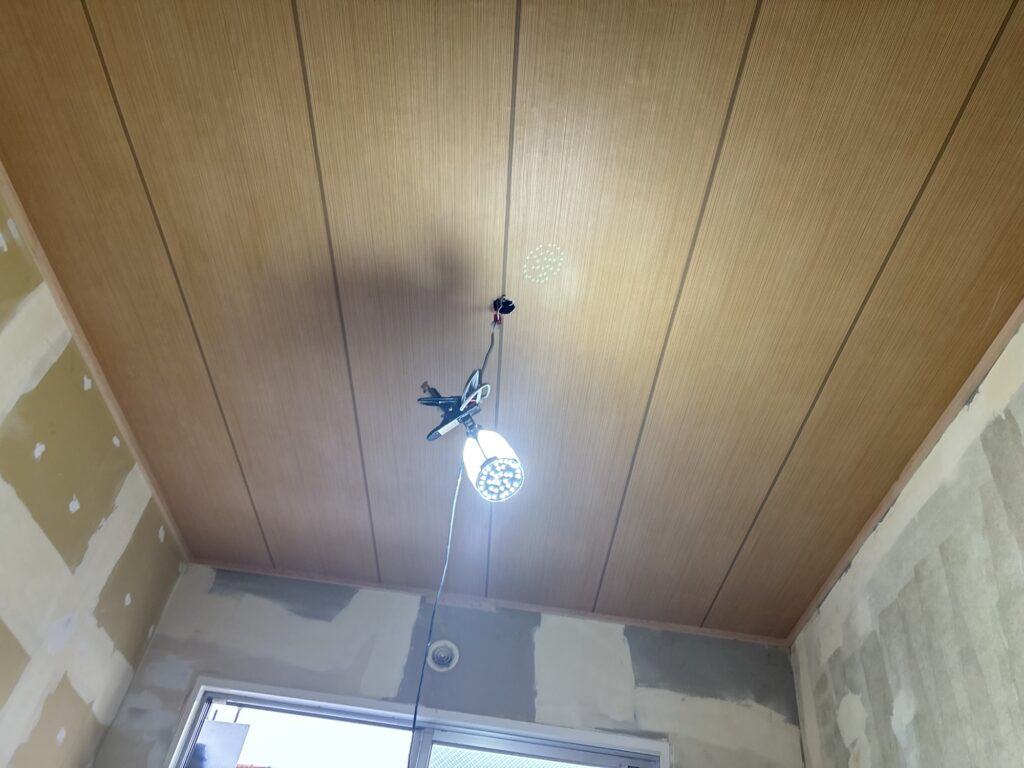
Next, we prepared the wallpaper for the ceiling of the Japanese-style room.
We used three pieces, each approximately 320 cm long and 90 cm wide, which we prepared with the wallpaper pasting machine.
The material had a traditional straight-line pattern that is commonly used in Japanese-style rooms.
This type of wallpaper only requires the vertical lines to be aligned rather than matching a complicated repeating pattern.
However, the surface was smooth, which meant that imperfections in the substrate could show through easily.
The ceiling substrate was made of uneven mortar. Ideally, installing plywood over the surface would have provided a better foundation and improved the final appearance.
However, the customer requested that we proceed with putty work and install the wallpaper over the existing substrate, so we carried out the work according to those instructions.
After installing the patterned wallpaper, I noticed that some uneven areas around previous ceiling anchor points were slightly visible.
The vertical pattern helped make the joints less noticeable, but this was a reminder of how important substrate preparation is, especially when working with smooth wallpaper.
Installing Diatomaceous Earth Wallpaper
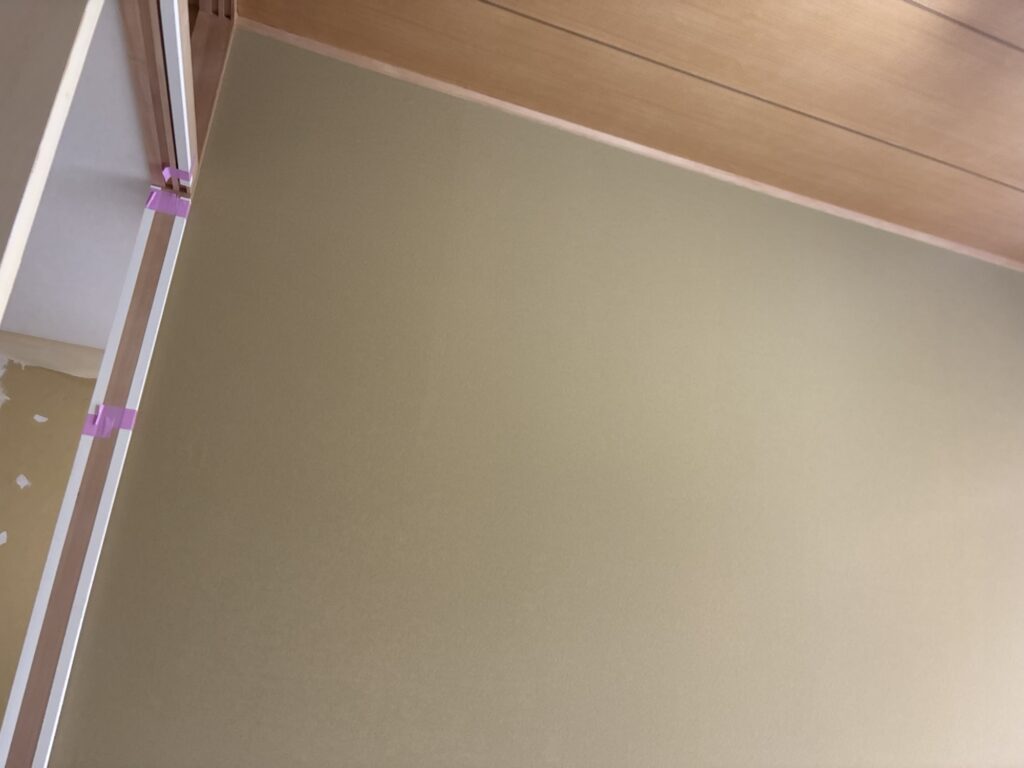
The wallpaper used on the walls of the Japanese-style room was diatomaceous earth wallpaper.
This material requires careful handling. It can be difficult for inexperienced DIY installers because the surface is delicate and the diatomaceous earth coating can shed easily.
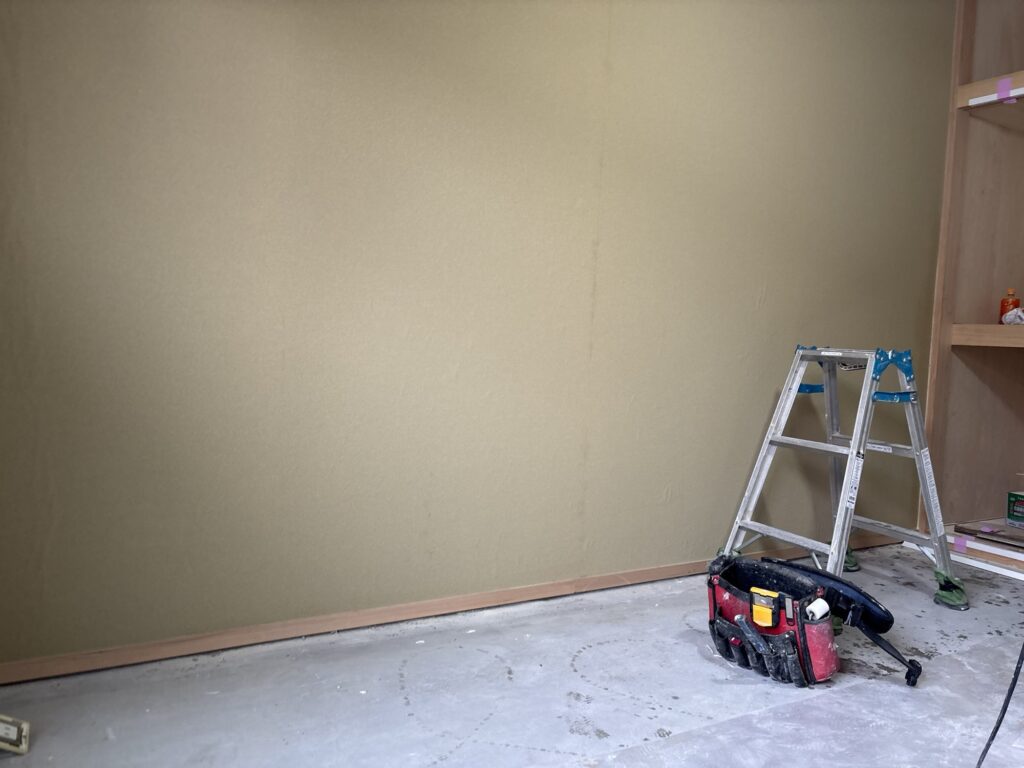
The surface has a rough texture, and simply touching it can cause some of the material to come off.
It is also important to avoid touching it with wet hands, as moisture can damage the surface.
Before installation, we carefully sanded the putty with a sander, then smoothed and cleaned the surface with a putty knife.
Any remaining lumps or dust under the wallpaper can cause problems. If the wallpaper needs to be lifted after installation because something is trapped underneath, the surface may become damaged or begin to shed.
For this reason, it is best to avoid lifting the wallpaper once it has been properly installed whenever possible.
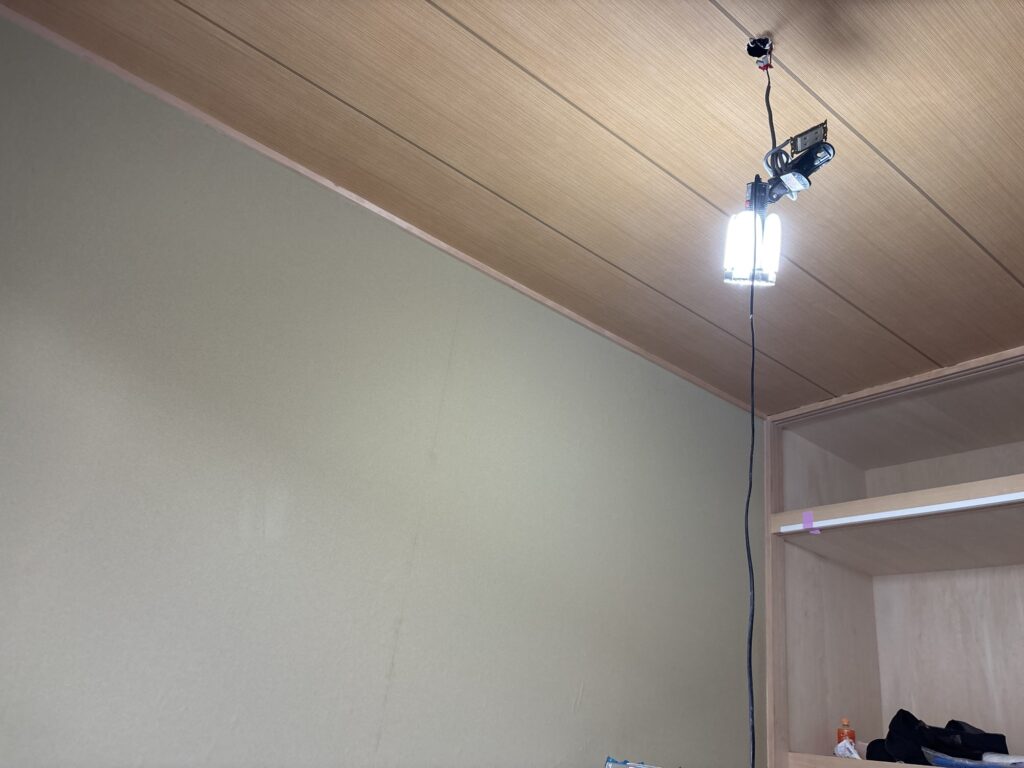
When installing ordinary vinyl wallpaper, we often use a brush and then a smoother to remove air bubbles. However, with this material, we used only a smoother and worked slowly and gently.
If the surface is rubbed too aggressively, the coating can be scraped away.
The feeling was somewhat similar to installing a decorative adhesive sheet: careful positioning and gentle handling were essential.
When joining two pieces, we also used the seam roller lightly and gently to avoid damaging the material.
The cutting process required additional care as well. Compared with ordinary wallpaper, the cutting blade needed to be replaced more frequently to achieve a clean cut.
Related Project
Hotel Interior Renovation: Wallpaper, Floor Tile, and Baseboard Installation
Finishing the Wallpaper and Preparing the Floor
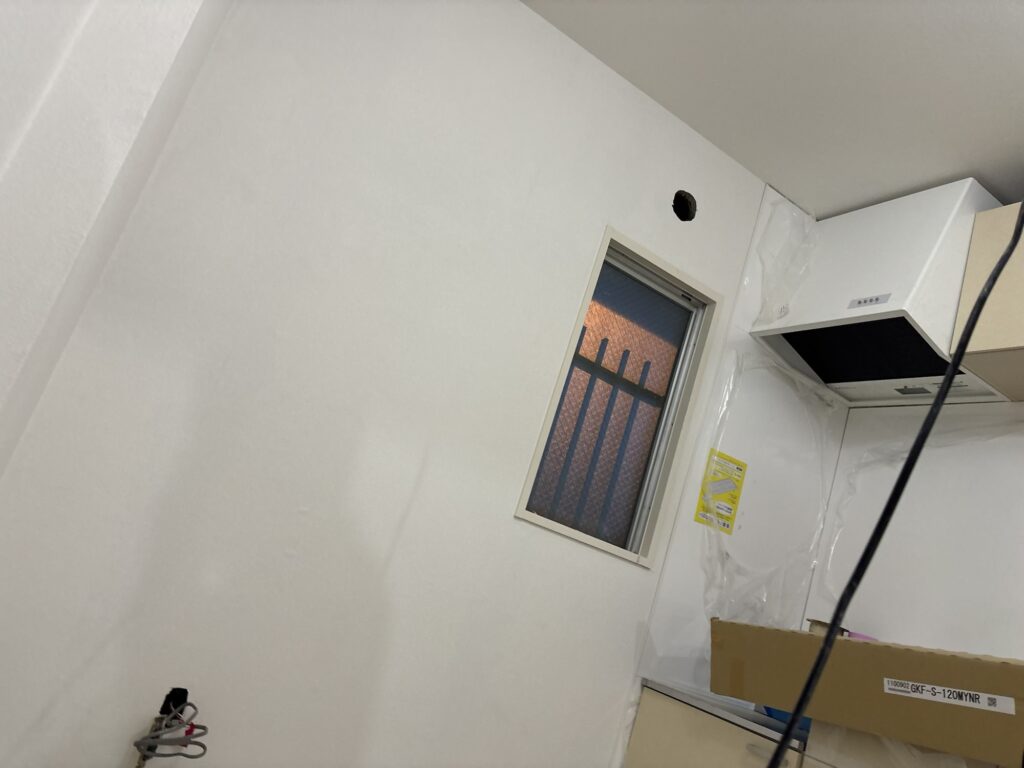
After completing the diatomaceous earth wallpaper, we installed the white, standard-grade wallpaper in the dining kitchen area.
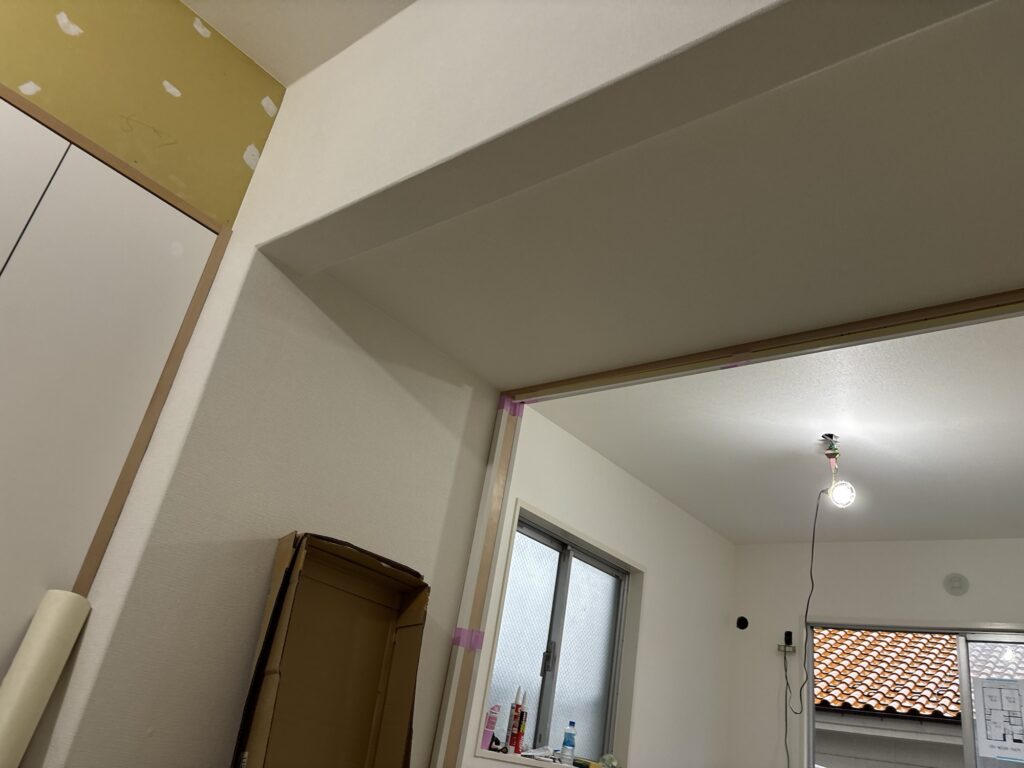
After working with the delicate material in the Japanese-style room, the ordinary vinyl wallpaper felt particularly easy to install.
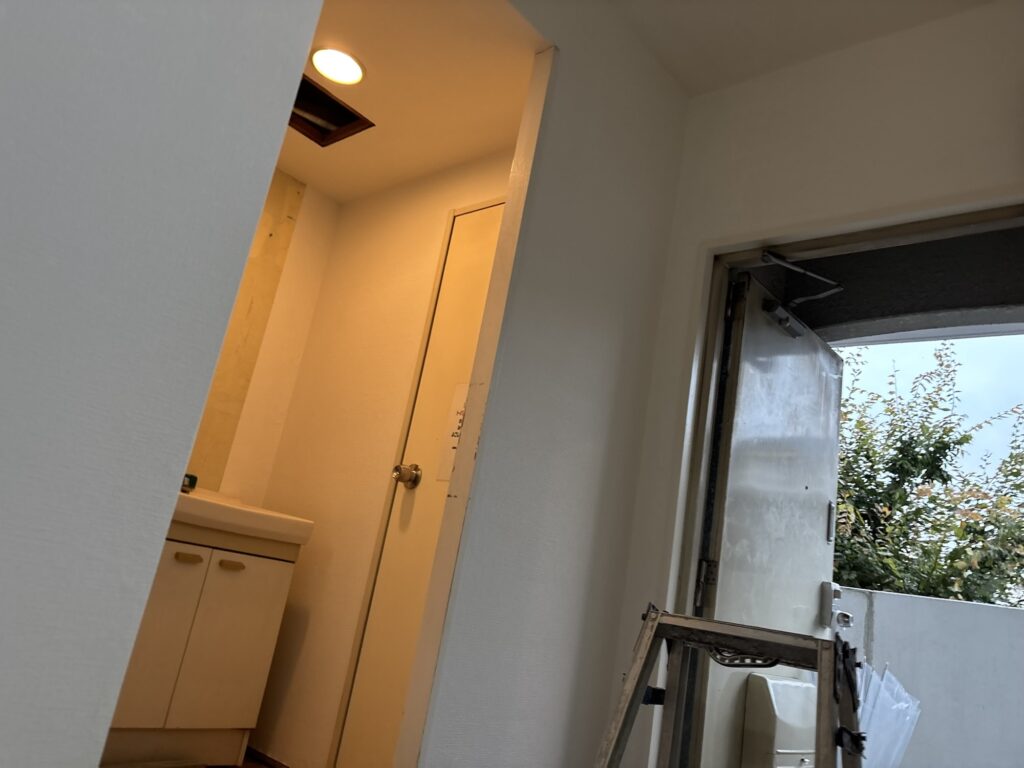
By the end of the day, we had completed all the wallpaper installation except for the sliding-door panels.
Before finishing the day, we applied putty to uneven areas of the mortar floor.
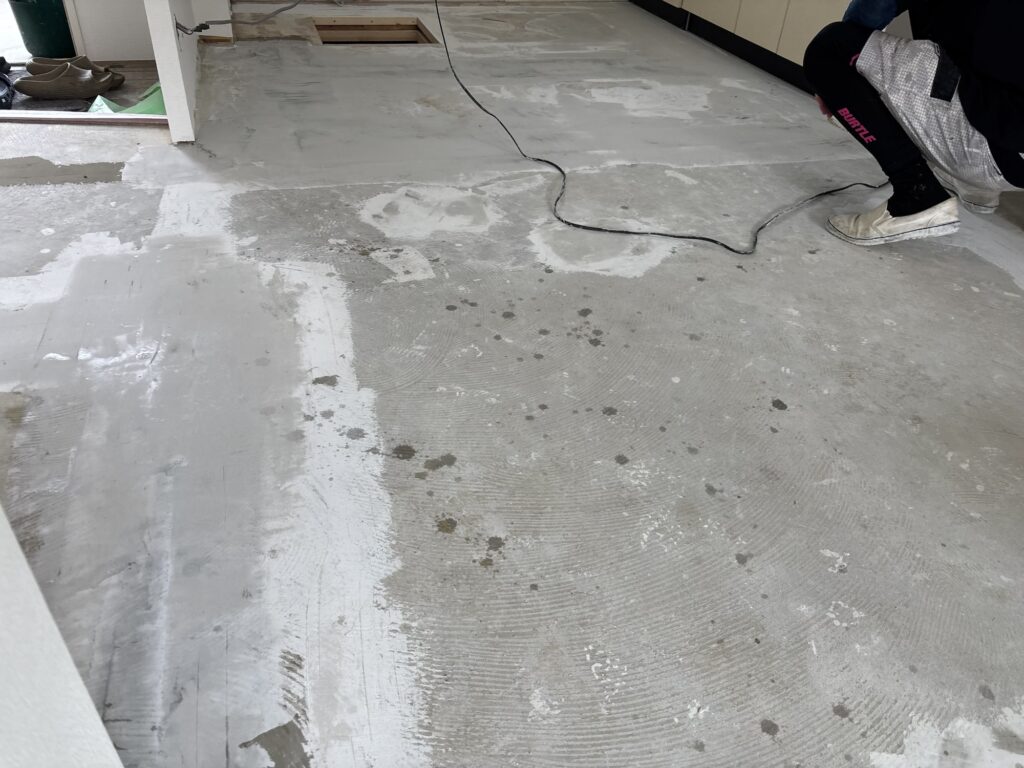
This was an important step for improving efficiency. By applying the floor putty before leaving, we could begin the next morning with a dry surface that was ready for further preparation.
The second day’s working time was approximately 7.5 hours.
Day 3: Cushion Flooring and Soft Baseboard Installation
On the third day, we checked the areas that still needed additional putty and adjusted the floor level.
After drying the repaired areas with a heat gun, we began preparing the cushion flooring.
The main flooring material was a wood-grain cushion floor. We used two pieces, each approximately 8.3 meters long and 1.8 meters wide, to cover the living room and bedroom areas.
Because the material was so long, we marked the starting position carefully before installation.
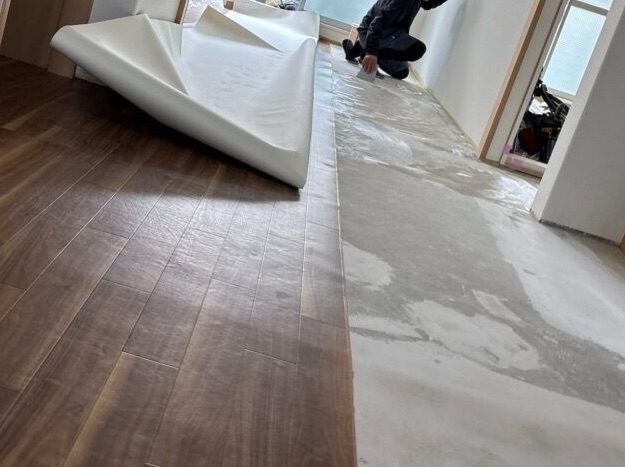
Applying adhesive to the entire floor at once would have made it difficult to adjust the position. Instead, we applied adhesive to half of the floor and installed the material in sections.
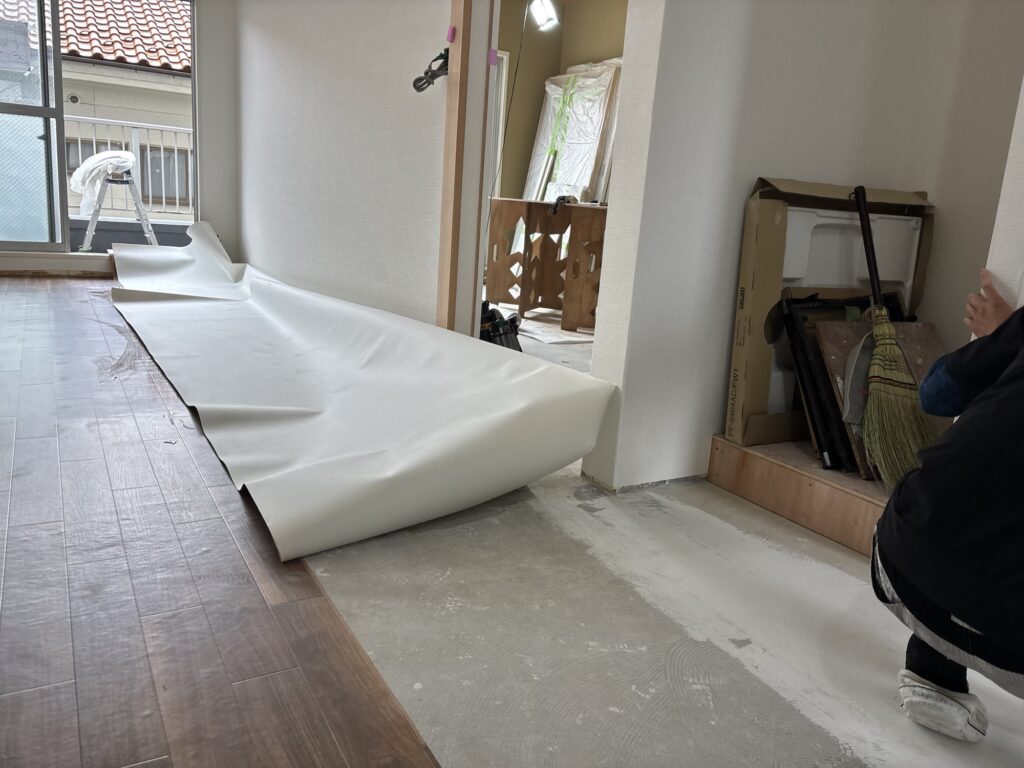
This allowed us to control the position more easily and work more accurately.
The project also included new soft baseboards, which made the installation process more efficient. Since the baseboards would cover the edges, we did not need to make extremely detailed cuts along every wall edge.
We then installed the second piece of cushion flooring. We overlapped the pattern with the first piece and repeatedly lifted and checked the material to ensure the pattern was aligned correctly.
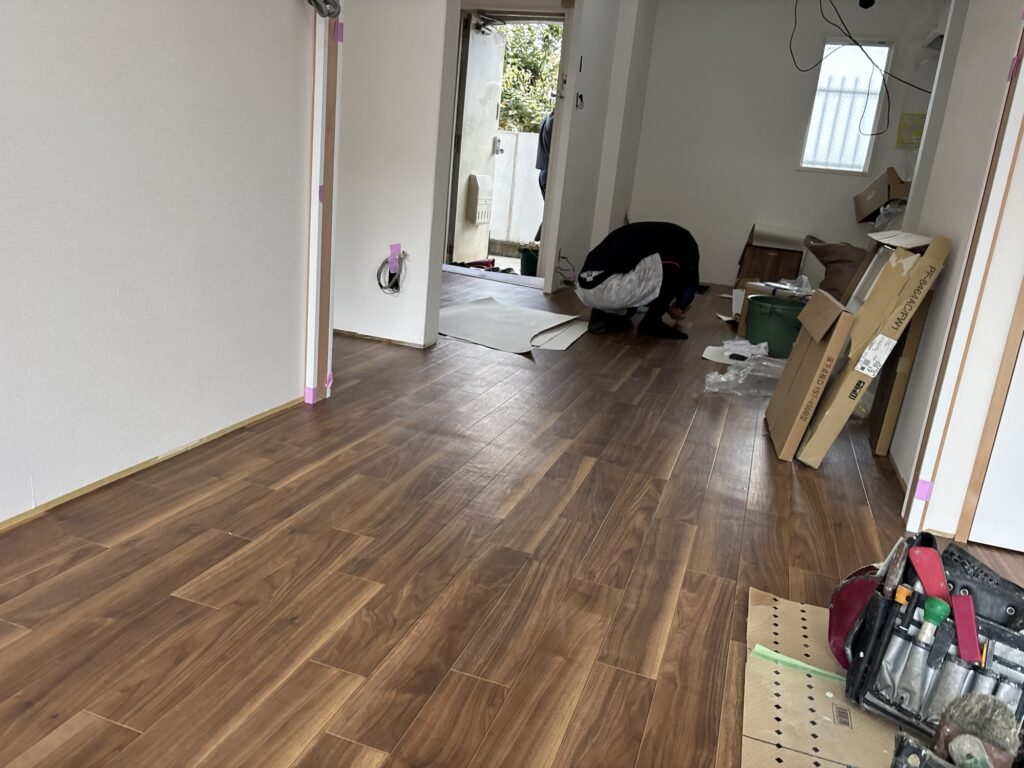
For the seam cut, we used a large-blade utility knife.
A large blade generally provides better cutting performance than a standard small utility knife blade.
Cushion flooring and wallpaper have different thicknesses and characteristics, so I choose the appropriate cutter depending on the material.
Related Project
Installing Cushion Flooring in the Washroom and Toilet
After completing the main flooring areas, we installed cushion flooring in the washroom and toilet.
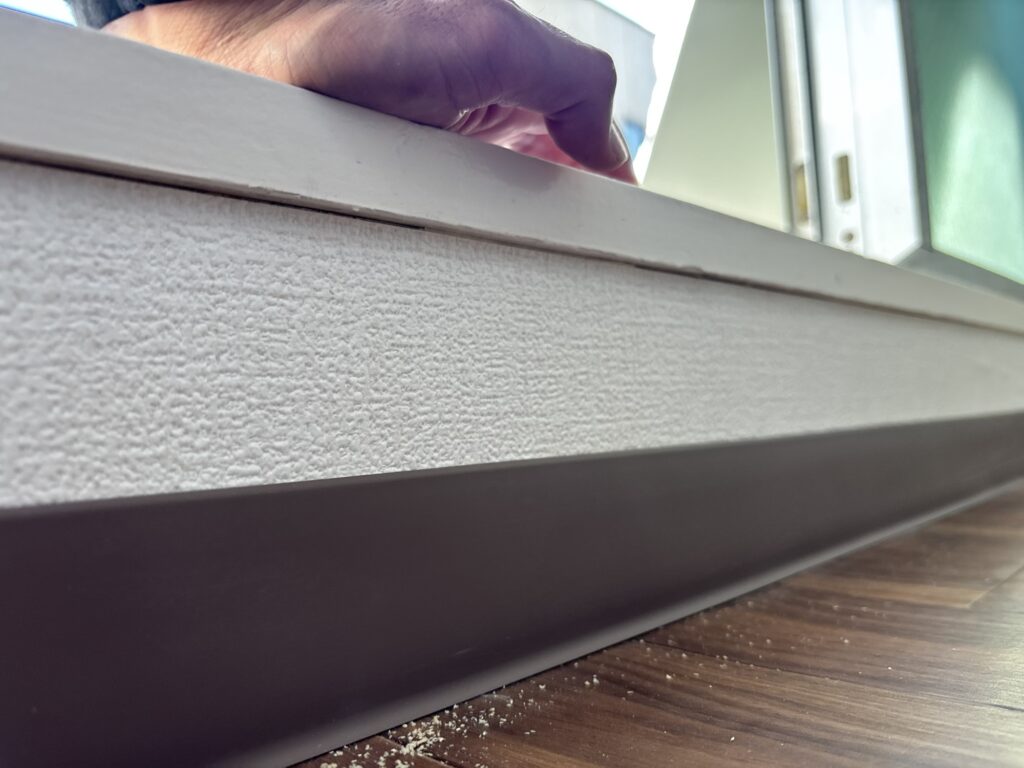
We then moved on to installing the soft baseboards.
At the entrance area, the soft baseboards coming from the entrance side and the living room side met at a change in level.
To create a clean joint, we overlapped the two pieces and made a joint cut through both layers.
Before applying adhesive, we removed the existing wallpaper from the area where the baseboard would be installed.
If wallpaper remains underneath, the adhesive may bond to the wallpaper instead of the wall surface. The wallpaper can then peel away, taking the baseboard with it.
Removing the wallpaper first helps the adhesive bond more securely to the substrate.
After completing the flooring and baseboard installation, we cleaned the work areas and organized the tools and materials.
The project was completed on the third day.
The total working time on the final day was approximately 6.5 hours.
Tools Used
The following tools and equipment were used during this project:
- Wallpaper pasting machine: Used to apply paste evenly and prepare wallpaper efficiently.
- Tape measure: Used to measure ceiling, wall, and flooring dimensions.
- Chalk line: Used to mark accurate starting positions for wallpaper and flooring.
- Wallpaper smoother: Used to remove air bubbles and press the wallpaper onto the substrate.
- Seam roller: Used to secure wallpaper joints.
- Utility knife: Used to trim wallpaper and cushion flooring.
- Large-blade utility knife: Used for cutting cushion flooring, especially at seams.
- Sander: Used to smooth dried putty before wallpaper installation.
- Putty knife: Used to smooth and clean the substrate.
- Heat gun: Used to speed up the drying of putty.
- Sealer: Used to reinforce porous or weak mortar surfaces and improve adhesion.
Professional Tips
1. Always Check the Substrate Before Installing Wallpaper
A clean-looking surface is not necessarily a suitable surface for wallpaper installation.
Loose backing paper, weak mortar, dust, and uneven areas can all cause problems later.
Before applying wallpaper, check whether the substrate is stable and whether it needs sealer, additional putty, or other repairs.
2. Use Sealer on Problematic Mortar Surfaces
Mortar can have poor adhesion with wallpaper paste.
If the surface is porous, dusty, or weak, applying an appropriate sealer can help reinforce it and improve adhesion.
This is especially important when old wallpaper backing has been removed and the substrate is exposed.
3. Mark Ceiling Starting Lines Carefully
Ceiling wallpaper can become difficult to install if the starting position is incorrect.
Measure the area first, calculate the required lengths, and mark the starting line before applying the material.
A small positioning mistake at the beginning can create problems across the entire ceiling.
4. Do Not Force Air Bubbles Out Aggressively
When removing air bubbles, work from the center toward the edges.
If a bubble is difficult to remove, gently lift the wallpaper or adjust its tension rather than forcing the smoother.
Too much pressure can cause wrinkles, twisting, or damage to the material.
5. Treat Delicate Wallpaper Differently
Diatomaceous earth wallpaper requires a different approach from ordinary vinyl wallpaper.
The surface can be easily damaged, so use gentle pressure, avoid unnecessary lifting, and keep your hands and tools clean.
The installation technique should be adjusted to the characteristics of the material.
6. Prepare the Floor Before the Next Workday
Applying floor putty at the end of the day allows it to dry overnight.
This means the next morning can begin with a surface that is ready for inspection, additional repairs, or flooring installation.
Good preparation can improve both efficiency and the quality of the finished work.
7. Plan Long Cushion Flooring Before Applying Adhesive
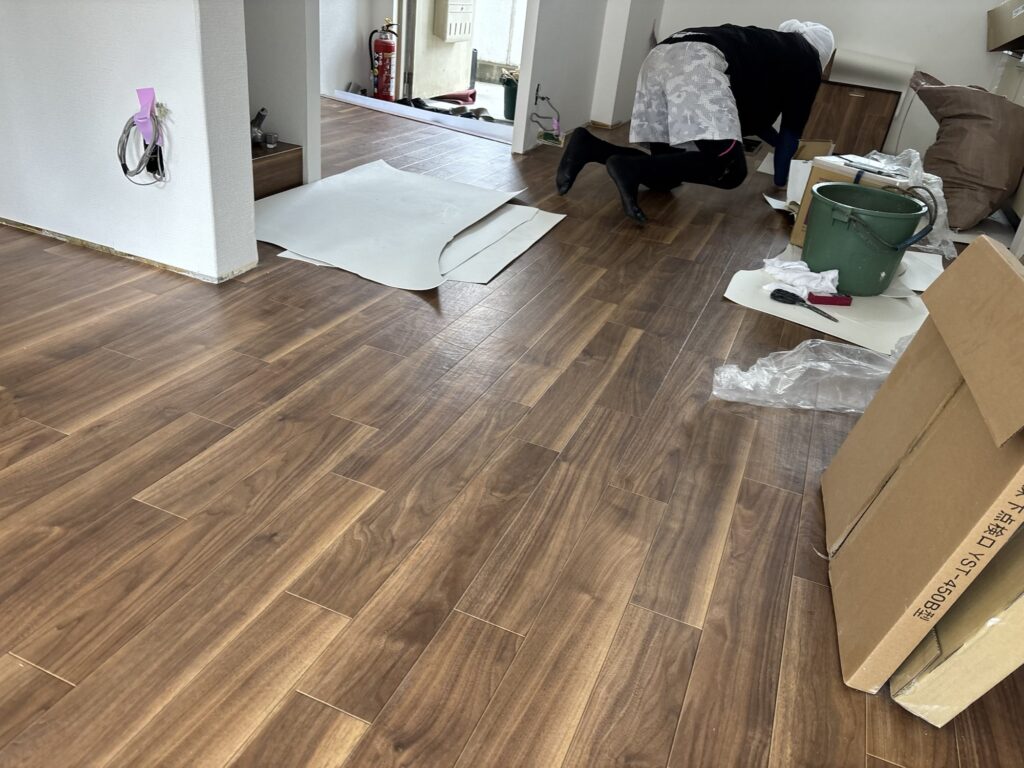
Long sheets of cushion flooring can be difficult to position once adhesive has been applied over a large area.
Mark the starting position first and work in manageable sections.
This makes it easier to maintain alignment and avoid unnecessary repositioning.
8. Remove Wallpaper Before Installing Soft Baseboards
Installing soft baseboards over existing wallpaper can create adhesion problems.
If the adhesive bonds to the wallpaper instead of the wall surface, the wallpaper may peel away later.
Removing the wallpaper in the baseboard area helps create a more secure installation.
Common Mistakes to Avoid
Installing Wallpaper Directly Over a Weak Substrate
If loose wallpaper backing, dust, or weak mortar is left untreated, the new wallpaper may not adhere properly.
Always inspect and reinforce the substrate when necessary.
Assuming Every Ceiling Edge Is Perfectly Straight
Ceiling edges can have small variations, especially in older buildings.
Do not blindly follow an uneven edge if doing so will cause the wallpaper to curve or twist.
Check the alignment as you work and trim excess material afterward.
Using Too Much Pressure on Delicate Wallpaper
Diatomaceous earth wallpaper can be damaged by excessive rubbing or pressure.
Avoid treating it like ordinary vinyl wallpaper. Use gentle movements and take your time.
Lifting Wallpaper Repeatedly After Installation
With delicate materials, repeatedly lifting and repositioning the wallpaper can damage the surface.
Prepare the substrate carefully beforehand and aim to position the material correctly the first time.
Using a Dull Blade for Detailed Cuts
A dull blade can tear the material and make it difficult to achieve a clean edge.
Replace the blade regularly, especially when cutting delicate wallpaper or making precise cushion flooring joints.
Applying Adhesive to Too Large an Area at Once
When installing long cushion flooring, applying adhesive across the entire floor at once can make positioning difficult.
Working in sections provides better control and reduces the risk of misalignment.
What I Learned From This Project
This project reminded me that different wallpaper materials require different installation techniques.
Ordinary embossed vinyl wallpaper is relatively forgiving, but smooth patterned wallpaper and diatomaceous earth wallpaper can reveal substrate imperfections or become damaged more easily.
The diatomaceous earth wallpaper, in particular, required much more delicate handling than ordinary vinyl wallpaper. The experience reinforced the importance of preparing the substrate thoroughly and adjusting the installation technique to the material.
I also found that planning the order of work can make a significant difference in efficiency.
For example, applying floor putty at the end of the second day allowed us to begin the third day with a dry surface. Similarly, marking the starting positions before installing long sheets of wallpaper or cushion flooring helped prevent positioning problems.
Even on a project that follows a familiar process, small details such as substrate preparation, blade condition, and material handling can have a major effect on the final result.
FAQ
1. How long did this apartment renovation wallpaper and flooring project take?
The wallpaper and cushion flooring work took three days to complete, with three workers on site.
2. How large was the apartment?
The apartment was a 2LDK condominium with an approximate floor area of 70 square meters.
3. Why was sealer applied to some of the mortar surfaces?
Some mortar surfaces were weak or had poor adhesion. Sealer was applied to reinforce the substrate and improve the adhesion of the wallpaper paste.
4. How many layers of putty were applied to the new gypsum board?
The new gypsum board areas received approximately two to three applications of base-coat joint compound, followed by finishing compound.
5. Why is diatomaceous earth wallpaper difficult to install?
Diatomaceous earth wallpaper has a delicate, textured surface. The coating can shed if it is rubbed too hard, touched with wet hands, or repeatedly lifted after installation.
6. Can beginners install diatomaceous earth wallpaper as a DIY project?
It is possible, but it requires careful substrate preparation and gentle handling. Beginners may find it more difficult than ordinary vinyl wallpaper because the surface is delicate and can be damaged easily.
7. Why was plywood not installed over the uneven mortar ceiling in the Japanese-style room?
Installing plywood could have improved the substrate, but the customer requested that the wallpaper be installed after putty work. We carried out the installation according to those instructions.
8. Why was a large-blade utility knife used for the cushion flooring?
A large-blade utility knife provides strong cutting performance and is useful for making clean cuts through cushion flooring, especially at joints.
9. Why was the existing wallpaper removed before installing the soft baseboards?
Removing the wallpaper helps the adhesive bond directly to the substrate. If the adhesive bonds to the wallpaper instead, the wallpaper may peel away and affect the baseboard installation.
10. How many hours did the work take each day?
The first day took approximately 7.5 hours, the second day took approximately 7.5 hours, and the third day took approximately 6.5 hours.
Conclusion
This three-day project involved much more than simply applying wallpaper and flooring.
We worked with several different materials, including embossed vinyl wallpaper, smooth patterned wallpaper, diatomaceous earth wallpaper, and wood-grain cushion flooring.
Each material required its own approach, especially when it came to substrate preparation, handling, and finishing.
The project also demonstrated how careful planning can improve both efficiency and quality. Measuring accurately, marking starting positions, preparing the substrate, and choosing the right tools all contributed to a smoother installation process.
For me, the most important lesson was that good results depend not only on the installation itself, but also on the preparation and care taken before and during the work.
Thank you for reading about this apartment renovation project in Japan.


Comments