
Project Type: Condominium Apartment
Location: Tokyo, Japan
Floor: 8th Floor of a 9-Story Apartment Building
Areas: Toilet and Washroom
Toilet Size: 130 cm × 65 cm
Washroom Size: 220 cm × 160 cm
Work: Cushion Flooring Replacement
Crew: 3 Workers + 1 Site Supervisor
Working Time: Approximately 3 Hours
Introduction
Today, I worked on a cushion flooring replacement project in the toilet and washroom of an apartment on the eighth floor of a nine-story condominium building in Japan.
Three workers and one site supervisor worked on the project.
Before we started, part of the existing plywood subfloor had already been removed because it had deteriorated, and new plywood had been installed.
Some of the old cushion flooring was still in place, so we started by removing it.
When we peeled it back, we discovered another layer of cushion flooring underneath.
This is a common installation method known as an overlay, where new flooring is installed over existing flooring.
In some cases, if the existing cushion flooring is firmly bonded to the floor and the pattern and surface condition are suitable, it can be used as a base for the new flooring. This can save time because the old flooring does not always need to be removed, and additional floor leveling compound may not be necessary.
However, there is one important point to check before installing new cushion flooring over an existing layer.
Adding another layer increases the floor height.
You need to make sure that the additional thickness will not exceed the height of the door frame or other surrounding areas. If the new flooring becomes higher than the frame, it can create an unwanted step and may cause the flooring to peel away at the edge. In some situations, a transition or trim piece may be necessary.
For this project, we decided to remove both layers of the old cushion flooring before installing the new one.
Job Site Report
Removing the Old Cushion Flooring
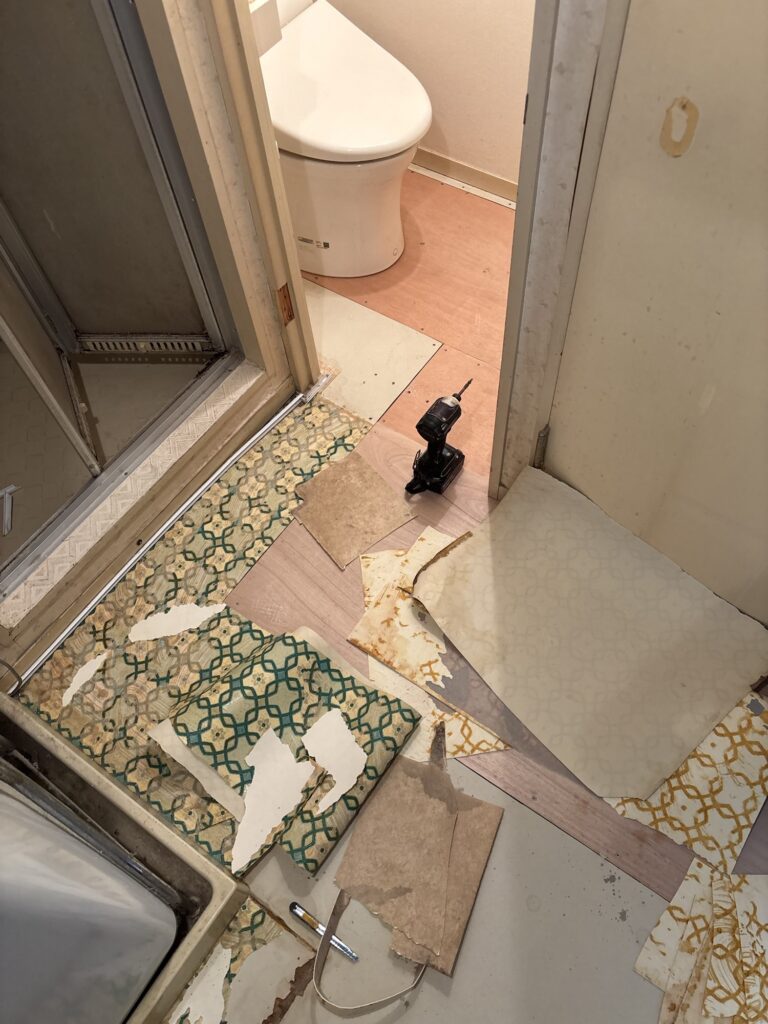
After removing the old cushion flooring, we found some uneven areas on the plywood subfloor.
I first shaved down the high spots with a utility knife and then smoothed the surface with a sander.
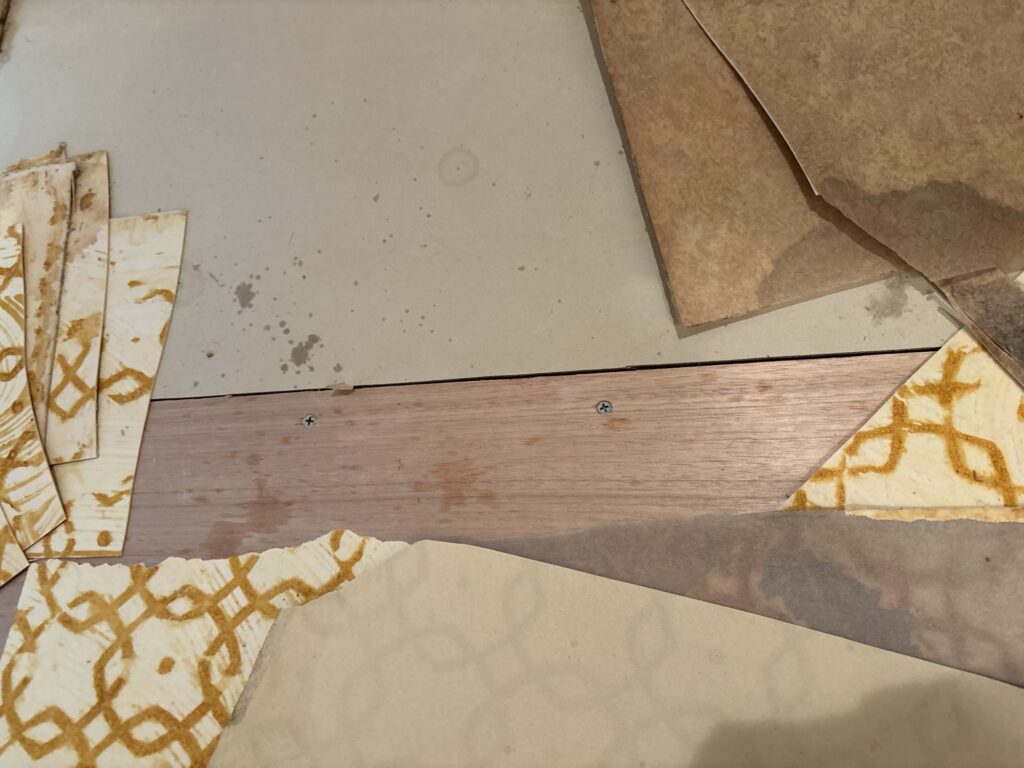
Removing the high spots before applying floor leveling compound has an important advantage.
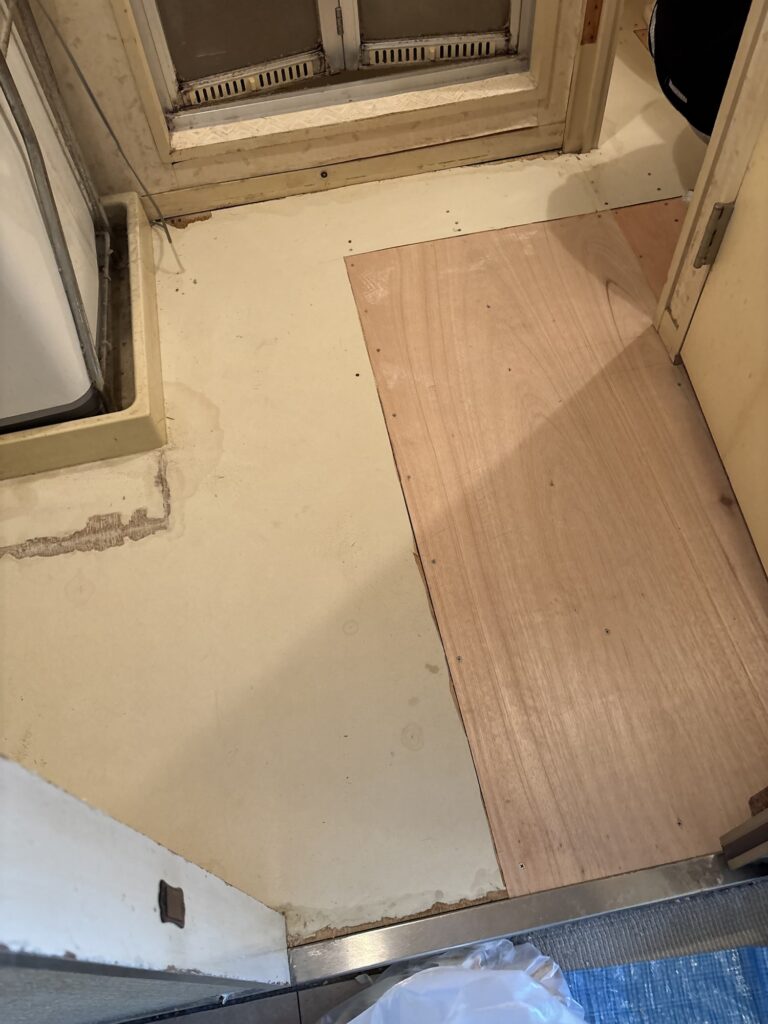
By making the surface as flat as possible beforehand, we can use less filler to level the floor. A thinner layer of filler also dries faster, which helps keep the project moving efficiently.
Drying the Floor Leveling Compound
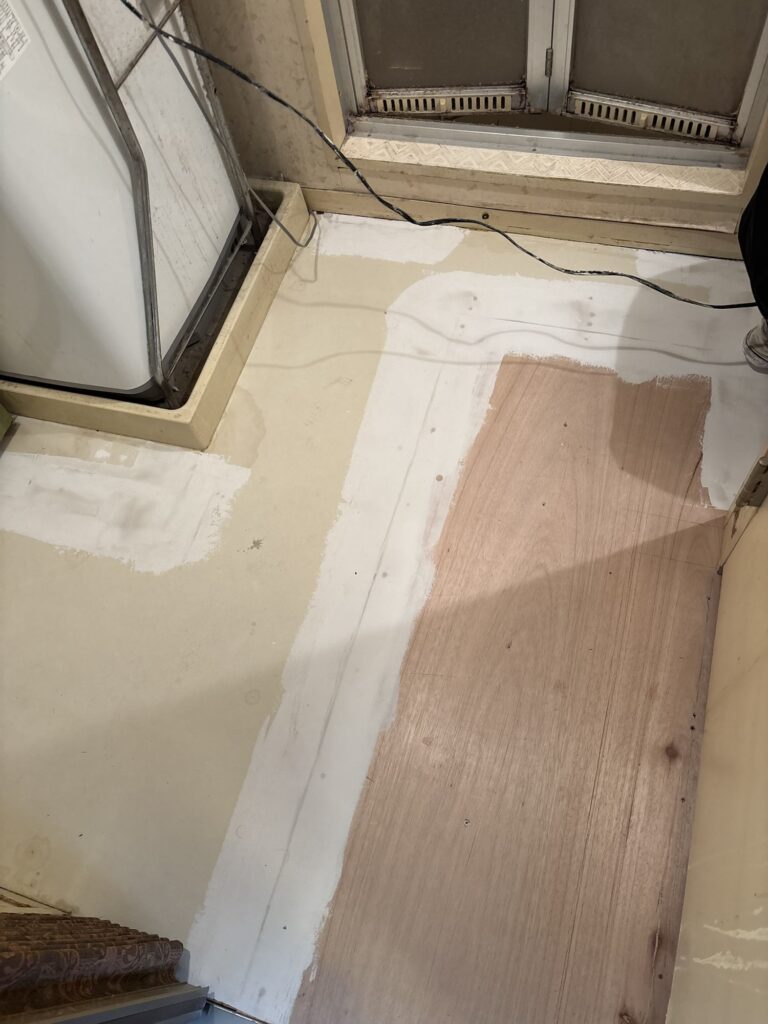
After applying the filler, I used a heat gun to help it dry.
I had previously experienced a problem when I applied adhesive and installed cushion flooring before the filler had completely dried.
The adhesive did not bond properly to the surface, so I had to apply the adhesive again.
Because of that experience, I now make sure the filler is sufficiently dry before moving on to the flooring installation.
While drying the filler, I noticed cracks in the filler over one of the plywood joints.
This can happen when the plywood is not securely fastened to the subfloor with enough screws.
When pressure is applied to the floor, the plywood can move or sink slightly. This movement can cause the filler over the joint to crack.
To prevent this from becoming a problem later, I added additional screws to reinforce the plywood before continuing.
Planning the Cushion Flooring Layout
The toilet and washroom were connected, but the overall shape of the floor was complicated.
Instead of trying to install one large piece of cushion flooring, we decided to divide it into two pieces and place the joint between the toilet and washroom.
The toilet measured approximately 130 cm long by 65 cm wide.
The washroom measured approximately 220 cm long by 160 cm wide.
We started with the toilet area.
Installing the Cushion Flooring in the Toilet
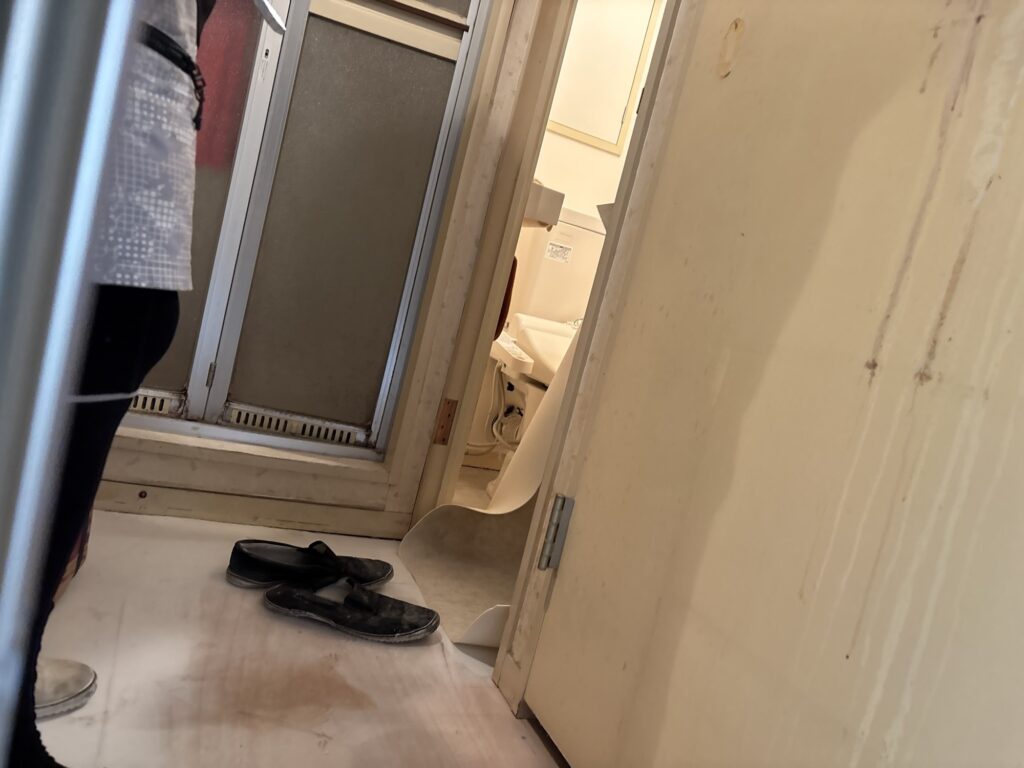
First, I applied adhesive to the toilet floor.
The toilet itself was not removed, so the cushion flooring had to be carefully cut around the base of the toilet.
I made a series of careful cuts while gradually fitting the material around the shape of the toilet.
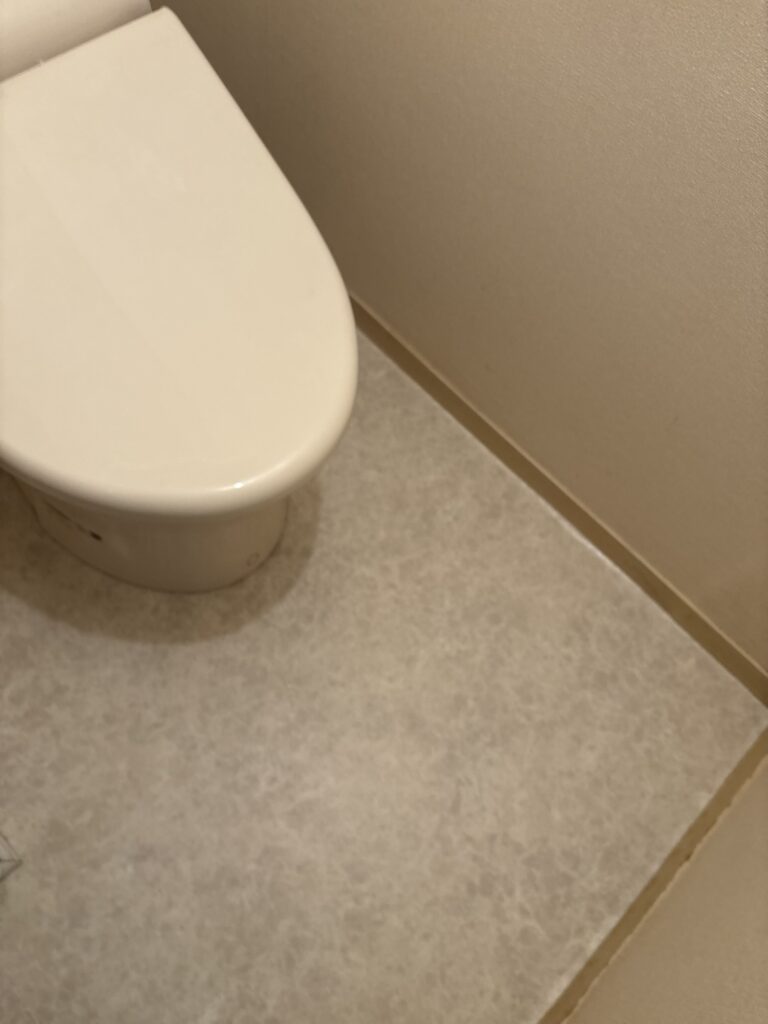
After cutting and adjusting the material, I pushed the cushion flooring slightly underneath the bottom edge of the toilet base.
There was a small gap underneath the toilet, so pushing the flooring further underneath helped create a cleaner appearance without leaving an obvious gap.
Related Project
First Time Removing a Toilet: Preparing a Commercial Bathroom for Floor Tile Installation
Installing the Cushion Flooring in the Washroom
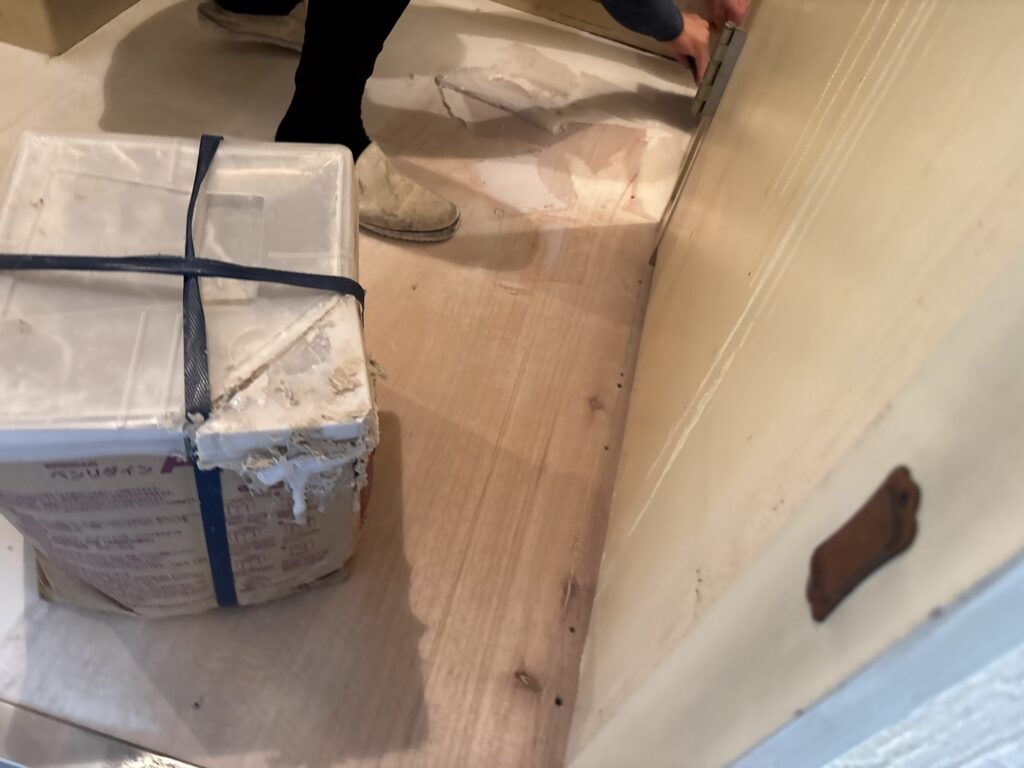
Next, I applied adhesive to the washroom floor.
I used the door frame at the entrance as a reference point to make sure the cushion flooring was installed straight.
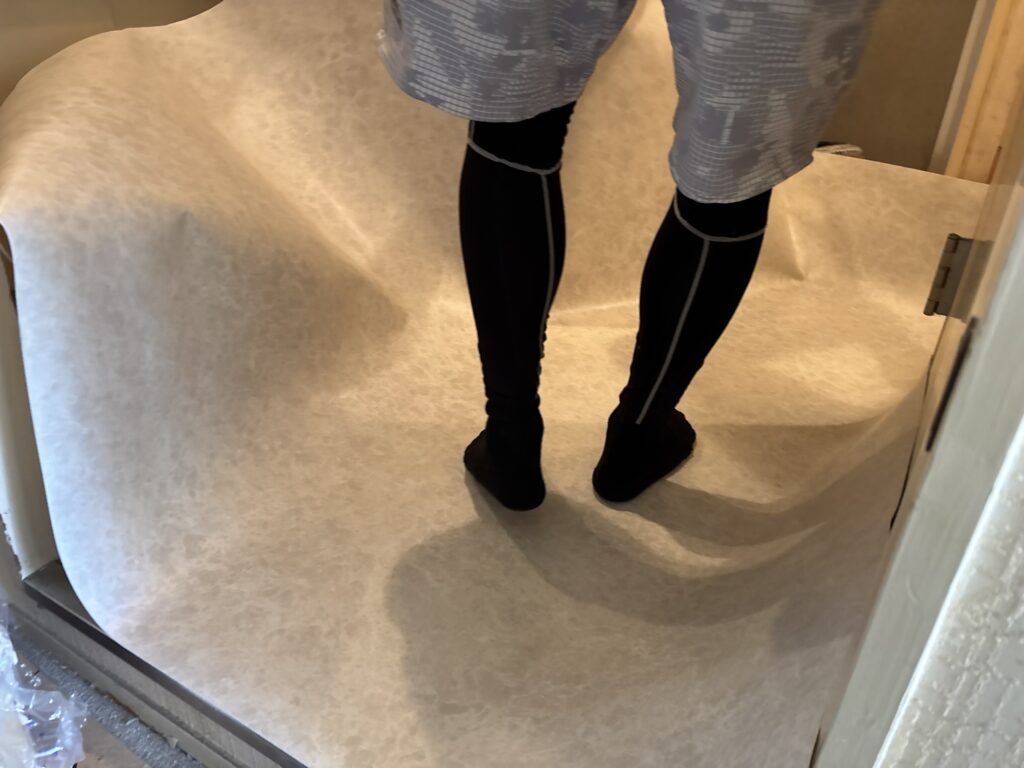
After positioning the flooring, I worked from the center toward the outside to push out any air bubbles.
Then I pressed a flooring spatula against the edge and carefully cut away the excess material with a utility knife.
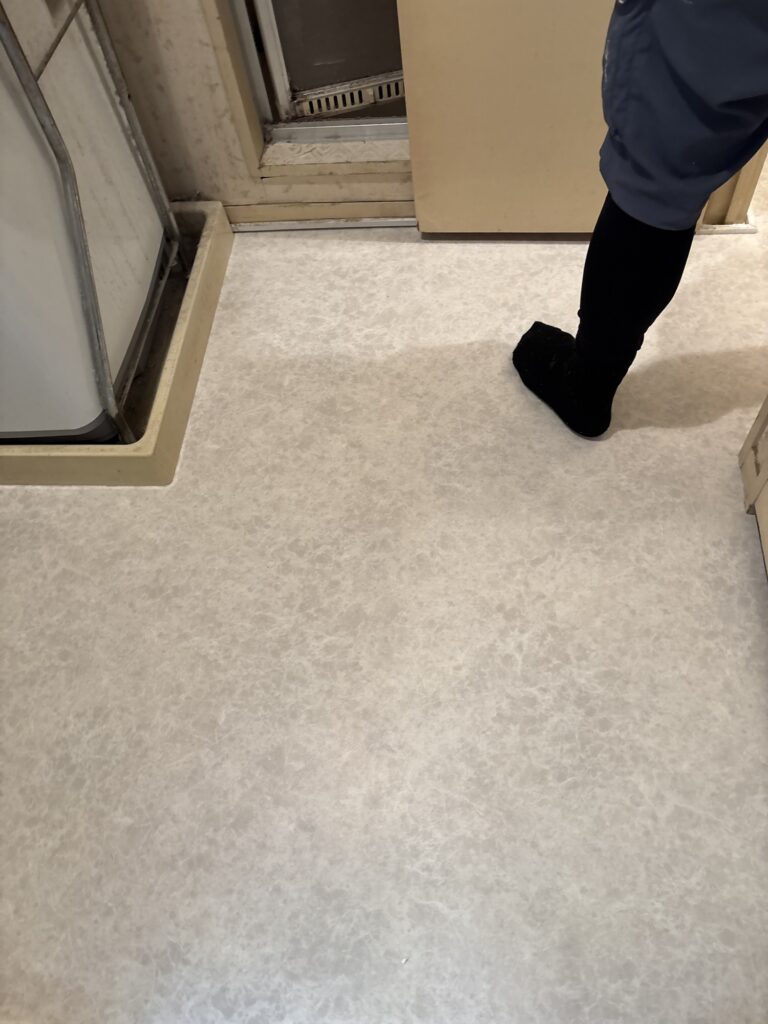
The existing wooden baseboards were going to remain in place, so I had to be careful not to cut too much material away.
I gradually adjusted the cuts to create a tight fit without leaving unnecessary gaps.
There was also a small gap underneath the wooden baseboard, so I used a spatula to push the cushion flooring underneath it for a cleaner finish.
Cutting and Sealing the Joint
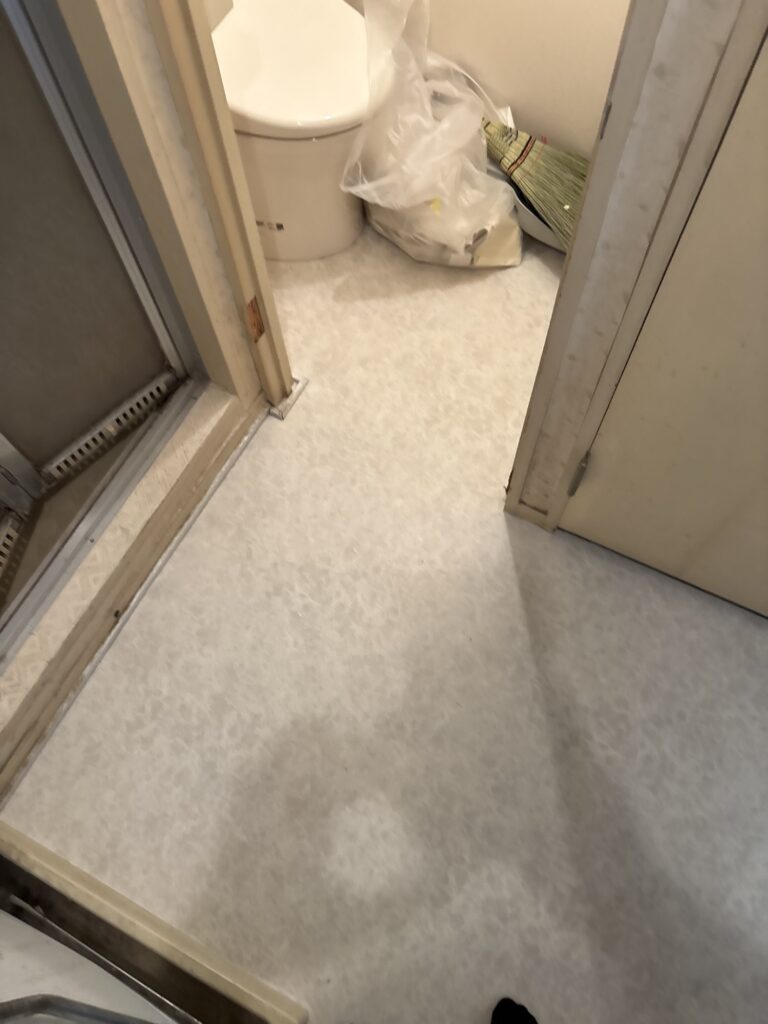
The toilet and washroom flooring overlapped at the joint.
I used a large-blade utility knife to make a double-cut joint through the overlapping sections.
After cutting the joint, I pressed the flooring down firmly with a roller to ensure good adhesion.
Finally, I applied seam sealer to the joint.
The seam sealer helps protect and secure the joint and provides a more finished result.
After checking the edges and joints, the cushion flooring replacement was complete.
The entire project took approximately three hours.
Related Project
Wallpaper and Cushion Flooring Replacement in a Washroom
Tools Used
Basic Flooring Tools
- Utility knife
- Large-blade utility knife
- Flooring spatula
- Flooring roller
- Measuring tape
- Heat gun
- Sander
- Screwdriver or drill for reinforcing the plywood
Materials
- Cushion flooring
- Flooring adhesive
- Floor leveling compound
- Seam sealer
- Screws
Professional Tips
Check the Floor Height Before Using an Overlay
Installing new cushion flooring over an existing layer can save time, but always check the finished floor height first.
The additional thickness can affect door frames, thresholds, toilets, and other surrounding areas.
Remove High Spots Before Applying Filler
If the subfloor has obvious high spots, remove or sand them down before applying leveling compound.
This reduces the amount of filler needed and can significantly shorten drying time.
Make Sure the Filler Is Completely Dry
Do not rush the drying process.
If adhesive is applied while the filler is still damp, the adhesive may not bond properly.
Using a heat gun can help speed up drying, but the surface should still be checked carefully before applying adhesive.
Reinforce Loose Plywood
If you notice cracks forming over a plywood joint, check whether the plywood is securely fastened.
Adding screws where necessary can reduce movement in the subfloor and help prevent future cracking.
Leave Enough Material Around Difficult Areas
When cutting around a toilet or baseboard, avoid removing too much material at once.
It is safer to make several small adjustments until the flooring fits tightly.
Common Mistakes to Avoid
Installing Over a Surface Without Checking the Height
An overlay can increase the floor height.
Always check the surrounding frames and thresholds before deciding to install new cushion flooring over an existing layer.
Applying Adhesive Before the Filler Is Dry
Even if the surface looks dry, the filler may still contain moisture.
Make sure it is sufficiently dry before applying adhesive.
Cutting Too Much Material Around the Edges
Cutting too much around toilets and baseboards can create visible gaps.
Leave a little extra material and gradually trim it until you achieve the correct fit.
Ignoring Movement in the Subfloor
If the plywood moves when pressure is applied, simply filling the joint may not solve the problem.
Check the fastening and reinforce the plywood if necessary.
Rushing the Joint
A clean joint requires careful cutting and proper pressure.
Take your time when making the joint cut, then use a roller to ensure the flooring is firmly bonded.
Related Project
Replacing Cushion Flooring in a Toilet and Washroom After Water Damage
What I Learned From This Project
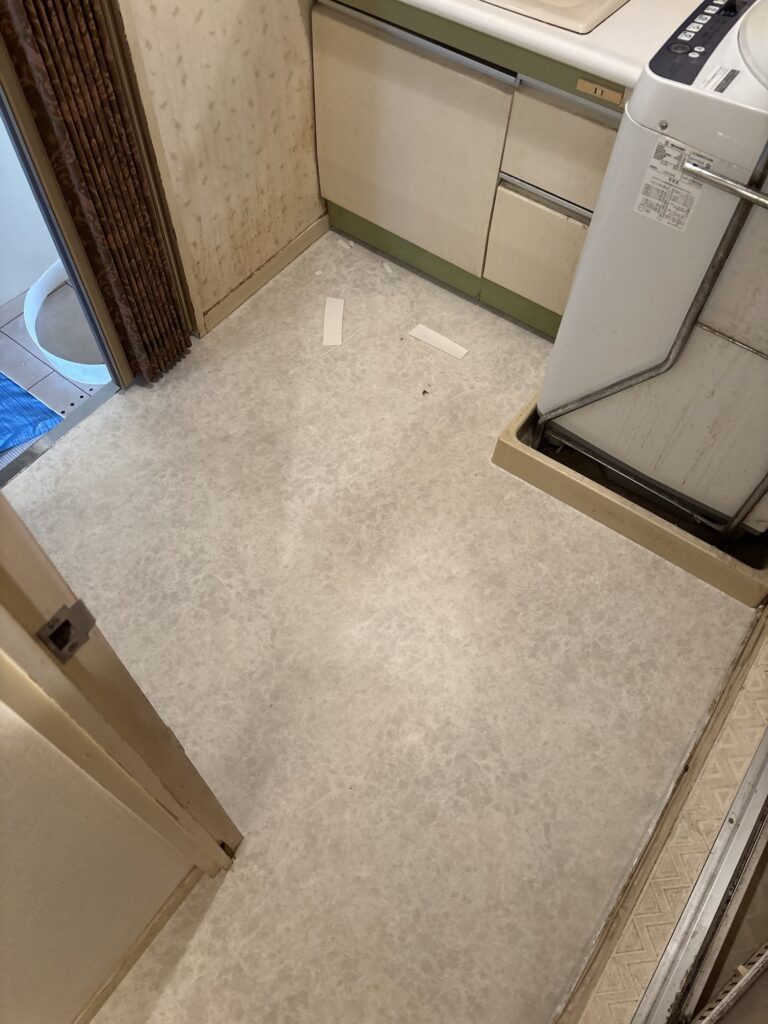
This project reminded me that the condition of the subfloor is just as important as the flooring itself.
At first, the job appeared to be a straightforward cushion flooring replacement. However, after removing the old flooring, we discovered multiple layers, uneven areas, and a problem with the plywood joint.
These details can easily be overlooked if you focus only on the visible flooring.
I also learned again that preparation can save time later.
By removing high spots before applying filler, making sure the filler was completely dry, and reinforcing the plywood before installation, we were able to create a better surface for the new flooring.
Small preparation steps can make a big difference in the quality of the finished job.
FAQ
1. What is cushion flooring?
Cushion flooring is a flexible vinyl flooring material commonly used in areas such as toilets, bathrooms, kitchens, and washrooms. It is available in many different colors and patterns and is relatively easy to clean.
2. Can new cushion flooring be installed over old cushion flooring?
Sometimes, yes.
If the existing flooring is firmly bonded, relatively flat, and suitable for an overlay installation, new cushion flooring may be installed over it. However, the floor height and condition of the existing material must be checked first.
3. Why was the old cushion flooring removed in this project?
There were two existing layers of cushion flooring, and we decided to remove both before installing the new flooring. Removing the old material allowed us to inspect and prepare the plywood subfloor properly.
4. Why is floor height important when installing cushion flooring?
Each additional layer increases the finished floor height. If the new flooring becomes higher than a door frame or threshold, it can create a step and may cause problems with the edge of the flooring.
5. Why did you use a heat gun?
A heat gun was used to help dry the floor leveling compound. The filler needs to be sufficiently dry before adhesive is applied.
6. Why did the filler crack over the plywood joint?
The plywood appeared to have some movement because it was not securely fastened enough to the subfloor. When pressure was applied, the plywood could move slightly, causing the filler over the joint to crack.
7. Why didn’t you remove the toilet?
The toilet was left in place for this project. The cushion flooring was carefully cut around the toilet base and pushed slightly underneath it to create a cleaner finish.
8. How did you make the joint between the toilet and washroom?
The cushion flooring pieces were overlapped and then cut together with a large-blade utility knife. After making the joint, the flooring was pressed firmly with a roller and seam sealer was applied.
9. How long did this project take?
The entire cushion flooring replacement took approximately three hours.
10. What is the most important part of cushion flooring installation?
Good preparation is one of the most important parts.
A clean, flat, dry, and stable subfloor provides a much better foundation for the flooring and can help prevent problems after installation.
Conclusion
This cushion flooring replacement was a relatively small project, but it involved several important preparation and installation techniques.
We removed two layers of old cushion flooring, corrected uneven areas, reinforced the plywood, carefully installed the new flooring around the toilet and wooden baseboards, and finished the joint with seam sealer.
The project took approximately three hours from preparation to completion.
For cushion flooring installation, the final appearance depends not only on how the flooring is installed but also on how carefully the subfloor is prepared beforehand.
Taking the time to check the floor height, remove uneven areas, make sure the filler is dry, and reinforce the subfloor can make the installation smoother and help produce a cleaner, longer-lasting result.


Comments