
Project Data
Project Type: Commercial Restoration Work
Location: Tokyo, Japan
Building: 8-story commercial building, 6th floor
Work: Wallpaper installation and toilet tile replacement
Crew: 2 workers
Working Time: Approximately 7.5 hours
Introduction
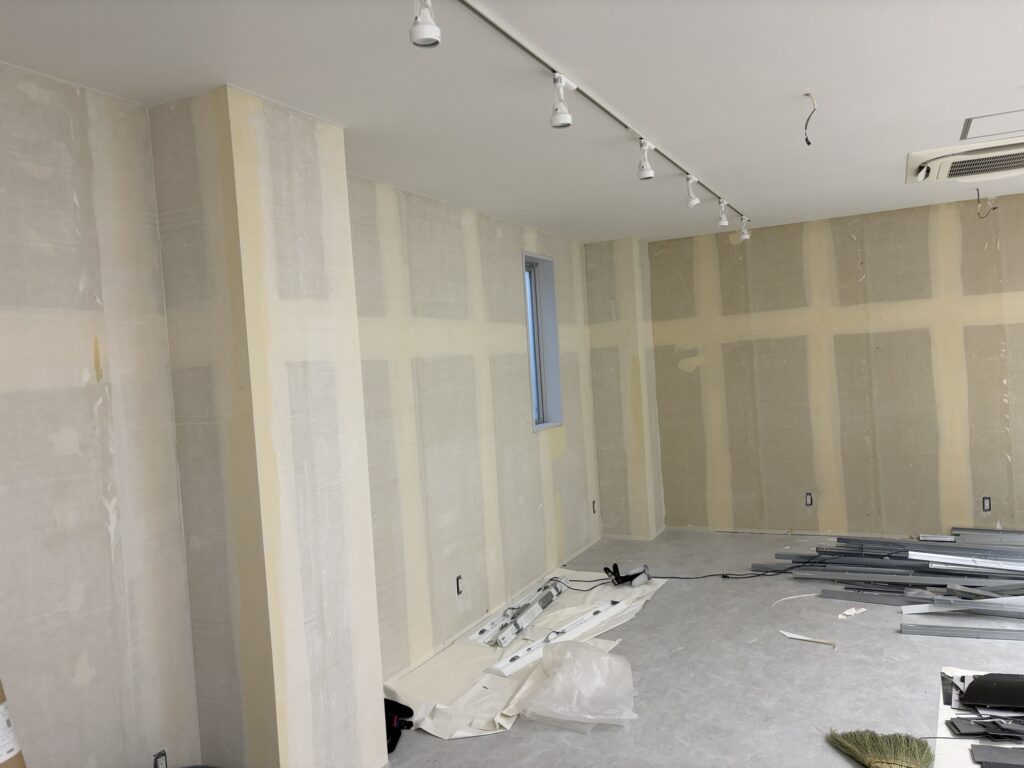
Today, I worked on a commercial restoration project on the sixth floor of an eight-story building in Tokyo, Japan.
I had worked at this site recently as well. Today, we continued the restoration work by installing new wallpaper on the walls and completing the tile installation in the toilet.
There were two workers on site. I was responsible for the wallpaper installation, while the other worker continued installing the toilet tiles.
The wall surfaces had already been prepared with putty, so my main task was to prepare the wallpaper and install it carefully while paying close attention to the joints and the condition of the substrate.
Related Project
Ceiling Wallpaper Replacement on the 8th and 6th Floors of a Commercial Building
Job Site Report
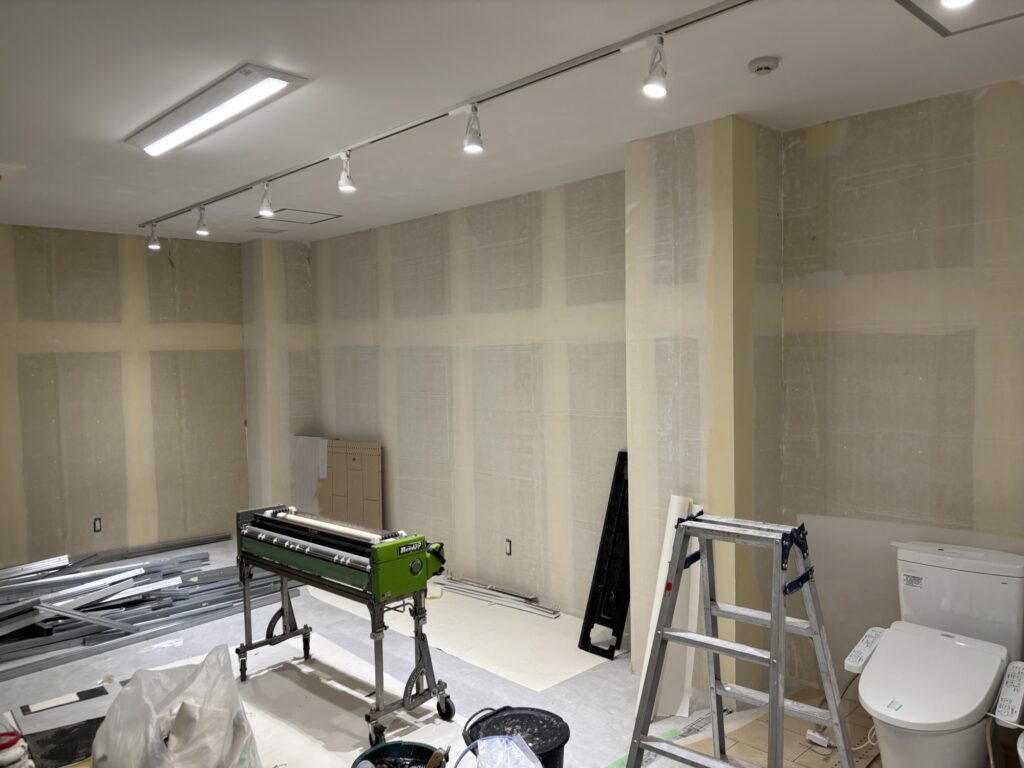
Preparing the Wallpaper
The wall putty had already been applied before I started the wallpaper installation.
First, I measured the required lengths and prepared the wallpaper using a wallpaper pasting machine.
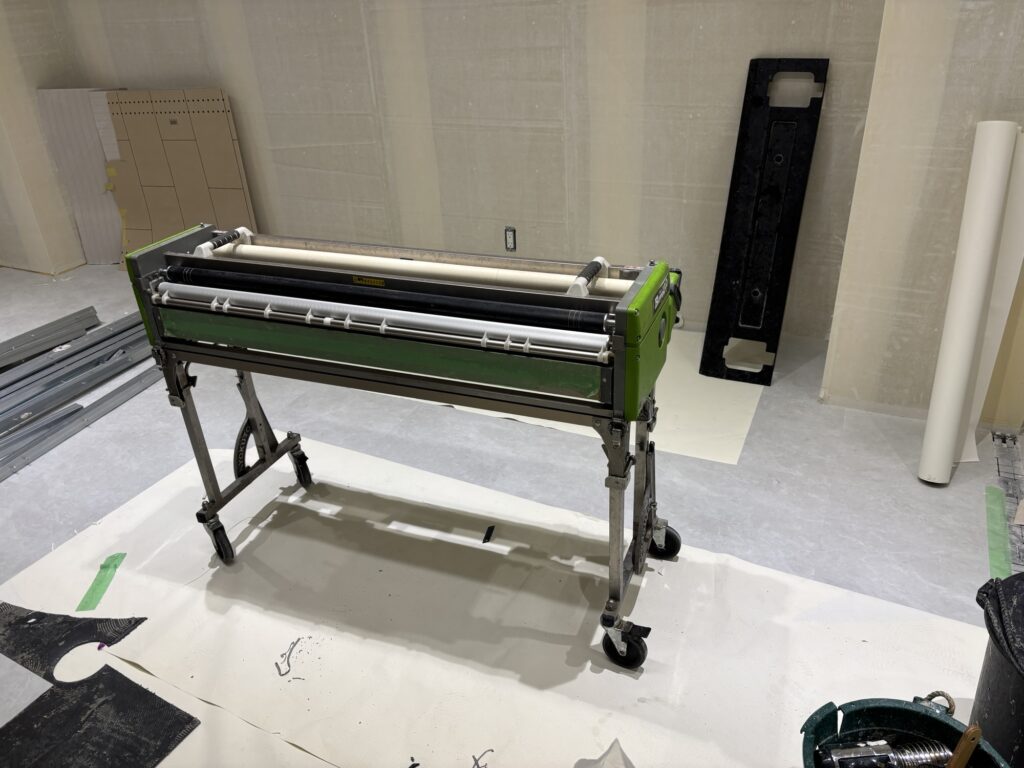
I prepared approximately ten strips, each about 260 cm long and 90 cm wide.
Because I was using a thin, white, standard-grade wallpaper, I needed to pay particular attention to the joints. If the edges of the wallpaper are simply butted together without properly cutting the joint, the seams can become very noticeable.
I also attached joint-cutting tape to both ends of each strip.
Preparing the Wall Surface
Thin wallpaper can easily reveal imperfections underneath it.
Even a small difference in the level of the putty or a small piece of dust or debris can become visible after the wallpaper has been installed.
For this reason, I carefully sanded the putty surface with a sander and made sure the wall was as flat and smooth as possible before starting the installation.
This preparation is especially important when working with thin, light-colored wallpaper.
Installing the First Strip
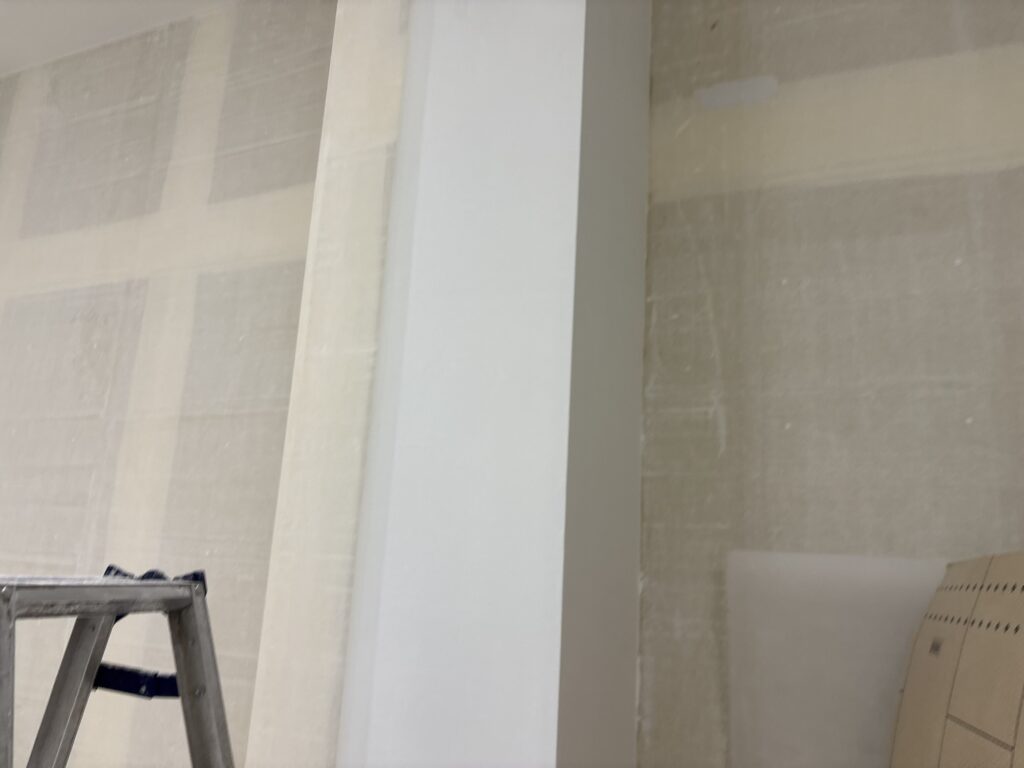
For the first strip, I started by fixing the edge at the corner and used it as a reference line.
Keeping the first strip straight is extremely important.
If the wallpaper starts to run even slightly out of line, wrinkles can develop as the installation continues.
I also measured the wall carefully before deciding where to start the first strip.
I tried to make sure that the wallpaper joint would not be positioned directly over a puttied area.
Wallpaper generally has less adhesion over heavily puttied areas, so I avoid placing joints there whenever possible.
A joint positioned over a puttied area can also become more noticeable or shift slightly after the wallpaper has been installed.
Cutting the Wallpaper Joints
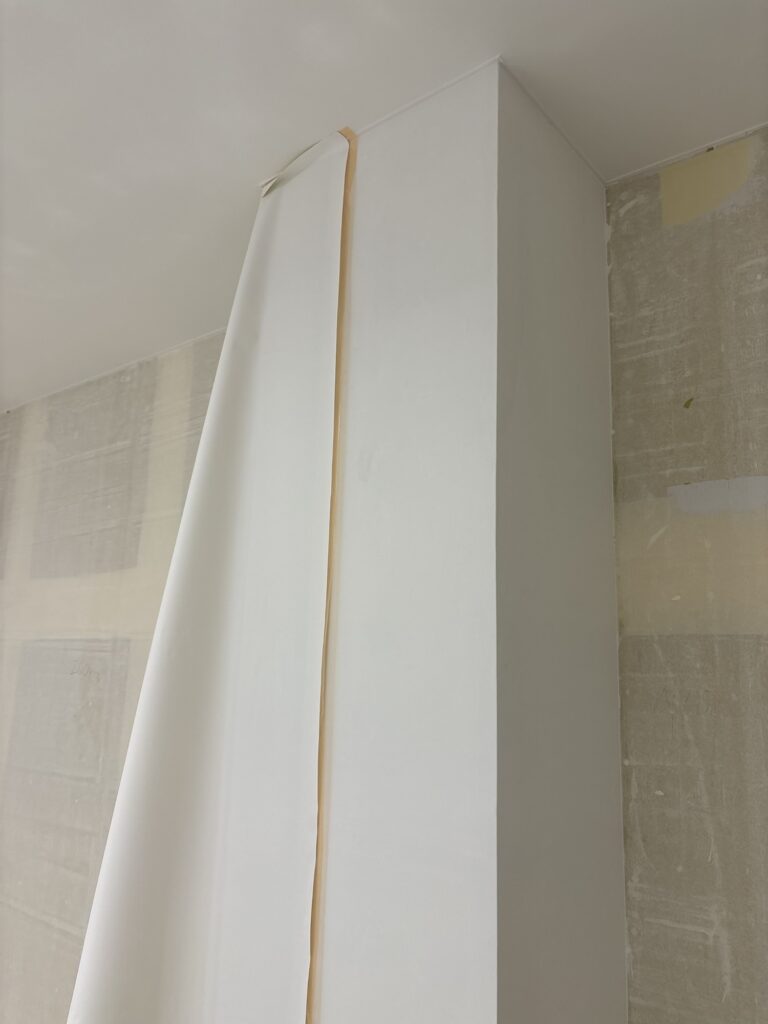
For the second strip, I overlapped it slightly over the joint-cutting tape from the first strip.
I then placed a spatula or straightedge over the overlapping area and carefully cut through the wallpaper with a utility knife.
The wall underneath was gypsum board, so I had to be careful not to apply too much pressure with the knife.
If the knife blade cuts into the gypsum board, the joint can become more likely to open later.
Using joint-cutting tape is one way to help prevent this problem and protect the substrate while making a clean joint.
Installing Wallpaper Around the Column
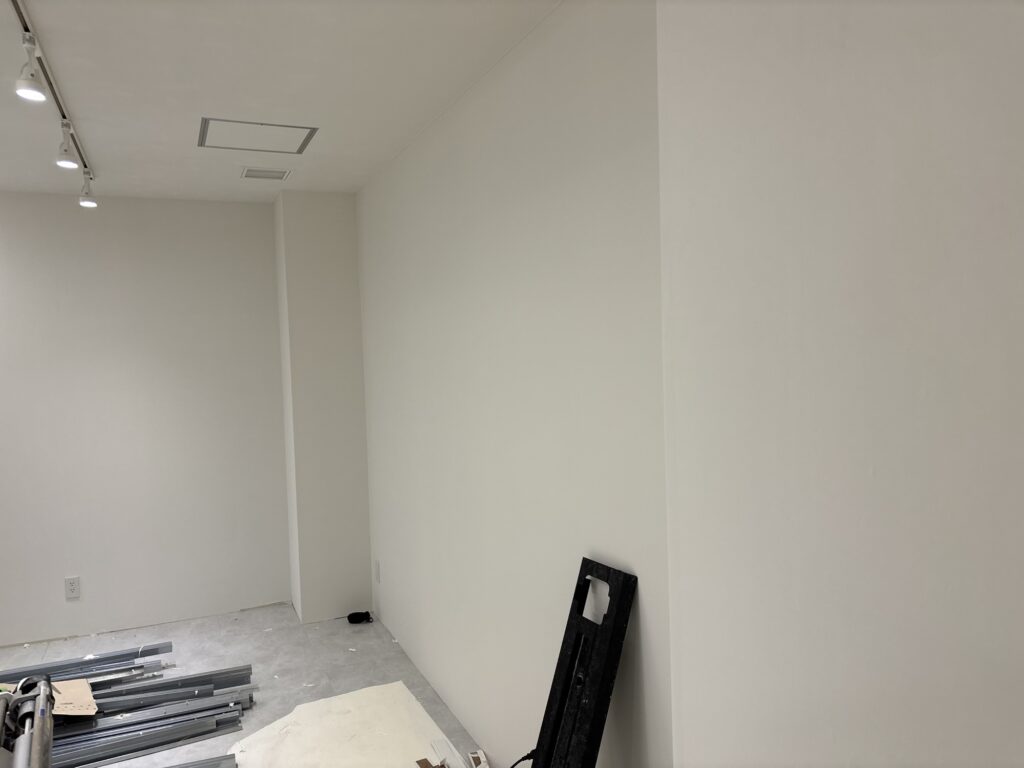
I also installed wallpaper around a column.
When working around corners, I used a sponge to apply pressure and push out any slack in the wallpaper while creating a clean, sharp corner.
Corners are particularly prone to wrinkles, so I concentrated on keeping the wallpaper straight as I worked.
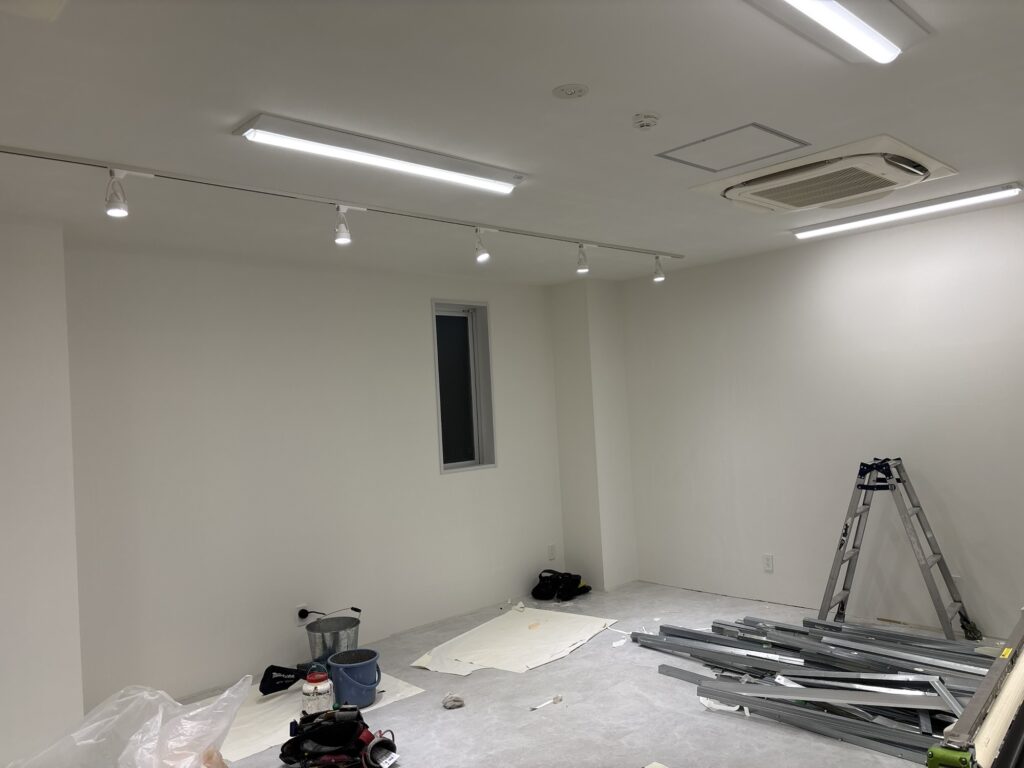
If I am concerned about keeping the wallpaper perfectly straight, using the corner as a reference point and fixing the edge first is a reliable approach.
Toilet Tile Installation
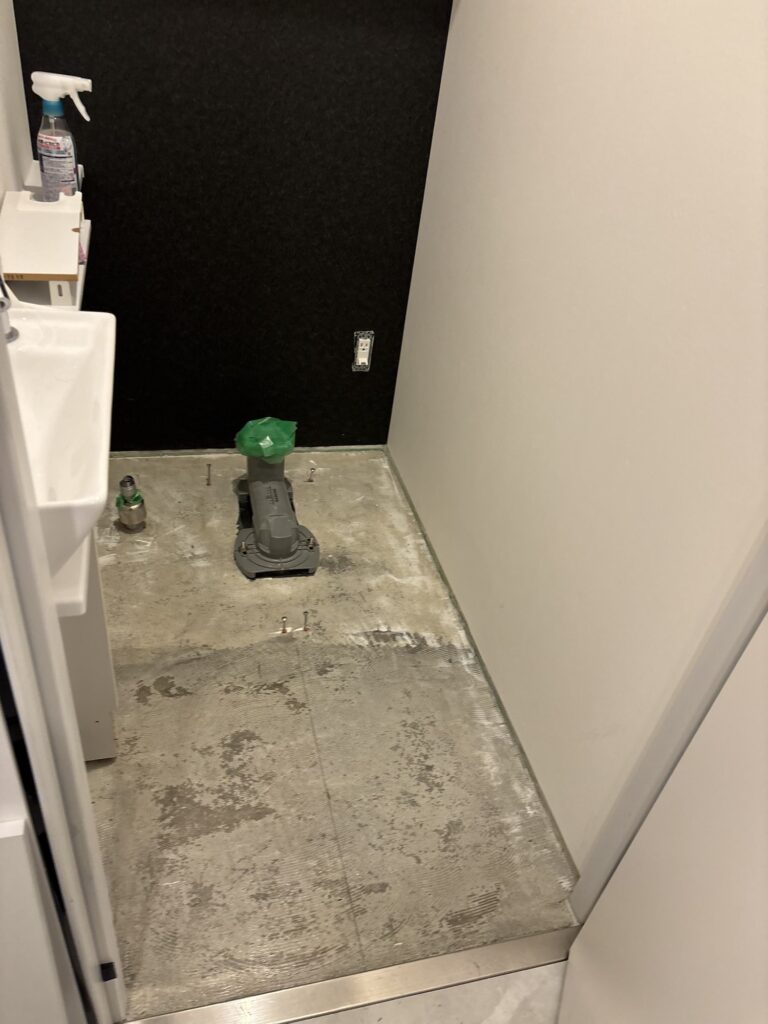
While I was installing the wallpaper, the other worker continued with the toilet tile installation.
The tile replacement was completed and the finished area looked clean and neat.
One thing I noticed was that the tiles were cut and shaped to the required size before applying the adhesive.
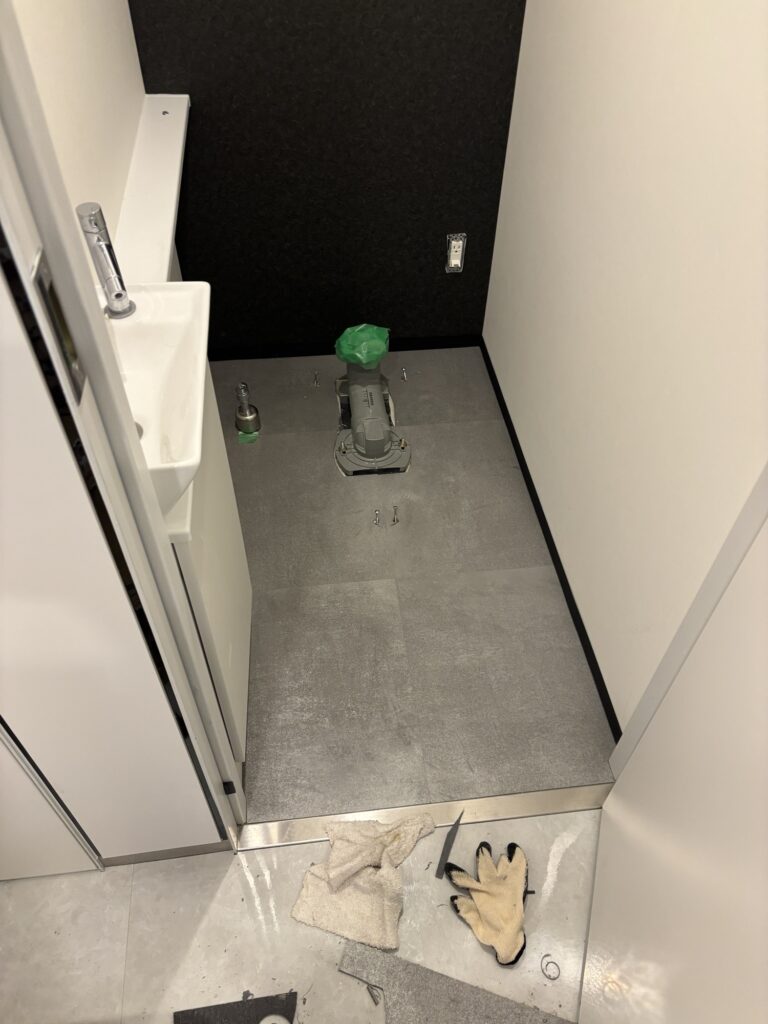
This is a useful technique because adjusting the size of a tile after applying adhesive can cause adhesive to get onto the visible surface of the tile.
Once adhesive gets on the tile, it can become messy and make the installation more difficult.
Preparing the shape first and then applying the adhesive helps keep the work cleaner.
Related Project
First Time Removing a Toilet: Preparing a Commercial Bathroom for Floor Tile Installation
Finishing the Day
I completed approximately 80 percent of the wallpaper installation before it was time to finish for the day.
The remaining wallpaper work will be completed during the next stage of the project.
The toilet tile installation, however, was completed and the finished area had a clean appearance.
The total working time today was approximately seven and a half hours.
Tools Used
Wallpaper Installation Tools
- Wallpaper pasting machine
- Measuring tape
- Utility knife
- Spatula
- Straightedge
- Joint-cutting tape
- Sponge
- Sander
Tile Installation Tools
- Tile cutting tools
- Adhesive application tools
- Measuring tools
Professional Tips
Prepare the Substrate Carefully
Thin wallpaper can reveal even very small imperfections underneath it.
Take the time to sand the putty properly and remove dust and debris before installation.
Keep the First Strip Straight
The first strip determines the alignment of the following strips.
Use a corner or another reliable reference point and make sure the first strip is installed straight.
Avoid Placing Joints Over Putty
Whenever possible, avoid positioning wallpaper joints directly over heavily puttied areas.
The wallpaper may not adhere as well to these areas, and the joint may become more noticeable.
Protect the Gypsum Board When Cutting
When cutting wallpaper joints over gypsum board, avoid pressing the knife too deeply.
Cutting into the board can create a weak point that may contribute to the joint opening later.
Prepare Tiles Before Applying Adhesive
When installing tiles, complete the necessary cutting and shaping before applying adhesive.
This helps prevent adhesive from getting onto the visible surface and keeps the work cleaner.
Common Mistakes to Avoid
Starting With a Crooked First Strip
A small alignment error at the beginning can become much more noticeable as additional strips are installed.
Ignoring Small Surface Imperfections
Small bumps, dust, and putty ridges can show through thin wallpaper after installation.
Always inspect and smooth the substrate carefully.
Cutting Too Deep Into Gypsum Board
Applying too much pressure with a utility knife can damage the gypsum board and potentially cause the wallpaper joint to open.
Installing a Joint Directly Over Putty
Putting a joint over an area with poor adhesion can make the seam more noticeable or less secure.
Adjusting Tiles After Applying Adhesive
Cutting or reshaping tiles after adhesive has already been applied can spread adhesive onto the tile surface and make the installation messy.
What I Learned From This Project
Today’s work reminded me that the quality of wallpaper installation depends heavily on preparation.
The actual process of applying wallpaper is important, but preparing the substrate, choosing the correct starting position, and carefully controlling the joints are just as important.
Thin white wallpaper requires even more attention because imperfections underneath the material can easily become visible.
I also found that careful planning can make tile installation cleaner and more efficient. Preparing the tile before applying adhesive helps avoid unnecessary mess and makes it easier to achieve a clean finish.
Even on a routine restoration project, small details can make a significant difference in the final result.
Frequently Asked Questions
1. Why is wall preparation important before installing wallpaper?
Wall preparation is important because thin wallpaper can reveal bumps, putty ridges, dust, and other imperfections underneath the material.
2. Why do you use joint-cutting tape?
Joint-cutting tape helps protect the substrate when cutting wallpaper joints and can help reduce the risk of the joint opening.
3. Why should wallpaper joints be kept away from puttied areas?
Wallpaper may not adhere as well to heavily puttied areas. Keeping the joint away from these areas can help create a cleaner and more secure finish.
4. Why is the first strip of wallpaper so important?
The first strip establishes the alignment for the rest of the installation. If it is crooked, the error can continue through the following strips.
5. Why is thin white wallpaper difficult to install?
Thin white wallpaper can easily show imperfections underneath it. Small bumps, debris, or differences in the putty surface can become visible after installation.
6. What happens if you cut too deeply into gypsum board?
A deep cut can damage the gypsum board and create a weak area underneath the wallpaper. This can contribute to the joint opening later.
7. How do you prevent wrinkles around corners?
Keep the wallpaper straight while working around the corner, apply pressure with a sponge, and push any excess slack outward.
8. Why should tiles be cut before applying adhesive?
Cutting and shaping the tiles first prevents adhesive from getting onto the visible surface during later adjustments.
9. How many workers were on this project?
There were two workers. I installed the wallpaper, while the other worker continued the toilet tile installation.
10. How long did today’s work take?
The work took approximately seven and a half hours.
Conclusion
Today was another day of restoration work at a commercial property in Tokyo.
I focused on installing wall wallpaper while another worker completed the toilet tile installation.
The wallpaper installation required careful surface preparation, accurate measurements, straight alignment, and precise joint cutting.
The toilet tile replacement was also completed with a clean finish.
Approximately 80 percent of the wallpaper installation was completed today, and the remaining work will continue during the next stage of the project.
Projects like this remind me that good results come from careful preparation and attention to small details.


Comments