
Project Data
- Project Type: Residential Apartment Renovation – Wallpaper Replacement
- Location: Japan
- Building: Older Condominium Apartment
- Apartment Size: Approximately 40 m² (1DK)
- Work Area: Beams and Walls
- Crew: 2 Wallpaper Installers
- Working Time: Approximately 7 Hours
- Condition Before Installation: Old wallpaper removed and walls prepared with joint compound
- Wall Substrate: Traditional Juraku plaster walls in some areas
Construction Details
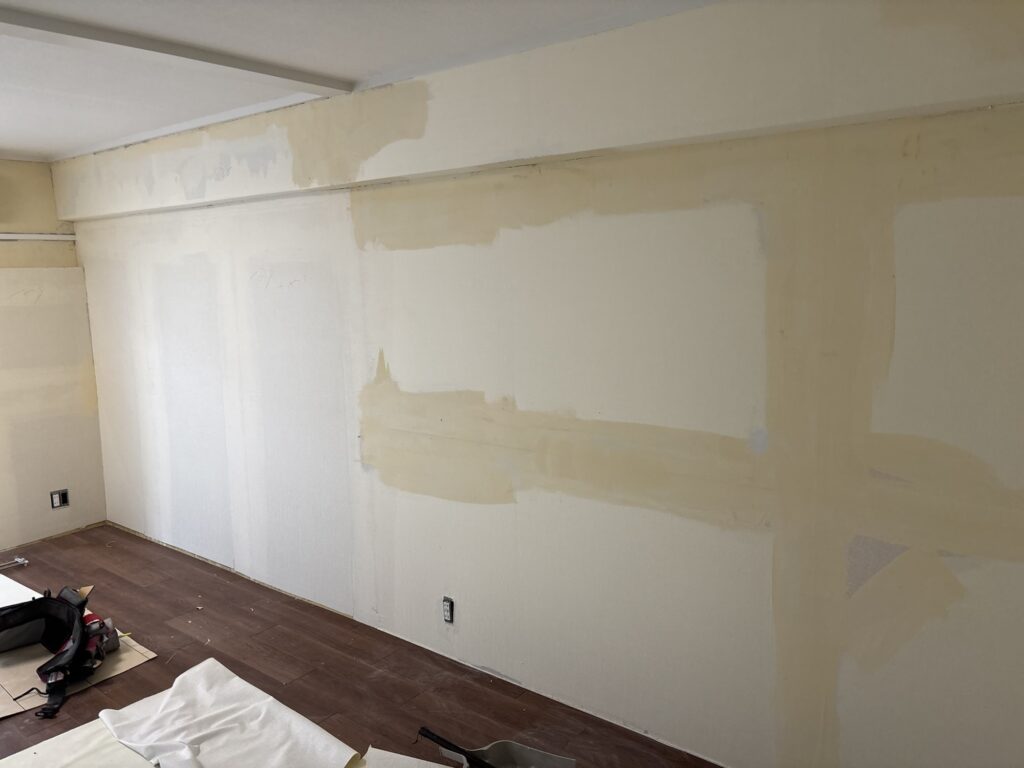
The wallpaper had already been removed before we arrived, and the walls had also been prepared with joint compound.
This apartment was originally designed as a traditional Japanese-style room but had later been renovated into a Western-style interior. The existing wallpaper had been installed over a traditional Japanese plaster finish known as Juraku-kabe.
⸻
Introduction
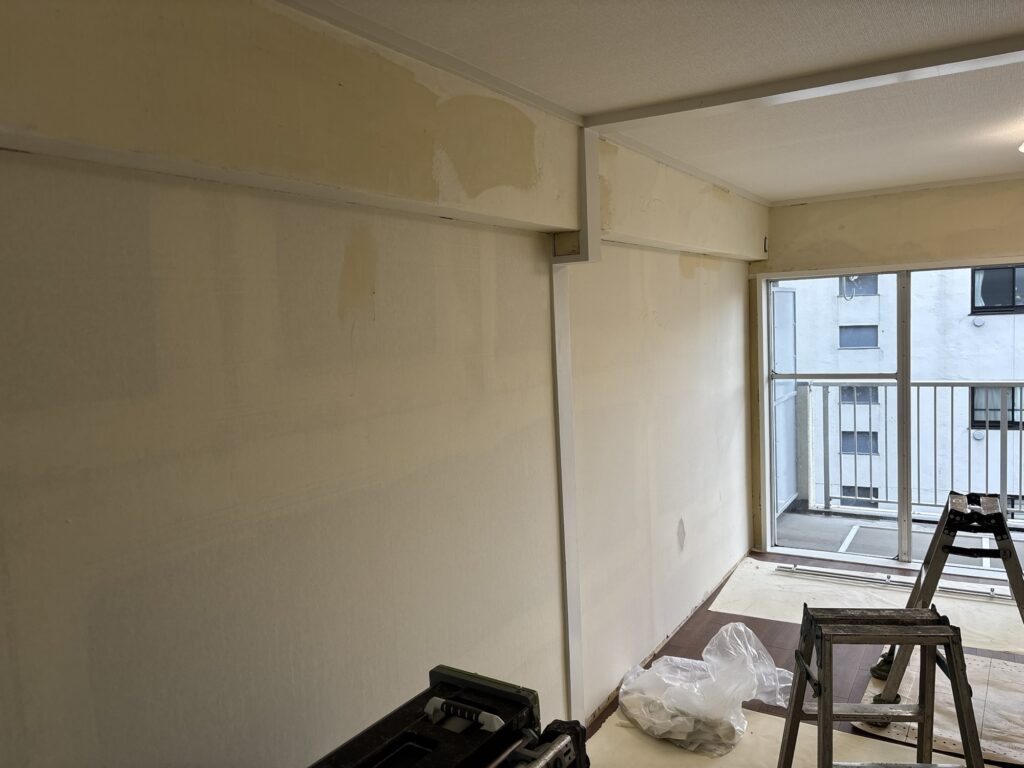
Today, two wallpaper installers worked on replacing wallpaper on the beams and walls of an older condominium apartment in Japan.
The apartment is approximately 40 m² and has a 1DK layout. Because the original Japanese-style room had been converted into a Western-style room, some of the walls were originally finished with Juraku plaster before wallpaper was installed.
Juraku-kabe (Juraku plaster wall) is a traditional Japanese earthen wall finish associated with Kyoto.
It is traditionally said to have been made using high-quality clay known as Juraku-tsuchi, which was associated with the area around Jurakudai, the palace complex built by Toyotomi Hideyoshi in Kyoto during the Azuchi-Momoyama period.
Juraku plaster is known for its calm colors and distinctive earthy texture. Its simple yet elegant appearance is closely associated with the Japanese aesthetic of wabi-sabi.
It has traditionally been used in Japanese-style rooms, tea rooms, and high-end Japanese restaurants.
Today, Juraku plaster is still appreciated as an interior finish for creating a warm and peaceful Japanese atmosphere.
When installing thin wallpaper over Juraku plaster, proper surface preparation is extremely important. A primer should be applied first, followed by a full skim coat of joint compound to create a smooth and stable surface.
If this preparation is skipped, the wallpaper may not bond properly and can become more likely to peel.
The rough texture of Juraku plaster can also show through thin wallpaper, creating an uneven and unattractive finish.
However, the situation is different when using a thick, embossed wallpaper. Because thicker wallpaper can hide minor irregularities in the substrate, it can sometimes be installed without applying a full skim coat, as long as the surface is properly primed.
For this project, we were using a relatively thick, embossed wallpaper, so very little additional joint compound work was necessary.
⸻
Work Process – Site Report
1. Measuring and Preparing the Beam
We first measured the dimensions of the beams and prepared the wallpaper for installation.
After cutting the wallpaper to the required length, we ran it through the wallpaper pasting machine to apply the adhesive evenly.
The longest beam was approximately 5 meters long, so two workers installed it together.
Working with a long sheet like this requires good coordination between both installers. We carefully aligned the wallpaper so that it would remain straight along the beam.
⸻
2. Installing Wallpaper on the Beam
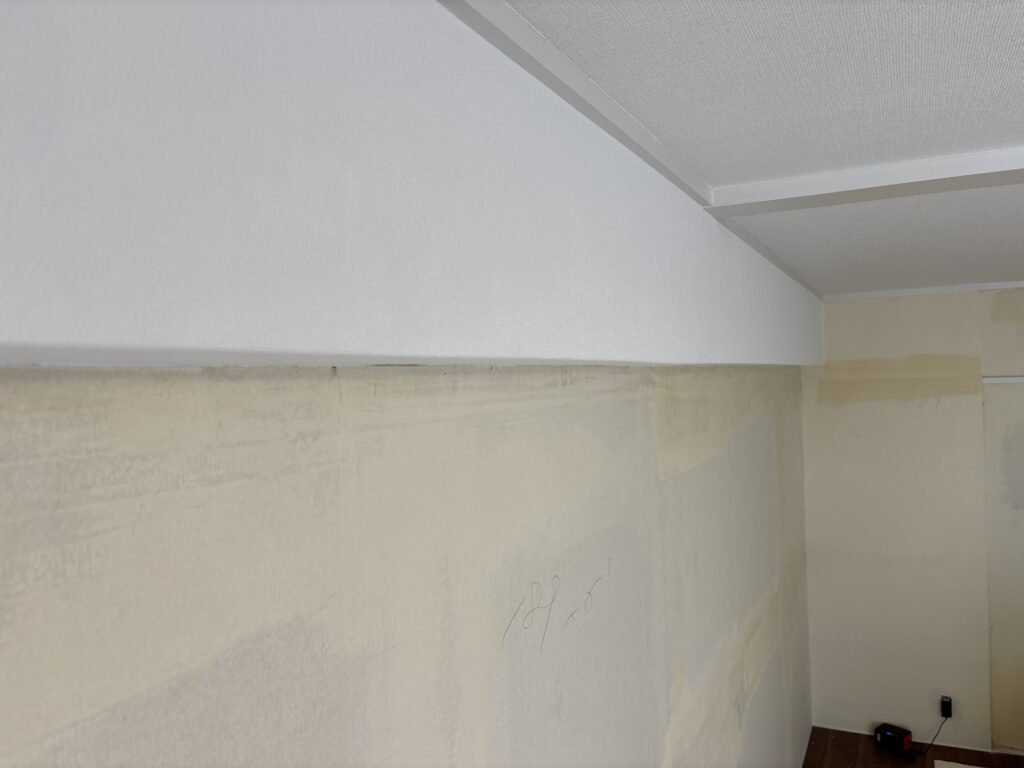
After positioning the wallpaper, we used a wallpaper smoother to remove air bubbles.
We worked mainly from the corners toward the outside, gradually pushing trapped air and excess adhesive away from the center.
While installing the wallpaper, we discovered several areas where the uneven Juraku plaster substrate was beginning to show through.
When this happened, we carefully shaved down the high spots with a utility knife and adjusted the surface before continuing.
It would have been better to identify these areas before installation, but this can be difficult when the unevenness is hidden underneath the backing paper of the old wallpaper.
I have been working as a wallpaper installer for five years, but even now, I sometimes miss these small irregularities during the initial inspection.
For this reason, one useful technique is to check the entire surface by hand before installing the new wallpaper.
Another method is to slide a putty knife or similar tool across the surface. If the tool suddenly hits a hard spot, there may be a difference in height underneath.
These irregularities can be difficult to notice just by looking at the wall, so careful checking is important.
⸻
3. Installing Wallpaper on the Walls
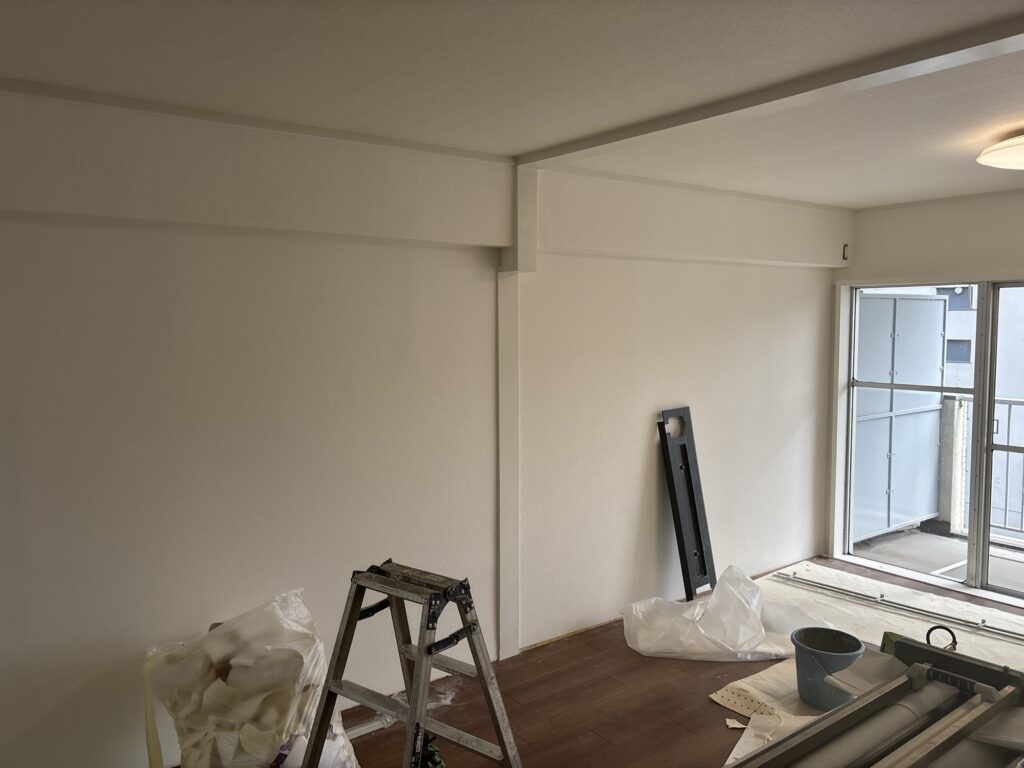
Once the beam was finished, we moved on to the wall sections.
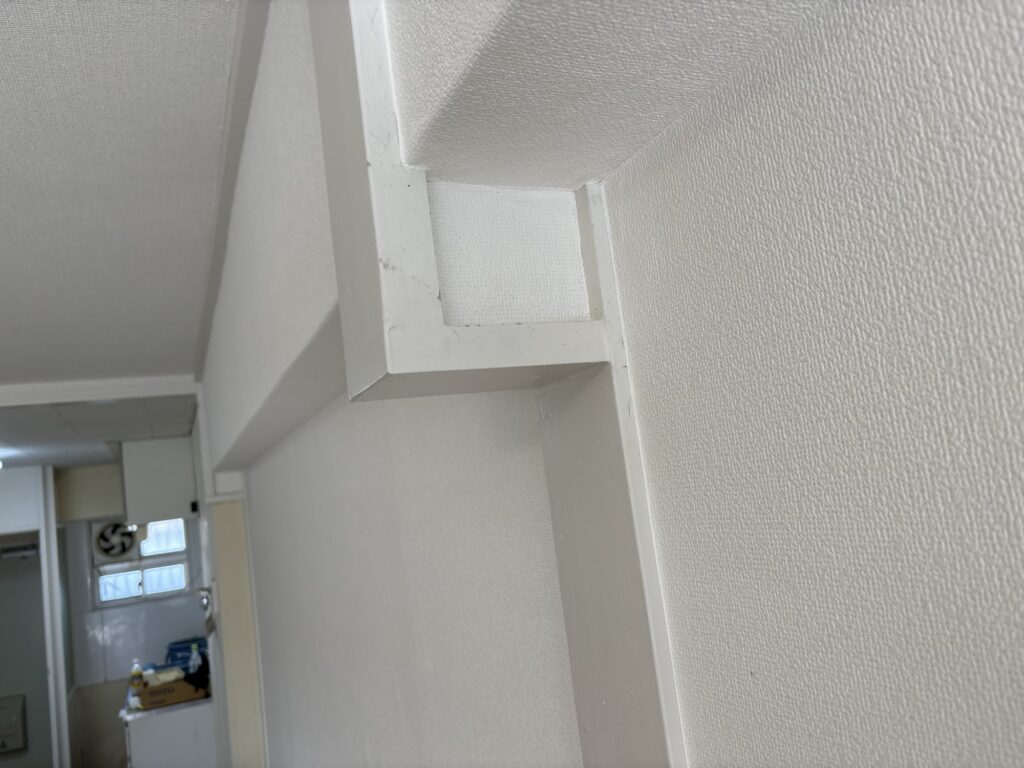
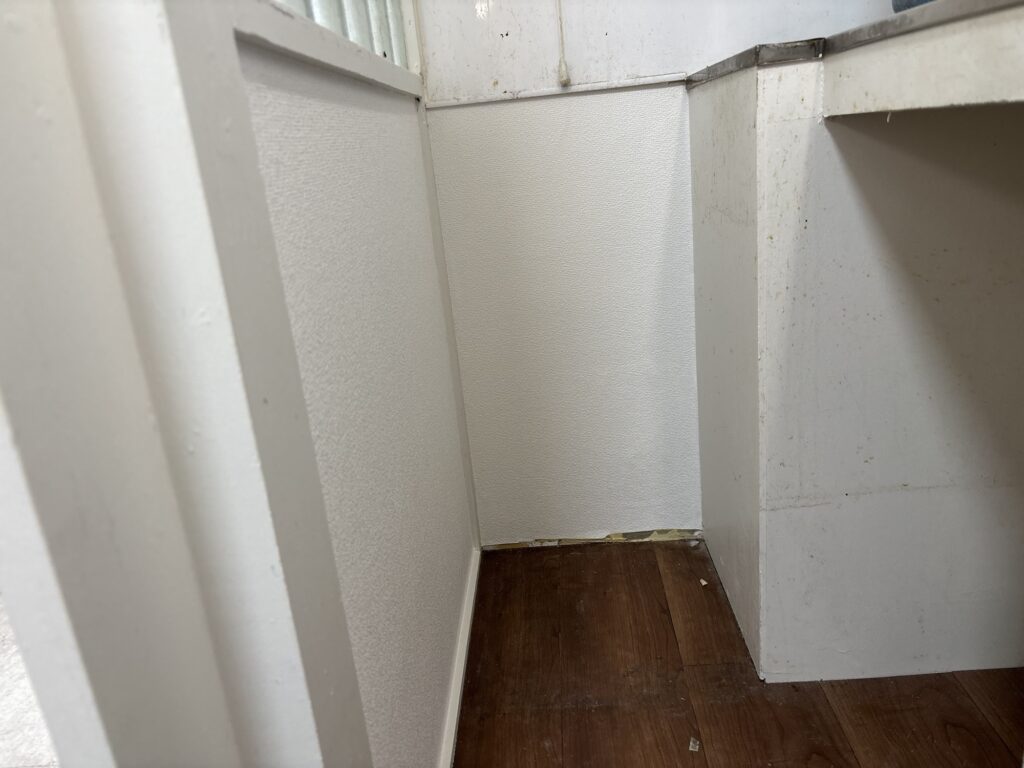
One of the more difficult areas was the corner around a window frame.
There was very little room to work, and it was difficult to insert a smoothing tool into the corner. Because of this, we had to make the cut freehand.
The substrate around the corner was also quite uneven.
Instead of cutting the wallpaper directly at the corner, we wrapped one continuous piece of wallpaper around it.
Wrapping the wallpaper around an uneven corner has an advantage: it can create a cleaner appearance than trying to make a precise cut directly on an irregular corner.
However, there is one important thing to be careful about.
If the wallpaper is not kept straight while wrapping the corner, the material can twist or become distorted.
Because the substrate was deteriorated in some areas, we also applied joint sealant (Joint Calk) before installing the wallpaper to help prevent the wallpaper from lifting.
⸻
4. Temporary Bubbles After Installation
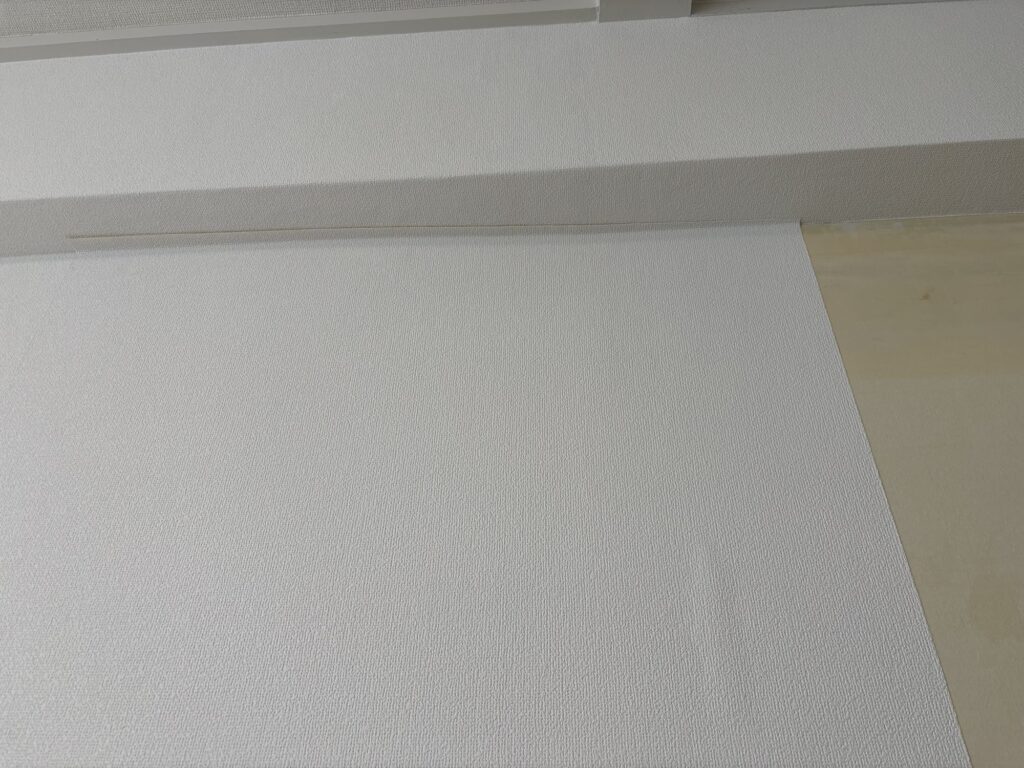
After installing one sheet of wallpaper, we noticed a small bubble-like bulge near the lower-right area of the wall.
At first glance, this might look like trapped air or a problem with the installation.
However, there was no need to worry.
In this case, the old backing paper underneath the new wallpaper was absorbing moisture from the wallpaper adhesive. This can cause the old backing paper to temporarily expand.
During Japan’s humid summer, these temporary bubbles can disappear naturally after approximately one week as the adhesive and backing paper dry.
In the dry winter season, they may disappear in around three days.
Customers sometimes ask whether these temporary bubbles are a problem, so this is something wallpaper installers should be familiar with.
The important thing is not to overwork the area.
If you repeatedly push the bubble with a smoother, it may simply come back again as the backing paper continues to dry.
In situations like this, the best approach is often to leave it alone and allow it to dry naturally.
⸻
5. Cleaning Up and Completion
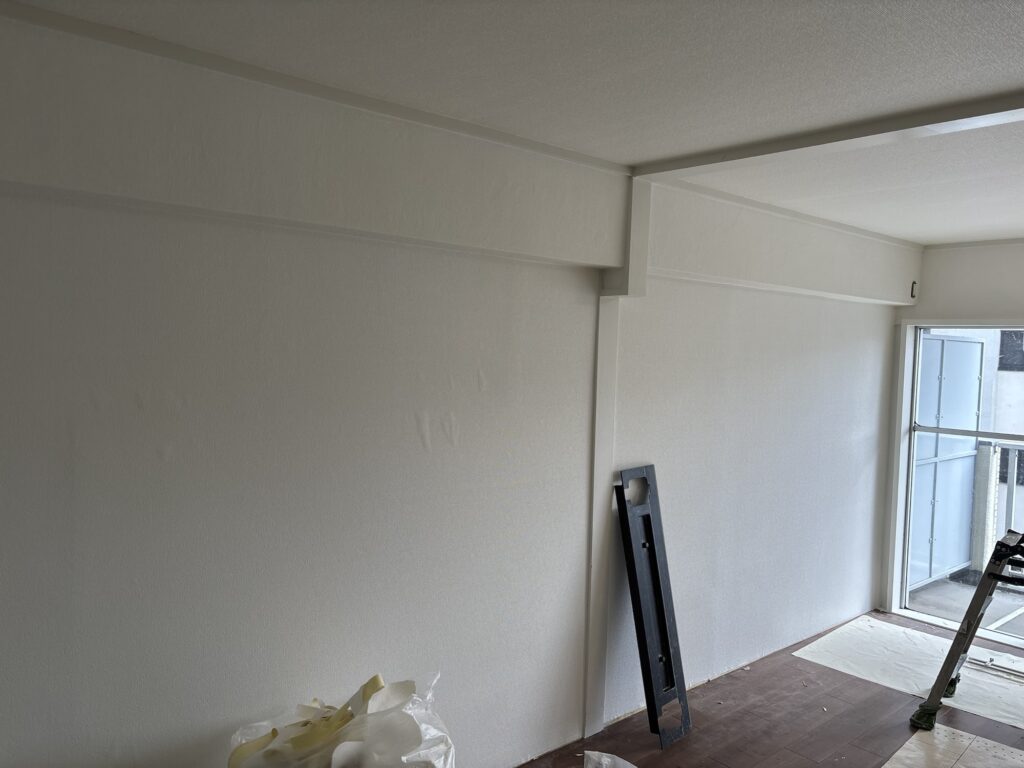
After all the wallpaper had been installed, we cleaned the work area and completed the final inspection.
The total working time was approximately 7 hours with two workers.
The project was completed successfully despite several difficult areas caused by the uneven Juraku plaster substrate and deteriorated corners.
⸻
Tools Used
- Wallpaper pasting machine
- Wallpaper smoother
- Utility knife
- Putty knife
- Measuring tape
- Joint sealant
- Primer
- Wallpaper trimming tools
- Cleaning tools
⸻
Professional Tips
1. Always Check the Substrate by Hand
Some uneven areas cannot be seen easily with the naked eye.
Run your hand across the entire surface before installing wallpaper. You can also slide a putty knife across the wall to detect sudden changes in height.
2. Consider the Thickness of the Wallpaper
Not every substrate requires the same level of preparation.
Thin wallpaper can reveal even small imperfections, while thick and heavily embossed wallpaper can hide minor irregularities.
However, the substrate still needs to be stable and properly primed.
3. Be Careful Around Uneven Corners
Wrapping wallpaper around an uneven corner can produce a better visual result than making a cut directly at the corner.
However, the wallpaper must be kept straight while wrapping. Otherwise, the material can twist.
4. Don’t Panic About Temporary Bubbles
Small bubbles that appear shortly after installation are not necessarily installation failures.
If the old backing paper is absorbing moisture from the new adhesive, temporary swelling can occur.
Give the area time to dry before attempting unnecessary repairs.
5. Fix Problems as You Find Them
Sometimes a defect in the substrate is impossible to detect until the new wallpaper is being installed.
When this happens, it is better to stop and correct the problem immediately rather than simply covering it.
It may take more time, but it can make a significant difference in the final appearance.
⸻
Common Mistakes to Avoid
Installing Thin Wallpaper Directly Over Rough Juraku Plaster
Thin wallpaper can reveal the texture of the plaster underneath. When necessary, use primer and a full skim coat to create a smoother surface.
Ignoring Small High Spots
A small bump may seem insignificant before installation, but it can become very noticeable after the wallpaper is installed.
Cutting Directly at an Uneven Corner
On a severely uneven corner, cutting directly at the corner may make the irregularity more obvious. Wrapping the wallpaper around the corner can sometimes produce a better result.
Overworking Temporary Bubbles
If a bubble is caused by moisture being absorbed by the old backing paper, repeatedly smoothing it may not solve the problem.
Allow the material to dry naturally.
Relying Only on Visual Inspection
Some defects are difficult to see before installation. Always use your hands and tools to check the substrate carefully.
⸻
What I Learned From This Project
This project reminded me that not every problem with wallpaper installation can be identified before the work begins.
The Juraku plaster substrate had several uneven areas, particularly around corners. Some of these imperfections were hidden underneath the old wallpaper backing paper and only became apparent while installing the new material.
Ideally, we would identify every problem before starting. However, on real job sites, this is not always possible.
When an issue is discovered during installation, the important thing is to correct it properly instead of rushing to finish the job.
It can be frustrating because making these adjustments takes extra time.
However, these small details can make a noticeable difference in the final appearance.
I have now been working in the wallpaper trade for five years, and I still occasionally overlook hidden irregularities.
That is why I believe careful hands-on inspection and attention to detail remain extremely important, regardless of how much experience you have.
⸻
FAQ
1. What is Juraku-kabe?
Juraku-kabe is a traditional Japanese earthen wall finish known for its natural texture, subdued colors, and connection to Japanese-style interiors.
2. Can wallpaper be installed directly over Juraku plaster?
It depends on the condition of the substrate and the type of wallpaper. Thin wallpaper generally requires more thorough surface preparation, including primer and a skim coat.
3. Can thick embossed wallpaper be installed over Juraku plaster?
In some cases, yes. Thick and heavily embossed wallpaper can hide minor surface irregularities better than thin wallpaper. However, the substrate must still be stable, clean, and properly primed.
4. Why does wallpaper sometimes develop bubbles after installation?
The old wallpaper backing paper underneath may absorb moisture from the new adhesive and temporarily expand. These bubbles can disappear naturally as the material dries.
5. How long do temporary wallpaper bubbles take to disappear?
Drying time depends on temperature, humidity, and the condition of the backing paper. In humid summer conditions, it may take around a week, while dry winter conditions may allow the bubbles to disappear in approximately three days.
6. Should I push out a temporary bubble?
Not necessarily. If the bubble is caused by moisture in the old backing paper, repeatedly smoothing the area may not help. It is often better to allow it to dry naturally.
7. Why is it difficult to wallpaper around window-frame corners?
There may be very little working space, making it difficult to use a smoother or other tools. In some situations, the wallpaper must be carefully trimmed by hand.
8. Why wrap wallpaper around an uneven corner?
Wrapping a continuous piece around an uneven corner can hide irregularities better than making a cut directly at the corner. However, the wallpaper must be kept straight to prevent twisting.
9. How can you find hidden bumps underneath old wallpaper?
Check the surface with your hands and slide a putty knife or similar tool across the wall. Sudden resistance or changes in height can indicate hidden irregularities.
10. How long did this wallpaper replacement project take?
The project took approximately 7 hours with two wallpaper installers.
⸻
Conclusion
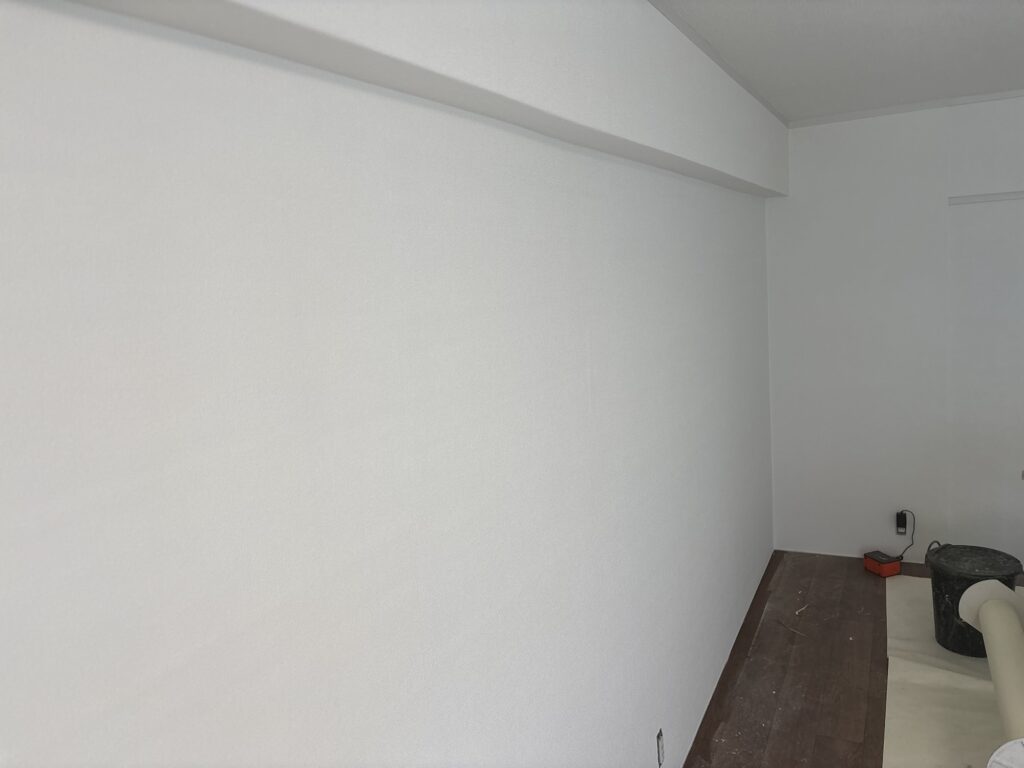
This wallpaper replacement project involved installing new wallpaper on the beams and walls of an older 40 m² Japanese condominium apartment.
The original room had been converted from a traditional Japanese-style room into a Western-style interior, and some areas contained Juraku plaster underneath the wallpaper.
Because we used a thick, embossed wallpaper, extensive skim coating was not necessary. However, several uneven areas and deteriorated corners had to be adjusted during installation.
The biggest lesson from this project was the importance of carefully checking the substrate.
Even after five years in the wallpaper trade, I still occasionally discover hidden imperfections only after installation has started.
When that happens, the best approach is to stop, make the necessary adjustment, and continue carefully.
It may take a little more time, but these small adjustments are what help produce a clean and professional final result.
Want to see more professional renovation projects? Explore my latest articles below.


Comments