
Project Data
Project Type: Apartment Renovation – Flooring Demolition & Subfloor Preparation
Location: Japan
Building: Condominium (4th Floor)
Apartment Size: 70 m² (3LDK)
Work Performed: Flooring Demolition, Adhesive Removal, Underfloor Heating Removal, Plywood Subfloor Installation, Shelf Demolition
Working Time: 2 Days (8 Hours Per Day)
Crew:
- Day 1: 2 Workers (Carpenter + Wallpaper Installer)
- Day 2: 4 Workers (2 Demolition Workers, 1 Carpenter, 1 Wallpaper Installer)
Property Status: Vacant Condominium Renovated for Resale
⸻
Introduction
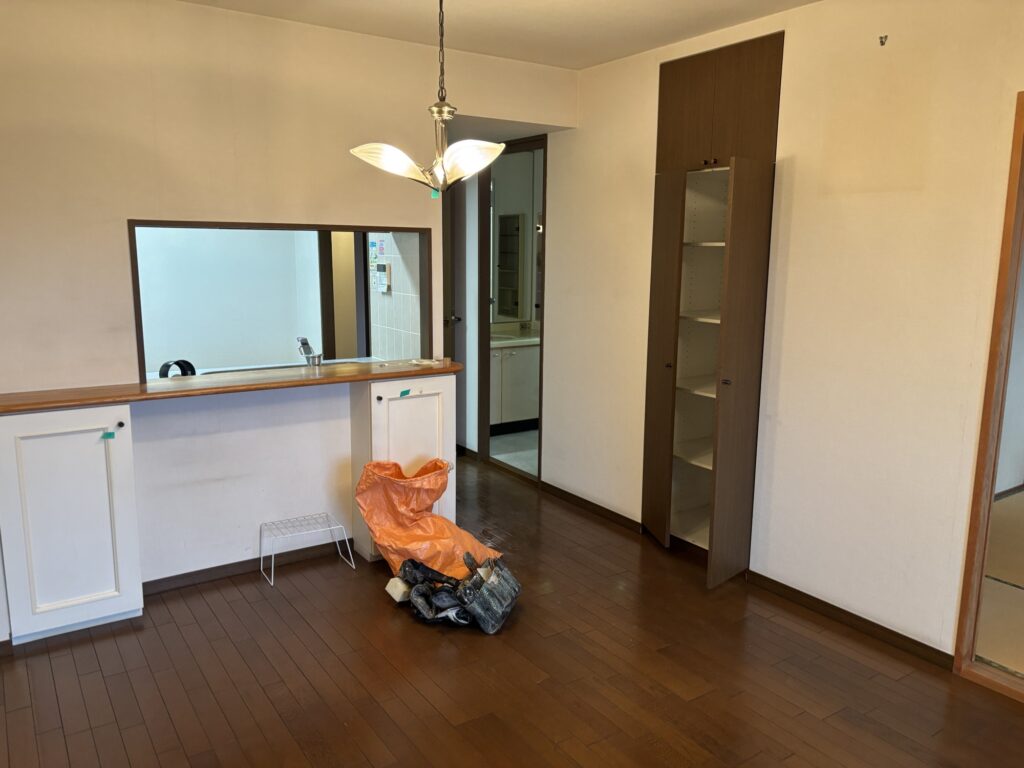
Today’s project took place in a 70-square-meter (3LDK) condominium on the fourth floor of an apartment building in Japan.
The owner had purchased the property, renovated it, and planned to sell it after completion.
Our primary task was demolition. The existing flooring needed to be removed before installing new flooring.
I worked alongside a carpenter I frequently collaborate with, making this another great opportunity to learn from an experienced professional while helping with the renovation.
Although demolition is often overlooked, it is one of the most important stages of a remodeling project. Proper preparation creates the foundation for a high-quality finish.
⸻
Project Report
Day 1 – Removing the Existing Flooring
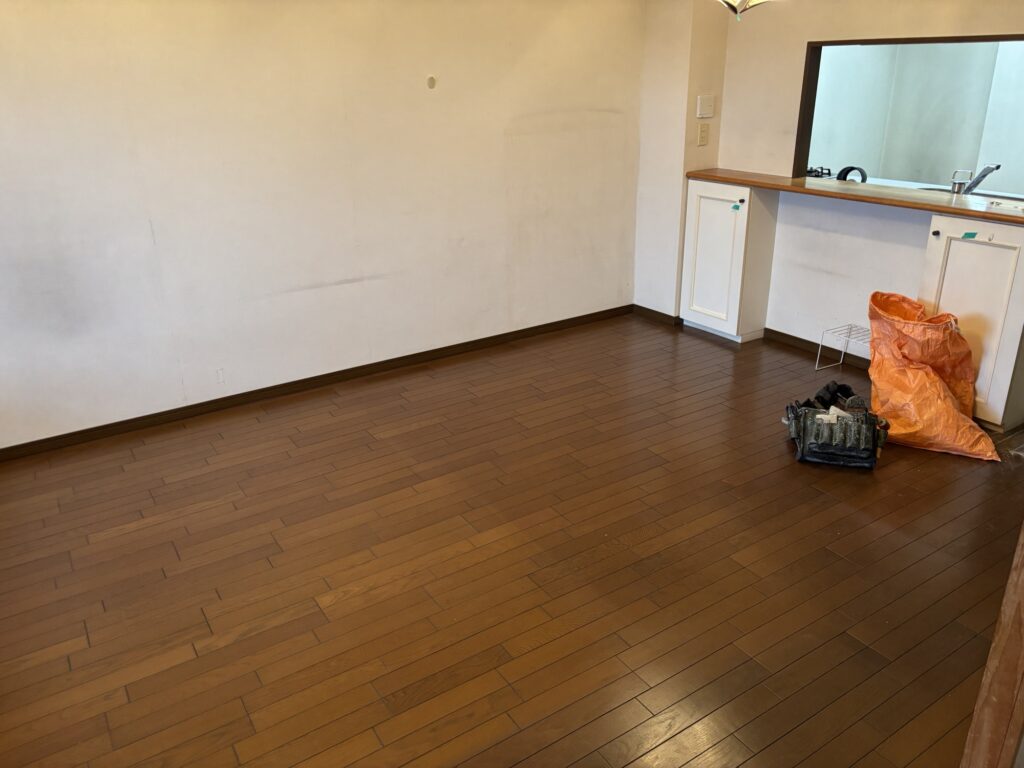
We began by removing the old flooring using pry bars.
Safety always comes first during demolition. I wore work gloves to protect my hands from sharp materials and splinters, and a dust mask because demolition creates a significant amount of dust.
Instead of relying on brute strength, it’s much more efficient to use the leverage provided by a pry bar.
Trying to force the flooring up only wastes energy and makes the work far more exhausting.
From my experience, demolition is the most physically demanding part of any remodeling project.
⸻
Removing the Old Cushion Backing
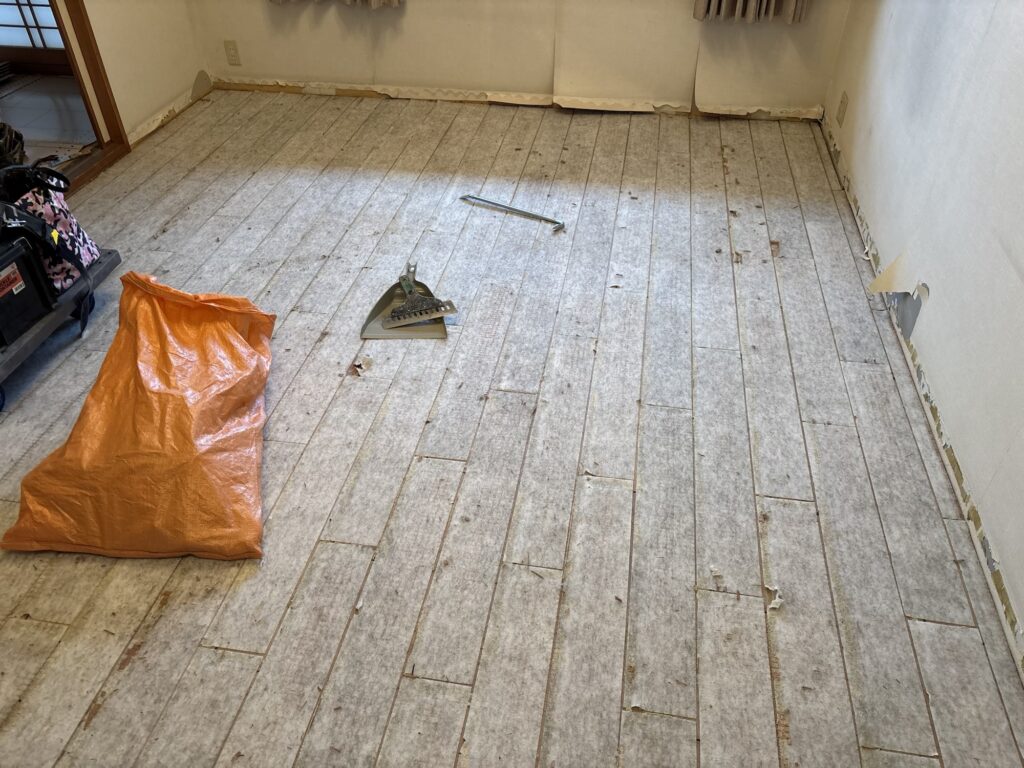
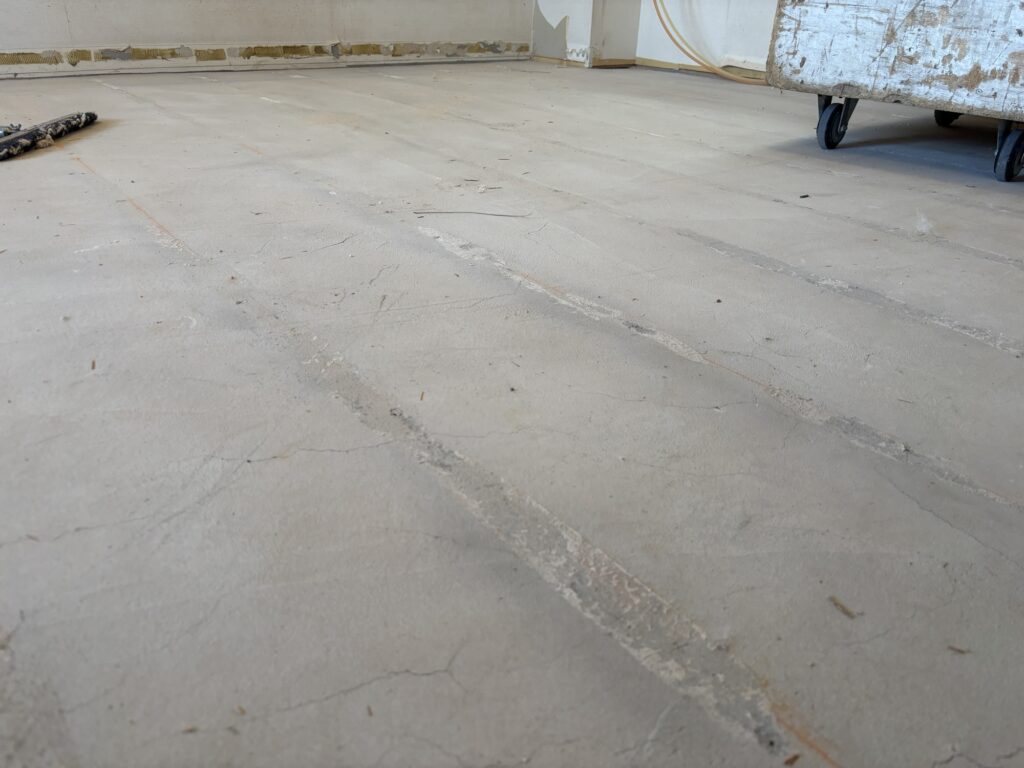
After the flooring was removed, a white cushion backing remained attached to the subfloor.
This material also had to be completely removed using a power sander.
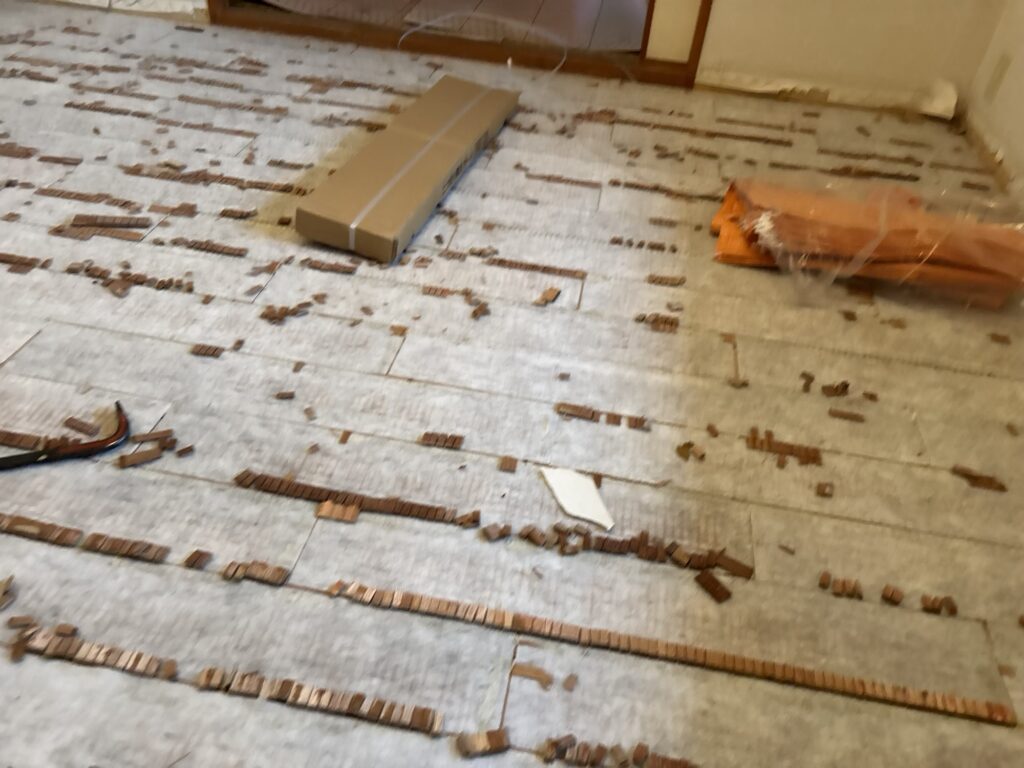
If this layer is left behind, the adhesive used for the new flooring cannot bond properly, increasing the risk of future installation problems.
Unfortunately, removing the old cushion backing required a tremendous amount of effort and quickly became one of the hardest parts of the job.
⸻
Switching from a Cordless to a Corded Sander
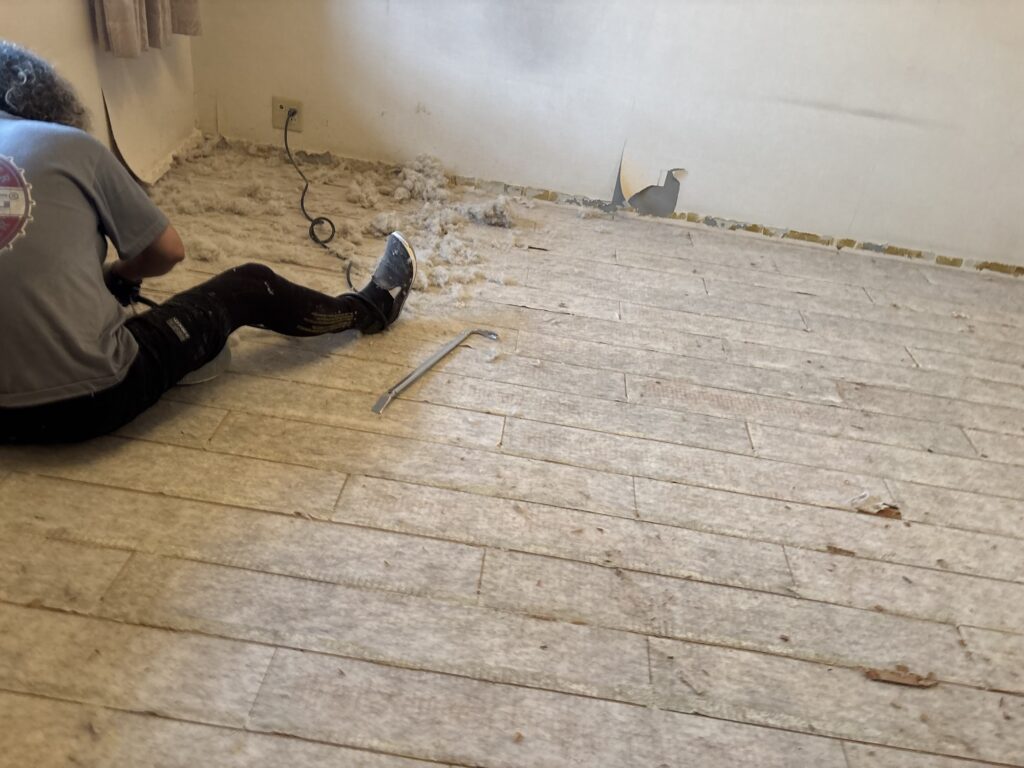
At first, I used a cordless battery-powered sander.
However, the batteries drained so quickly that they couldn’t keep up with the pace of the work.
To improve efficiency, I switched to a corded electric sander.
The corded model significantly increased productivity, but after about five minutes of continuous use, it became noticeably hot.
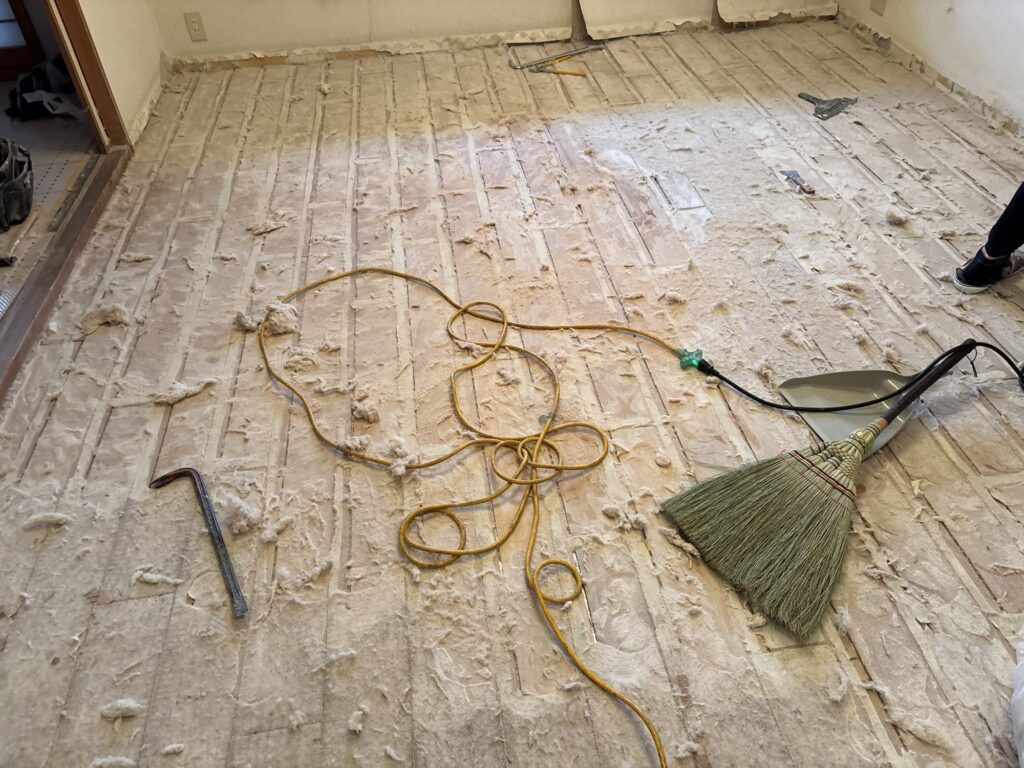
Although I wanted to finish the job as quickly as possible, I turned the tool off and allowed it to cool down.
Continuing to use an overheated power tool can shorten its lifespan or even damage the motor.
Just as workers need breaks, power tools need them too.
My boss often reminds us to respect and take care of our tools.
Producing clean, professional work starts with maintaining clean and reliable equipment.
It’s a simple lesson, but one that’s easy to forget.
⸻
An Unusual Subfloor
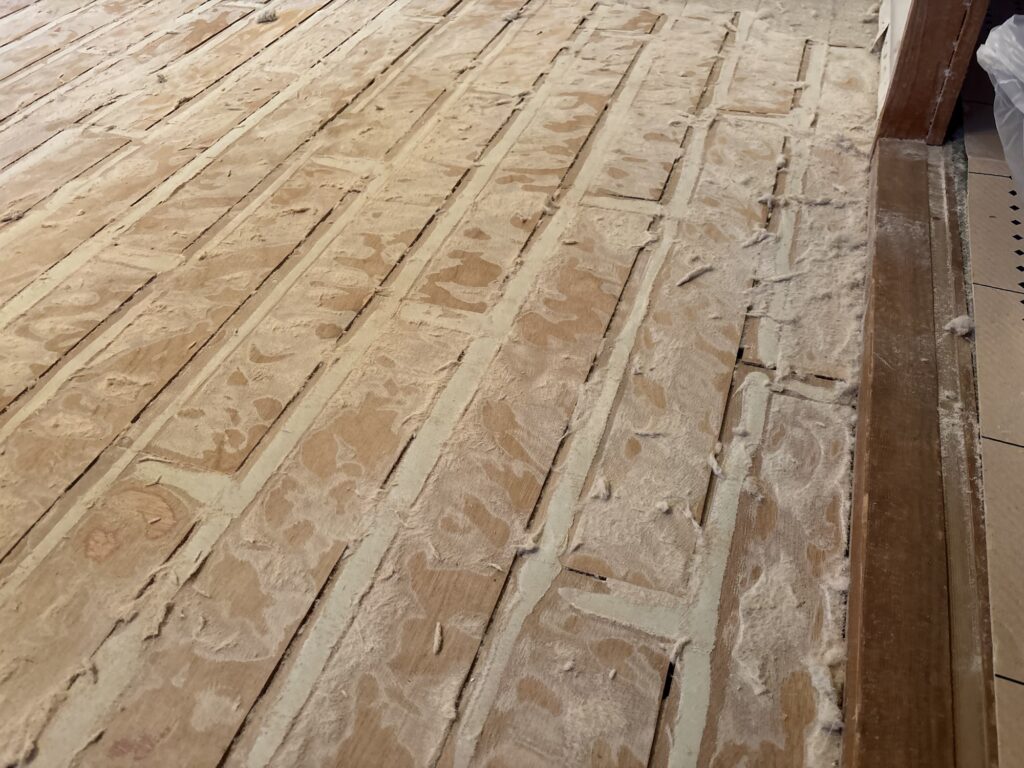
Once the flooring had been removed, we discovered something unexpected.
Instead of the typical plywood subfloor, narrow wooden boards approximately 5 mm thick had been installed in a pattern similar to flooring planks.
Normally, Japanese subfloors are built using plywood sheets measuring approximately 1,800 mm × 900 mm.
Curious about the unusual construction, I asked the carpenter why it had been built this way.
He explained that an underfloor heating system had originally been installed beneath the floor.
The narrow boards were likely spaced apart to allow heat to transfer more efficiently through the finished flooring.
⸻
An Unexpected Challenge
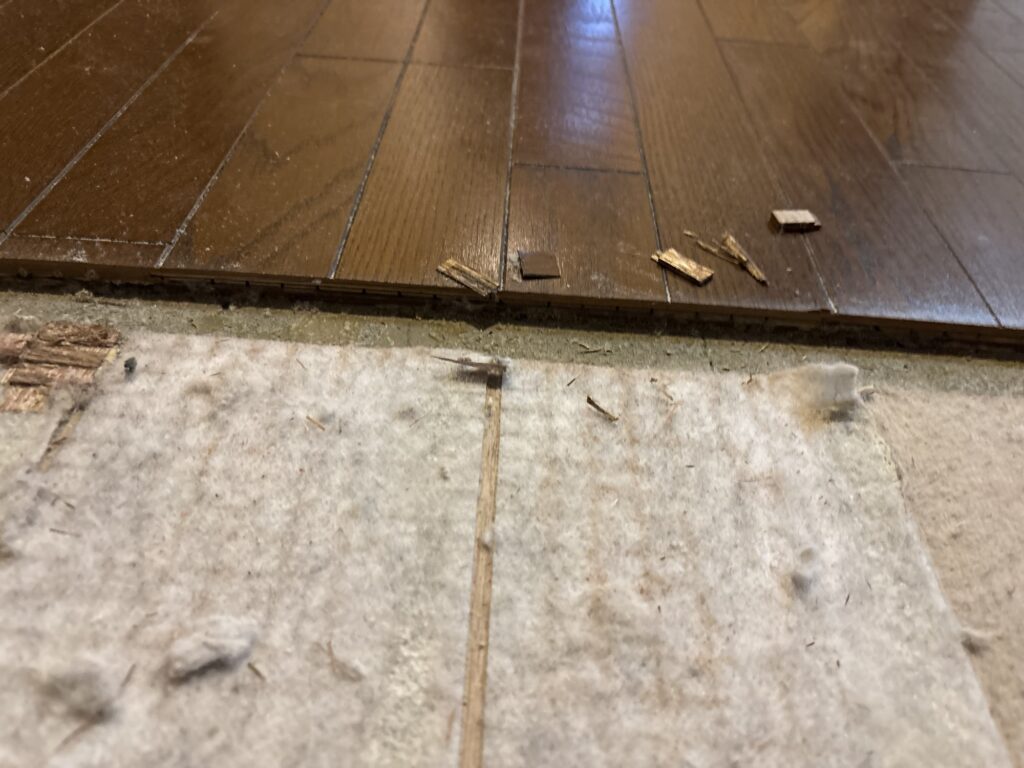
While inspecting the floor, we discovered another problem.
The center of the living room was approximately 12 mm lower because it originally housed the underfloor heating system.
However, the area near the kitchen entrance, which connects to the hallway, had no heating equipment beneath it, resulting in a difference in floor height.
Technically, the new flooring could still have been installed.
However, our goal was to create a perfectly level floor throughout the apartment.
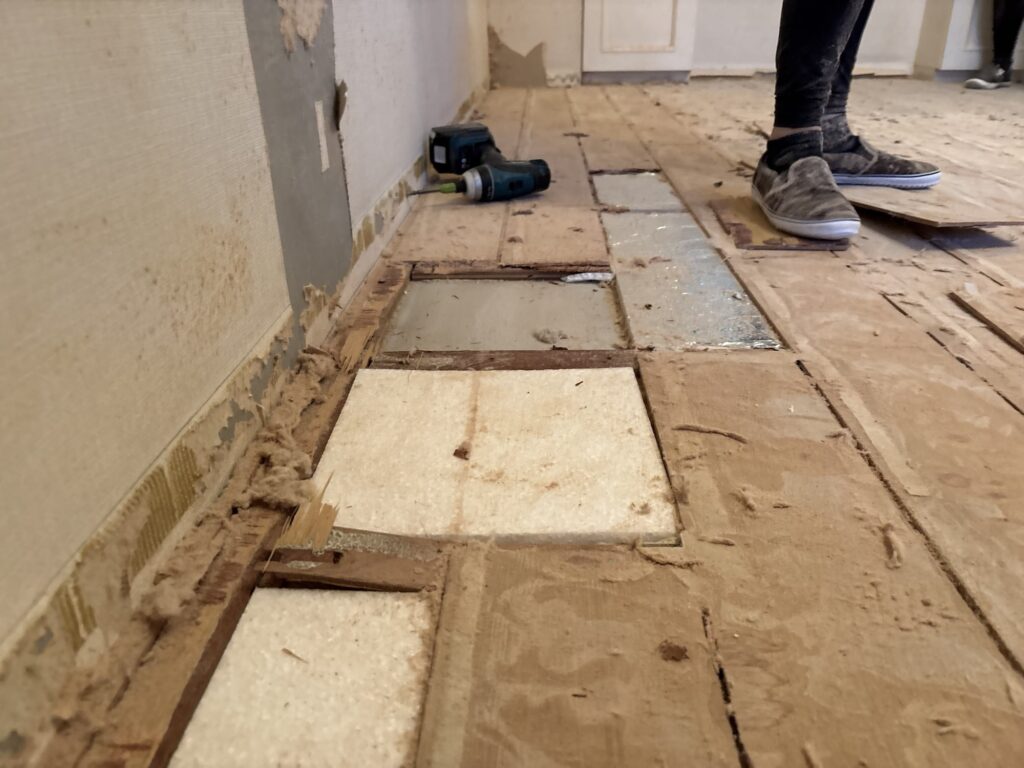
The decision was made to remove the old heating system completely and replace it with 12 mm plywood, creating one continuous flat surface.
After cleaning the site, we finished the first day’s work.
Working Time: 8 Hours
⸻
Day 2 – Cleaning and Preparing the Floor
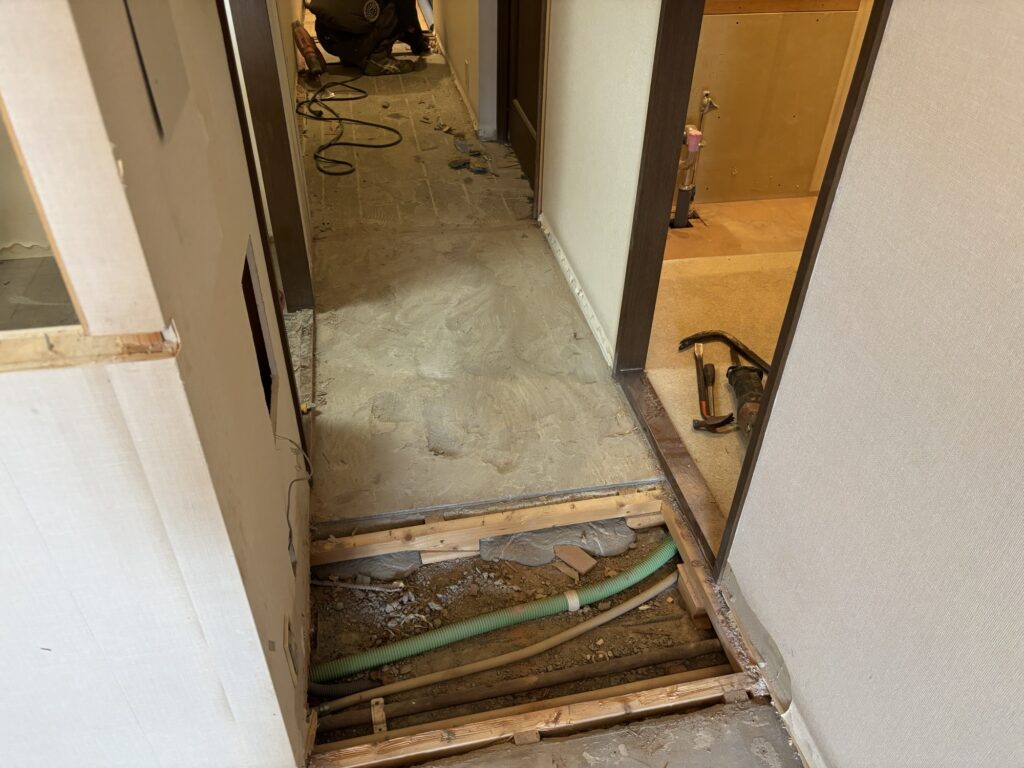
On the second day, two demolition workers arrived to remove the remaining wooden subfloor and flooring in the other rooms.
Including the carpenter and myself, our crew consisted of four workers.
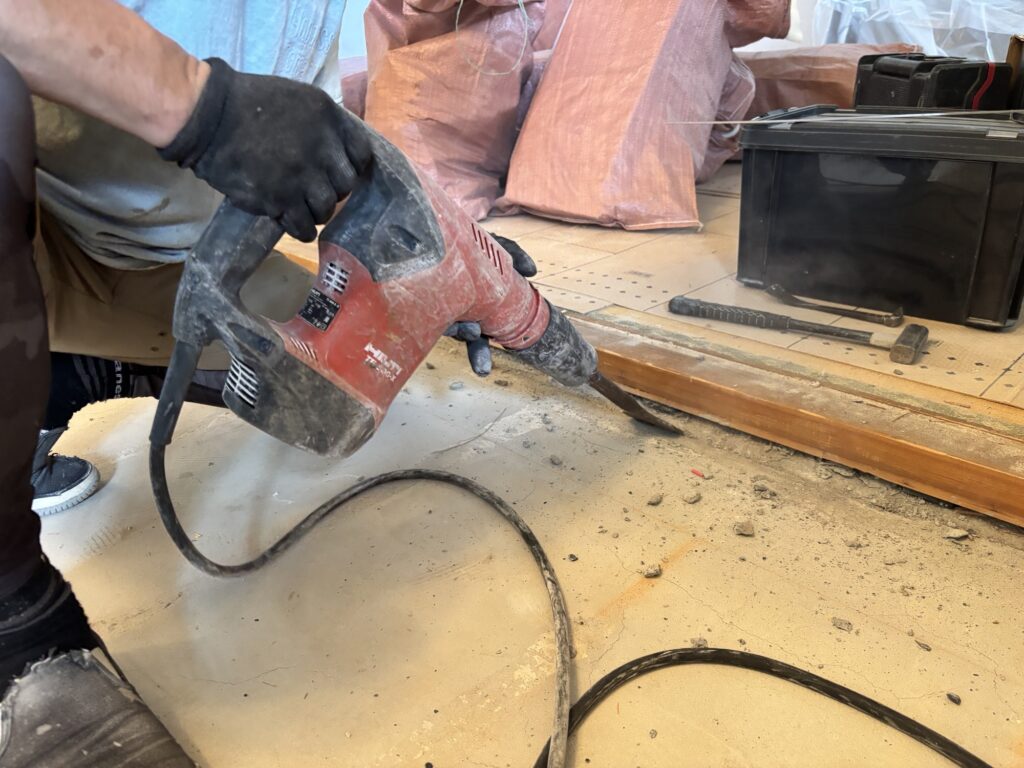
While they continued demolition, I removed the small pieces of mortar remaining around the edges of the living room.
These small details matter.
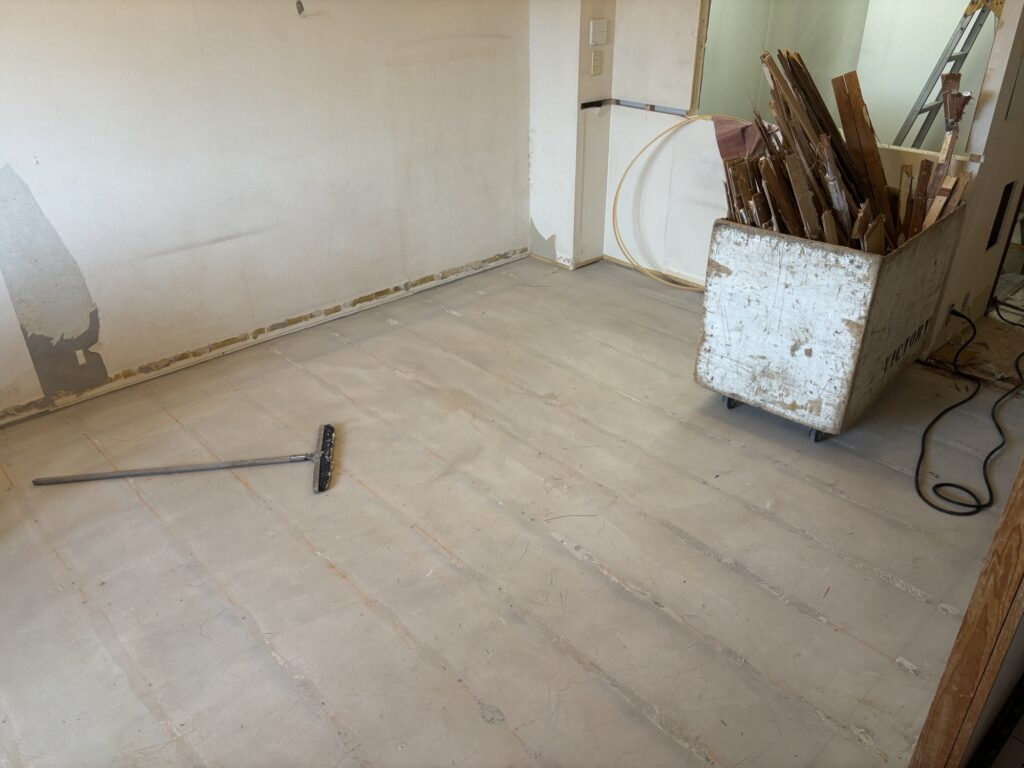
If leftover mortar isn’t removed, it will interfere with the plywood installation and create unnecessary problems later.
⸻
Installing the New Plywood Subfloor
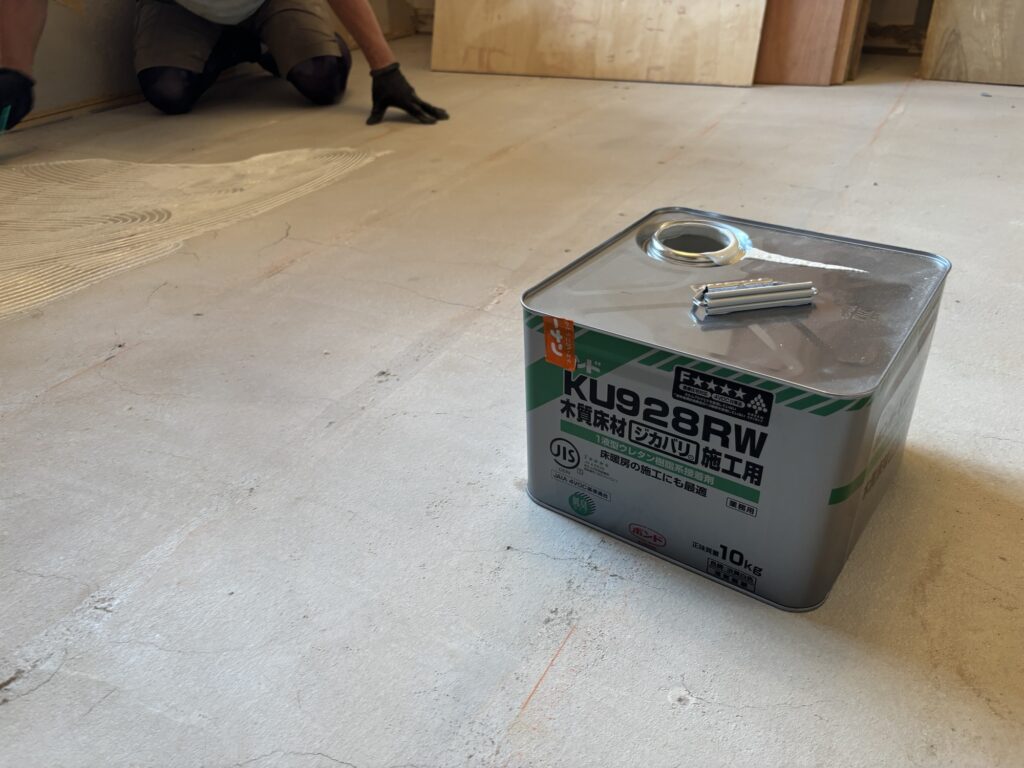
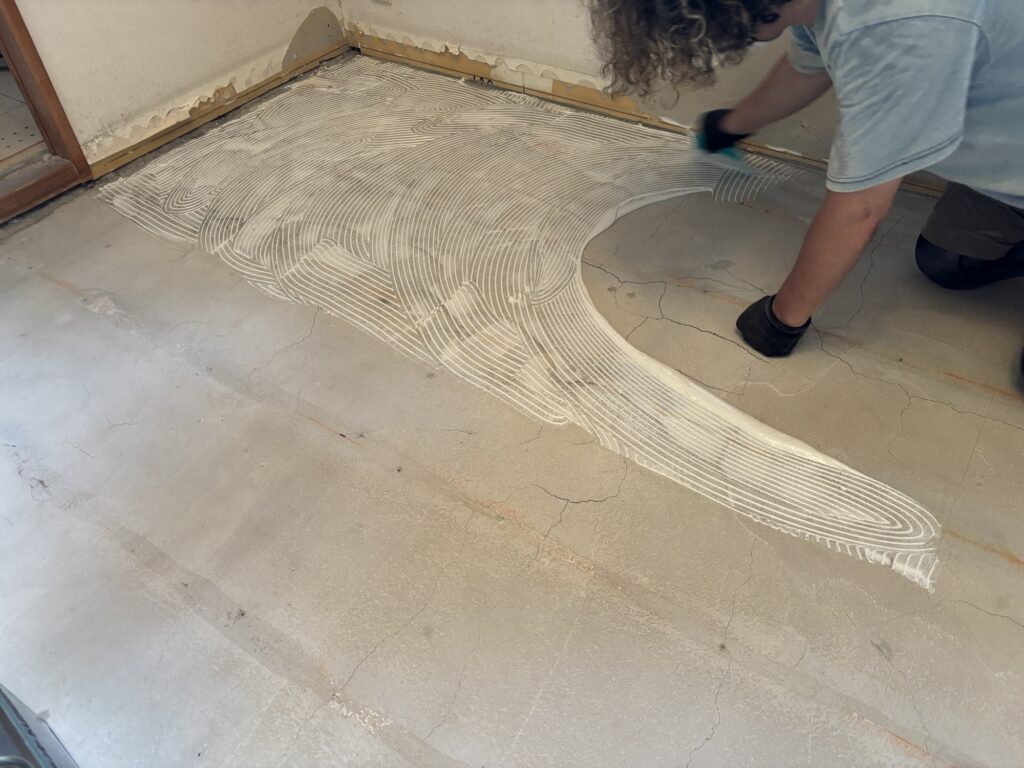
Once the living room was cleaned, we began installing the new subfloor.
We prepared ten sheets of 12 mm plywood and secured them using construction adhesive and 25 mm concrete nails.
Driving nails into concrete is much more difficult than fastening them into wood.
As fatigue builds, it’s easy for nails to bend or enter at an angle.
If that happens, the bent nail should either be removed or driven completely below the surface before installing another one.
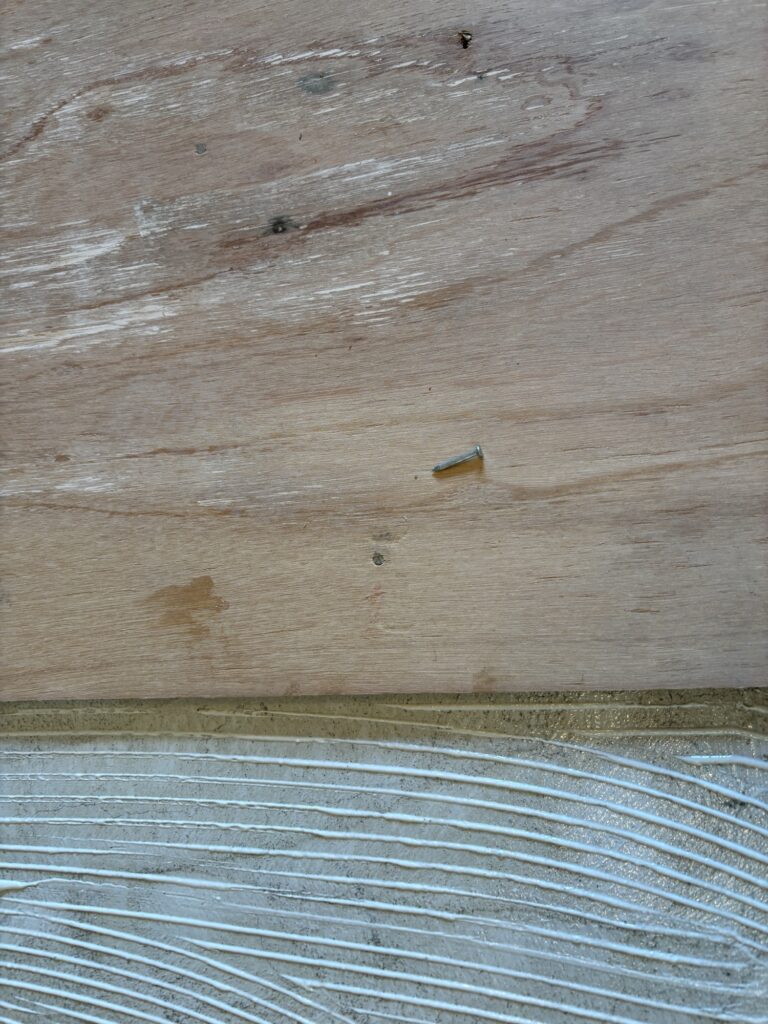
Leaving nail heads exposed will prevent the finished flooring from lying perfectly flat.
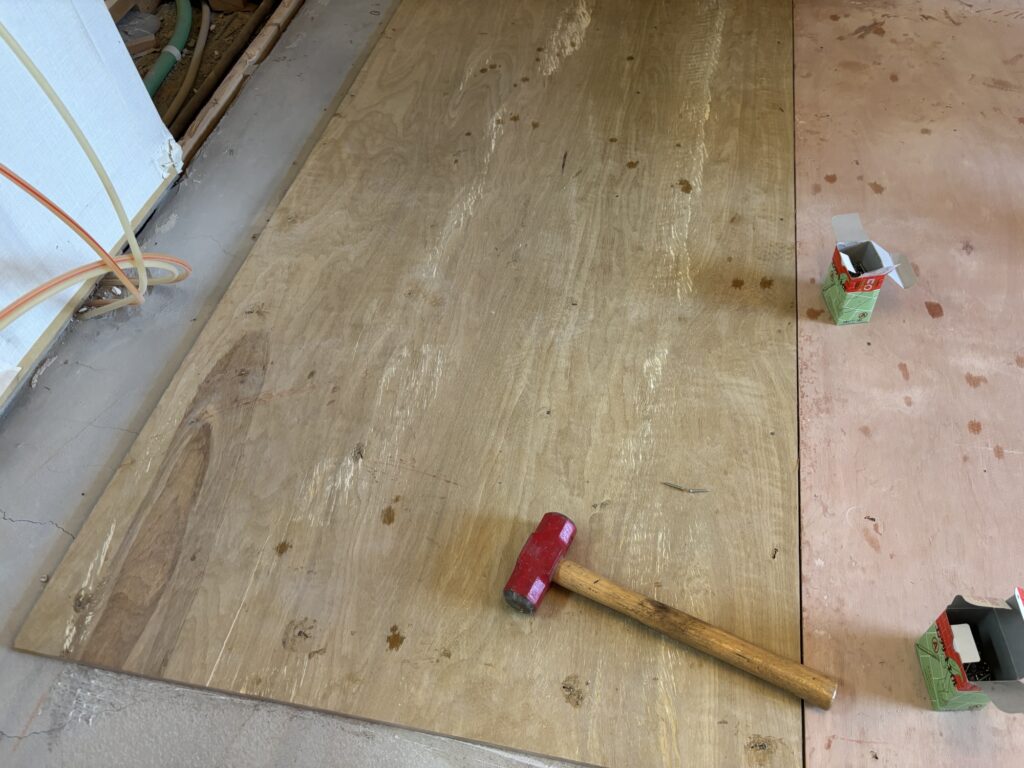
We also left approximately 1 mm gaps between each plywood sheet.
These expansion gaps help prevent squeaking by allowing the materials to expand and contract naturally.
⸻
Learning from an Experienced Carpenter
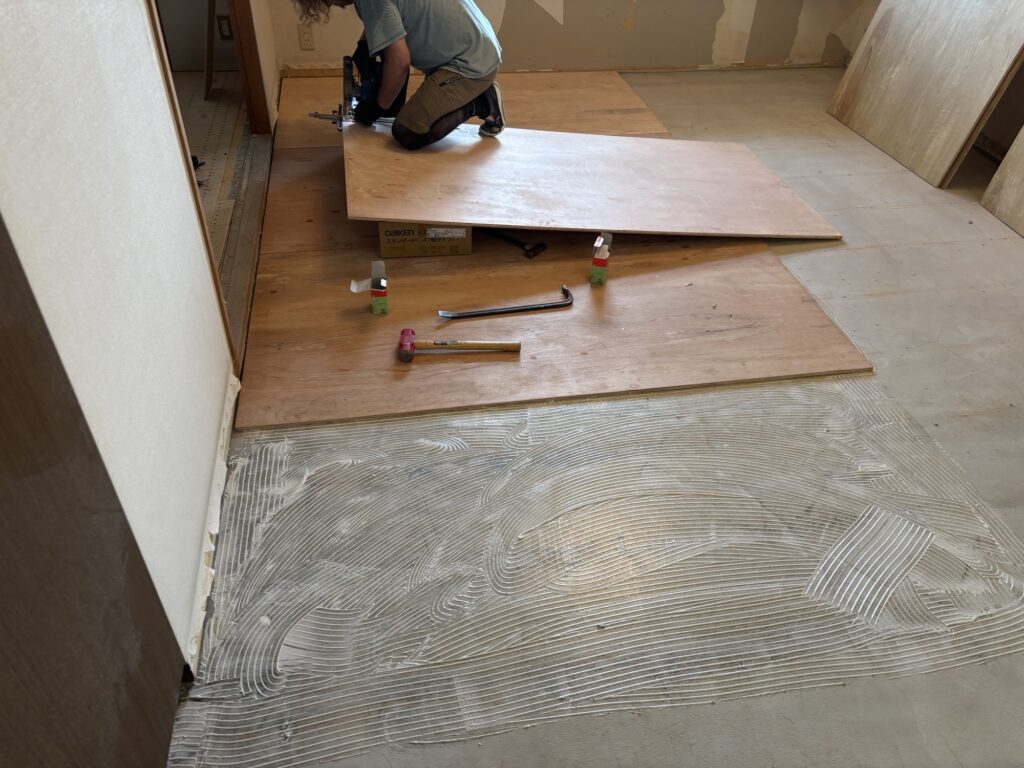
Whenever plywood needed trimming, the carpenter used a circular saw.
With more than 30 years of carpentry experience, his cuts were fast, accurate, and impressive to watch.
One of the advantages of working as a wallpaper installer is having opportunities to work alongside carpenters, electricians, plumbers, and other skilled tradespeople.
Whenever possible, I ask questions, observe their techniques, and help with their work.
The knowledge I gain from these experiences has become incredibly valuable during my own home renovation projects.
⸻
Removing the Large Storage Shelf
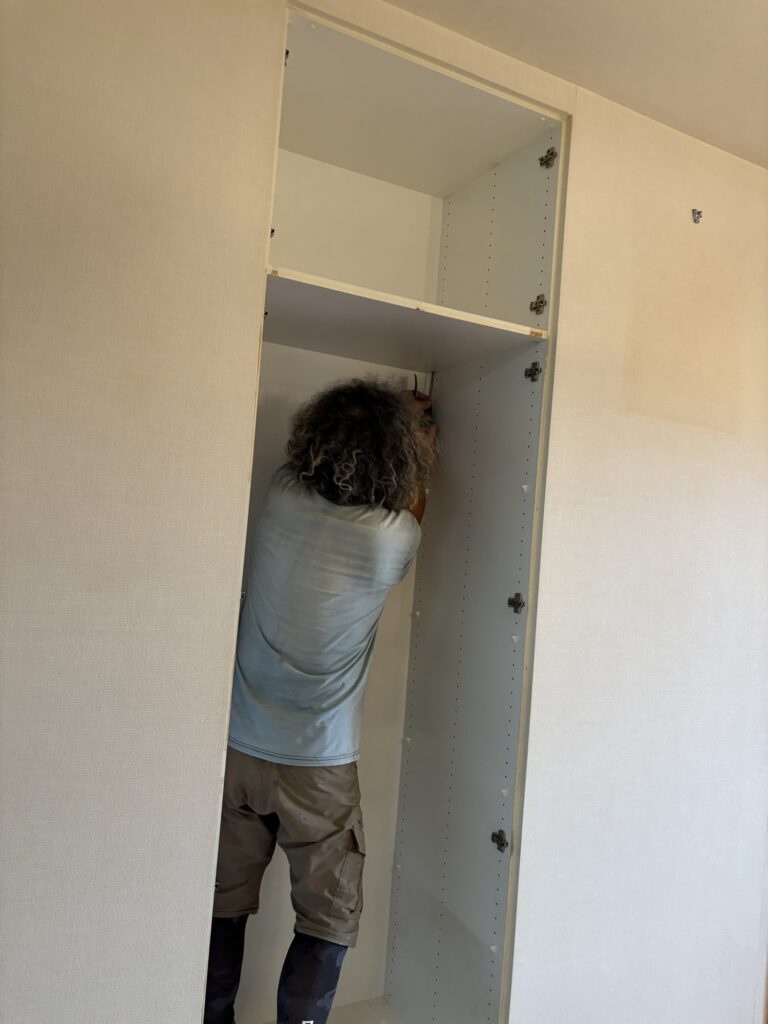
After completing most of the plywood installation in the living room, we dismantled a large built-in storage shelf.
We first removed the screws before taking the shelf apart using hammers and pry bars.
Because of its size and weight, two people were needed to remove it safely.
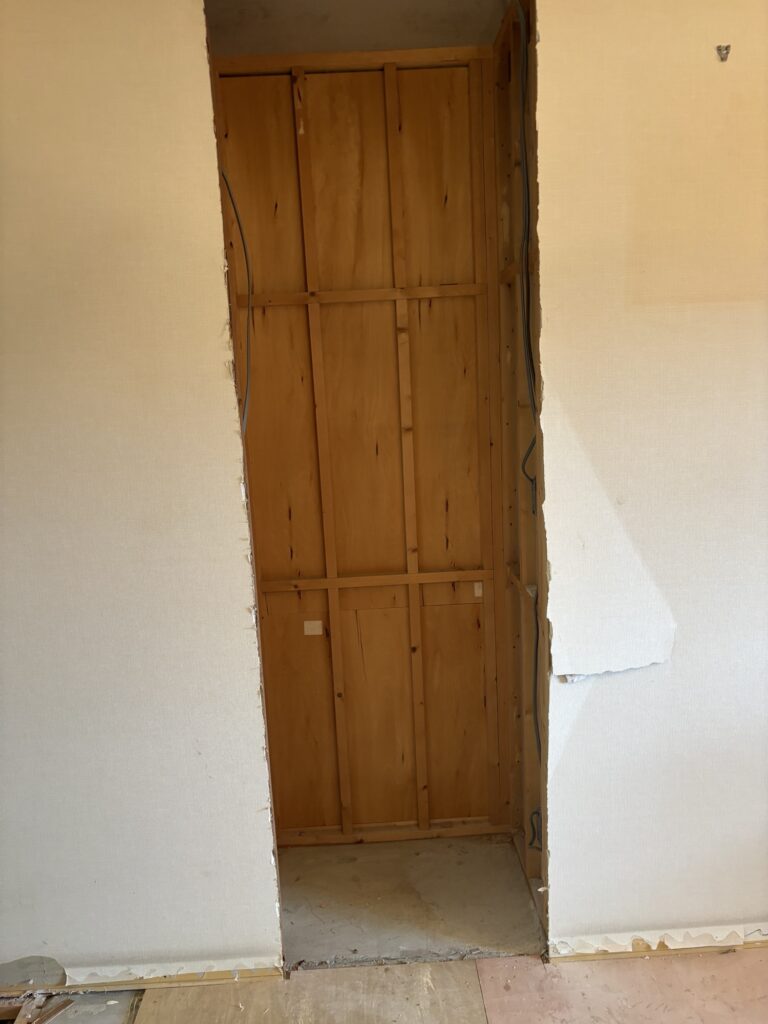
After cleaning the entire work area, we completed another productive day on the renovation.
Working Time: 8 Hours
⸻
Tools Used
- Pry Bar
- Hammer
- Work Gloves
- Dust Mask
- Cordless Orbital Sander
- Corded Orbital Sander
- Circular Saw
- Construction Adhesive
- 25 mm Concrete Nails
- Tape Measure
- Utility Knife
- Vacuum Cleaner
- Safety Glasses
⸻
Professional Tips
- Always wear gloves and a dust mask during demolition.
- Use leverage instead of excessive force when removing flooring.
- Completely remove old adhesive before installing new flooring.
- Allow power tools to cool during heavy use.
- Check floor levels before installing new materials.
- Leave approximately 1 mm expansion gaps between plywood sheets.
- Make sure all nail heads are below the surface.
- Learn from experienced tradespeople whenever you have the opportunity.
⸻
Common Mistakes to Avoid
- Installing flooring over old adhesive residue.
- Ignoring differences in floor height.
- Running power tools continuously until they overheat.
- Leaving mortar behind before installing plywood.
- Driving concrete nails at an angle.
- Leaving nail heads exposed.
- Installing plywood without expansion gaps.
- Rushing demolition instead of working carefully.
⸻
What I Learned From This Project
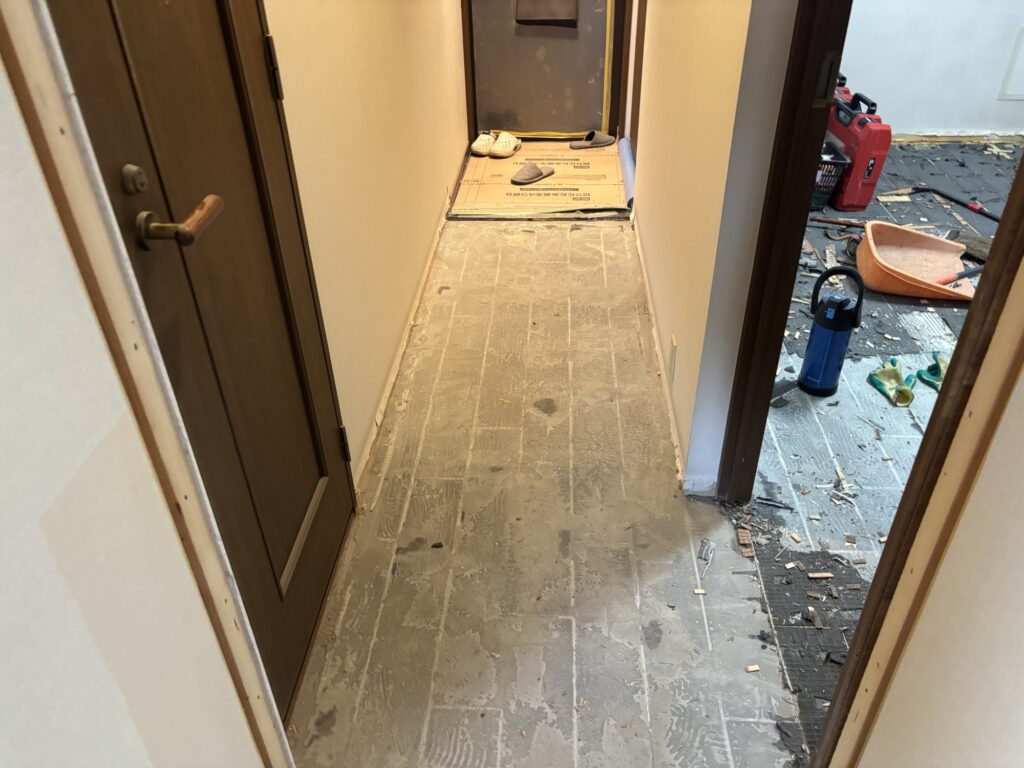
This project reminded me that demolition often requires far more time and physical effort than installing new materials.
Unexpected discoveries, such as hidden underfloor heating systems, can completely change the renovation plan.
It also reinforced the importance of taking care of both your body and your tools. Just as workers need time to rest, power tools also need breaks to prevent overheating and unnecessary damage.
Perhaps the biggest lesson was the value of learning from experienced professionals.
Every project provides an opportunity to improve, and those lessons continue to help me both on the job and in my own home renovation work.
⸻
FAQ
1. Why remove the old cushion backing before installing new flooring?
Old adhesive and cushion backing reduce the bonding strength of new flooring adhesive, which can lead to installation failure.
2. Why did the floor have different heights?
The living room originally contained an underfloor heating system, making that section approximately 12 mm lower than the surrounding areas.
3. Why replace the heating system with plywood?
Removing the old heating system allowed us to create a perfectly flat floor using 12 mm plywood before installing the new flooring.
4. Why use both cordless and corded sanders?
The cordless sander was convenient, but the batteries drained too quickly. The corded sander provided continuous power for heavy-duty work.
5. Why should power tools be allowed to cool?
Overheating can shorten the lifespan of the motor and increase the risk of tool failure.
6. Why leave a 1 mm gap between plywood sheets?
The small gap allows the wood to expand and contract naturally, helping reduce the chance of squeaking.
7. Is demolition harder than installing new flooring?
From my experience, demolition is the most physically demanding stage of a remodeling project, while installation requires greater precision and craftsmanship.
8. Why are concrete nails more difficult to install?
Concrete is much harder than wood, requiring more force and greater accuracy when driving nails.
9. Why is it important to remove leftover mortar?
Even small pieces of mortar can prevent plywood from sitting flat, leading to installation problems later.
10. What is the biggest lesson from this project?
Careful preparation is the foundation of every successful renovation. A quality finish begins long before new materials are installed.
⸻
Conclusion
Although this project focused primarily on demolition and subfloor preparation, these stages are among the most important parts of any flooring renovation.
From removing stubborn flooring materials and discovering an old underfloor heating system to installing a new plywood subfloor, every step required patience, careful planning, and attention to detail.
Successful remodeling isn’t just about installing new materials—it’s about preparing the surface correctly, maintaining your tools, and learning something new from every project.
Those principles help produce better results on every renovation.
Want to see more professional renovation projects? Explore my latest articles below.
Replacing Water-Damaged Drywall and Rebuilding a Laundry Area Before Wallpaper Installation


Comments