
Project Data
- Project Type: Cushion Flooring Replacement
- Location: Japan
- Building Type: Condominium Apartment
- Floor: 4th Floor
- Areas: Toilet and Washroom
- Floor Area: Approximately 8 m²
- Cause of Damage: Water Leakage
- Condition: Occupied Home
- Crew: 2 Workers
- Working Time: Approximately 3 Hours
- Flooring: Cushion Flooring
- Installation Method: One-Piece Installation with No Seams
Related Project
Toilet Renovation: Replacing the Toilet, Wallpaper, and Vinyl Flooring in a Small Apartment Bathroom
Introduction
Today, I worked on a cushion flooring replacement project in a toilet and washroom on the fourth floor of a condominium apartment.
The combined floor area of the two spaces was approximately 8 m².
The apartment was occupied during the work, so we had to work carefully while keeping the workspace as clean and organized as possible.
The original floor had been damaged by water leakage, and the plywood subfloor had already been replaced before we started the flooring installation.
Since the new plywood was already installed, our main job was to prepare the surface properly and install the new cushion flooring.
Because the toilet and washroom were relatively small, we were able to complete the entire job in approximately three hours with two workers.
Work Flow – Site Report
1. Preparing the Plywood Subfloor
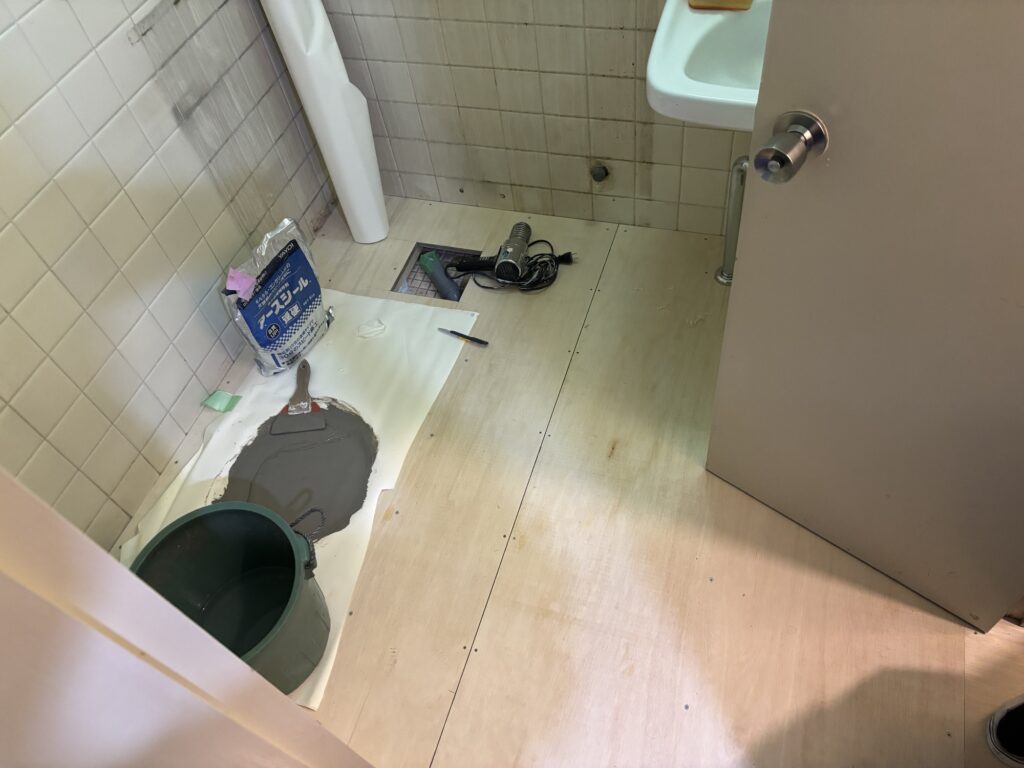
The plywood subfloor had already been replaced due to the previous water damage.
The joints between the plywood sheets were not very deep, so one application of joint compound was enough to level them.
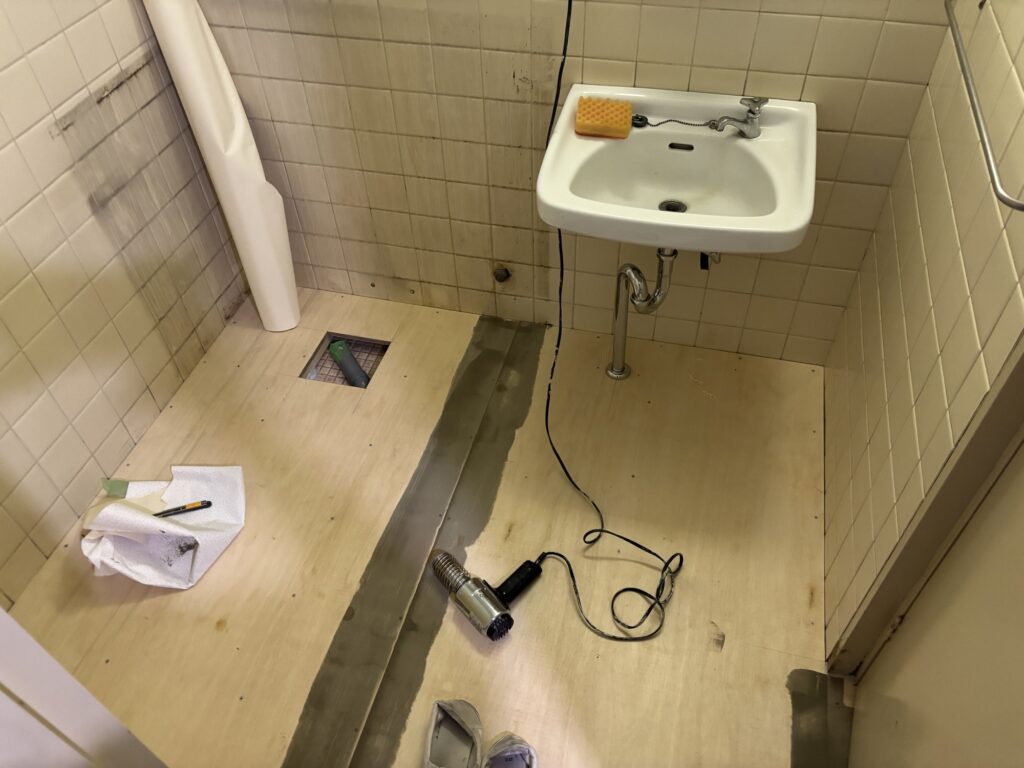
After applying the compound, we dried the surface thoroughly using a heat gun.
It is important to make sure the compound is completely dry before sanding. If the surface is still damp, sanding can be difficult and the finished surface may not become completely smooth.
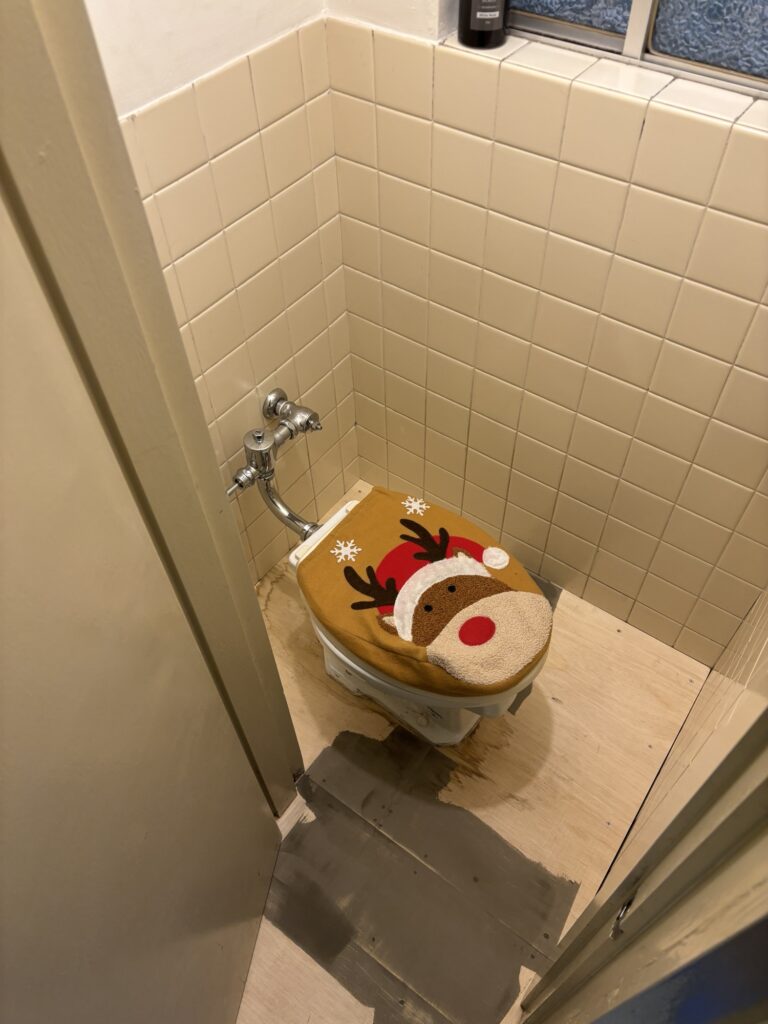
Once the compound was dry, we used a sander to carefully remove any uneven areas.
Even a small difference in height can become visible through the cushion flooring after installation, especially when using relatively thin flooring material.
For this reason, I always take time to make the subfloor as smooth and flat as possible.
2. Applying Adhesive
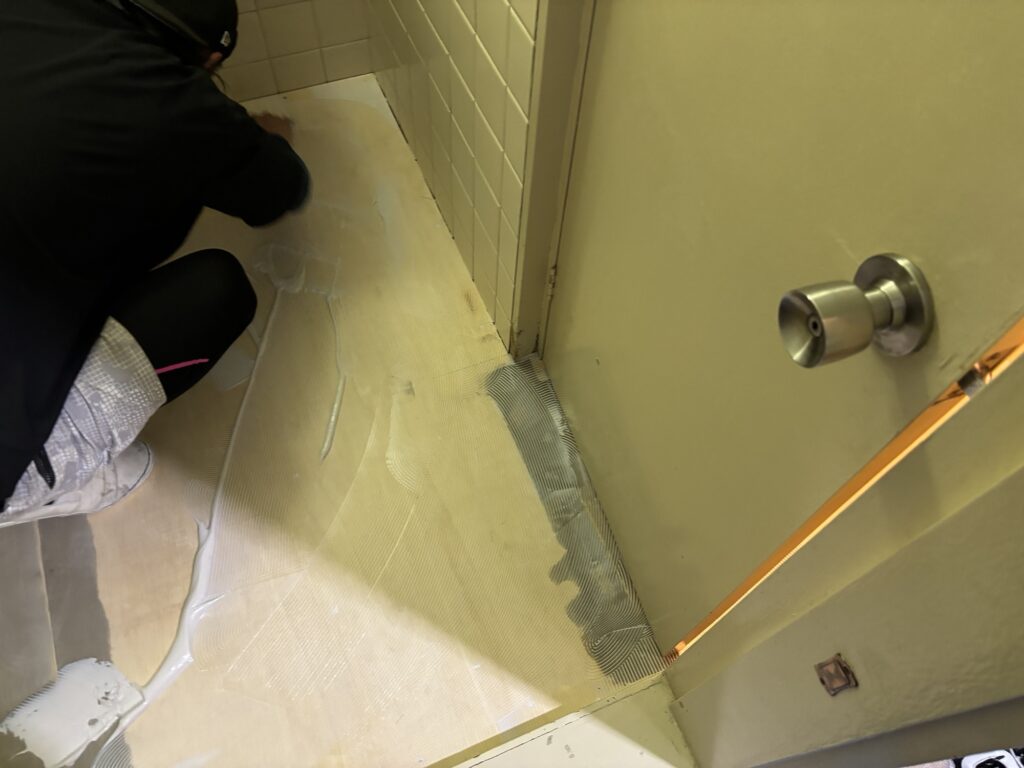
After preparing the subfloor, we applied adhesive across the entire floor.
The corners where the floor meets the walls, especially the inside corners, need particular attention.
If there is not enough adhesive in these areas, the cushion flooring can eventually lift or feel loose underfoot.
I make sure to spread the adhesive evenly across the entire surface, including the inside corners.
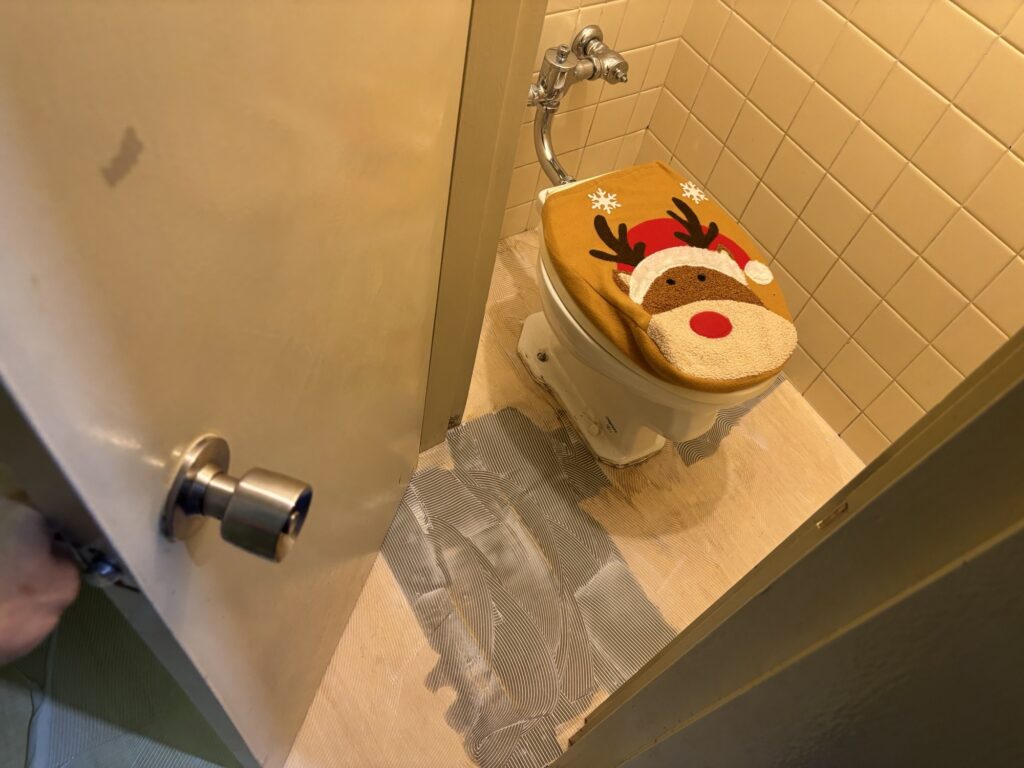
When applying adhesive, I also keep the trowel at the proper angle.
Holding the trowel properly helps distribute the adhesive evenly and prevents excessive adhesive from accumulating in one area.
If the trowel is held too flat, too much adhesive can remain on the floor.
With thin cushion flooring, these areas of excess adhesive can sometimes show through the finished surface and create visible bumps or uneven areas.
3. Cutting the Cushion Flooring
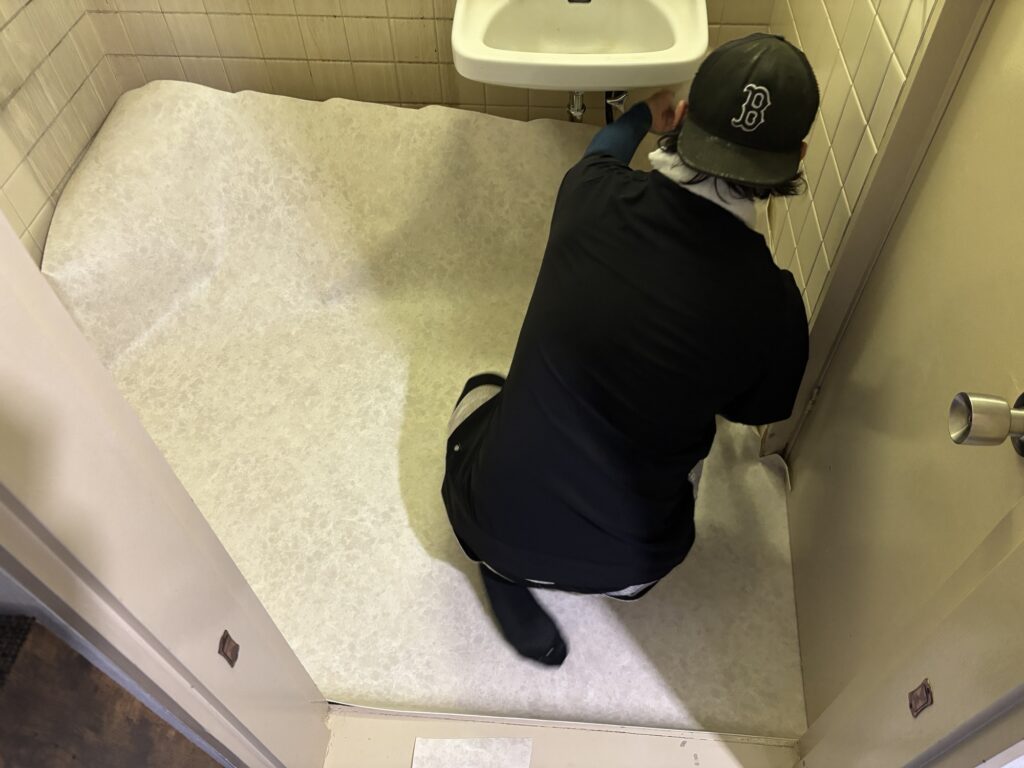
For this installation, we decided to install the cushion flooring as one continuous piece without any seams.
The piece was cut to approximately 230 cm long × 150 cm wide before installation.
Because the toilet door could not be removed, we had to work around it.
The screws holding the door in place were seized and could not be removed, so we decided to install the flooring without taking the door off.
The workspace was also quite limited.
Instead of laying the entire sheet flat, I folded the cushion flooring into three sections and positioned it so that it could be installed in a straight line.
Trying to position a large sheet while it is completely unfolded can be difficult in a small room because it can hit the walls or door.
Folding the material to a manageable size makes it easier to control and position accurately.
4. Cutting Around the Toilet and Door Frame
We gradually made small relief cuts around the toilet and door frame as we installed the flooring.
These cuts are important because they allow the material to move and fit around corners without creating excessive tension.
If you try to force the cushion flooring into a tight corner without making relief cuts, too much pressure can build up in the material.
This can eventually cause tearing or damage to the flooring.
After positioning the flooring, we used a flooring smoother to push out air bubbles.
We started from the center and worked outward toward the edges.
This helps the flooring adhere smoothly to the adhesive without leaving trapped air underneath.
5. Carefully Trimming the Edges
This project did not require baseboards, so the edge cuts had to be particularly precise.
There was no room to hide an oversized gap.
Instead of trying to make the final cut in one pass, I trimmed the material gradually while pressing a flooring spatula against the edge.
I usually make the cut in two to four stages.
The final cut is mainly for fine adjustment, sometimes removing only about 1 mm at a time.
If the flooring is left even slightly too long, it can create wrinkles or cause the material to buckle.
For that reason, I always press the spatula firmly against the edge and carefully check the length before making the final cut.
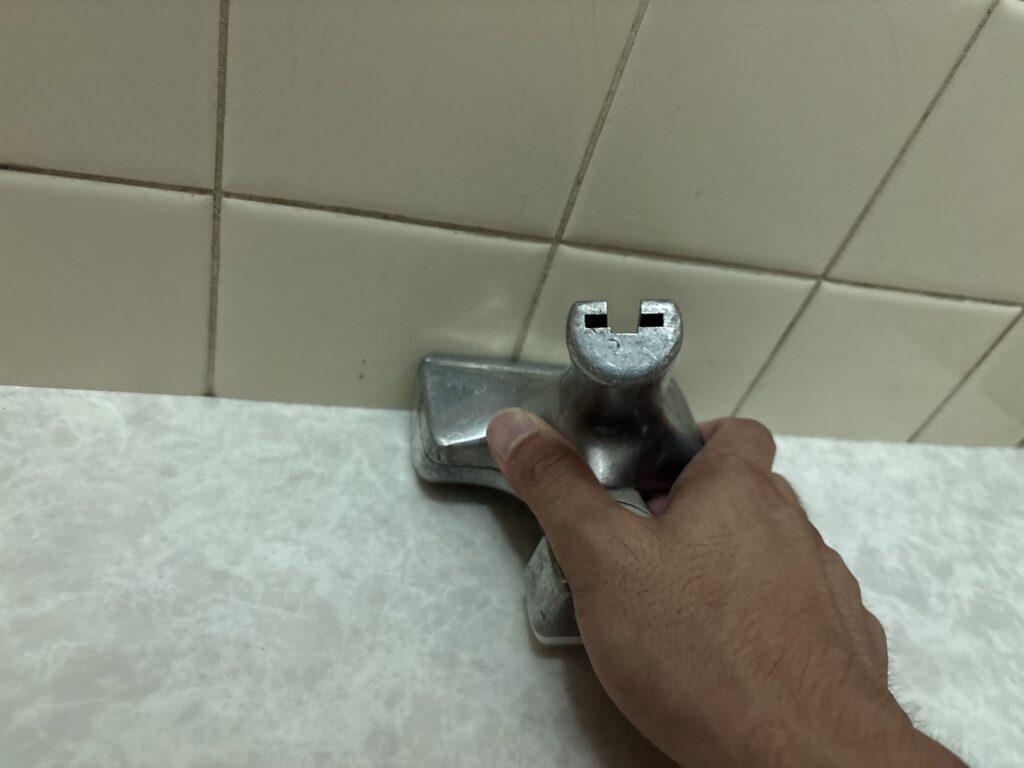
For straight sections, I first use a corner cutter to remove the excess material.
I then make the final adjustments using a spatula and utility knife.
6. Final Cleaning and Completion
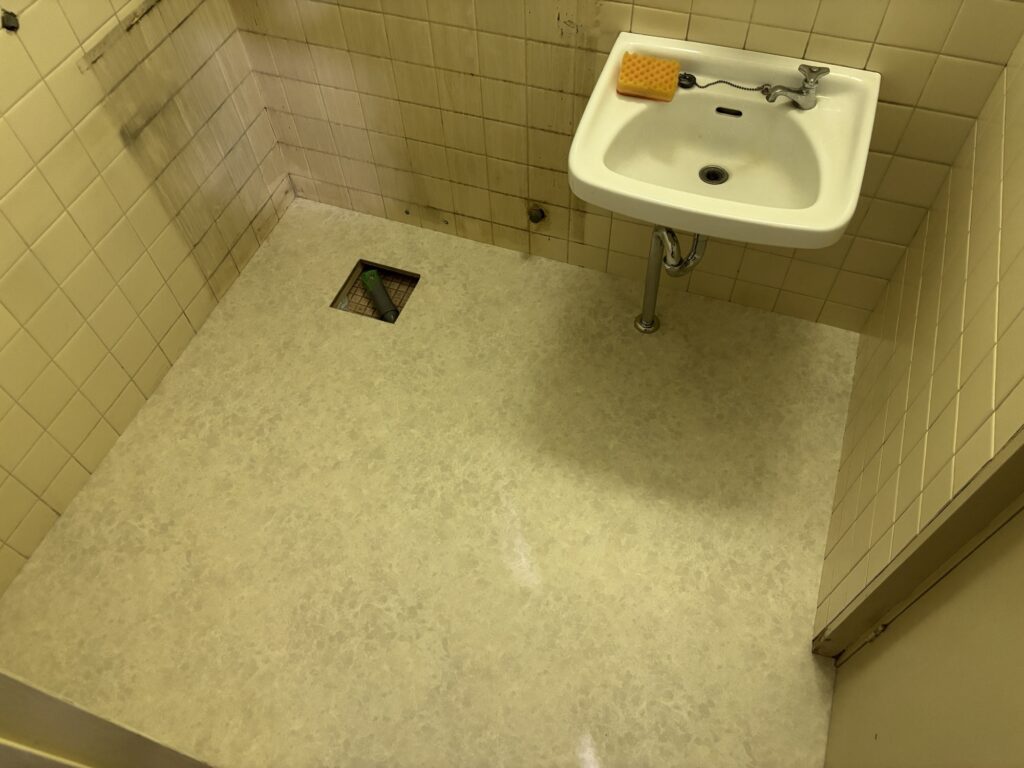
After all of the cutting and installation work was completed, we cleaned the work area and removed the remaining materials and debris.
Once everything was cleaned up, the cushion flooring installation was complete.
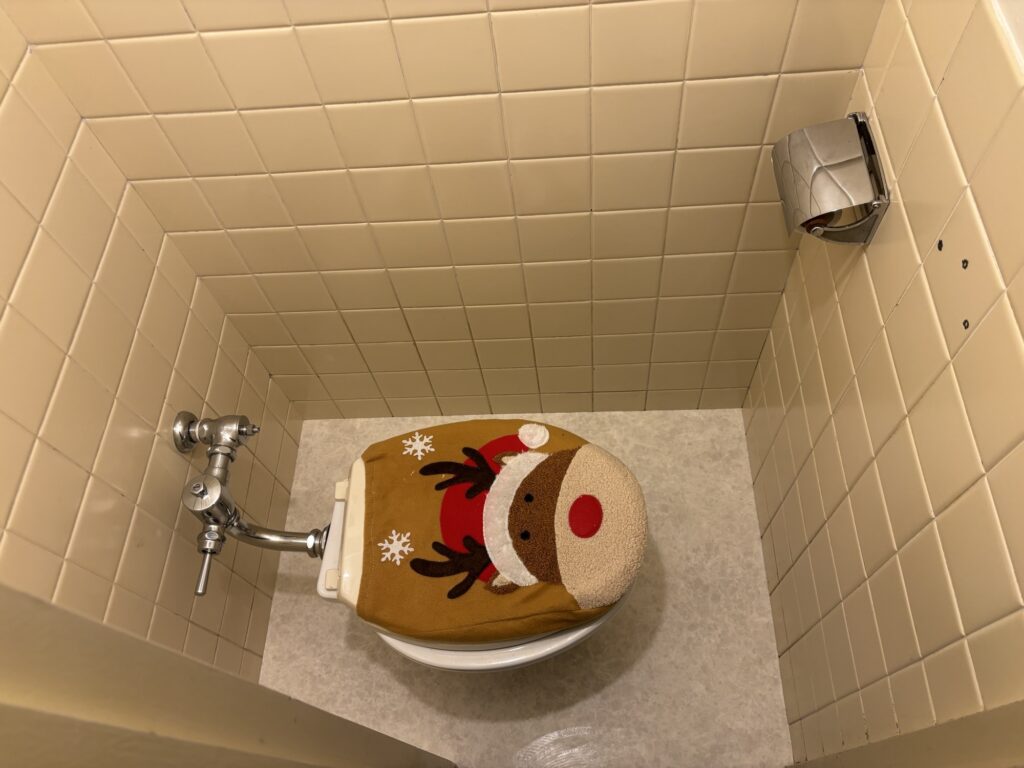
The total working time was approximately three hours.
Related Project
Replacing Wallpaper, Vinyl Flooring, and Soft Baseboards in a Bathroom Vanity Area
Tools Used
The main tools and equipment used for this project included:
- Heat gun
- Sander
- Adhesive application trowel
- Flooring spatula
- Flooring smoother
- Utility knife
- Corner cutter
- Measuring tools
- Cleaning tools
Each tool has an important role, especially when working with thin cushion flooring where small imperfections can become visible after installation.
Professional Tips
Make the Subfloor as Smooth as Possible
Proper subfloor preparation is one of the most important parts of cushion flooring installation.
Even small ridges or depressions can become visible through the flooring after installation.
Take the time to dry the joint compound completely and sand it thoroughly.
Apply Adhesive Evenly
Make sure the adhesive reaches the entire surface, including inside corners.
Insufficient adhesive in corners can cause the flooring to lift or feel loose later.
Keep the Trowel at the Correct Angle
The angle of the trowel affects how much adhesive remains on the floor.
Keeping the trowel properly positioned helps create an even adhesive layer and prevents excessive adhesive from accumulating.
Fold Large Sheets When Working in Tight Spaces
In a small toilet or washroom, handling a large sheet of cushion flooring can be difficult.
Folding the material into manageable sections makes it easier to position and control.
Trim the Edges Gradually
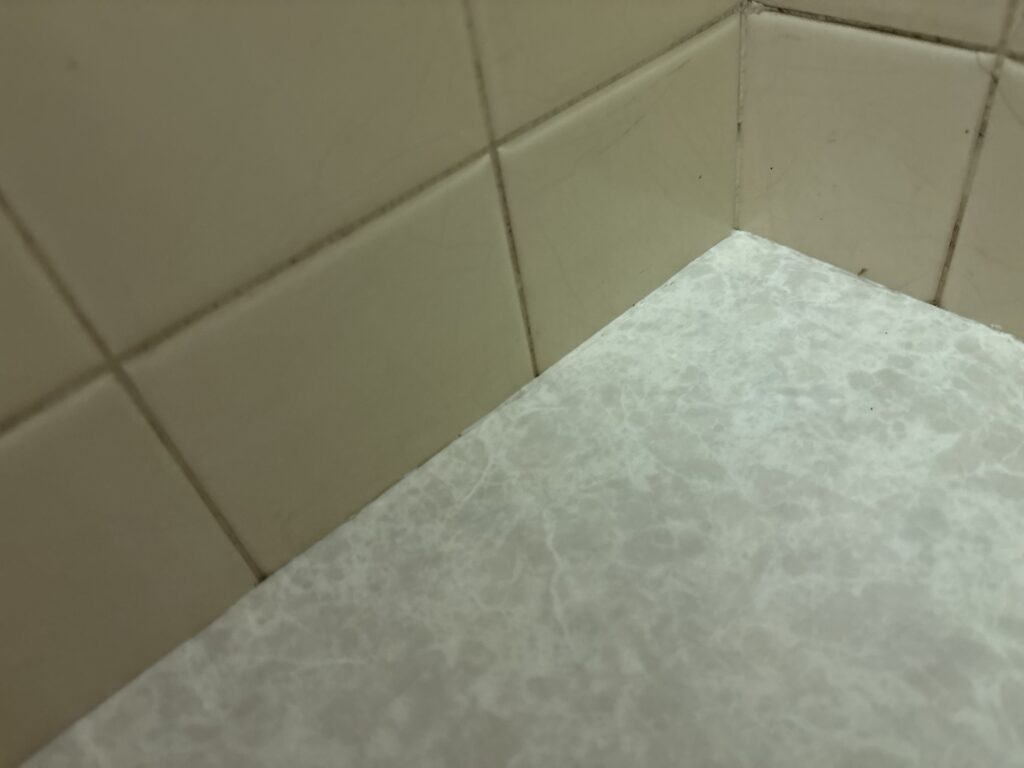
When there is no baseboard to cover the edge, precise cutting becomes especially important.
Rather than trying to cut everything perfectly in one pass, gradually trim the material and use the final pass for fine adjustment.
Common Mistakes to Avoid
1. Leaving Uneven Joint Compound
If the joint compound is not sanded properly, the uneven areas may become visible through the cushion flooring.
2. Not Applying Enough Adhesive in Corners
Insufficient adhesive around inside corners can cause the flooring to lift or become loose.
3. Applying Too Much Adhesive
Excessive adhesive can create raised areas underneath thin cushion flooring and may become visible after installation.
4. Cutting the Flooring Too Short
Once the flooring has been cut too short, creating a gap is difficult to fix.
It is safer to leave a little extra material and gradually trim it down.
5. Cutting the Entire Edge in One Pass
Trying to make a perfect cut in one attempt increases the risk of cutting too much material.
Multiple small cuts provide much better control.
6. Forgetting Relief Cuts
When working around toilets, door frames, and other obstacles, failing to make appropriate relief cuts can put excessive tension on the flooring and may cause tearing.
What I Learned From This Project
This project reminded me that small flooring installations require just as much precision as larger projects.
Because the toilet and washroom were relatively small, it might seem like the job would be simple.
However, small spaces often require more careful cutting because there is less room for error.
The fact that the flooring was installed as one continuous piece without seams also meant that positioning and edge trimming had to be done carefully.
I also found that folding the cushion flooring into manageable sections made the installation much easier in the limited workspace.
Another important point was the final trimming.
When there is no baseboard to cover the edges, even a small gap can become noticeable.
Taking a little extra time to make several small cuts rather than trying to finish everything in one pass resulted in a cleaner finish.
FAQ
1. How long did this cushion flooring installation take?
The entire installation took approximately three hours with two workers.
2. How large was the area?
The combined area of the toilet and washroom was approximately 8 m².
3. Why was the plywood subfloor replaced?
The original subfloor had deteriorated due to water leakage, so the plywood had already been replaced before the cushion flooring installation.
4. Did you install the cushion flooring with seams?
No. We installed the cushion flooring as one continuous piece without seams.
5. What size was the cushion flooring?
The material was cut to approximately 230 cm × 150 cm for the installation.
6. Why did you use a heat gun?
The heat gun was used to thoroughly dry the joint compound before sanding.
Proper drying is important because sanding a damp surface can make it difficult to achieve a smooth finish.
7. Why is subfloor preparation important?
Any uneven areas in the subfloor can become visible through the cushion flooring after installation.
A smooth and flat surface helps produce a cleaner finished result.
8. Why did you make small relief cuts around the toilet and door frame?
Relief cuts reduce tension in the flooring and allow it to fit around corners and obstacles more naturally.
Without them, excessive pressure can build up and potentially cause the material to tear.
9. Why did you cut the edges several times instead of cutting them once?
Gradual trimming provides better control and reduces the risk of creating gaps.
The final cut can be used for very fine adjustments, sometimes removing only about 1 mm.
10. Can cushion flooring be installed while the home is occupied?
Yes. It can be installed in an occupied home, but the workspace needs to be carefully managed to protect the resident’s belongings and keep dust and debris under control.
Conclusion
This was a relatively small cushion flooring replacement project involving a toilet and washroom in an occupied condominium apartment.
The total area was approximately 8 m², and the installation was completed in about three hours with two workers.
Although the project was small, careful preparation was essential because the cushion flooring was installed as one continuous piece without seams and the edges were not going to be covered by baseboards.
The key points were proper subfloor preparation, even adhesive application, careful positioning in the limited workspace, appropriate relief cuts, and gradual edge trimming.
Small details like these can make a significant difference in the final appearance and durability of a flooring installation.


Comments