
Project Data
- Property Type: Condominium apartment
- Floor: 4th floor
- Layout: 2LDK
- Floor Area: Approximately 140㎡
- Work Area: All ceilings and walls
- Number of Workers: 2
- Wallpaper Type: Thick, heavily embossed wallpaper
- Project Status: Existing wallpaper had already been removed before we arrived
Work Data
- Ceiling Wallpaper Installation: Approximately 6 hours
- Main Areas Worked On: Hallway, living room, kitchen, and two bedrooms
- Substrate Preparation: Finish putty in most areas, with additional base putty where needed
- Main Tools: Wallpaper pasting machine, smoother, joint roller, ladder, scaffold boards, measuring tools
Introduction
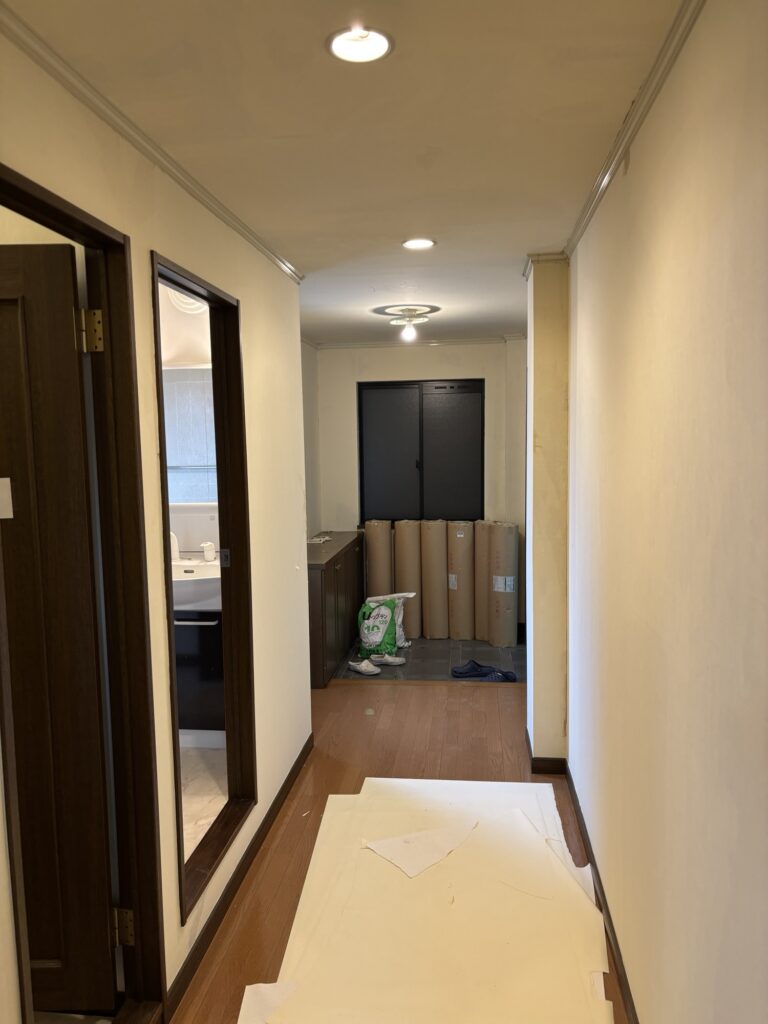
Today, I would like to share another wallpaper installation project in a condominium apartment in Japan.
This project was on the fourth floor of a 2LDK apartment with a floor area of approximately 140 square meters.
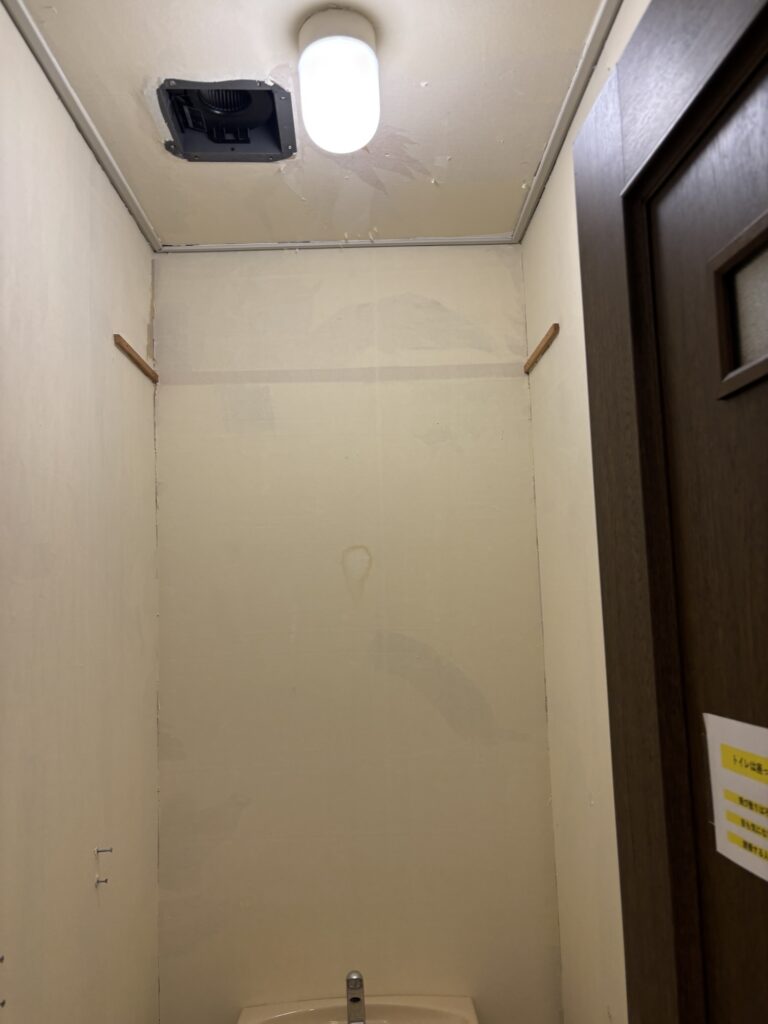
We were responsible for replacing the wallpaper on all of the ceilings and walls throughout the apartment.
Two wallpaper installers worked on the project.
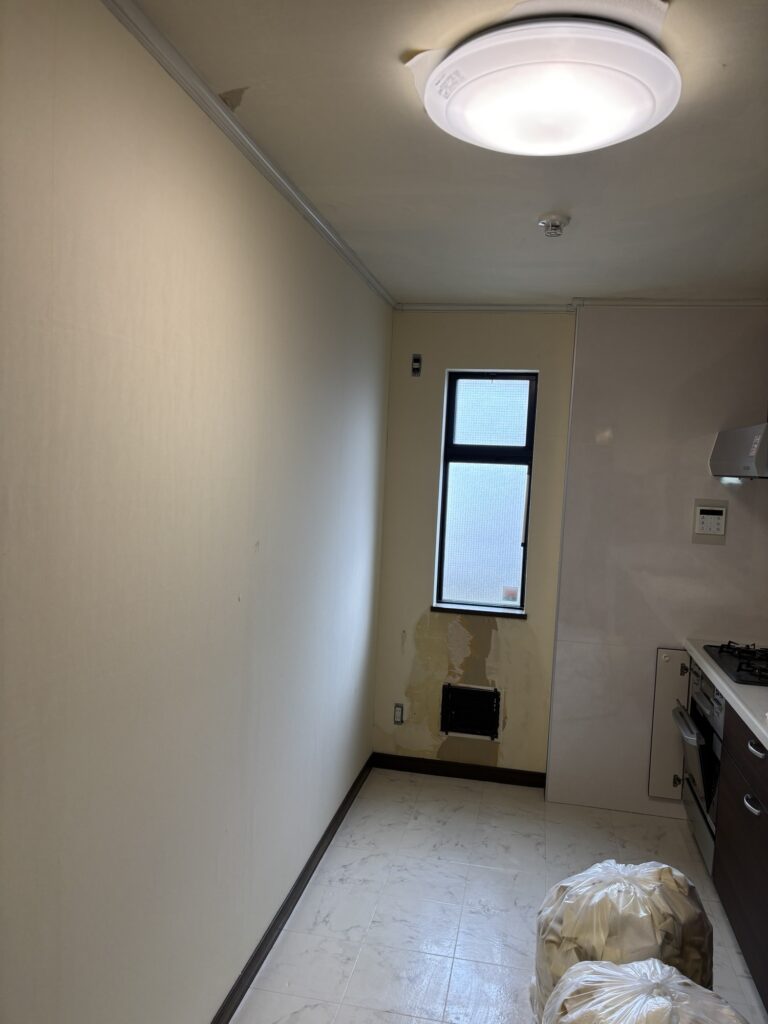
When we arrived at the site, the old wallpaper had already been completely removed. This allowed us to begin by checking the condition of the substrate and preparing it for the new wallpaper.
The new wallpaper we were installing was a thick material with a strong embossed texture.
Fortunately, the substrate was in good condition in most areas. However, there were some areas that needed additional preparation, particularly around the washroom and the air conditioner.
In this article, I will explain the work process, the tools we used, some techniques that helped us work efficiently, and a few common mistakes to avoid when installing long sheets of wallpaper.
Related Project
Repairing Mold-Damaged Drywall in a 25 m² Apartment Before Installing New Wallpaper
Work Process – Site Report
Checking the Substrate
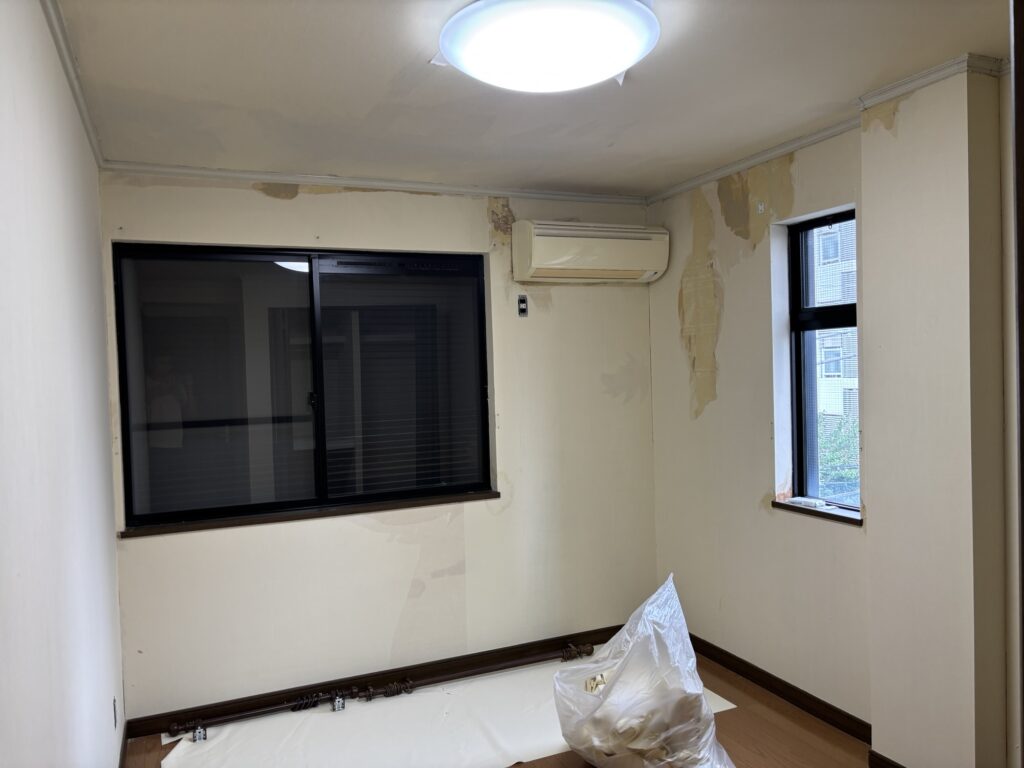
After arriving at the site, we first checked the condition of the walls and ceilings after the old wallpaper had been removed.
Most of the substrate was in good condition, but there were some areas that required additional preparation.
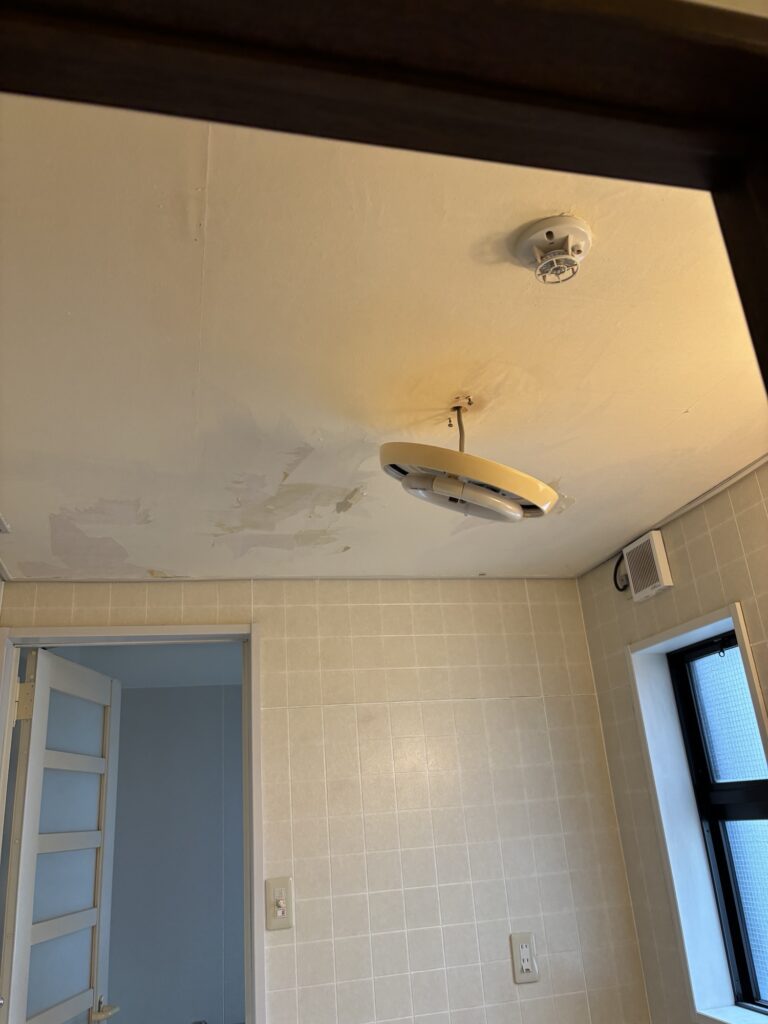
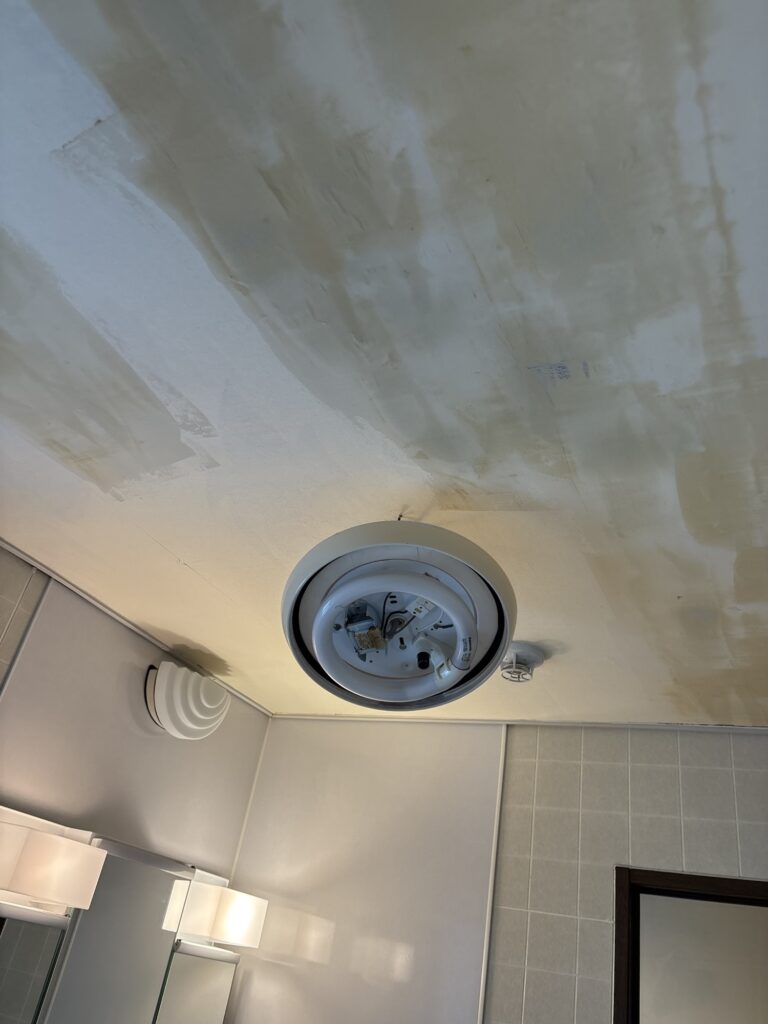
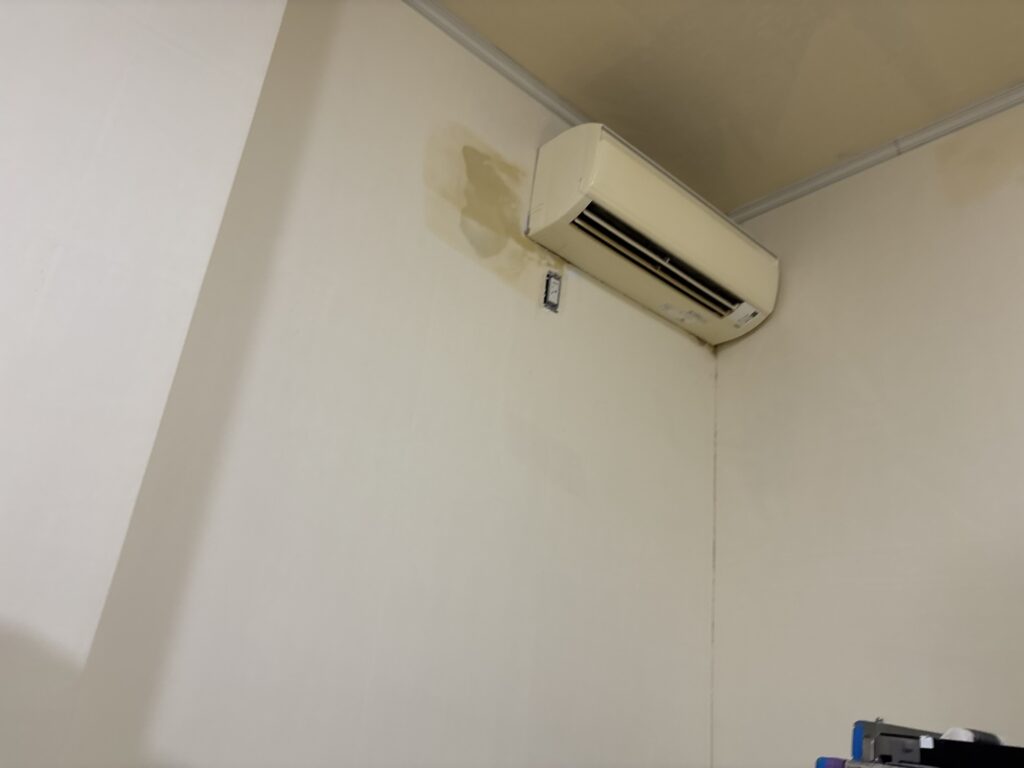
The main problem areas were the washroom and the area around the air conditioner.
The washroom is located next to the bathroom, so it is an area where moisture and humidity can easily accumulate.
Because of this, the substrate in the washroom was slightly deteriorated.
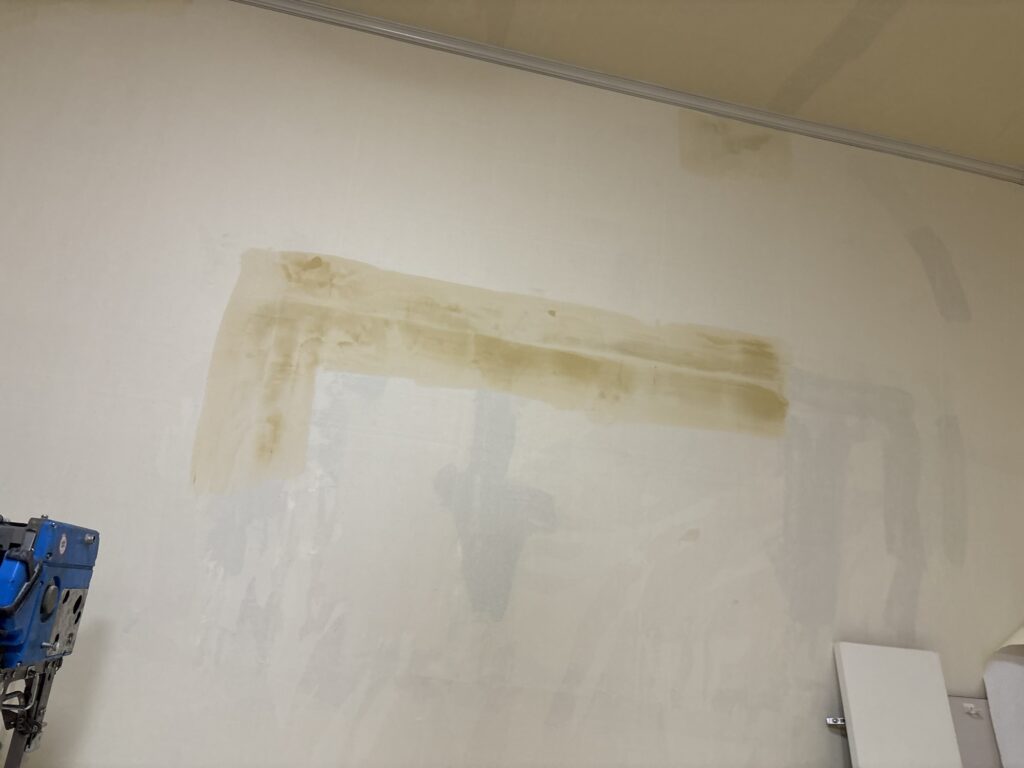
The area around the air conditioner was also somewhat affected by moisture, although not as much as the washroom.
We applied base putty to these areas to improve the substrate before installing the new wallpaper.
For most other areas, except for locations with particularly deep grooves or uneven sections, the substrate preparation was completed with a single application of finish putty.
Preparing the Hallway Ceiling
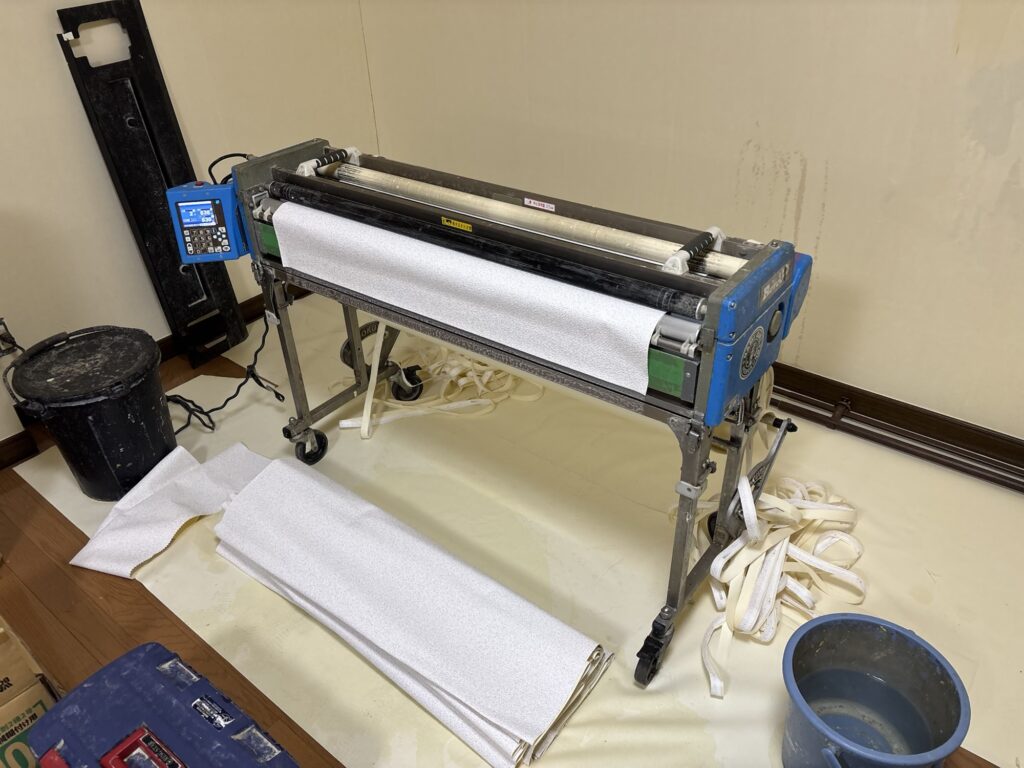
While the putty was drying, we moved on to measuring the hallway ceiling.
We measured the required lengths and then ran the wallpaper through the wallpaper pasting machine.
The required lengths were:
- 6.2 meters × 2 sheets
- 4.6 meters × 1 sheet
- Width: 90 cm for all sheets
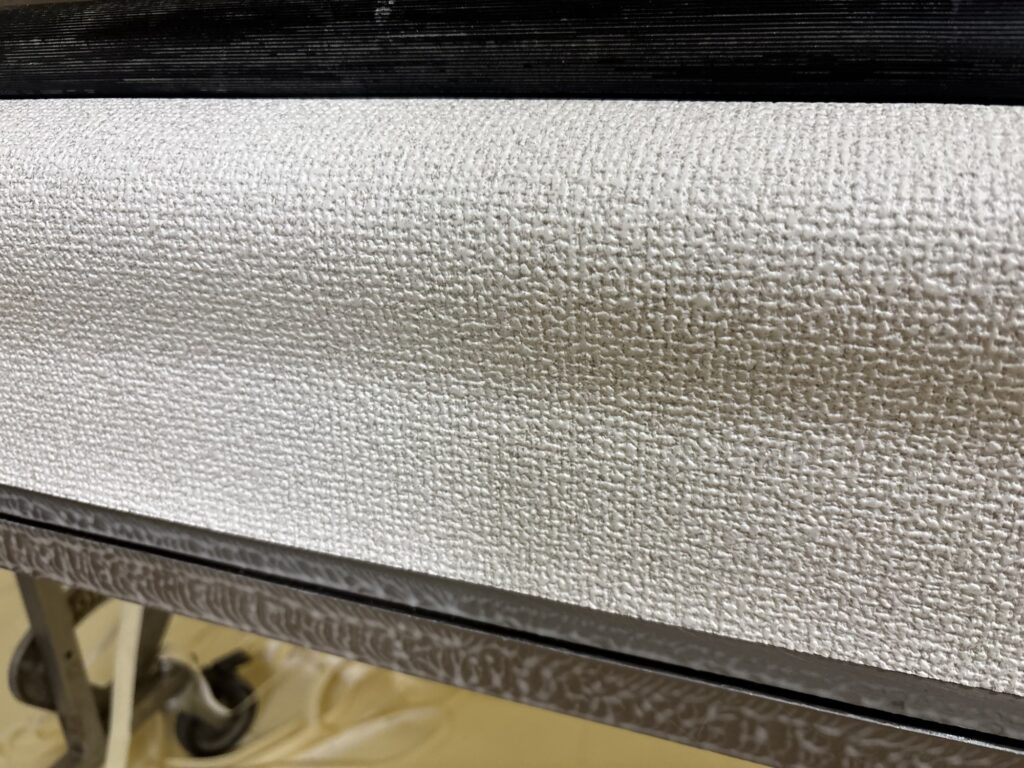
Because these sheets were quite long, we marked the starting position on the ceiling in advance.
This is an important step when installing long sheets of wallpaper.
If the starting position is slightly off, the wallpaper can gradually move out of alignment as you work across the ceiling.
Installing Long Sheets of Wallpaper
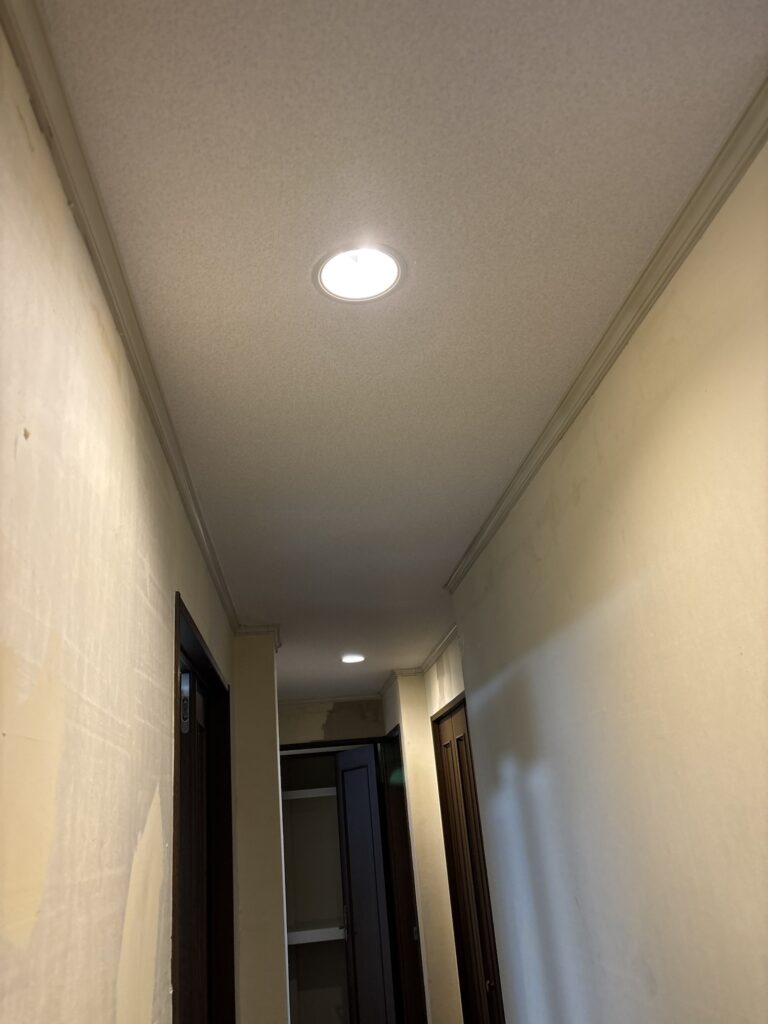
Long wallpaper sheets can be more difficult to handle than short ones.
The longer the sheet, the more difficult it can be to remove air bubbles and keep the wallpaper straight.
When smoothing the wallpaper, we focused on working from the center toward the outside.
We used a smoother carefully to push the air out while making sure the wallpaper did not twist or become distorted.
The key is not to rush.
If you try to remove air too aggressively or in the wrong direction, the wallpaper can become wrinkled or twisted.
Related Project
Water-Damaged Ceiling Board Replacement and Navy Wallpaper Installation in a 20 m² Apartment
Joining the Wallpaper
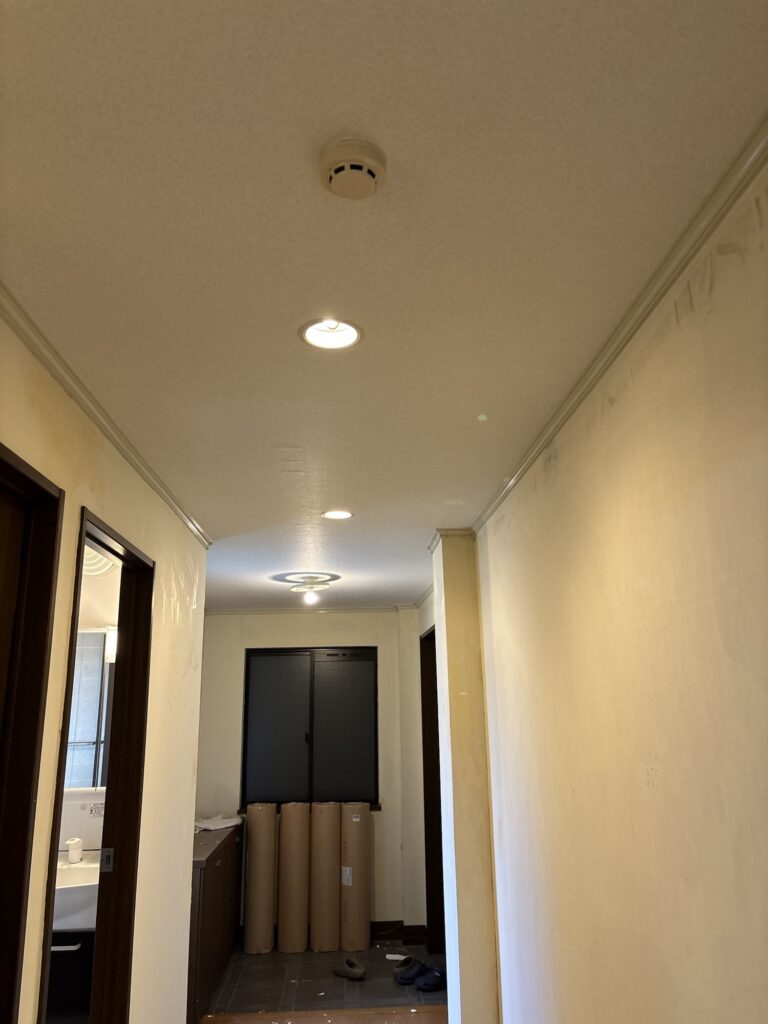
For the joints between wallpaper sheets, we used a joint roller.
Instead of forcing one side toward the center, we worked from both sides.
We gradually moved the wallpaper from the outer areas toward the center joint line.
This helps create a clean and controlled joint.
If you try to force the wallpaper toward the joint from only one side, it can cause wrinkles, distortion, or uneven tension.
This is especially important when working with long sheets.
Installing the Living Room and Kitchen Ceiling
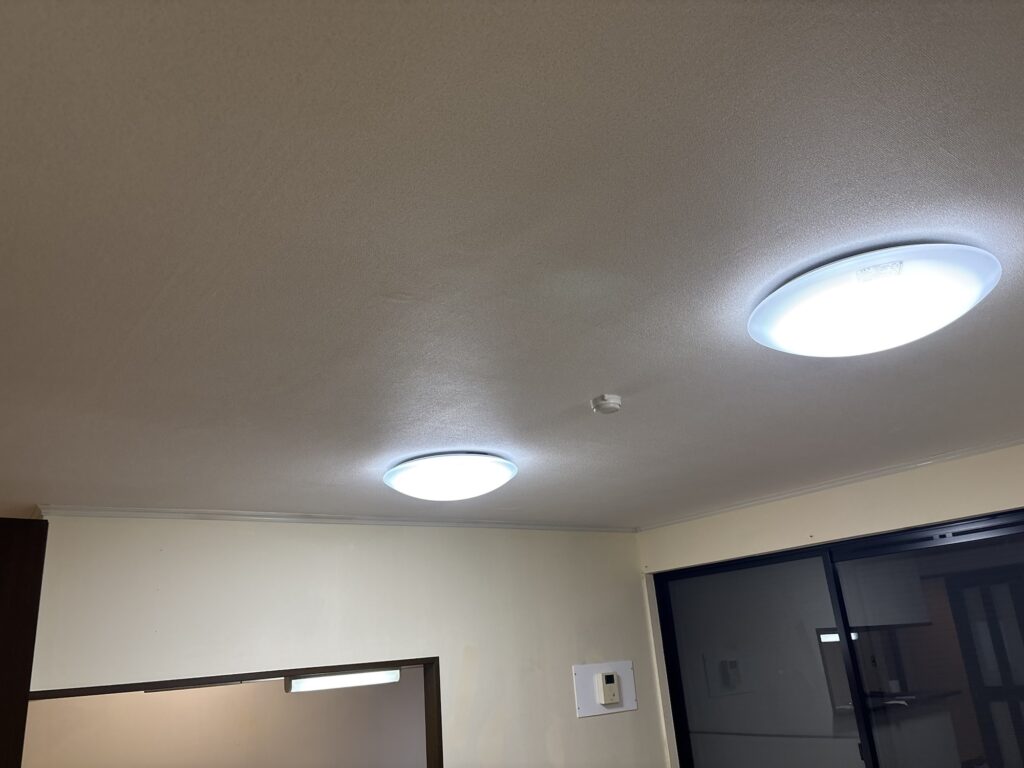
Next, we moved on to the ceiling in the living room and kitchen area.
The required dimensions were:
- Length: 462 cm
- Width: 90 cm
- Number of sheets: 7
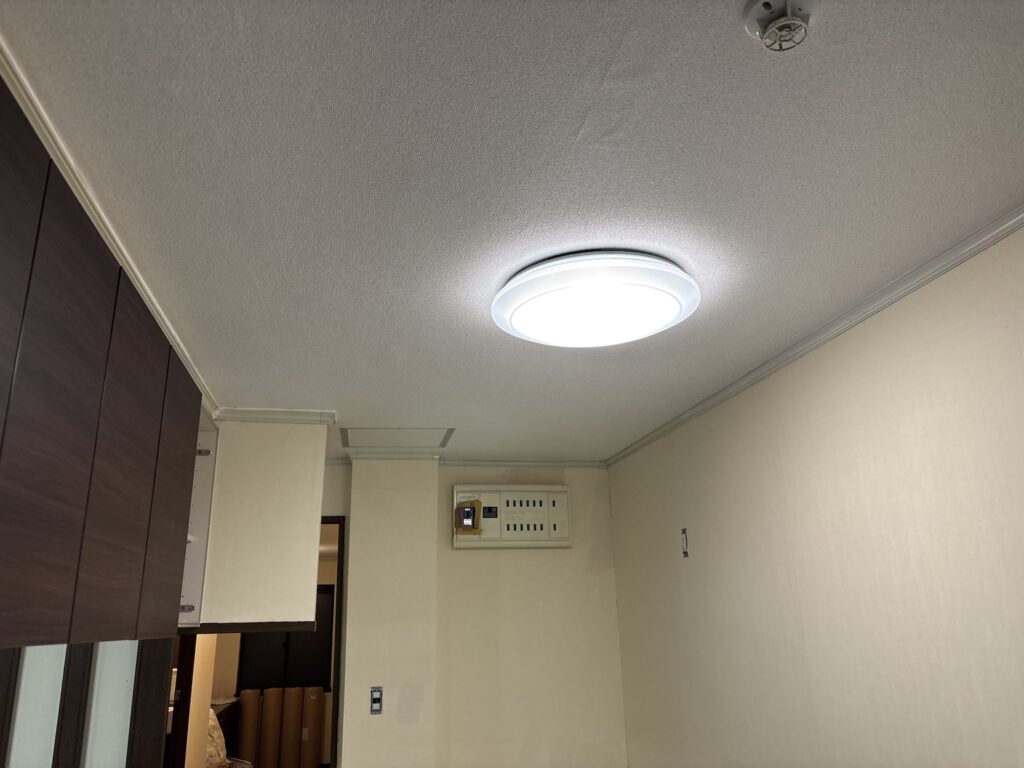
There were several fixtures on the ceiling, including lights and a fire alarm.
We had removed these fixtures in advance before installing the wallpaper.
Removing fixtures beforehand can improve both the final appearance and the efficiency of the installation process.
It gives us more freedom when handling the wallpaper and makes it easier to achieve a clean finish around the fixtures.
Using Scaffold Boards When Working with Two People
Another useful technique is using scaffold boards between ladders when installing long sheets with two people.
When a long sheet of wallpaper is being installed by two workers, placing a scaffold board between ladders creates a more stable working platform.
It also makes it easier for both workers to move along the ceiling while supporting the long sheet.
If we relied only on individual ladders, we might need three to five ladders depending on the length and working conditions.
If there are not enough ladders, one worker may have to climb down, move a ladder, and climb back up repeatedly.
This reduces work efficiency and interrupts the installation process.
Using a stable working platform can make a significant difference when installing long wallpaper sheets.
Installing the Bedroom Ceilings
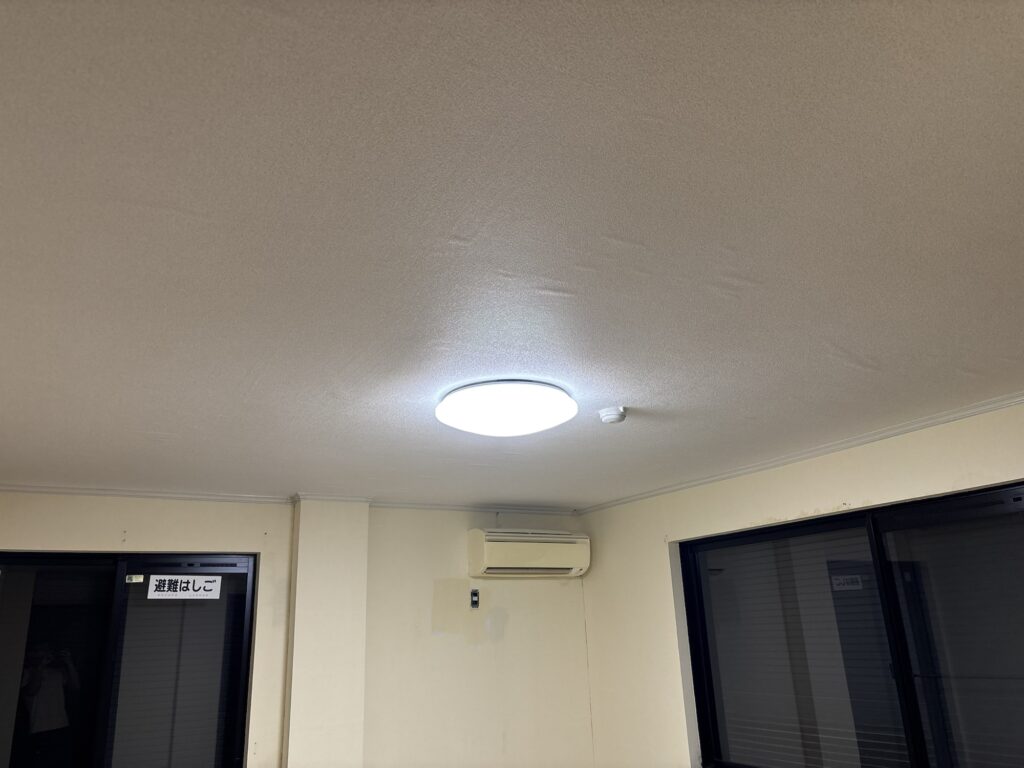
After completing the living room and kitchen ceiling, we moved on to the ceilings in the two bedrooms.
The bedroom ceilings were not as long as the hallway or living room ceiling, so they were relatively easy to install.
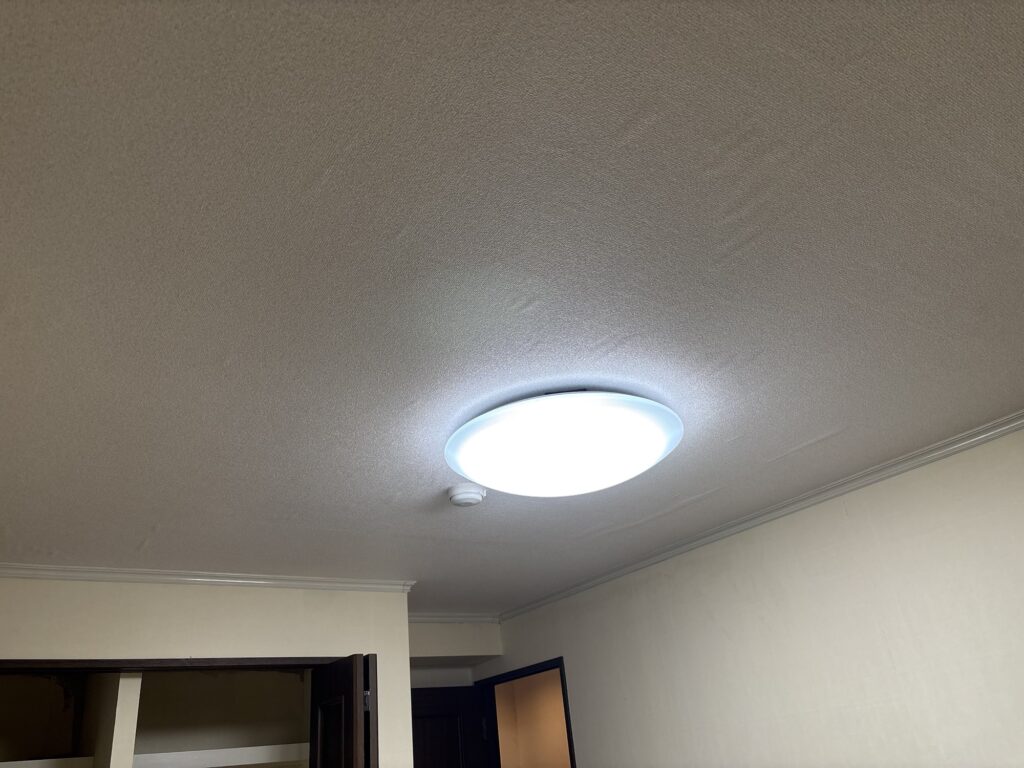
We were able to complete both bedroom ceilings in approximately one and a half hours.
By the end of the day, we had completed the wallpaper installation on all of the ceilings throughout the apartment.
The total working time for the ceiling installation was approximately six hours.
At that point, we finished the day’s work.
Tools Used
Wallpaper Pasting Machine
We used a wallpaper pasting machine to apply adhesive evenly and efficiently to the wallpaper.
This is especially useful when there are many long sheets to prepare.
Smoother
A smoother was used to remove air bubbles and press the wallpaper firmly against the substrate.
When working with long sheets, controlling the direction of the smoother is particularly important.
Joint Roller
We used a joint roller to carefully finish the seams between wallpaper sheets.
The wallpaper was brought toward the center joint from both sides rather than forcing it from one direction.
Ladders and Scaffold Boards
Ladders and scaffold boards were used when installing long sheets on the ceiling.
A stable working platform can make it much easier for two workers to handle long wallpaper sheets.
Putty Tools
Putty knives and related tools were used to prepare areas where the substrate needed additional work.
Professional Tips
1. Check the substrate before starting
Even if the old wallpaper has already been removed, don’t assume that the substrate is ready for installation.
Always check for damaged areas, deep grooves, moisture-related deterioration, and uneven surfaces.
2. Mark the starting position
When installing long sheets, mark the starting position before applying the wallpaper.
A small error at the beginning can become a much larger alignment problem toward the end of the sheet.
3. Work from the center toward the outside
When removing air bubbles, gradually work from the center toward the edges.
This helps prevent the wallpaper from twisting or becoming distorted.
4. Control both sides of the joint
When closing a joint, bring both sides toward the center instead of forcing one side toward the other.
This helps prevent wrinkles and uneven tension.
5. Prepare the working environment
Removing ceiling fixtures in advance and preparing enough ladders or a stable working platform can significantly improve efficiency.
Good preparation often saves more time than trying to work faster during installation.
Common Mistakes to Avoid
Mistake 1: Starting without checking the substrate
Installing wallpaper over a damaged or uneven substrate can result in visible imperfections after installation.
Mistake 2: Not marking the starting position
Long wallpaper sheets can gradually move out of alignment if the starting point is not properly marked.
Mistake 3: Trying to remove air bubbles too aggressively
Using too much force with the smoother can cause the wallpaper to twist, stretch, or wrinkle.
Mistake 4: Closing a joint from only one side
Forcing one sheet toward the other can create wrinkles and uneven tension around the joint.
Mistake 5: Using too few ladders
When installing long ceiling sheets, constantly moving ladders can slow down the entire process.
Having enough working positions or using a stable scaffold board can make the work much more efficient.
Mistake 6: Leaving fixtures in place unnecessarily
Lights, fire alarms, and other ceiling fixtures can make wallpaper installation more difficult.
Removing them beforehand, when appropriate and safe to do so, can improve both efficiency and the final finish.
What I Learned From This Project
One of the main things I was reminded of during this project was how much preparation affects the quality and efficiency of wallpaper installation.
The wallpaper itself was thick and heavily embossed, and some of the sheets were more than six meters long.
Long sheets require careful handling because even a small amount of twisting or misalignment can make the installation more difficult.
I also found that having the right working environment is extremely important.
For example, using scaffold boards between ladders when installing long ceiling sheets made it much easier for two workers to handle the material.
Another important point was substrate preparation.
Although most of the substrate was in good condition, the washroom and the area around the air conditioner needed additional base putty because of moisture-related deterioration.
This project reinforced the importance of checking the substrate carefully rather than assuming that every area is ready simply because the old wallpaper has been removed.
Good preparation, accurate measuring, and controlled installation are all essential for achieving a clean result.
FAQ
1. How large was the apartment in this project?
The apartment was approximately 140 square meters and had a 2LDK layout.
2. How many workers were involved?
Two wallpaper installers worked on the project.
3. Had the old wallpaper already been removed?
Yes. When we arrived at the site, the old wallpaper had already been removed.
4. What type of wallpaper was installed?
We installed a thick wallpaper with a strong embossed texture.
5. Did the entire substrate require base putty?
No. Most of the substrate was in good condition.
Base putty was mainly required in areas such as the washroom and around the air conditioner, where the substrate had been affected by moisture.
6. Why was the washroom substrate in poor condition?
The washroom was next to the bathroom, making it an area where moisture and humidity can easily accumulate.
7. How long did the ceiling installation take?
We completed all of the ceiling wallpaper installation in approximately six hours.
8. Why are long wallpaper sheets difficult to install?
Long sheets are more difficult to control because they can twist, become misaligned, or trap air bubbles more easily.
They require careful handling and proper positioning.
9. Why use scaffold boards between ladders?
A scaffold board can provide a more stable working platform when two workers are installing long sheets.
It can also reduce the amount of time spent repeatedly moving ladders.
10. What is the most important thing when installing long wallpaper sheets?
I would say preparation and control are the most important.
Accurate measurements, marking the starting position, keeping the wallpaper straight, and carefully removing air from the center toward the outside all help produce a clean finish.
Conclusion
This project involved replacing the wallpaper on all of the ceilings and walls in a 2LDK condominium apartment of approximately 140 square meters.
Two workers handled the installation.
Most of the substrate was already in good condition, but additional base putty was required in the washroom and around the air conditioner because of moisture-related deterioration.
The ceiling installation required particular attention because some of the wallpaper sheets were more than six meters long.
By carefully marking the starting positions, controlling the wallpaper from the center toward the outside, and using a joint roller correctly, we were able to install the long sheets efficiently.
We completed all of the ceiling wallpaper installation in approximately six hours.
For professional wallpaper installation, the quality of the final result depends not only on the wallpaper itself, but also on substrate preparation, accurate measurements, proper tools, and careful handling during installation.
This project was another good reminder that good preparation makes difficult wallpaper installation much easier.


Comments