
Project Data
Project Type: Washroom Renovation
Location: Japan
Work: Wallpaper and Cushion Flooring Replacement
Crew: 1 worker
Working Time: Approximately 5 hours
Introduction
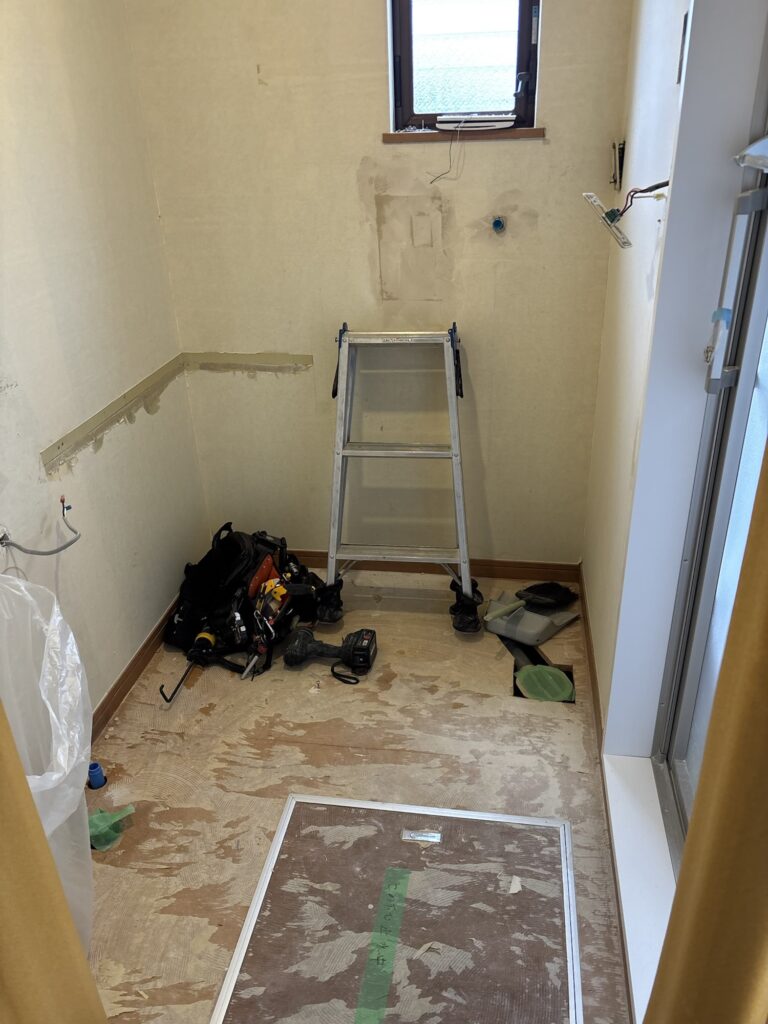
Today, I worked on a wallpaper and cushion flooring replacement project in a washroom.
The bathroom was being replaced with a new unit bath, so the door frame at the bathroom entrance had been removed and was going to be rebuilt. As part of the renovation, the wallpaper and cushion flooring in the washroom were also being replaced.
A new vanity was also scheduled to be installed.
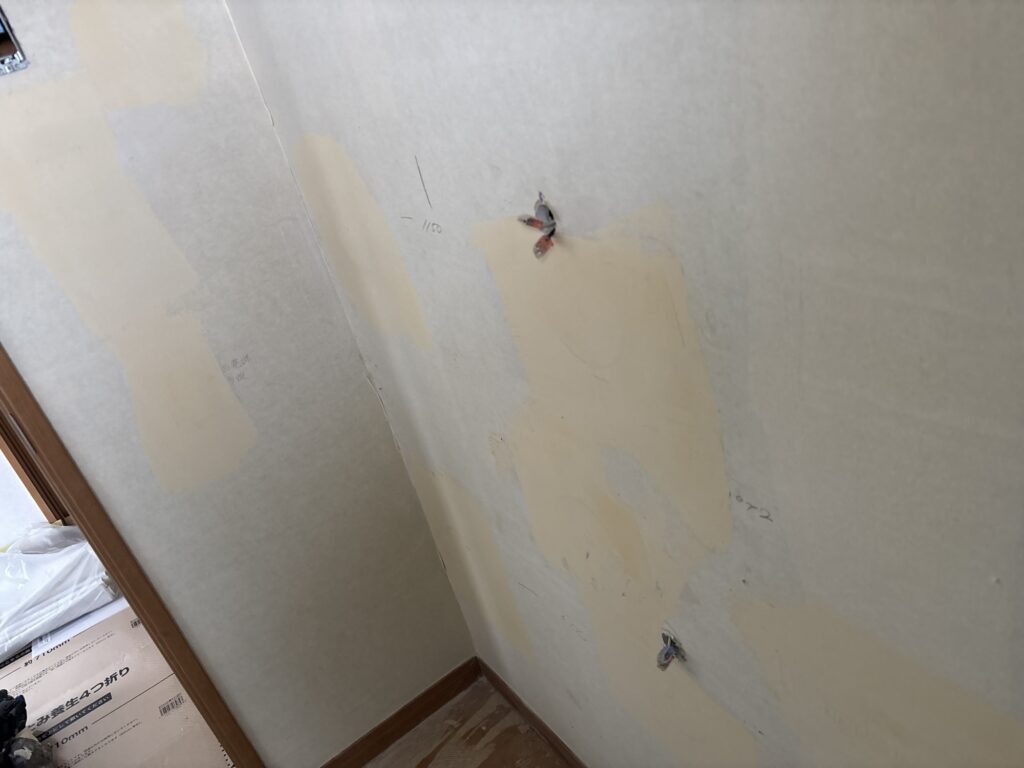
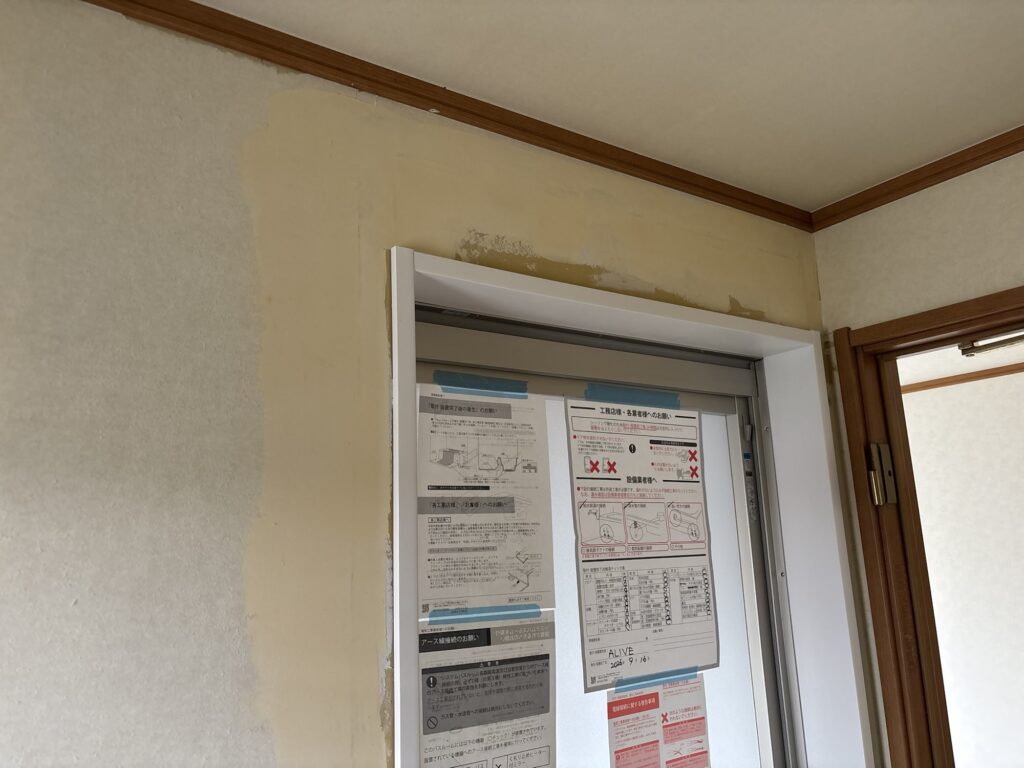
When I arrived at the site, the old wallpaper and cushion flooring had already been removed. The walls had also been opened and restored in several areas to install new plumbing fixtures and electrical outlets. One coat of base filler had already been applied to these repaired areas.
This was very helpful because it saved me some preparation work.
Related Project
Wallpaper and Cushion Flooring Installation in a Detached House Washroom
Work Process: Site Report
Preparing the Wall Surface
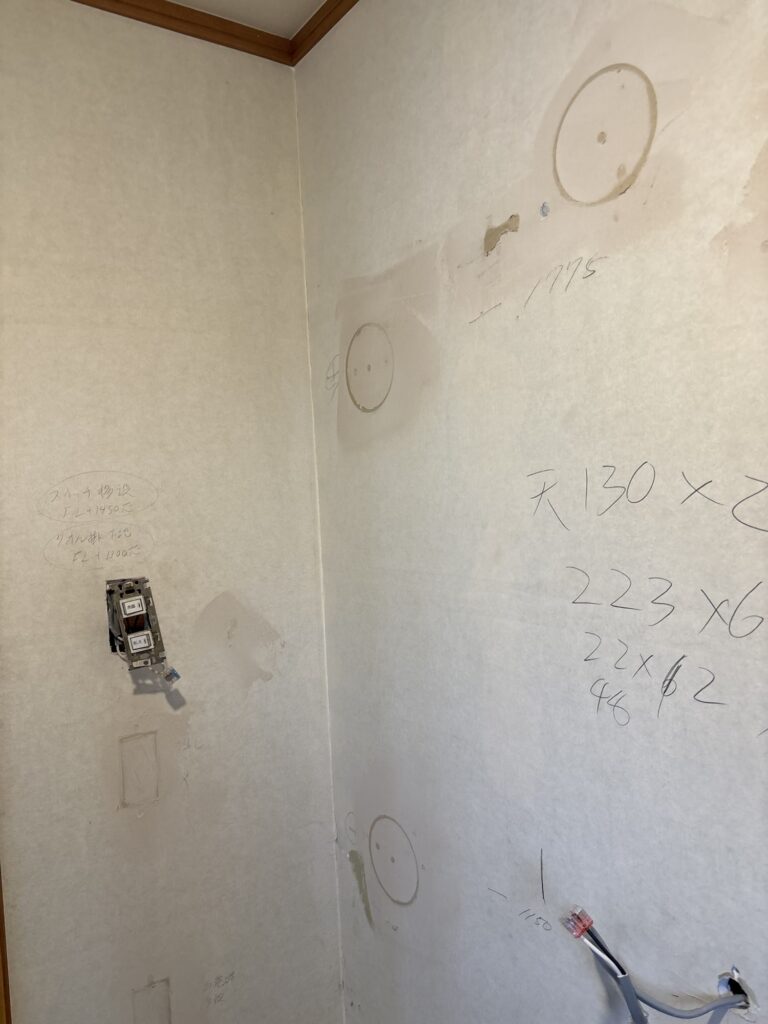
First, I checked the areas where the filler had already been applied.
There were a few slight differences in height, so I sanded them with a sander and applied another coat of base filler.
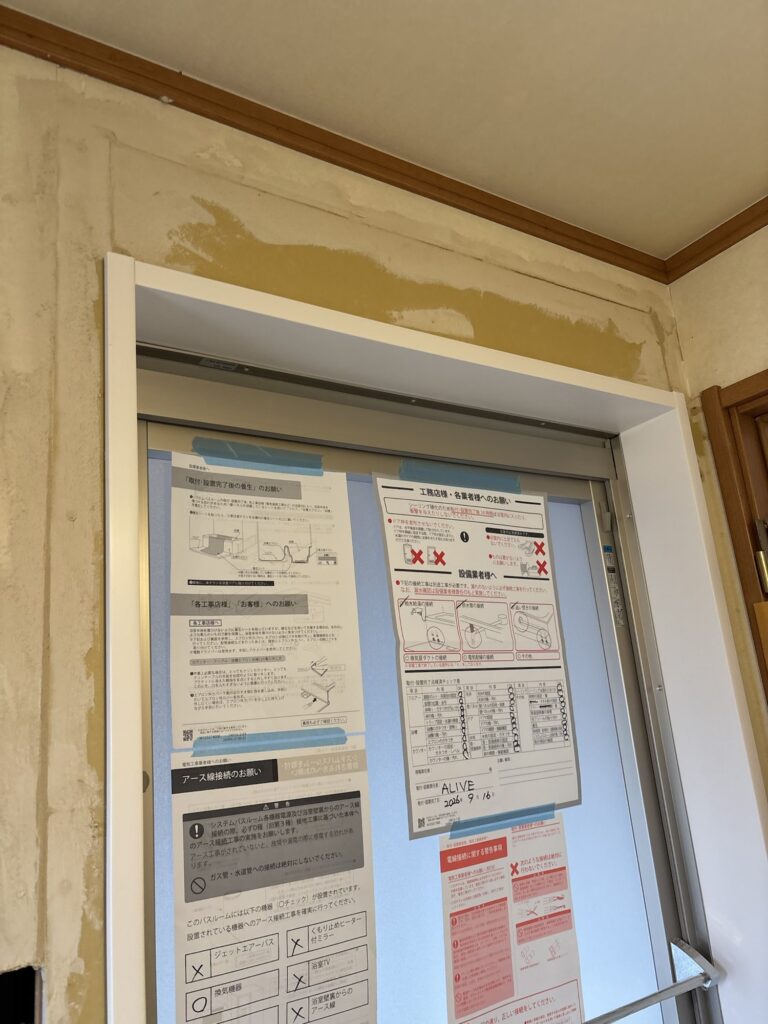
Because the first coat of filler had already been applied, I only needed to dry it slightly with a heat gun before applying the finishing filler.
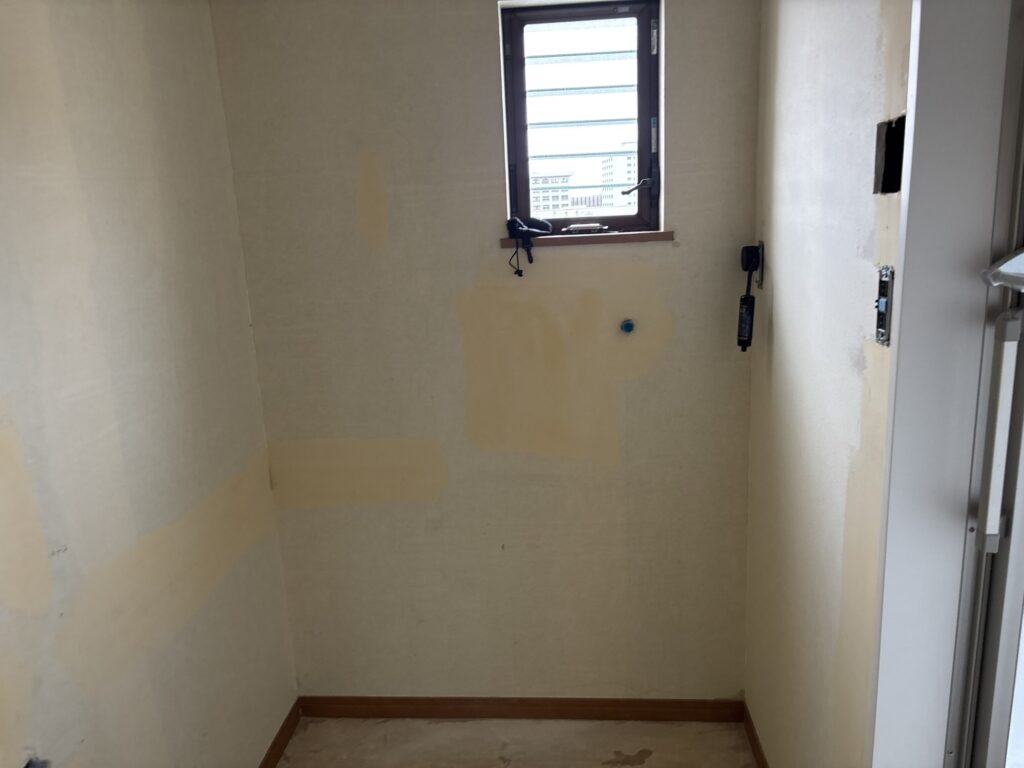
One of the most time-consuming parts of wallpaper installation is waiting for filler to dry. By applying one coat of filler the day before, as was done on this project, the total working time can be reduced by more than an hour.
Measuring and Preparing the Wallpaper
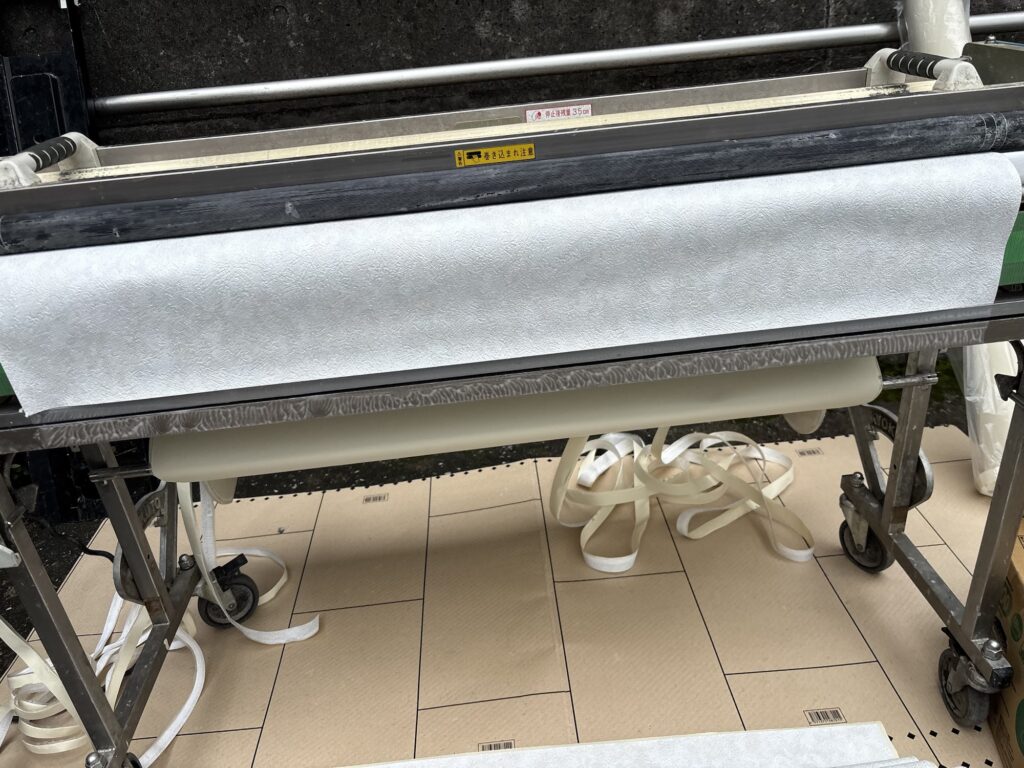
While the finishing filler was drying, I measured the ceiling and walls and prepared the wallpaper using a wallpaper pasting machine.
For the ceiling, I prepared two pieces measuring 132 cm each. The material was relatively thick and had a white grid pattern.
For the walls, I prepared:
- 6 pieces at 232 cm
- 2 pieces at 22 cm
- 1 piece at 48 cm
All of the wall wallpaper was 90 cm wide. It had a subtle pattern and a stain-resistant surface.
I prepared one extra 232 cm piece as a spare.
Having one extra piece is useful because it allows you to deal with unexpected problems. It also means that the pasting machine can be cleaned and put away before the final piece is installed.
Installing the Ceiling Wallpaper
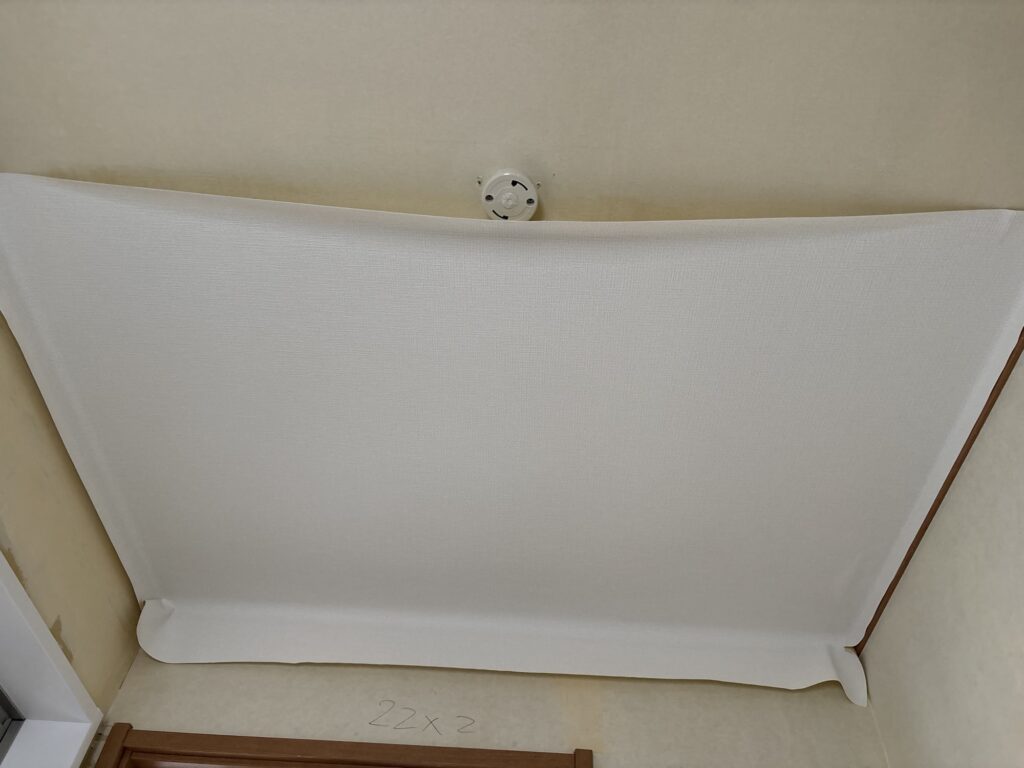
For the ceiling, I started the first sheet so that the joint would be positioned at the ceiling light fixture.
Around the light fixture, I made several small cuts so that the wallpaper would not tear when it was fitted around the fixture.
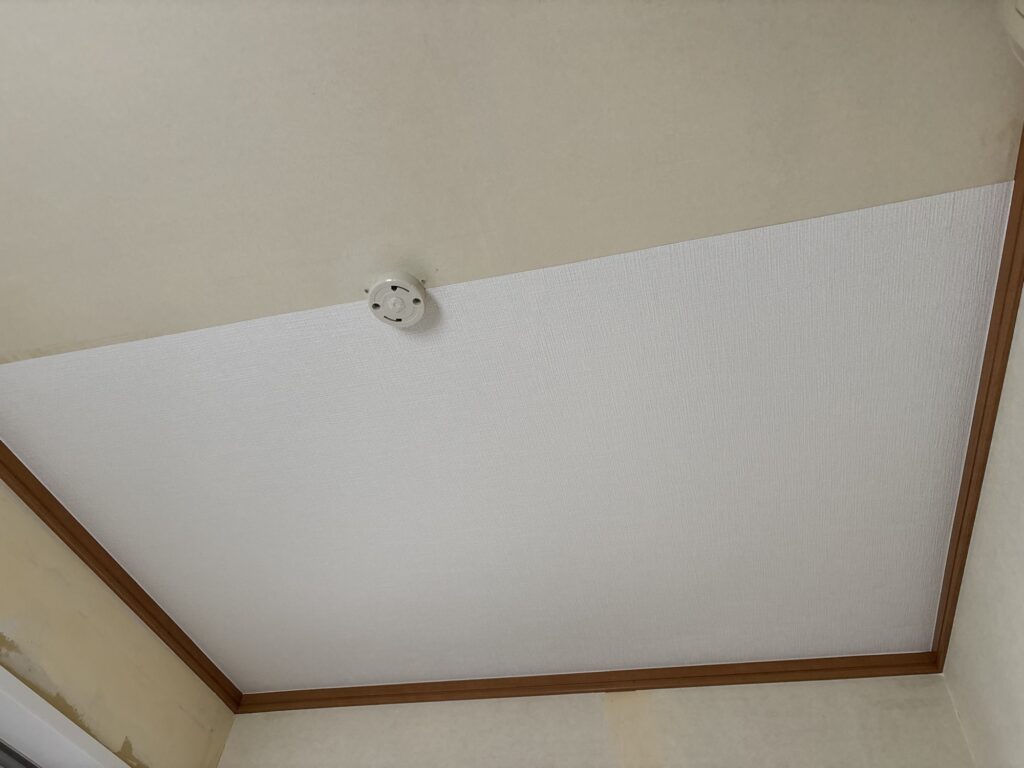
I then butted the edge of the second sheet against the edge of the first sheet and carefully installed it in a straight line.
After setting the joint, I worked from the center toward the outside to push out any trapped air bubbles.
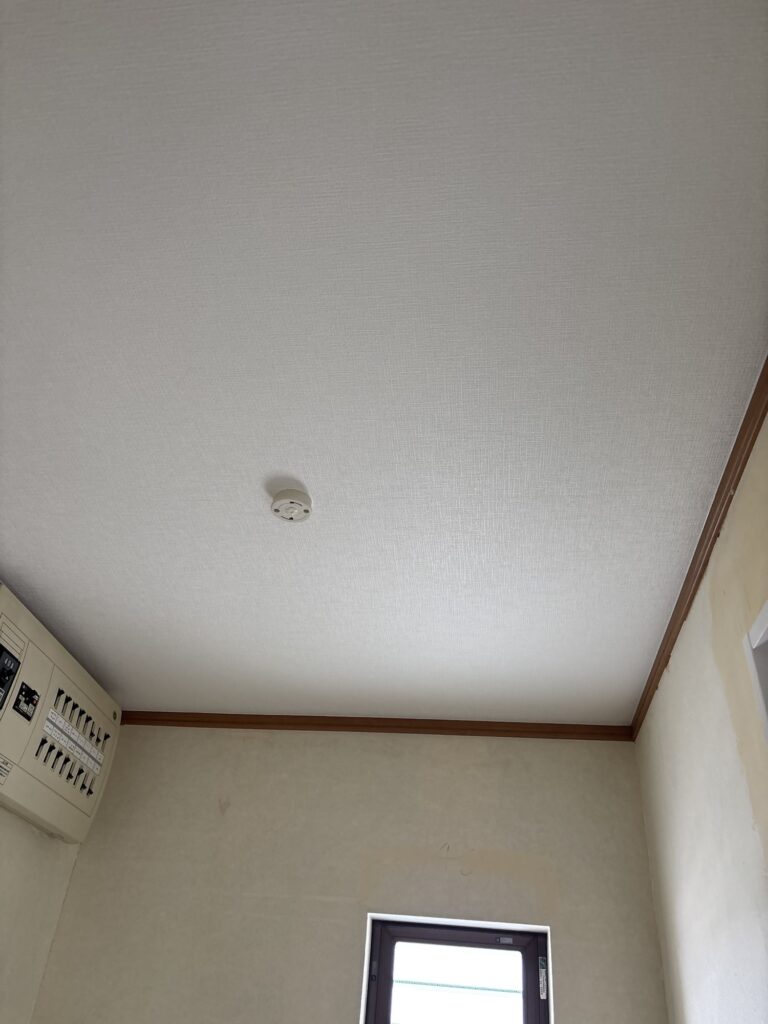
The ceiling was relatively easy to work on because there were no obstacles other than the ceiling light fixture. The material was also easy to handle, so I was able to finish the ceiling in about 15 minutes.
Installing the Wall Wallpaper
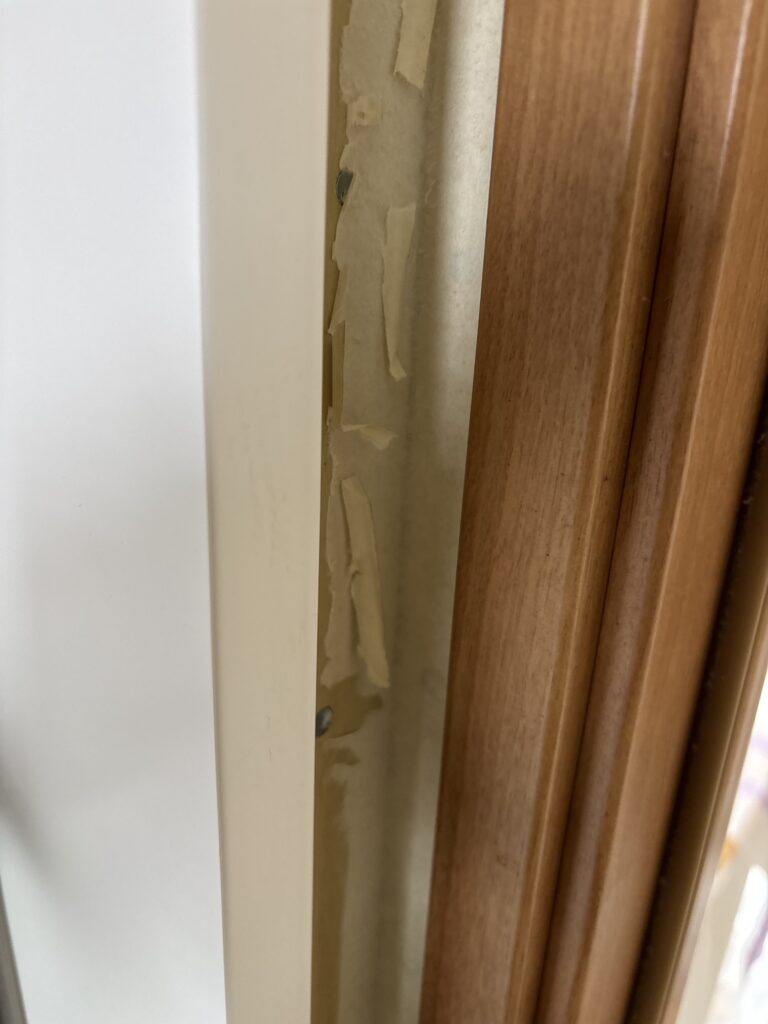
The most challenging part of the wall installation was the corner between the washroom entrance frame and the bathroom door frame.
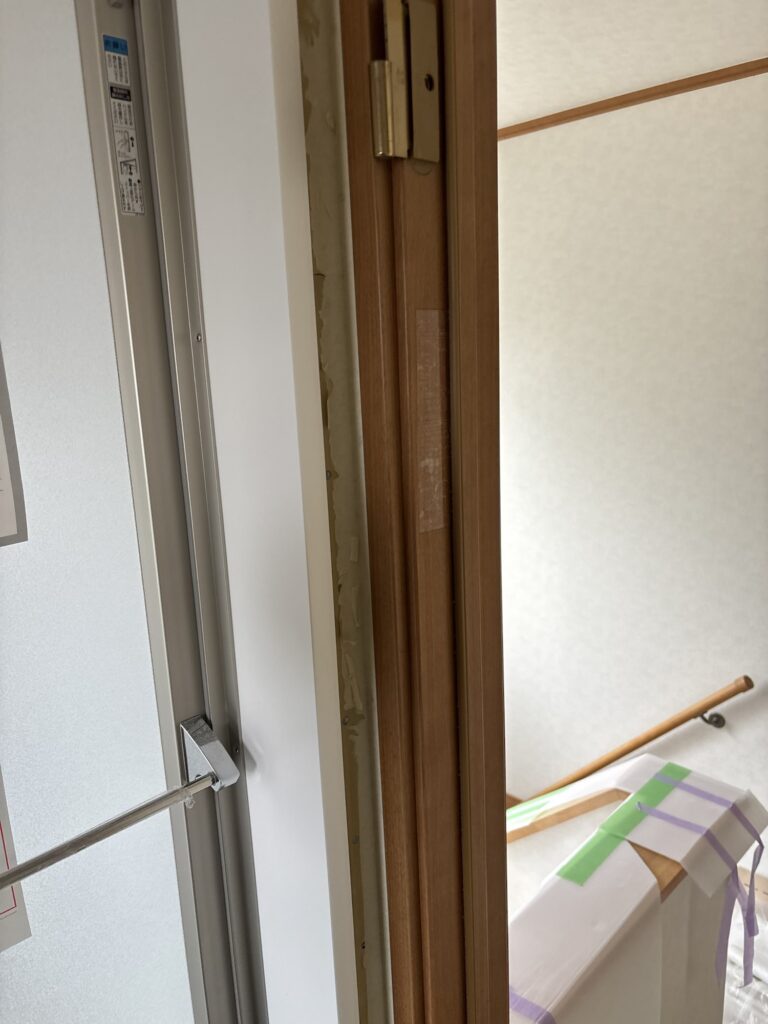
Before starting the wallpaper, I noticed that the backing paper from the old wallpaper was peeling in this area. I removed the loose paper and applied joint sealant before installing the new wallpaper.
Joint sealant hardens as it dries, which can help prevent the wallpaper from peeling in this type of area.
There was very little space to put my hand between the two frames. Because of this, I butted one edge of the wallpaper against the frame and firmly created the corner using a smoothing tool.
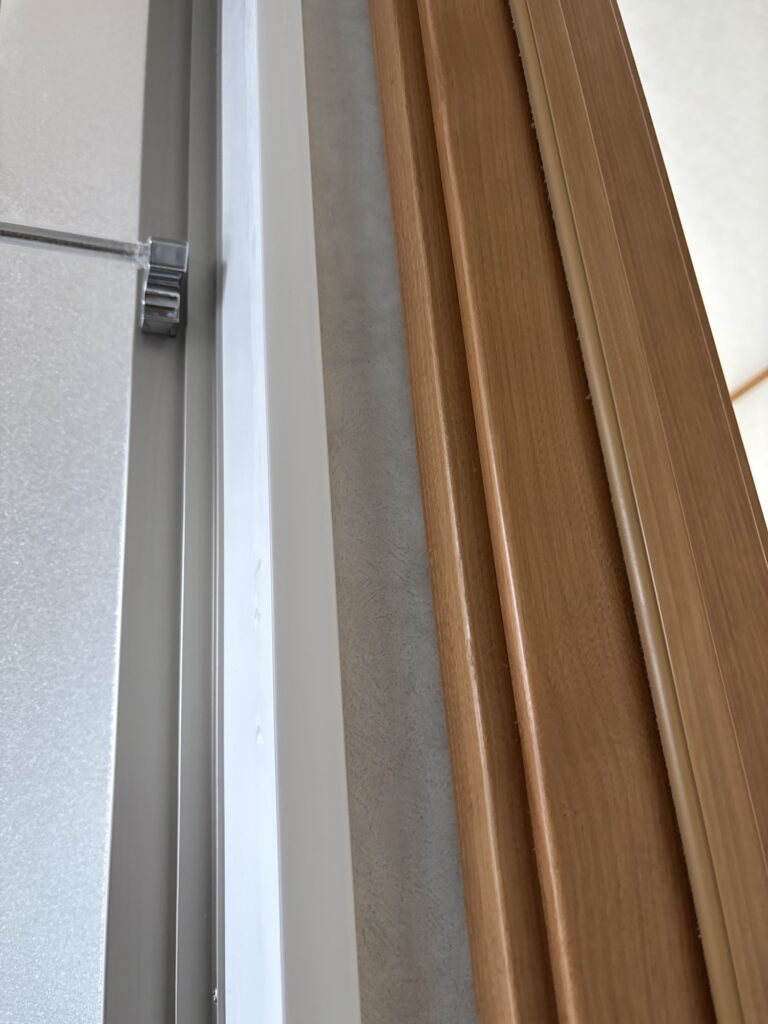
I then placed the excess wallpaper against the other frame and cut it freehand with a utility knife.
Because there was not enough room to insert a blade guide or putty knife, I could not use one to guide the cut. In situations like this, I carefully cut along the frame.
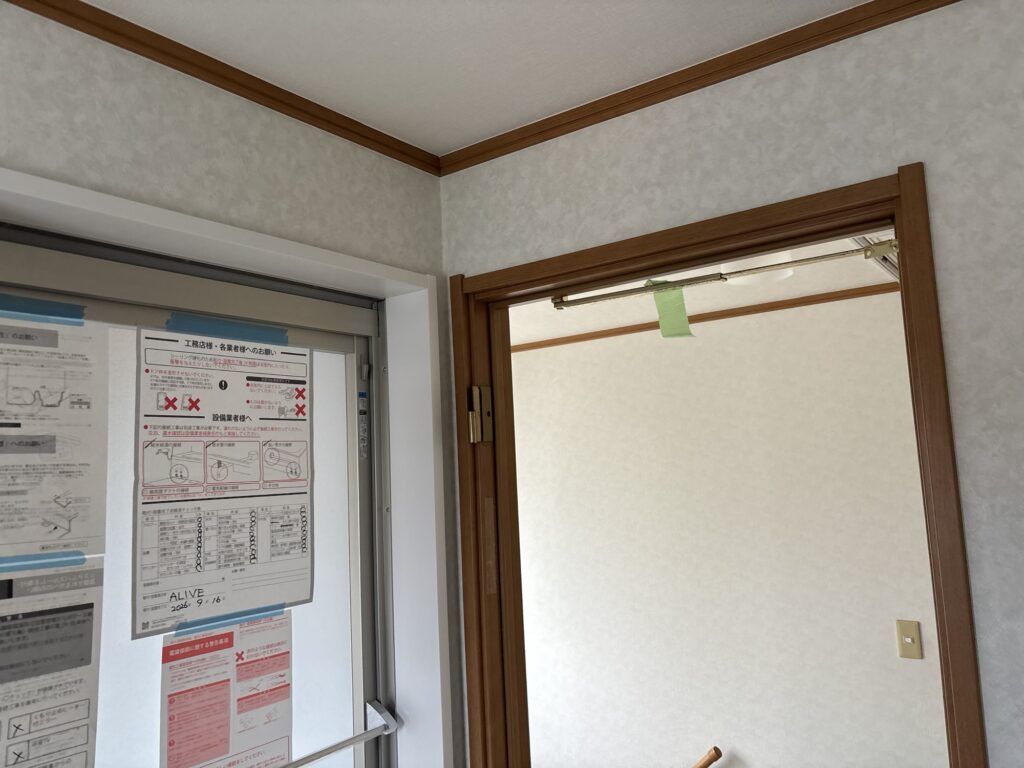
However, it is important not to cut into the frame.
One useful technique is to lightly press the side of the utility knife against the frame while cutting.
You also need to make sure that the blade does not tilt toward the frame. If the blade becomes angled, it can easily cut into the frame.
Installing Wallpaper Around the Electrical Panel
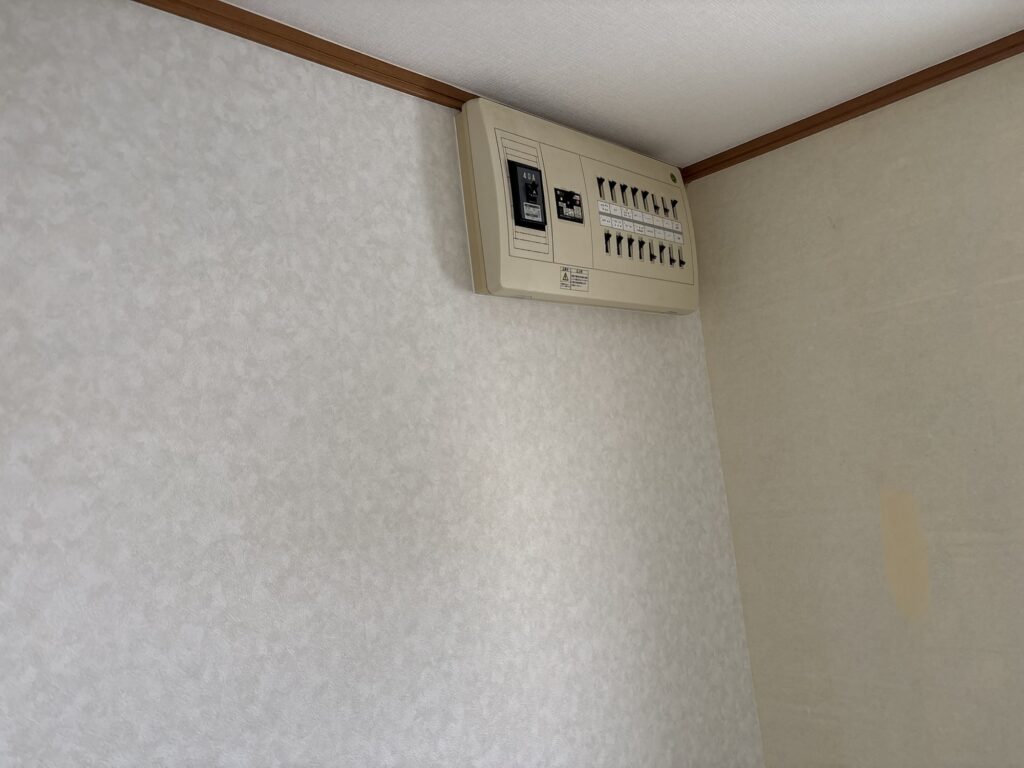
When installing wallpaper around the electrical distribution panel, I made several small cuts where the panel came into contact with the wallpaper.
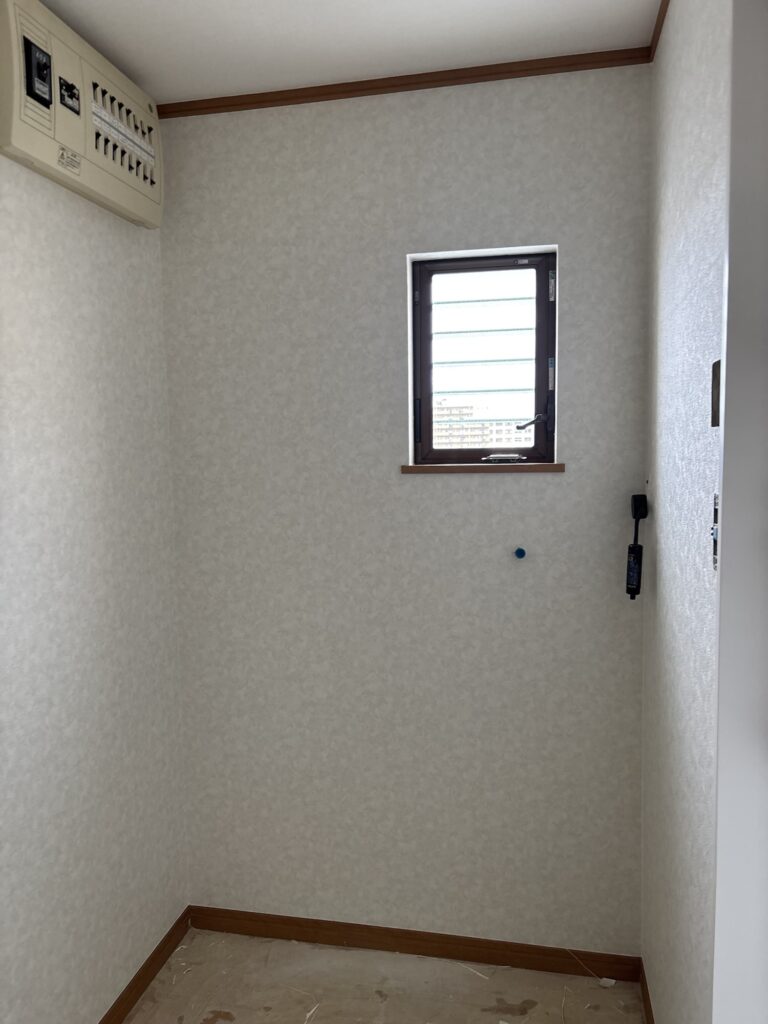
Making several small cuts instead of one large cut helps reduce the risk of tearing and makes the wallpaper easier to fit around the panel.
It is also a good idea to measure and check the position carefully so that the wallpaper can be installed as straight as possible.
Related Project
Replacing Wallpaper, Vinyl Flooring, and Soft Baseboards in a Bathroom Vanity Area
Preparing the Cushion Flooring
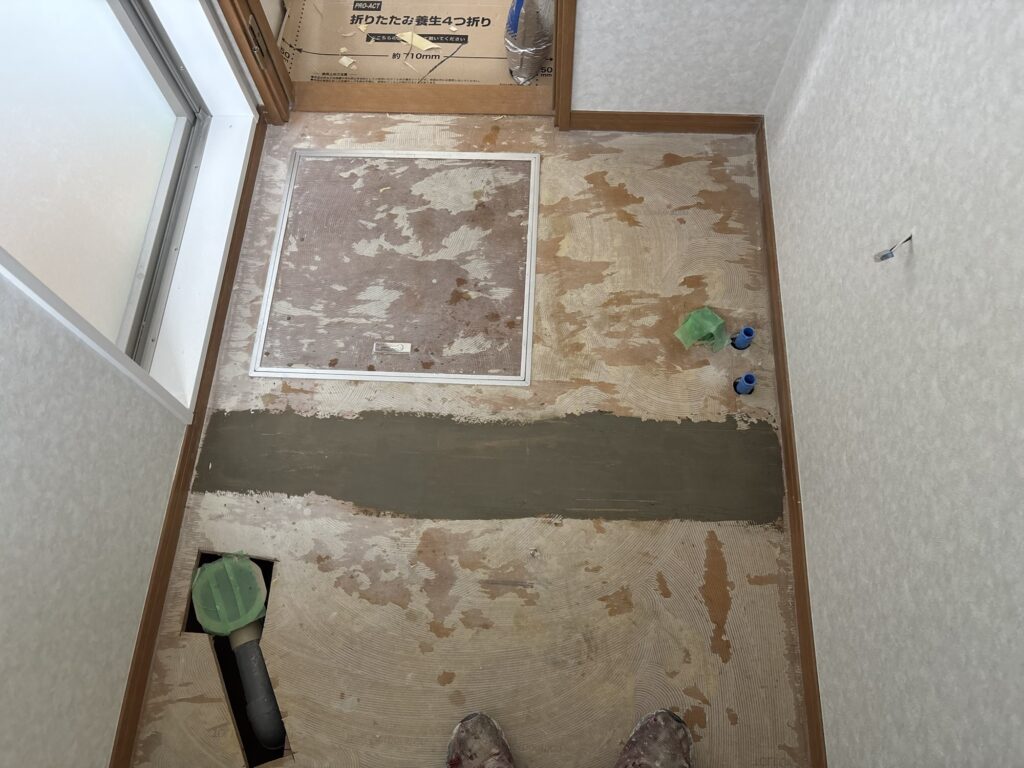
After all the wallpaper was installed, I moved on to the floor.
First, I carefully removed the loose backing paper from the old cushion flooring.
There was also a slight difference in height at the joints between the plywood sheets underneath, so I applied filler to these areas.
The person who installed the previous cushion flooring had not applied filler to the joints. Whether filler is necessary depends partly on the thickness and characteristics of the new flooring material.
Personally, if I am 100% confident that the subfloor will not show through the new cushion flooring, I may decide not to apply filler.
But if I am only 99% confident, I apply it.
After finishing a job, even a small concern can stay in my mind. On the way home, I might start thinking, “I wonder if that area was okay.”
I want to eliminate as many of those worries as possible before leaving the site.
Installing the Cushion Flooring
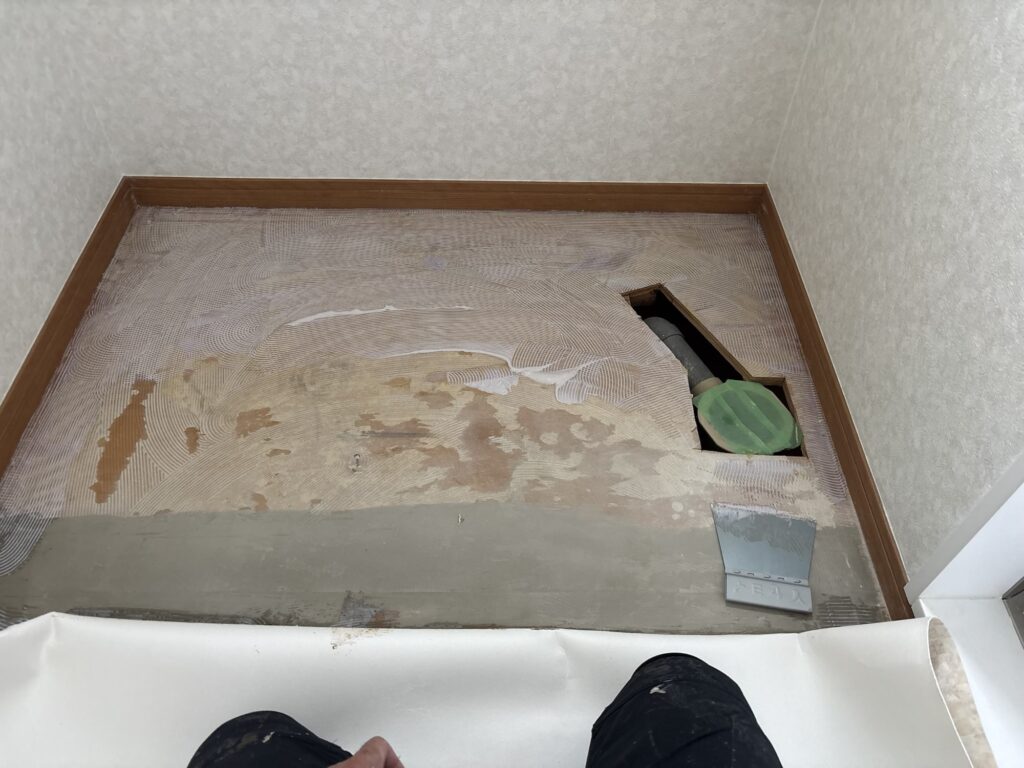
The cushion flooring material was 200 cm long and 180 cm wide.
The washroom floor measured 185 cm long and 130 cm wide, so I first trimmed away the unnecessary material.
I applied adhesive to half of the floor and installed the cushion flooring one half at a time.
When installing cushion flooring alone, positioning the material can be difficult. For this reason, I recommend deciding on the final position before applying the adhesive.
Once the adhesive has been applied, the material becomes much more difficult to move because it starts sticking to the subfloor.
After the entire sheet was installed, I worked from the center toward the edges to remove trapped air bubbles.
I then used a blade guide to hold the material in place and cut away the excess cushion flooring.
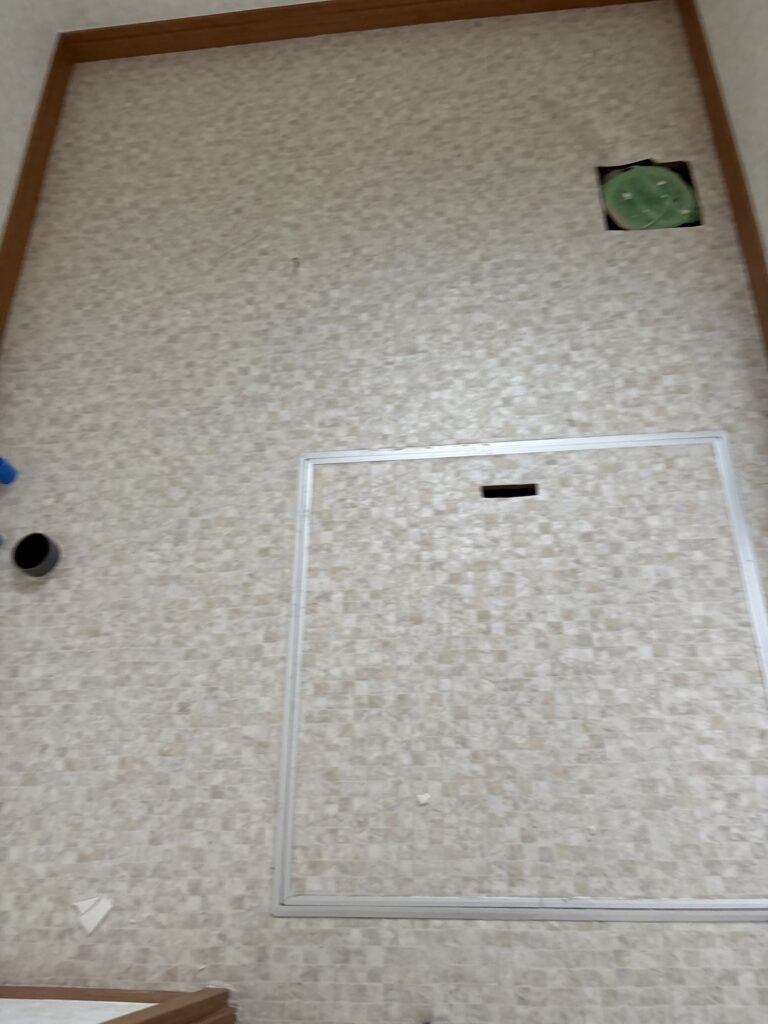
When making the final cuts, I removed the material little by little and gradually adjusted the length.
Trying to make the final cut all at once can be risky. If you accidentally cut off too much, it cannot be put back.
Taking your time and making small adjustments is much safer.
Related Project
Toilet Renovation: Replacing the Toilet, Wallpaper, and Vinyl Flooring in a Small Apartment Bathroom
Final Cleanup
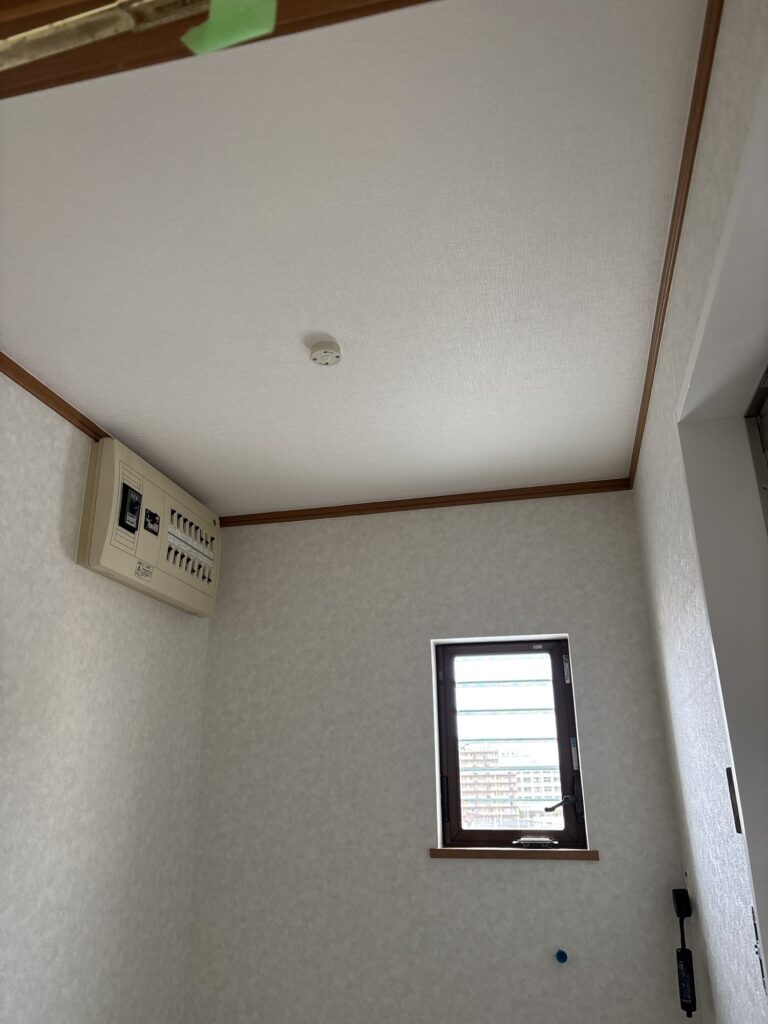
After completing the wallpaper and cushion flooring installation, I cleaned the work area and organized the tools and materials.
The entire project took approximately five hours.
Tools Used
Wallpaper Installation Tools
- Wallpaper pasting machine
- Smoothing tool
- Utility knife
- Measuring tape
- Heat gun
- Sanding tool
Cushion Flooring Installation Tools
- Utility knife
- Blade guide
- Smoothing tool
- Measuring tape
Professional Tips
Let the First Coat of Filler Dry in Advance
If possible, applying the first coat of filler the day before can save a significant amount of time.
Waiting for filler to dry can be one of the biggest time-consuming parts of wallpaper preparation.
Always Prepare a Spare Piece
Preparing one extra piece of wallpaper can make it much easier to deal with unexpected damage or mistakes.
It also allows you to clean and put away the wallpaper pasting machine before installing the final piece.
Plan the Starting Point Carefully
The starting position can make a big difference in the final appearance.
For the ceiling, I positioned the wallpaper joint at the ceiling light fixture so that the joint would be less noticeable.
Make Small Cuts Around Obstacles
When installing wallpaper around electrical panels, light fixtures, or other obstacles, several small cuts are often safer than making one large cut.
This reduces the risk of tearing the wallpaper.
Be Careful When Cutting Against Frames
When there is not enough room to use a blade guide, you may need to cut the wallpaper directly along the frame.
Keep the side of the utility knife lightly against the frame and make sure the blade does not tilt toward it.
A tilted blade can easily damage the frame.
Apply Filler When You Have Any Doubt About the Subfloor
Even a small difference in the subfloor can become visible through cushion flooring.
If there is any doubt about whether a joint or uneven area will show through, taking the extra time to apply filler can provide greater peace of mind.
Common Mistakes to Avoid
Cutting Too Much Material at Once
Do not try to make the final cut in one attempt.
Cut a small amount at a time and gradually adjust the fit. Cutting too much can leave a permanent gap.
Cutting Into the Door or Wall Frame
When cutting wallpaper along a frame, be careful not to allow the blade to penetrate the frame.
Keep the blade straight and use light pressure.
Applying Adhesive Before Checking the Position
When installing cushion flooring alone, positioning becomes difficult once adhesive has been applied.
Always check the position and plan how the material will be placed before applying the adhesive.
Ignoring Small Uneven Areas
Small differences in the subfloor may become visible after the cushion flooring is installed.
It is better to correct questionable areas before installation rather than worrying about them after the job is finished.
What I Learned From This Project
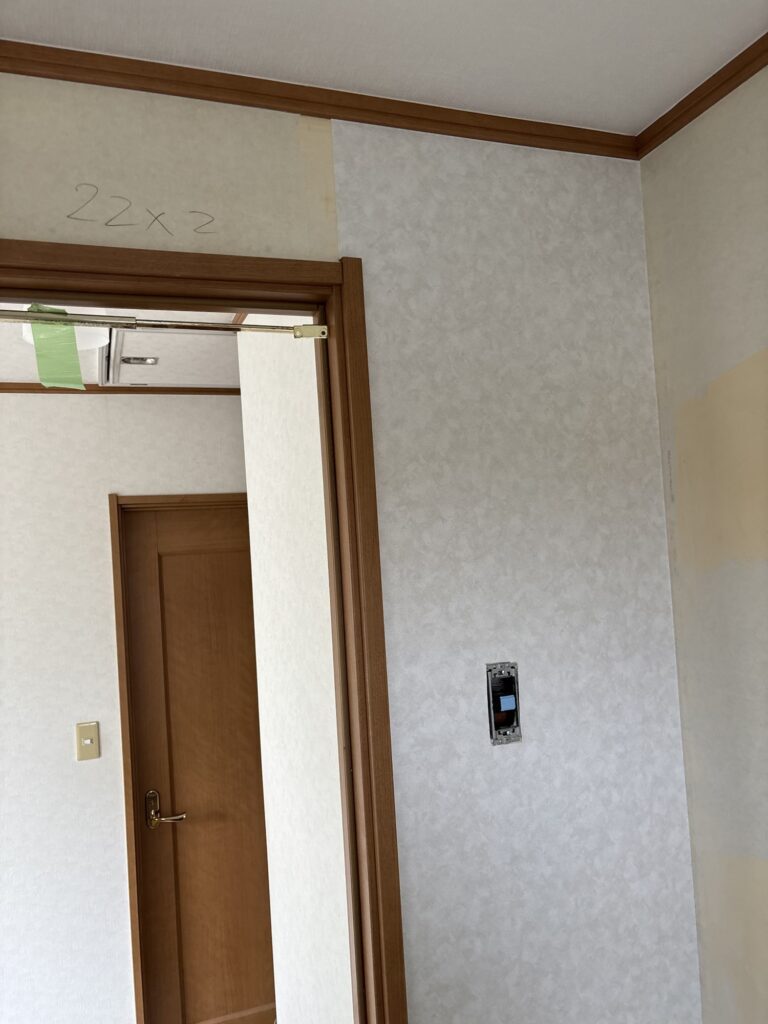
This project reminded me that preparation can make a major difference in both working time and the final result.
Having one coat of filler already applied before arriving at the site saved a significant amount of time.
I also found that difficult areas, such as narrow corners between two door frames, require careful planning before starting.
Another important lesson was that being slightly more careful during preparation can prevent unnecessary worries after leaving the site.
When I finish a job, I want to leave knowing that I did everything I reasonably could to achieve a clean and durable result.
FAQ
1. How long did this washroom renovation take?
The wallpaper and cushion flooring work took approximately five hours.
2. How much wallpaper was used?
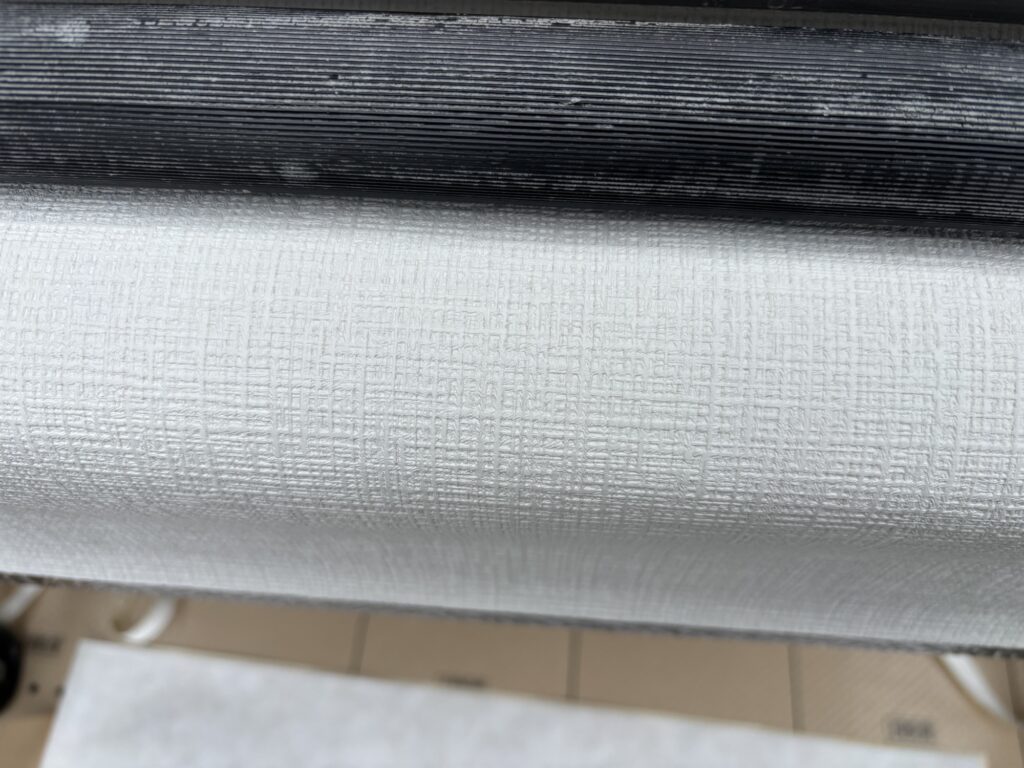
For the ceiling, two pieces measuring 132 cm each were used.
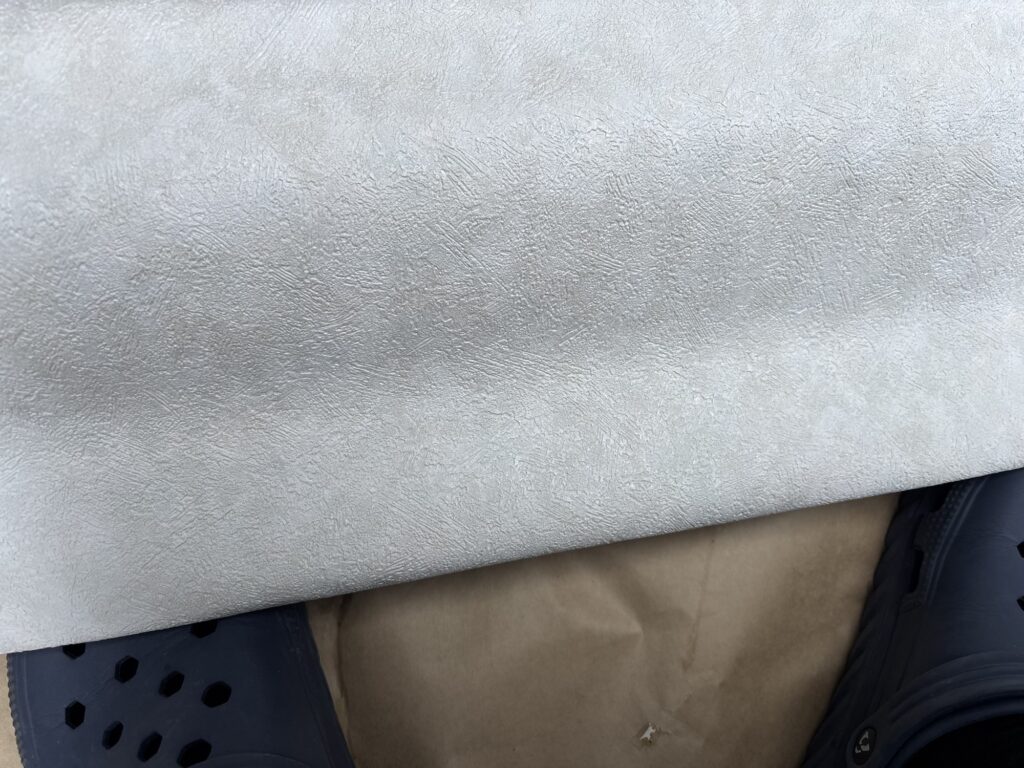
For the walls, six pieces measuring 232 cm, two pieces measuring 22 cm, and one piece measuring 48 cm were prepared. One additional 232 cm piece was also prepared as a spare.
3. Why was extra wallpaper prepared?
An extra piece can be useful if the wallpaper is damaged or an unexpected problem occurs during installation. It also allows the wallpaper pasting machine to be cleaned and put away before the final piece is installed.
4. Why was filler applied to the plywood joints?
There were slight differences in height at the joints between the plywood sheets. Filler was applied to reduce the possibility of those uneven areas showing through the cushion flooring.
5. Why should you decide the position before applying cushion flooring adhesive?
Once adhesive has been applied, the cushion flooring becomes more difficult to move because it starts sticking to the subfloor. Deciding the position beforehand makes installation easier.
6. How do you install wallpaper around a narrow corner?
When there is very little space between two frames, one edge of the wallpaper can be pressed against the frame and the corner can be formed with a smoothing tool. The opposite side can then be carefully trimmed along the frame.
7. How can you prevent wallpaper from tearing around an electrical panel?
Making several small cuts around the area where the panel meets the wallpaper can make installation easier and reduce the risk of tearing.
8. Why is a heat gun useful when installing wallpaper?
A heat gun can help speed up the drying process of filler. However, it should be used carefully to avoid overheating or damaging the surface.
9. Why is it important to remove old backing paper?
Loose or peeling backing paper can cause unevenness or adhesion problems under the new wallpaper. Removing unstable material helps create a better surface for the new installation.
10. What is the most important thing when cutting cushion flooring?
Make small cuts and adjust the fit gradually. Cutting too much material at once can create an irreversible gap.
Conclusion
This washroom renovation involved both wallpaper and cushion flooring replacement as part of a larger bathroom renovation.
The work included preparing repaired wall areas, installing wallpaper on the ceiling and walls, working carefully around door frames and an electrical panel, preparing the plywood subfloor, and installing new cushion flooring.
The total working time was approximately five hours.
For me, one of the biggest lessons from this project was that good preparation saves time and helps prevent problems later.
Small details, such as preparing an extra piece of wallpaper, checking the subfloor carefully, and making precise cuts around frames, can make a big difference in the quality of the finished work.
I believe that taking the time to eliminate potential problems before leaving the site is an important part of professional wallpaper and flooring installation.


Comments