

Project Information
- Project Type: Interior Renovation / Wallpaper Installation
- Location: 6th Floor Apartment
- Property Type: 1LDK Apartment
- Floor Area: Approximately 70 m²
- Work Area: Living Room, Bedroom, Hallway, and Ceiling Beams
- Crew: 3 Workers
- Working Time: 7.5 Hours
- Main Work: Finishing Putty, Ceiling Wallpaper Installation, and Beam Wallpaper Installation
Introduction
Today, I returned to the same apartment where I worked yesterday. The project is an interior renovation of a luxury apartment on the sixth floor.
The apartment is a 1LDK with a floor area of approximately 70 square meters. Three workers were assigned to today’s work.
Yesterday, we removed the old wallpaper and applied the initial layer of putty to prepare the wall and ceiling surfaces.
Today, our main tasks were applying finishing putty and installing new wallpaper on the ceilings and beams.
There were several challenging areas, including a long living room ceiling, a recessed ceiling, and an air conditioner installed inside the ceiling structure.
In this article, I’ll explain the work process and some techniques we used to achieve a clean wallpaper finish.
Related Project
Wallpaper Removal and Wall Preparation in a Luxury Tokyo Apartment – 70 m² Renovation Project
Job Site Report – Work Process
1. Applying Finishing Putty
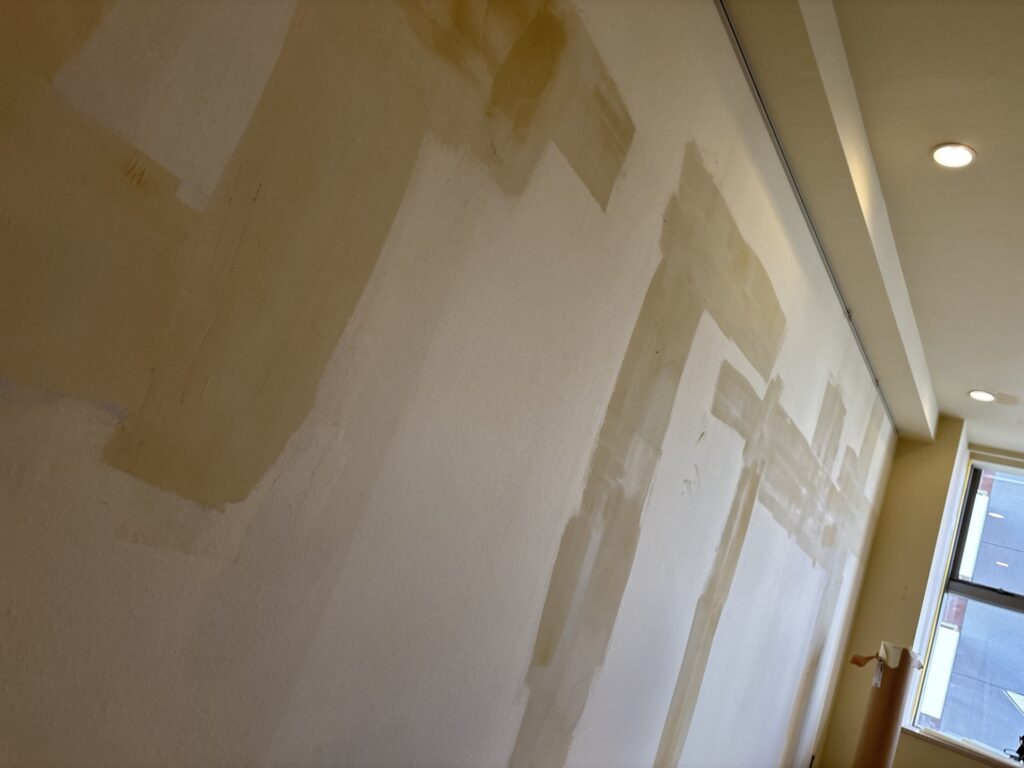
We started by applying finishing putty over the areas that had been prepared the previous day.
During the process, we noticed that some sections of the old backing paper had absorbed moisture from the putty and started to bubble.
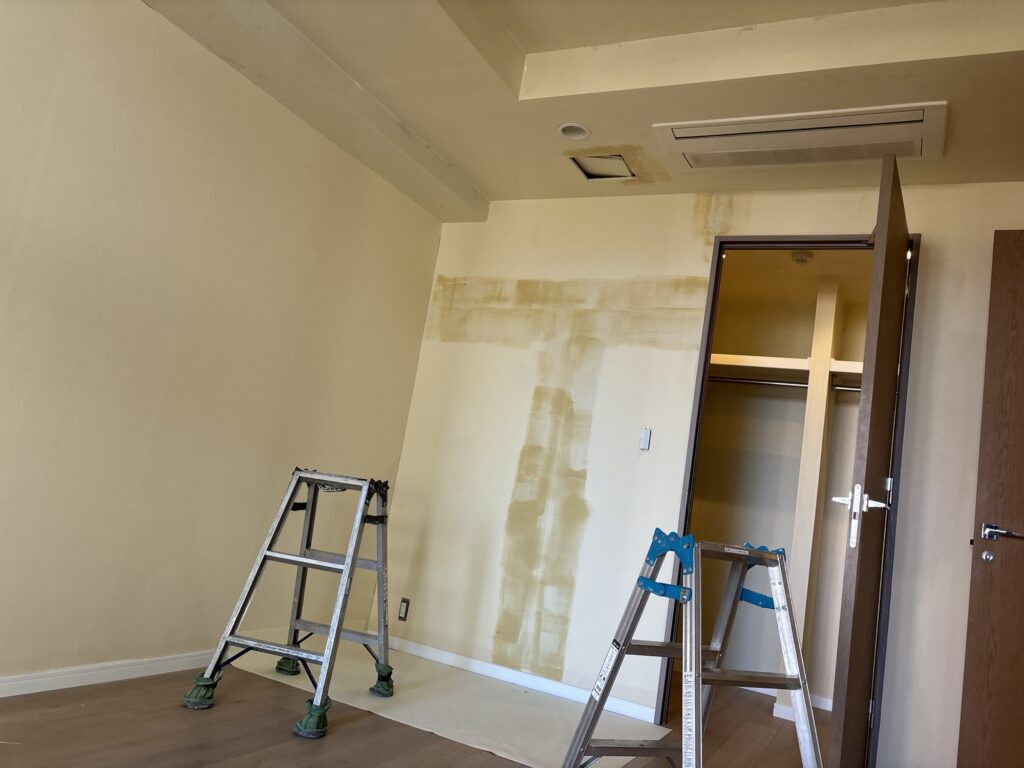
When this happens, simply applying more putty over the surface is not enough.
We removed the swollen backing paper and applied putty again to create a smooth surface.
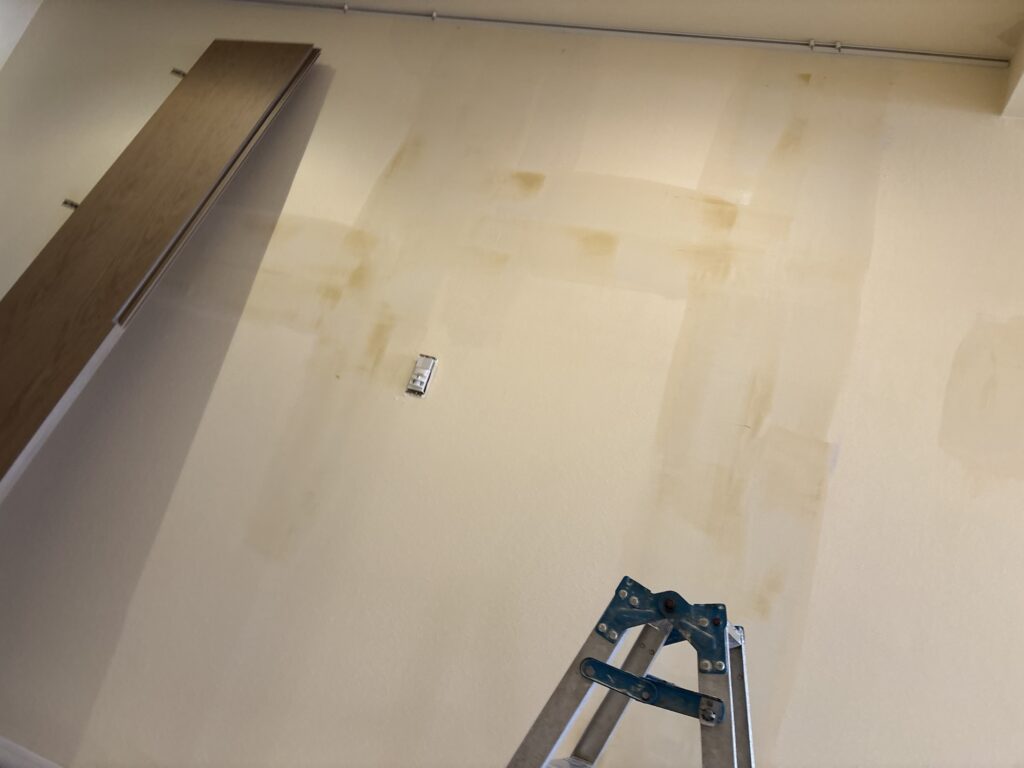
Proper surface preparation is essential because even small imperfections can become visible after installing thin wallpaper.
2. Measuring and Preparing the Wallpaper
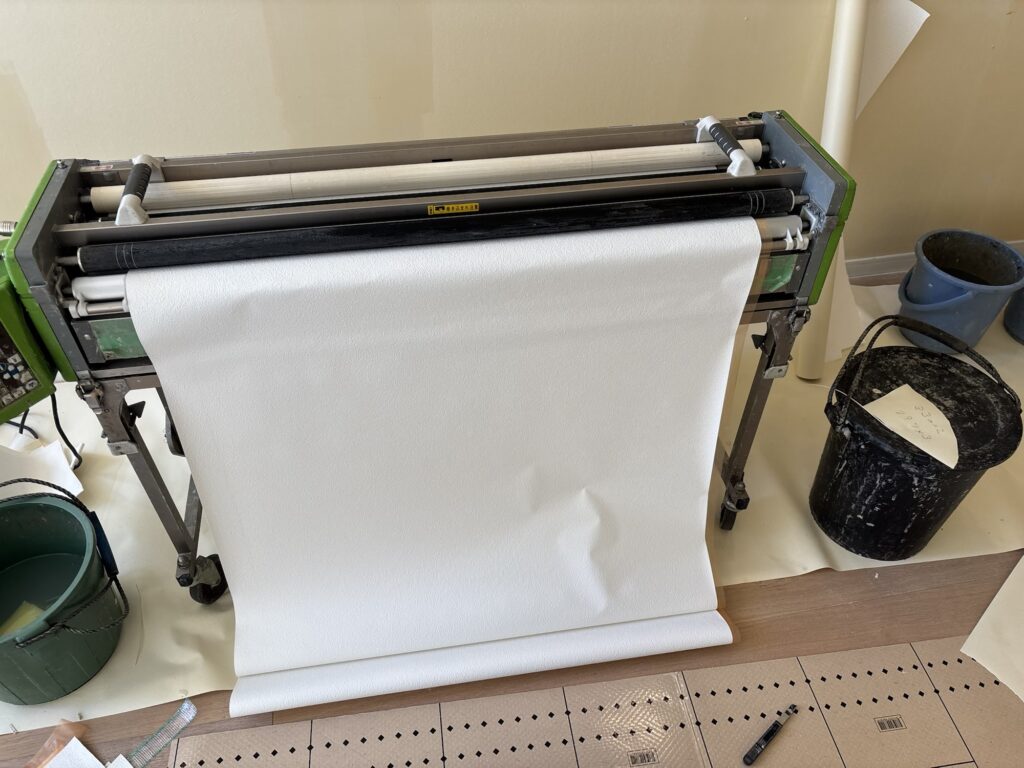
While waiting for the putty to dry, we measured the required wallpaper lengths.
We then used a wallpaper pasting machine to apply adhesive to the wallpaper.
Preparing the wallpaper in advance helped us work efficiently once the ceiling surfaces were ready.
3. Installing Wallpaper on the Living Room Ceiling
The living room ceiling was approximately 4.2 meters long.
To install the wallpaper safely and efficiently, we placed a scaffold board across two step ladders.
Using a scaffold board makes it easier to move along a long ceiling while supporting the wallpaper.
If we used only step ladders, we would have to repeatedly climb down, move the ladders, and climb up again.
For this ceiling, we used thin white wallpaper with a subtle stone-like texture.
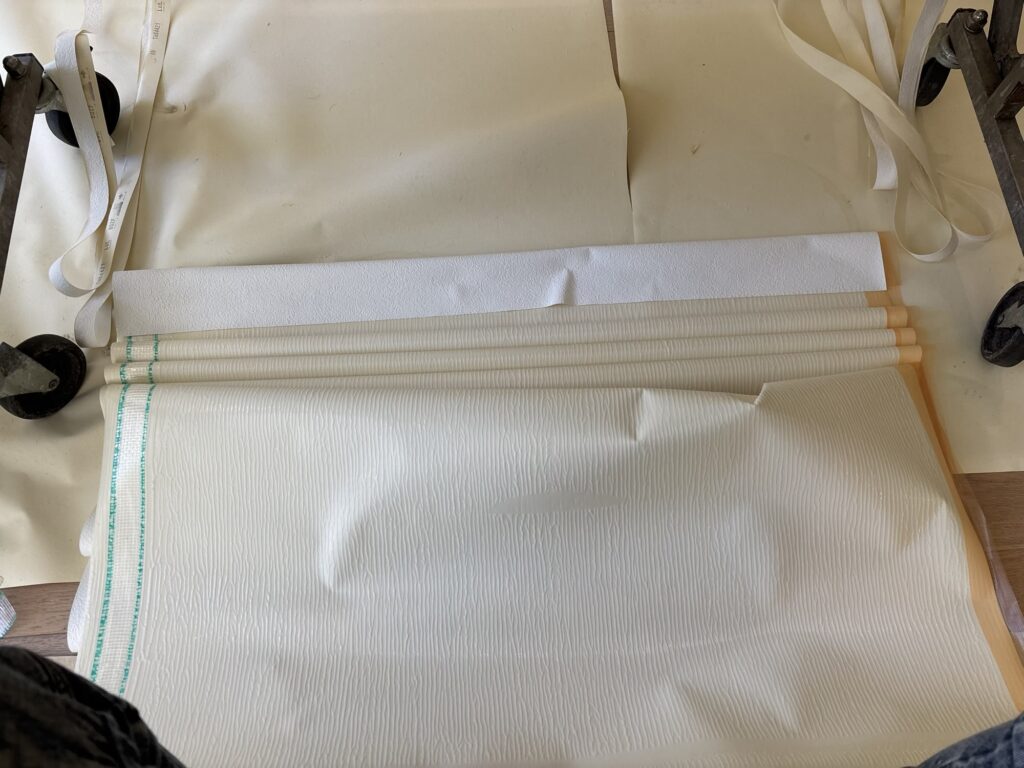
Because this material was thin and the joints could be difficult to hide, we attached underlay tape to the edge of the wallpaper before installation.
First, we installed the wallpaper in a straight line.
Next, we positioned the second sheet so that its edge overlapped the underlay tape on the first sheet.
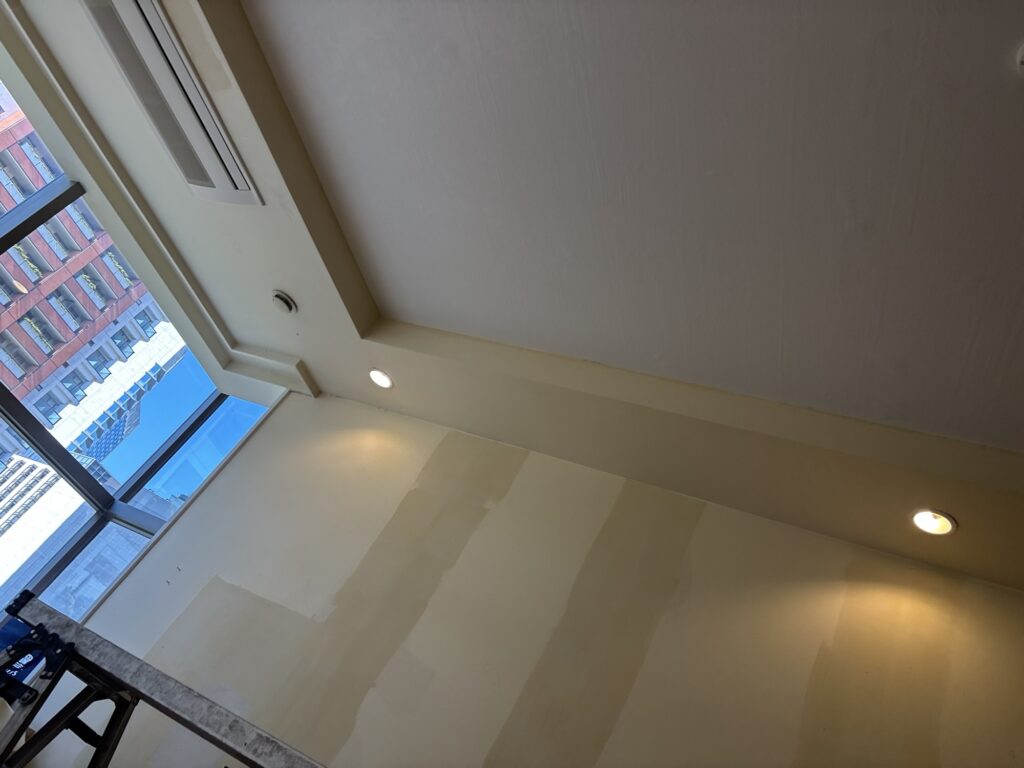
We then used a utility knife to cut through the overlapping sections and create a clean joint.
Depending on the wallpaper material and working conditions, this joint-cutting method can make it easier to achieve a neat finish, especially when working with long ceiling sheets.
4. Installing Wallpaper on the Bedroom and Hallway Ceilings
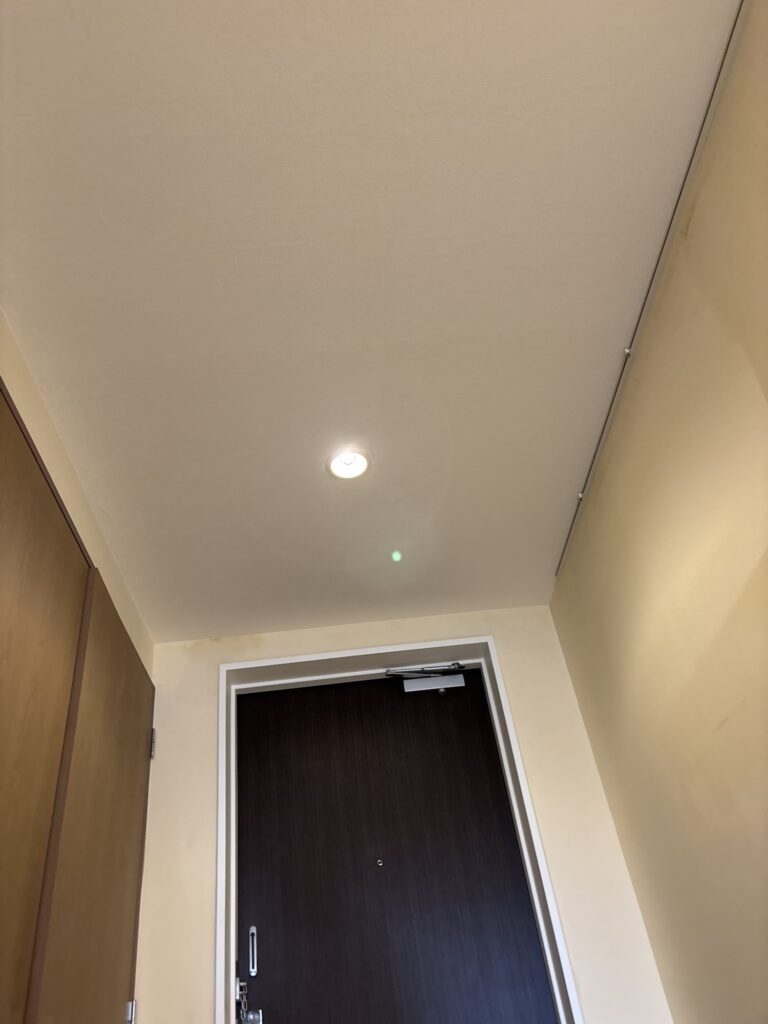
After completing the living room ceiling, we moved on to the bedroom ceiling and hallway ceiling.
We continued measuring, preparing, and installing the wallpaper while paying attention to alignment and joint quality.
Once these ceiling areas were finished, we moved on to the ceiling beams.
5. Installing Wallpaper on the Recessed Ceiling Beams
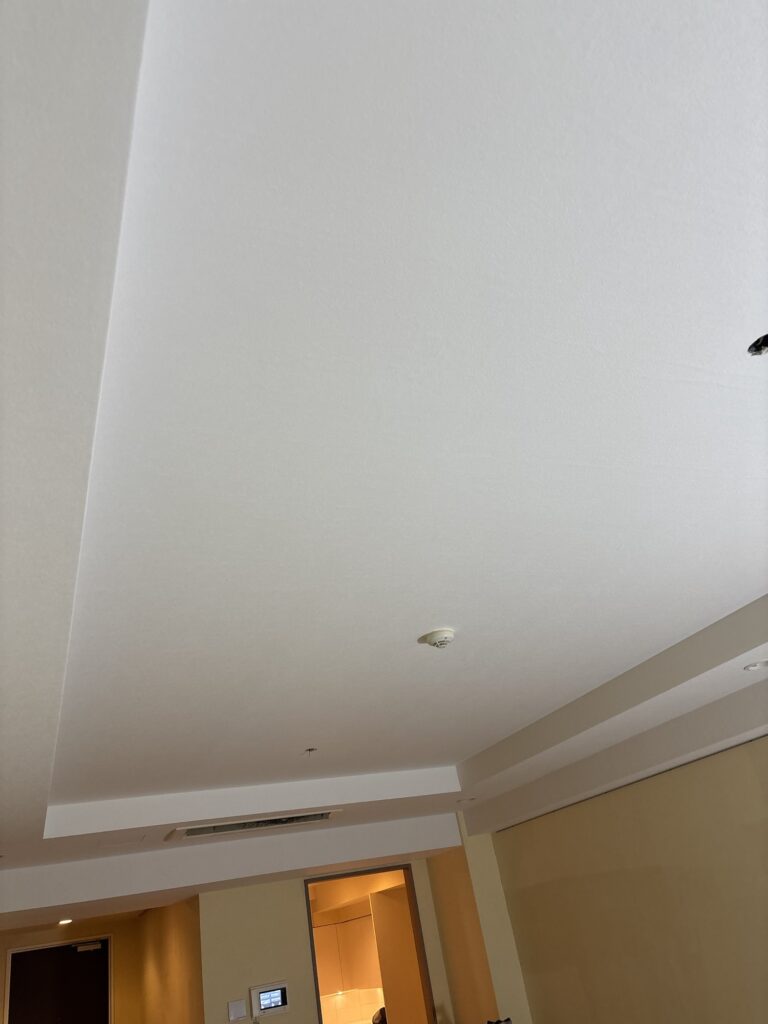
The ceiling design in this apartment featured a recessed ceiling, which is commonly found in luxury properties.
A recessed ceiling creates a sense of depth and makes a room feel more spacious and elegant.
However, its complicated shape makes wallpaper installation more challenging than working on a flat ceiling.
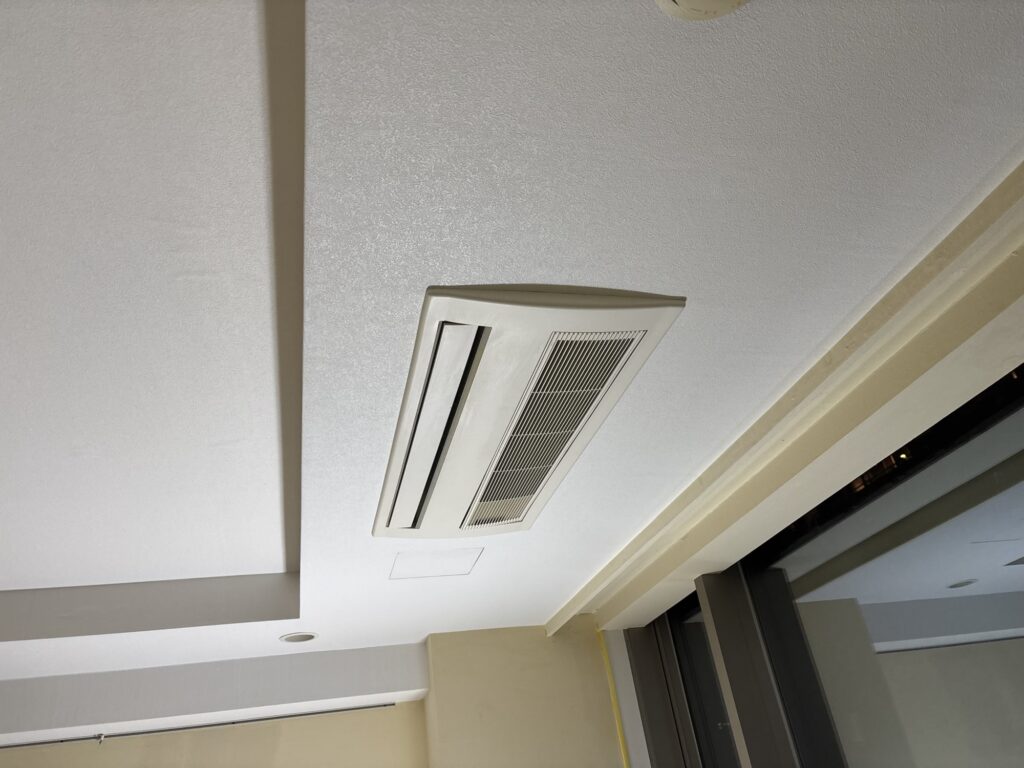
An air conditioner was installed inside the recessed ceiling structure.
To install the wallpaper behind the air conditioner, we slightly loosened its mounting screws and carefully lifted the unit.
We cut the wallpaper slightly longer than necessary so that we would have enough material to push behind the air conditioner.
This was important because we did not want any gaps to appear after the air conditioner was returned to its original position.
Before installing the wallpaper, we snapped a chalk line to establish a straight reference line.
This helped us prevent the wallpaper from gradually shifting out of alignment.
When wrapping the wallpaper around the beam corners, we used a wet sponge to carefully smooth the material and create sharp, clean corners.
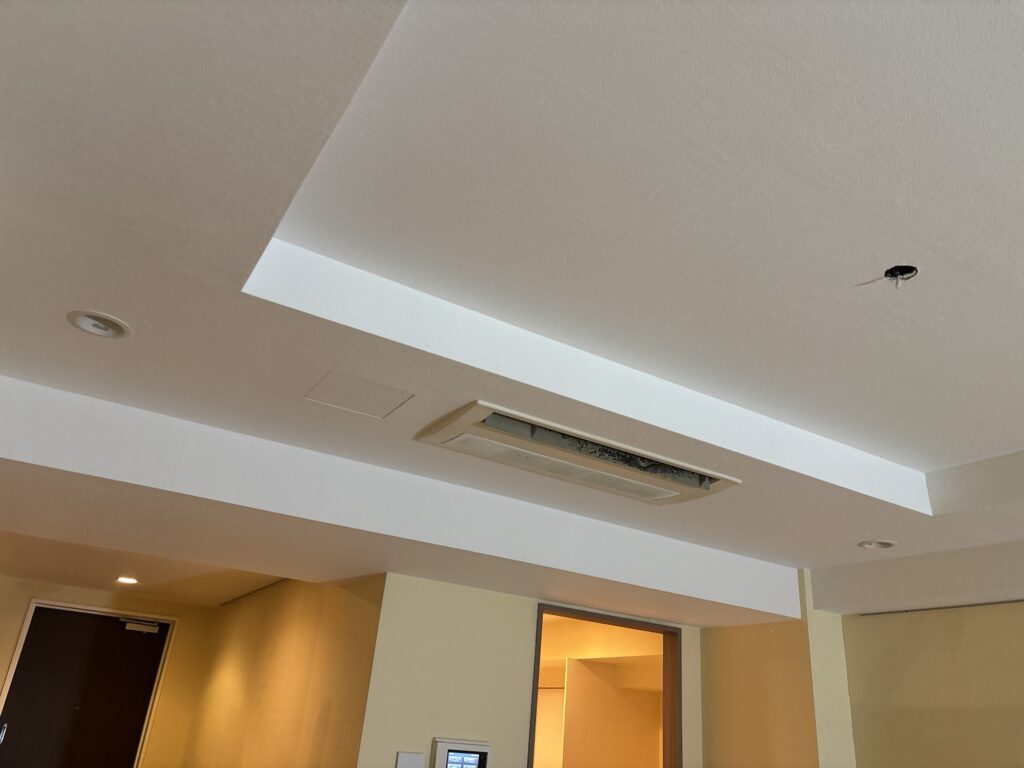
We then used a wallpaper smoother to push air bubbles outward toward the edges.
There were several obstacles in this area, including the air conditioner and multiple recessed ceiling lights.
Working around these fixtures required extra attention and patience.
Despite the challenges, we managed to complete the planned ceiling and beam work for the day.
The next time we visit this apartment, we plan to install wallpaper on the bedroom’s recessed ceiling and walls.
Tools Used
The main tools and materials used during today’s work included:
- Finishing Putty: Used to smooth the ceiling and wall surfaces before wallpaper installation.
- Putty Knife: Used to apply and spread putty.
- Wallpaper Pasting Machine: Used to apply adhesive evenly to the wallpaper.
- Measuring Tape: Used to measure ceiling dimensions and wallpaper lengths.
- Step Ladders: Used to reach elevated ceiling areas.
- Scaffold Board: Used to create a stable working platform between step ladders.
- Utility Knife: Used to cut wallpaper and create clean joints.
- Underlay Tape: Used to protect the underlying surface during joint cutting.
- Chalk Line: Used to establish straight reference lines before installation.
- Wet Sponge: Used to smooth wallpaper around corners.
- Wallpaper Smoother: Used to remove air bubbles and press wallpaper firmly against the surface.
Professional Tips
1. Use a Scaffold Board for Long Ceiling Installations
When installing wallpaper on a long ceiling, using a scaffold board between step ladders can improve working efficiency.
It reduces the need to repeatedly move the ladders and allows workers to handle long wallpaper sheets more comfortably.
Always make sure the platform is stable and suitable for the working conditions.
2. Remove Swollen Backing Paper Before Applying More Putty
When moisture causes old backing paper to bubble, remove the affected sections before applying another layer of putty.
Leaving swollen paper underneath can cause problems with the final wallpaper finish.
3. Use Underlay Tape When Working with Thin Wallpaper
Thin wallpaper can make joints more difficult to finish cleanly.
Using underlay tape during joint cutting helps protect the underlying surface and can make the process easier.
4. Leave Extra Wallpaper Behind Air Conditioning Units
When installing wallpaper around an air conditioner, make sure there is enough material to cover the area behind the unit.
Cutting the wallpaper too short can leave visible gaps after the air conditioner is returned to its original position.
5. Establish a Reference Line Before Installation
A recessed ceiling or beam can make it difficult to maintain straight wallpaper alignment.
Snapping a chalk line before installation provides a reliable reference and helps prevent alignment problems.
Common Mistakes to Avoid
1. Applying Putty Over Swollen Backing Paper
Applying putty directly over bubbled backing paper can lead to an uneven surface.
Remove the affected paper and prepare the surface again.
2. Using Only Step Ladders for Long Ceiling Areas
Moving step ladders repeatedly can slow down the installation process.
When appropriate, use a stable scaffold board to improve access and efficiency.
3. Cutting Wallpaper Too Short Around Air Conditioners
If the wallpaper does not extend far enough behind the air conditioner, gaps may become visible after installation.
Always allow sufficient extra material.
4. Installing Wallpaper Without a Reference Line
Without a reference line, wallpaper can gradually become misaligned, especially around complicated ceiling structures.
Check the alignment before starting.
5. Rushing Around Ceiling Fixtures
Air conditioners and recessed lights create obstacles that require careful cutting and positioning.
Rushing these areas can result in poor finishing or unnecessary damage to the wallpaper.
What I Learned From This Project
Today’s work reminded me how important preparation and planning are when installing wallpaper.
A flat ceiling is relatively straightforward, but recessed ceilings and beams require more attention because of their complicated shapes.
I also realized that using the right equipment can make a significant difference in work efficiency.
The scaffold board was especially useful when installing wallpaper on the long living room ceiling.
Another important lesson was the need to pay attention to small details around air conditioners and other fixtures.
Even when the main ceiling surface looks clean, poorly finished edges or gaps behind equipment can affect the overall quality.
I want to continue improving my techniques so that I can handle more complicated interior renovation projects with confidence.
Related Project
Full Wallpaper Replacement in a 140㎡ 2LDK Apartment – Ceiling and Wall Installation
FAQ – Frequently Asked Questions
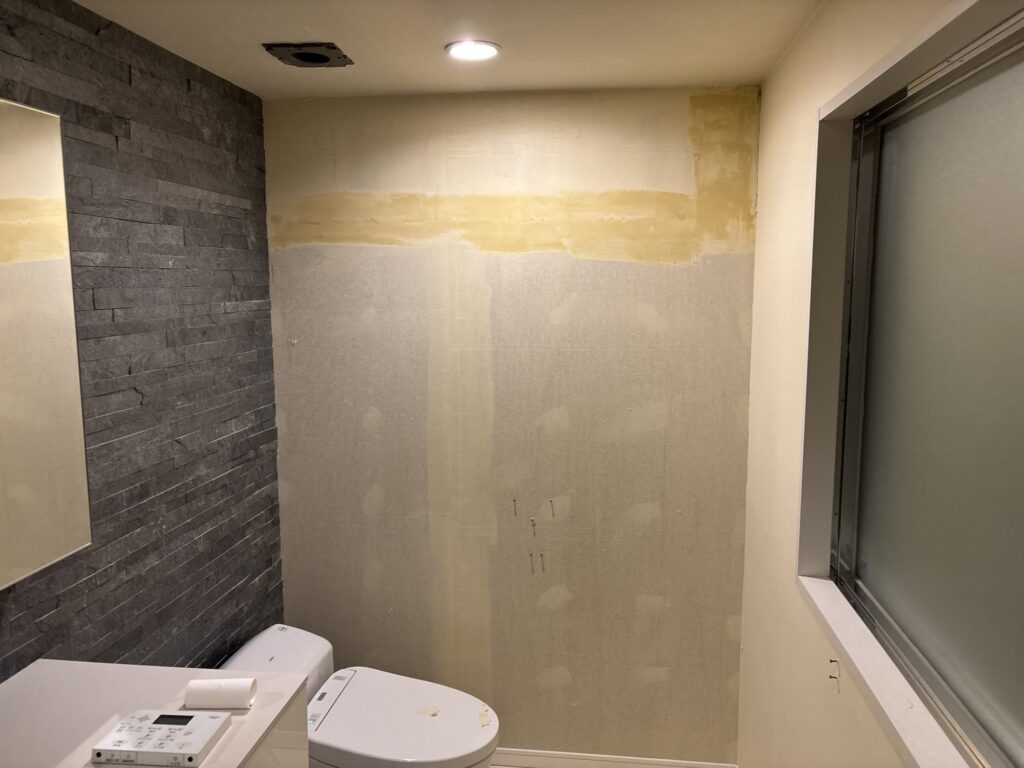
1. Why is finishing putty necessary before wallpaper installation?
Finishing putty helps create a smooth and even surface. Without proper preparation, small imperfections may become visible through the new wallpaper.
2. Why does backing paper sometimes bubble after applying putty?
Old wallpaper backing paper can absorb moisture from the putty. This can cause certain areas to swell or lose adhesion.
3. Why do wallpaper installers use scaffold boards?
Scaffold boards provide a longer working platform between step ladders. They are particularly useful when installing wallpaper on long ceilings.
4. What is underlay tape used for in wallpaper installation?
Underlay tape is used during joint cutting to protect the underlying surface from being damaged by the utility knife.
5. Why is thin wallpaper more difficult to install?
Thin wallpaper can make surface imperfections and joints more noticeable. Careful surface preparation and accurate joint cutting are important.
6. What is a recessed ceiling?
A recessed ceiling is a ceiling design in which the central section is positioned higher than the surrounding ceiling area. It creates depth and can give a room a more spacious and elegant appearance.
7. How do you install wallpaper behind an air conditioner?
Depending on the installation and manufacturer’s requirements, the air conditioner may need to be carefully moved or supported to provide access. In this project, we slightly loosened the mounting screws and lifted the unit to install the wallpaper behind it.
8. Why should you leave extra wallpaper around air conditioners?
Leaving extra material helps ensure that the area behind the unit is fully covered after the air conditioner is returned to its original position.
9. Why do installers use a chalk line before installing wallpaper?
A chalk line provides a straight reference for positioning wallpaper. It helps maintain consistent alignment across large or complicated ceiling areas.
10. How long did this wallpaper installation project take?
Today’s work took approximately seven and a half hours with a crew of three workers.
Related Project
Black Wallpaper Installation in a Lived-In Tokyo Apartment: Kitchen and Living Room
Conclusion
Today, we continued the interior renovation of a 70-square-meter luxury apartment.
After applying finishing putty, we installed wallpaper on the living room, bedroom, and hallway ceilings. We also worked on the recessed ceiling beams around the air conditioner and recessed lights.
The complicated ceiling design and multiple fixtures made the installation more challenging than working on a standard flat ceiling.
However, using the right tools, preparing the surfaces carefully, and checking alignment helped us complete the planned work.
We spent approximately seven and a half hours on today’s project.
Next time, we plan to continue with the bedroom’s recessed ceiling and wall wallpaper installation.
I’m looking forward to seeing the entire apartment come together as the renovation progresses.


Comments