

Project Type: Interior Renovation / Drywall Installation
Location: 4th Floor Apartment, Japan
Property Type: 3LDK Apartment
Floor Area: Approximately 65 m²
Work Area: Bathroom Vanity Area, Laundry Area, and Part of a Living Room
Crew: 3 Company Workers and 2 Carpenters
Main Work: Installing New Drywall, Cutting Pipe Openings, and Preparing Wall Surfaces
Introduction
Today, I worked on an interior renovation project in a fourth-floor apartment in Japan.
The apartment has three bedrooms, a living room, a dining area, and a kitchen, with a total floor area of approximately 65 square meters.
During an earlier stage of the renovation, we had already installed wallpaper on some ceiling sections and beams.
This time, new drywall needed to be installed because parts of the ceilings and walls had been opened to replace the water heater and reroute the plumbing pipes.
Two carpenters joined our three company workers. The carpenters handled the wooden framing, while we focused on installing the drywall.
My main responsibility was installing drywall in the laundry area and bathroom vanity area, as well as part of a room.
Related Project
Job Site Report
1. Installing Drywall in the Laundry Area
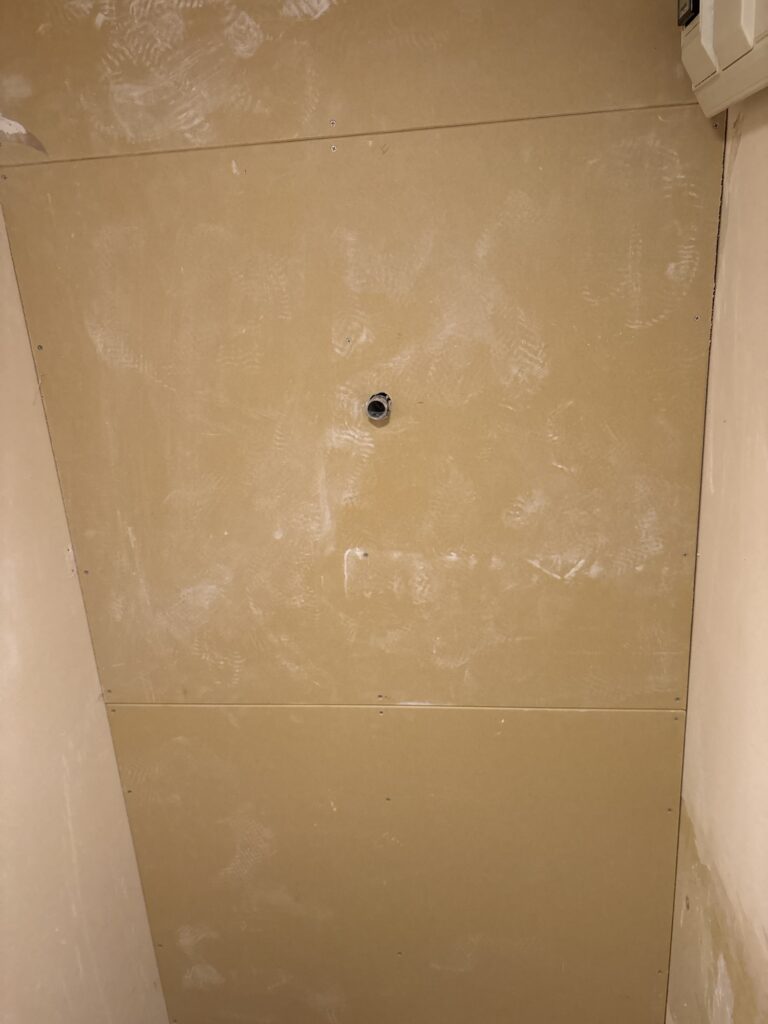
First, I started installing drywall around the washing machine space.
The wall was 103 cm wide, so I planned to install the drywall horizontally using multiple pieces.
At the bottom of the wall, there was a wooden baseboard approximately 6 cm high. I needed to cut the bottom section of the drywall to fit around it.
However, I made a mistake here.
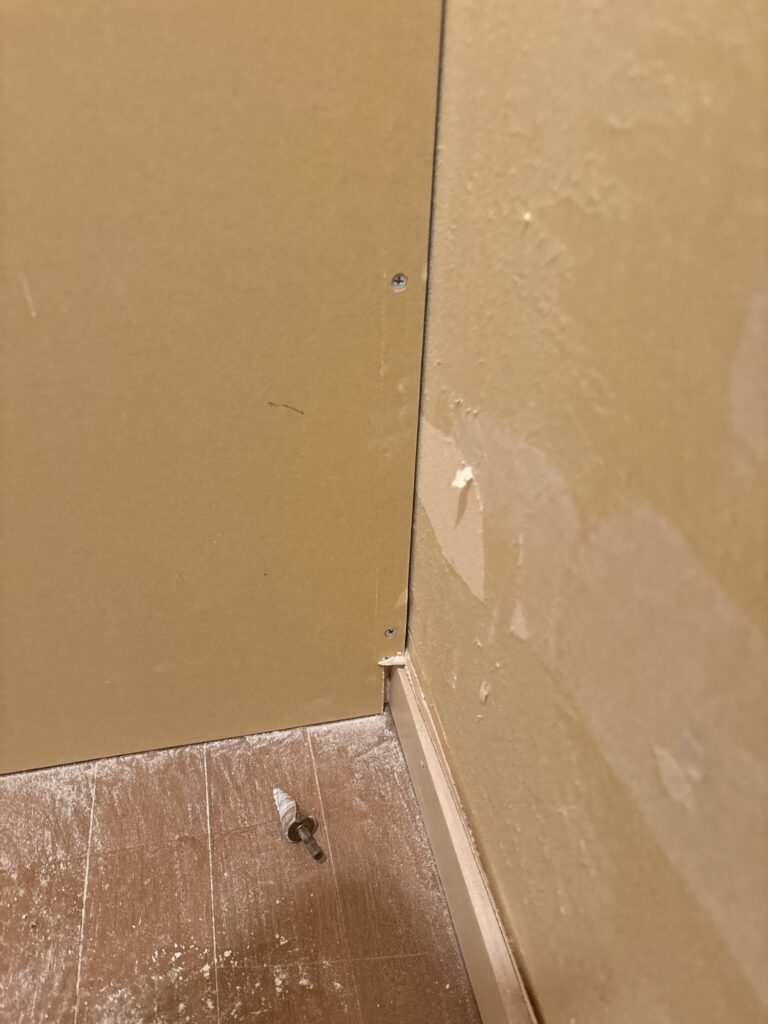
I estimated the thickness of the baseboard instead of measuring it accurately. As a result, a small gap appeared between the drywall and the baseboard.
This will make the joint compound work more difficult when we prepare the surface for wallpaper installation.
Next, I needed to make openings for the plumbing pipes.
I measured the positions carefully with a tape measure and drilled small holes to mark the locations.
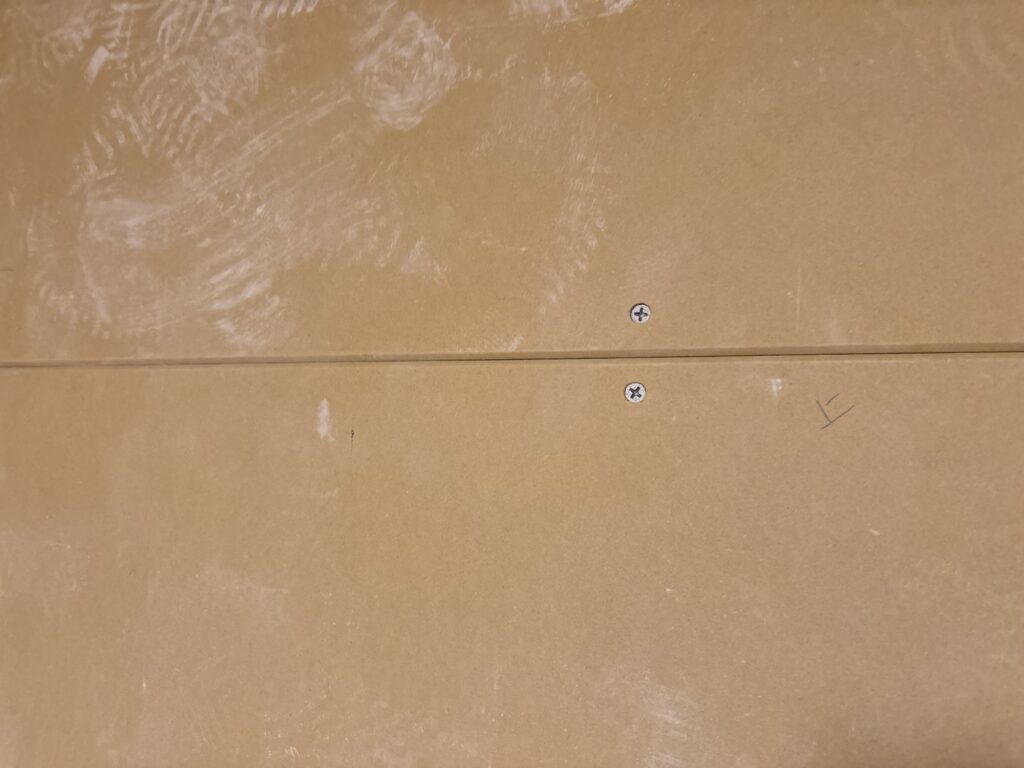
I started with smaller holes and gradually enlarged them while checking the positions.
If I had more carpentry experience, I might be able to make the openings in one attempt. However, I prefer accuracy over speed, especially when working around existing pipes.
When a drywall panel was slightly too wide to fit, I used a drywall rasp to remove some material and adjust its size.
When fastening the drywall with screws, I kept them approximately 2–3 cm away from the edges to reduce the risk of breaking the board.
After making these adjustments, I successfully finished installing the drywall in the laundry area.
2. Installing Drywall Around the Bathroom Vanity
Next, I moved on to the wall behind the bathroom vanity.
This section was 83 cm wide.
We installed the wooden framing ourselves before attaching the drywall.
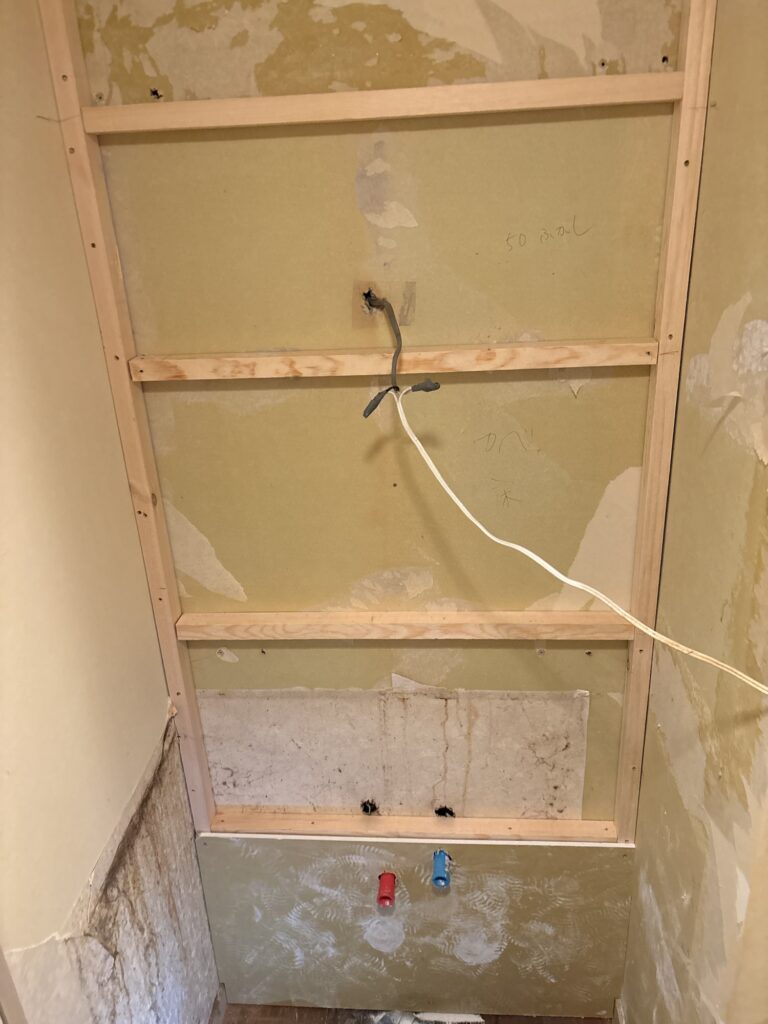
The bottom section required an opening for the plumbing pipes.
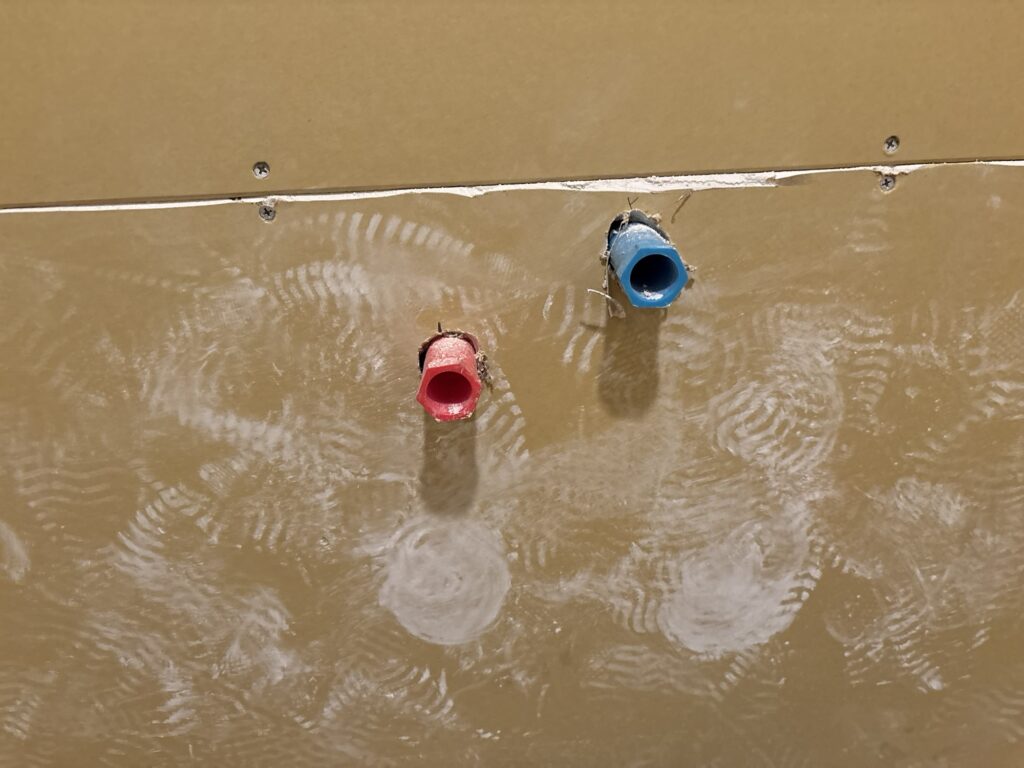
As before, I measured the pipe positions with a tape measure and drilled the necessary holes.
I initially cut the drywall to exactly 83 cm, matching the measured wall width.
However, the panel was too tight to fit into the opening.
I used a drywall rasp to remove some material until it fitted.
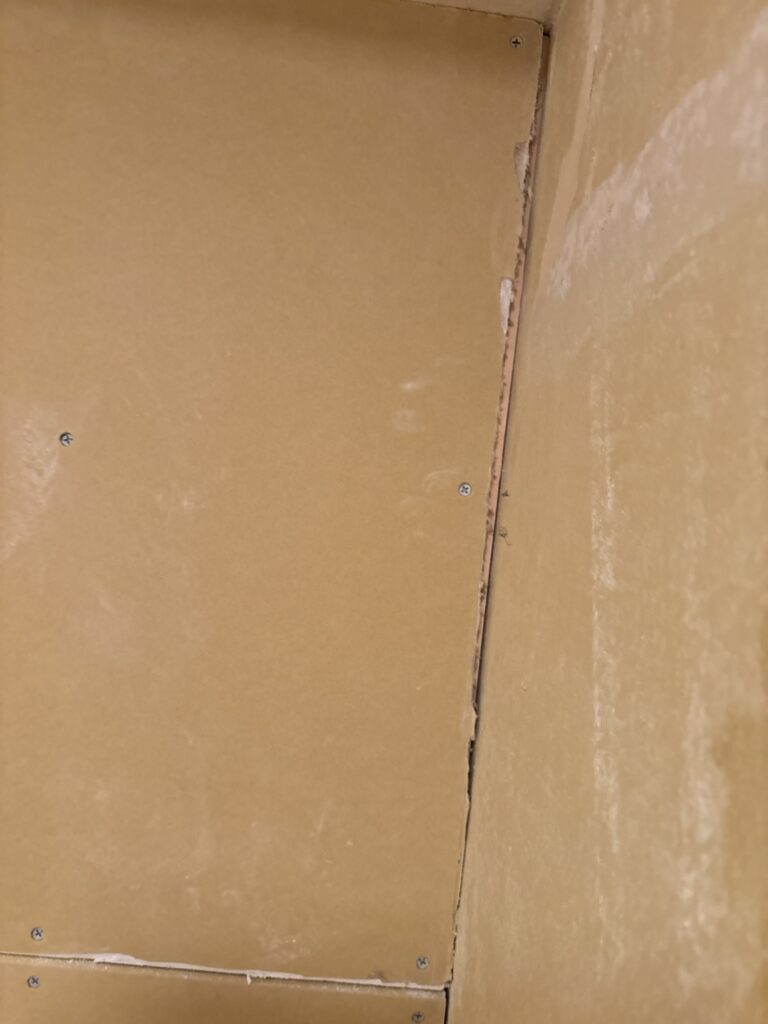
After installing the panel, I noticed a small gap along the side.
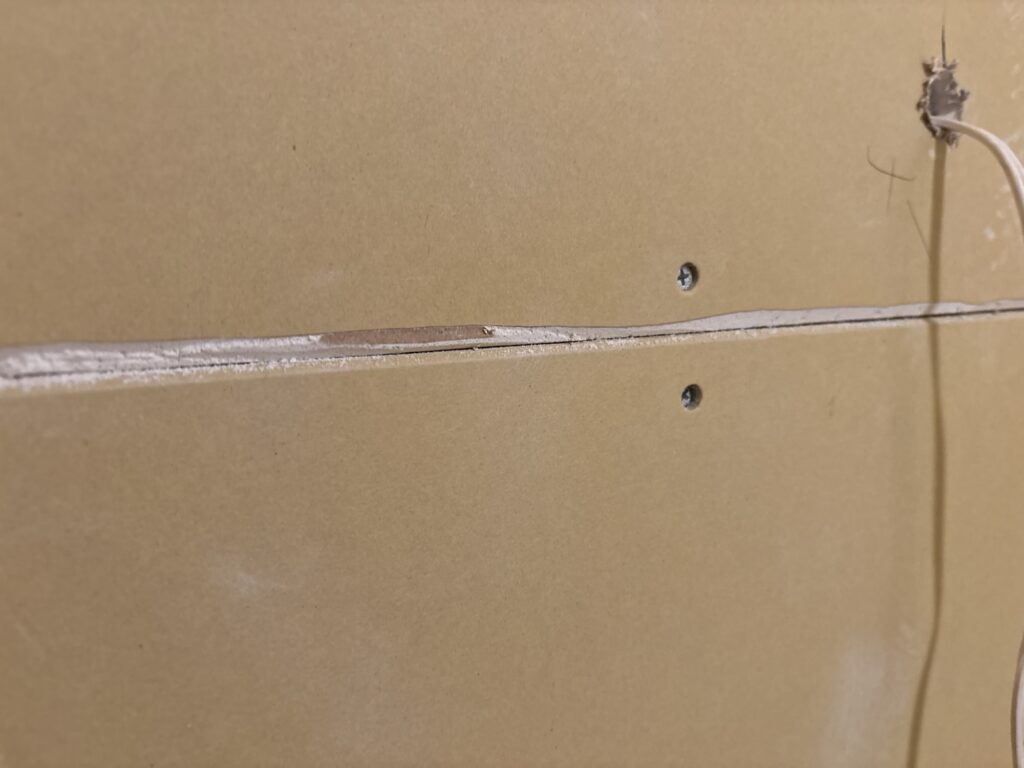
Looking back, I should have removed the material more carefully and adjusted the size little by little.
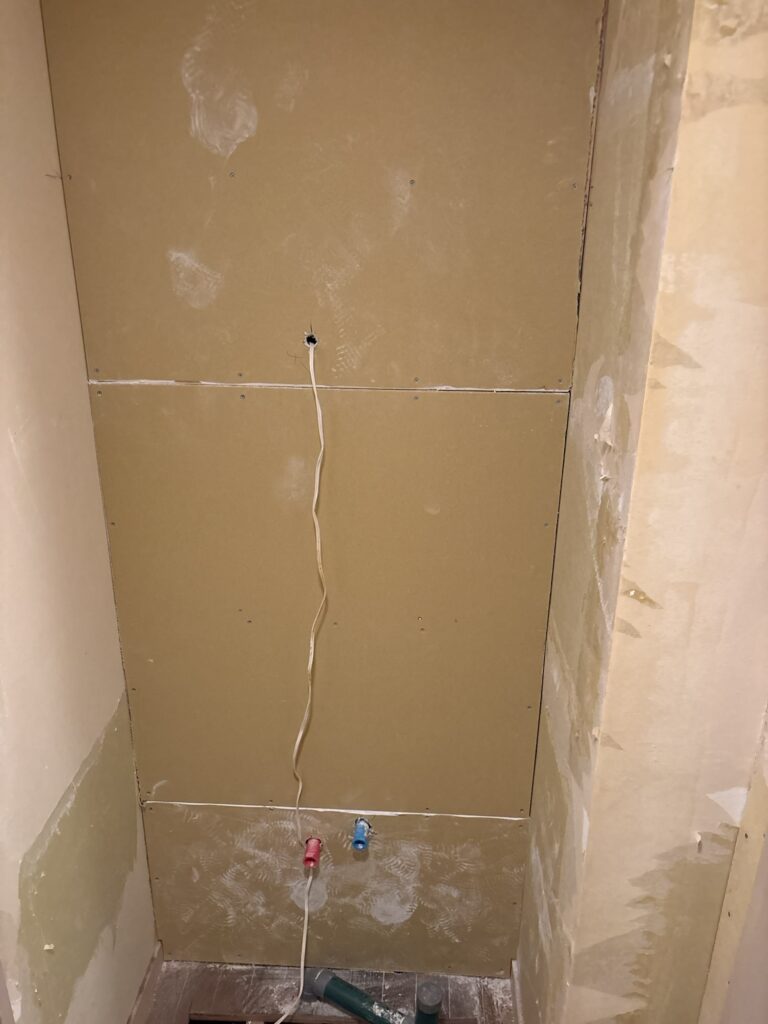
The drywall installation around the vanity was completed successfully, but this was another good reminder that careful measuring and fitting are important.
3. Installing Drywall in Part of the Living Area
After finishing the bathroom area, I moved on to part of the living area.
First, I installed drywall around a box-shaped section designed to conceal the plumbing pipes.
The remaining wall had a different structure.
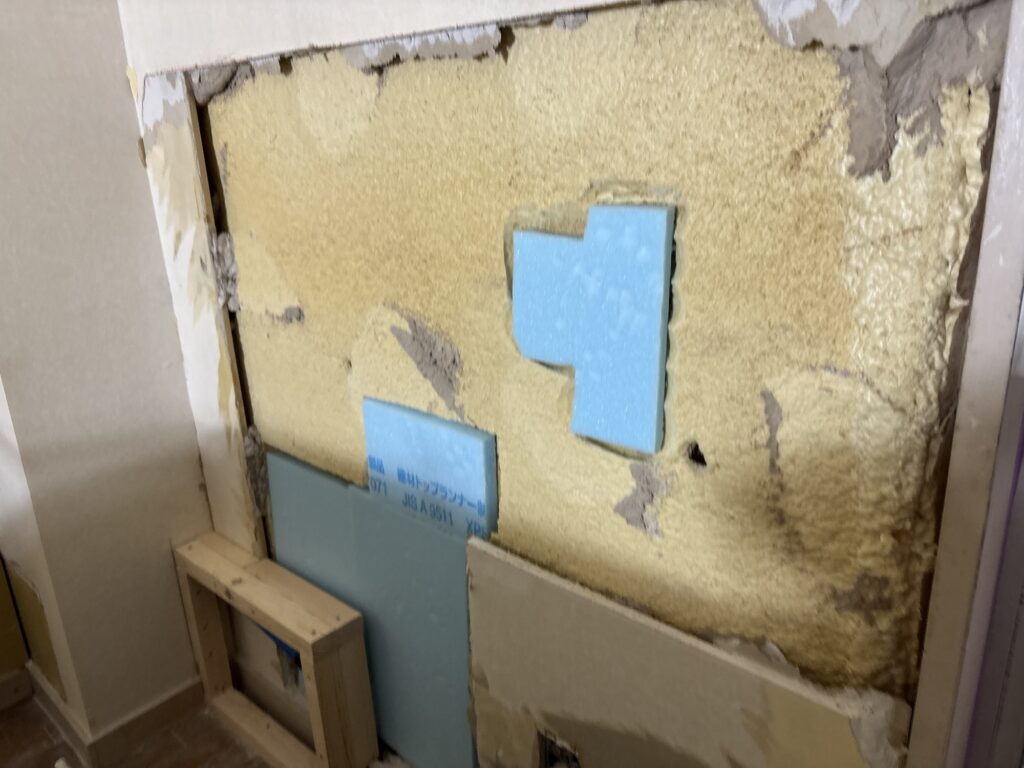
It consisted of a mortar surface with insulation underneath, so I could not simply use screws to attach the drywall.
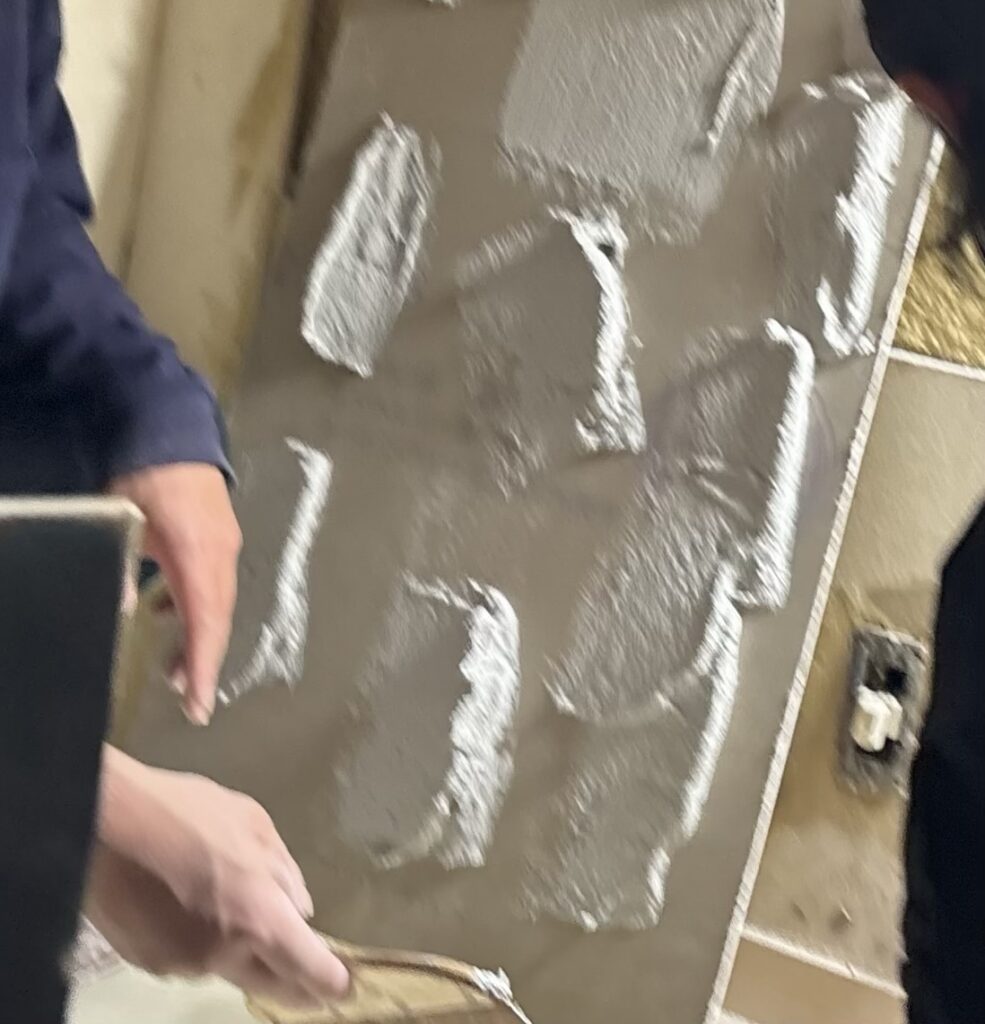
Instead, I used GL adhesive, a type of gypsum-based adhesive commonly used for drywall installation in Japan.
I applied the adhesive to attach the drywall to the wall surface.
One challenging area was around the window frame.
The window frame had a recessed section approximately 1 cm deep, which made it difficult to slide the drywall into position.
This experience taught me that the installation order matters.
Next time, I would install the panels around difficult recessed sections first. This should make it easier to fit the remaining panels without unnecessary adjustments.
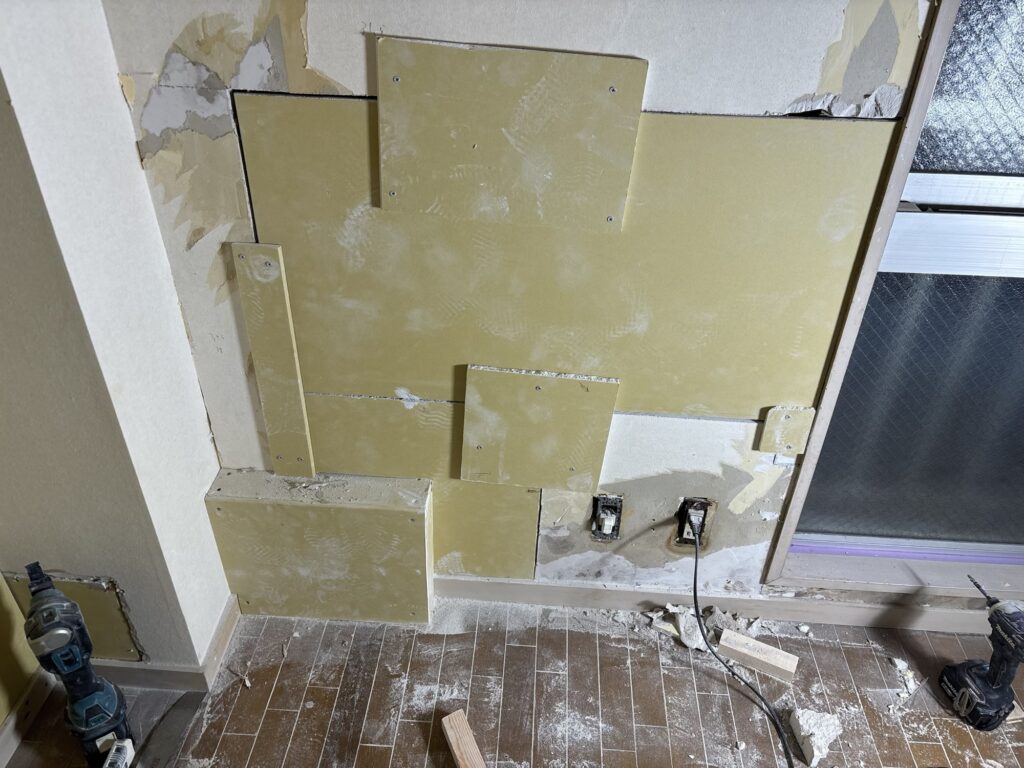
After completing these sections, the drywall installation for the day was finished.
Related Project
Replacing Water-Damaged Drywall and Rebuilding a Laundry Area Before Wallpaper Installation
Tools Used
- Tape Measure – For measuring wall dimensions and pipe locations.
- Drill – For making openings for plumbing pipes.
- Drywall Rasp – For adjusting panel sizes and smoothing cut edges.
- Utility Knife – For cutting drywall panels.
- Screw Gun – For fastening drywall to wooden framing.
- Drywall Screws – For securing drywall panels.
- GL Adhesive – For attaching drywall to mortar surfaces.
- Pencil – For marking cutting lines and measurements.
Carpentry Tips
1. Measure Baseboard Thickness Before Cutting
When installing drywall around an existing wooden baseboard, measure its actual thickness before cutting the board.
Even a small gap can create additional work when applying joint compound before wallpaper installation.
2. Make Pipe Openings Gradually
When making holes for plumbing pipes, start with a small opening and check the position before enlarging it.
This approach helps prevent cutting too much material or making an opening in the wrong location.
3. Leave Enough Distance from Drywall Edges
When installing screws, avoid placing them too close to the edges.
Keeping an appropriate distance helps reduce the risk of damaging or breaking the drywall.
4. Adjust Panel Sizes Little by Little
If a drywall panel does not fit, use a drywall rasp to remove small amounts of material.
Check the fit frequently instead of removing too much at once.
5. Consider the Installation Order
Pay attention to recessed areas, window frames, and other difficult sections before deciding the installation order.
Installing these sections first can make the entire job easier.
Common Mistakes to Avoid
1. Estimating Measurements Instead of Measuring
I estimated the baseboard thickness instead of measuring it accurately.
This created a small gap that will require additional joint compound work.
Always measure carefully, even when the difference seems small.
2. Cutting Drywall Too Large
I cut one panel to the exact measured width, but it was too tight to fit.
When working in areas with uneven framing or limited space, allow for careful fitting and adjustments.
3. Removing Too Much Material with a Drywall Rasp
Removing too much material can create unnecessary gaps.
It is better to rasp a little at a time and check the fit repeatedly.
4. Ignoring Difficult Installation Areas
The recessed window frame made the installation more difficult than expected.
Consider these obstacles before deciding which panels to install first.
What I Learned From This Project
Today’s project reminded me that drywall installation requires more than simply cutting panels and attaching them to walls.
Accurate measurements, careful adjustments, and proper installation order all make a big difference.
I made a few mistakes, especially around the baseboard and bathroom vanity wall. These mistakes could have been avoided if I had taken more time to measure and adjust the panels.
I also realized that I need to improve my carpentry skills.
I want to become more efficient, but I believe accuracy should come first. Speed will improve naturally as I gain more experience.
Since I also install wallpaper, understanding the drywall installation process helps me prepare better wall surfaces for the finishing stage.
Every project gives me an opportunity to learn something new.
FAQ
1. Why did you need to install new drywall?
Some ceiling and wall sections had been opened during water heater replacement and plumbing work. New drywall was needed to close these areas.
2. What is drywall called in Japan?
In Japan, drywall is commonly called sekko board (gypsum board). It is widely used for interior walls and ceilings.
3. Why did you use wooden framing?
Wooden framing provides support for drywall panels and creates a structure for attaching them to walls and ceilings.
4. How did you make openings for plumbing pipes?
I measured the pipe positions with a tape measure and used a drill to make openings. I started small and enlarged the holes gradually.
5. Why did you use a drywall rasp?
A drywall rasp helps remove small amounts of material from cut edges so that panels fit properly.
6. Why did you leave some distance between screws and drywall edges?
Screws placed too close to the edges can damage or break the drywall. Keeping an appropriate distance helps prevent this problem.
7. What is GL adhesive?
GL adhesive is a gypsum-based adhesive used in Japan to attach drywall directly to suitable wall surfaces, such as concrete or mortar.
8. Can drywall be installed directly over a mortar wall?
It depends on the wall condition and installation method. In this project, we used GL adhesive because the existing wall structure did not allow us to fasten the drywall with screws.
9. Why is accurate drywall installation important before wallpapering?
Uneven surfaces, gaps, and poorly fitted joints can create additional work during joint compound application and affect the final wallpaper finish.
10. What was the most challenging part of this project?
The most challenging parts were fitting the drywall around the baseboard, making accurate pipe openings, and installing panels around the recessed window frame.
Conclusion
Today, I worked on installing new drywall in a Japanese apartment after plumbing and water heater replacement work.
I worked on the laundry area, bathroom vanity area, and part of the living area.
Although I completed the installation, I made several small mistakes involving measurements and panel adjustments.
These experiences reminded me that careful preparation is just as important as the actual installation work.
I will use what I learned today to improve my carpentry skills and become a more efficient interior renovation worker.
Thank you for reading!
Related Project
Apartment Renovation Project: Wallpaper Removal, Demolition, and Fixture Removal in a 65 m² Condo


Comments